My the end result measured in at 0.635” diameter consistently across the length. I’m guessing my zero was off and the small amount magnified resulting in the discrepancy.
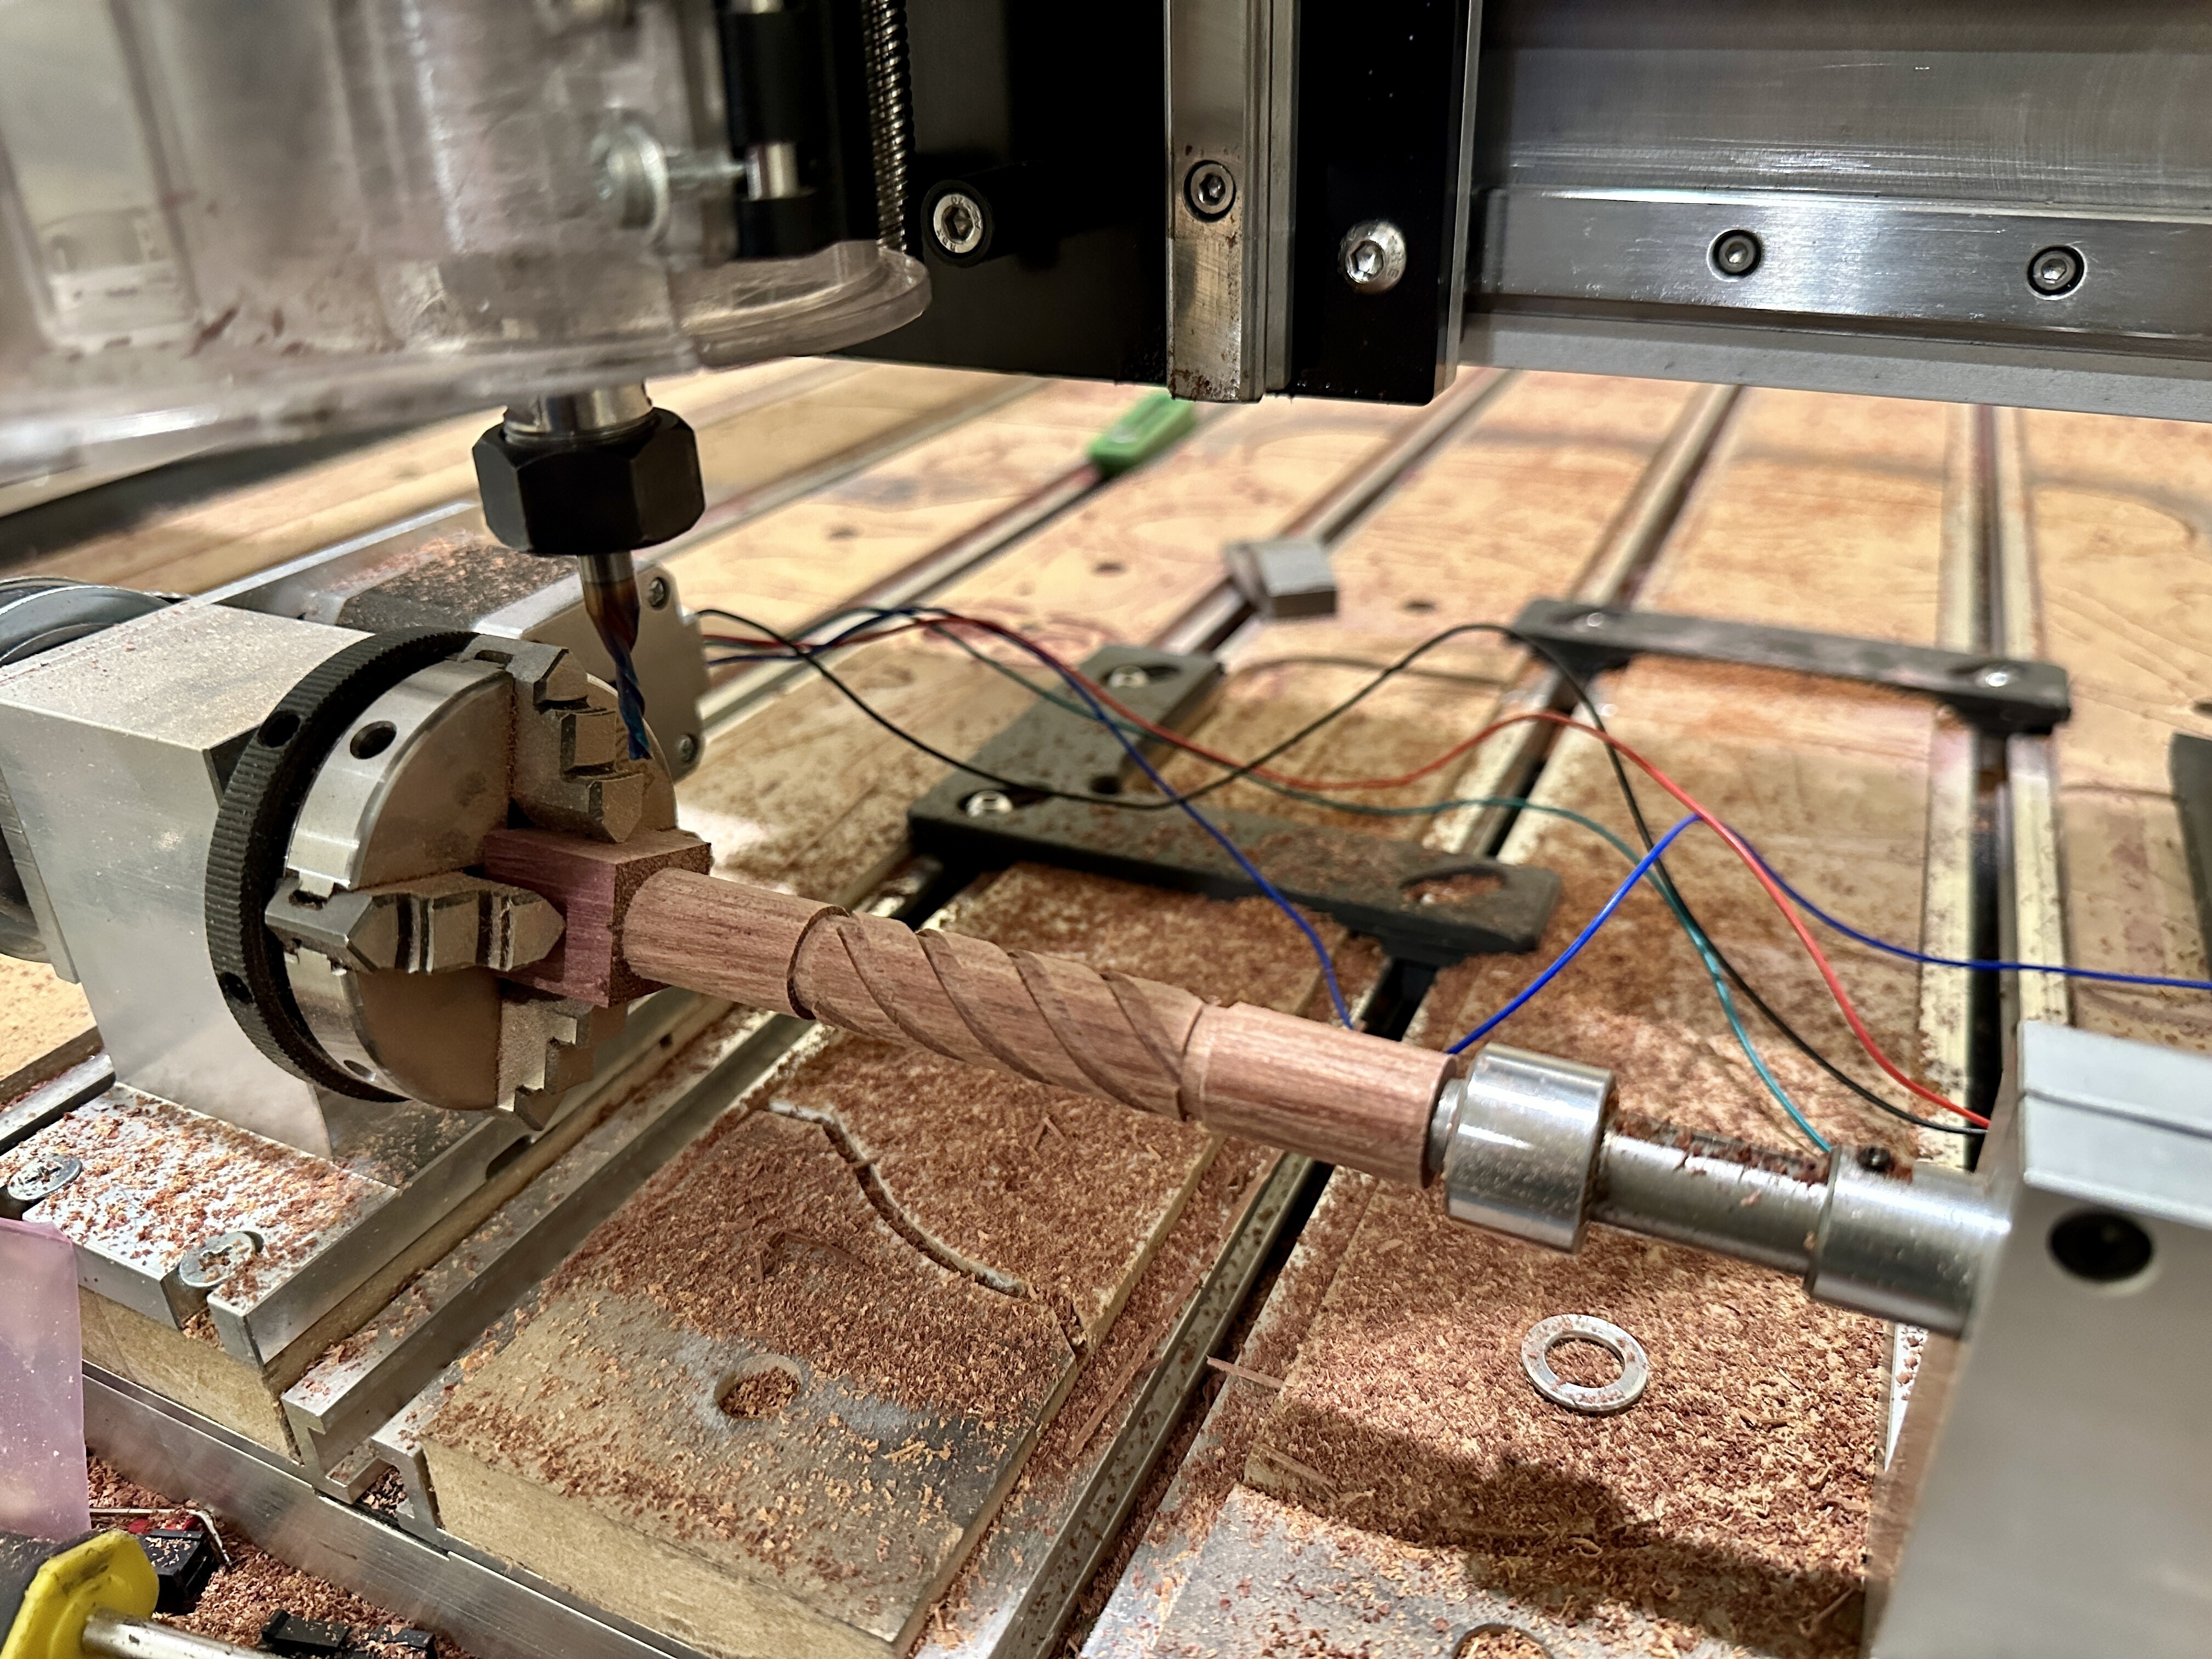
Will try another bank later tonight, and then hopefully start getting a little wild with some funky profile cuts.
Again, I can’t tell you how thankful I am - you’ve opened up a whole new world of design for me
Edit; Looks like I still need to work on honing in the cut depth, my end diameter was off again on this one - but over all so happy it’s coming together!!
@Crispy Chris, on my rotary setup, I measured the height down from the headstock top-flat surface to the chuck centre line as accurately as I could and wrote on the headstock what the offset of that top surface is to the centre. I probe now on the flat surface and then edit the zero reference manually - easy to do and accurate. I use gSender instead of Carbide Create which allows me to manually over-type the zero figure once probing is complete - I can’t remember if CC lets you do this, but I think it does.
One other thing I did, second time around setting up my headstock and tailstock, was to widen the ‘tunnel’ that runs underneath the headstock, and the same on the tailstock, then I got a 3mm (1/8") thick strip of aluminium cut to a few 'thou less than the tunnel width - the headstock traps the strip and ensures it is perfectly square, then the tailstock has to be properly aligned, even if it is slid close or further to/from the headstock. The ‘stick-out’ on the tailstock you have will result in wobbling - something you will no doubt find as you explore more and more, and try to get the cutting speed up (if that bothers you).
As my SO3XL cannot reach the back half of the base board, I shortened my t-track inserts and waste board strips and have permanently fixed the rotary directly down to the baseboard just at the back limit of Y travel. This helps with Z height when ‘turning’ larger parts, means I don’t have to move and remove it, and I don’t really cut long and wide pieces on the S3XL anyway so the lost space is not an issue.
There are some pics somewhere on this forum - if you want sight of what I have and can’t find them, shout and I’ll post something here again.