Hi all,
Several people have created really slick control panels for their Shapeokos, where you can turn the power on to the various devices, ie router, controller, lights, vacuum, etc. @Tshulthise has an especially cool looking one, with an e-stop and speed control.
Any suggestions for how to make one of these? I’ve tried searching the web, but I think I must not know the right terms, as I am not finding much.
I’m mostly comfortable doing basic wiring, but I’m far from an expert, and would be grateful for any help! For example, how heavy duty do the switches need to be? Would these suffice?
I use simple X10 outlet for my router. wireless remote. No wiring necessary. It’s in the ceiling above the machine. There are a LOT of cheap outlets controlled by a remote for your Christmas lights. I use two of those to control my air and the blower for my laser for past 3 years and they work great. I got 6 a few years ago on closeout for $0.01 each.
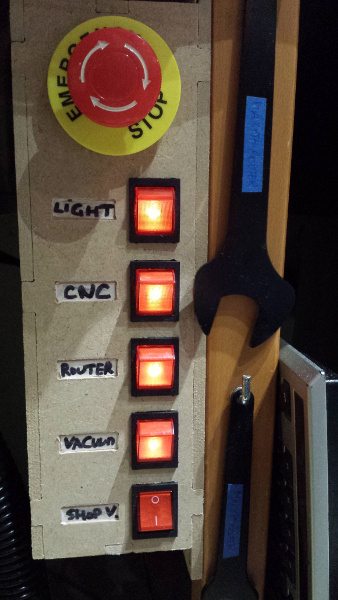
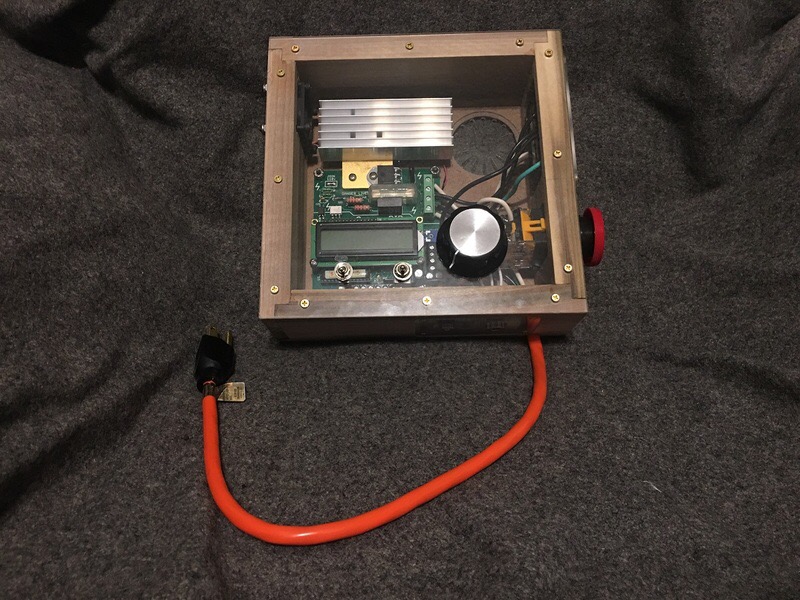
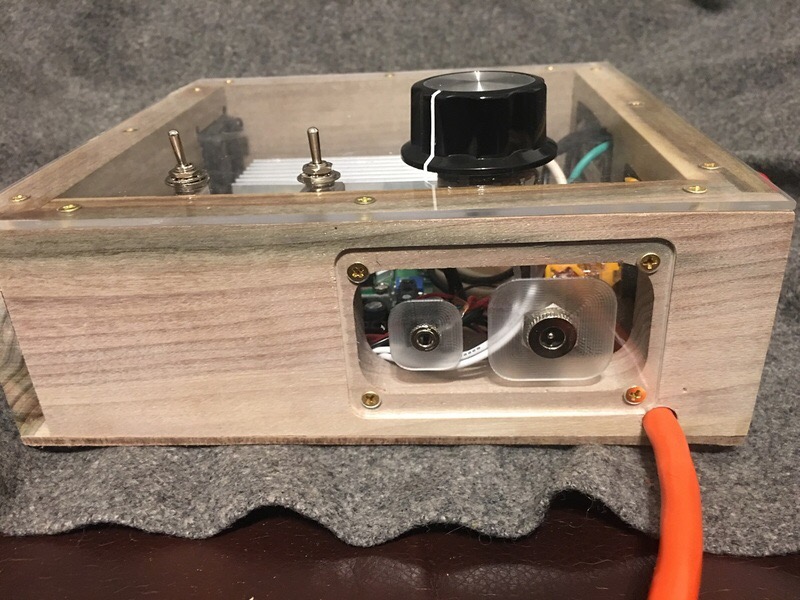
I did this basic power control panel a while back, thinking I would probably redo a fancy one later, but I never did because it has turned out to be perfect for my use.
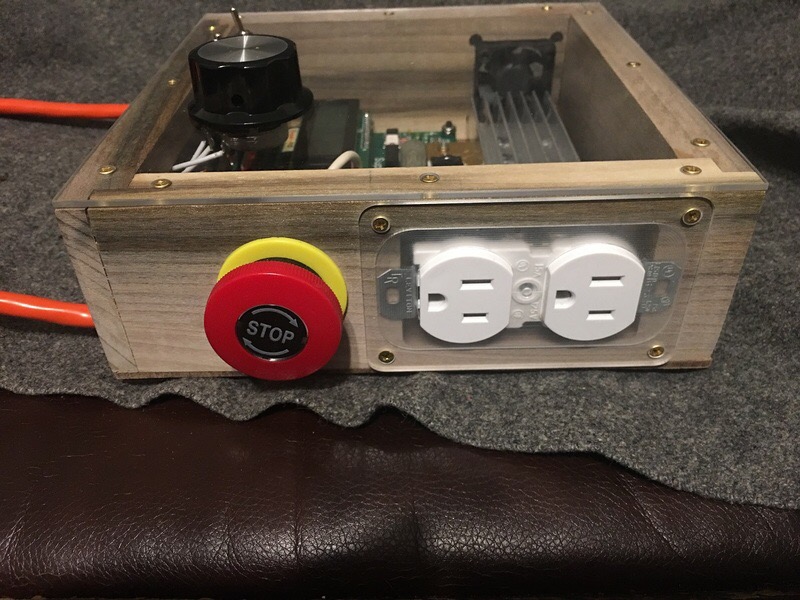
It’s just a box with cutouts for switches & the eStop button (front) and outlets (in the back), cut from MDF (with the Shapeoko of course). Internally it’s almost direct wiring between each switch and its associated outlet, with just a detour via the eStop (that can therefore cut power to everything in one push, as it should)
I got the set of switches and outlets for <can’t remember, not much> on Amazon
I’m sure you can find a variant of this off-the-shelf, but this way I could make it to custom dimensions so that it fits nicely against one leg of the table on which my SO3/enclosure is. The light indication on each switch is the most useful part, I can check at a glance if I forgot to turn off anything before leaving the shop.
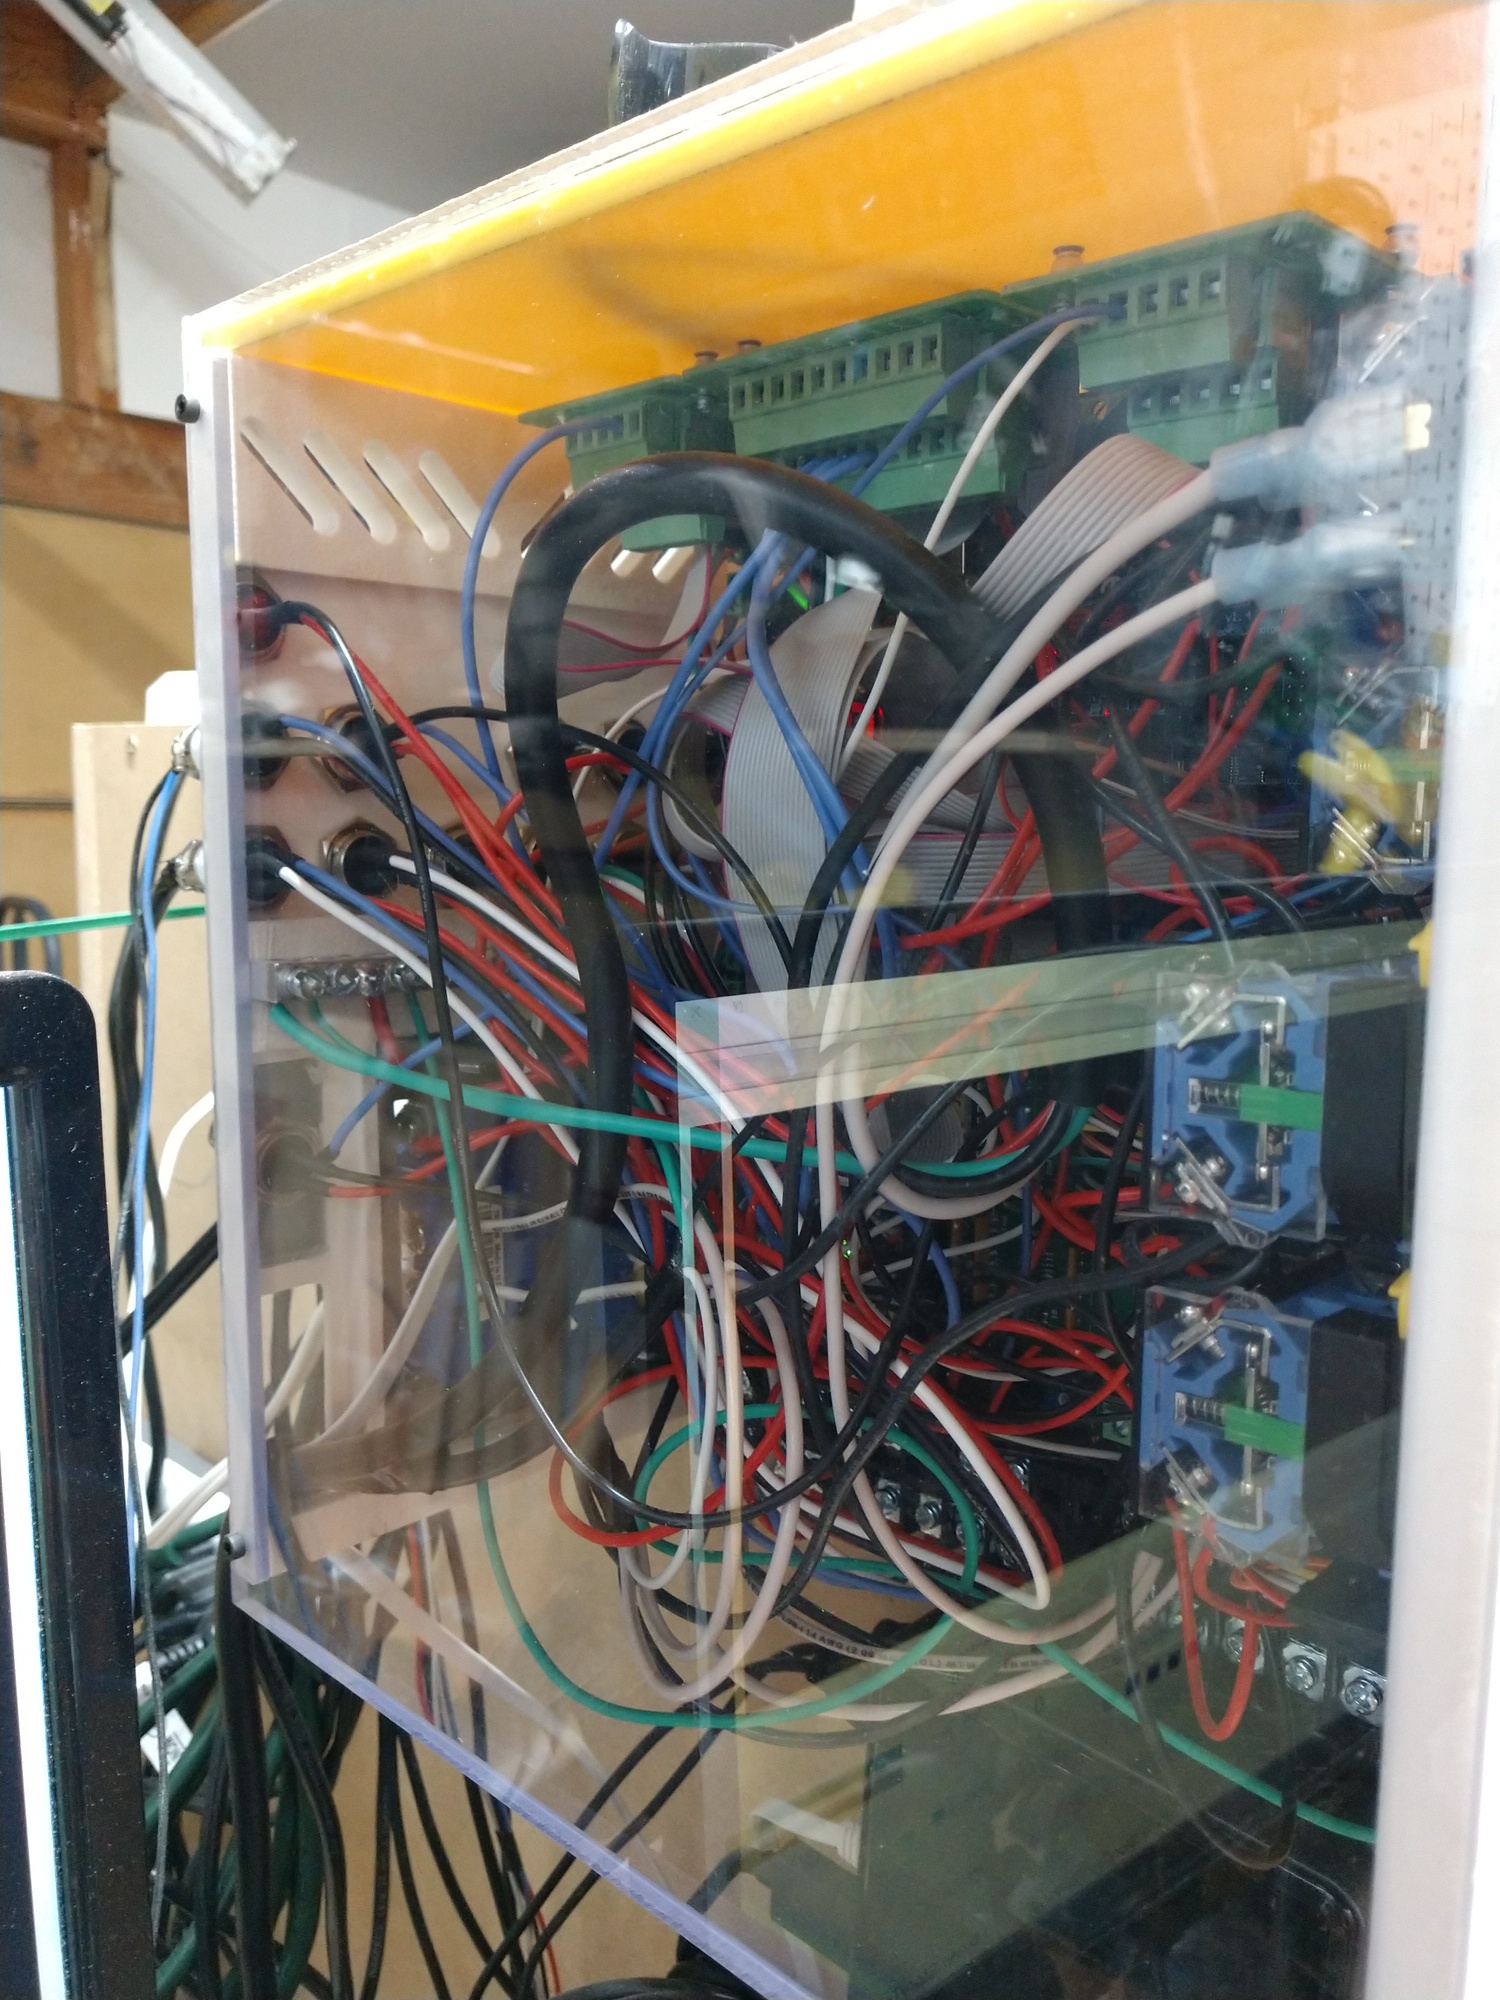
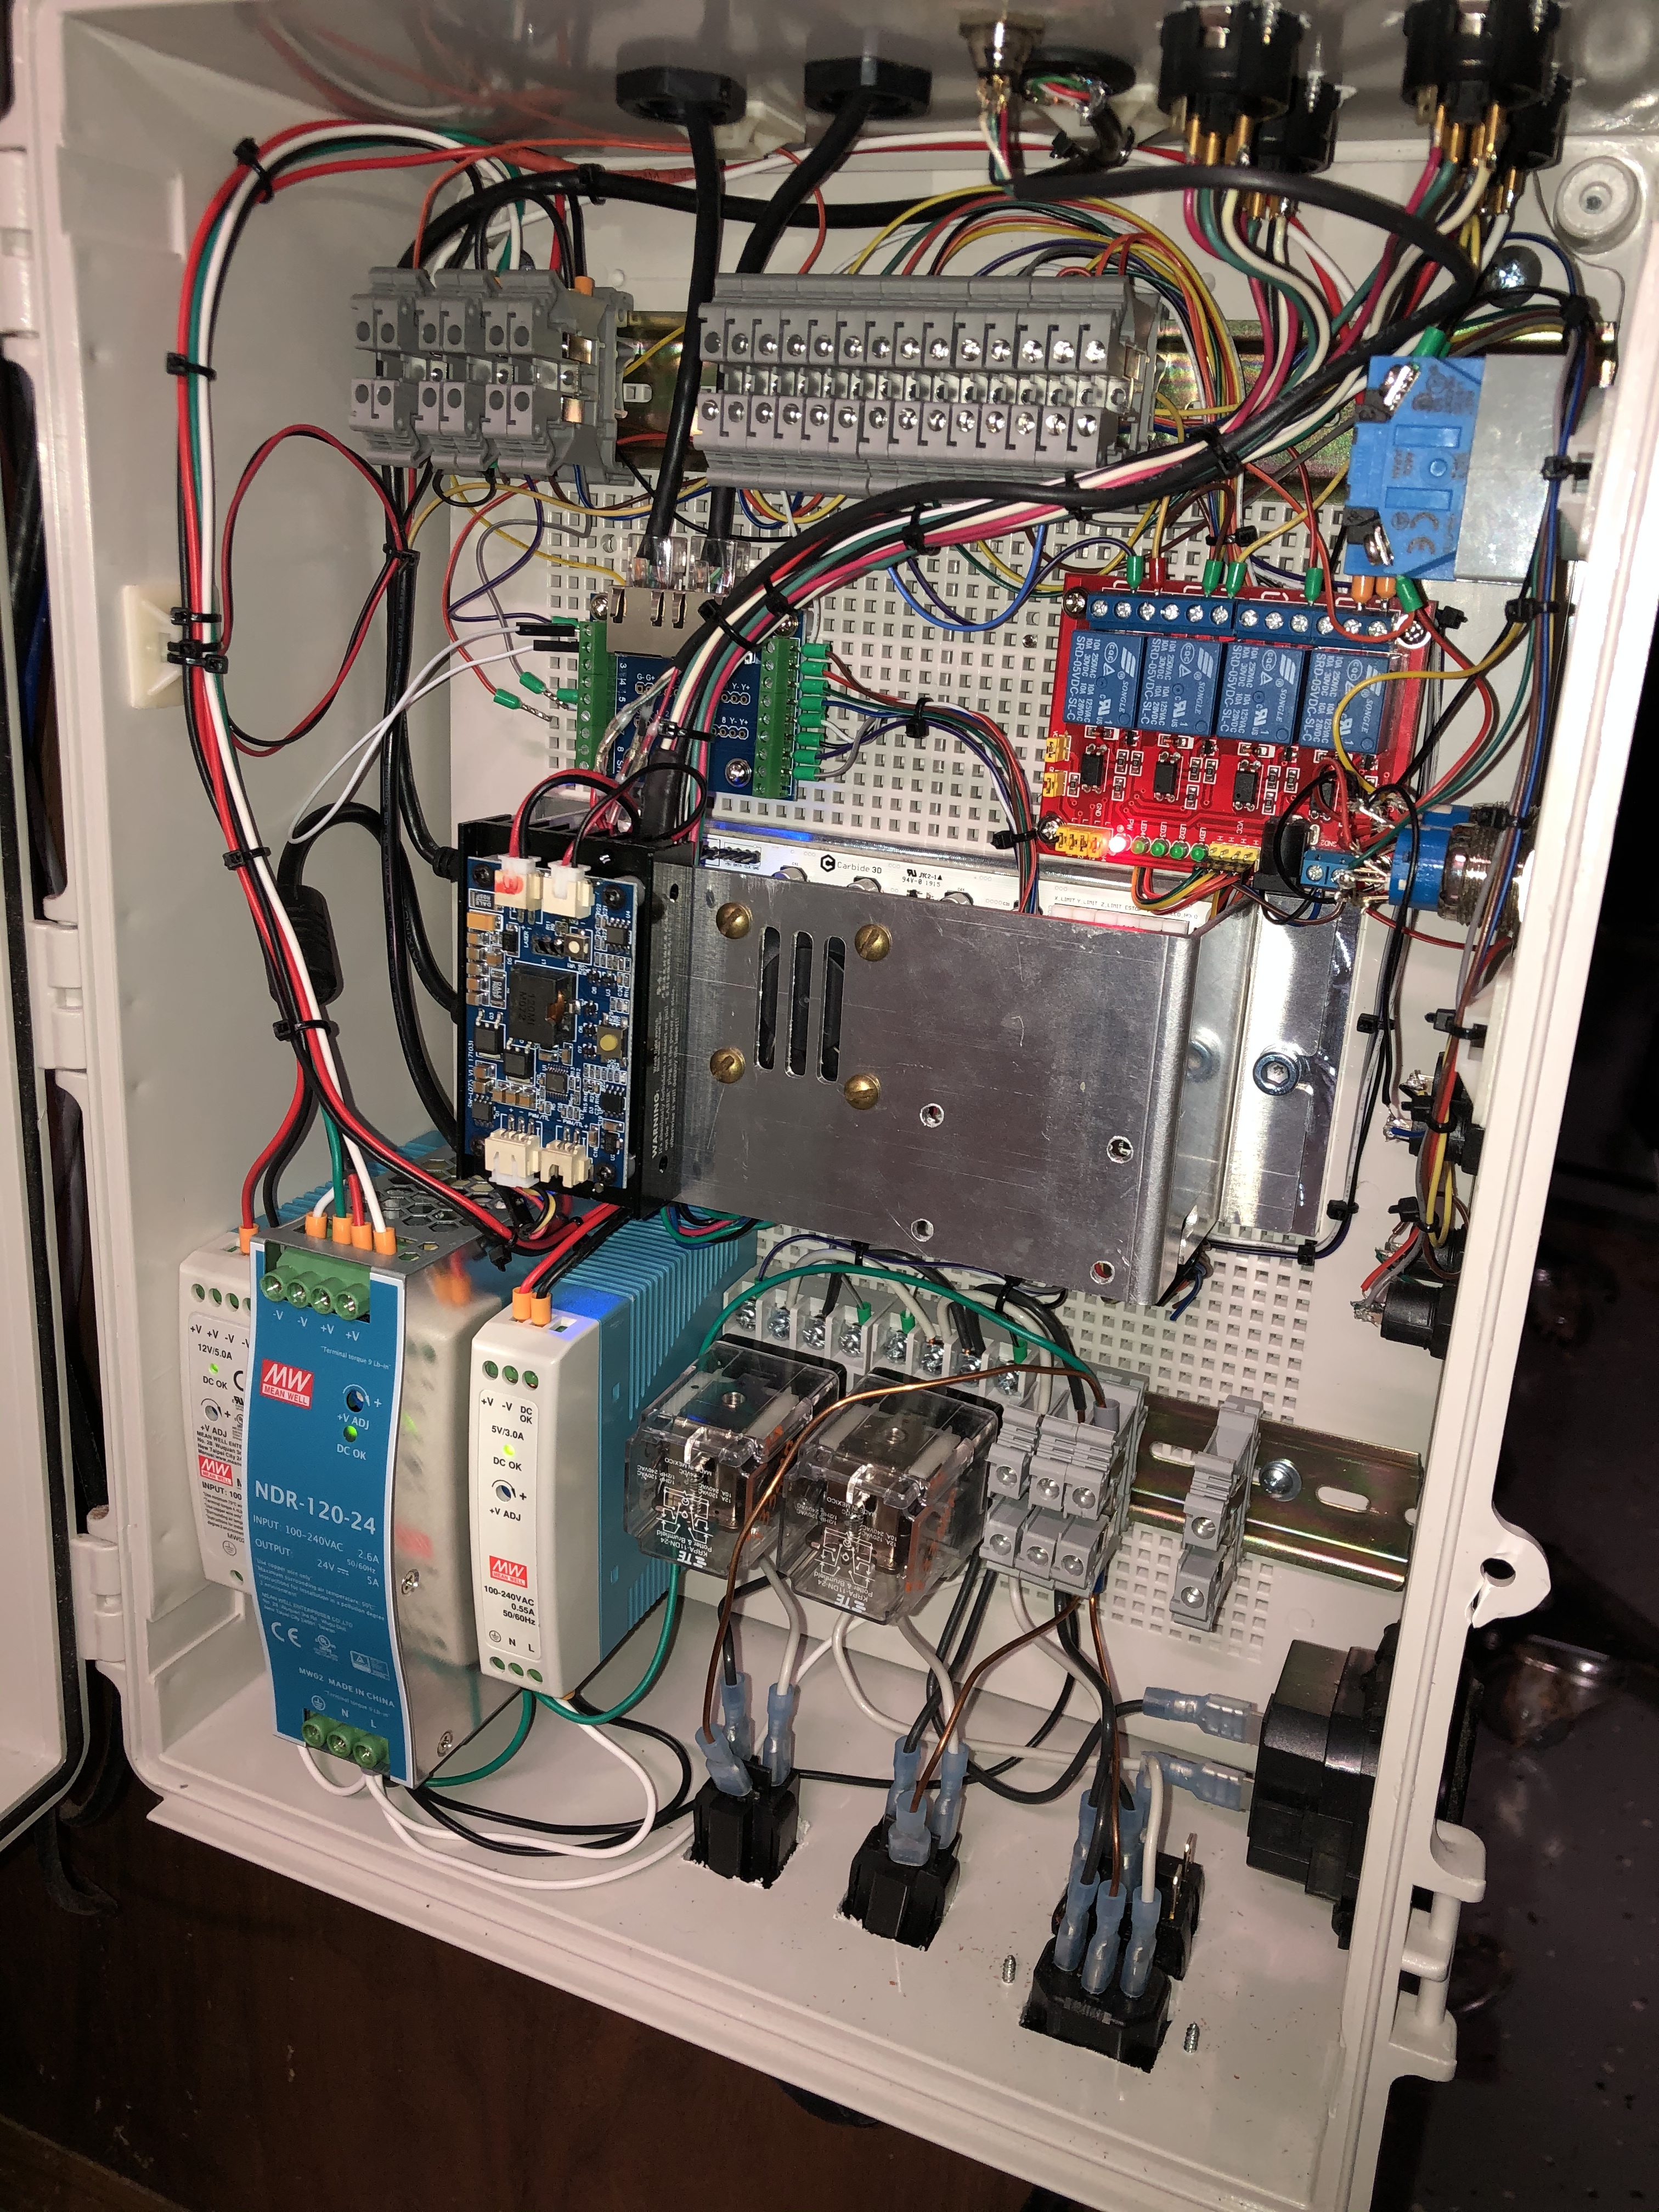
I’d recommend giving yourself enough room, or it becomes a wiring disaster
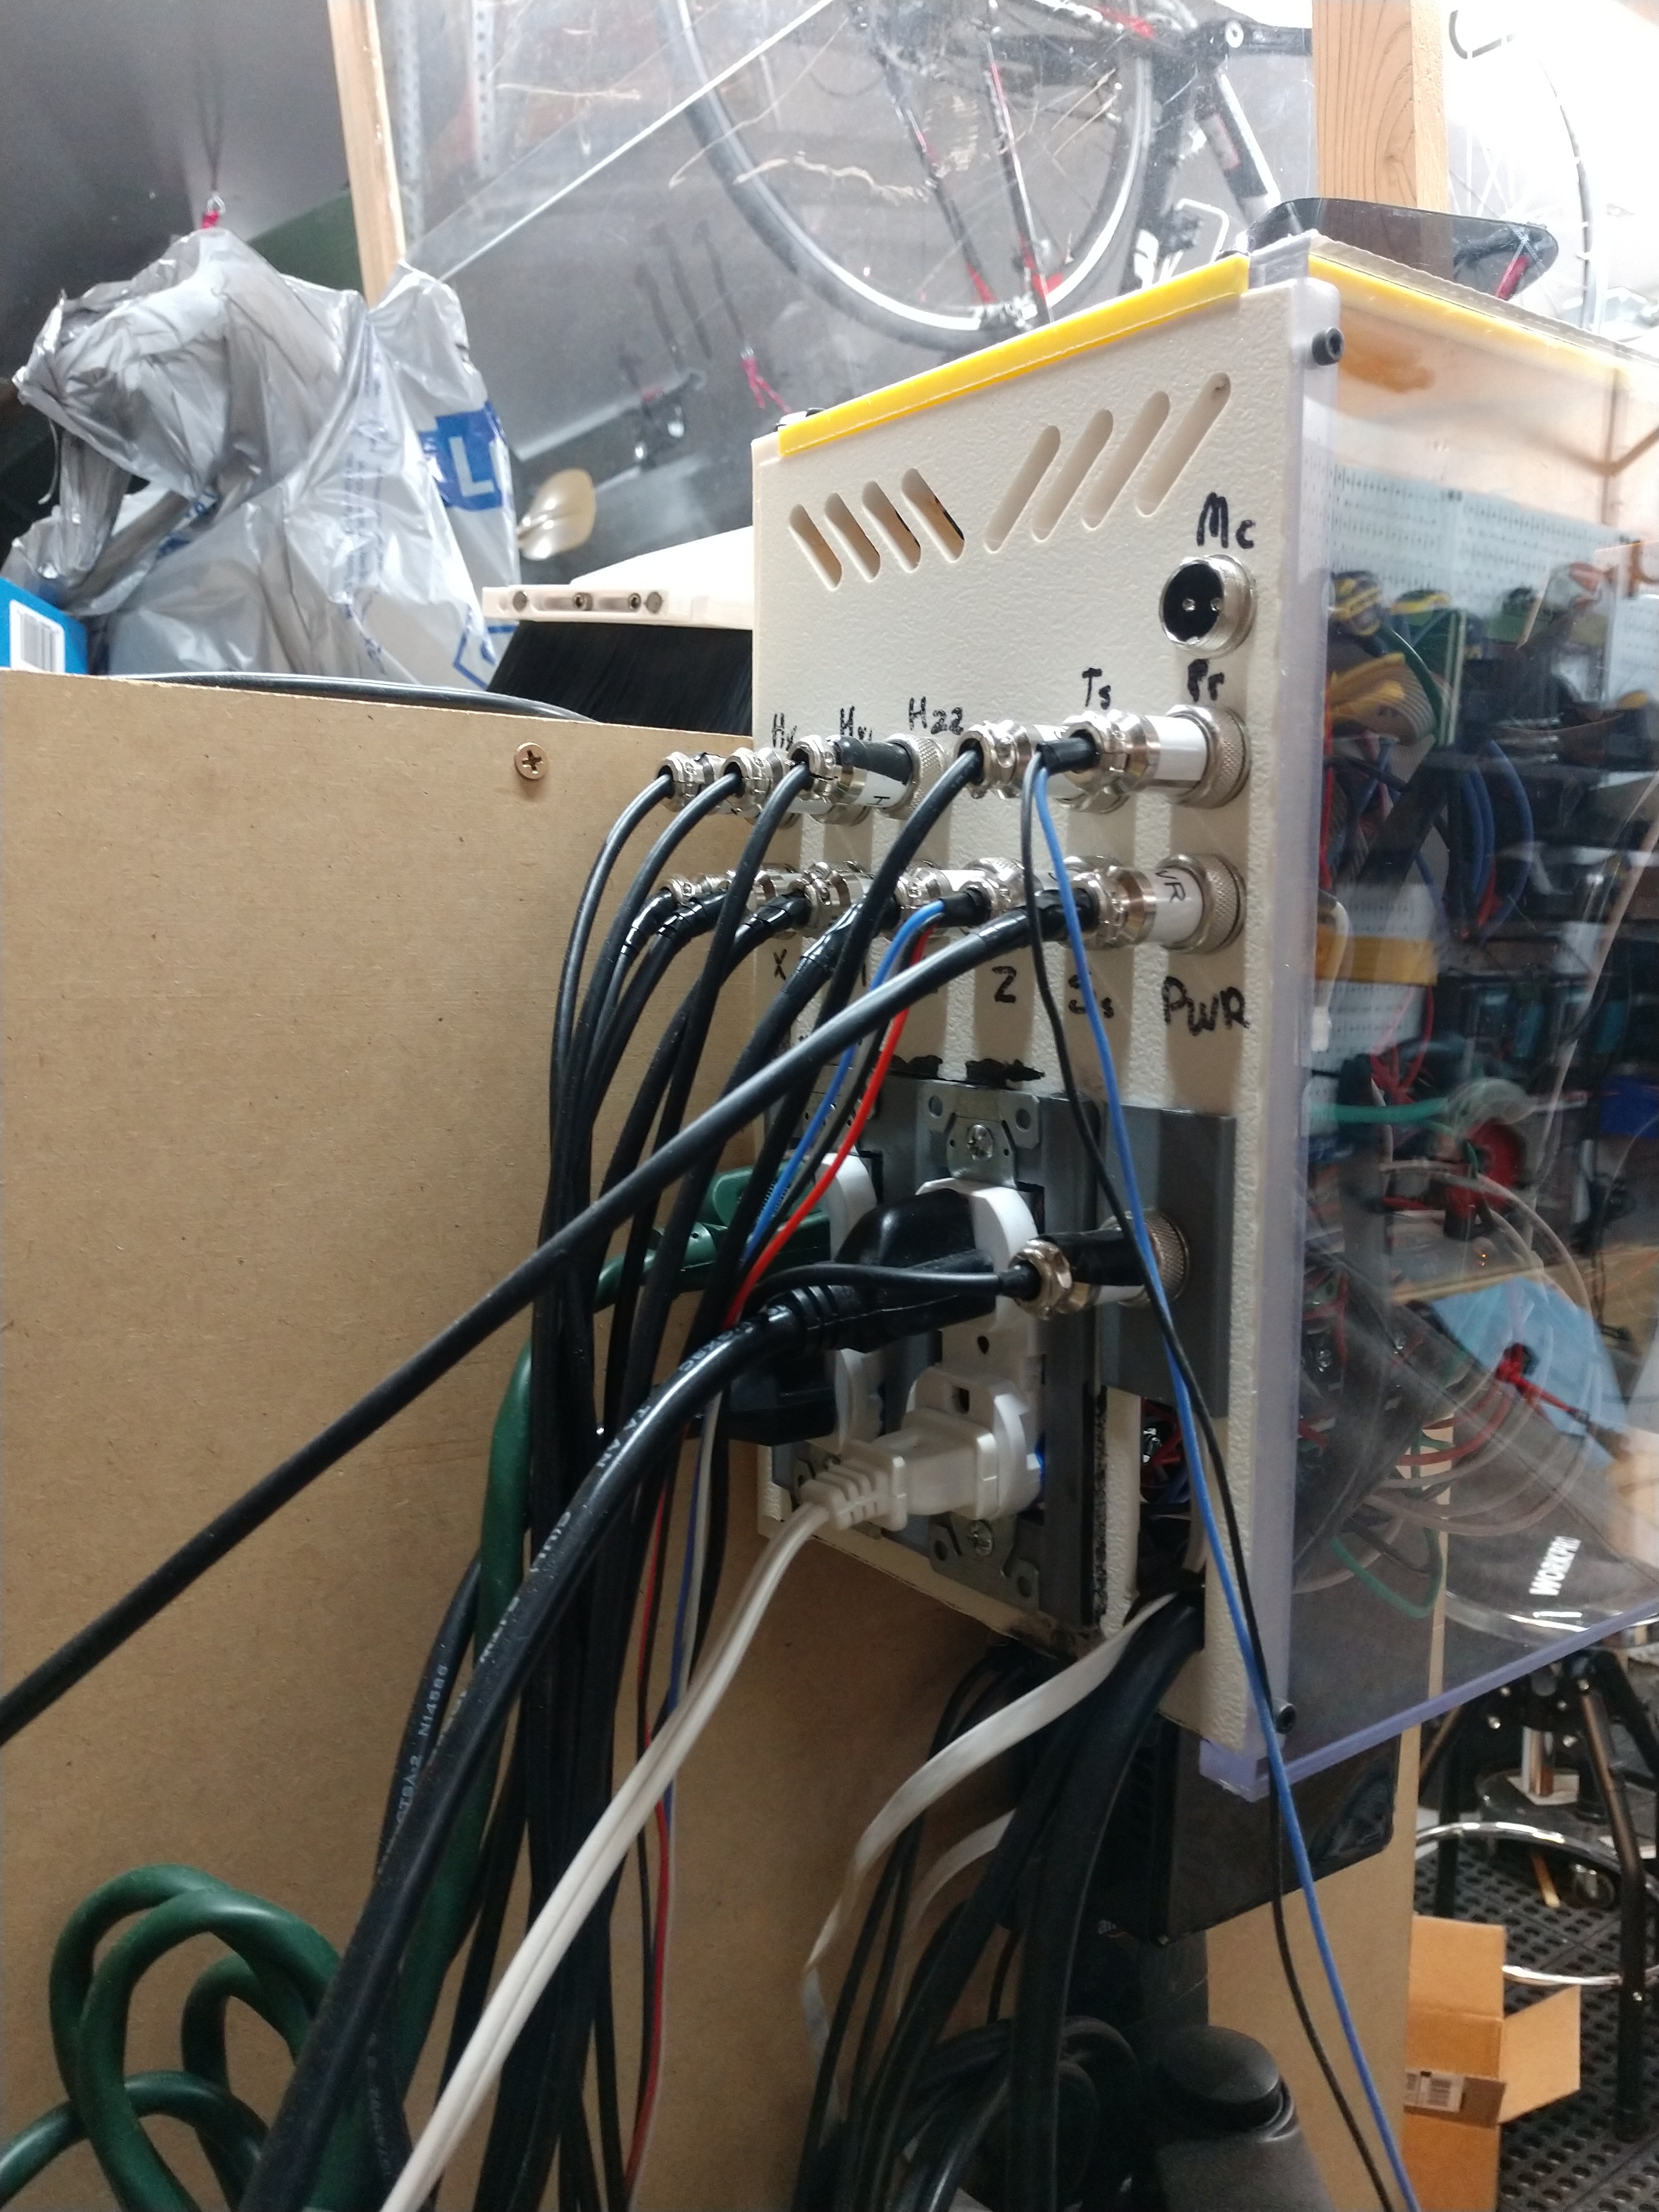
I also wired connectors to make disassembly easier (maintenance, mods, etc.). Plan on doing so at the other end too (motors, limit switches) to make swapping components easier.
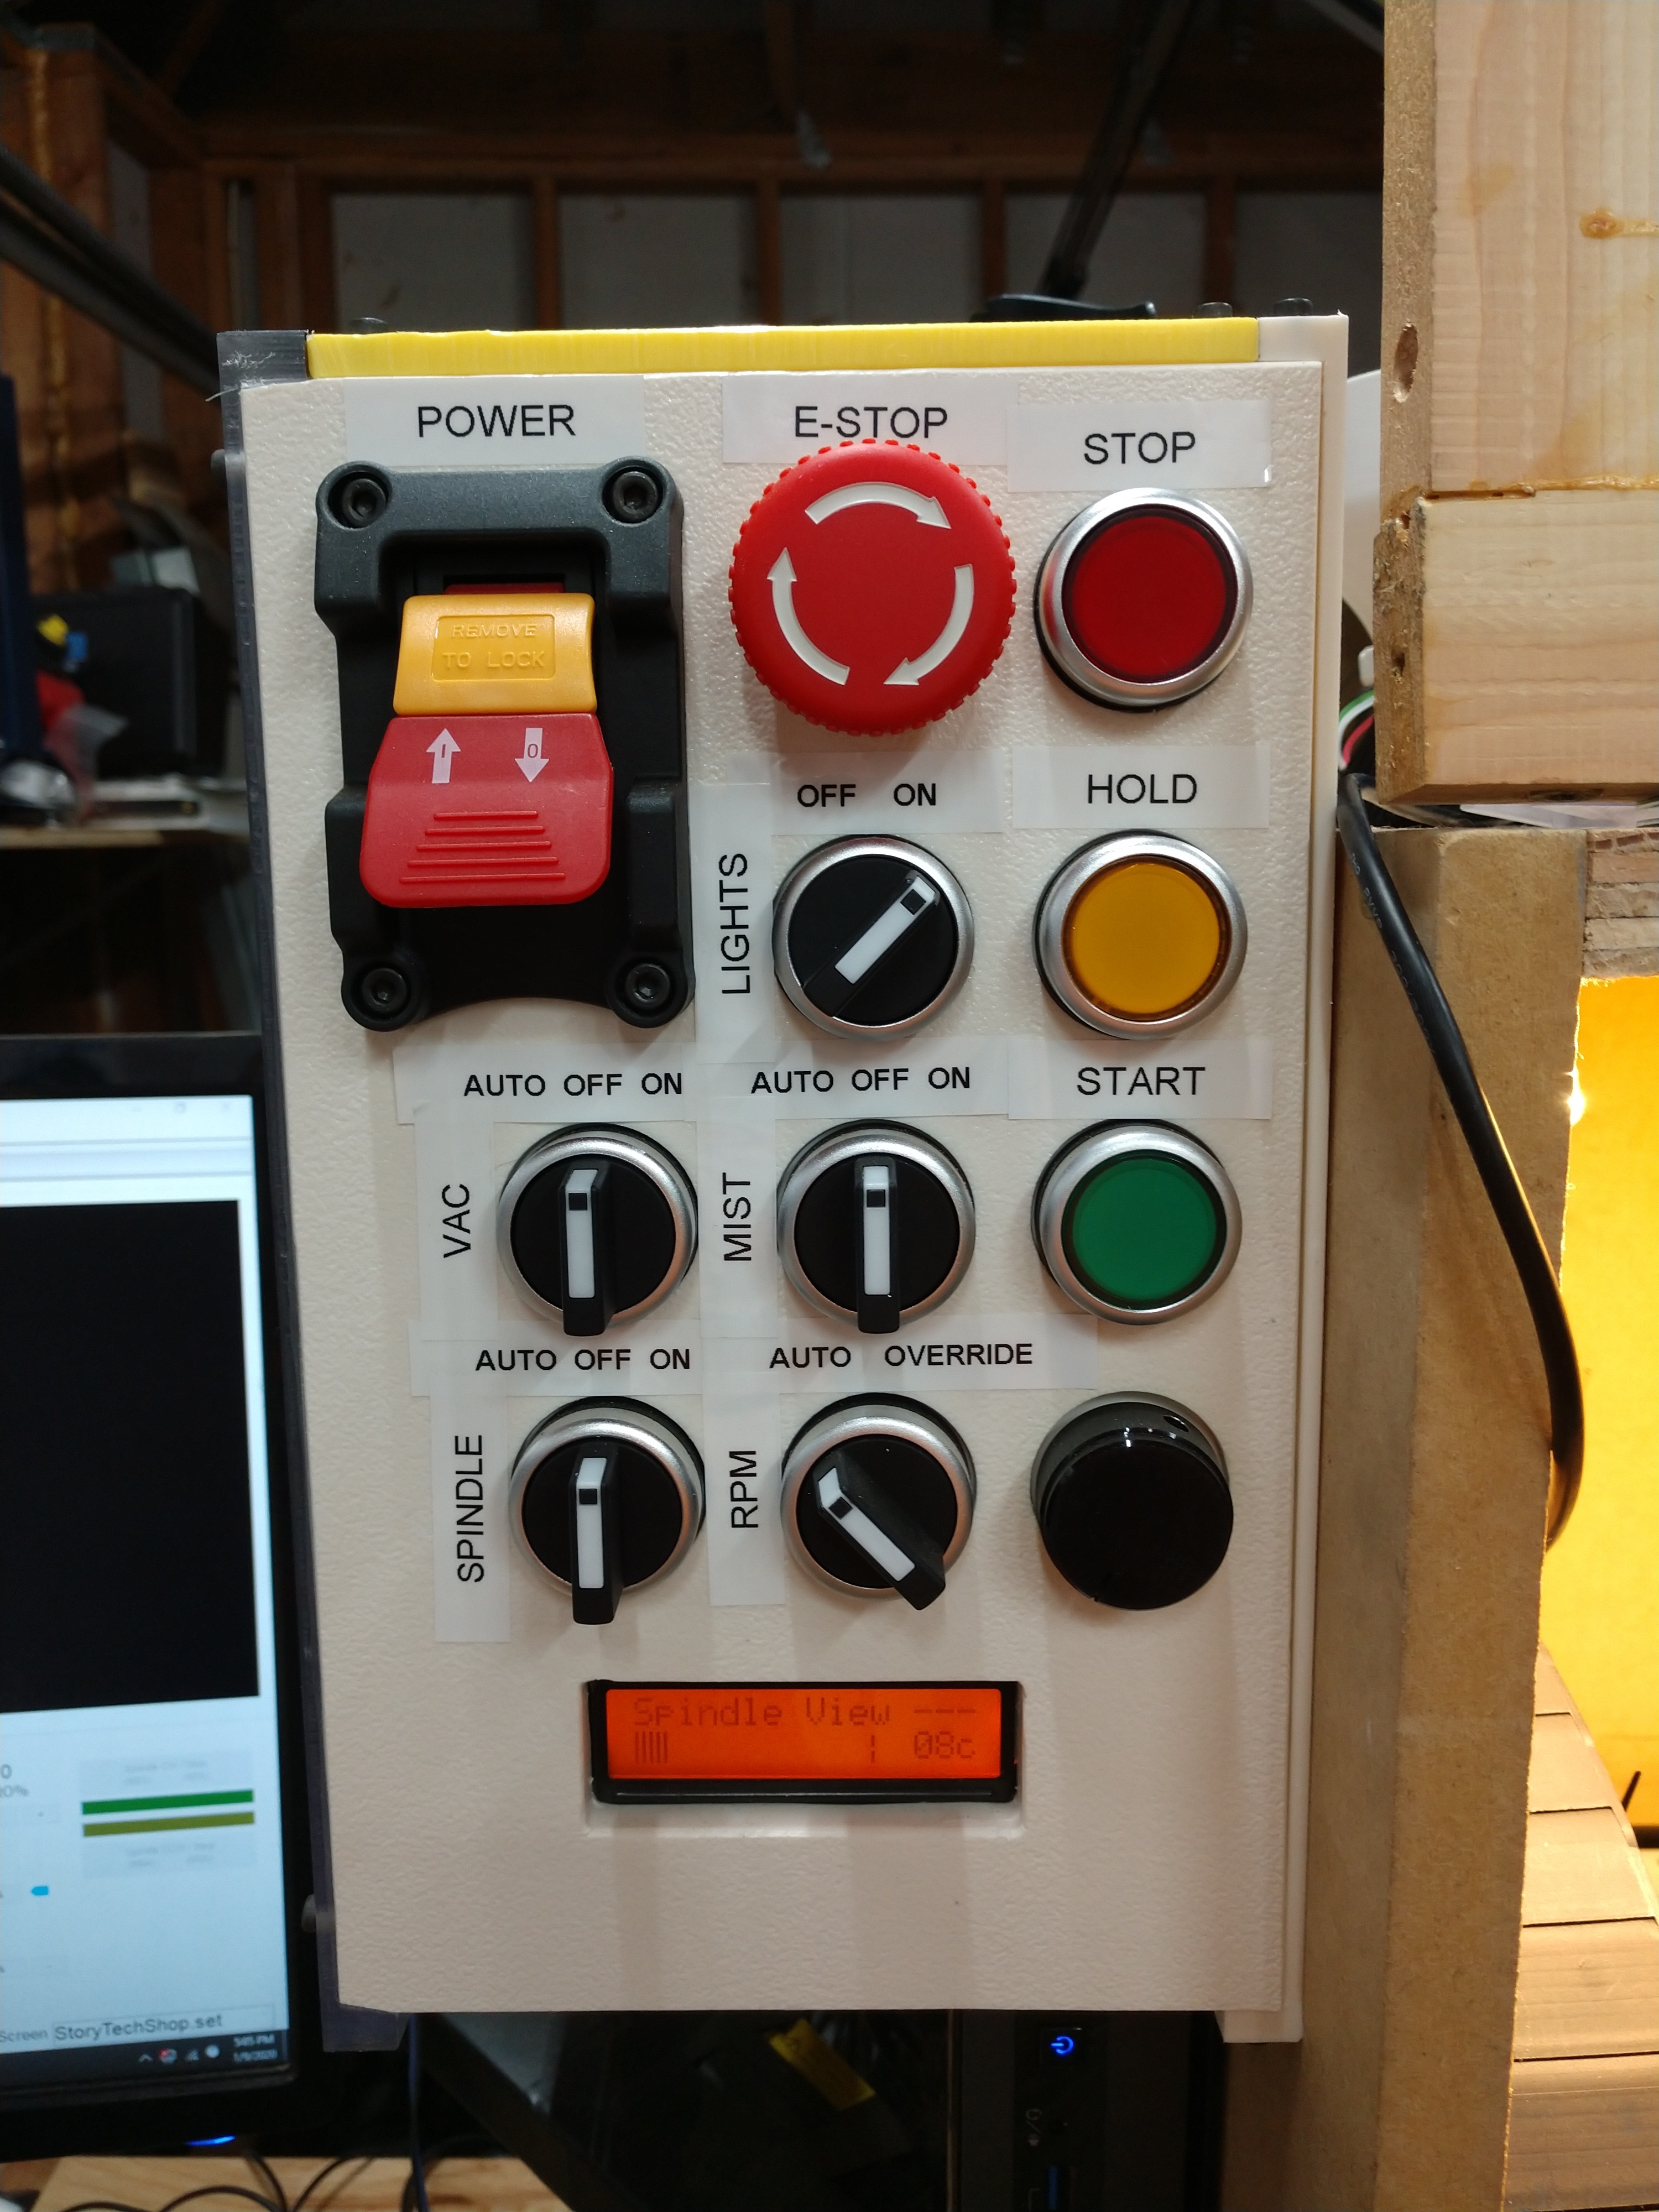
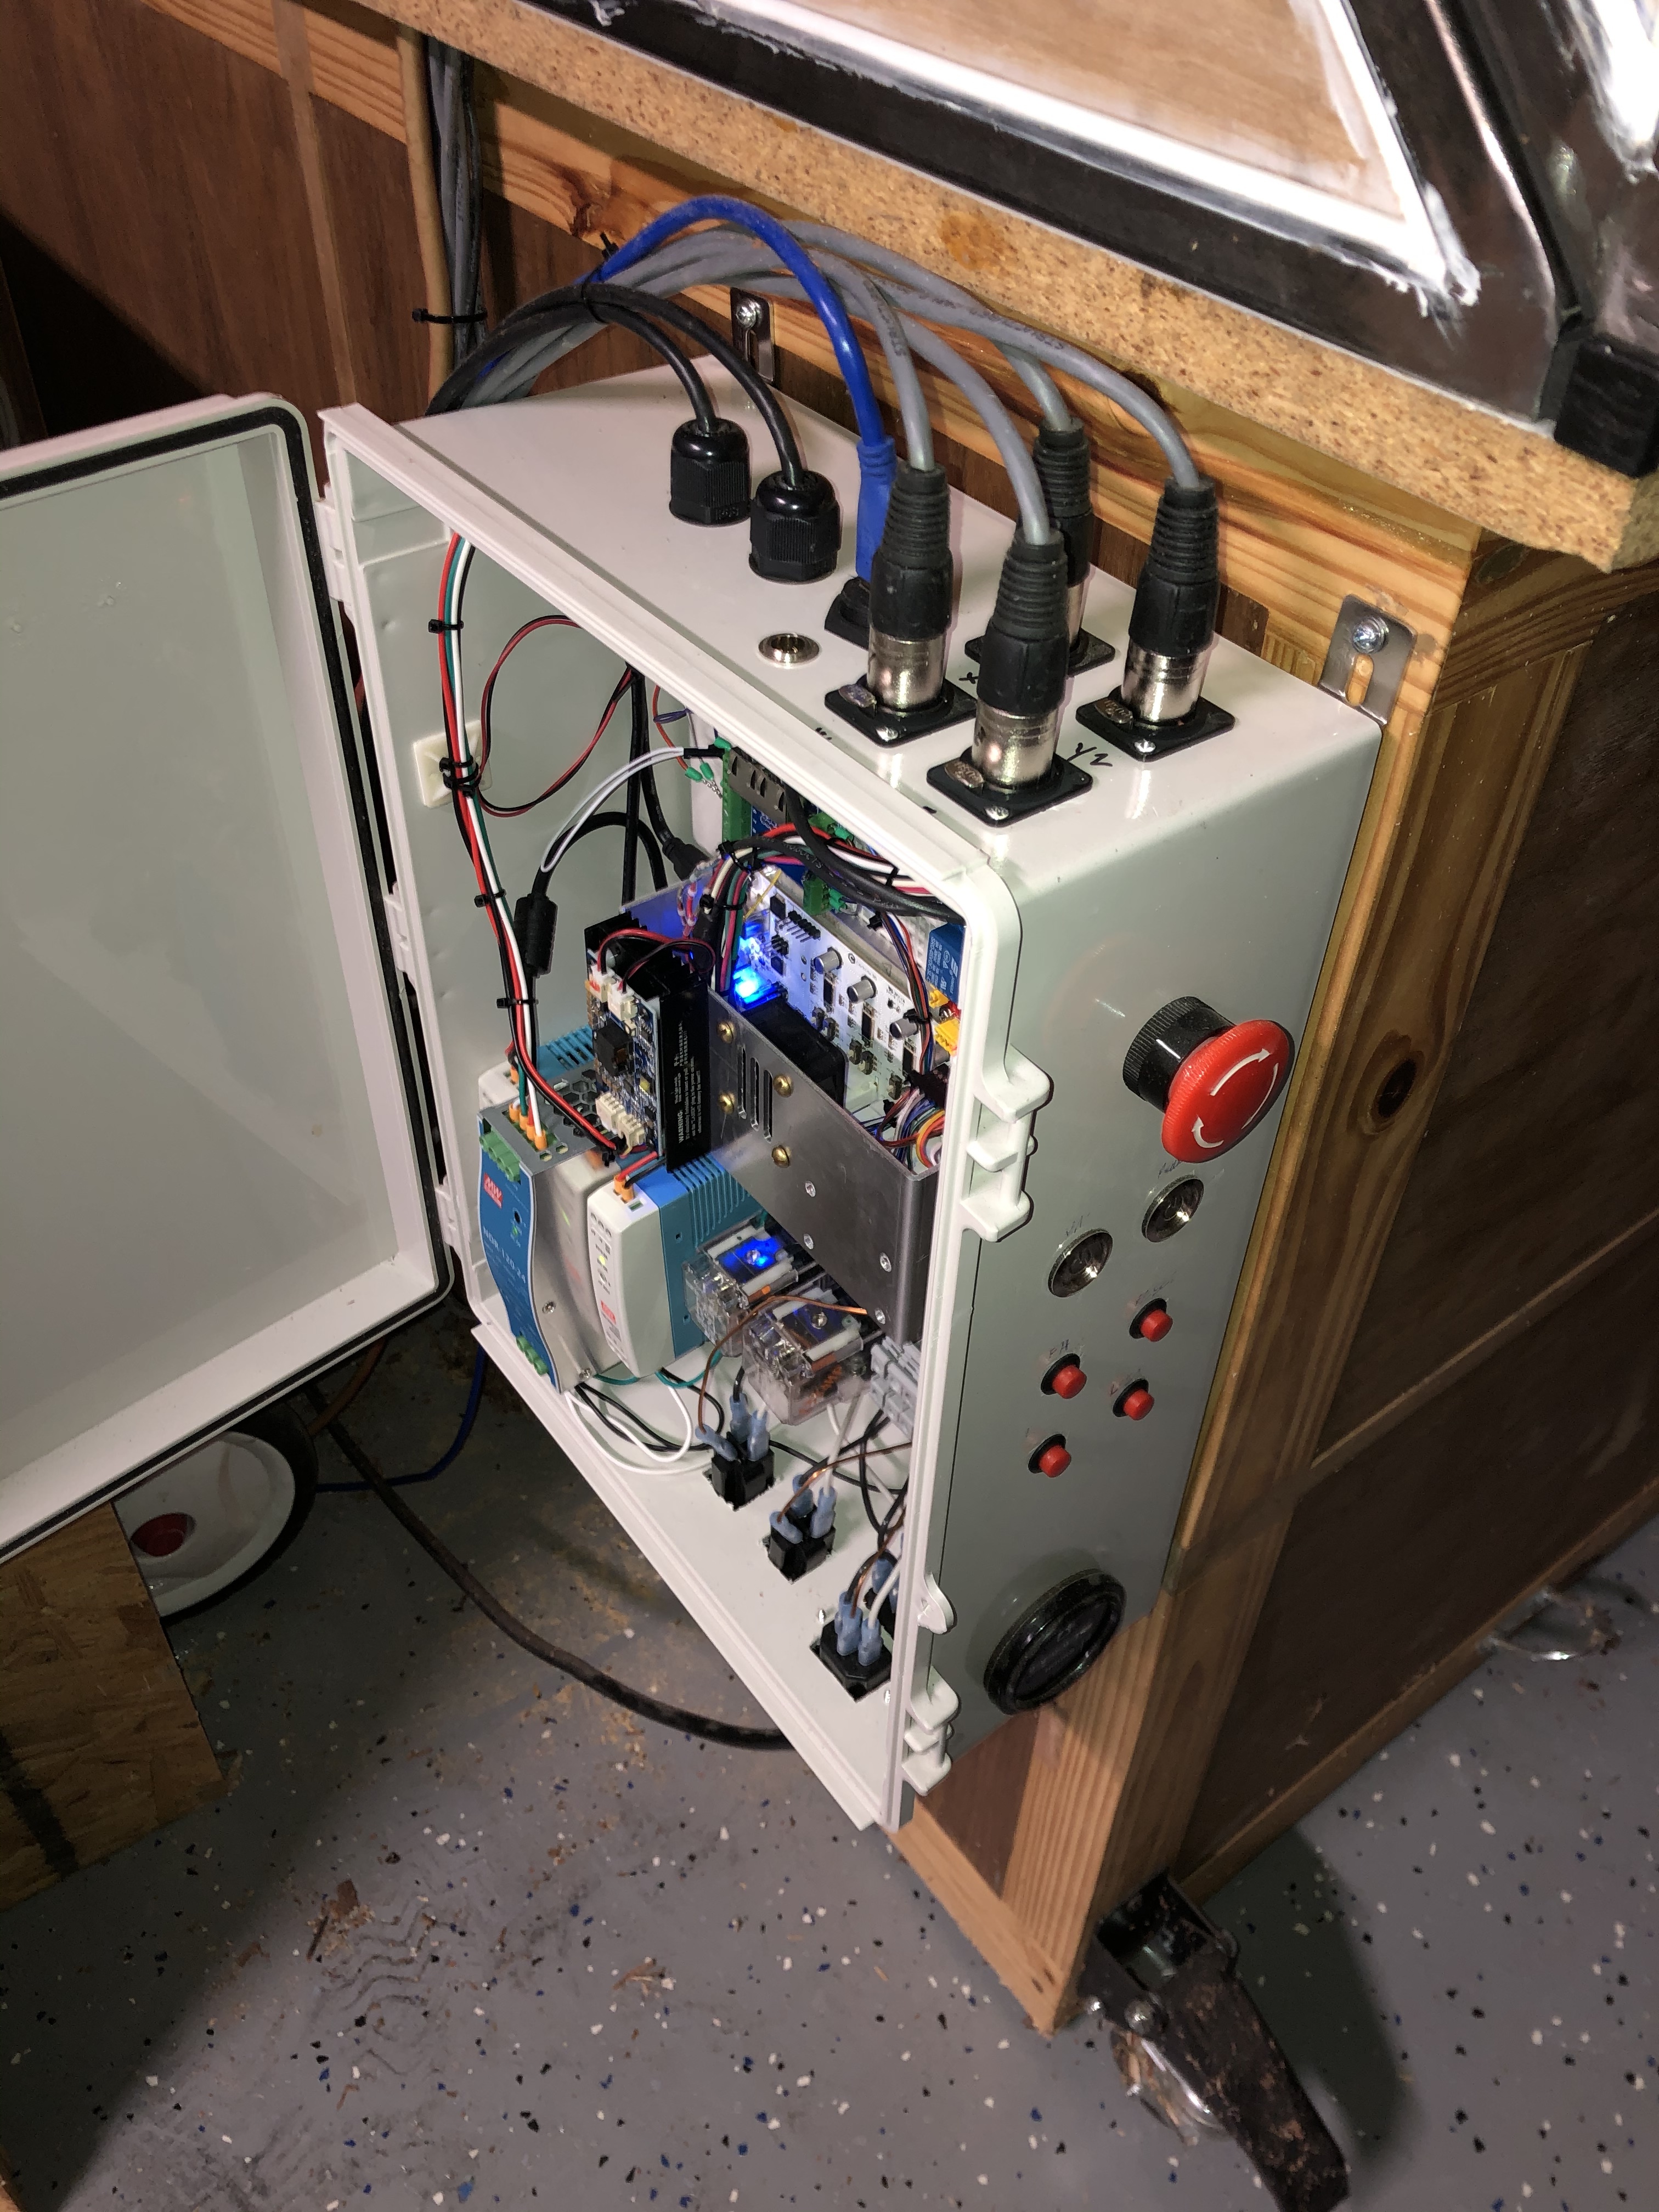
Good for you for taking on what will be a fun project. Back in the early days of SO3, I made a control box and published diagrams and a parts list. I’ve updated and expanded a bit since then but I think this could get you started. Shapeoko Control Enclosure
I never could find an “official” name for these types of switches, beyond panel-mount. They are modular switches in nature combining the face switch which dictates actuator (push, rotary, etc.) and action (momentary, maintained, etc.) and the second component, the contact block that connects to the back of the switch which determine the normally closed/open state and number of circuits the switch controls (by stacking them together).
I believe normally you want to have a switch that exceeds your circuit’s draw by 10-20%. I see it as, you want the circuit breaker/fuse to fail not the switch due to overload or short. As an example, my vacuum (Makita VC4710) has a power consumption of 840 Watts @ 120 Volts, which is 7 Amps (Watts/Volts=Amps). With an additional 20% of head room to cover rush current and motor startup draw/spike, I would want a switch that is rated at or higher than 8.4 amps.
You’d also want a switch that is rated at or higher than your circuits voltage, otherwise there is a chance the voltage can jump the contacts of the switch. If the circuit amperage exceeds the switch rating it could weld the contacter together making the switch unable to open the circuit.