Surfacing question

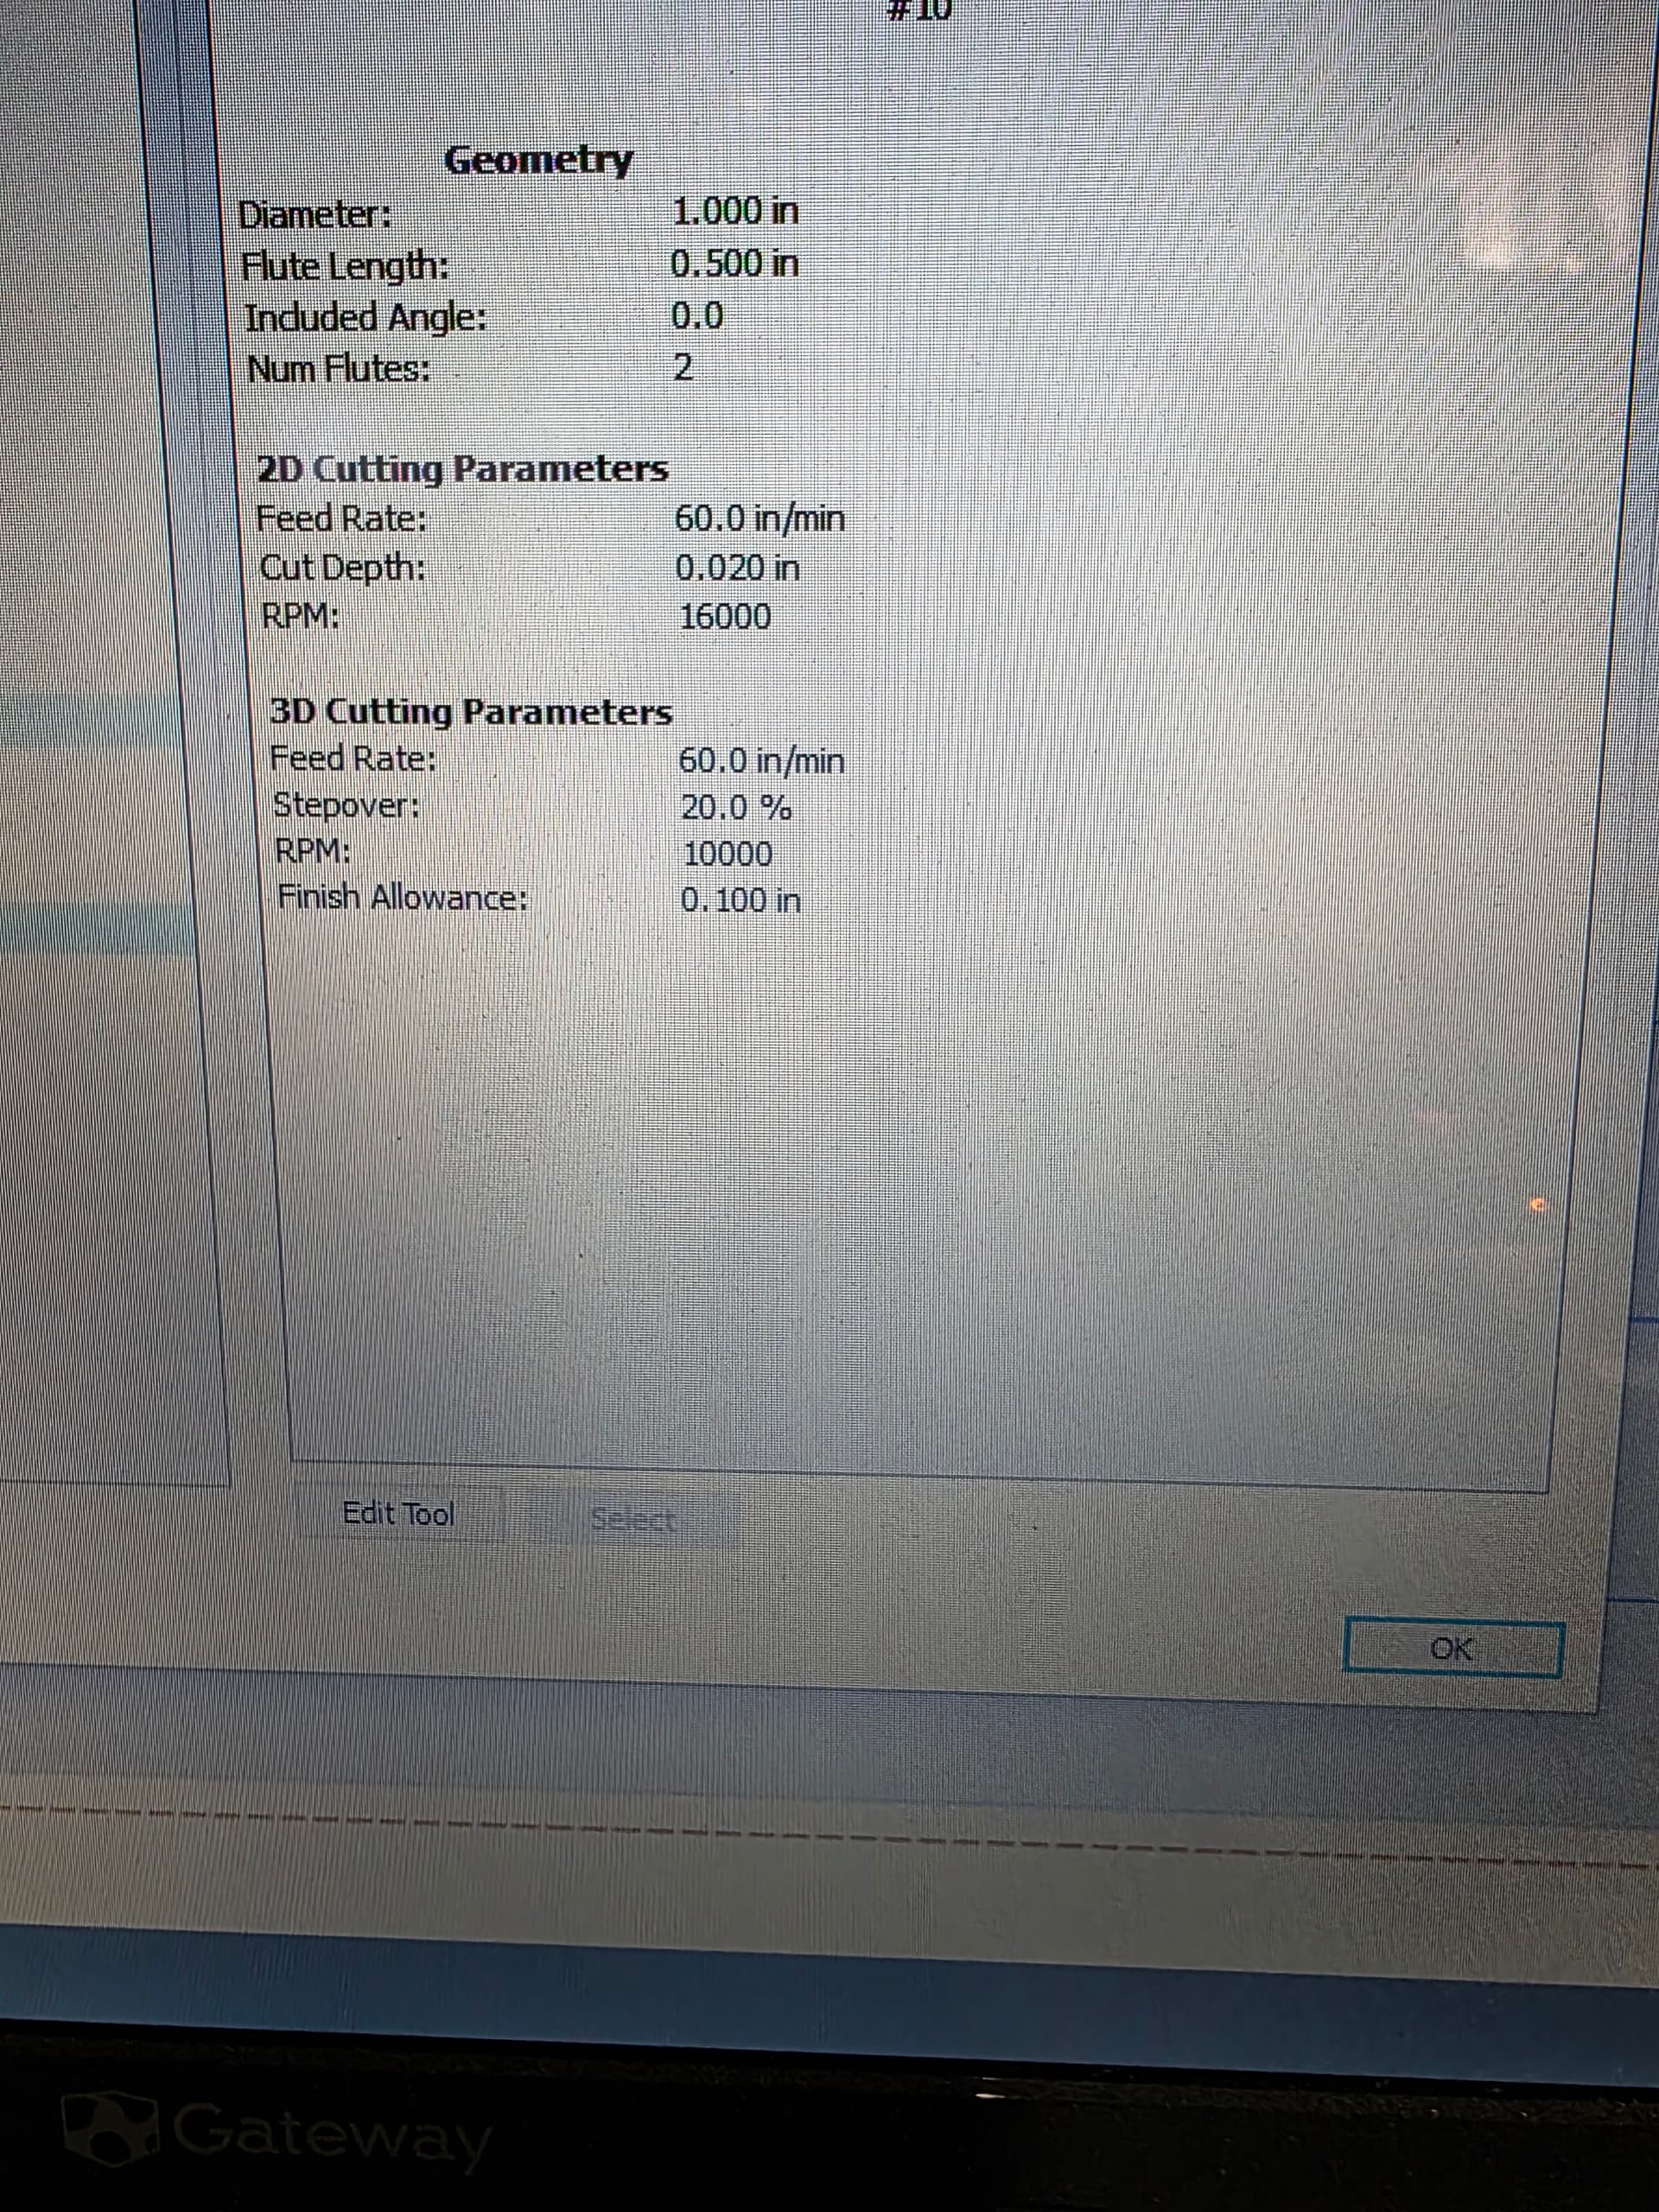
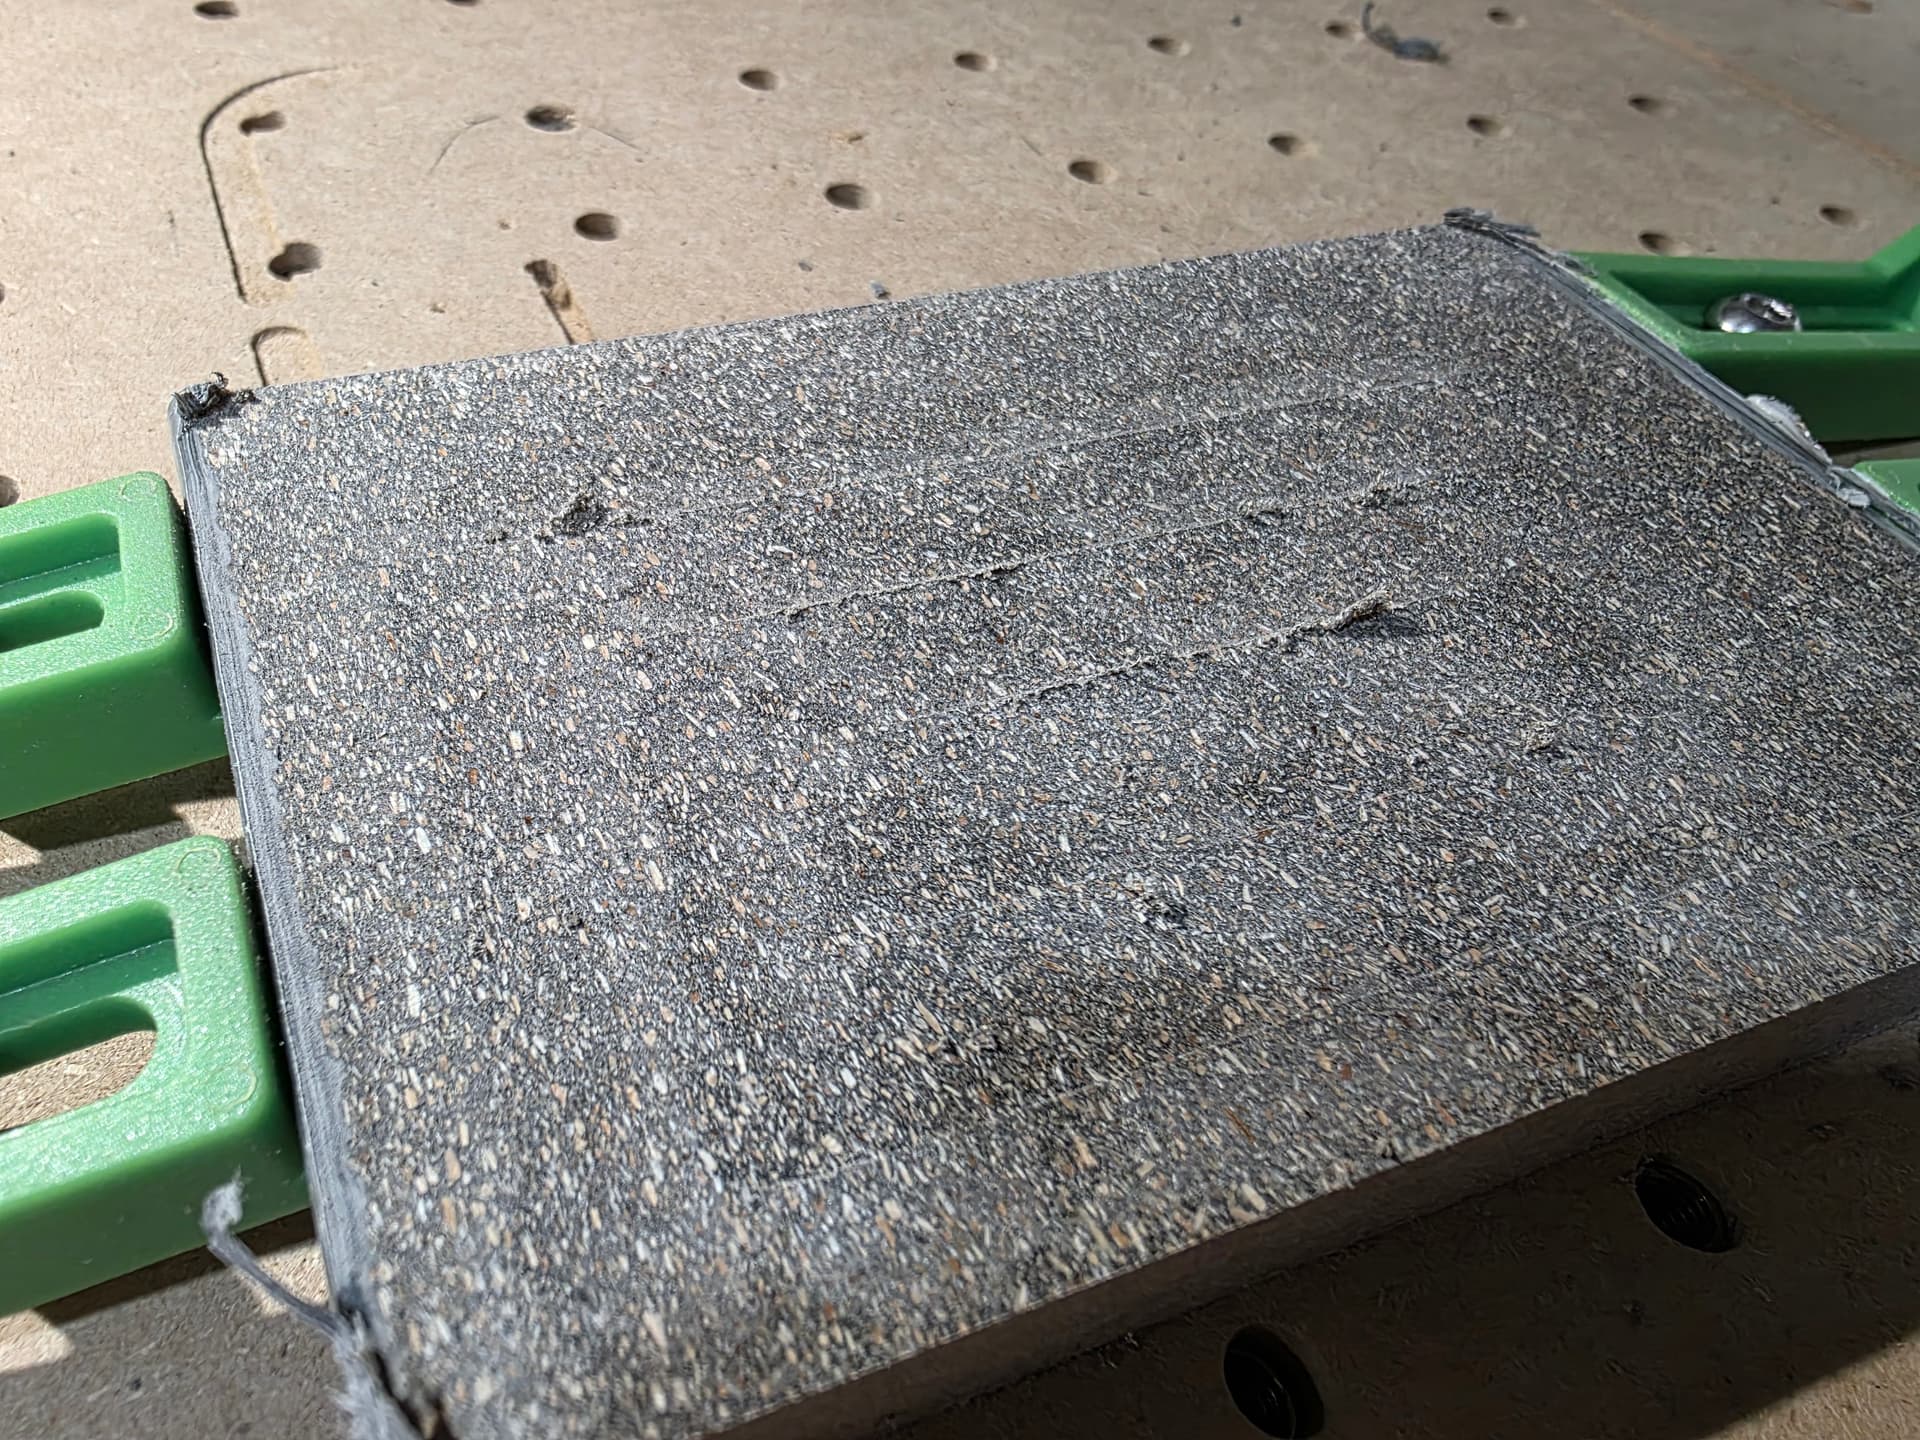
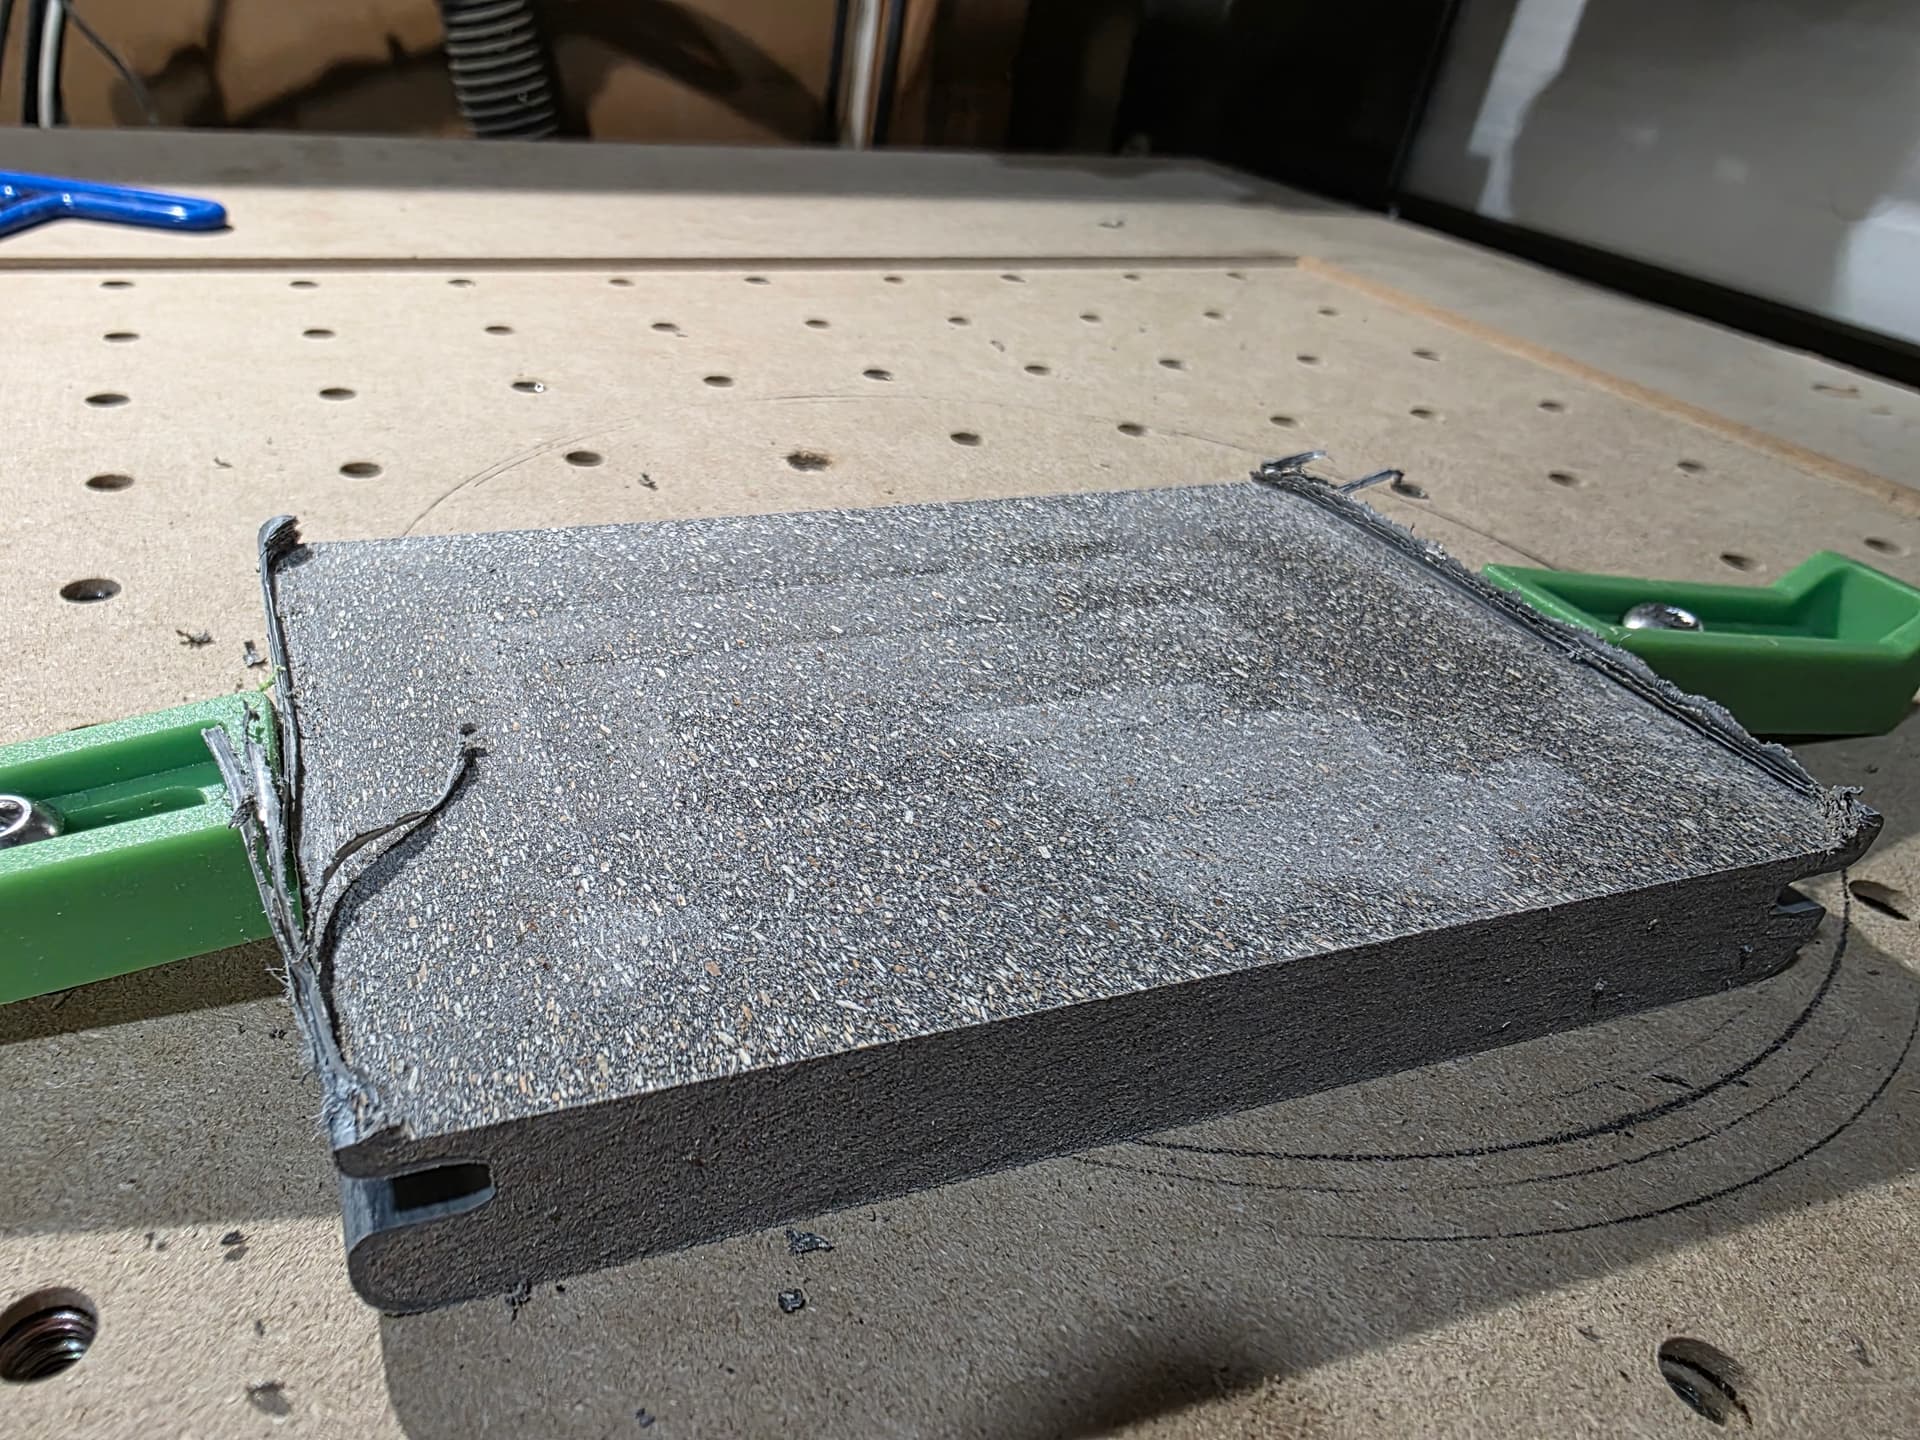
I’m trying to surface a piece of wood plastic composite (WPC). I get these lines and wonder what to do to get rid of them aside from sanding. I’m using a 1" 4 blade surfacing bit and I have the bit set as

And here is what I get

I thought a surfacing bit was supposed to alleviate that. Suggestions?

@dmerchant

What is the step over set at? Looks like your stepping over the full one inch diameter of the bit cutting surface.

It’s possible you have a slight tramming issue.

2 Likes

Unless your spindle/router is perfectly trammed you will get lines. I just sand out any tiny ridges on my projects.
Do a search on tramming here in the forum and you’ll see lots of resources and opinions.
Here’s an older YouTube vid on tramming

https://www.youtube.com/watch?v=rGOGlNurglE

2 Likes

The stepover was set at 20%. I changed it to 5% to see what happens and it looks like it made no difference.

I’ve never trammed my machine other than surfacing the waste board. I’ll look into that.

It looks like the lines run parallel to the x axis so maybe that is where the alignment issue is. I don’t see any line when it’s cutting in the y axis

1 Like

I resurfaced my waste board and then I made a tramming fixture. I can see the issue.


Now I need to figure out how to tilt it back. Any suggestions?

A lot of folks, me included loosen the screws on the Z plate and insert shims top or bottom to get the proper tilt.

Did you watch the Youtube video which @Jeffish linked above?

I loosened 3 of the 4 screws on each end of the X axis bar and tried to bias it back while tightening the screws and it helped some but it apoears to be off about .75mm difference between the back and front.

I never tried that approach, it looked like a pain to get it adjusted that way. The method I mentioned above is much easier. Get a feeler gauge, find the proper size/combo of sizes to get wha you need, tighten it down and then snap off the gauge.

It’s an old video… lol
Try this…its for a spindle but the process is the same for a router
https://carbide3d.com/files/pdf/VFD_Spindle_Kit_v1.pdf

1 Like

I loosened the 4 screws holding the router and placed some aluminum foil under the right spot. I’m now within .05mm of being true all the way around. I’ll see how that plays out.

Here’s the results

Looks so much better. Thanks everyone for your help. I learn something new every day.

6 Likes

I learn something everyday. Unfortunately when you get older knowledge is first in first out. So as I learn something new things like walking and talking are falling out the back of my brain. :rofl:

4 Likes

This topic was automatically closed after 30 days. New replies are no longer allowed.