New to Shapeoko and in the process of building up the XXL. Trying to decide if i should do t-tracks and spoilboards or just a spoilboard with threaded inserts. Any factors i should consider to steer me towards one vs. the other?
Note that i already own several pairs of blue Rockler t-track clamps from an old Next Wave machine i used to have. However, i’m not set on using them as i can find other uses for those with other wood working equipment i have.
You can’t have too many options for clamping, jig locating etc.
I’d drill the locating holes for the pegs separately to the threaded inserts though as you want those to be a specific size for your pegs, I use cheap aluminium rod from the DIY store that usually loses in a fight with a carbide cutter.
Also, make sure you have trammed, squared and balanced the Y belt tensions on your machine before you drill the X / Y locating grid holes, and drill these last once the spoil board is on top and all the threaded inserts are done underneath.
MDF baseplate (bottom layer) ---- seal w/ lacquer or spar urethane, add threaded inserts/holes for mounting:
middle layer, either T-track or some stable material with holes (to secure to baseplate) and threaded inserts and if need be threaded inserts for mounting
top layer (can be sort of in-between if using T-track) — spoilboard — has holes if need be to match up with threaded inserts for work-holding and for securing to the middle or bottom layer
T-tracks vs. threaded inserts is a personal choice dependent on the sort of work one does and how one wishes to approach workholding. Either works fine — I will note that I’ve decided that if I ever do threaded inserts again, I’ll only install them on an as-needed/where-needed basis, so that I’ll be confident of using each hole at least once.
Every one works differently. I tried T-track and did not like it. I have had both the aluminum and ones that were cut directly into mdf. The ones I cut with a T-bit are not worth pursing. The mdf is too soft and if you really crank down on a clamp it pulls the mdf out. The aluminum ones hold down by inserting screws into them and if you crank down you can pull them out. The issue with the alum track is they need to be buried below the surface of your spoil board to have room to level and/or clean up your surface with a fly bit. If you bury them then you have very little material to screw into.
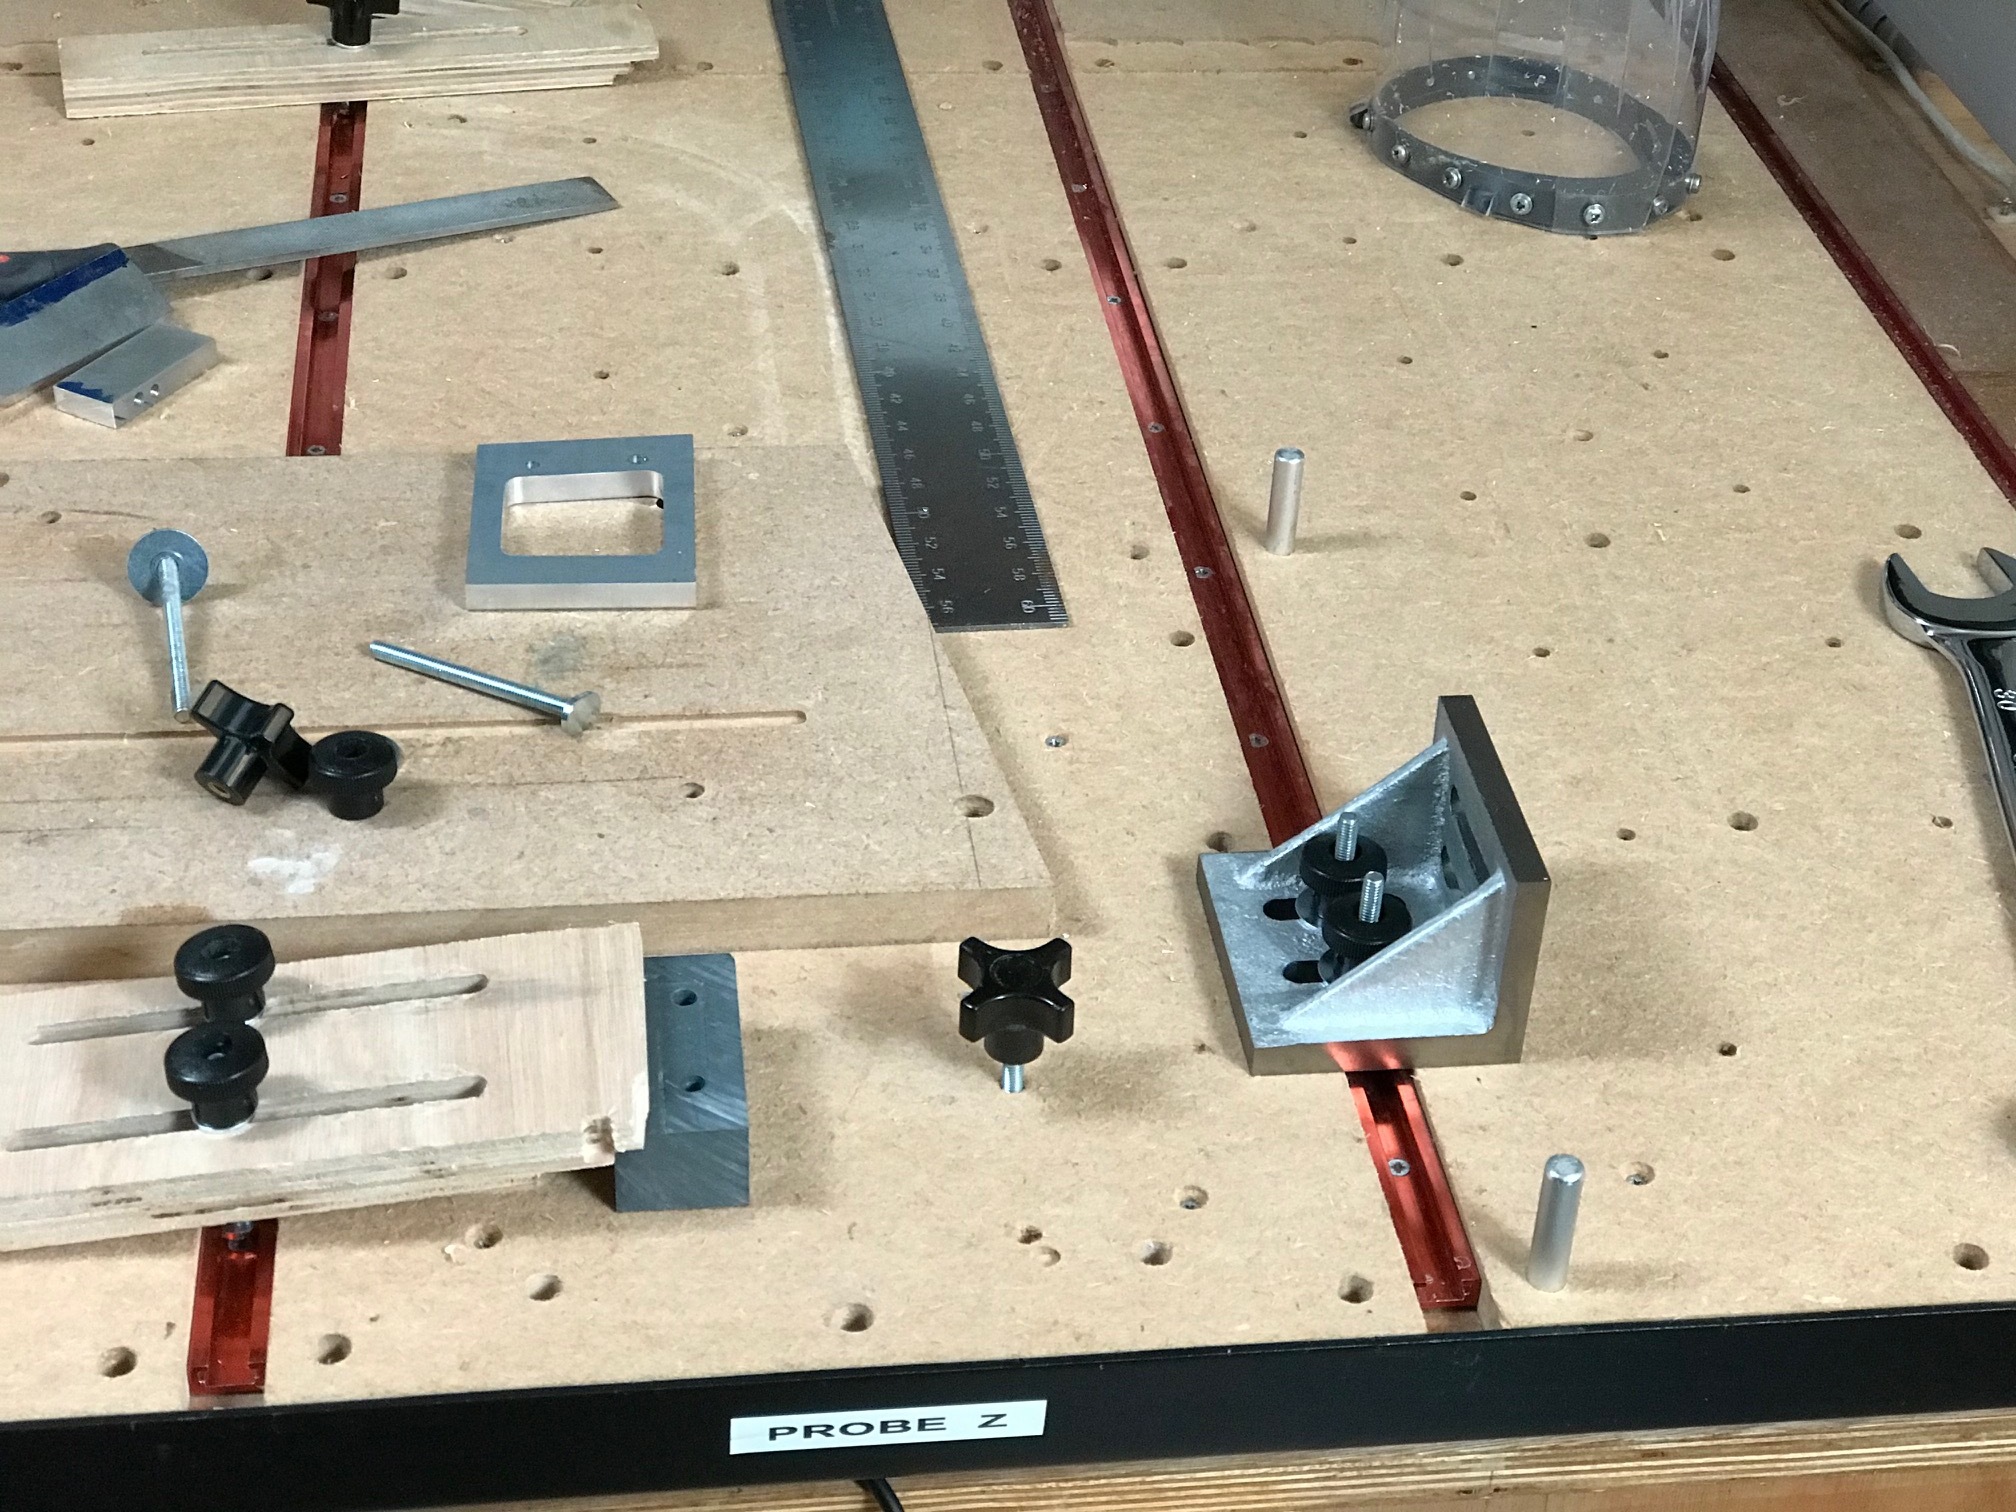
For me the threaded spoil board has worked best. I use a 2 inch spacing with T-nuts that are 5/16 inch tall. The 5/16 inch T-nut gives me room to surface my spoil board without worry about hitting the steel t-nuts. Depending on where you are in the world, I am in the USA, so I use 1/4-20. Those that live in other parts of the world tend to use metric t-nuts and spacing. I use the 2 inch spacing to make jigs that I can bolt down to the spoil board for v-carving box tops and other small objects. I also use cam clamps in two sizes so I can clamp down anything I want without a tall clamp sticking up ready for the router to hit it.
This is an exqmple of a holding jig to hold a round object to vcarve on top. There are holes to mount it to the spoil board and a clamp to hold it because it was round.
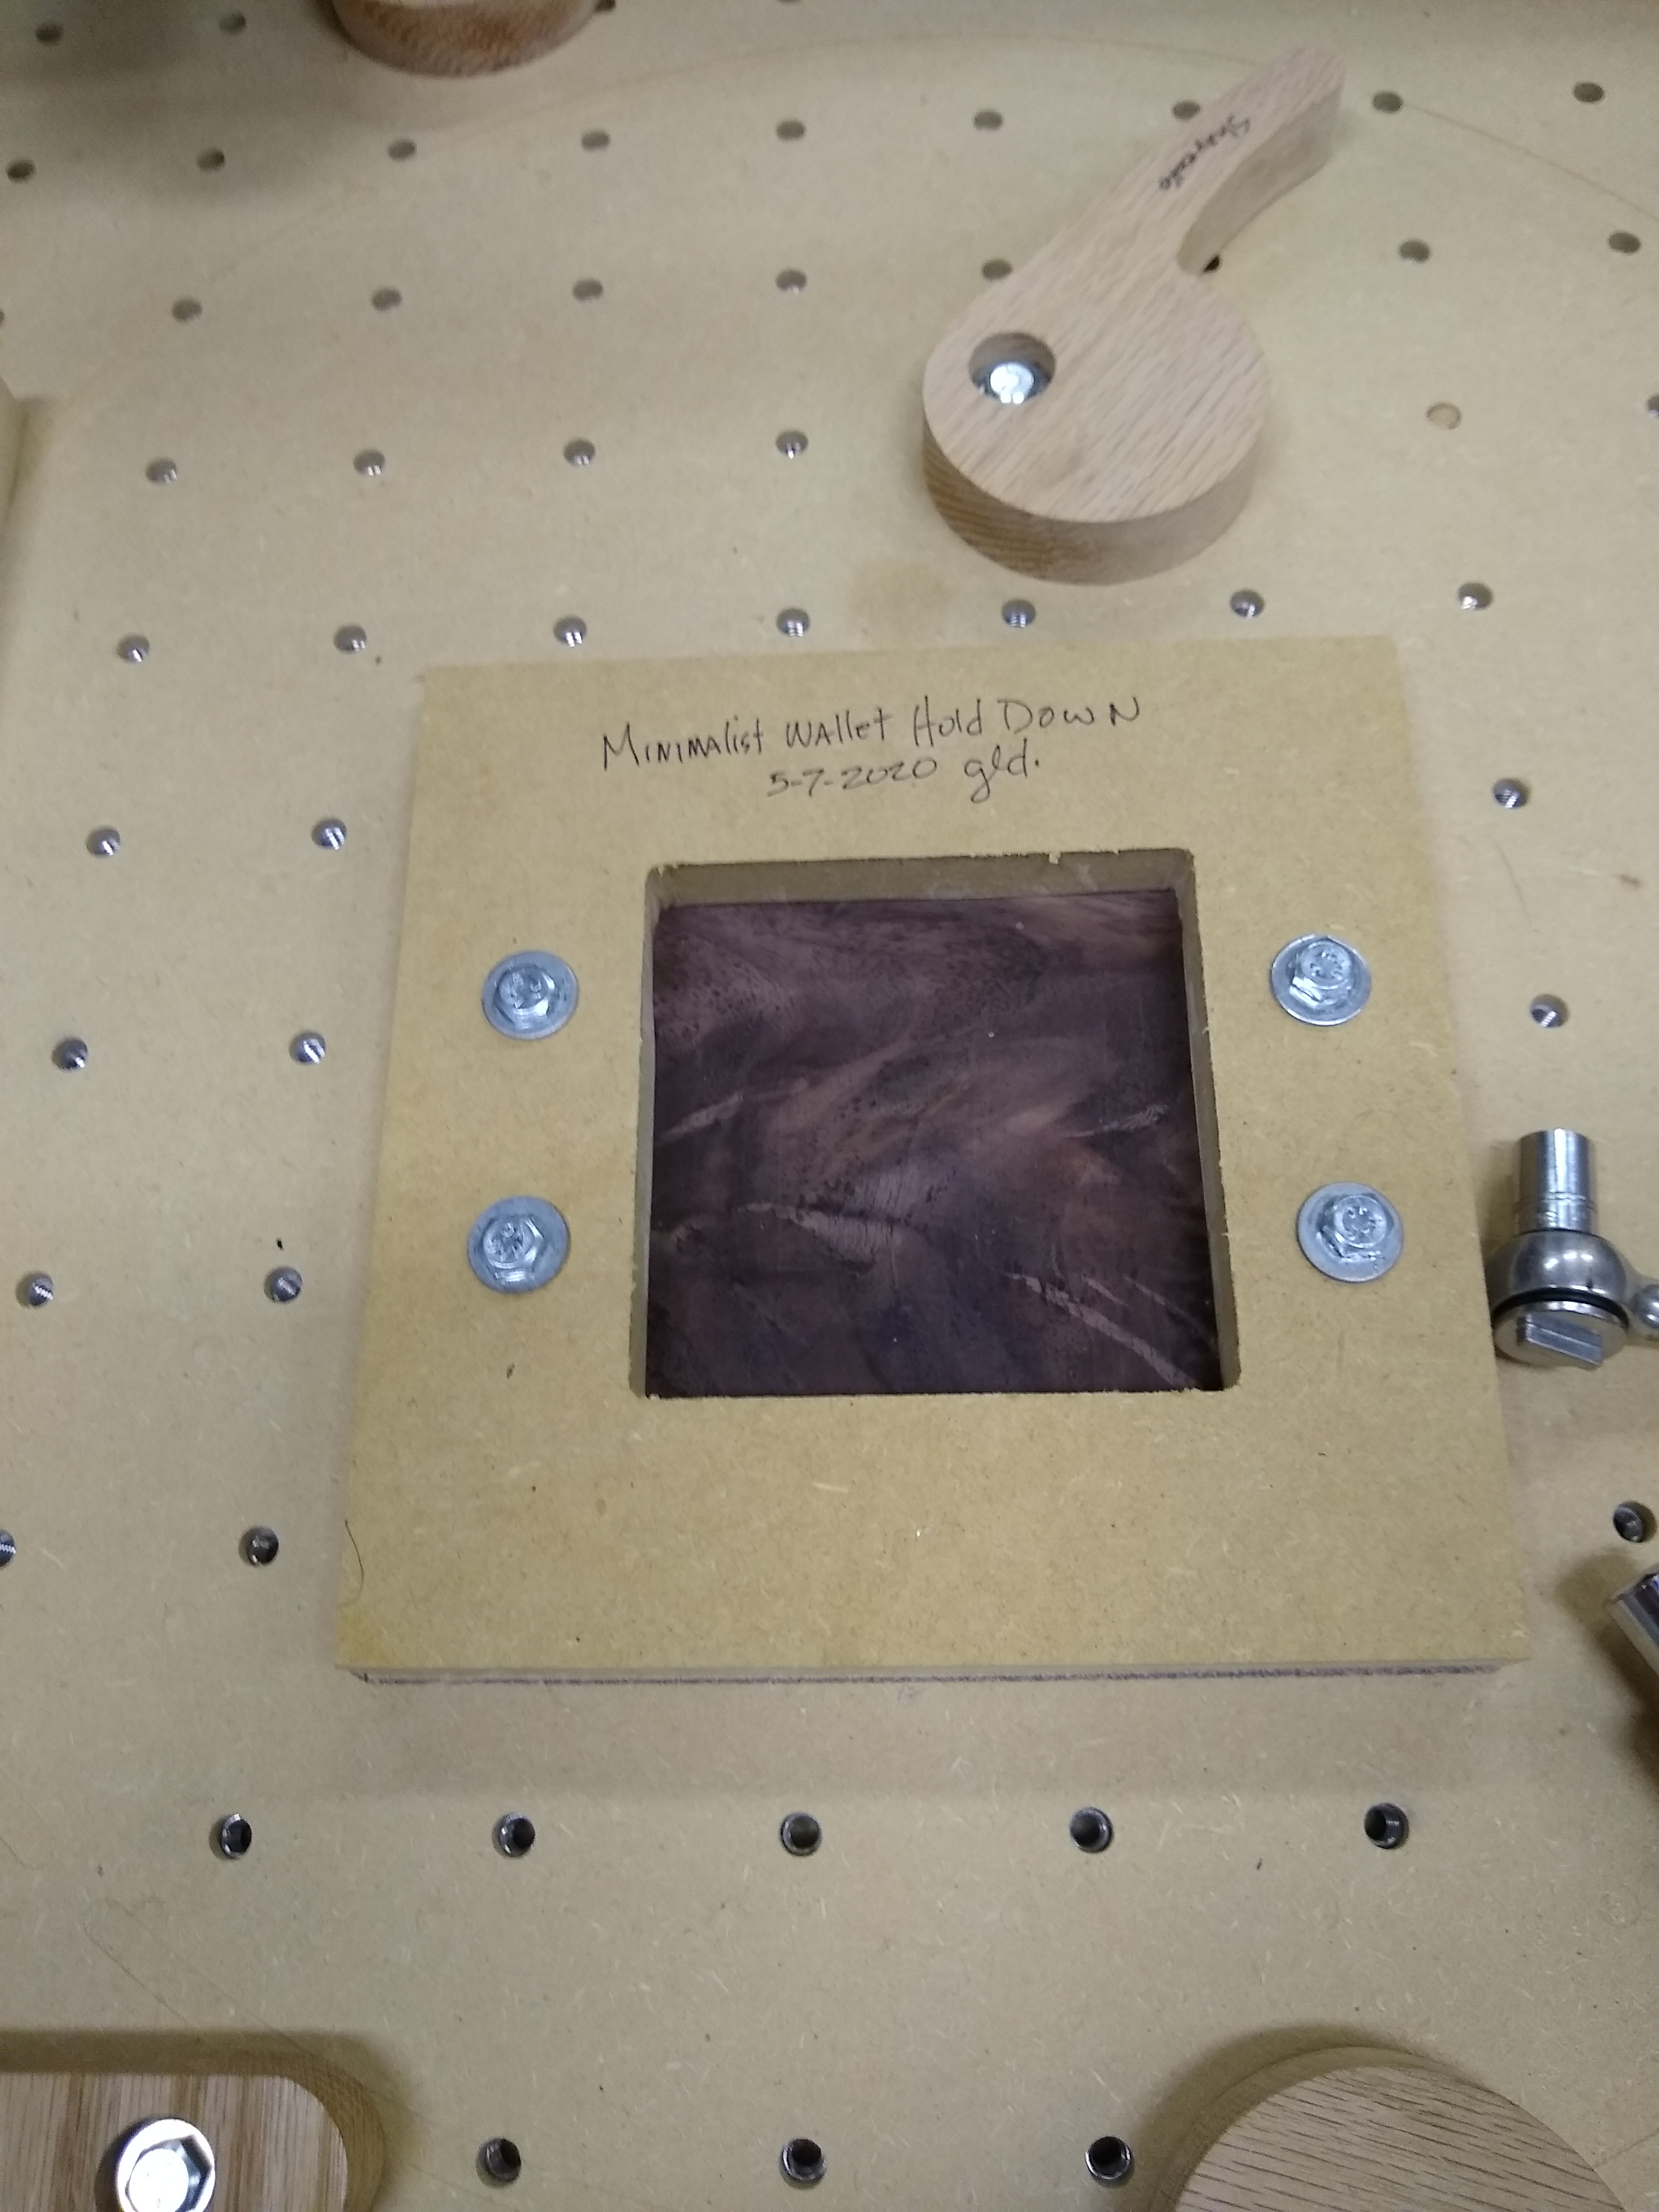
This is another example of a holding jig to cut some very thin veneer, I used 4 bolts to clamp the jig down over the veneer to cut it for some minimalist wallets.
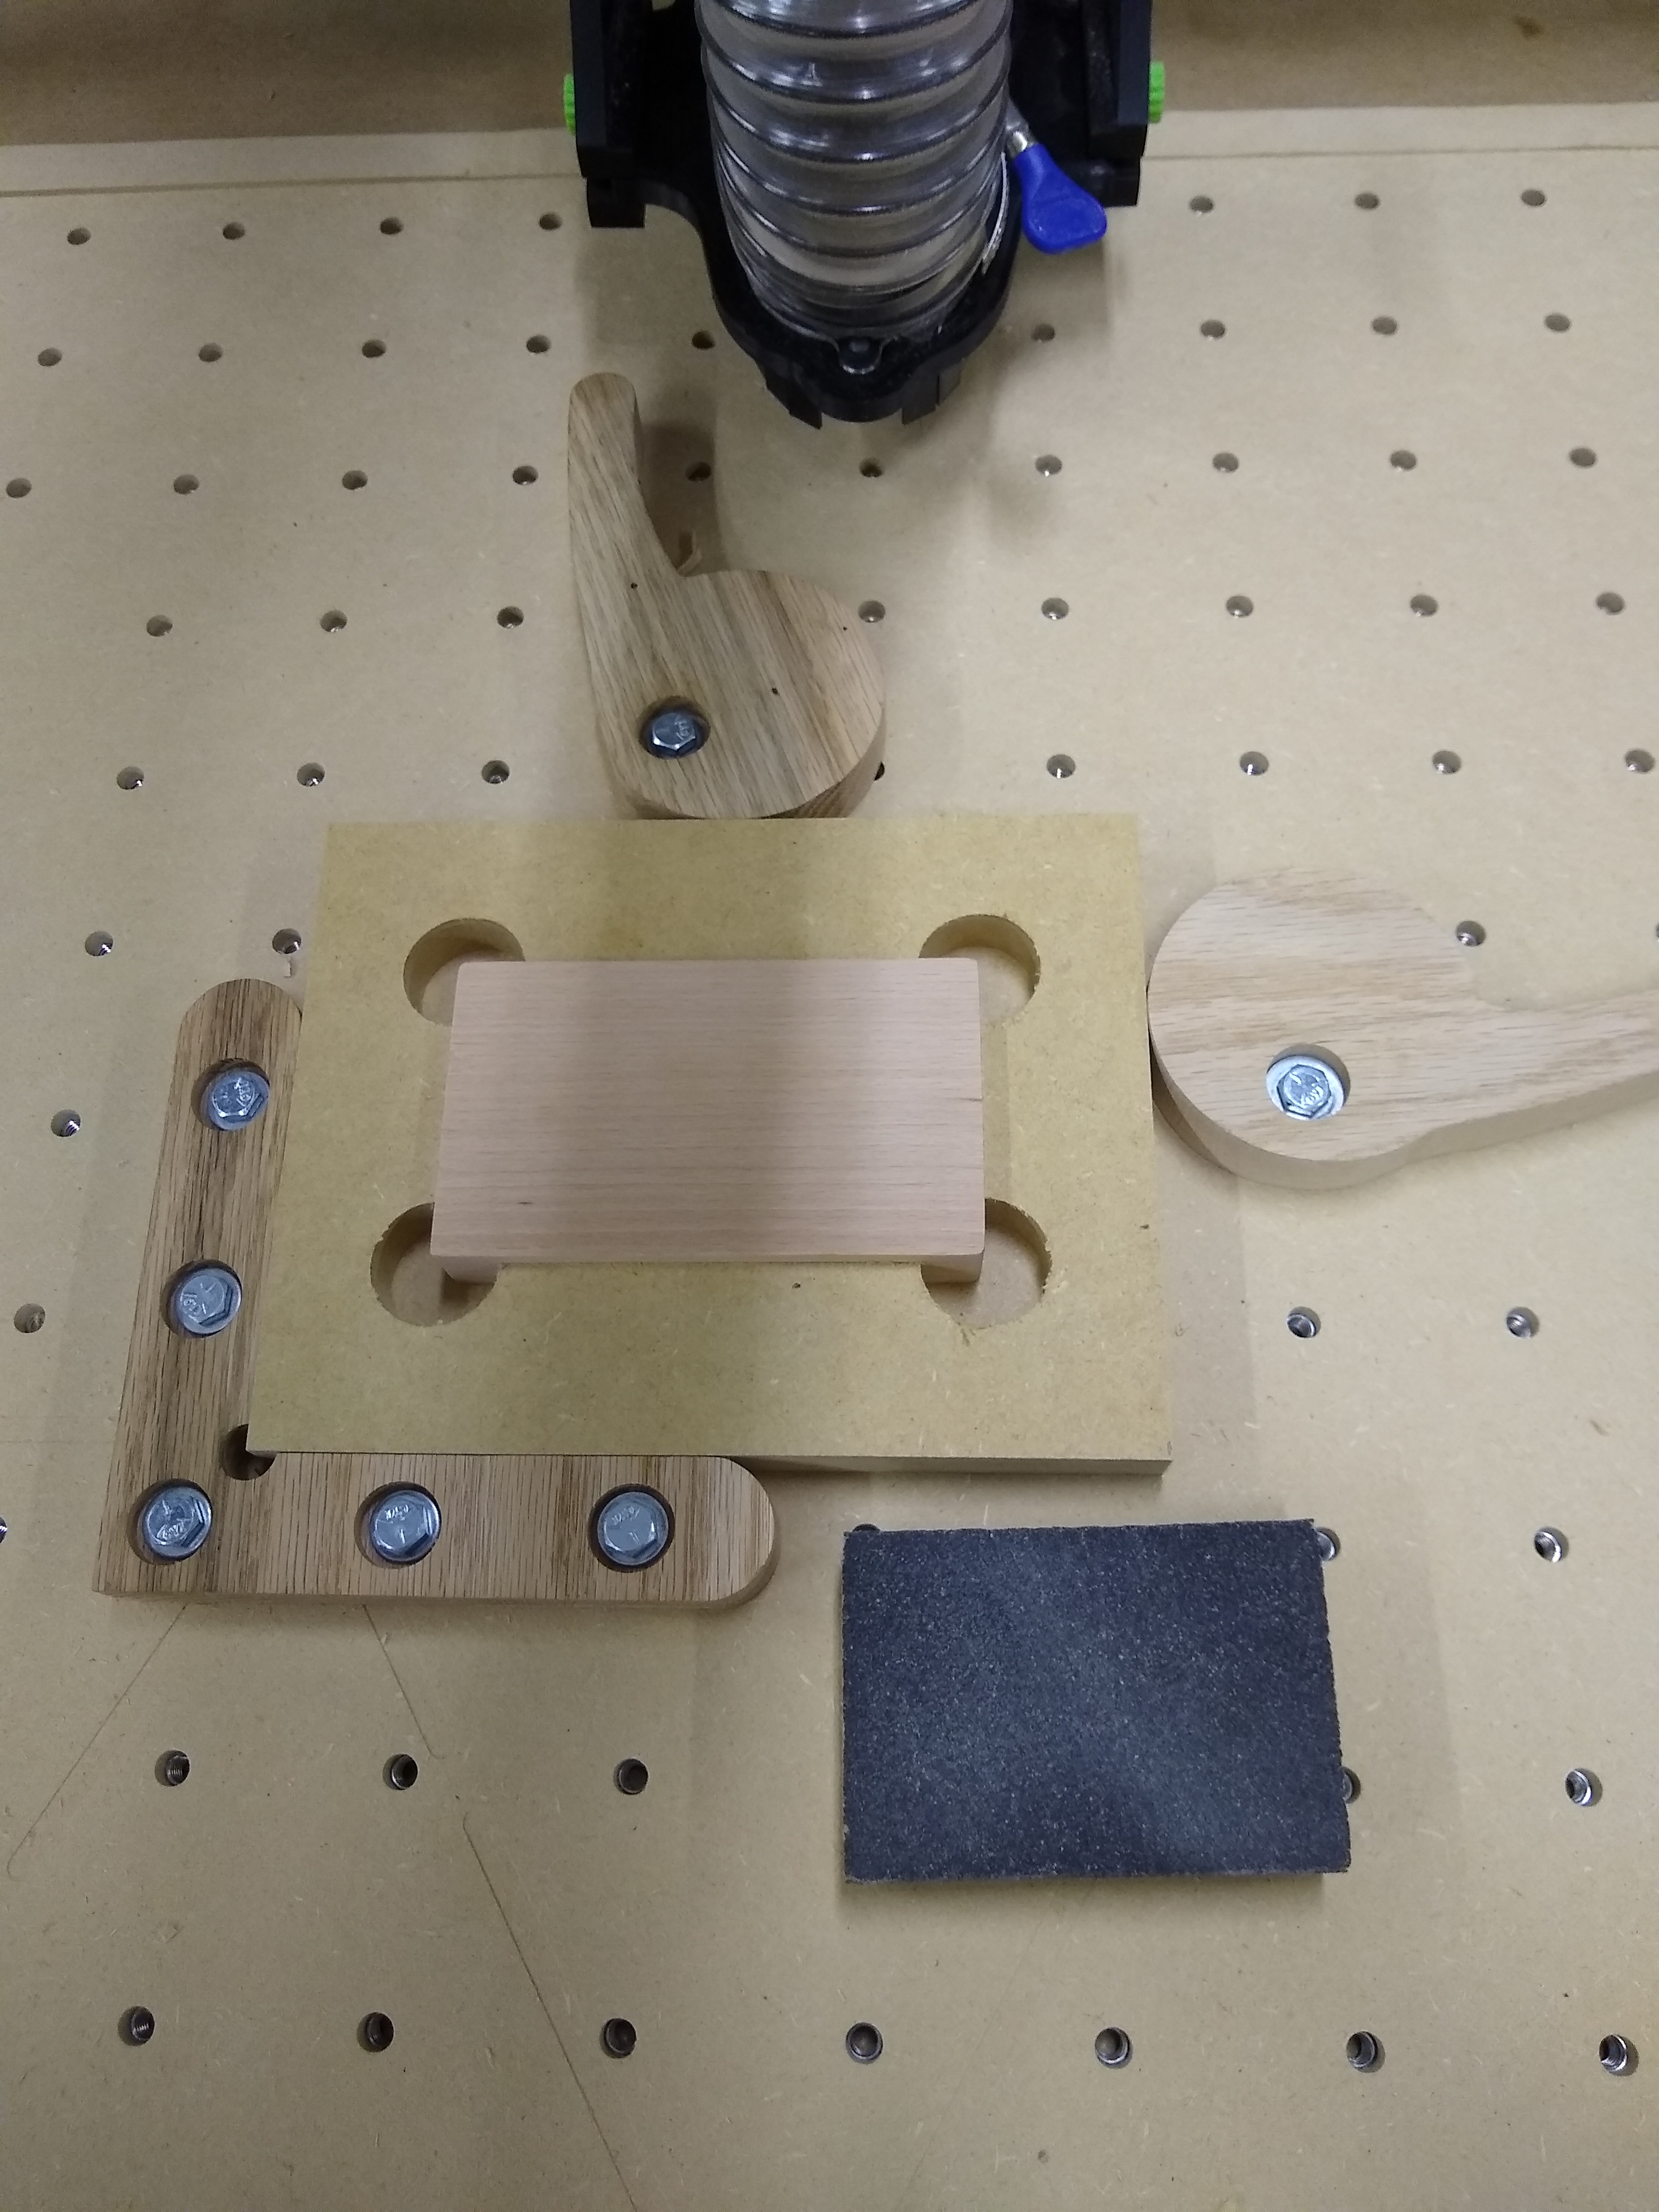
This is an example of a jig to hold down a 3x5 trinket box to vcarve.
The 2 inch spacing with T-nuts can be very versatile but it depends on what you are making and how you work. For some the T-track works but just not for me.