I was cutting a jewelry box front of a Jaguar. The cut estimate was about 3 hours. I cut the pockets first with a 1/32" #122 bit. Then the rest of the Advanced Vcarve was a 15 degree vee bit. Well the pockets cut and about two thirds of the way through the 15 degree vee somehow I closed CM. Of course the router just stopped where it was.
So to recover I edited the c2d file and unchecked the cut pockets first and saved the file and started it up in CM again. It is wasting time but when the #122 bit is asked for to cut the pockets I will just stop the job.
Hopefully saved half of my time cutting but sometimes the best laid plans go wrong. I was multi tasking on the laptop checking email and designing some other projects. Dooooooh!!!
That sucks, but it’s nice that you were able to recover. I’ve been tempted to multitask on my CNC-dedicated laptop too, but then I slap myself and grab the iPad.
I can tell it will be a late night to get these done to stay on schedule. It is a self imposed schedule but that is what schedules and to do lists are for to improve productivity.
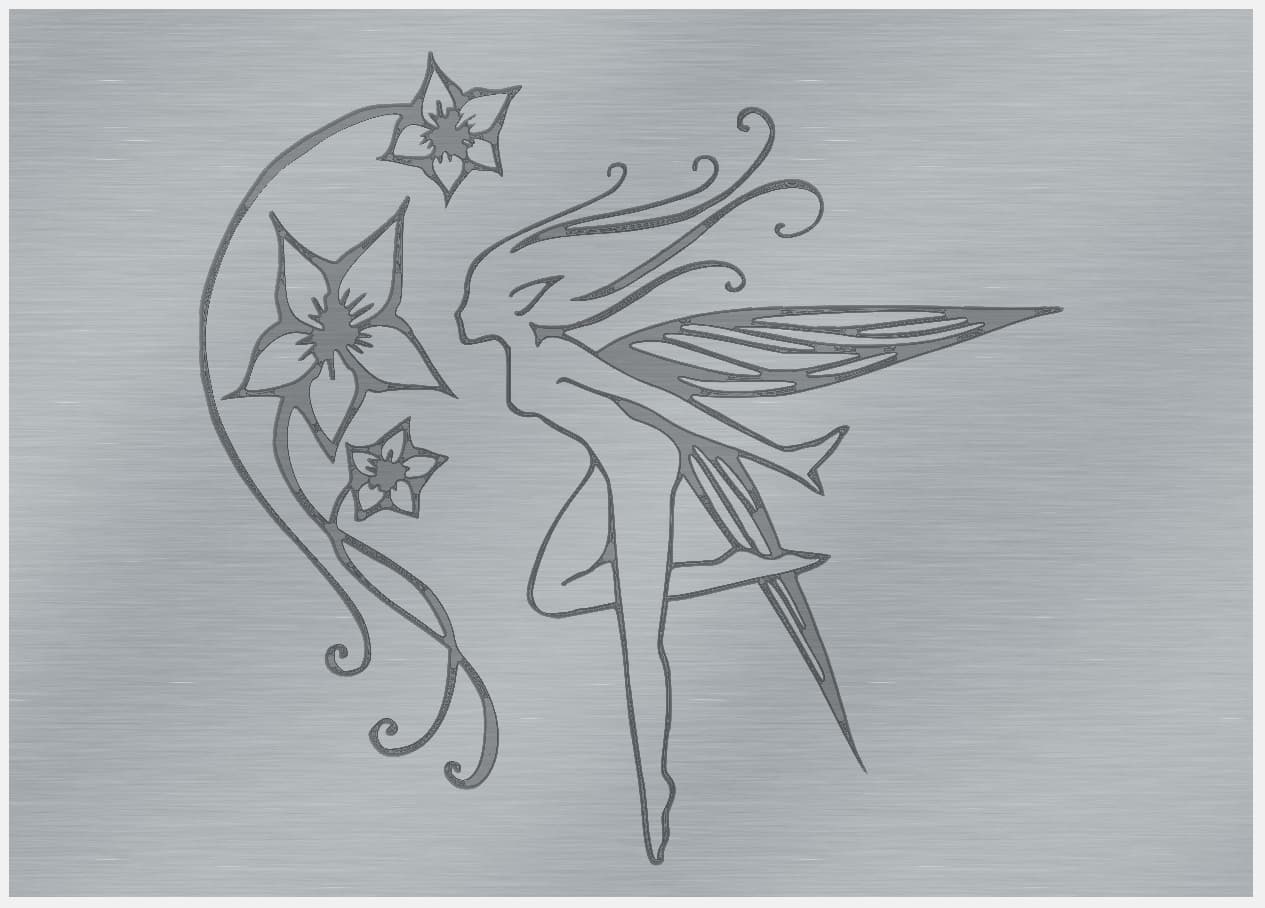
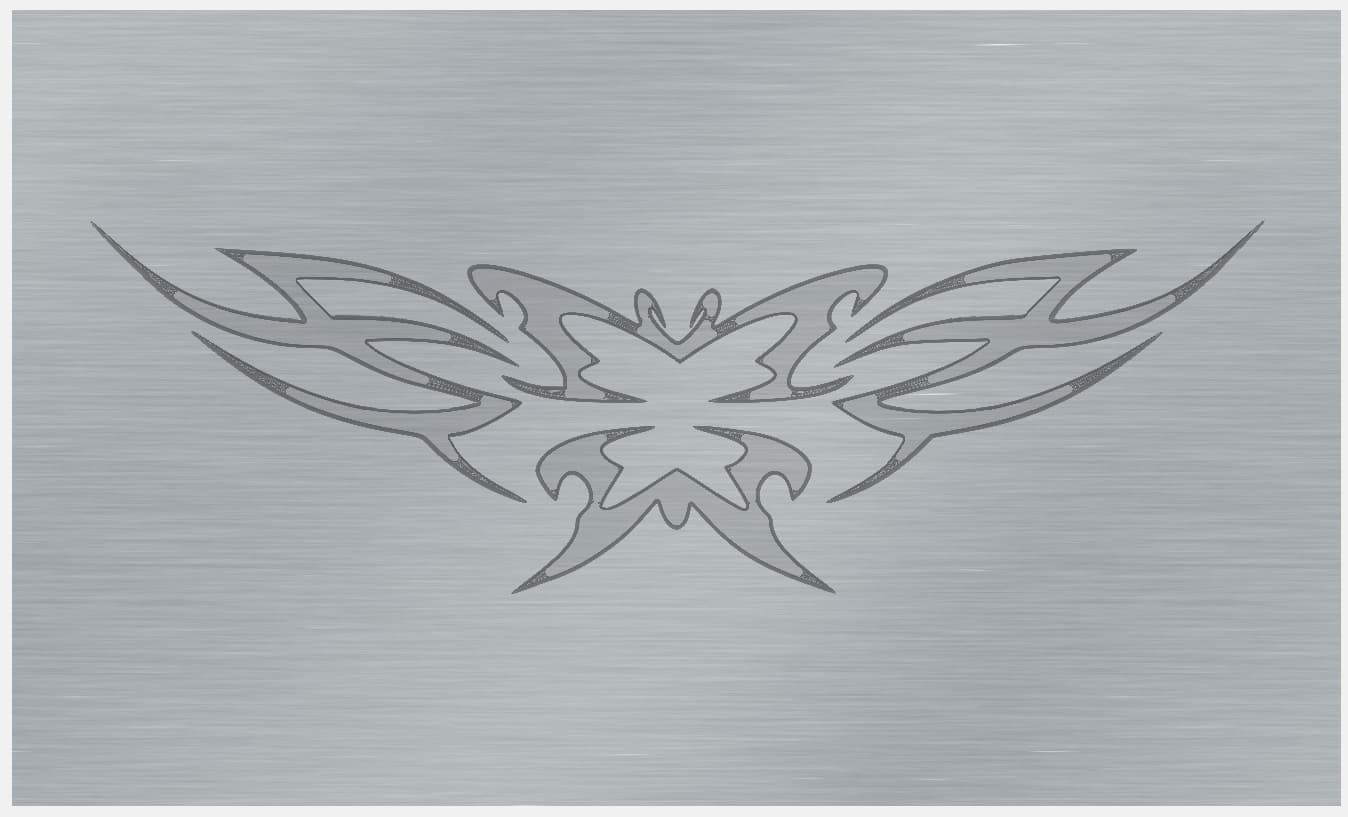
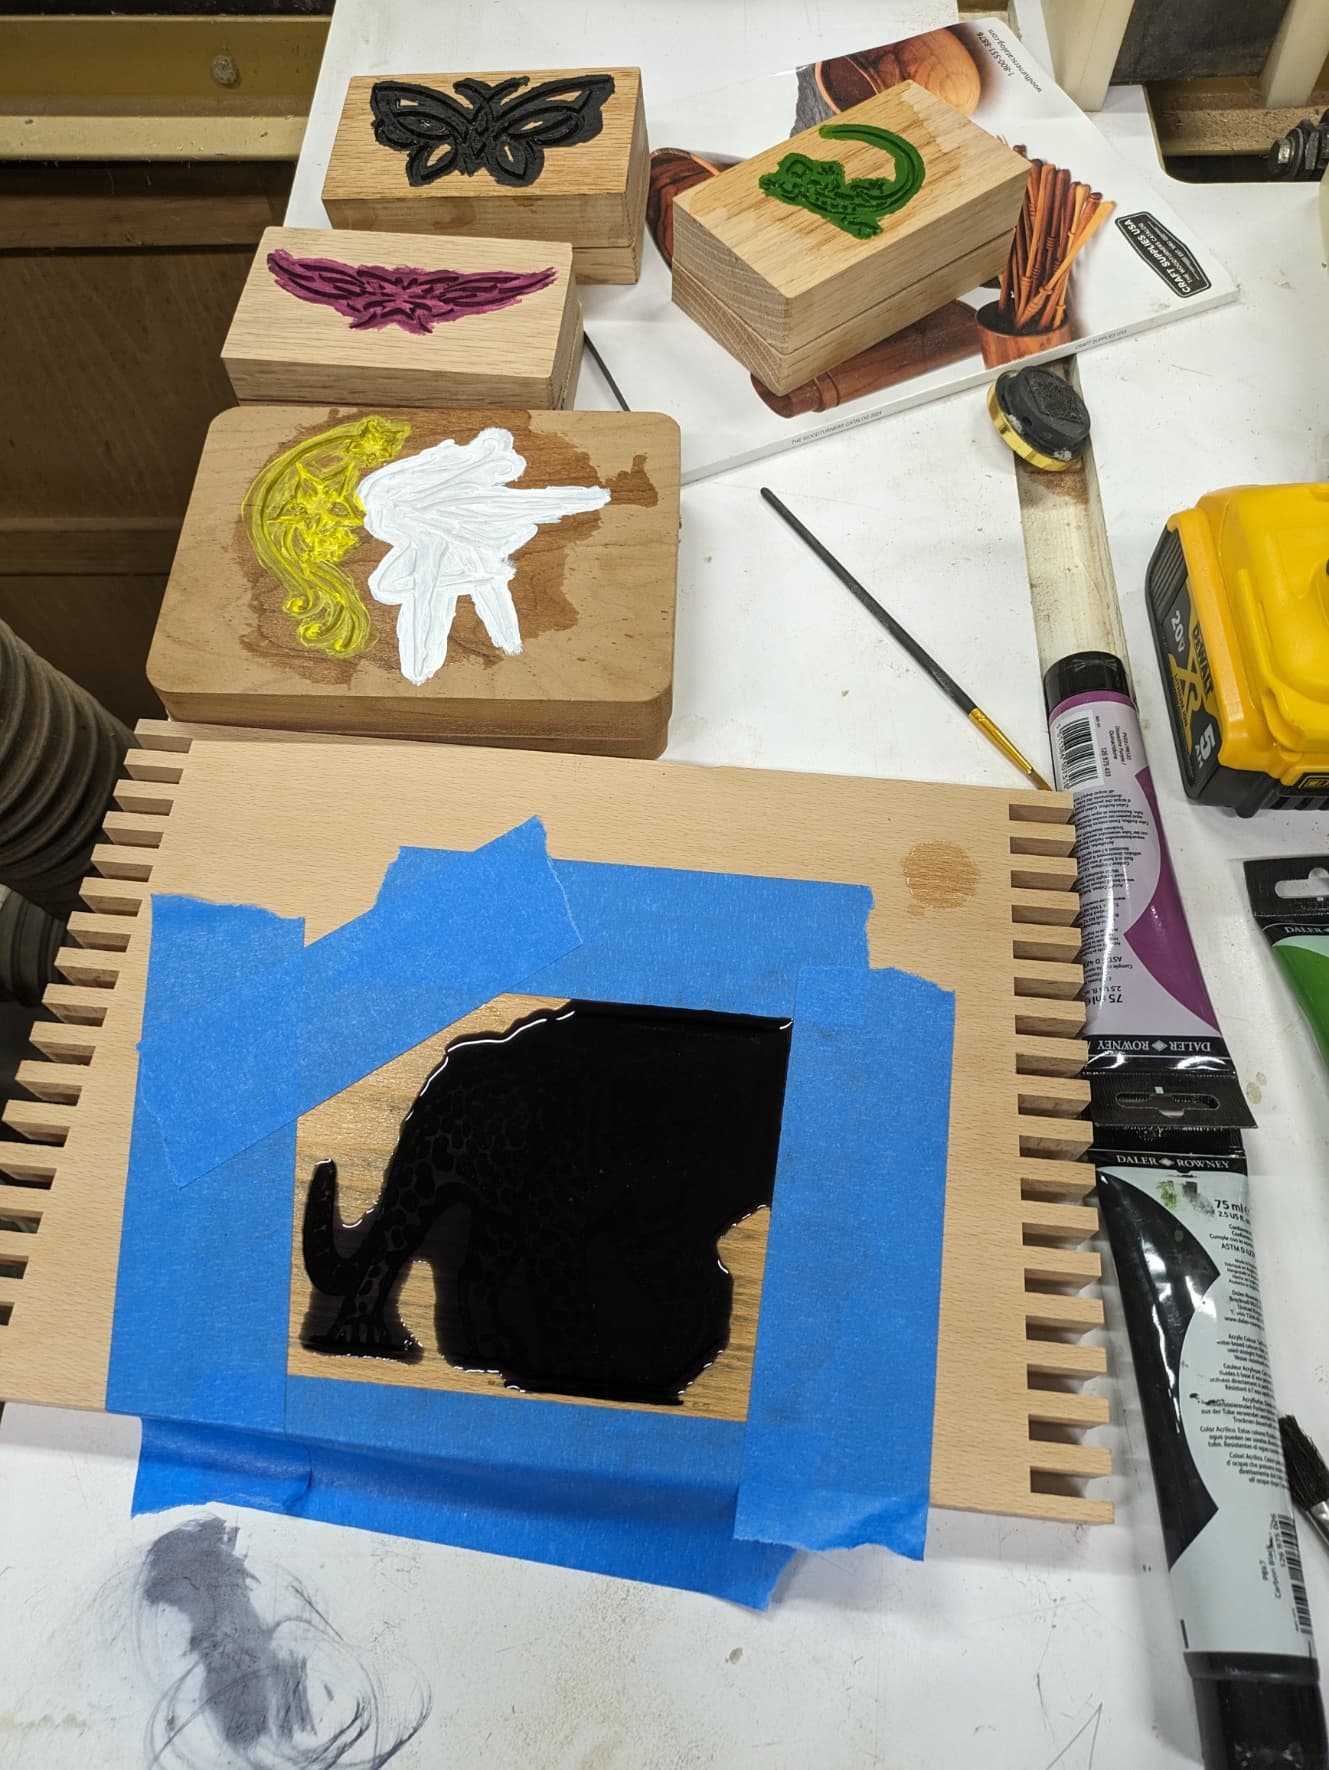
Alls well that ends well. I got the Jaguar finished and the black epoxy poured. The other 4 boxes are carved and painted. The trinket and 5x7 box are too small to run through my Jet Drum Sander so I just painted them. The Fairy was painted white and the flower yellow. I got two coats of each color on that box. The other 3 got painted as well. The tribal butterfly was painted purple and the other butterfly was painted black. The Lizard is painted green. All got two coats of paint. In the morning I will see if any of them need an additional coat of paint when thoroughly dry. By tomorrow night I will be able to sand off the Jaguar.
Here is a picture of my work for today. I used dewaxed shellac on all the carvings and then painted and/or epoxied. The dewaxed (Zinsser Universal Sanding Sealer) keeps the paint and epoxy from soaking in to the surrounding grain preventing a halo effect.
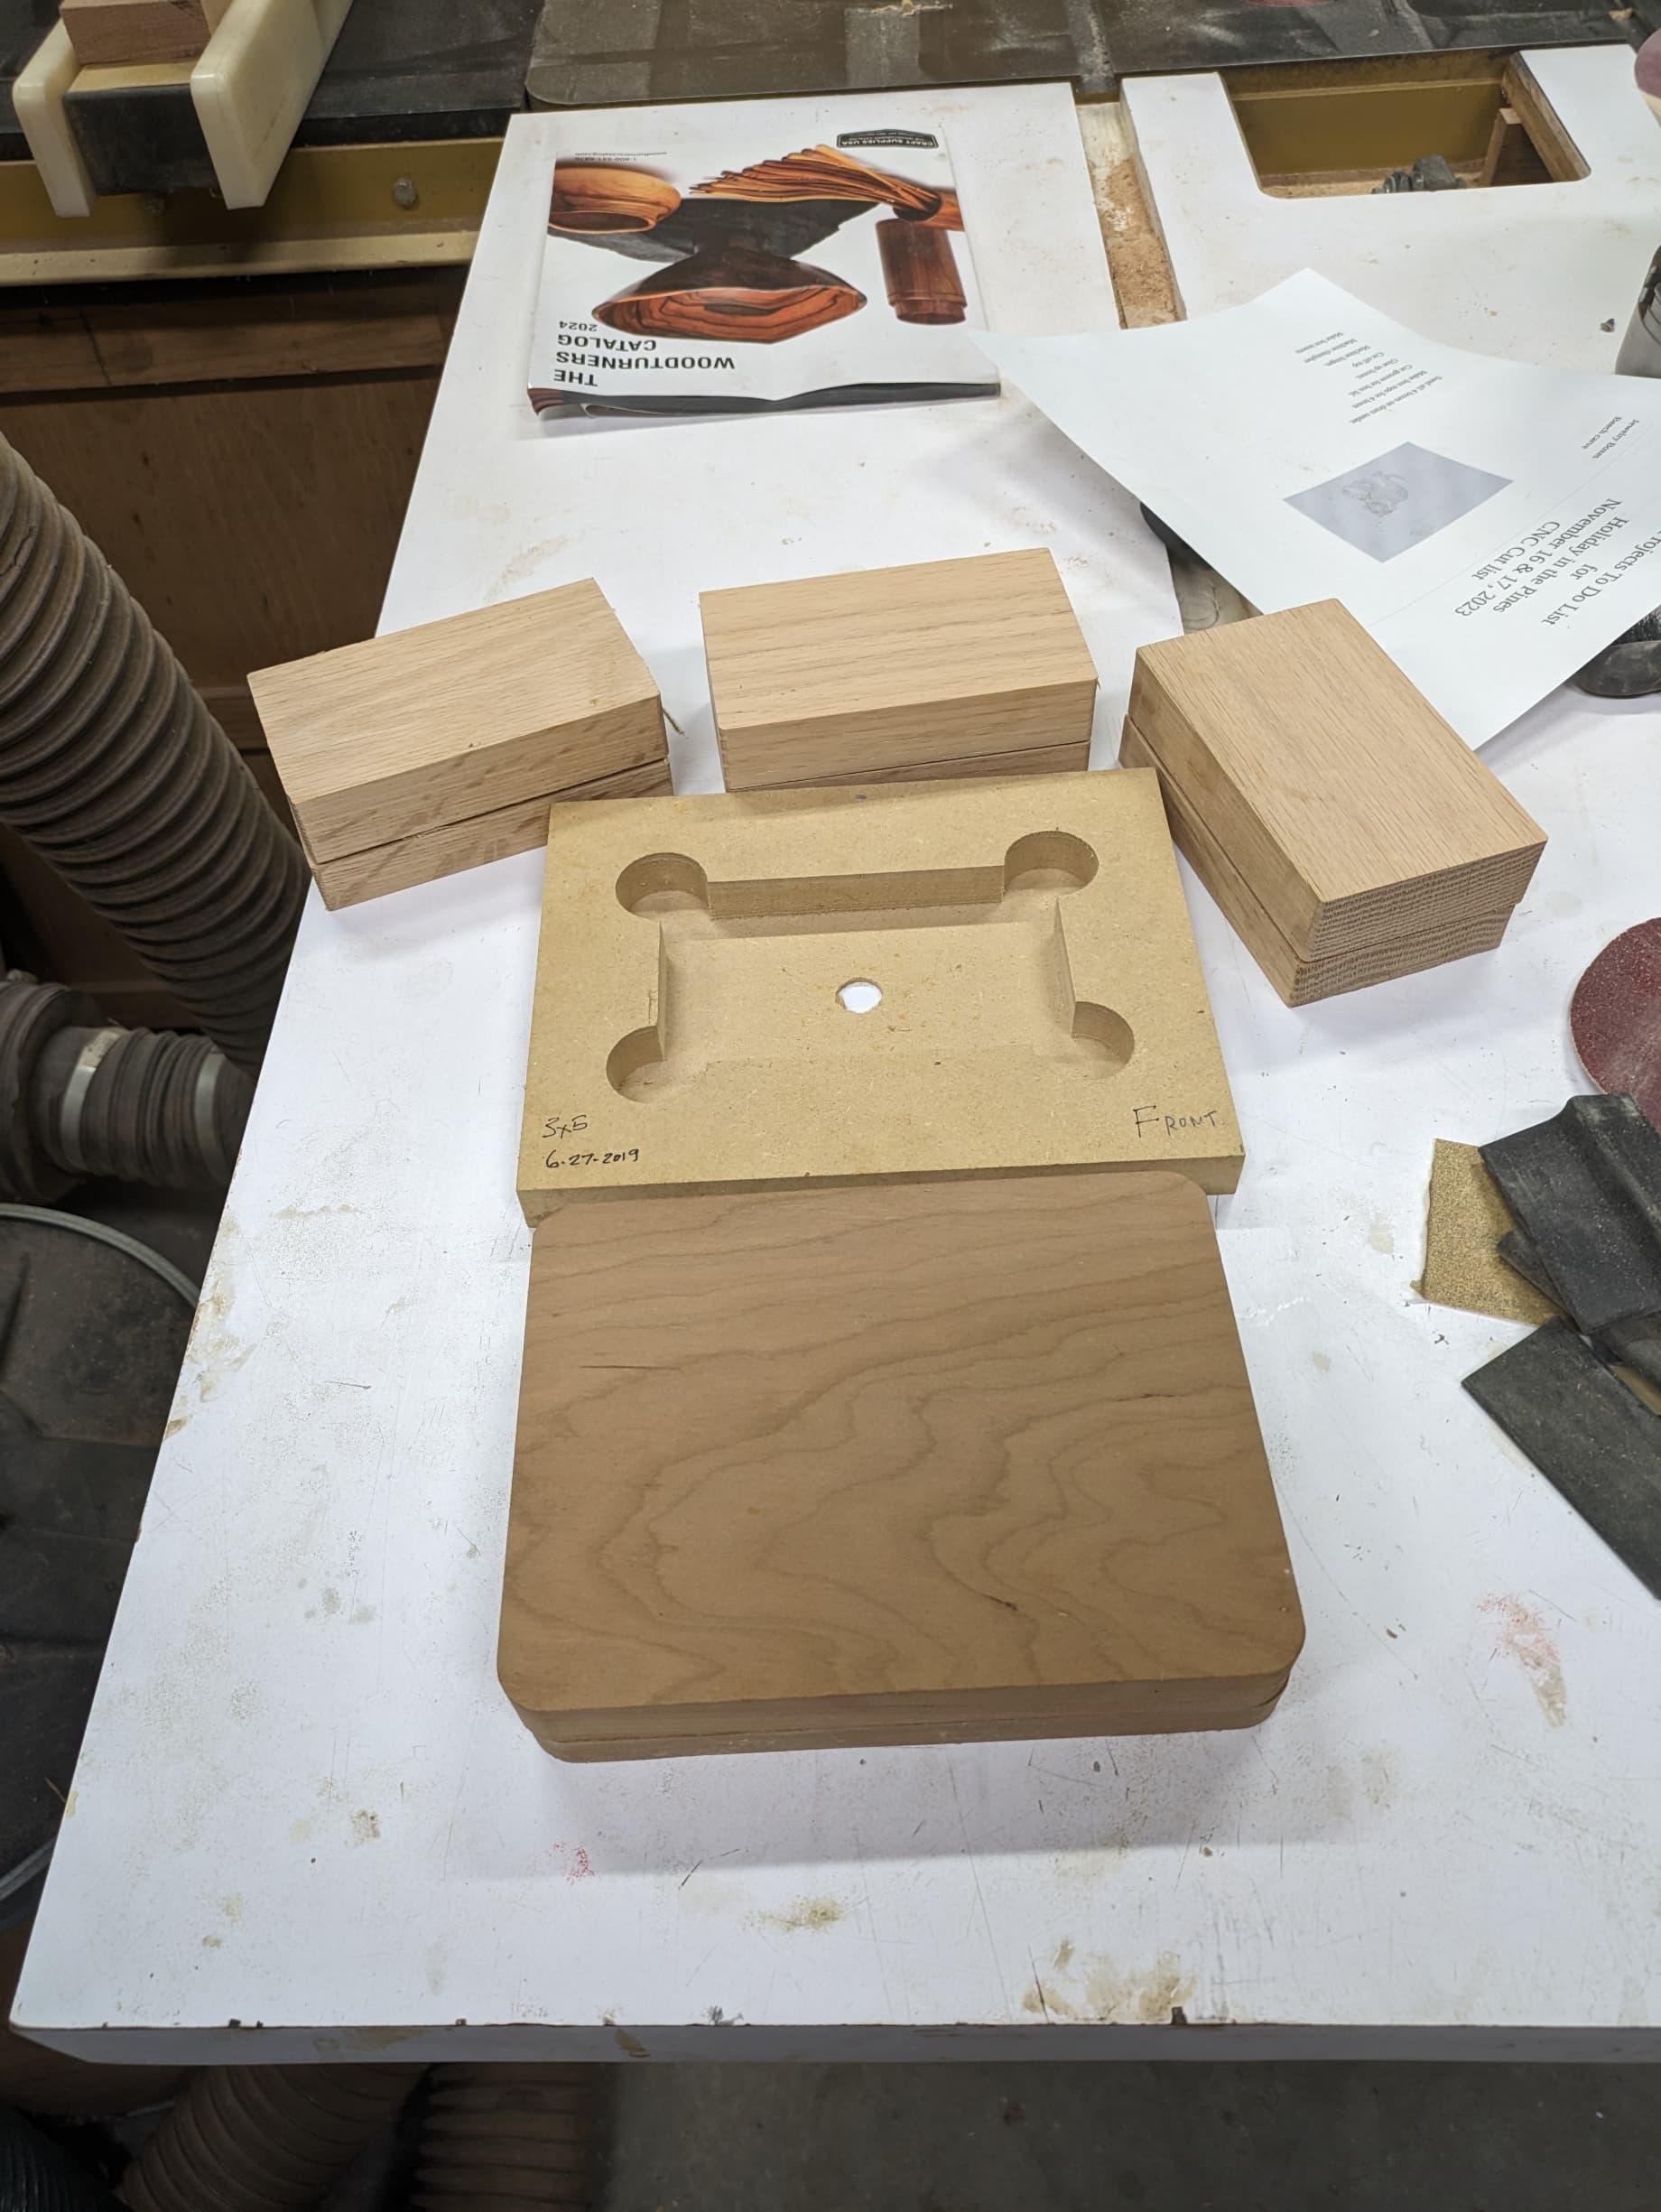
Here is a screen capture of the jaguar in cc. The boxes in the picture represent the lid that will be cut off and .5" that will be cut out to make the box joints line back up and then the bottom front of the jewelry box.
This morning got 3 of the boxes sanded. The 5x7 box I had to put on a 3rd layer of yellow paint so it is still too wet to sand. The epoxy filled jaguar is technically dry but I will wait until late this afternoon to sand off the excess.
These 3x5 trinket boxes are a 1" board that I carved the bottom and top at the same time. I made a bunch of them about 2 years ago and have been giving them away. The 3 above need some finish sanding and some trimming of the lips to get them to fit good. All of this will be in my craft show in November. Steadily working my down my todo list. I prioritized my list by biggest bang for the buck. My highest priority are the 4 jewelry boxes, then some keepsake boxes and so on. I am not strictly working on the priority list but when carving the jaguar I was working on the trinket boxes. So I stay busy multitasking and working down the todo list.
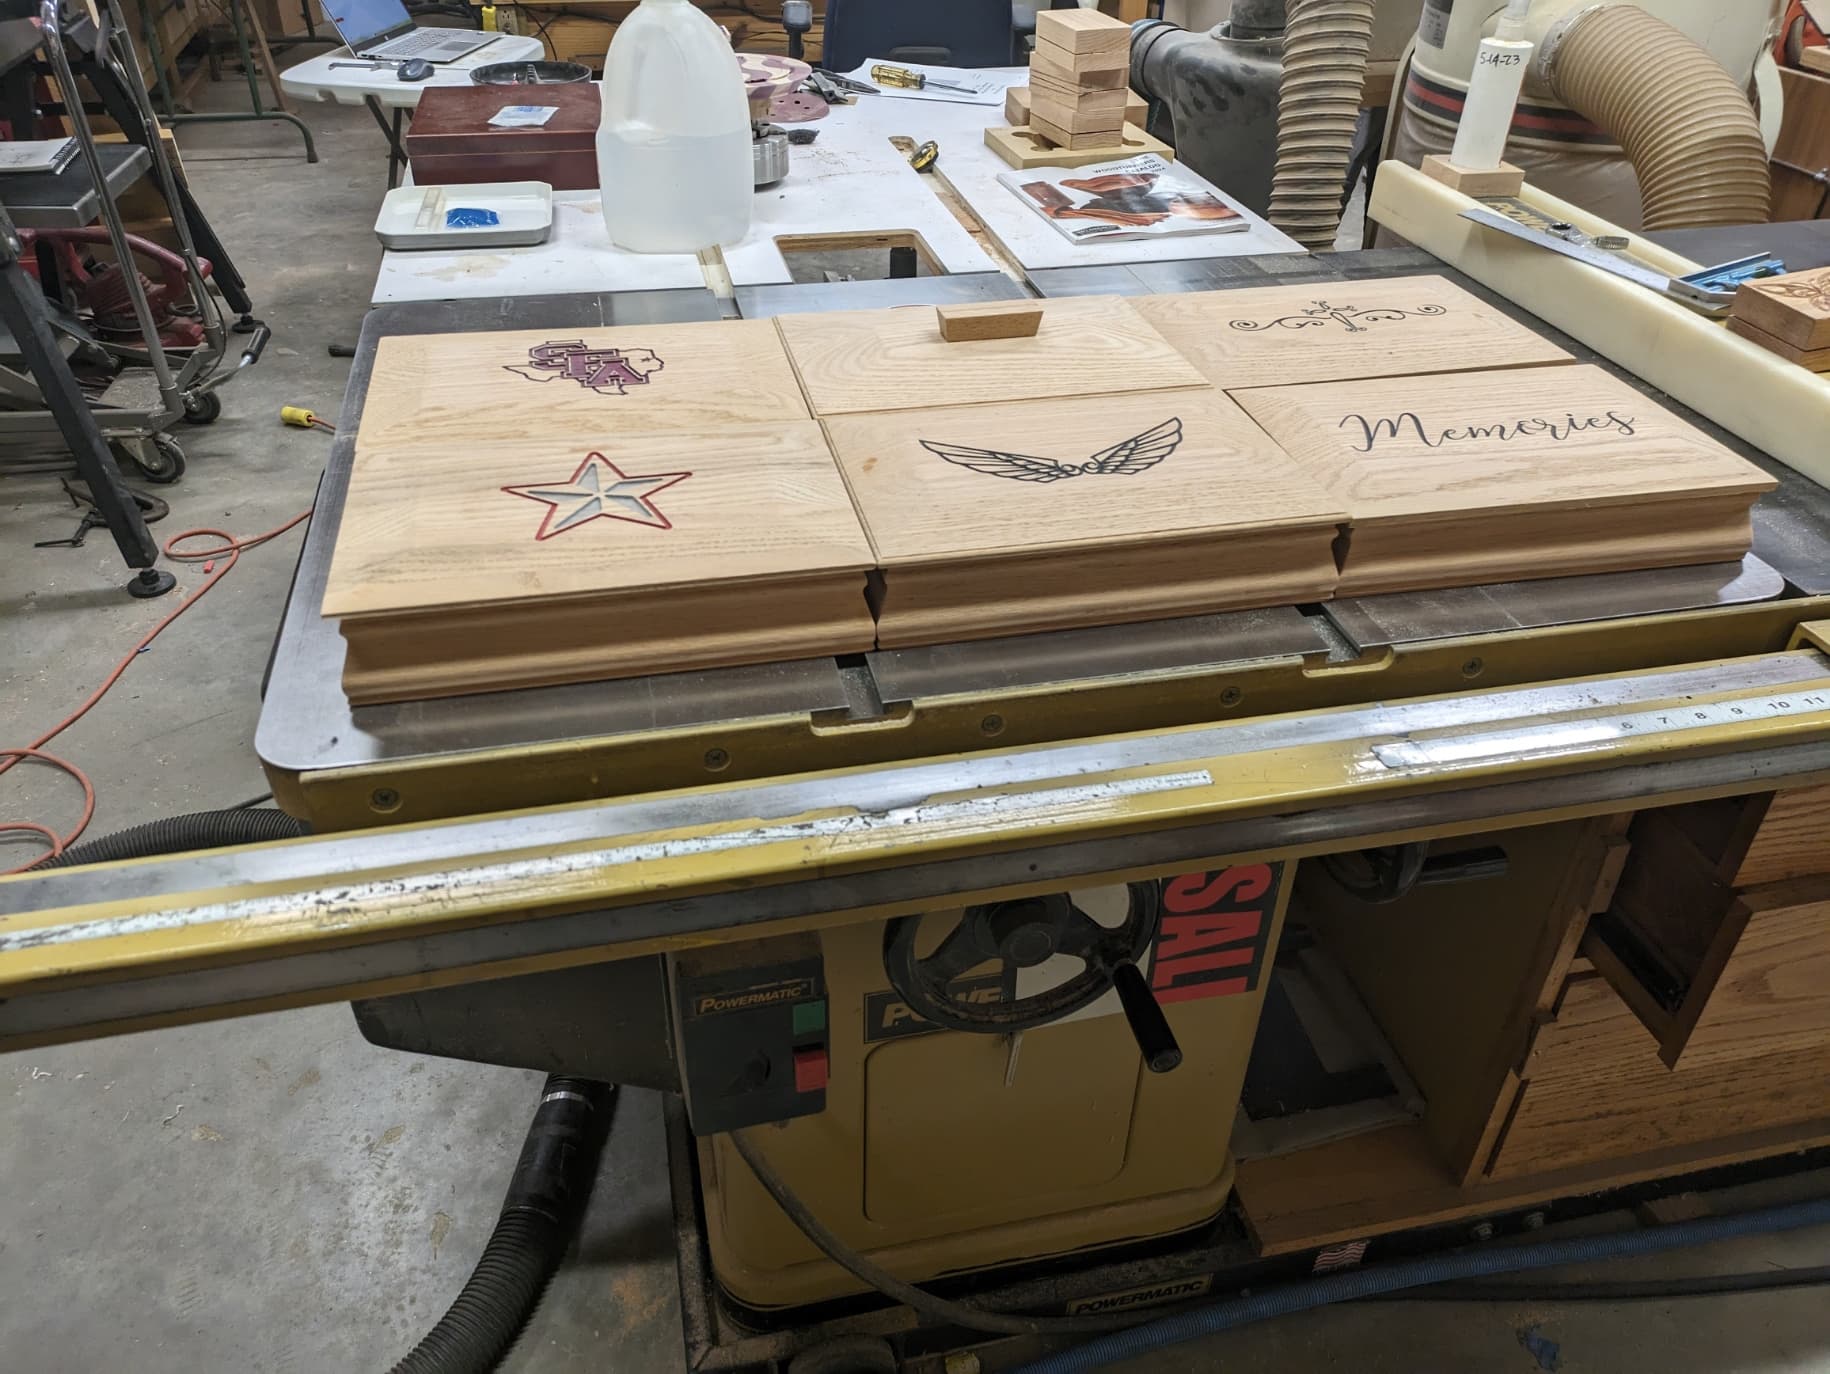
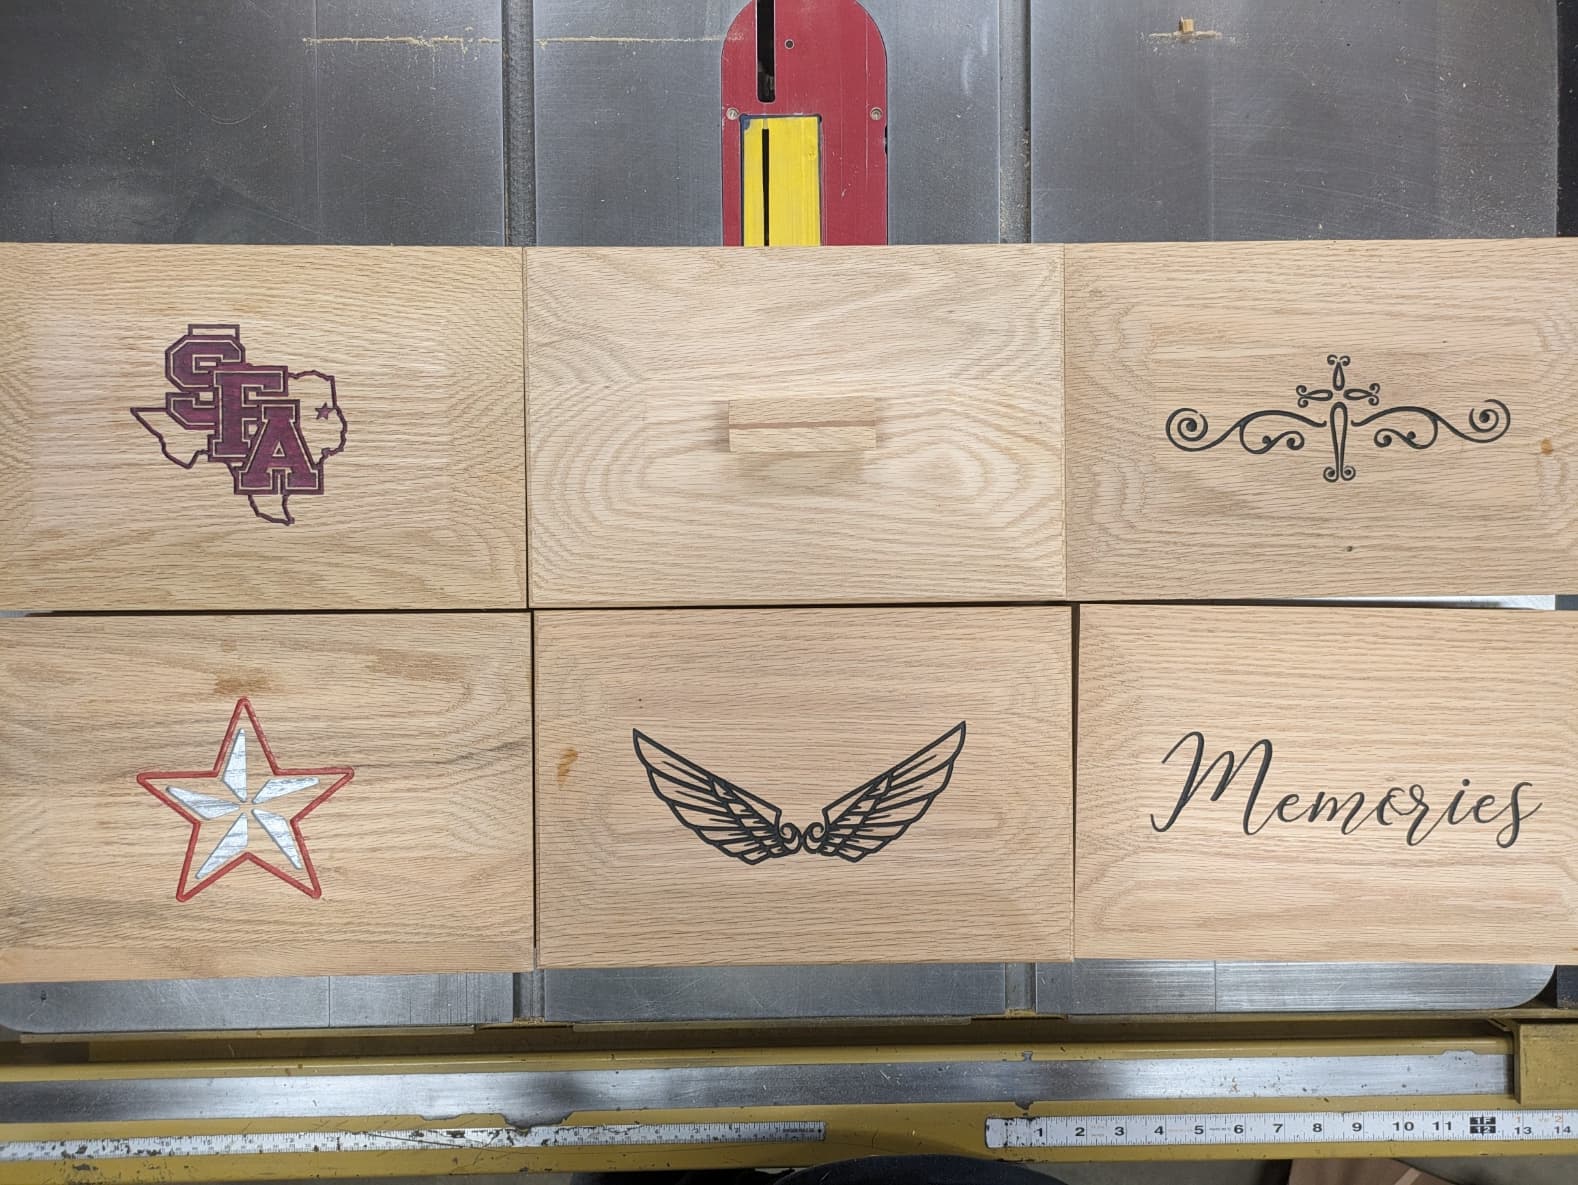
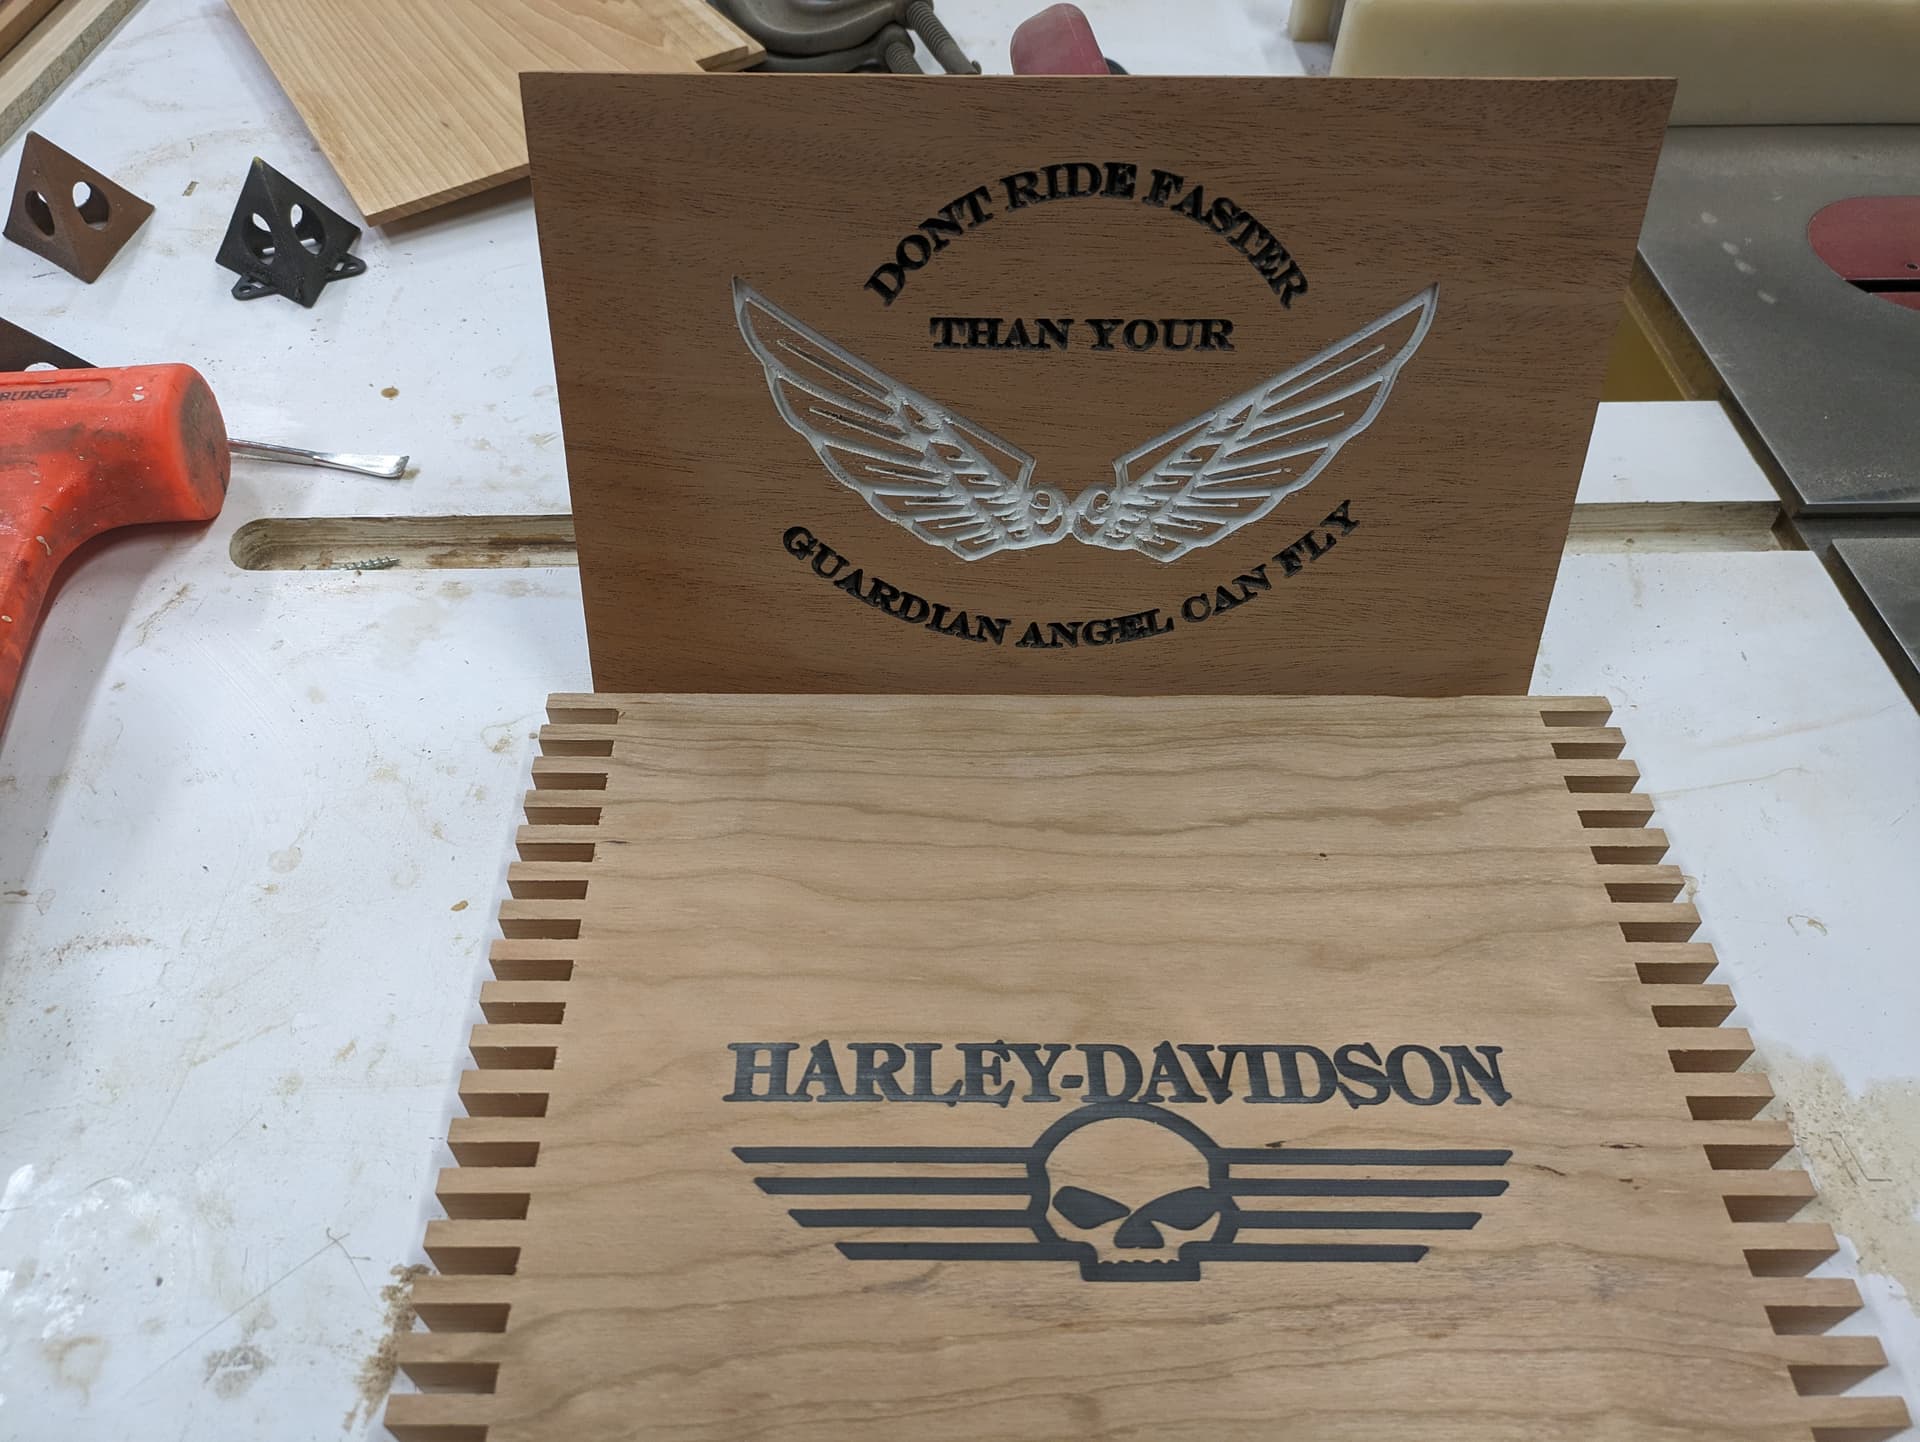
These are the keepsake boxes. They are 12 x 8 and will hold a Hallmark type card. The lids were cut on the Shapeoko. A couple of the lids had to be repainted. They are all complete with bottoms and lids and sanded to 120. I need to finish sand them to 180 or 220 and will spray a finish in mass with the jewelry boxes. My Earlex HVLP sprayer takes a long time to clean up so I only use it when the project is big enough to justify the time to clean it up. I spray Minmax Polyurethane satin. The insides of my jewelry boxes and the keep sake boxes get a lemon scented wax from Craft Supply USA. The reason is the polyurethane stinks forever in a closed box.
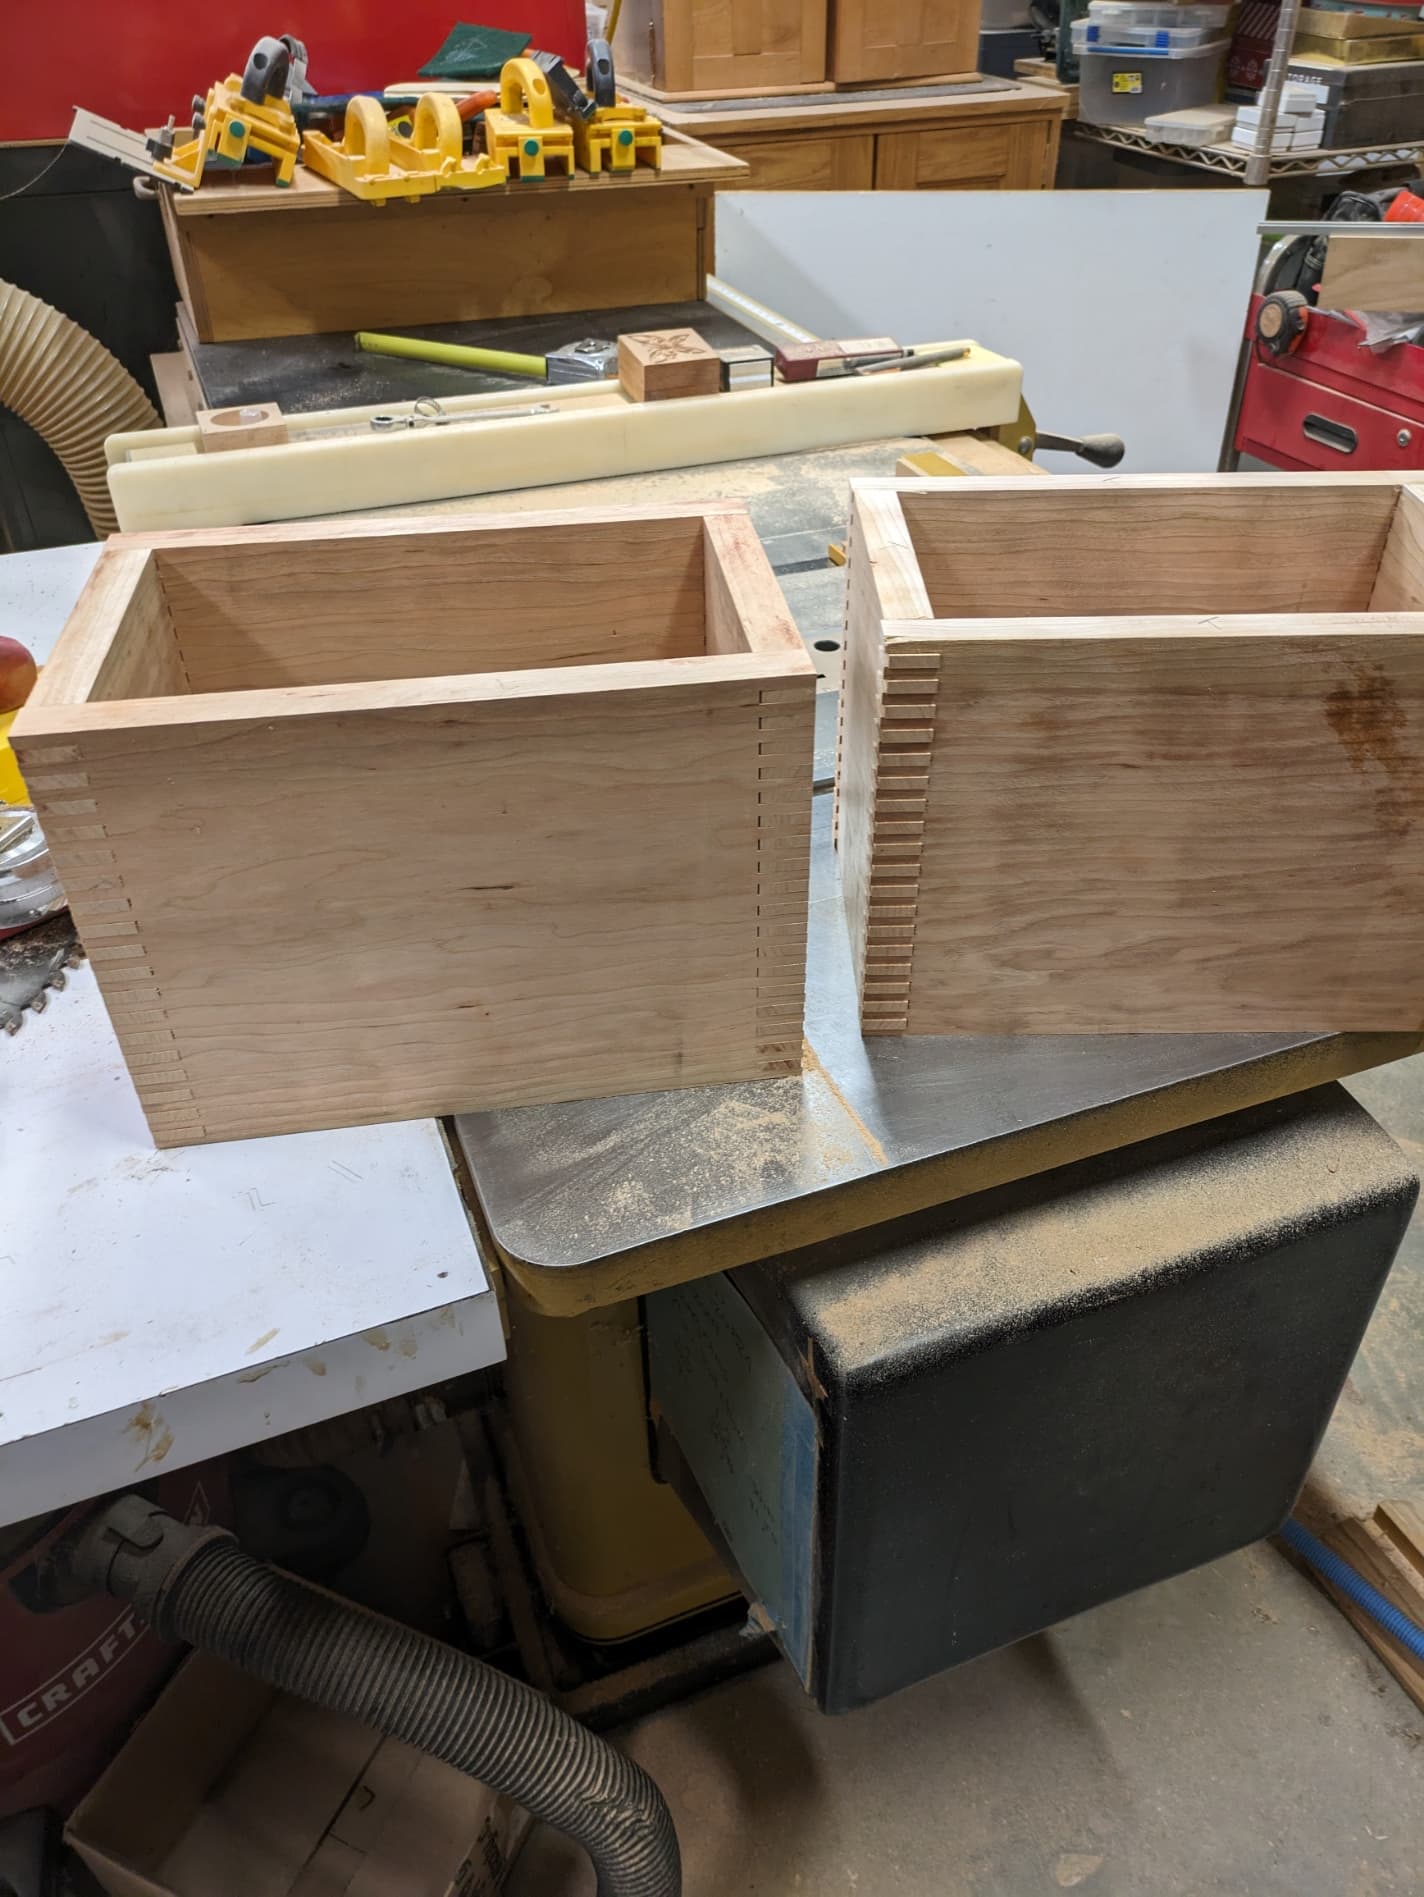
Here is two of the four jewelry boxes. All the jewelry boxes have the carving done and 3 have been sanded and waiting on the jaguar to dry completely. Then I have to put a groove in the top of all four boxes for a captured top.
Can you tell me more about this process? Do you brush this on before the carve or after or both? I have tried spray on lacquer and not been happy with the results. It always seems to leave a shadow after sanding. I thought i was melting and smearing the epoxy in the sanding .
After carving I brush Zinsser universal sanding sealer with an acid brush in the carving. I apply with a rag on flat parts. I put 2 coats on. It dries in about 15 minutes. I spray with an air brush or use a 1/4 x 1/4 masters brush. Key is getting corners of carve painted so I don’t have to touch up paint after sanding.
Cool, i have that one and then i made one as well. Looks good!
I started using Create, but i just found things too limited, so i use Vectric now, the additional toolpath control and options (rest, ramping, finishing skin, etc), among other things has been a game changer for me on my stuff.