I’ve been going through some routine maintenance and tuning tasks the past couple weekends. Wanted to share the results and see if there was anything else I should check.
Reoiled my HDZ with Mobil Vactra. Will probably start doing this twice a year as it is an easy process especially when using a syringe that I had purchased for resin projects. The only downside (so far) is excess oil needs to be wiped off the Z axis rails (just like when it was new).
Checked the tension on the wheels, tightened one eccentric nut on the X axis and one on each of the Y axis.
I trammed the router using the method shown on this video. This process took roughly an hour, most of that time was spent getting the 8x10 glass panel level (with paper shims). Not sure it was worth the $100 but this tool did make it easy to calibrate once I had the glass level.
- My X axis tilt was off 1.5/1000 over 3 inches, which I was able to correct because the HDZ mount makes that fairly easy.
- My Y axis tilt is (still) off 1/1000 over 3 inches, but there isn’t an easy way to adjust that. I highly suspect my X axis extrusion is the cause of this, and a digital level on the face of the X axis backs up this theory. I tried @wmoy method (2:35 in this video) but I could not get it to rotate any further in the direction I needed. I would need to remove the Shapeoko from the enclosure to drill out the X axis screw holes to give it more space to rotate, and I’m not going to do that to chase that last 1/1000.
Note: I missed my opportunity to check/replace the brushes in the router while tramming the router. Can’t get access to both brushes without removing the router and having to re-tram. But I am also waiting to see more details on the Carbide 3D spindle. I’m assuming we’ll have reviews on that upgrade sometime this summer.
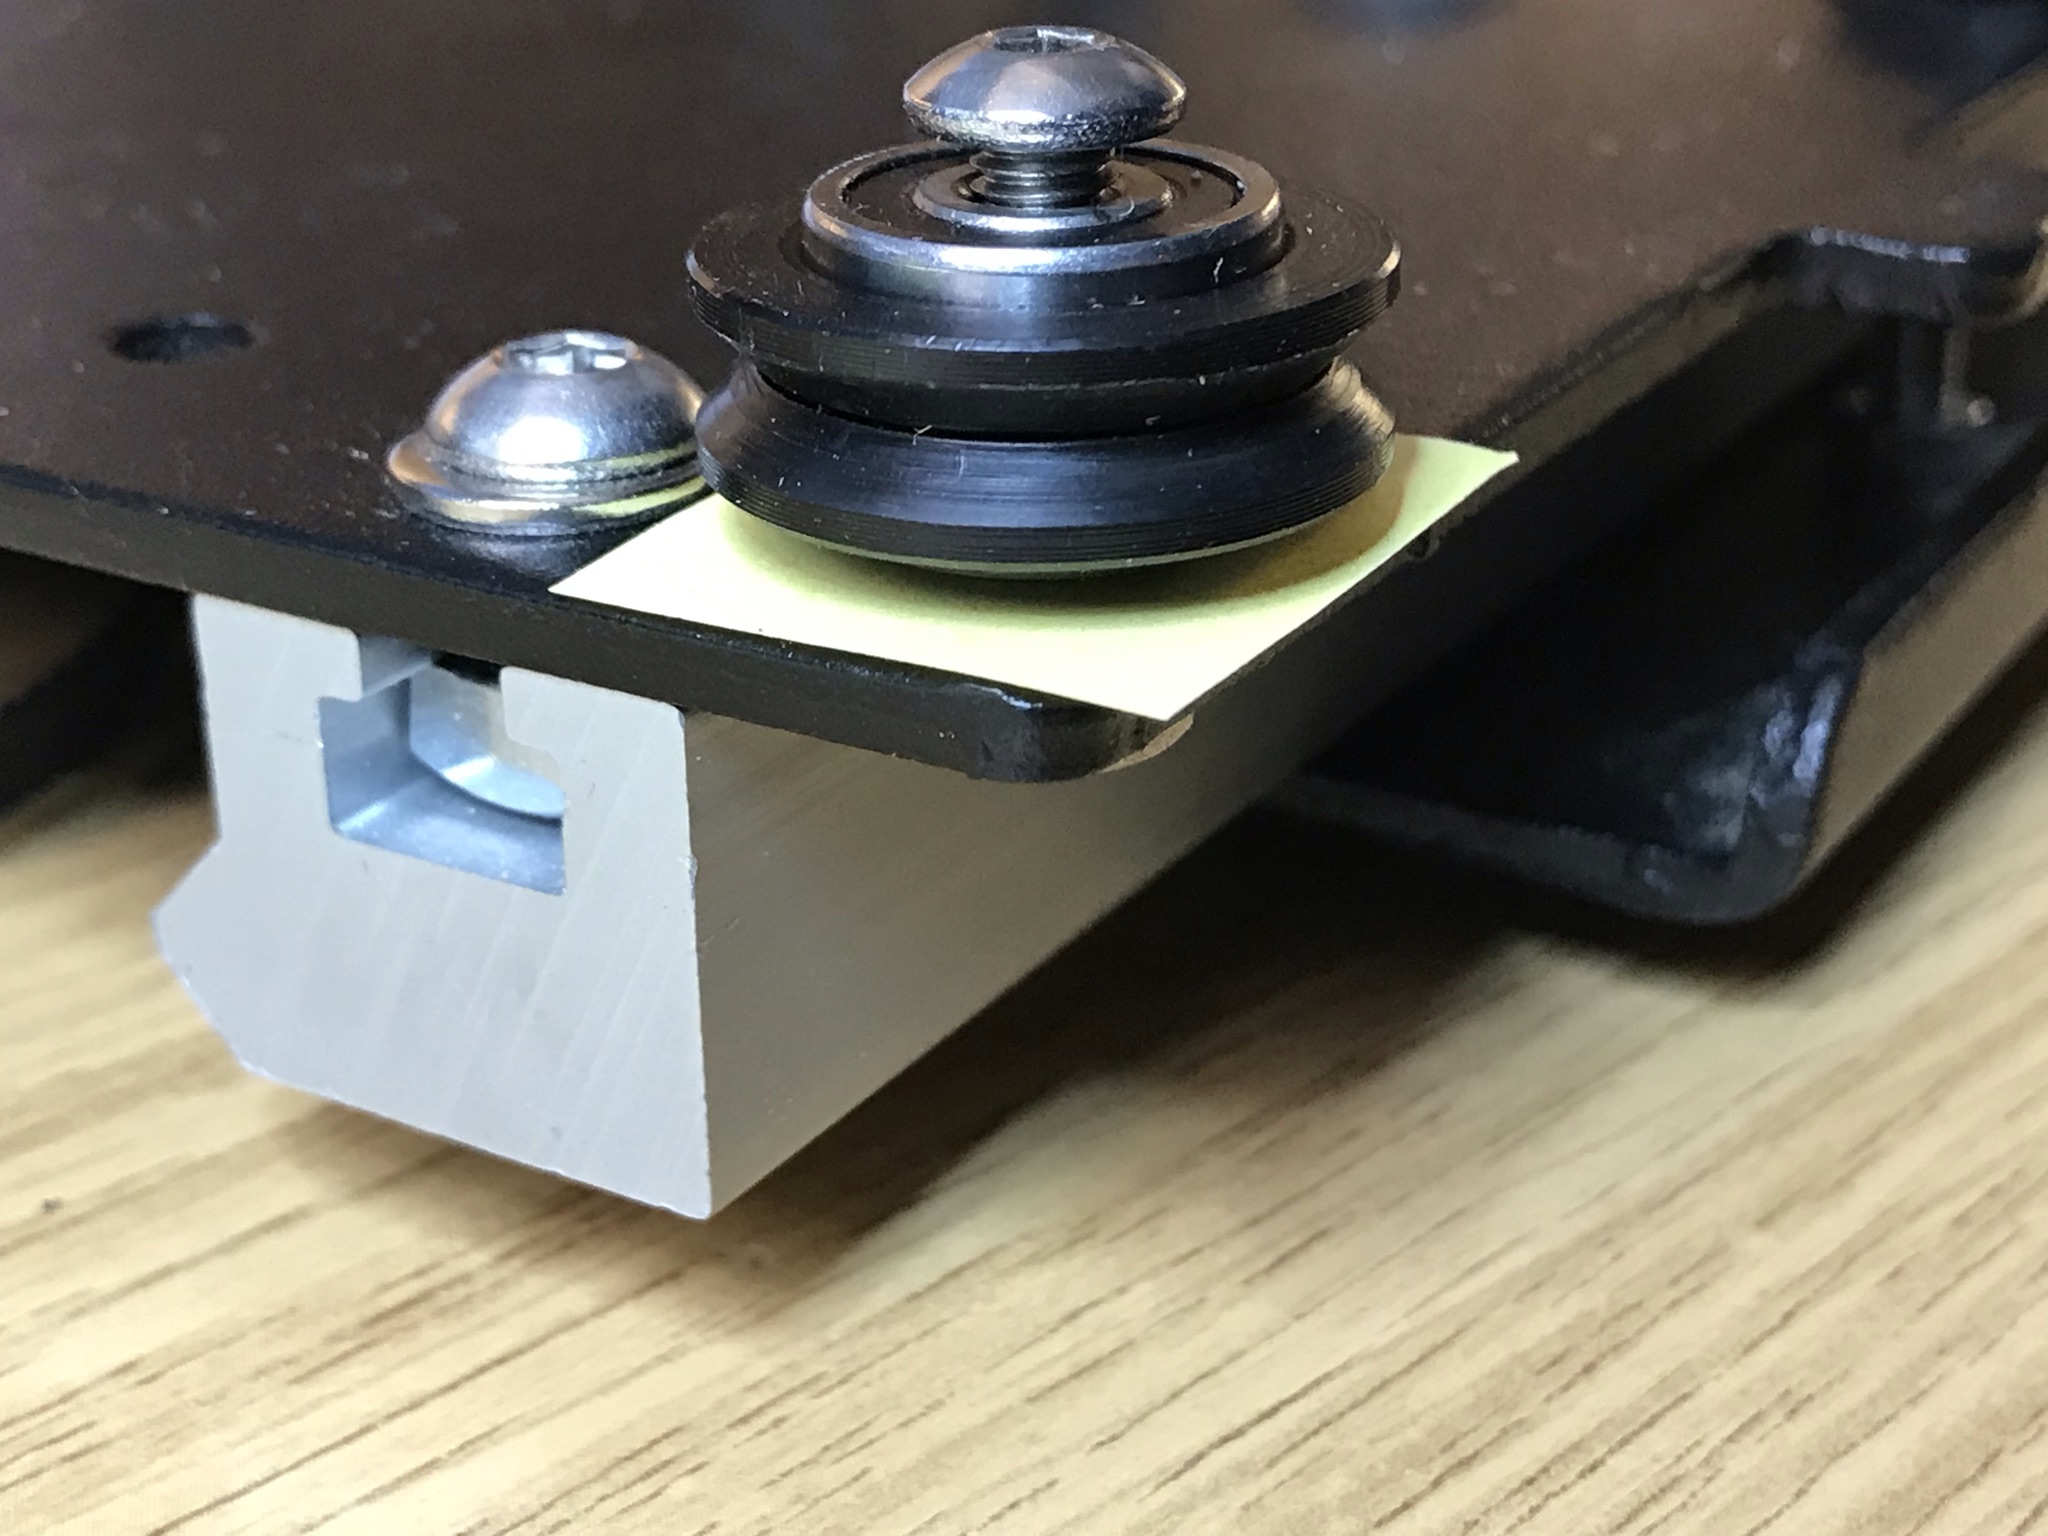
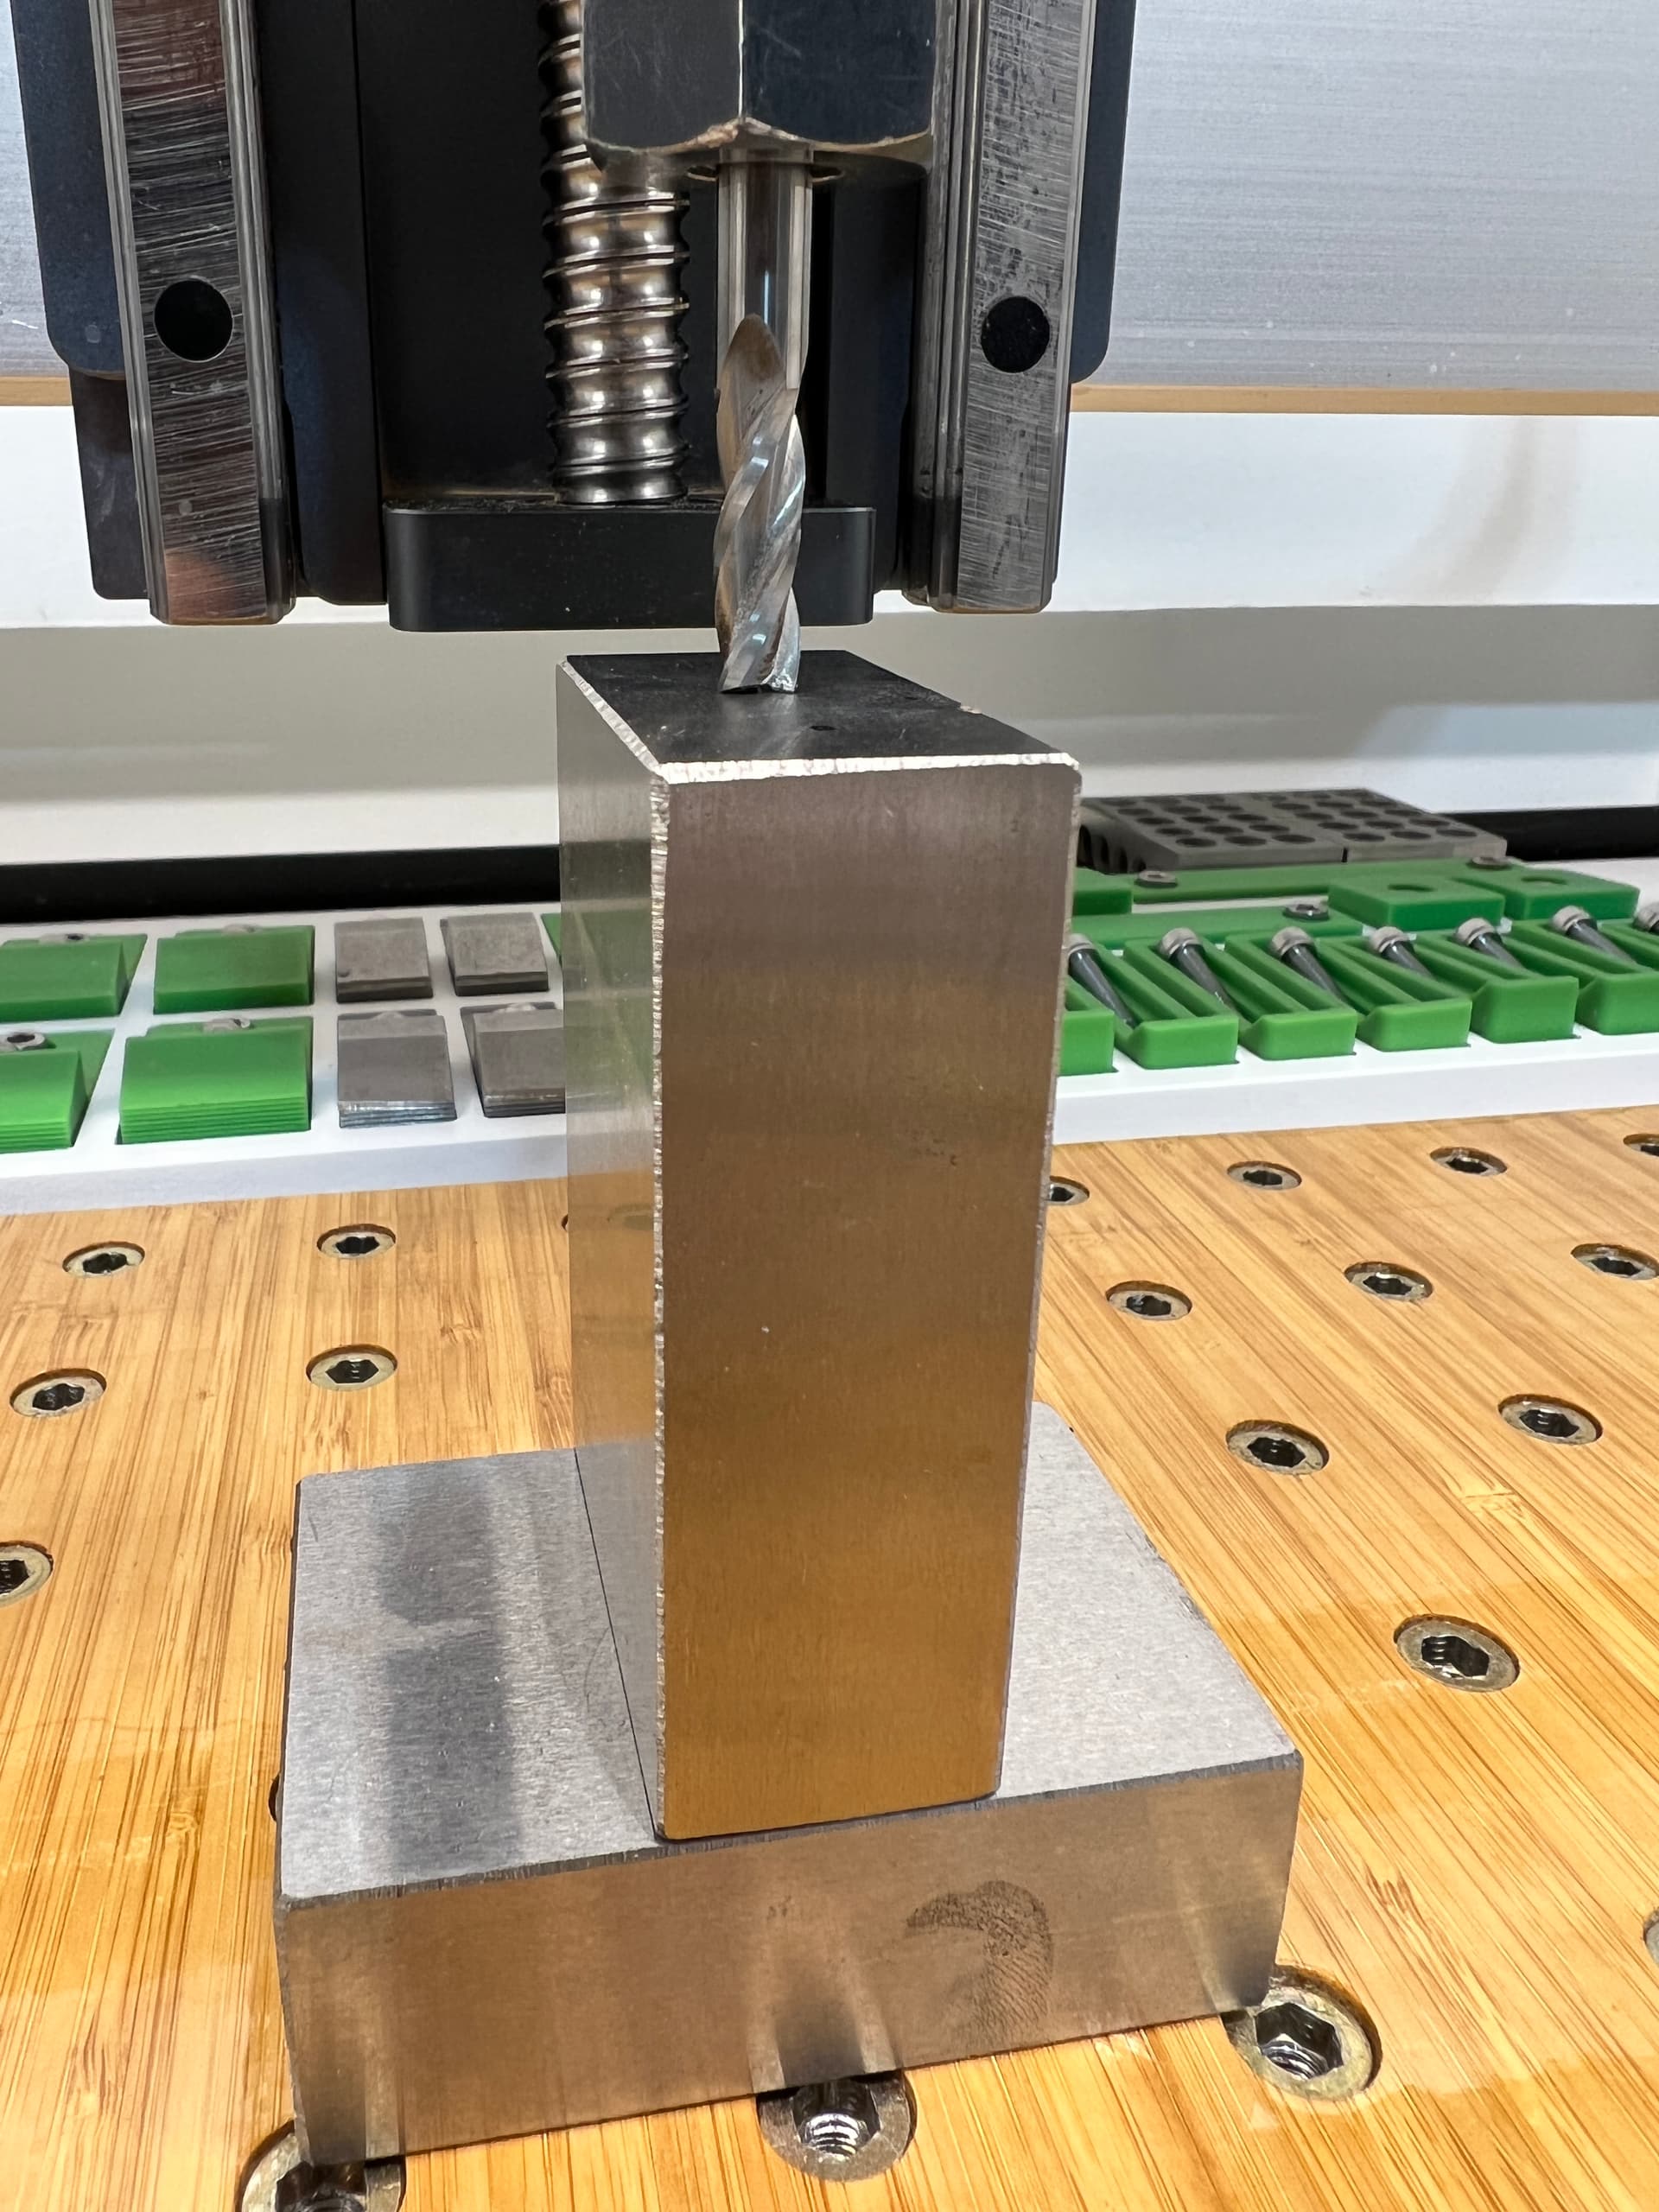
To measure the Z axis movement, I used a couple 1-2-3 blocks. I zeroed off the top of one block (lower block in photo below). Then used Carbide Motion raise the Z axis a little over 3 inches, added a 2nd 1-2-3 block. I then used Carbide Motion to lower the Z axis until the bit touched the top of the 2nd 1-2-3 block. It was a perfect 3.000 inches!
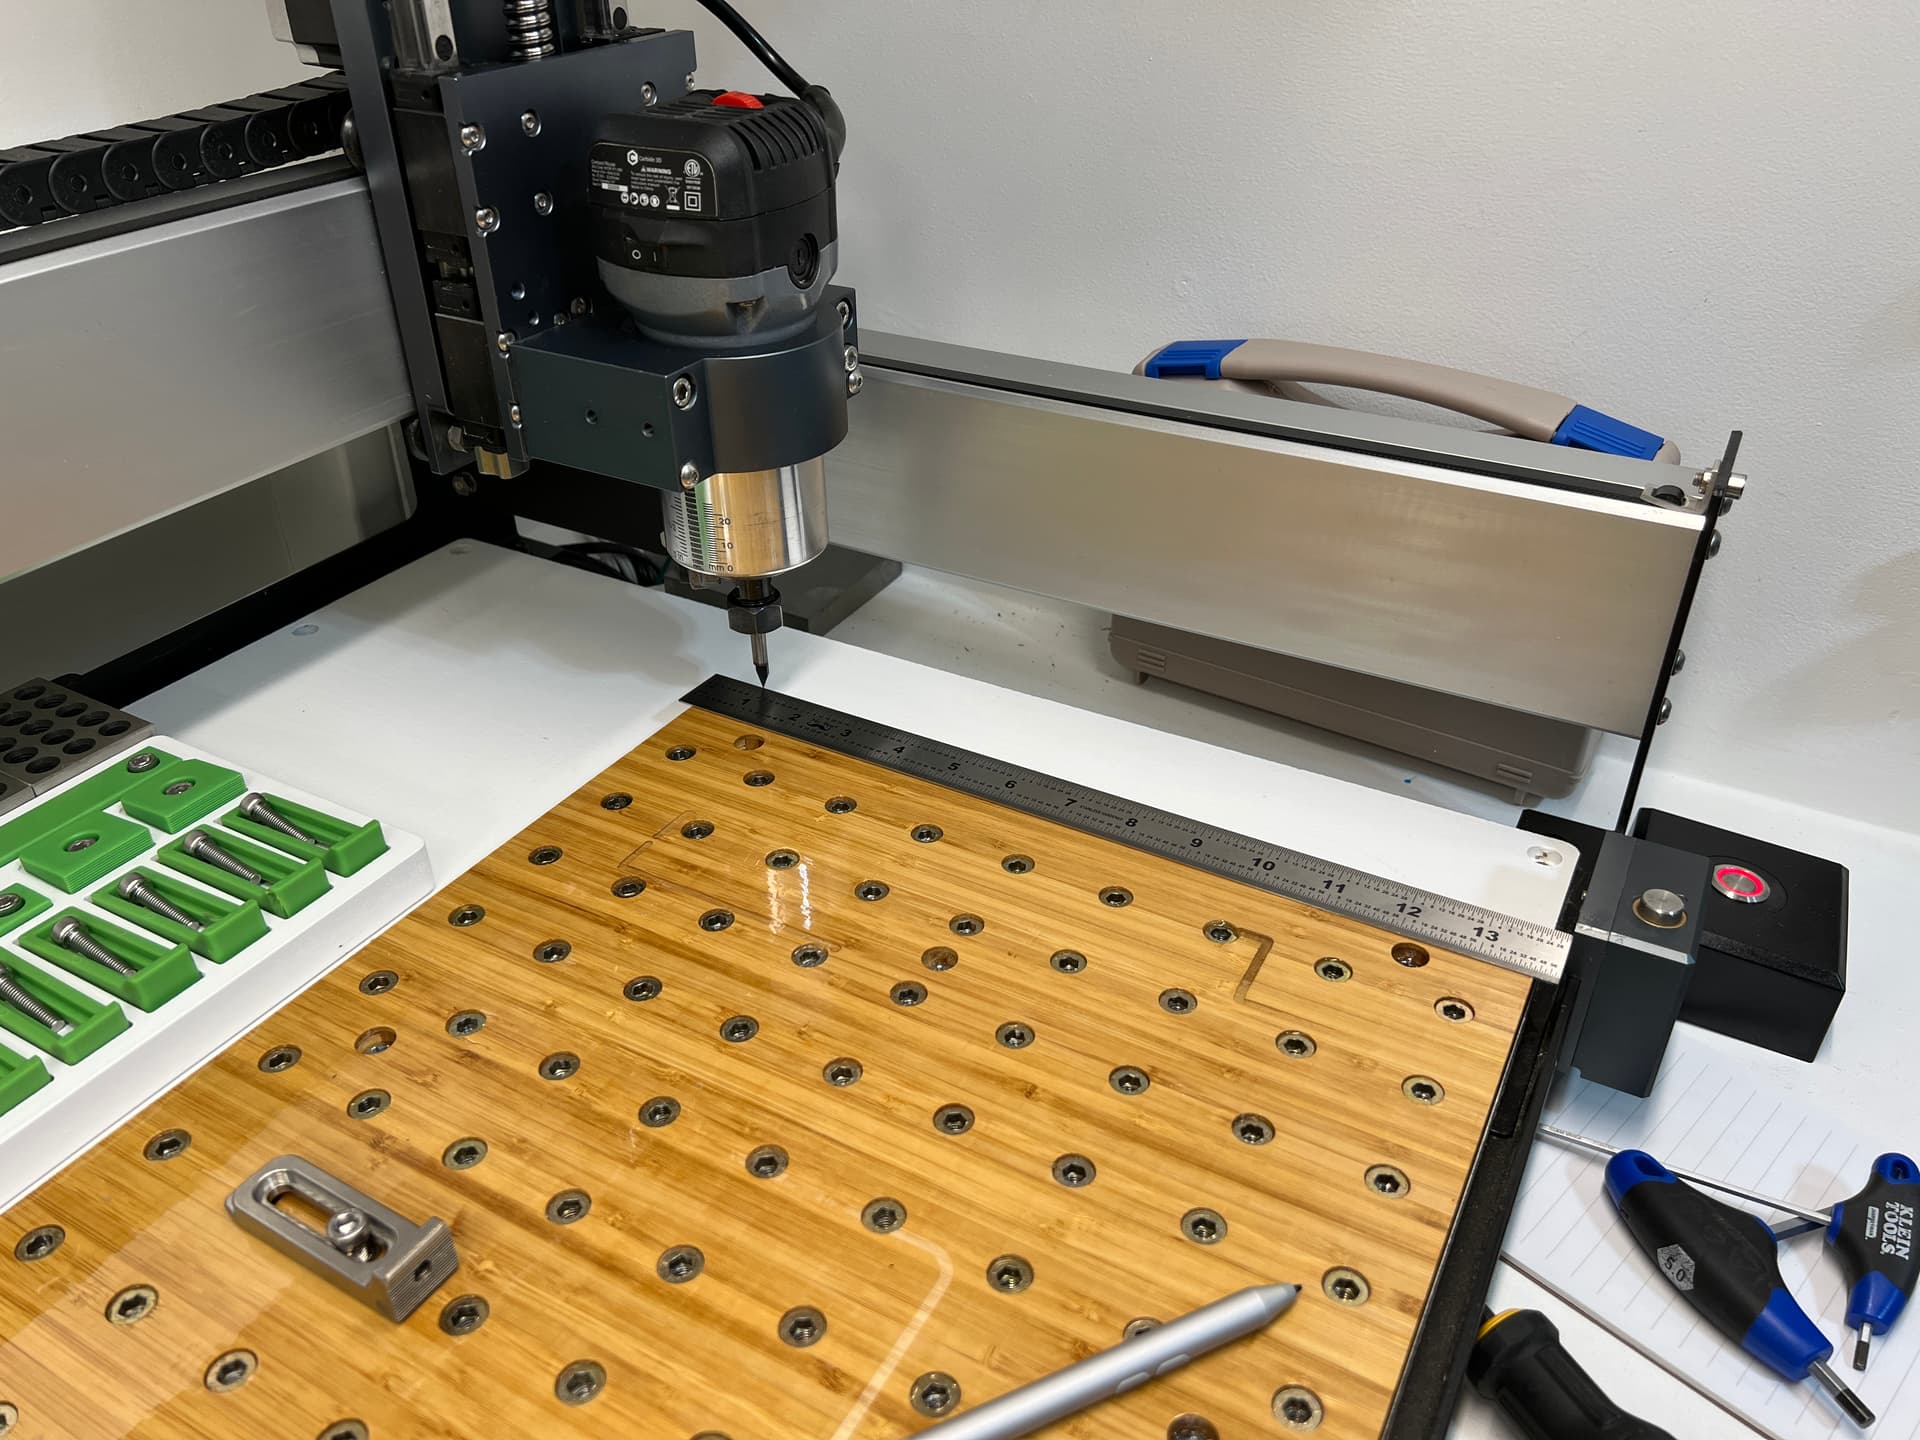
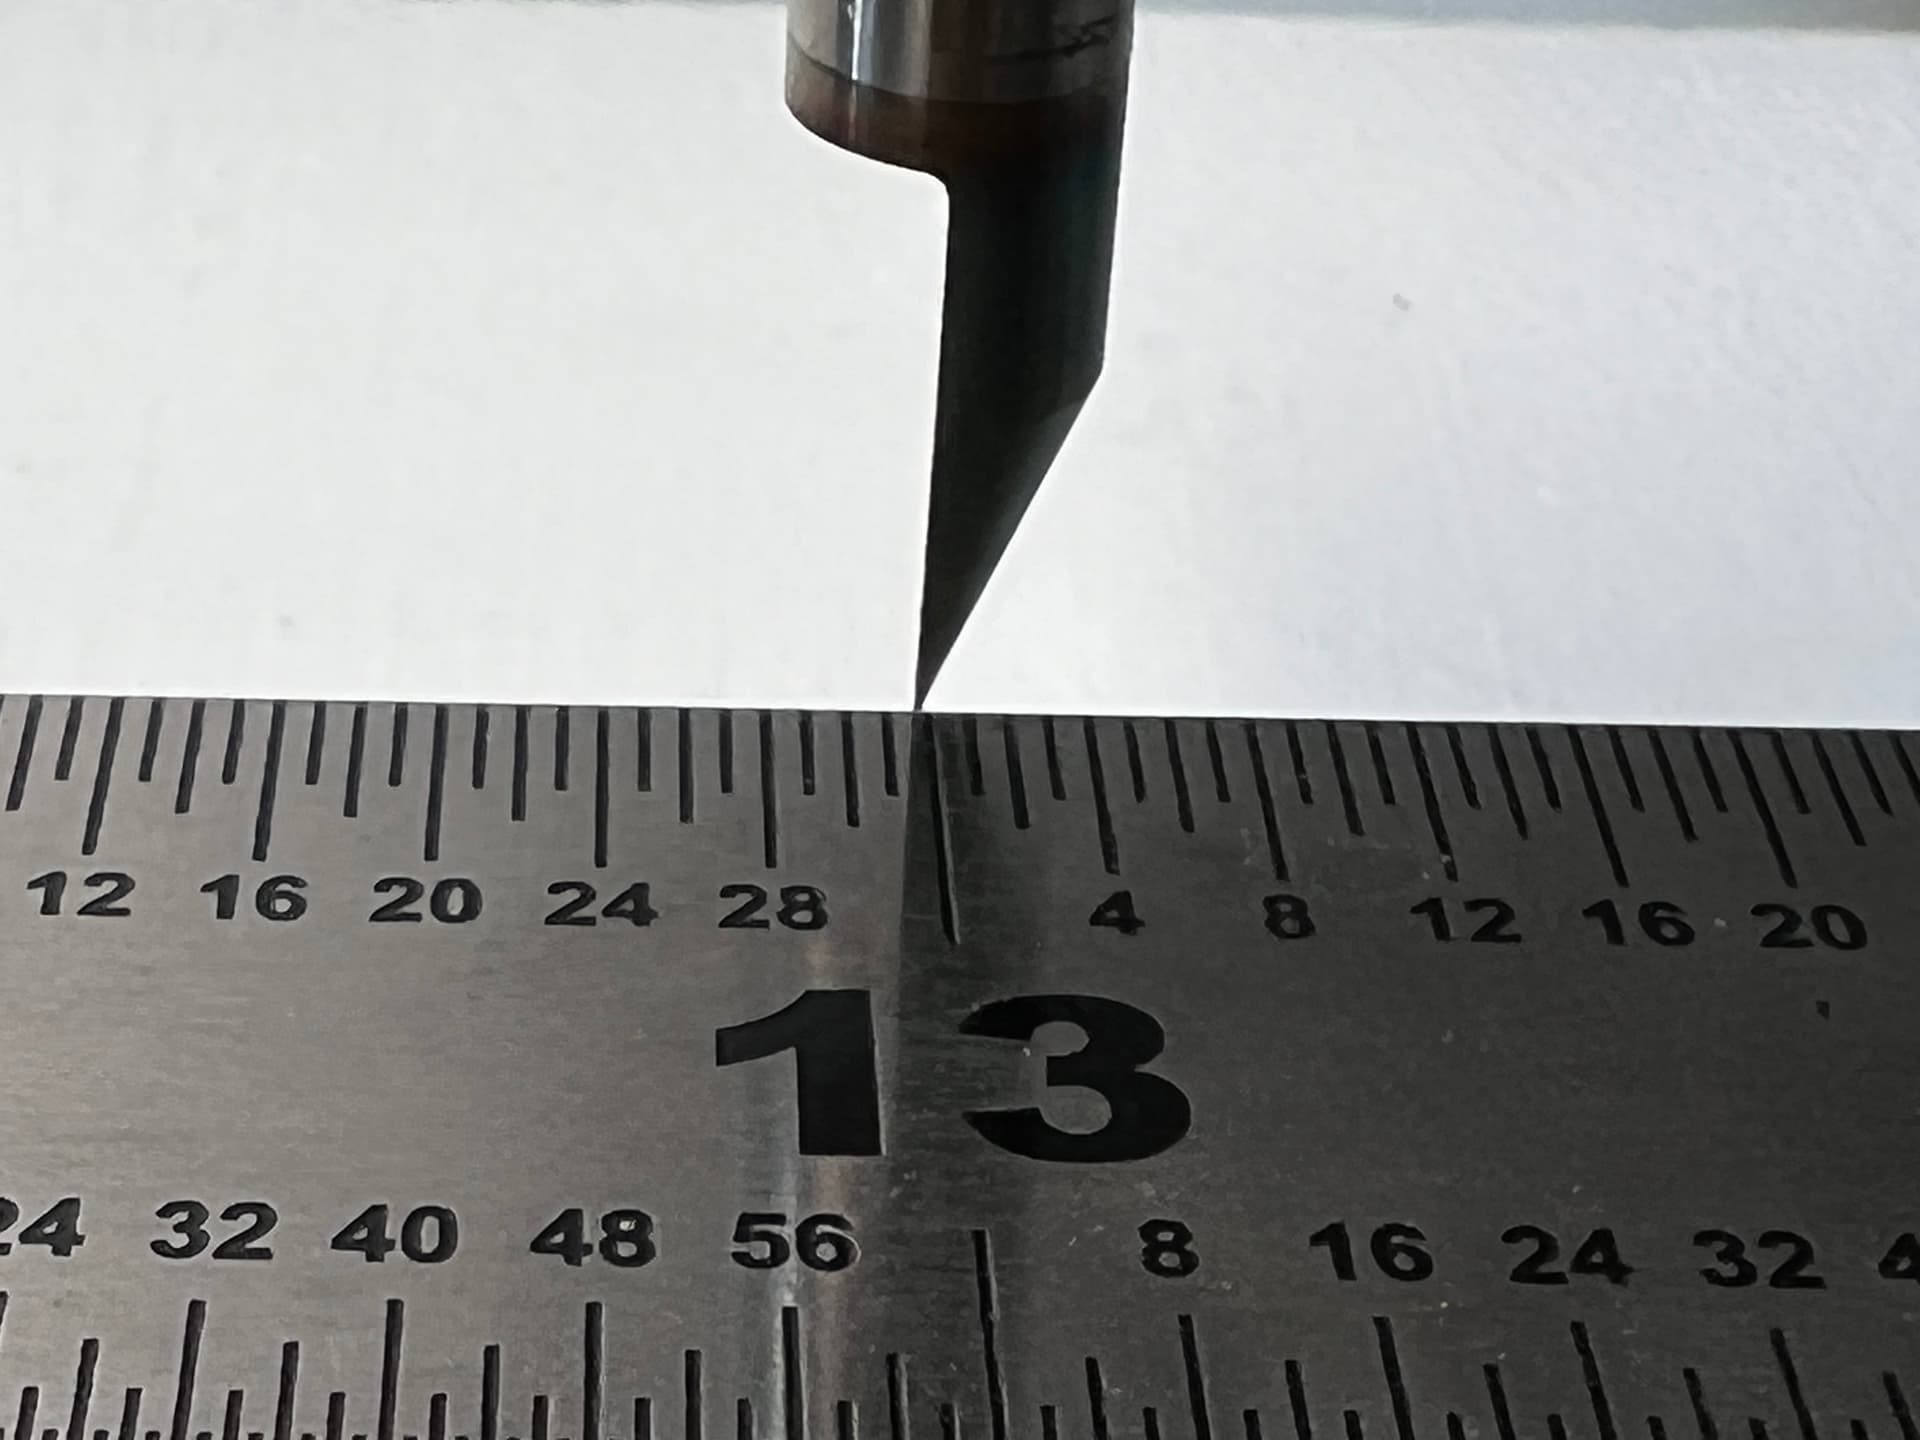
I then measured my X and Y axis movements using a machinist ruler.
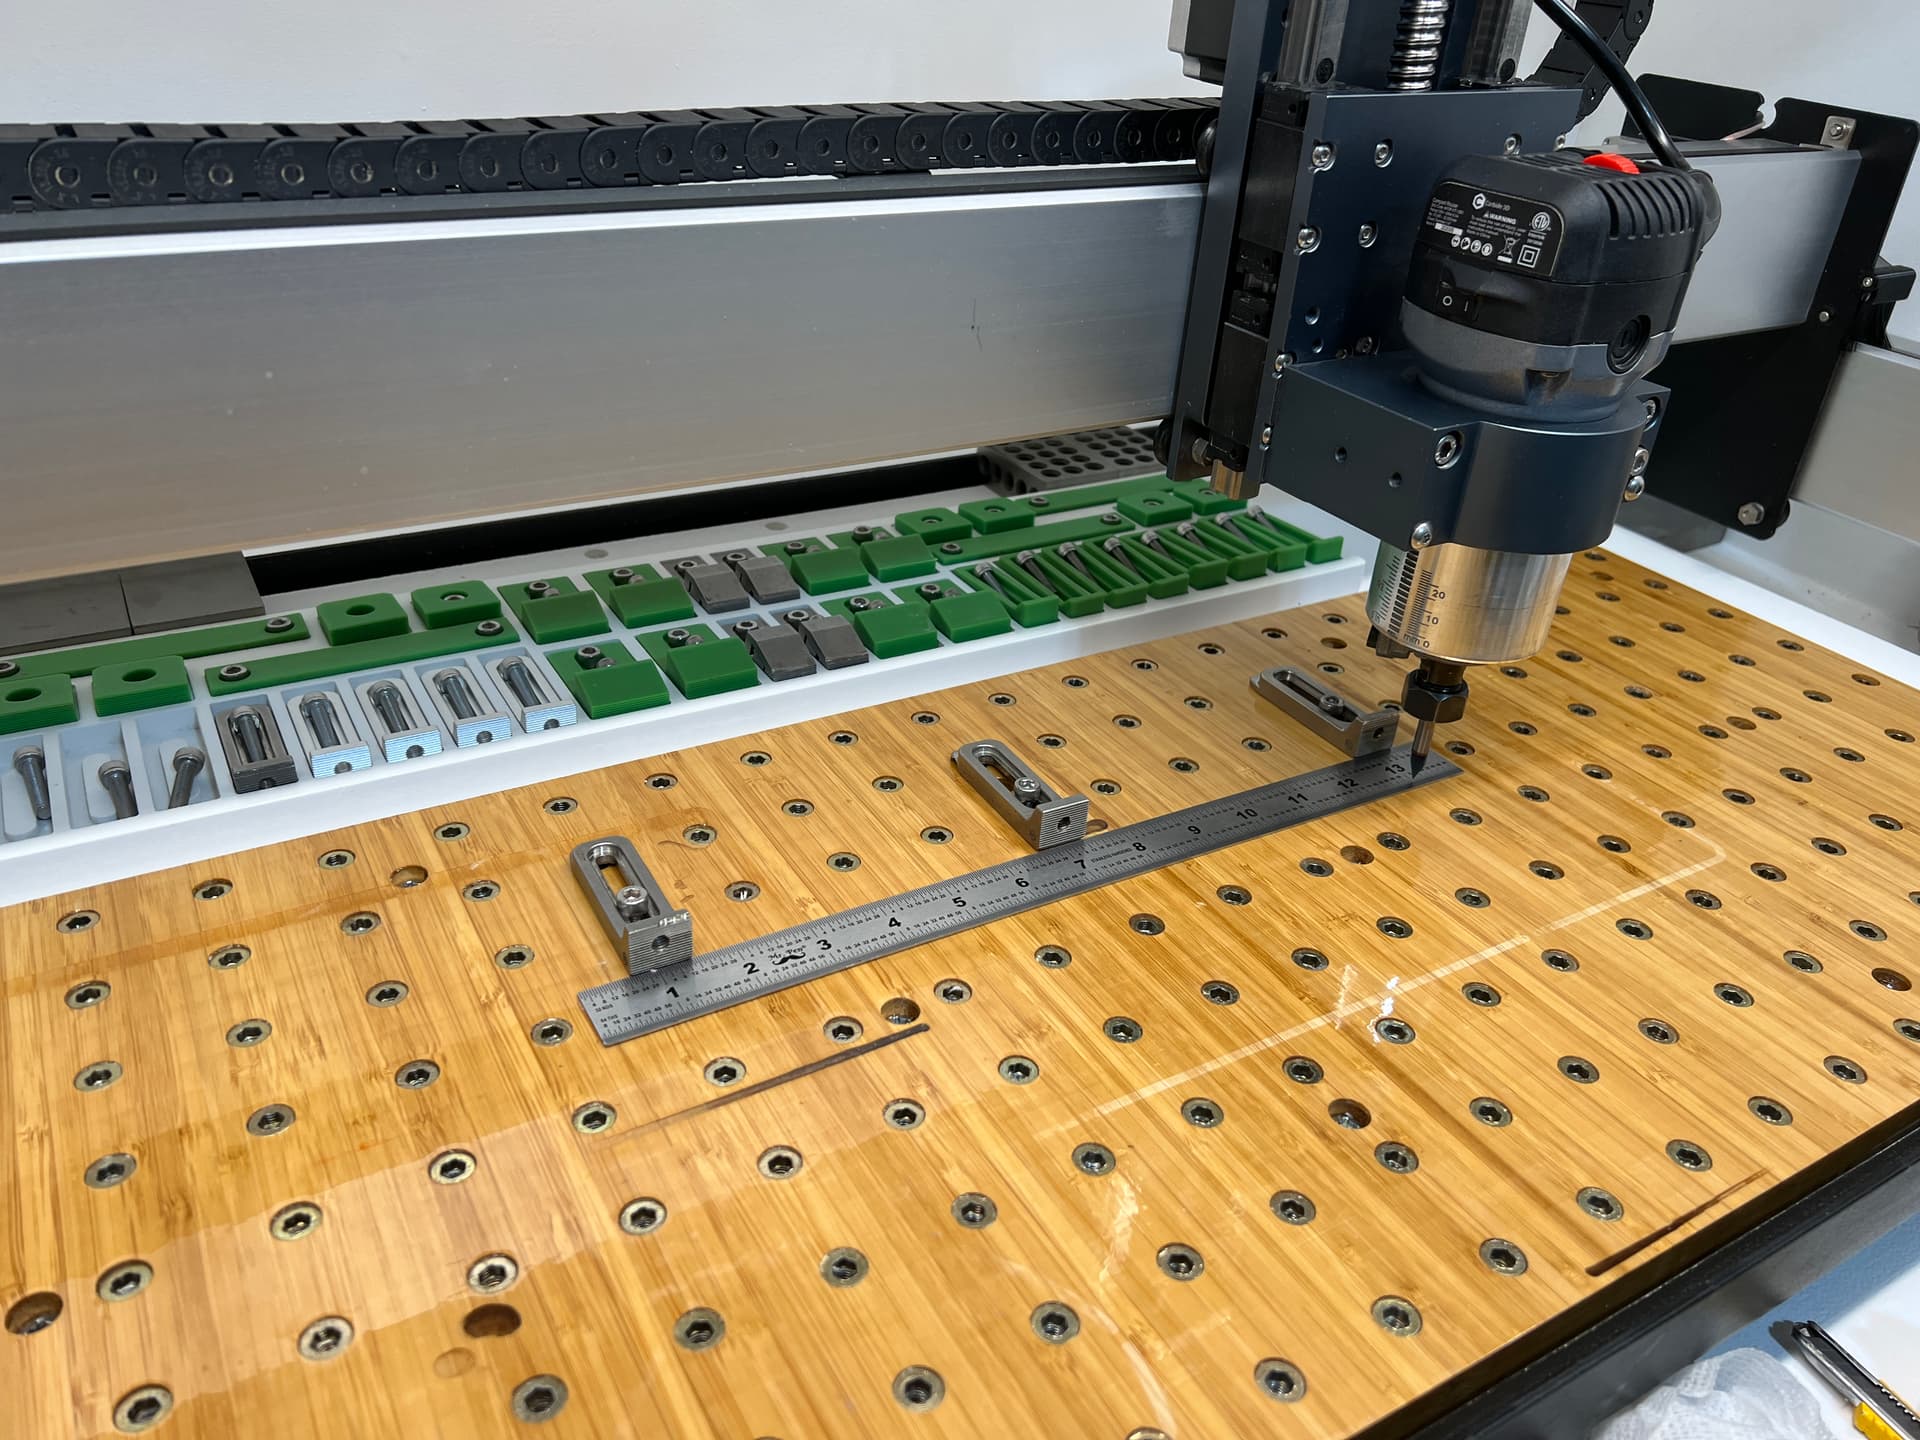
I determined my X axis is off roughly 1/100 of an inch over 12 inches. When Carbide Motion says the bit moved 12.00 inches I measured it actually moved 12.01.
.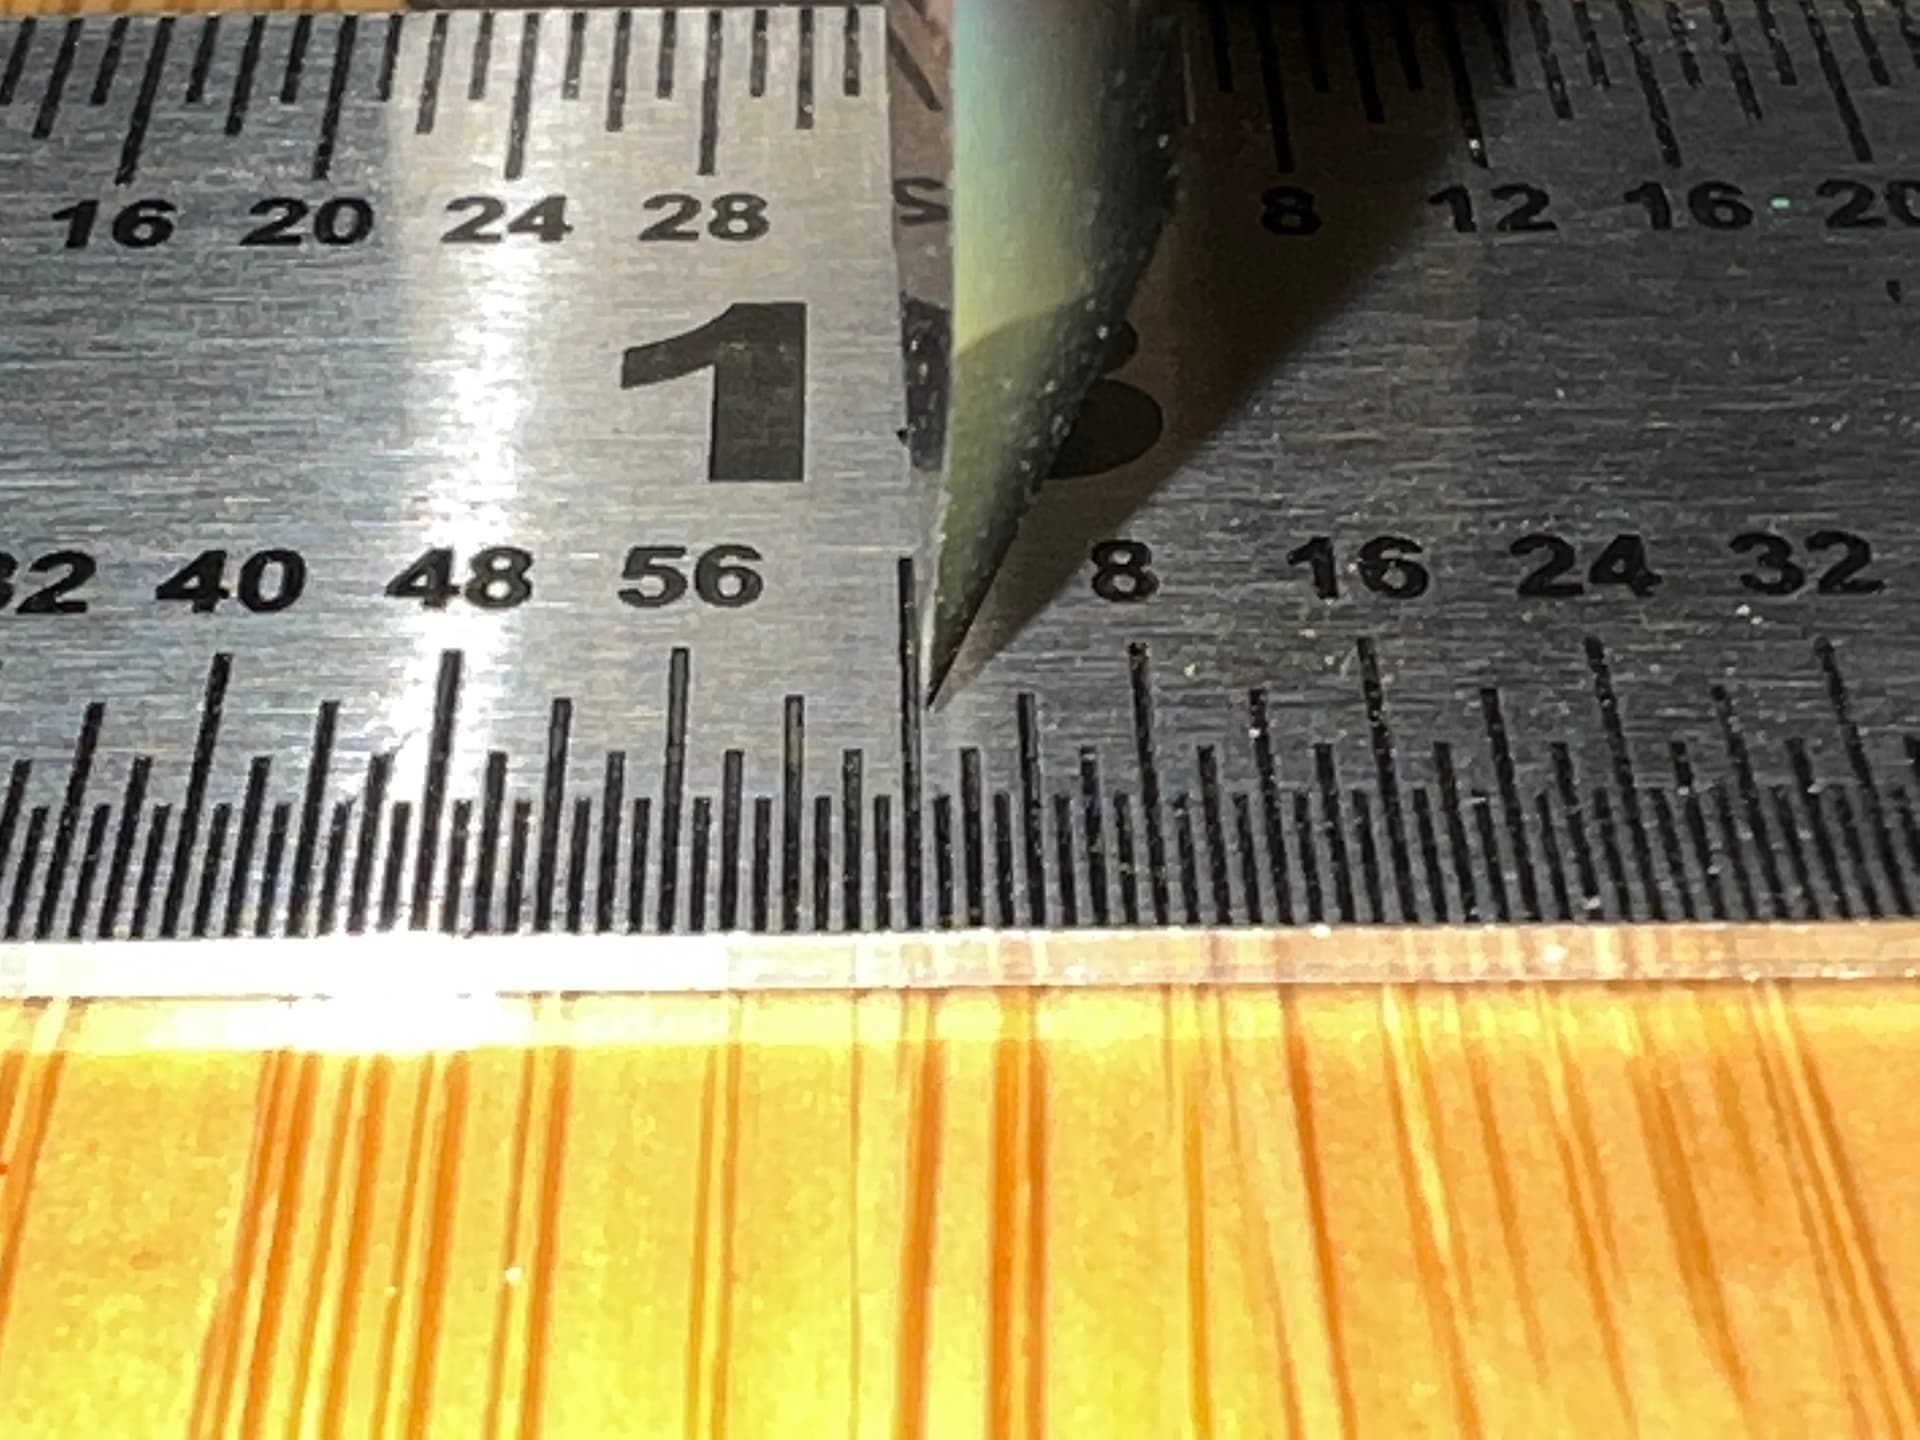
And I checked both sides of my Y axis, the good news is that the error was the same on both sides.
The Y axis is off roughly 2/100 of an inch over 12 inches. When Carbide Motion says the bit moved 12.00 inches, I measured it actually moved 11.98
Note: For my projects I doubt these small errors “need” to be corrected. But if I wanted to correct this in the software, the formula to calculate $100 and $101 says I need to change my $100 setting from 40.00000 to 39.96722, and my $101 setting from 40.00000 to 40.06678.
However I’m going to hold off doing that until I (re)check the belt tension using @LiamN method of adjusting the belt tension. Last time I did this out of order and had to laugh at the results. But it is interesting to see that my initial $100 and $101 calculations from over a year and a half ago are nearly identical. Which leaves me VERY IMPRESSED with how well the Shapeoko 3 is performing and aging.
UPDATE: Tightening each Y-Axis belt one tooth returned me ~120Hz frequency. And after remeasuring the Y axis travel (on both sides) that appears to have returned the actual travel to match (or at least reduced the error enough that I can no longer visually see an error). So tightening a belt resulted in increasing the actual travel (can’t figure out if that makes logical sense, going to assume so). Which suggests I would need to loosen the X-Axis belt to decrease the actual travel.
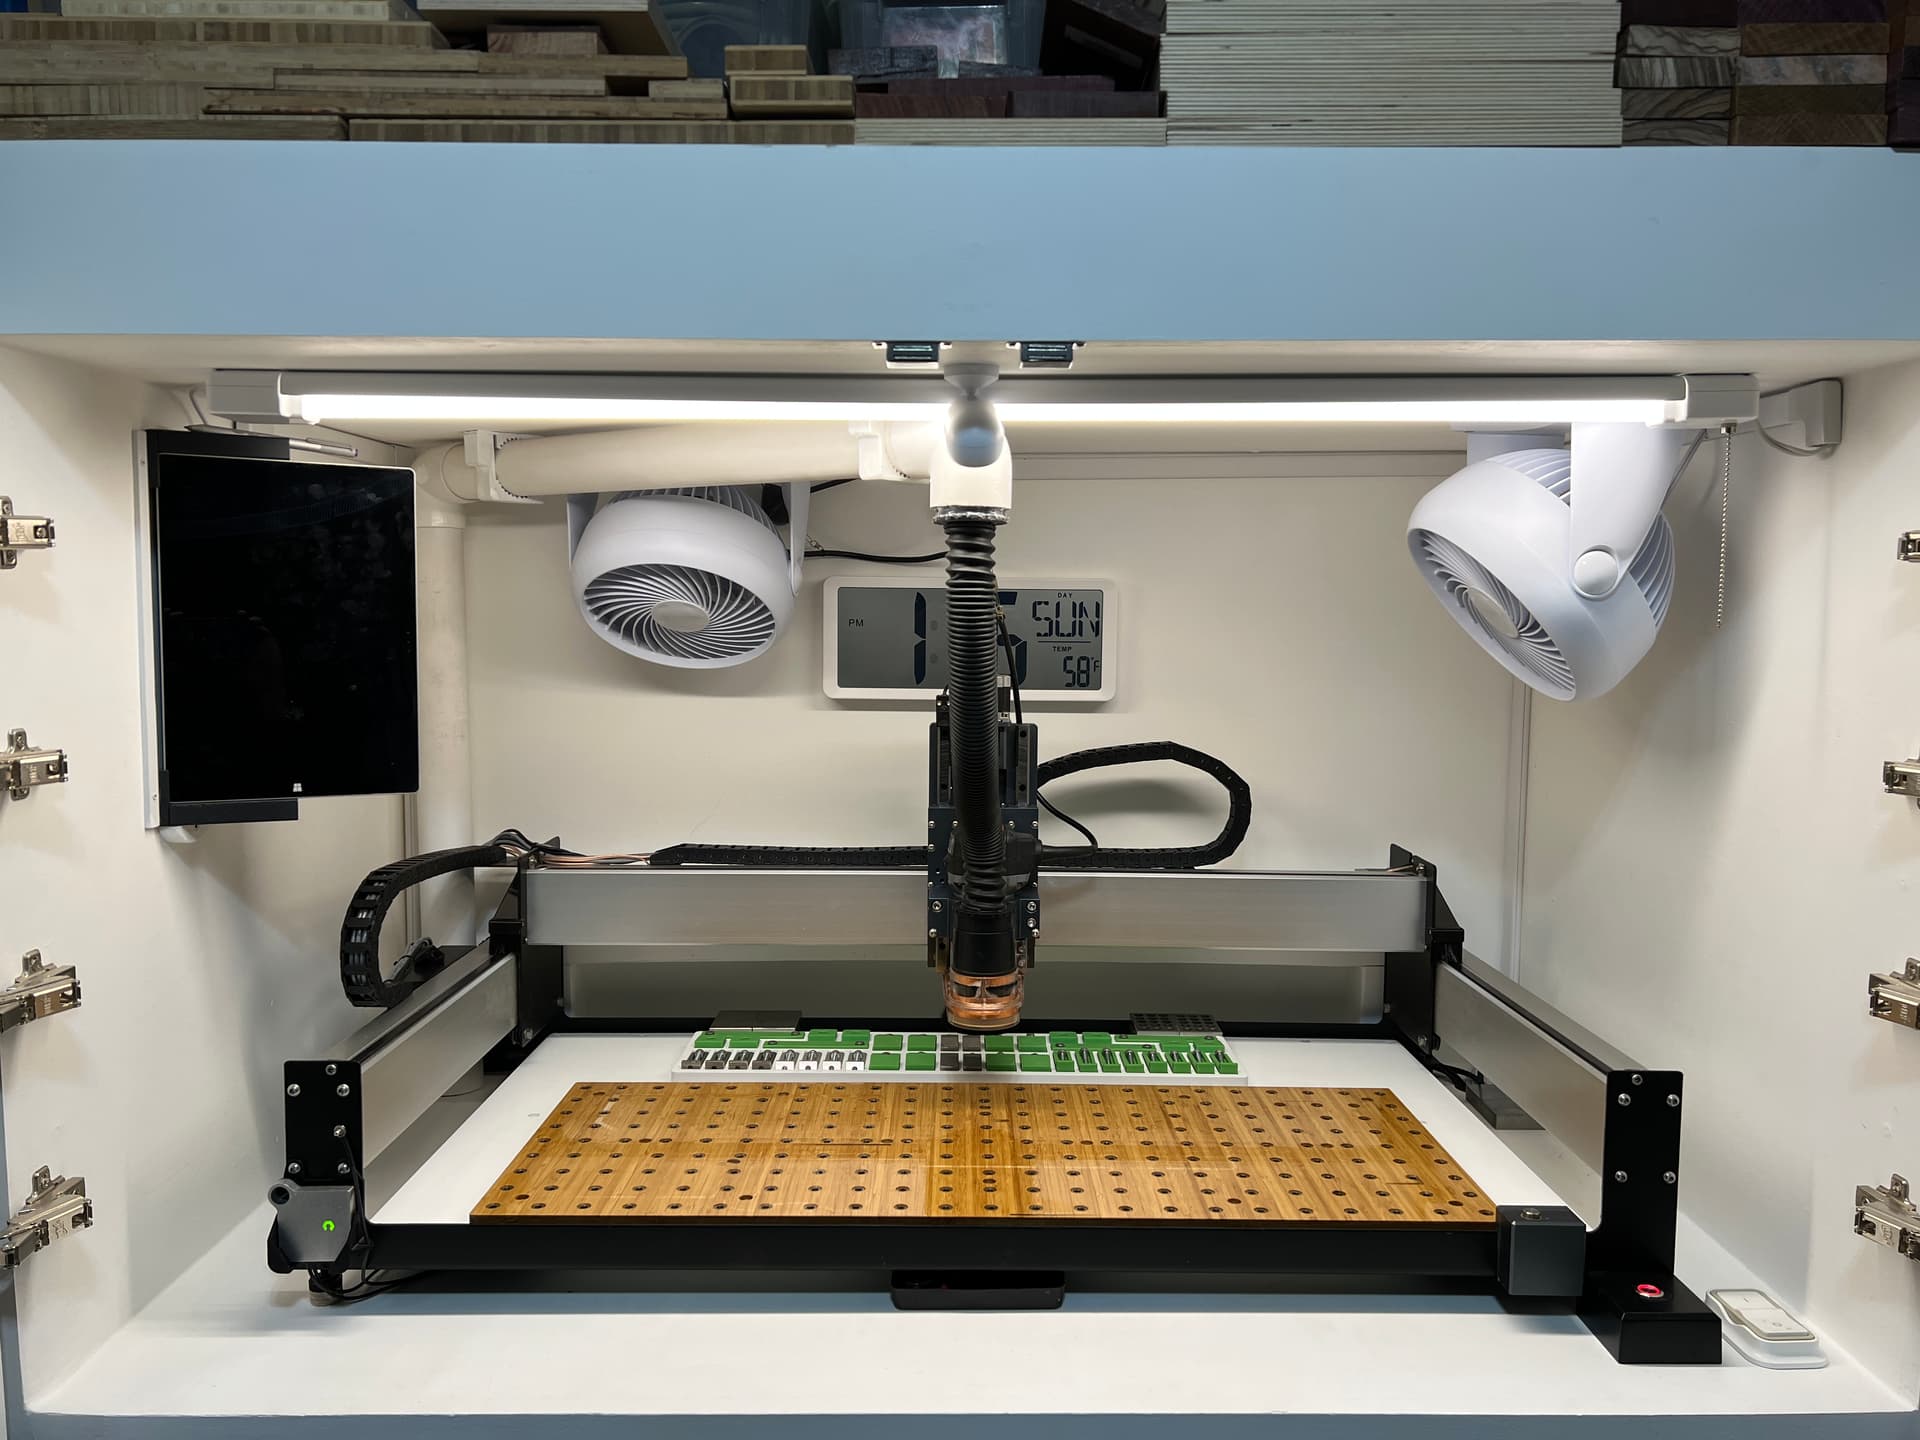
I clean the machine regularly, but this weekend did a deeper clean. About the only thing that looked “bad” to me is the hole on the backside of every stepper motor. Dust had collected and was caked in each hole. A blast of compressed air didn’t remove the dust, it took a small brush to dig out all of the dust.
Did I miss anything?