Howdy guys and gals! Now that CCPro has 3d contouring and modeling, do any of you more seasoned cnc gurus have any go-to tips for roughing and finishing? Coming from a hammer swinging background, I have been flying by the seat of my pants when it comes to machining(especially beyond “2.5d”) and any tips specific to 3d contouring would help tremendously.
1 Like
i guess i jumped the gun…
Biggest thing I would say is to decrease stepover to make lines smoother while 3D contouring. On finishing pass.
Use Ball nose end mills,
I found that CC presently will plunge to full depth of cut so use 1/4 or 1/8 ball nose endmill to start off then switch to smaller bit and decerase stepover for finishing the fine details.
I wouldn’t put a ton of time into the files right now as Rob stated that whole area of code could completely change very soon.
I would just play around with some simple stuff to get a feel of it and see what each function changes.
2 Likes
Thanks for chiming in. I was looking for simple go-to’s like you shared!
1 Like
I would use straight flute/flat endmill for the roughing passes. They do a better job of cutting the majority of the material away. I have been using a 1/8" flat cutter to rough, and leaving 0.02" to finish up with a 1/16 ball end.
Just my $0.02 
3 Likes
Yes, you are correct. With an roughing toolpath and finishing toolpath set. But currently we cannot do this in CC. I think Rob mentioned that they were working on this,
Have you done this with CC/CM? Or just an external CAD/CAM
Not sure how CC will currently deal with that as
I’ve only done the one test cut with Carbide Create doing any 3d contours,
Was my recommendation for current machine operations with CC.
Sorry, this is my setup in Fusion 360. I’m still really new to the Shapeoko and CC. My experience is more of the industrial sort, so Fusion fits me fairly well.
I’m excited for the future of CC pro though, as Fusion just doesn’t have the design capabilities for relief type work.
1 Like
Now that we have 3d roughing and such, would anyone mind chiming in on feeds and speeds and plunge rates for 3d finish paths that are working for them? Some of the toolpaths are calling for a ridiculous amount of continual machine time. I imagine you could run pretty quickly and I’m wondering where CC and CM kind of top out as far as real world feed and plunge while sending movement signals to x,y, and z simultaneously…
Heard they added 3d roughing but haven’t messed with it yet.
(Aluminum) Usually in fusion I’ll leave 0.010-0.020 stock for a ball to finish. If you wish to have a faster finish rate make sure to use a higher flute cutter and run at a moderate inch per tooth.
Feeds and speeds really depend on your material to be cut and setup. On aluminum it’s not uncommon to run 100ipm and have gone up well past that. There is a good thread on here about F&S, good read if this stuff in new to you.
The stock shapeoko defaults are around 200ipm so you are well covered to run whatever you wish. Keep in mind that a faster moving stepper has less tq and load spiking needs to be kept in check.
Also a bigger ball mill will cover ground faster, so use as large as features permit.
4 Likes
I second this.
Using fusion to contour wood, a leave 0.020 using an 1/8 flat endmill to rough at 60IPM and finish with a 1/16" tapered ball to finish at 140IPM. This leaves me with a perfect carve. Watching the machine moving all axis at 140IPM is pretty fun. 
1 Like
I consider myself a beginner at CNC but most of my carvings are 3d, and rather large. Heres an example of something I cut quite frequently:
It is 25" tall x 15" wide made out of walnut panels that I glue up.
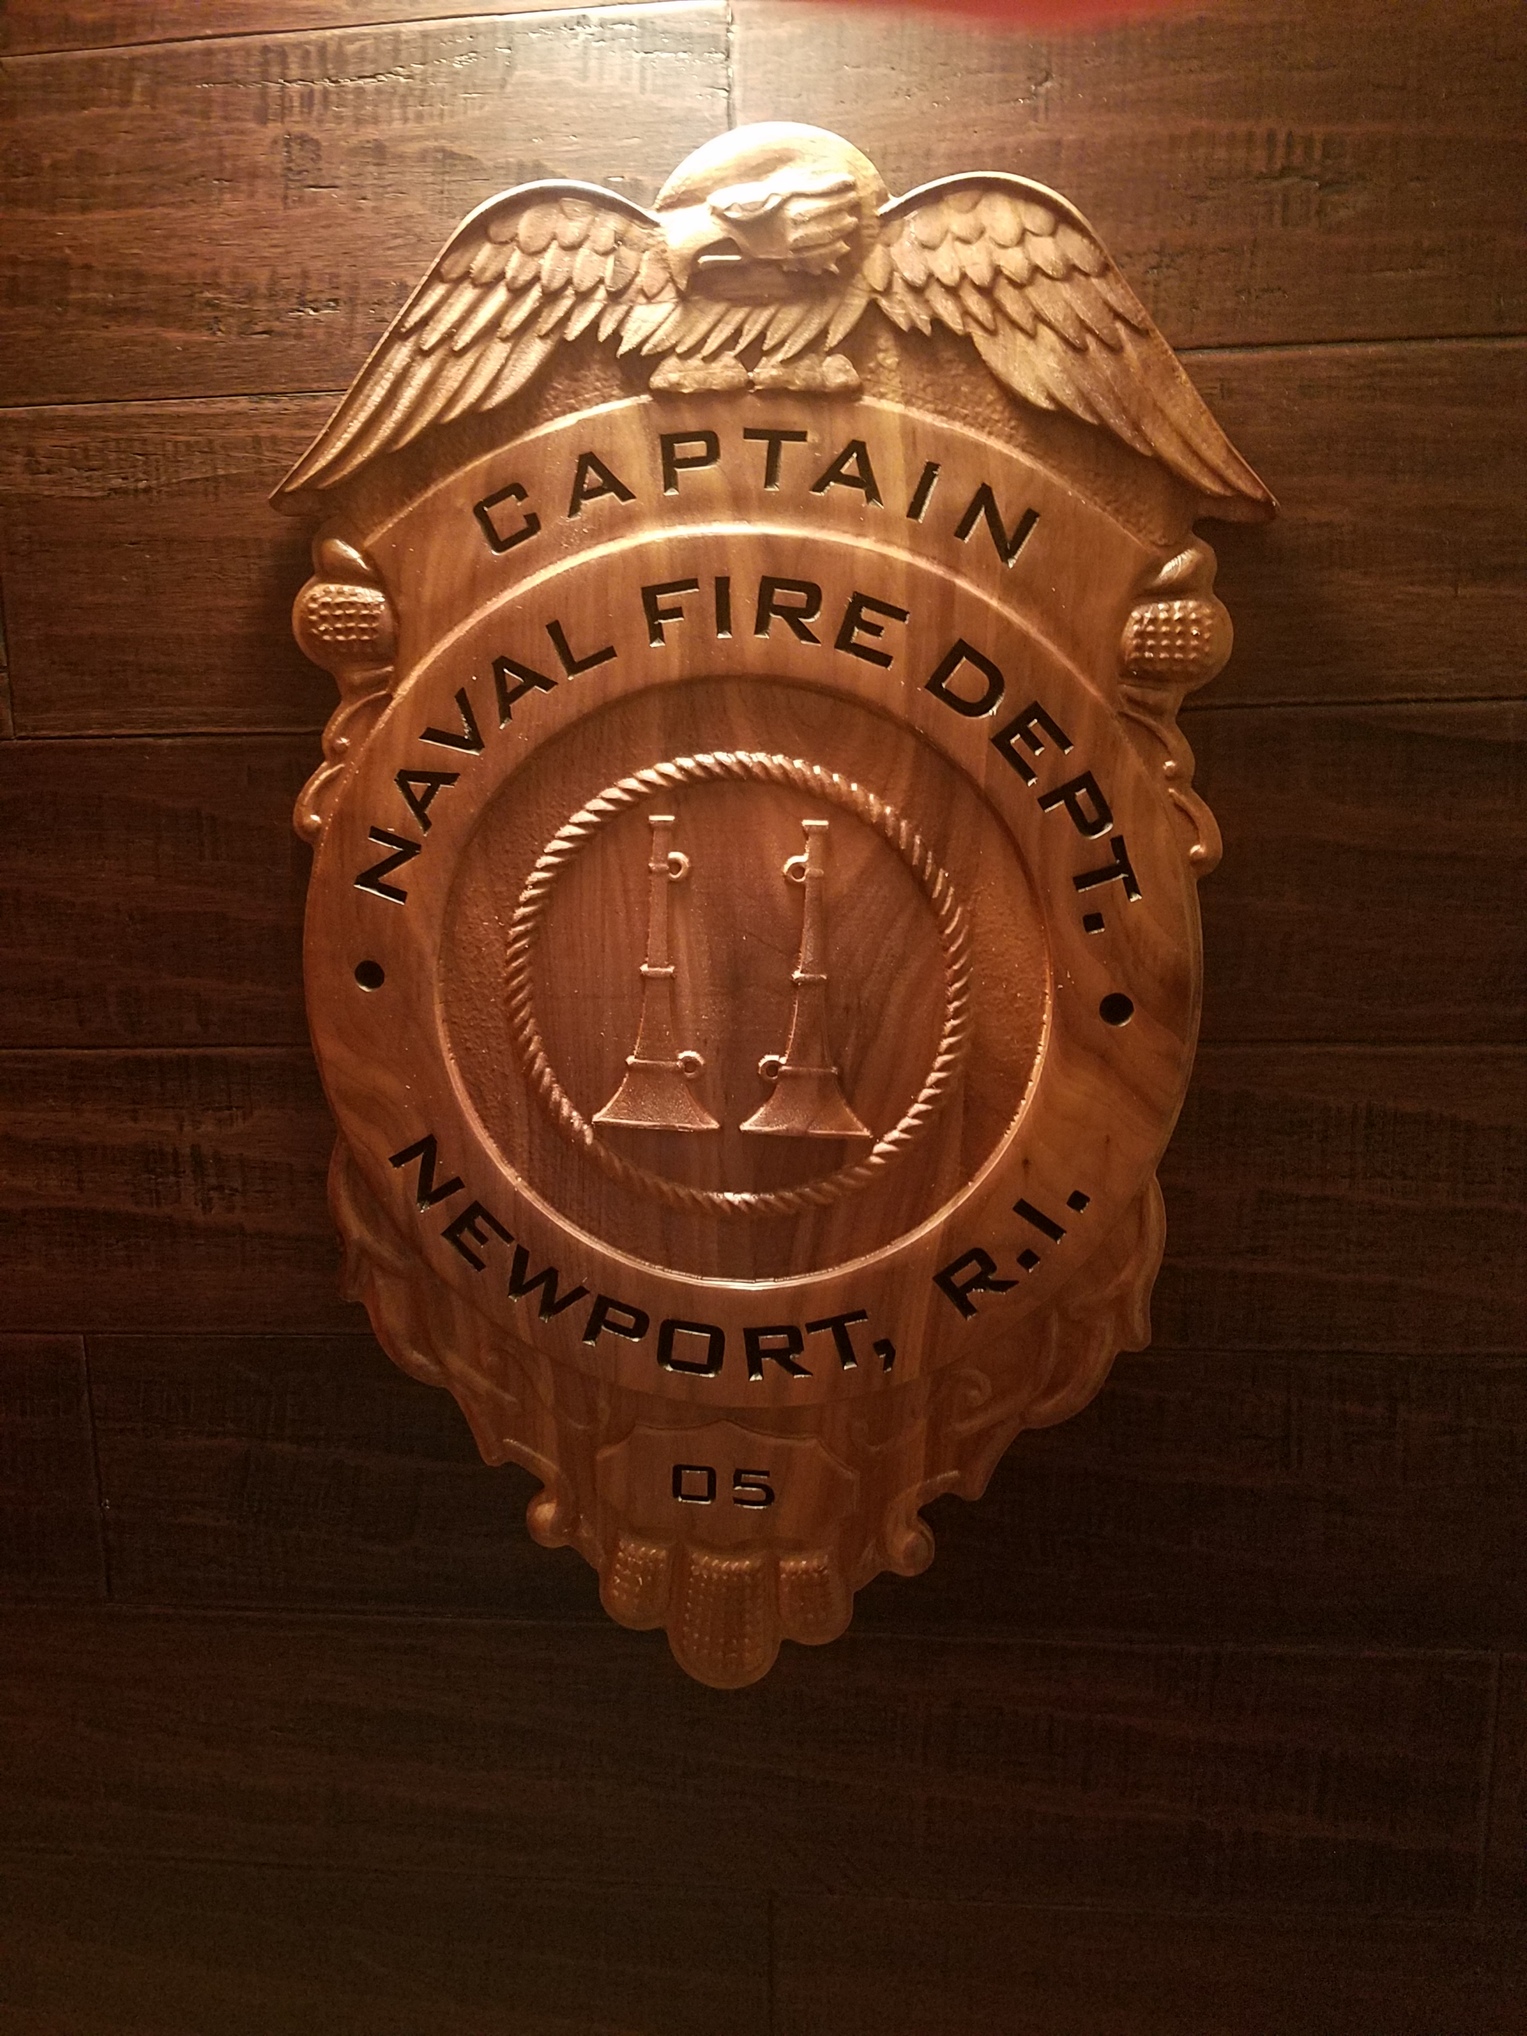
I run a 3d roughing pass with a .25EM around 80ipm. Allowance of .02".
I then 3d carve the entire model with a .25 ballnose around 150ipm.
I discovered REST machining on YouTube, using aspire. Basically it lets you select certain parts of the model you’d like to carve with more detail. So for this project I create a vector around the eagle, and some of the detailed areas around the border, and carve these with a 1/8 ballnose around 160ipm. Tons more detail than using the .25 ballnose, and I save the time of having to carve the entire piece with a smaller bit.
My feedrates are probably are not correct for what I’m doing. But I’ve made about 20 of these and haven’t run into any issues yet. I’d estimate the total cut time to about 6-7 hours for this piece.
*Edit : I leave the stepover at 10% to minimize scallops. Probably can get away with 13 or 15%, but this has been working well for me and I’m all about minimizing sanding time. Also plunge rates, while I’m not at my computer right now to verify, are probably around 60ipm.
From my understanding, increasing the stepover can dramatically cut down on how long it takes to carve a piece. But with the sacrifice being the raised area (scallops) between each pass being larger, requiring more sanding and hand finishing.
Theres a breakover point where the size of these scallops is not noticeable, I think I’m remembering somewhere in the 13% ballpark, but there are people on here way more knowledgeable that could provide better info on this.
Theres been some great posts on here that explain it in more detail if you search them up.
Mike
8 Likes
This topic was automatically closed 30 days after the last reply. New replies are no longer allowed.