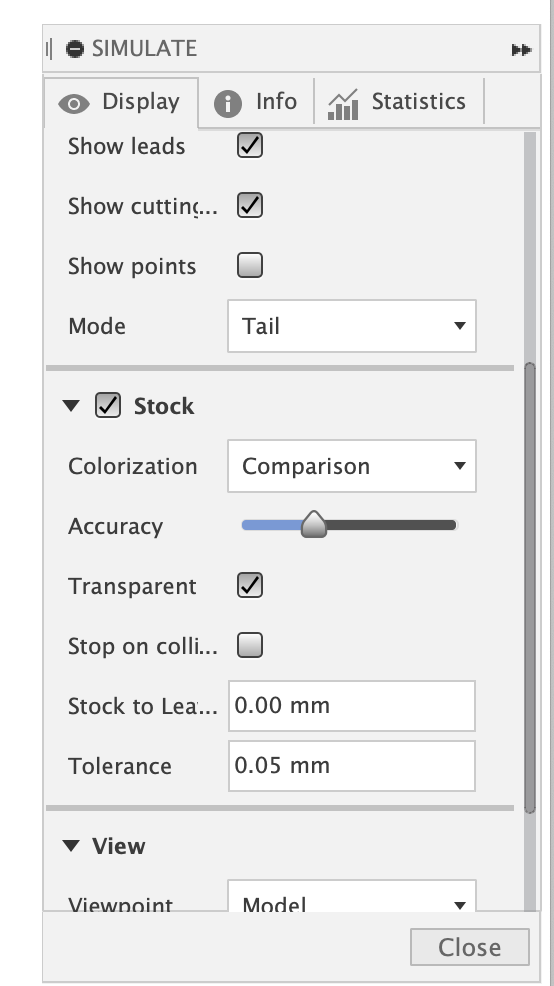
Are you using the Comparison option for Colorization on simulation to see red where model material is removed? You can also crank up the ‘accuracy’ slider to improve the resolution of the 3D model of the cutting simulation.
3 Likes
Well that was a contour marathon. Next step is to cutout to final dimensions of 32" x 8" and the flip and machine pockets on the backside. Really not looking forward to painting this thing…
3 Likes
Looks good, seems a shame to hide that nice grain under paint, but you’ll know it’s there.
Spray gun for the paint?
Unfortunately no spray gun… that’s why I’m not looking forward to that part.
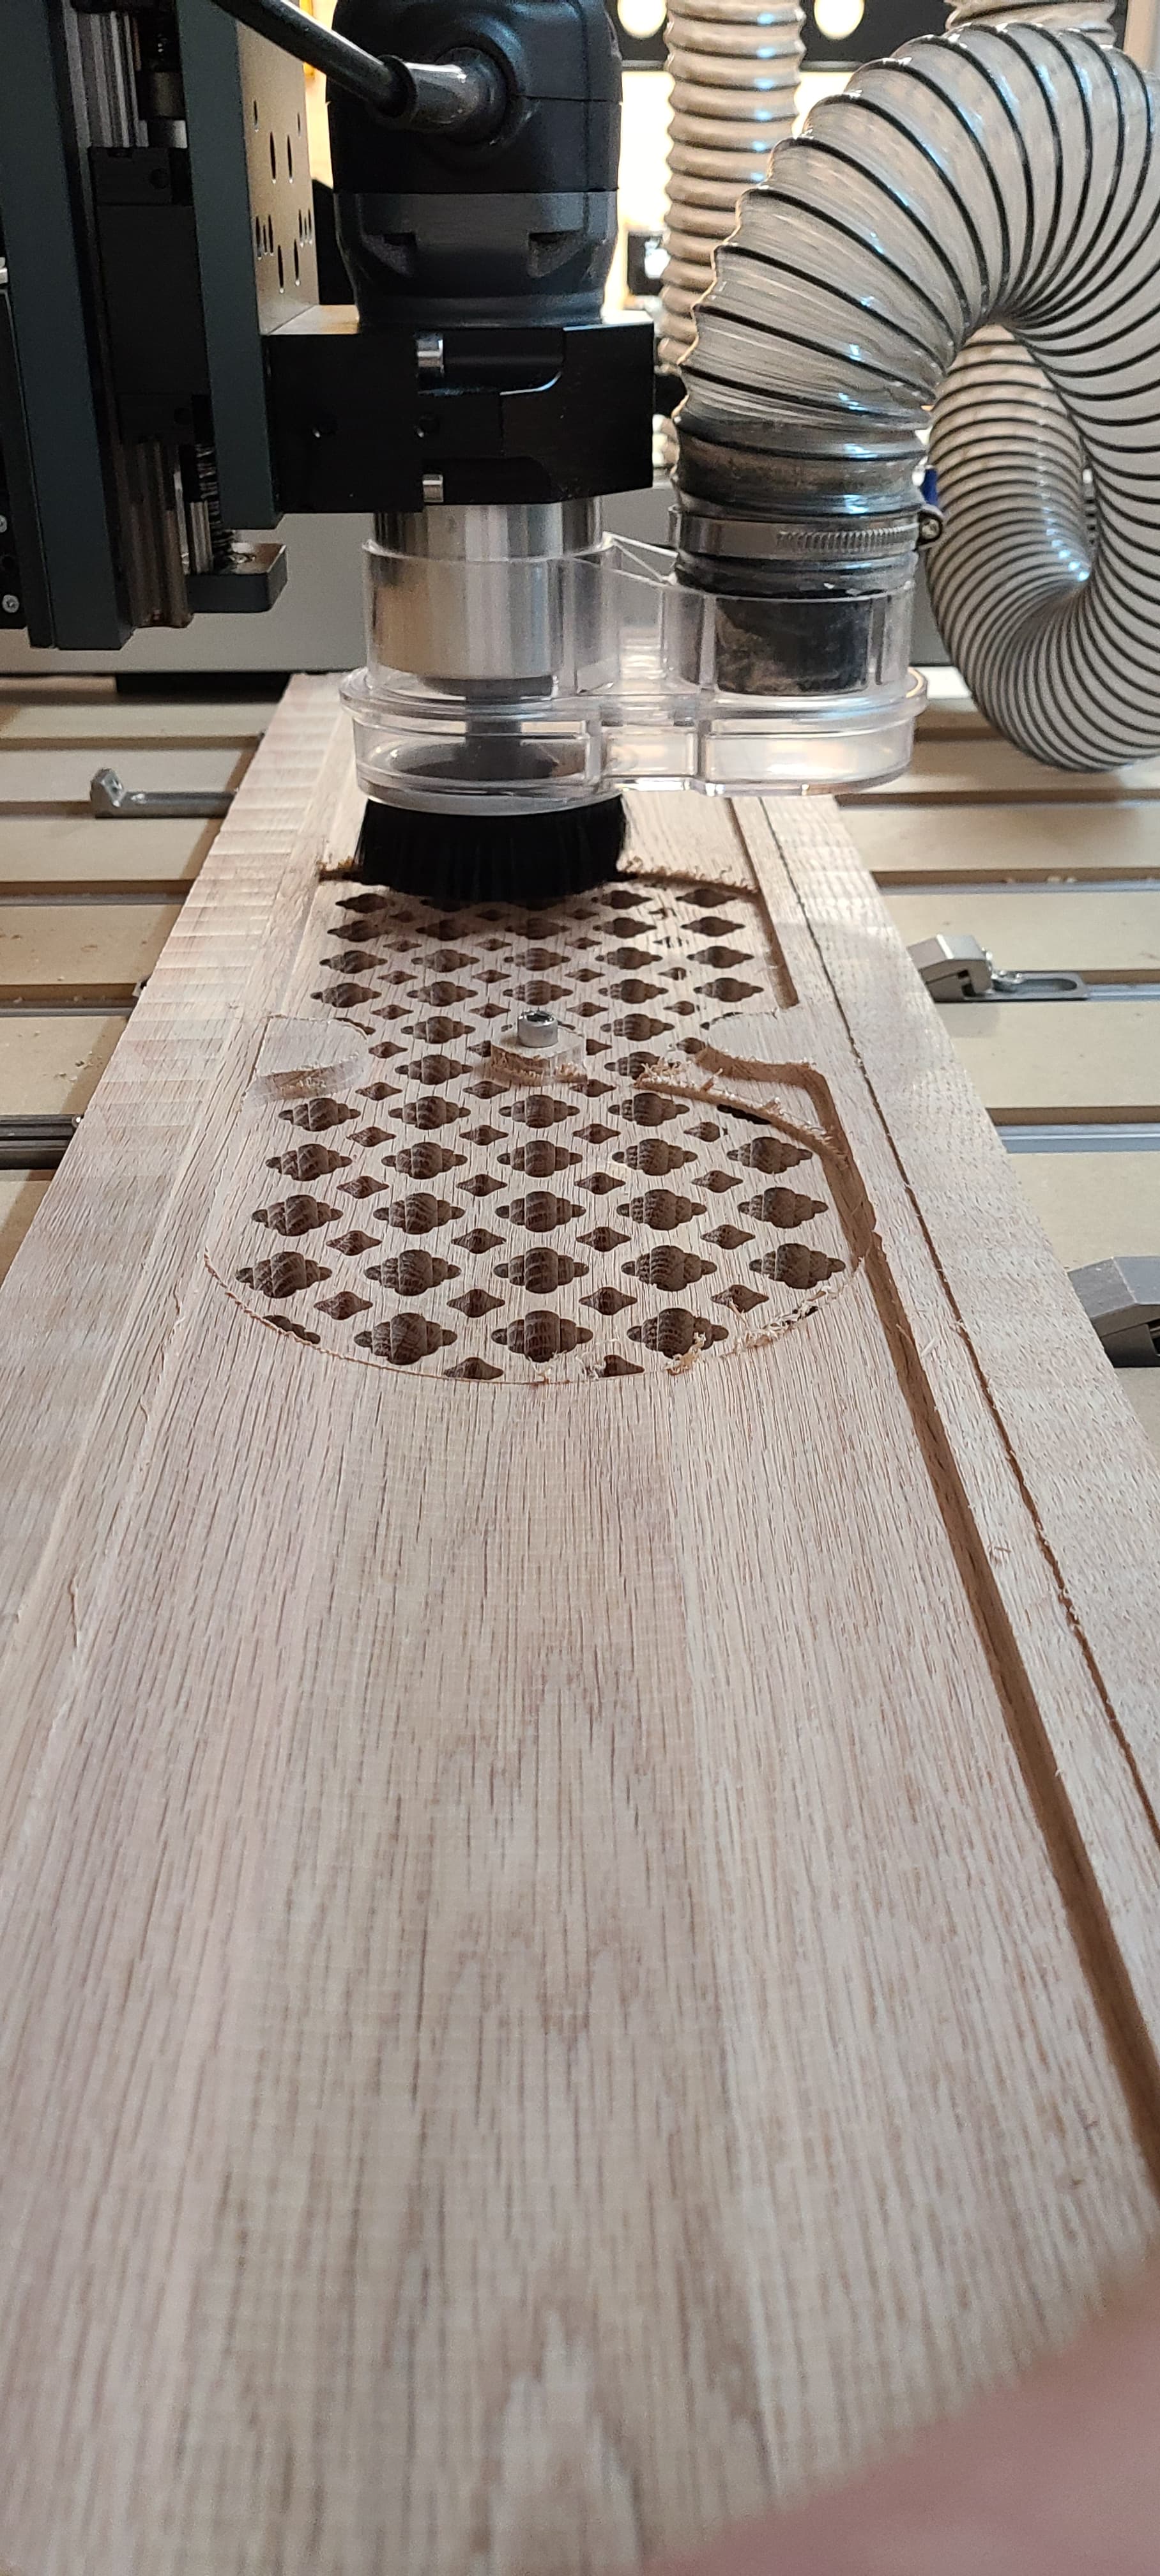
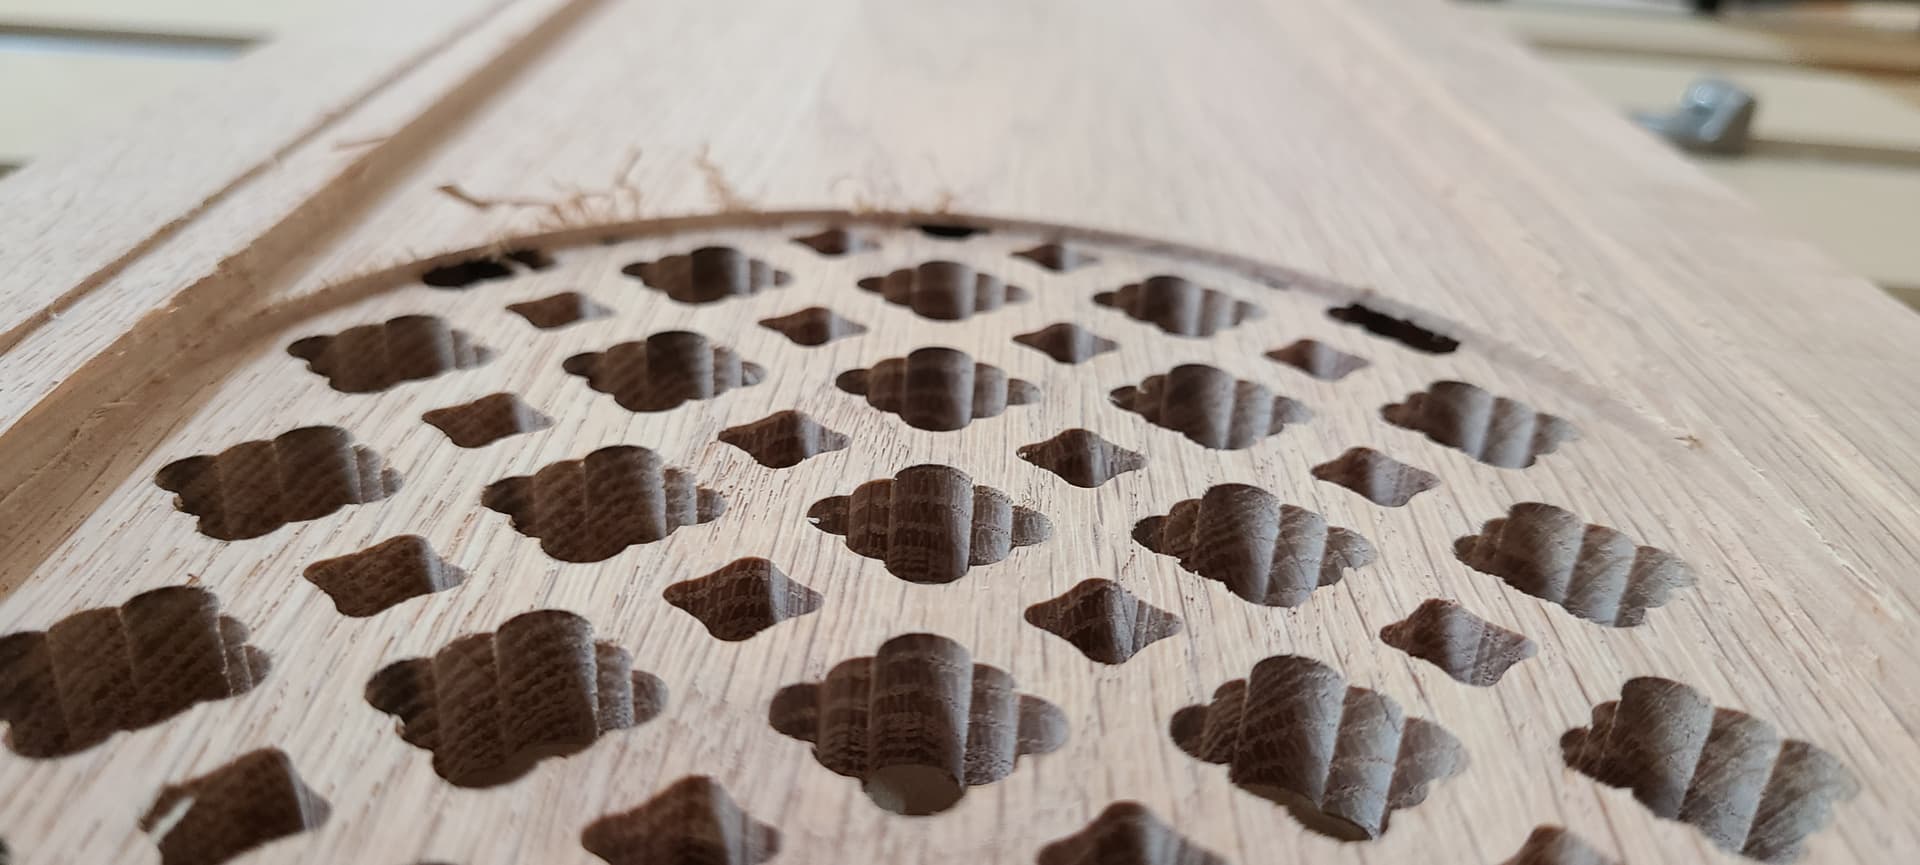
I must admit I was a little nervous about flipping the grate over and machining the back of the part. Was wondering how it would hold up to cutting forces but so far so good. 2 passes , the first leaving 2mm before getting to the grate and the second pass getting the remainder. Noticed in a few spots an onion skin barely covering a few holes but a light sanding should take care of that.
2 Likes
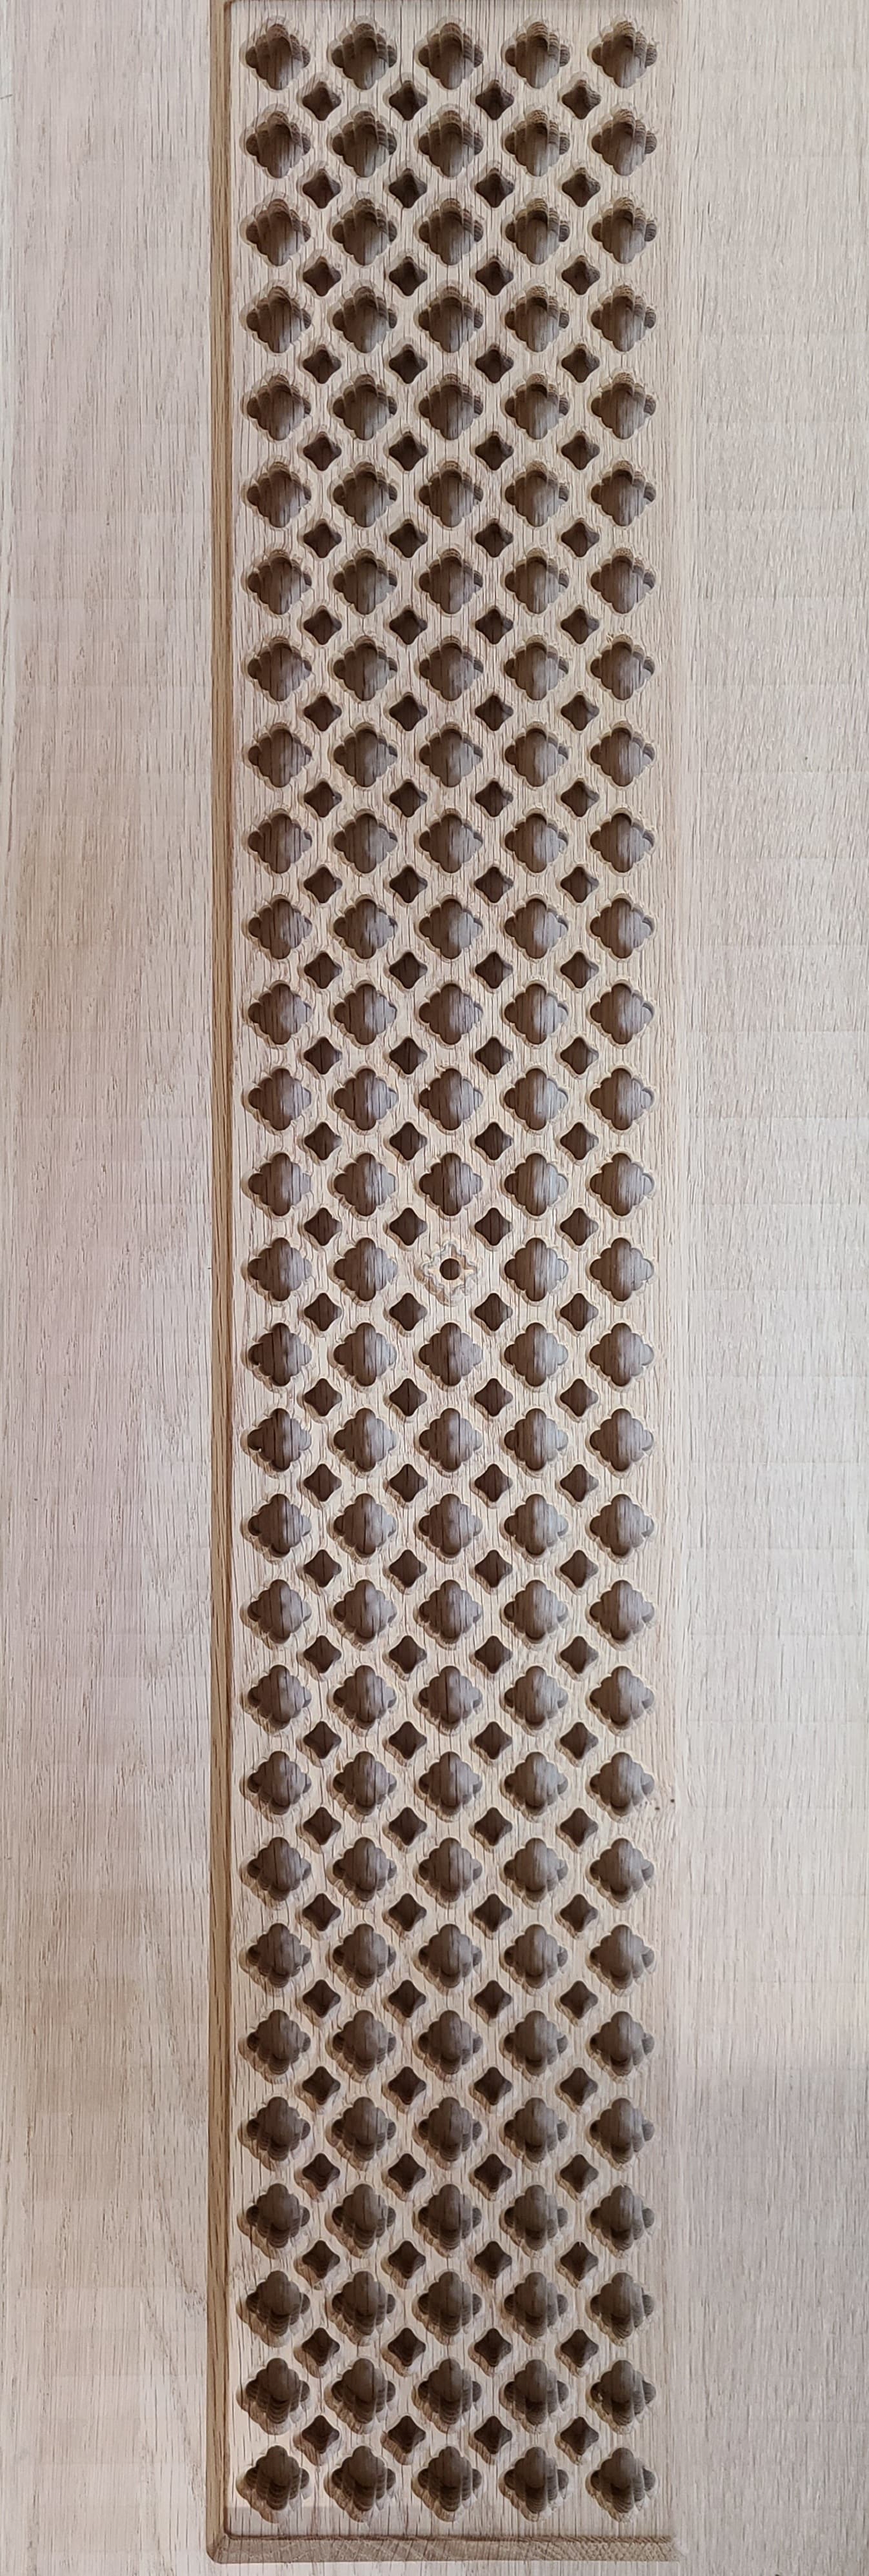
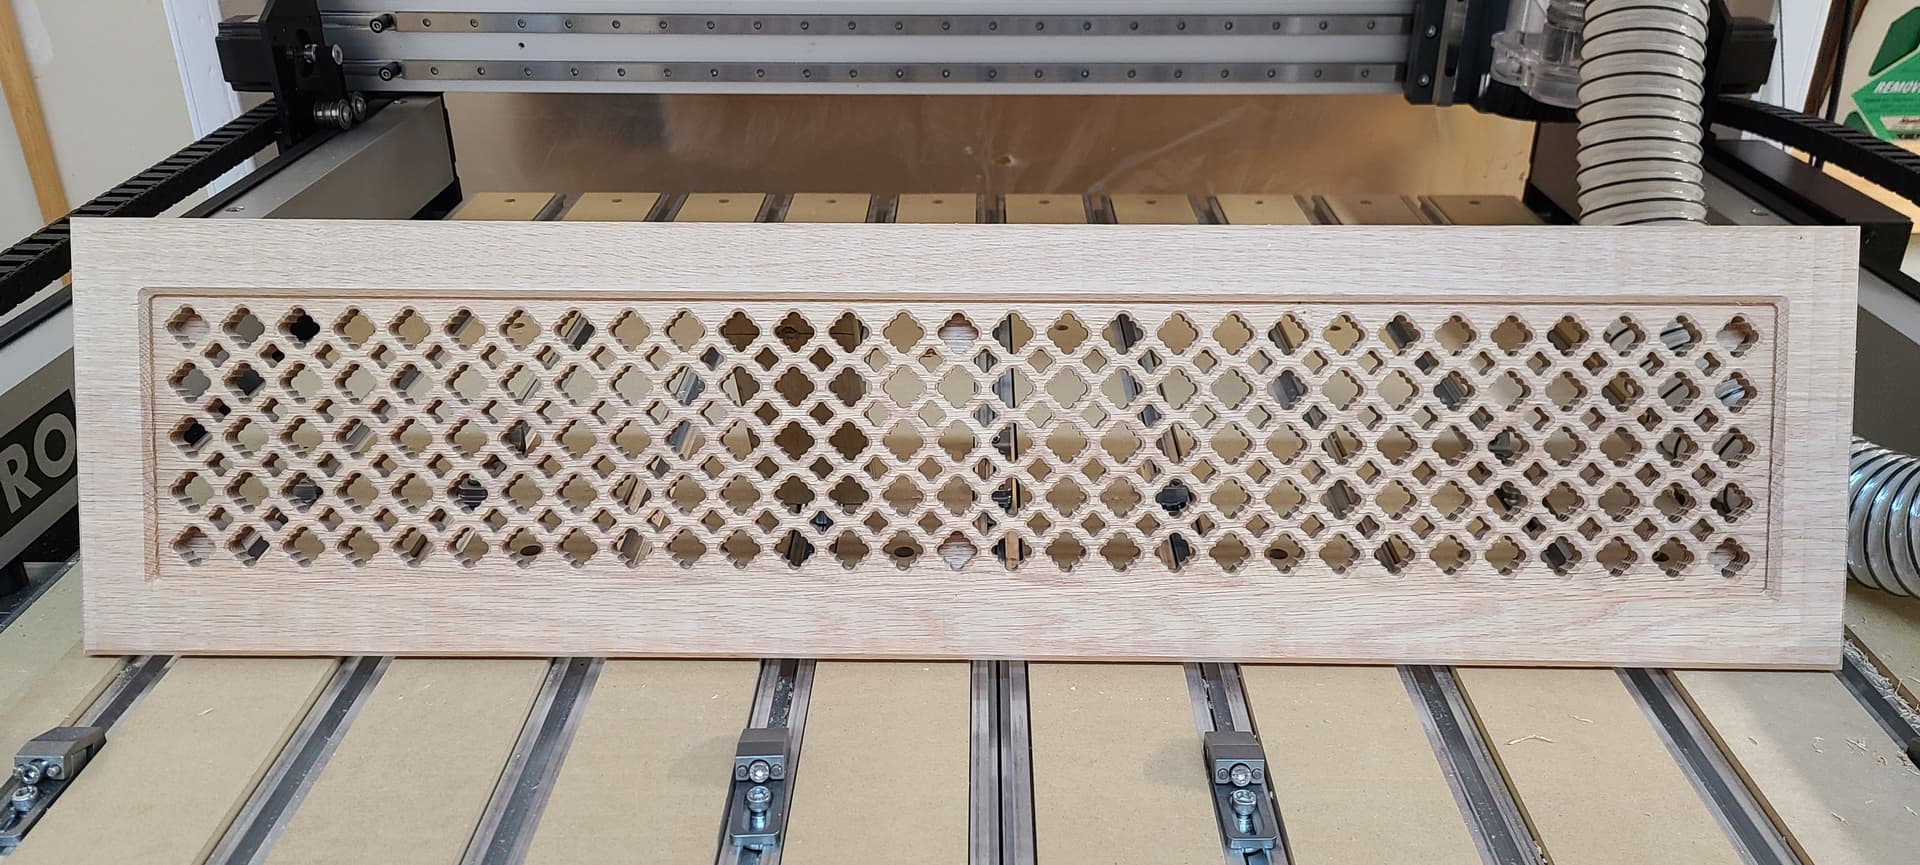
Just finished the wall grate and it turned out great. A bit of sanding prior to paint or stain with very little cleanup to do. If I can find a matching stain to some nearby floating shelving I’ll go with that option, otherwise I’ll paint it white to match the baseboard.
Front View
Back View

6 Likes
looks at this amazing wooden grate…
looks down at very sad cold air return grate…
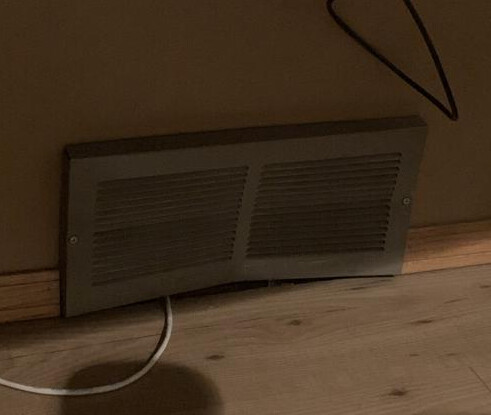
I should probably do something about that. yours is a grate inspiration.
6 Likes
This topic was automatically closed after 10 days. New replies are no longer allowed.