I’m wondering if you guys have any tips for speeding up the dry and cure time for oil based paint and clear coat?
Every time I have tried it has been a mess. Wintertime is nice as I have a wood stove to keep everything warm.
So, I do not try to accelerate paint drying with direct heat. A box fan works to move air BUT I do not put the painted surface where the air can cause ripples or blow dust on the surface.
Good Luck
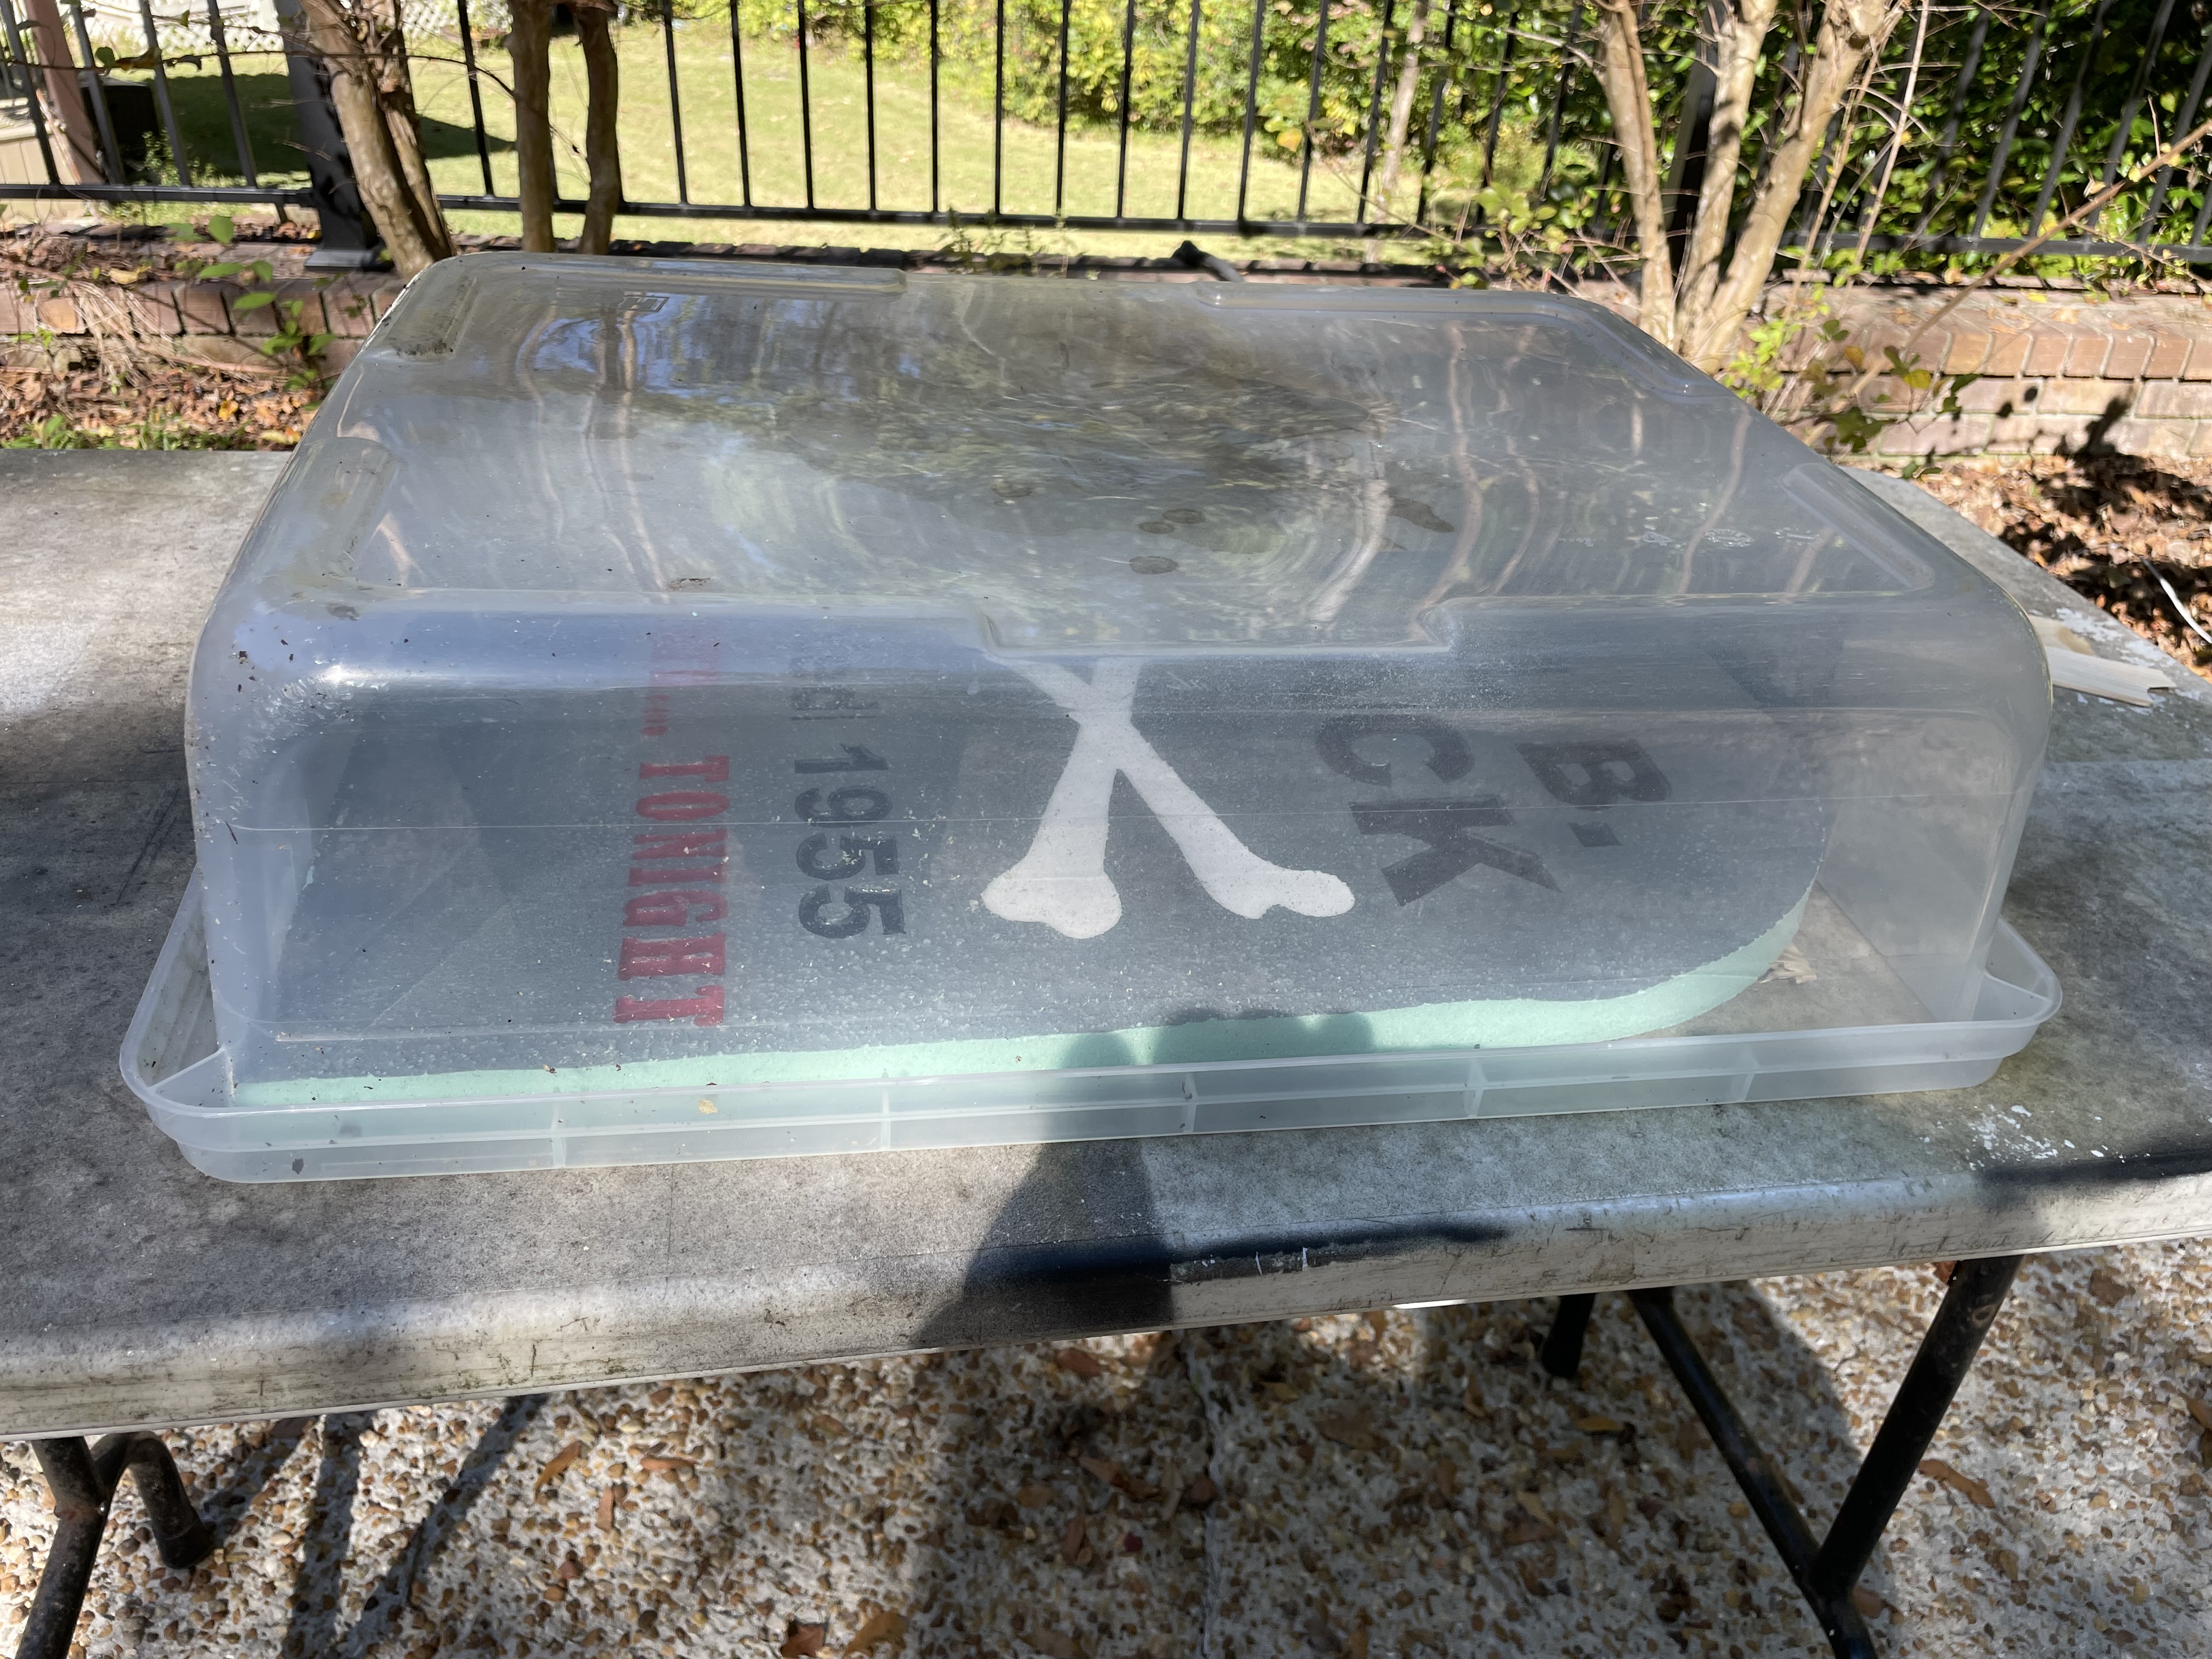
I did this to accelerate some epoxy curing time yesterday.
It was in the 60s here but the sun was warm and this acted like a greenhouse.
3 Likes
Oil based paint is off gassing chemicals and a reaction takes place to harden the finish. There is no real good way to speed up drying time without the possibility of the finish failing. I use Minwax wiping polyurethane a lot. On enclosed things like boxes I do not put polyurethane inside because every time you open the box you get the obnoxious polyurethane smell. I put a lemon flavored wax inside enclosed boxes to avoid that. The outside will be a lot more abuse with handling and so on so the inside does not need the poly and is much more pleasant when opened.
I paint a lot of vcarved things and will put two coats of Zinsser Universal Sanding Sealer (dewaxed shellac) on before painting with acrylic paint. This does two things. The shellac keeps the paint from soaking into the grain around your carving and helps prevent a halo effect. The second thing is down in the carving the shellac keeps the paint from soaking in and having to do multiple coats. I have found that black and red usually only take one coat. Yellow seems to take 3-4 coats before I get a good color saturation. Oil based paint and finish is very durable but tends to soak in more than water based products. The Minwax Polycrylic sealer and finish is very good and is very durable. It does not turn the project a yellow/amber hue and does not stink like oil based products. So for indoor projects water based may be a better choice and dries quickly and is very durable. Outdoor projects are different and the oil based products soak in and last longer. No outdoor project finish is forever. Over time the ultraviolet and the constant shrinking and swelling of wood causes the best finishes to fail.
Try the polycrylic water based finishes to see what you think. The sealer goes on with a milky color but drys to a clear finish. So dont be surprised if it looks milky when first applied it will clear up when dried. Sealers work well and usually save at least 1-2 more coats of just finish. The fibers of the wood are filled and help to make a smooth finish on woods like oak. Pore fillers also help with grainy wood like oak and Wenge to help smooth out the surface in preparation for finishing.
90% of any project is preparation. Neglecting a good prep leads to bad out comes on finishing.
4 Likes
I cut a hole in the top of my enclosure with a removable cover that fits the head for my dehydrator.
I can set it on 100-120° and let it run overnight. Epoxy is mostly cured by morning. I do need to turn the dehydrator off & let it cool. Work much quicker on paint.
1 Like
My plan is to eventually setup a cheap 2 man tent in the CNC room and modify it to dry the paint faster. It will have a blower pushing air straight out the window.
Here’s what I’ll be split testing:
- 2 brands of hardening catalyst paint additive
- Toaster oven (various temps and durations)
- Dehydrator
- Heat dish
- Instead of filling the pocket, just giving it a thin paint coverage (need to see how it will look)
- Less DOC
I have a control set up. Poured some paint into a 0.03" DOC item and so far it’s been 30 hours and the paint is still pretty wet. Can see my fingerprints and a shift in the top skin of the paint when I touch it. Pretty SLOW! Hopefully I can get it fully dried out in 12-15. I’ll share results in the coming days.
If you guys have any other suggestions for things to test please lmk. Thanks!
1 Like
Just curious, why oil based?
I don’t know almost anything about paint. I’m using oil-based enamel paint. Supposed to be super UV resistant and great against the harsh elements (heat cool cycles, rain, snow, hail etc)
Everyone is using that kind of oil-based paint to produce the types of products I’m making so I’m just following along.
1 Like
Oil based dried from the bottom up and water based from the top down. Or maybe it’s inside out and outside in.
The upshot is that when oil feels dry it is dry. When water based feels dry it likely has some more curing to do, that is why water based paints on cabinet doors always seem to stick.
I used oil on a dresser /
Changing table for the kids room because it cleans easier but it did take a long time to dry.
Maybe find out why and how the others making similar items you mention are doing it if you can.
In an earlier post you said “filling the pocket” that does seem like it would take forever. If you really want to fill it then consider epoxy.
Has anyone tried adding japan drier? Klean Strip Japan Drier White Spirits Paint Additive 1 pt - Ace Hardware
Interesting, that means the dehumidifier and toaster oven will probably work a lot better than the heat dish.
I strongly considered epoxy but it doesn’t have the UV resistance needed for outdoors. Especially in white.
Also considered using silicone which looks really good and is durable. The issue with it is that it can’t be leveled off in a way that looks perfectly clean. Tried various techniques but it didn’t go well.
I tried asking in the largest industry specific forum I could find but people weren’t sharing. Basically said you have to figure out your own process.
I have 2 different types I’ll be testing. One is Japan drier from another brand.
Will let you know how it goes.
All oil based finishes dry to the touch in about 24 hours. However is not fully cured for several weeks to achieve maximum protection. You can handle it after 24 hours but it is soft and easy to scuff.
1 Like
The Japan drier and other hardener product both work equally well. It speeds up drying time by a lot. Dry enough for a light pressure touch within a couple of hours even for slightly thick coats of paint. Very impressive.
The oven works really well too. I set it at 150f and within a few hours the paint was very dry, even areas that I filled up to a depth of 0.02". The instructions on my paint said not to heat it because it can altar the color, but it seems fine from initial testing. I tested both with hardener and without and the oven really speeds the process regardless.
The main mistake I made initially was applying way too much paint. I pooled paint into a 0.03" letter shaped pockets and it created a skin on top with wrinkles. Even after 4 days it didn’t harden fully.
Forgot to mention a little safety note, I put painted metal in the oven not wood.
This topic was automatically closed 30 days after the last reply. New replies are no longer allowed.