Tool marks in Maple

I just completed my first 3D carve using CC-Pro. That part, while not great, turned out OK for my first attempt. My question is on the pocketing tool marks left behind. After the pocket cutting was done, I could see, but not feel, the tool marks. I sanded where I could but after staining the tool marks are very obvious. I used a 1/8-inch downcut AMANA bit to cut the pocket from around the modeled elements. I should mention that before I started the cut, I also checked my spindle alignment and adjusted it to about as good as I can get.

Any ideas how to get the tool marks out and how to prevent them next time?ToolMarks.pdf (3.1 MB)

My solution for large areas in decorative designs is to embrace the tooling marks and fill the area with a texture if the design is appropriate to it:

If the design needs a flat, smooth, unmarred surface then you may be able to get a smoother one by leaving a roughing clearance and taking a finishing pass — if your CAM tool allows, using a different sort of toolpath may help as well.

For any remaining marks, my go to for such is a card scraper:

https://www.leevalley.com/en-us/shop/tools/hand-tools/scrapers/32639-super-hard-curved-scraper-sets

or

https://www.leevalley.com/en-us/shop/tools/hand-tools/scrapers/32644-burnisher-scraper-set

and

https://www.leevalley.com/en-us/shop/tools/hand-tools/scrapers/32670-super-hard-milled-scrapers

or

https://www.leevalley.com/en-us/shop/tools/hand-tools/scrapers/32672-miniature-scrapers

You’ll want a stone for sharpening them, and a burnisher for turning the edge (when I was a kid I just used the shaft of a screwdriver). They also have a specialized scraper which I’ve been considering:

https://www.leevalley.com/en-us/shop/tools/hand-tools/scrapers/110314-detail-hand-scraper

2 Likes

Thanks Will. I will try scraping and see what happens.

few basic things you can do, all will take more cutting time.

  1. Use a smaller stepover (default is 50%… 25% or 20% will give a much tighter result)

  2. Add a small finishing pass. With CC, you can do this with a bit of manual math. If your total cutting depth is X, CC will cut several layers that are “Depth of cut” deep, and the last layer will be the remainder (so X - n * DOC). You can tweak DOC from the GUI such that what remains is 0.01" or even 0.005" (something like 0.1mm in metric) and the last pass will then be thin

  3. Combine 1 and 2. First do a toolpath (with normal DOC) to a depth 0.01/0.005 higher than the final depth, and then do a second toolpath (with appropriate start depth so that it is only 1 cut) to the final depth with a much smaller stepover

these toolmarks come from a few different sources; the machine not being perfectly square (warning: Rabbit hole, perfect square is unachievable to the 0.000000 degree)… this is where the stepover will help, tool deflections (this is where finishing passes help) and outright tool geometry/quality (sharp bits give less of this), this is where both options together will help

4 Likes

Milling will leave milling marks. It’s a characteristic of the process.

1 Like

In my example, I ran a finish pass with a depth of what I thought was a very small remaining amount. I did not change the stepover so I will need to see how that affects the carve.

Do you get more or less tool marks with a harder wood? This was my first carve with Maple. I have seen examples from sign professionals on Etsy (who I assume have much bigger equipment) where they produce signs with no obvious tool marks on the background and with very detailed 3D carvings. The signs are also pine which is what got me thinking about the wood species.

I’ve had more trouble with “stringy” woods, the strings can do evil things like wrap around the bit and causing weirdness that way, or tear out.

So I’ve had my machine for almost two years now, and I’ve learned a lot about tuning it during that time… and I’ve had times where my toolmarks where very distinct, but I’ve managed to be able to basically have near zero now (most of the time, sometimes things go out of whack)

First of all, if you don’t have one of those little square digital levels yet (https://smile.amazon.com/gp/product/B0797R51WX or similar, there’s dozens, they’re all about the same as far as I can tell), get one… they’re not expensive and extremely useful.

With one of these little squares, you can set it on your wasteboard and make that your zero for the level… (or do what I did, and make sure the wasteboard is level itself)

Then you can use that square to make sure the X beam is level (and if not, adjust it until it is with the screws on the sides)

and once the X beam is level, you can use the square to make sure the body of your router is square to the wasteboard (e.g. 90/270) degrees, and adjust the Z carriage until it is.
(I also have a “big” level, but the nice thing about these little squares is that they nicely fit underneath things and you can use them to measure the router body)

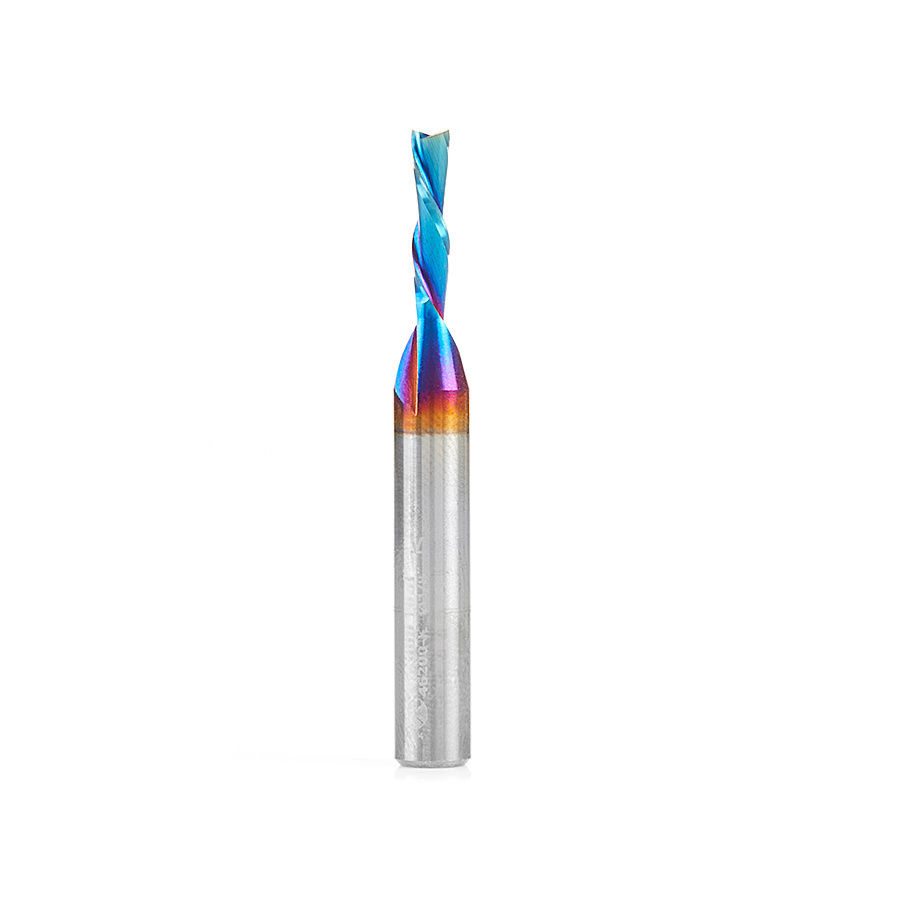
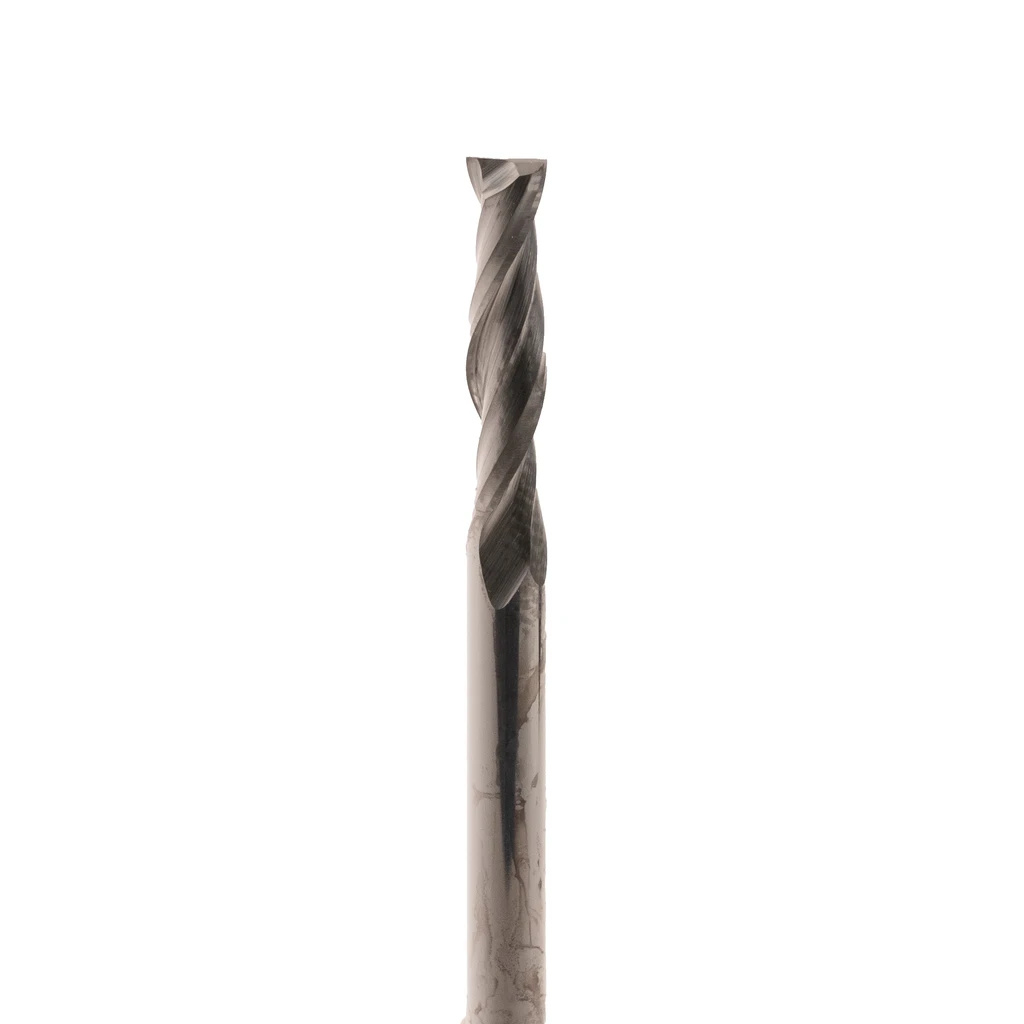
Also I have learned to make sure that there is no wiggle in the collet of the router (that’s an indication that one of the V wheels is loose. A loose V-wheel will cause these ridges all by itself, so even before you try squaring, make sure you have no loose V-wheels)

And the last thing I had to learn the hard way is to make sure the work holding is SOLID. I’ve had wood warp on me while I was cutting and that also gives very weird marks. I’ve also had my dust collector brushes do evil things that also led to similarly weird marks (sadly I had that happen today)

So once the machine is square, you’ve taken care of “static” ridges.
But there’s also “deflection”, which is more or less proportional with the forces on the machine as it moves through the wood. Higher RPM, slower feedrate, shallower depth of cut and less stepover all reduce forces. As does having a nice sharp bit.

Reducing stepover works in two ways, it reduces the forces but in addition, if your machine is not 100.00000% square, it reduces the distance between these marks, and by that, it also reduces the depth of them (to exaggerate, think as if your bit was cutting parallel passes under a sideways 45 degree angle… by halving the distance between the passes, you would also reduce the depth of the grooves that the angle causes)

having said all this, I just cut some pockets in cherry with an 1/8" downcut bit with mostly standard settings (40 ipm feedrate, 50% stepover, 0.039" DOC) and there were just about no marks. My last pass ended up at 0.01" or so, that worked out well :slight_smile:

I knew I was going to put some paint in the pocket, otherwise I’d have likely done the “do the normal cut 0.01” higher, and then a cut with smaller stepover at full depth" thing… but even without the paint it might not have been needed.

If you want to go super advanced there are tools to make the feedrate more dynamic, to limit forces even more and keep them more constant… (think of this as post-processing the carbide create output)

5 Likes

Thank you for the help. I did try to tram my Z-axis but I think I need to spend more time to do it correctly. I think I will also try a 0.01 cut on my next cut.

I greatly appreciate your assistance!

I don’t have any evidence, just my own observations and conclusions.
Here is a picture of the Amana 1/8 downcut bit…

Take a look at the business end of the bit, and notice that it is not flat.
Now compare that to a Carbide 3D’s 1/8 upcut bit (aka 102)…

Someone with a lot more experience can tell me if my observation has any validity, but just looking at the tip of the bit is suggesting to me that a (true) flat bit will leave a better surface at the bottom of a pocket than a bit that isn’t actually flat (are all down-cut bits near-flat like the one pictured?)

I suspect that if it rotates quick enough… it shouldn’t matter what the exact shape is ?

1 Like

Sounds like I need to test both bits in a side be side pocket cut…when I find time. Somehow work always gets in the way of play.

This topic was automatically closed 30 days after the last reply. New replies are no longer allowed.