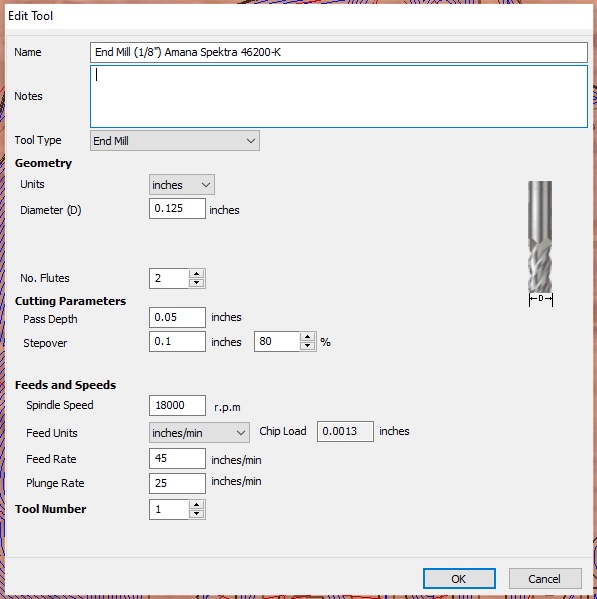
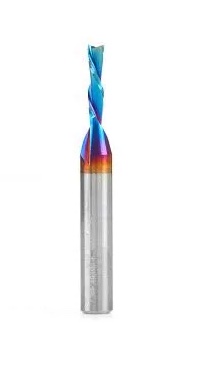
Hello!I have been running into an issue while cutting pockets on a baltic birch sign. I’m using a Shapeoko Pro XXL cnc router with an Amana Spektra 46200-K endmill (1/8" Downcut). The problem is that I’m getting ridges / tool marks in the bottom of the pocket. The cut depth is 0.075" and after research, I tried adding a finishing pass that only cuts down another 0.025". The strange thing is, one one part of the sign the bottom is smooth as glass, but in another part it has the ridges.
Is there a better endmill I can use for the finishing pass?
Is there an issue with the plywood itself (maybe some areas are softer than others)?
Are my speeds and feeds workable?
I’m new to CNC routing, and any help would be greatly appreciated, thank you!
How does your depth per pass relate to the depth of the pocket?
I find it helps to ensure that they don’t divide evenly, so for instance w/ a depth per pass of 0.125" and a pocket depth of 0.5" which would result in 4 full depth passes, instead reducing the depth per pass to 0.12" results in 5 passes, the last of which is only 0.02" — essentially a finishing pass.
If I still don’t have a good bottom surface to the pockets, I’ve found working up a finishing pass which cuts to the same depth and uses a different stepover will usually even things out nicely.
Hi @WillAdams - thanks for the reply. I set the total cut depth to be 0.075" - Vcarve automatically set 2 pass depths to run at 0.0375" each.
When you say that “working up a finishishing pass which cuts to the same depth” - do you mean create another pocket using a different stepover? Or are you saying to add another pass on the current pocket with a smaller stepover?
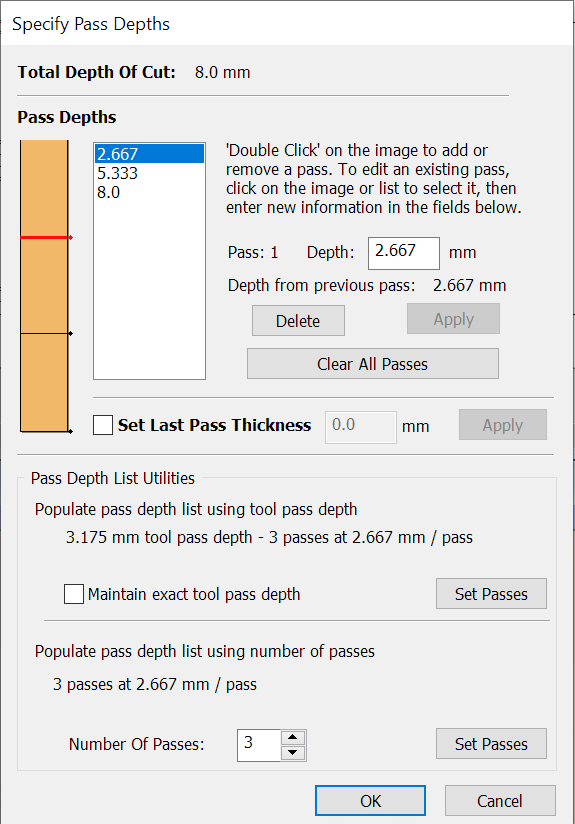
I would suggest changing the depth per pass from 0.0375 to 0.037 — that will result in 3 passes, the last one being 0.01"
Yes, if the above technique doesn’t work out, then run a second pocket Toolpath which cuts to the same depth as before, but takes only a single pass and which has a different stepover.
@WillAdams - thanks for the explanation… great info!
@CrookedWoodTex - Gothca! So, I haven’t resurfaced the wasteboard in quite a while, and it is pretty scarred. I’ll try the final pass suggestion and then resurface. Never knew about tramming (still pretty new to CNC). Will check it out now.
@TOOLFOOL - I would have to say no… I’m just hearing about it - checking it out on YouTube now.
(edit: I was assuming the VCarve you mentioned was a product reference, but it could have been a CC toolpath name reference - sorry if I read it the wrong way!)
I am not sure if your VCarve reference was for the Vectric product - ignore my post if it was not.
You don’t need to do a final pass like this unless you are concerned about the quality of that last pass, or if you are cutting out metals and you need to make sure the last pass is done accurately.
No need to worry if you are filling the hole with opaque epoxy, for example.
I’ve found that with plywood, I get better or worse surface finish depending on the depth of my pocket I’m cutting in relation to the layers in the stock.
Also, downcut bits are more likely to leave tearout and stringing on the bottom of their pocket. You may try swapping to an upcut bit to do most of the roughing in that pocket and then come back with a finish cut around the contour to leave a pretty edge around the top.
Thanks again for the suggestions. The last Here’s what I’ve tried so far:
Tramming the machine
Resurfacing the wasteboard
Changed the toolpaths
– 1st pocket to 0.11 inches with Amana 46200-K 1/8" Downcut endmill
– Finishing pocket from 0.11 to 0.12 with HQ Master 3.175mm Double-Edge Straight cut endmill
You can see that there still are toolmarks, although much fainter on this latest attempt. For what it’s worth, the process above has produced the cleanest finish I’ve seen on my machine so far.
@potato - Thanks for your suggestions as well. In addition to changing endmills, I have adjusted my depth of cut to try to keep the pockets even with a single layer of the plywood stock. I have a shelf full of plywood blanks, so I’m stuck with the current batch for the time being. Do you have any suggestions of what to look for in selecting more “pocket-friendly” plywood in the future?