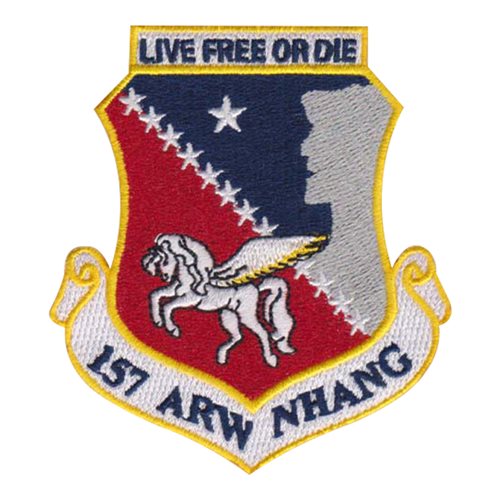
I was approached today by a guy at work and he wants me to make this for him to give as a retirement award. Is there a trick to getting better results from the tracing feature. I have scoured the web trying to find a better image quality but noting seems to be working that great in the trace image. Any help would be greatly appreciated. Thanks
That looks great, They dont want it colored just outlined from what they said. I will trace this and keep working it till I get a good copy. Thank you again.
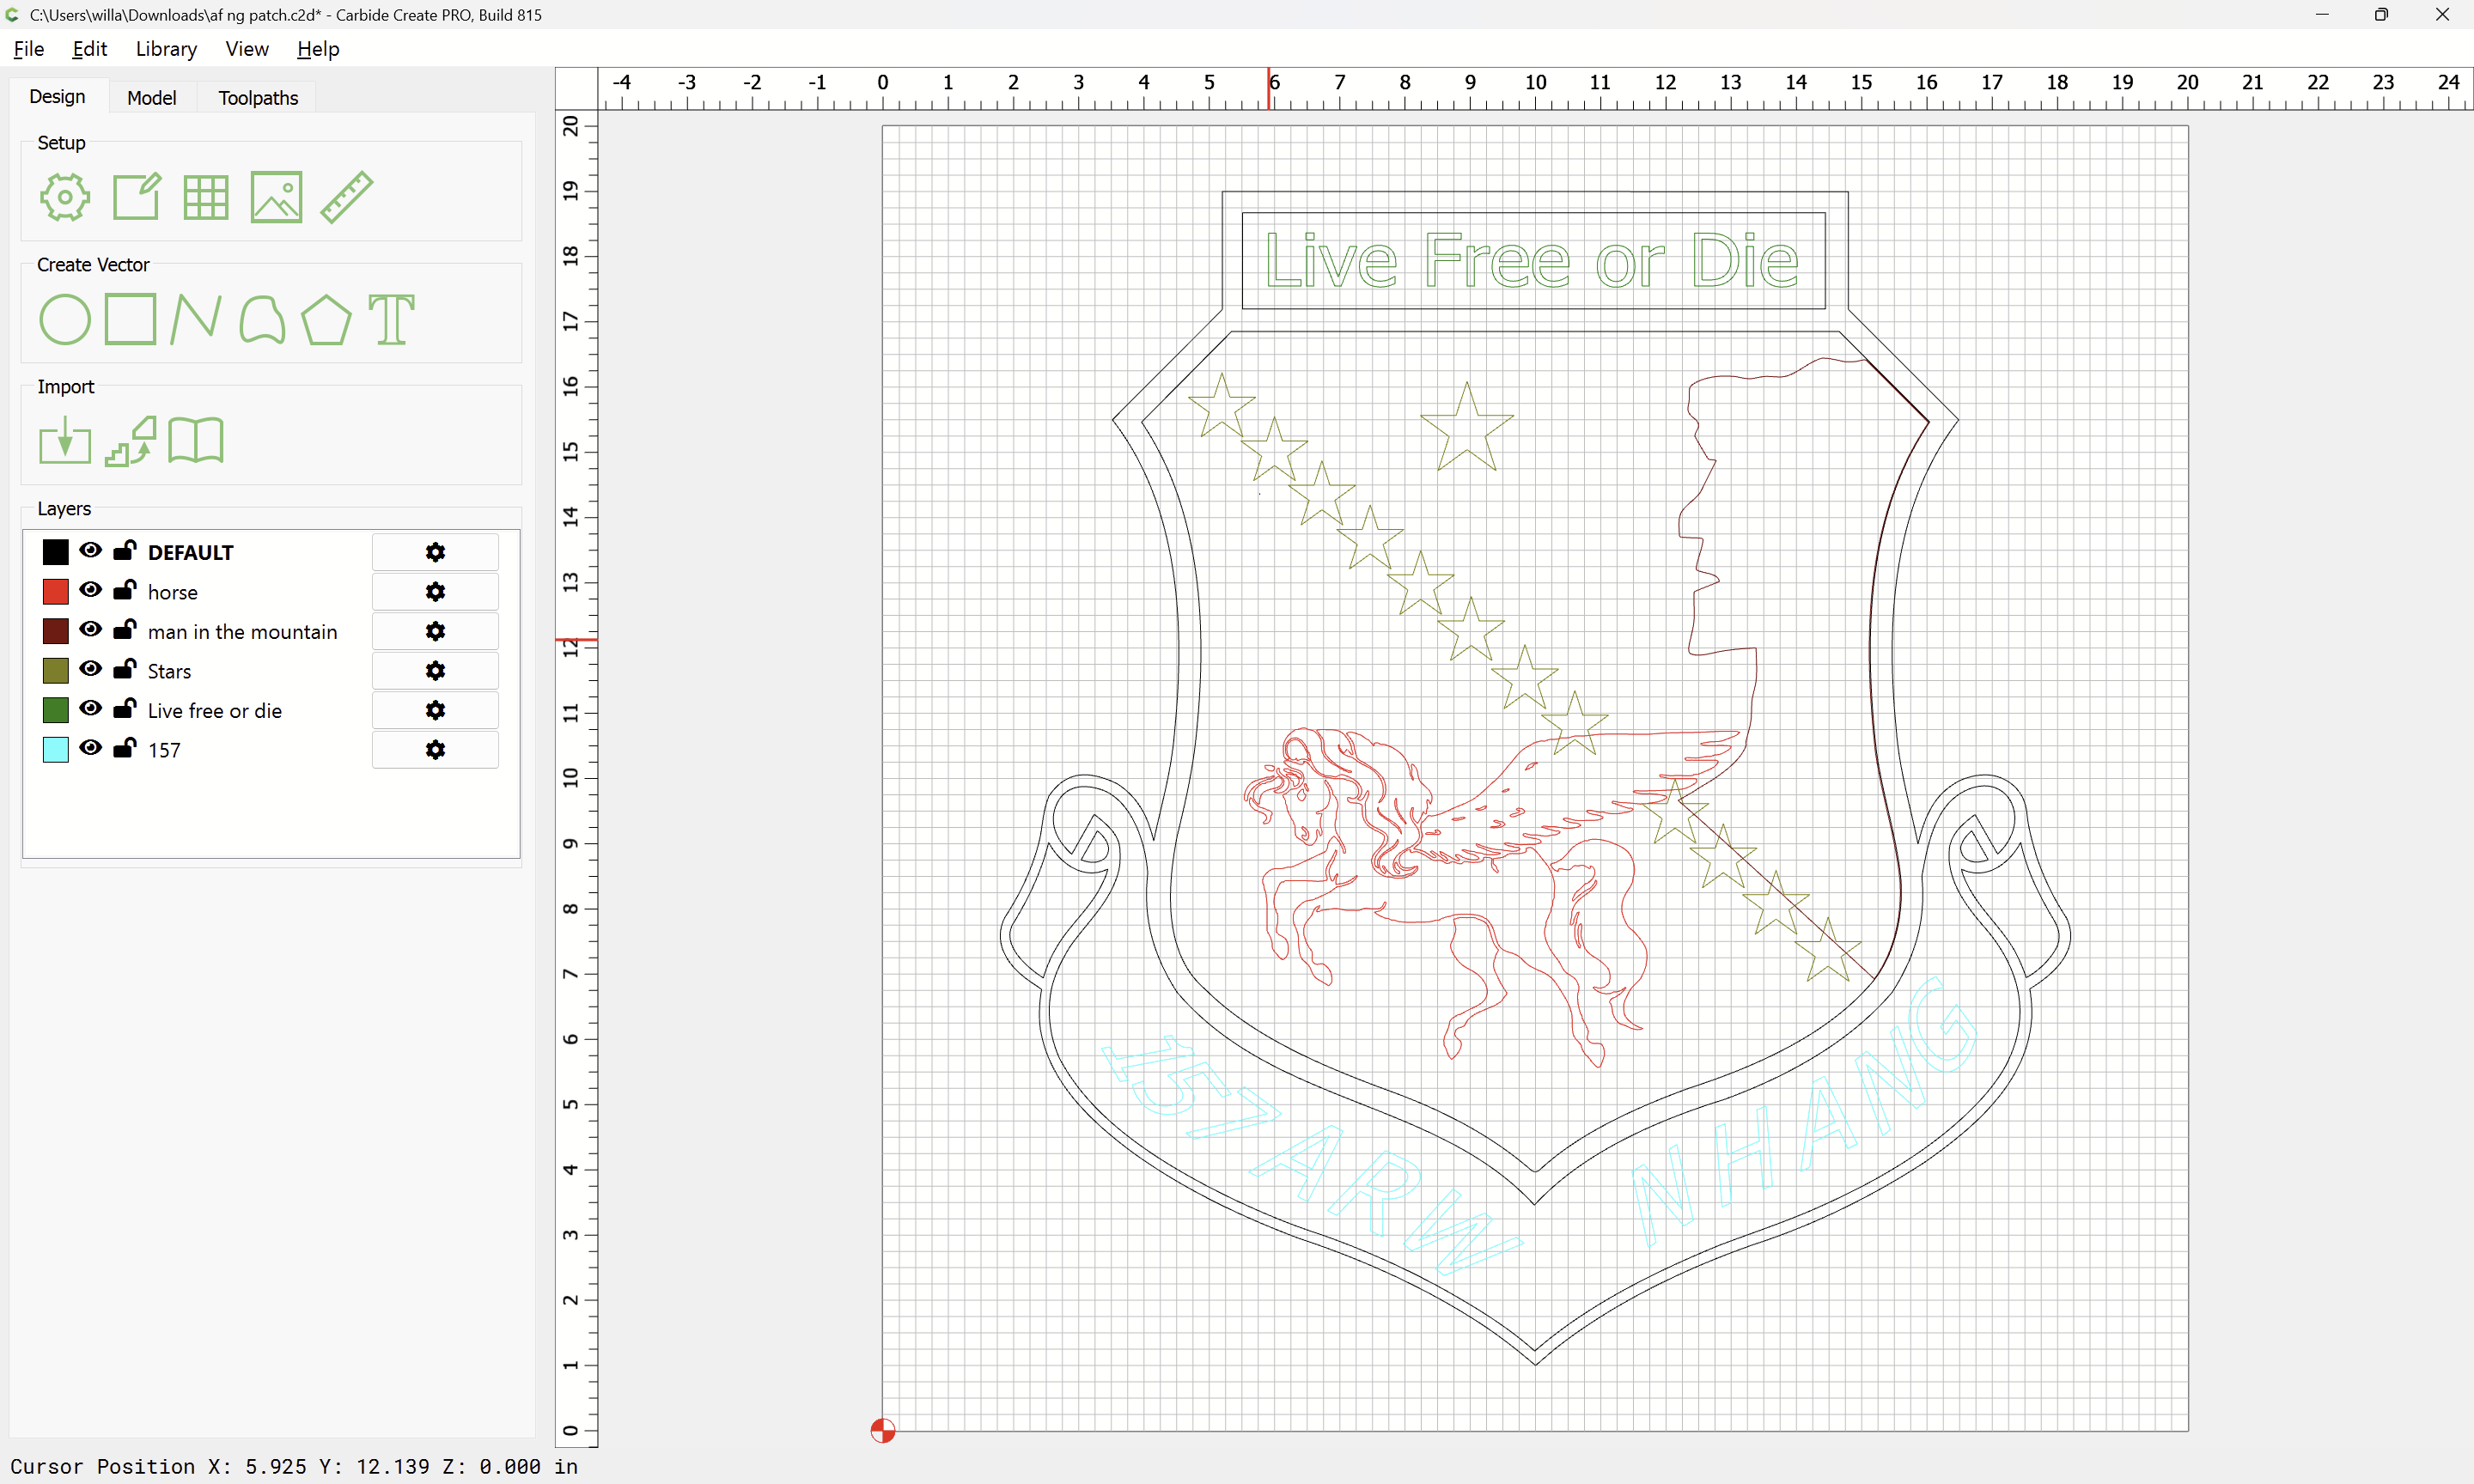
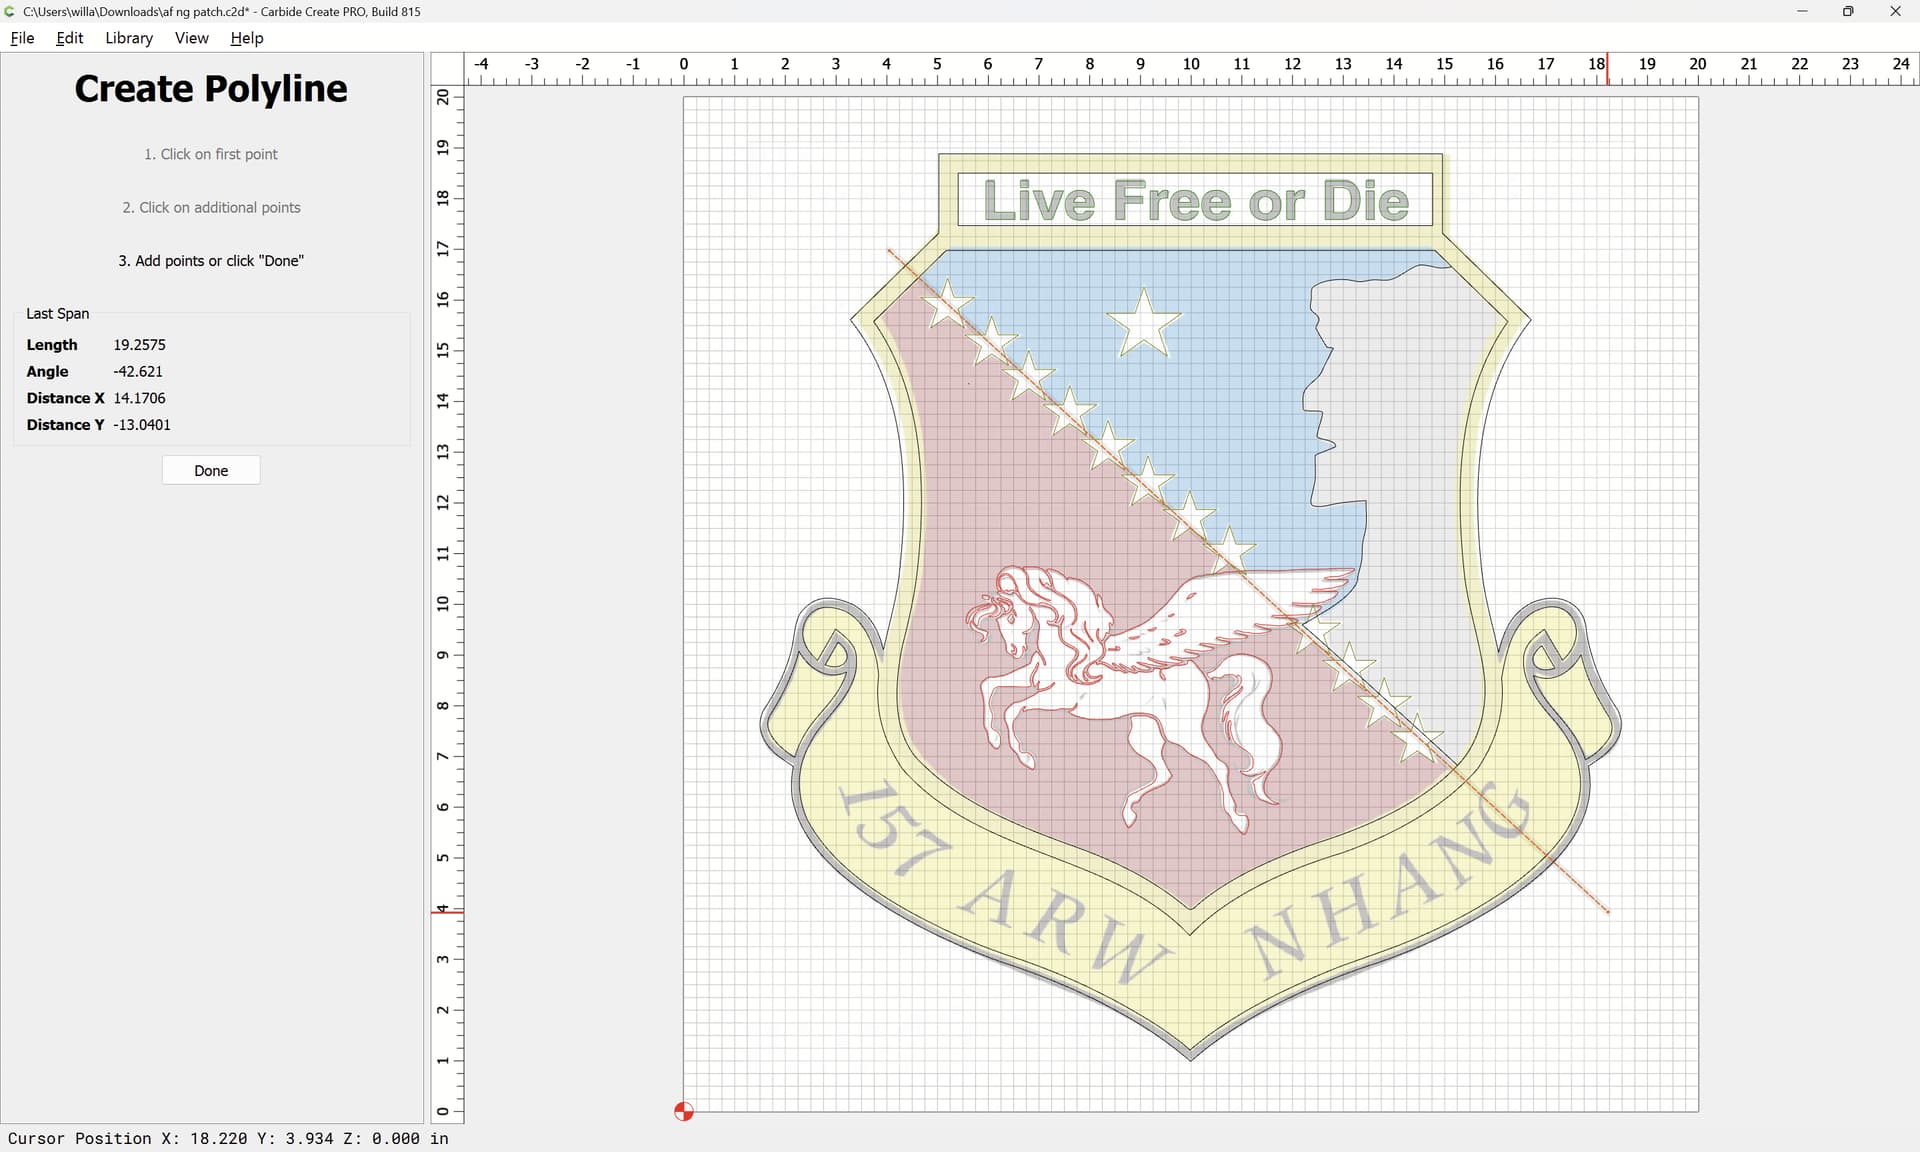
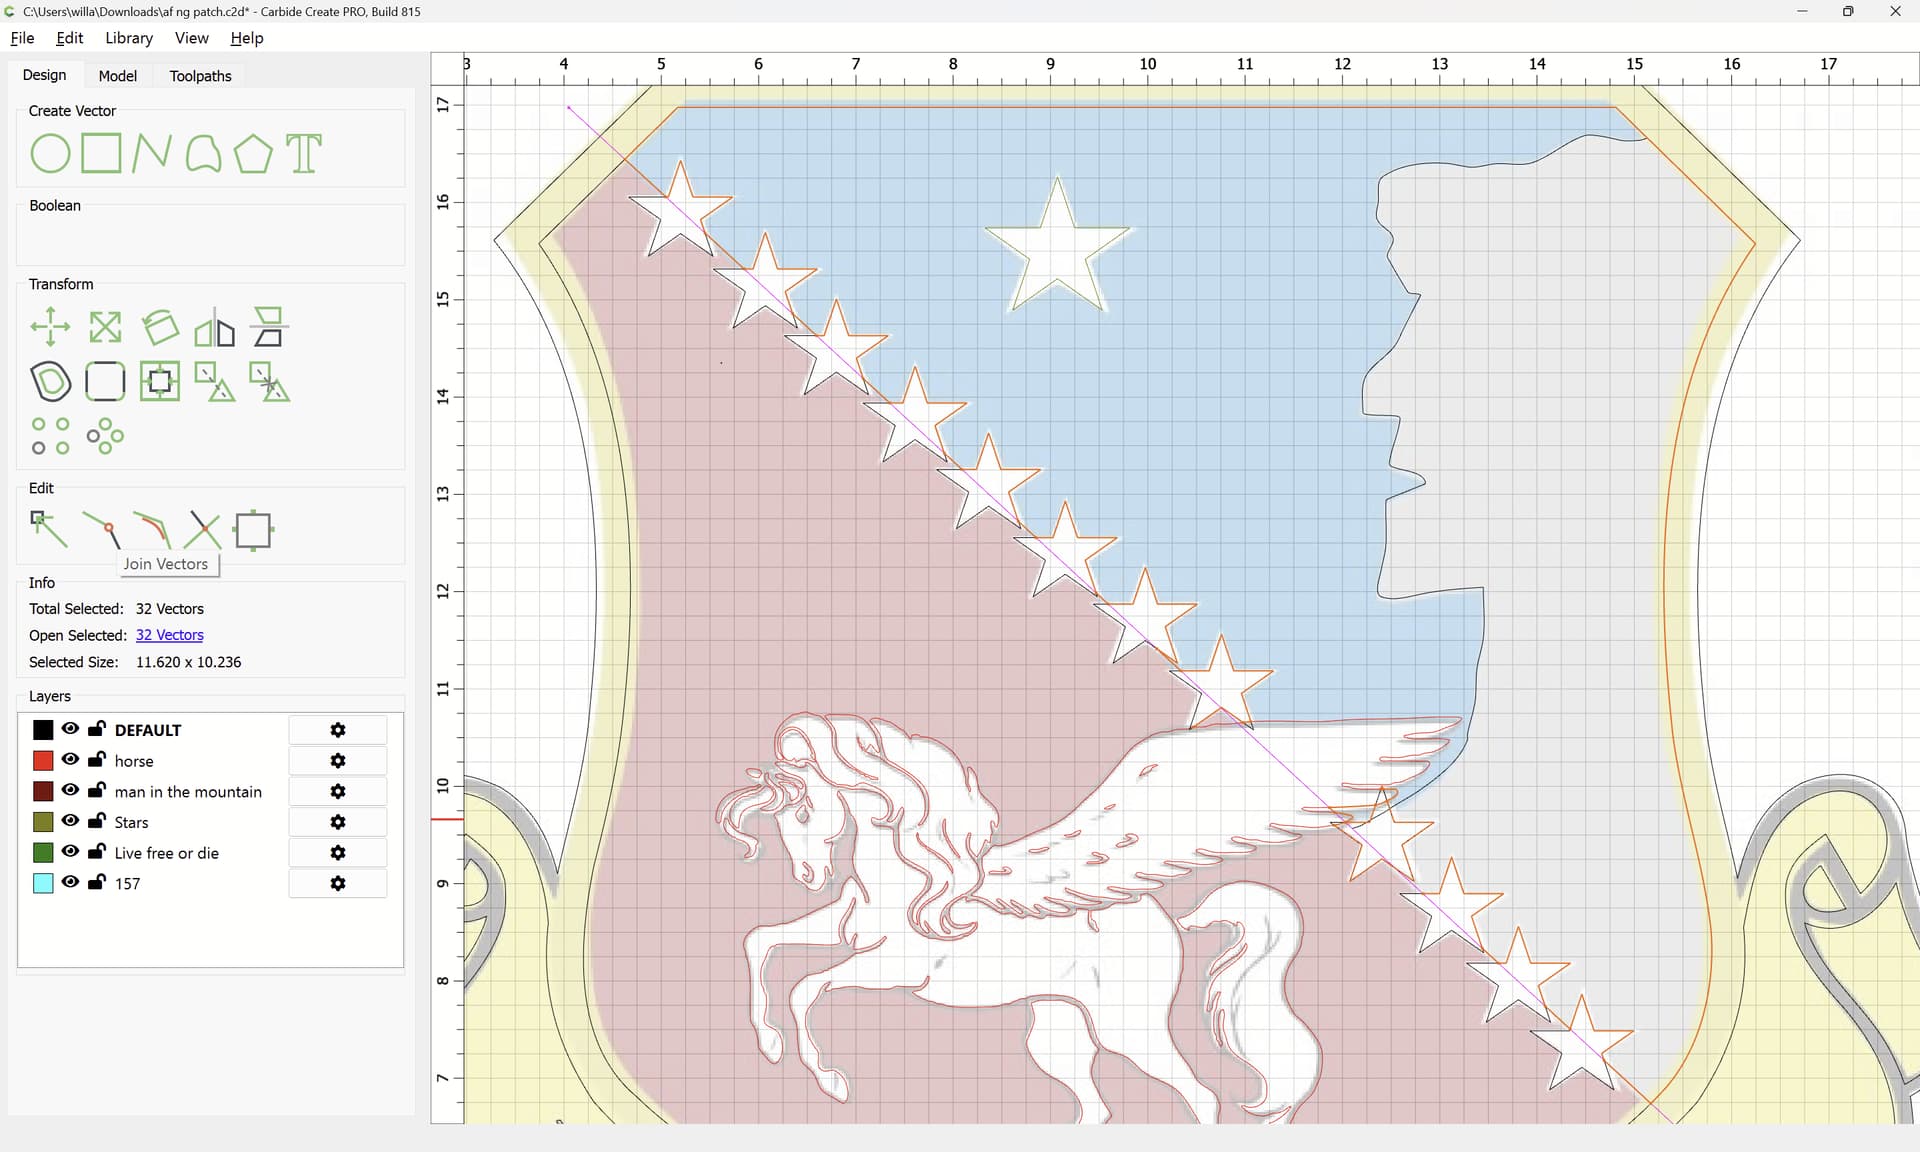
I took your advice and traced it many times and got it just about dialed in. Thanks for that tip. Now off to figure out how to close these open vectors in have. lol
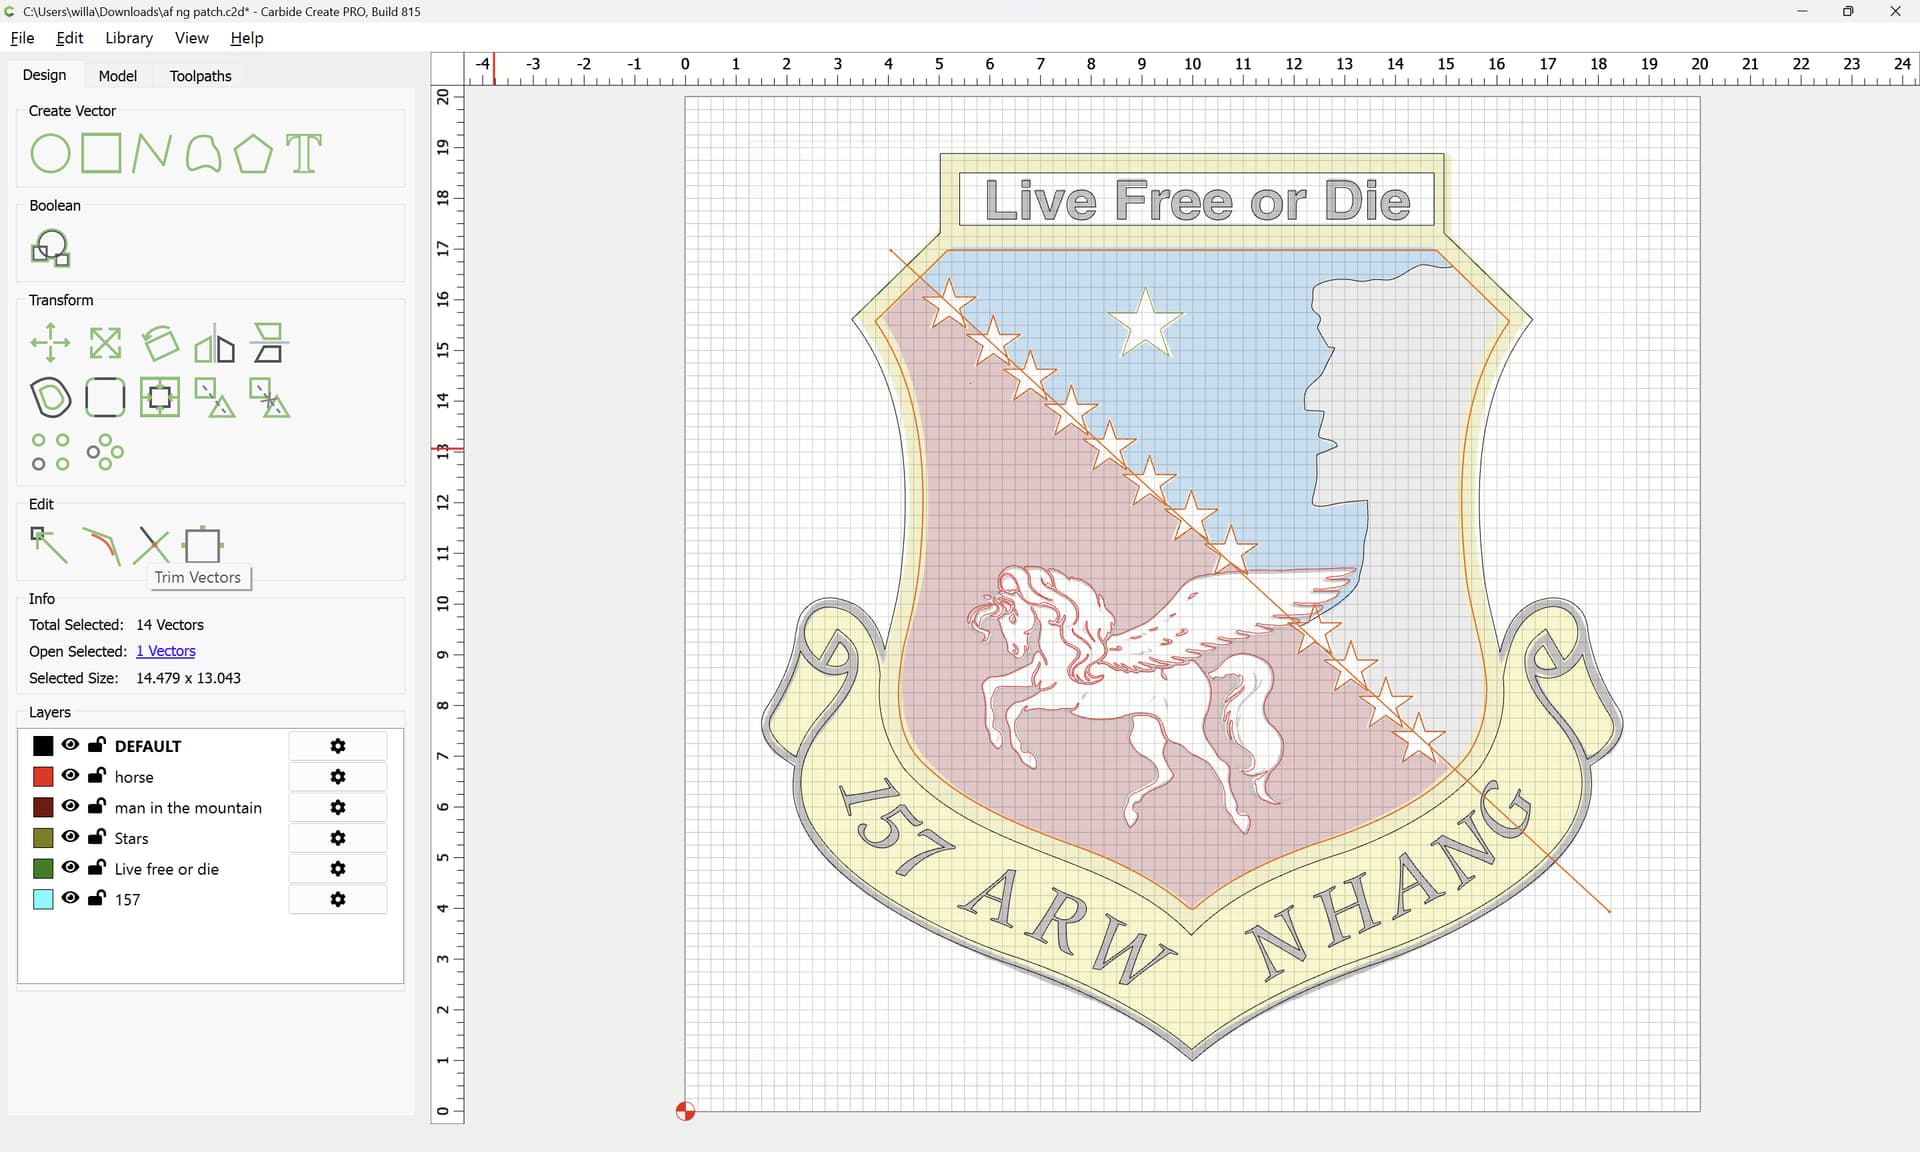
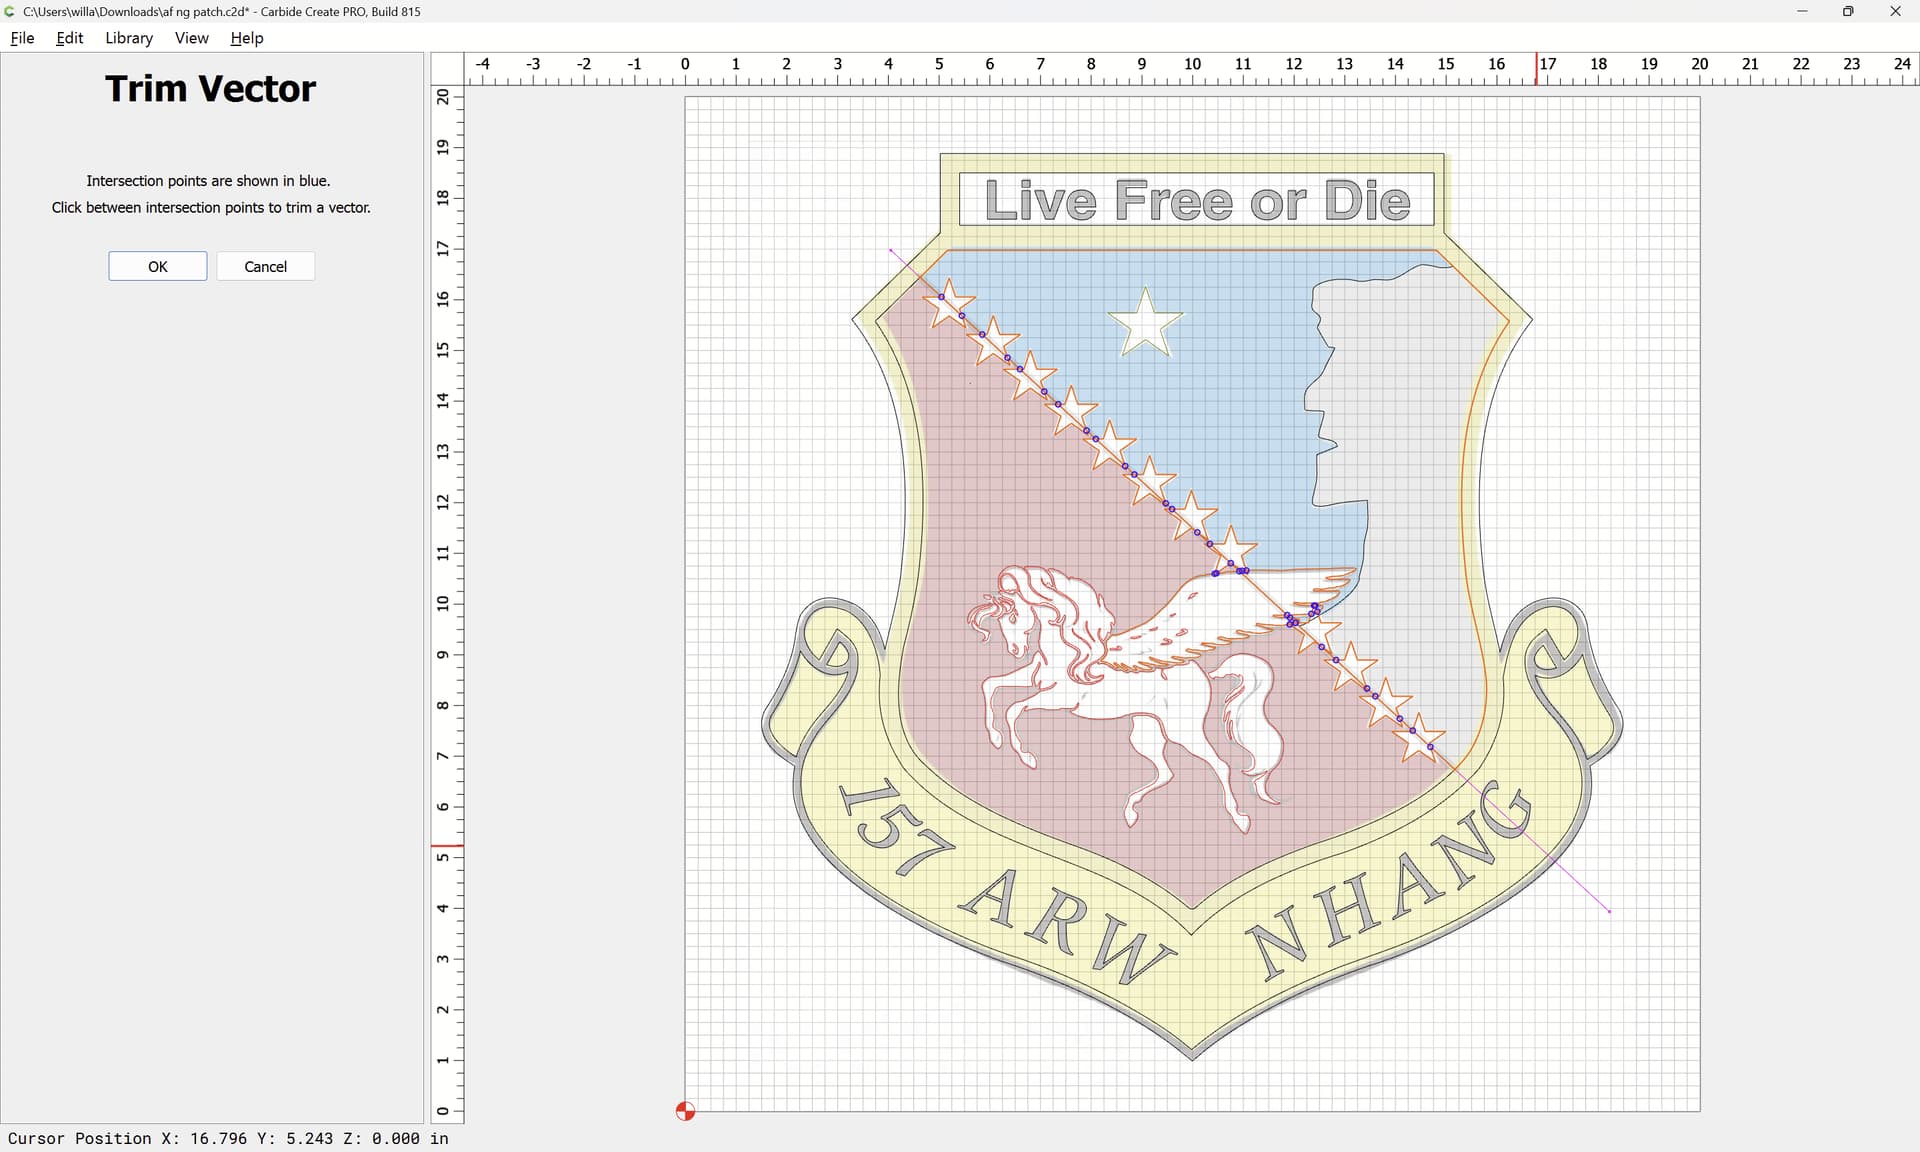
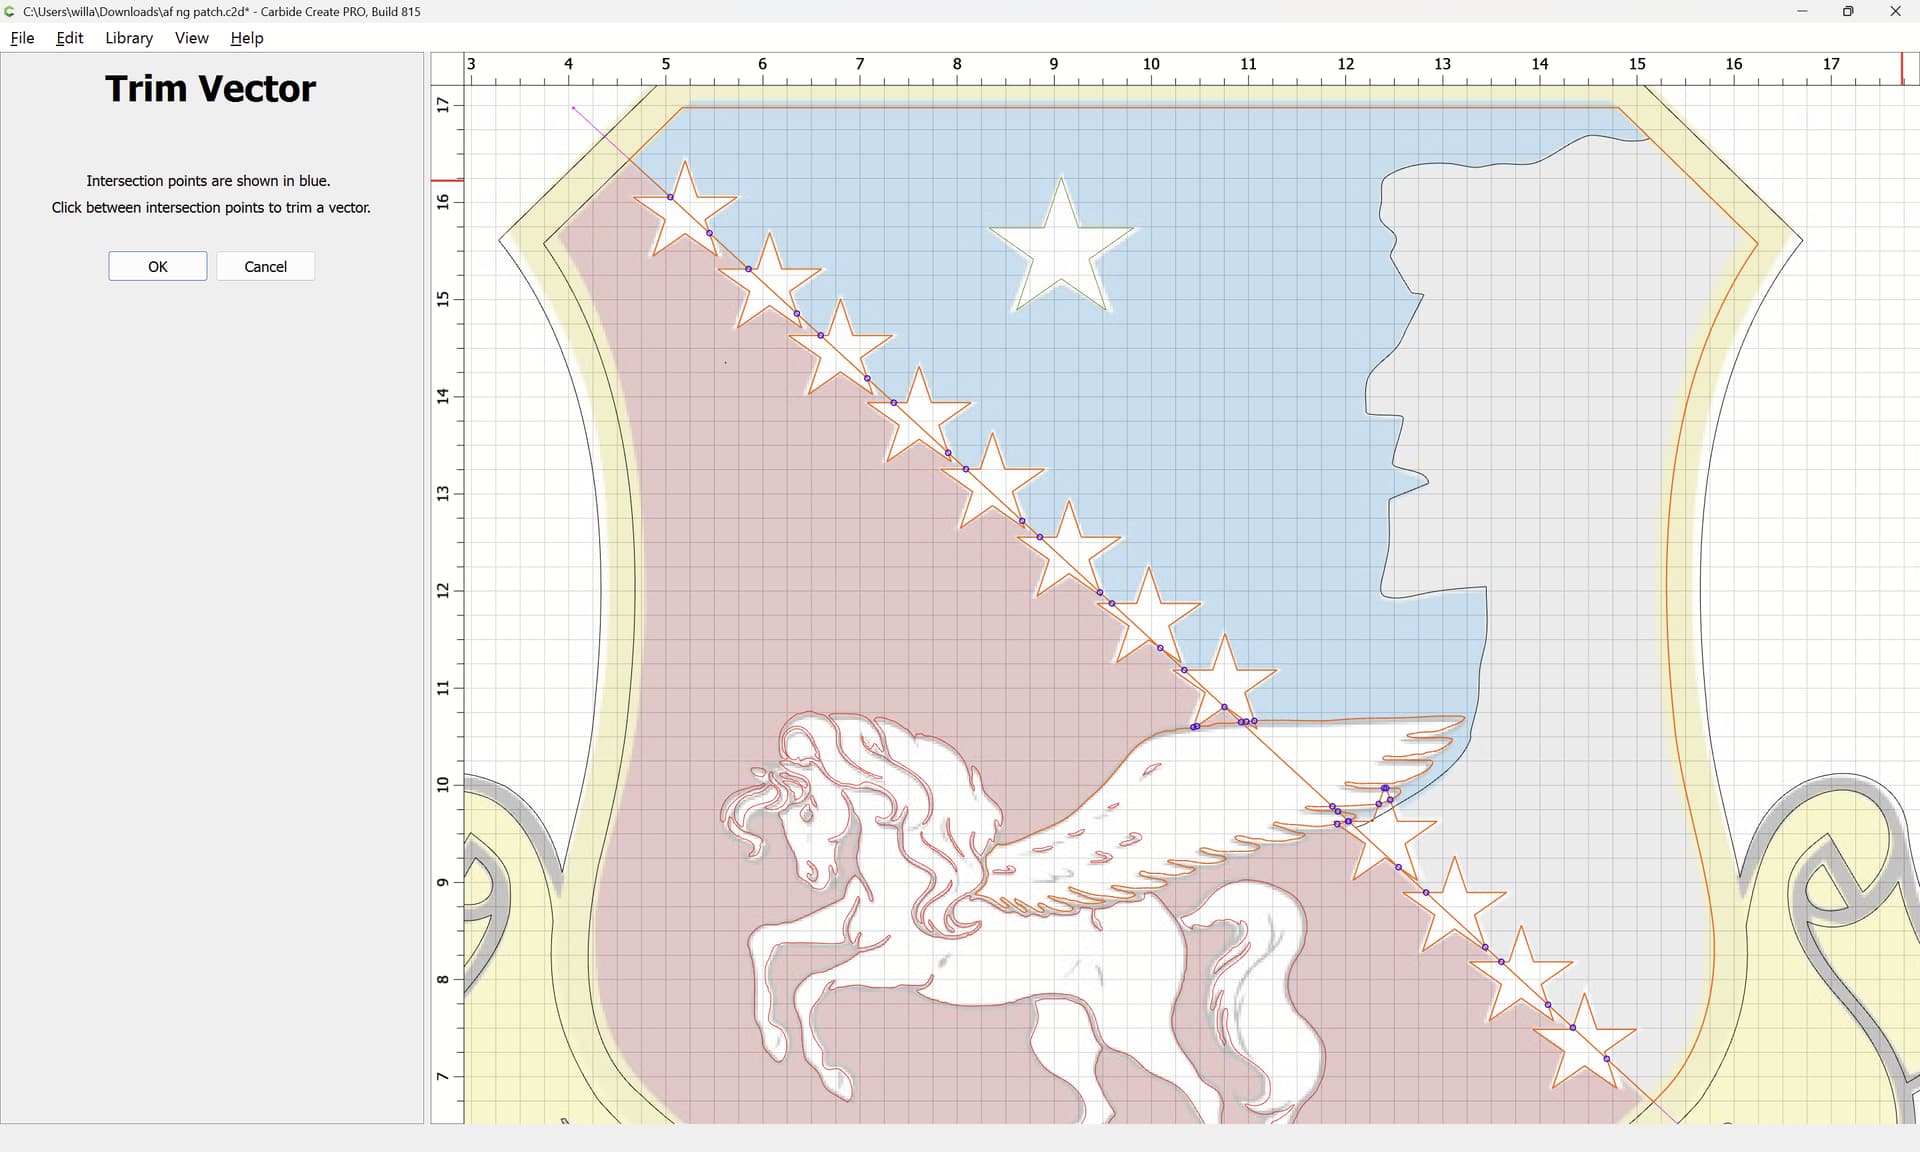
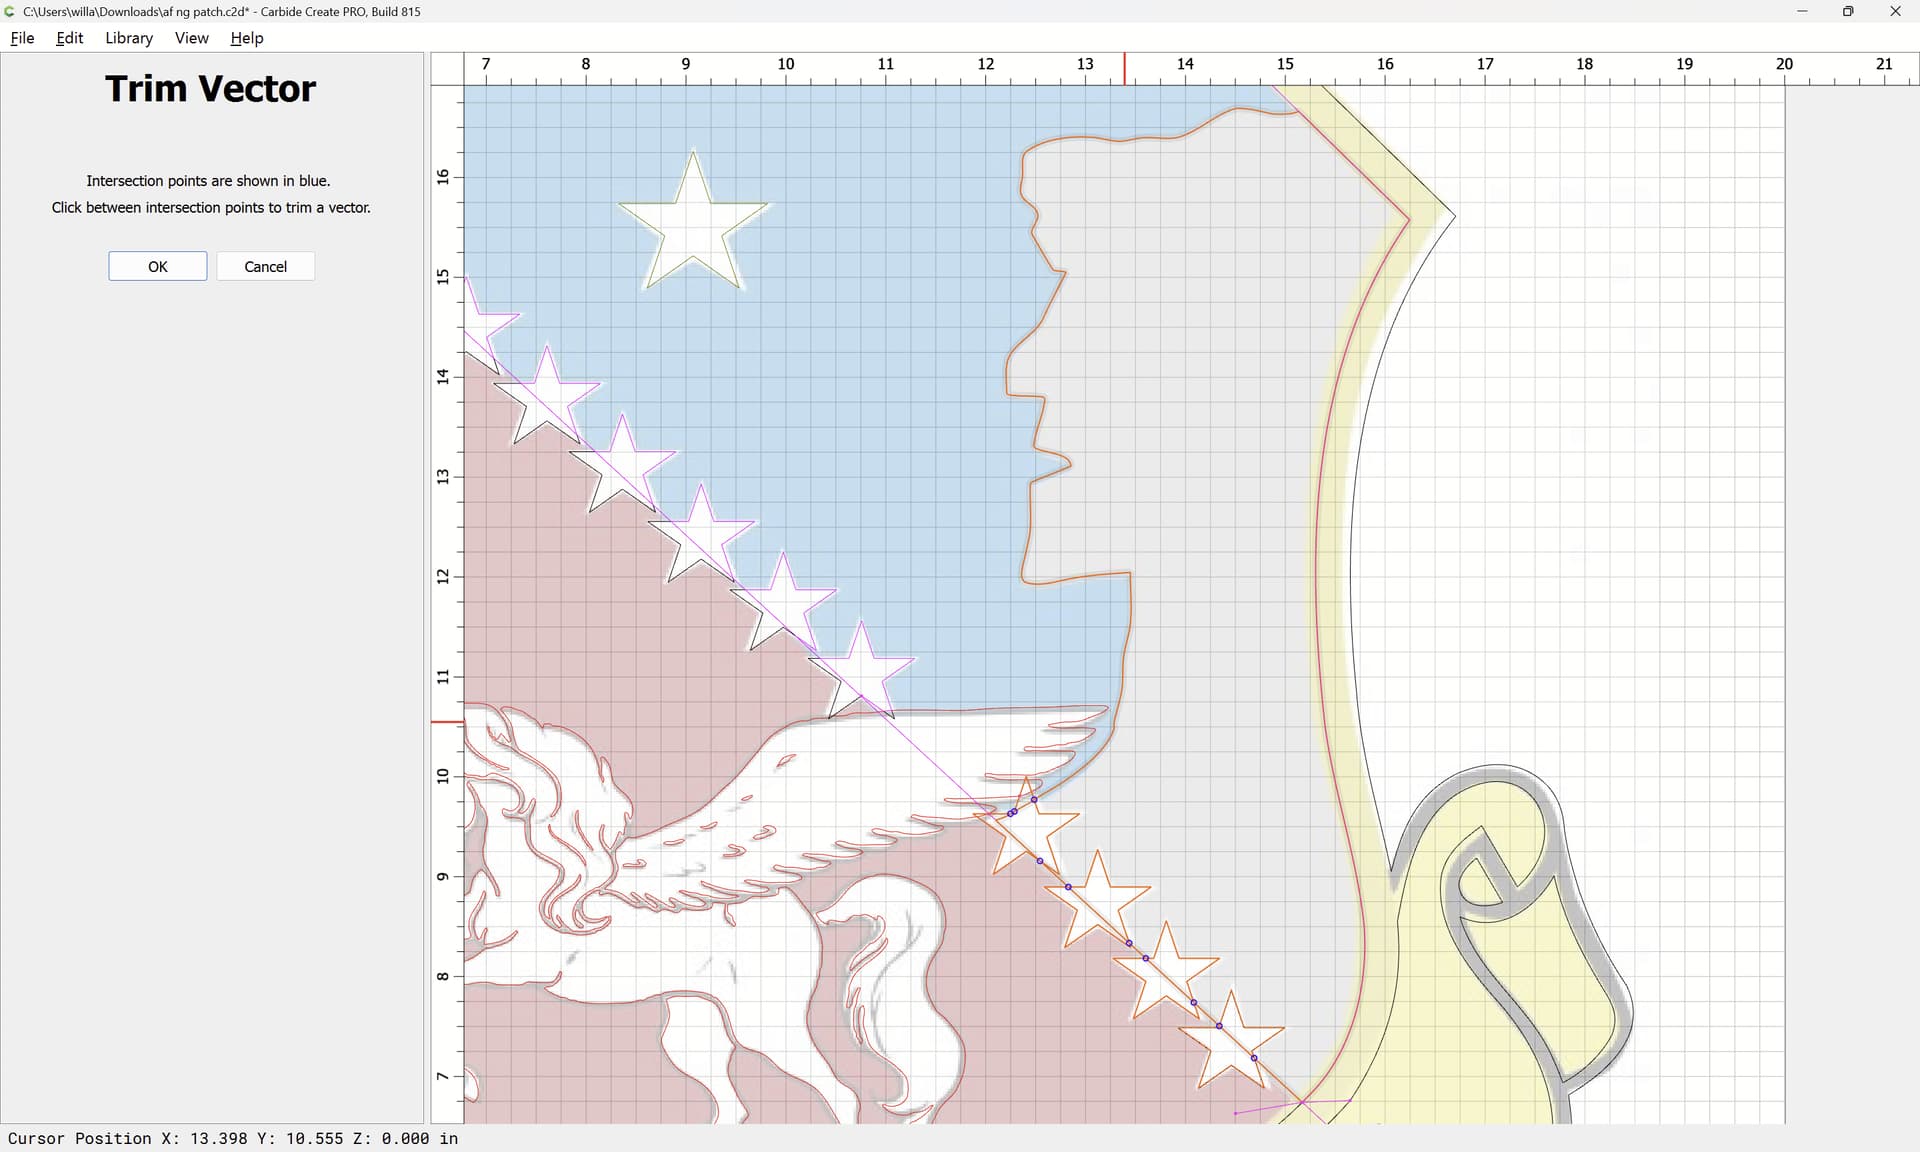
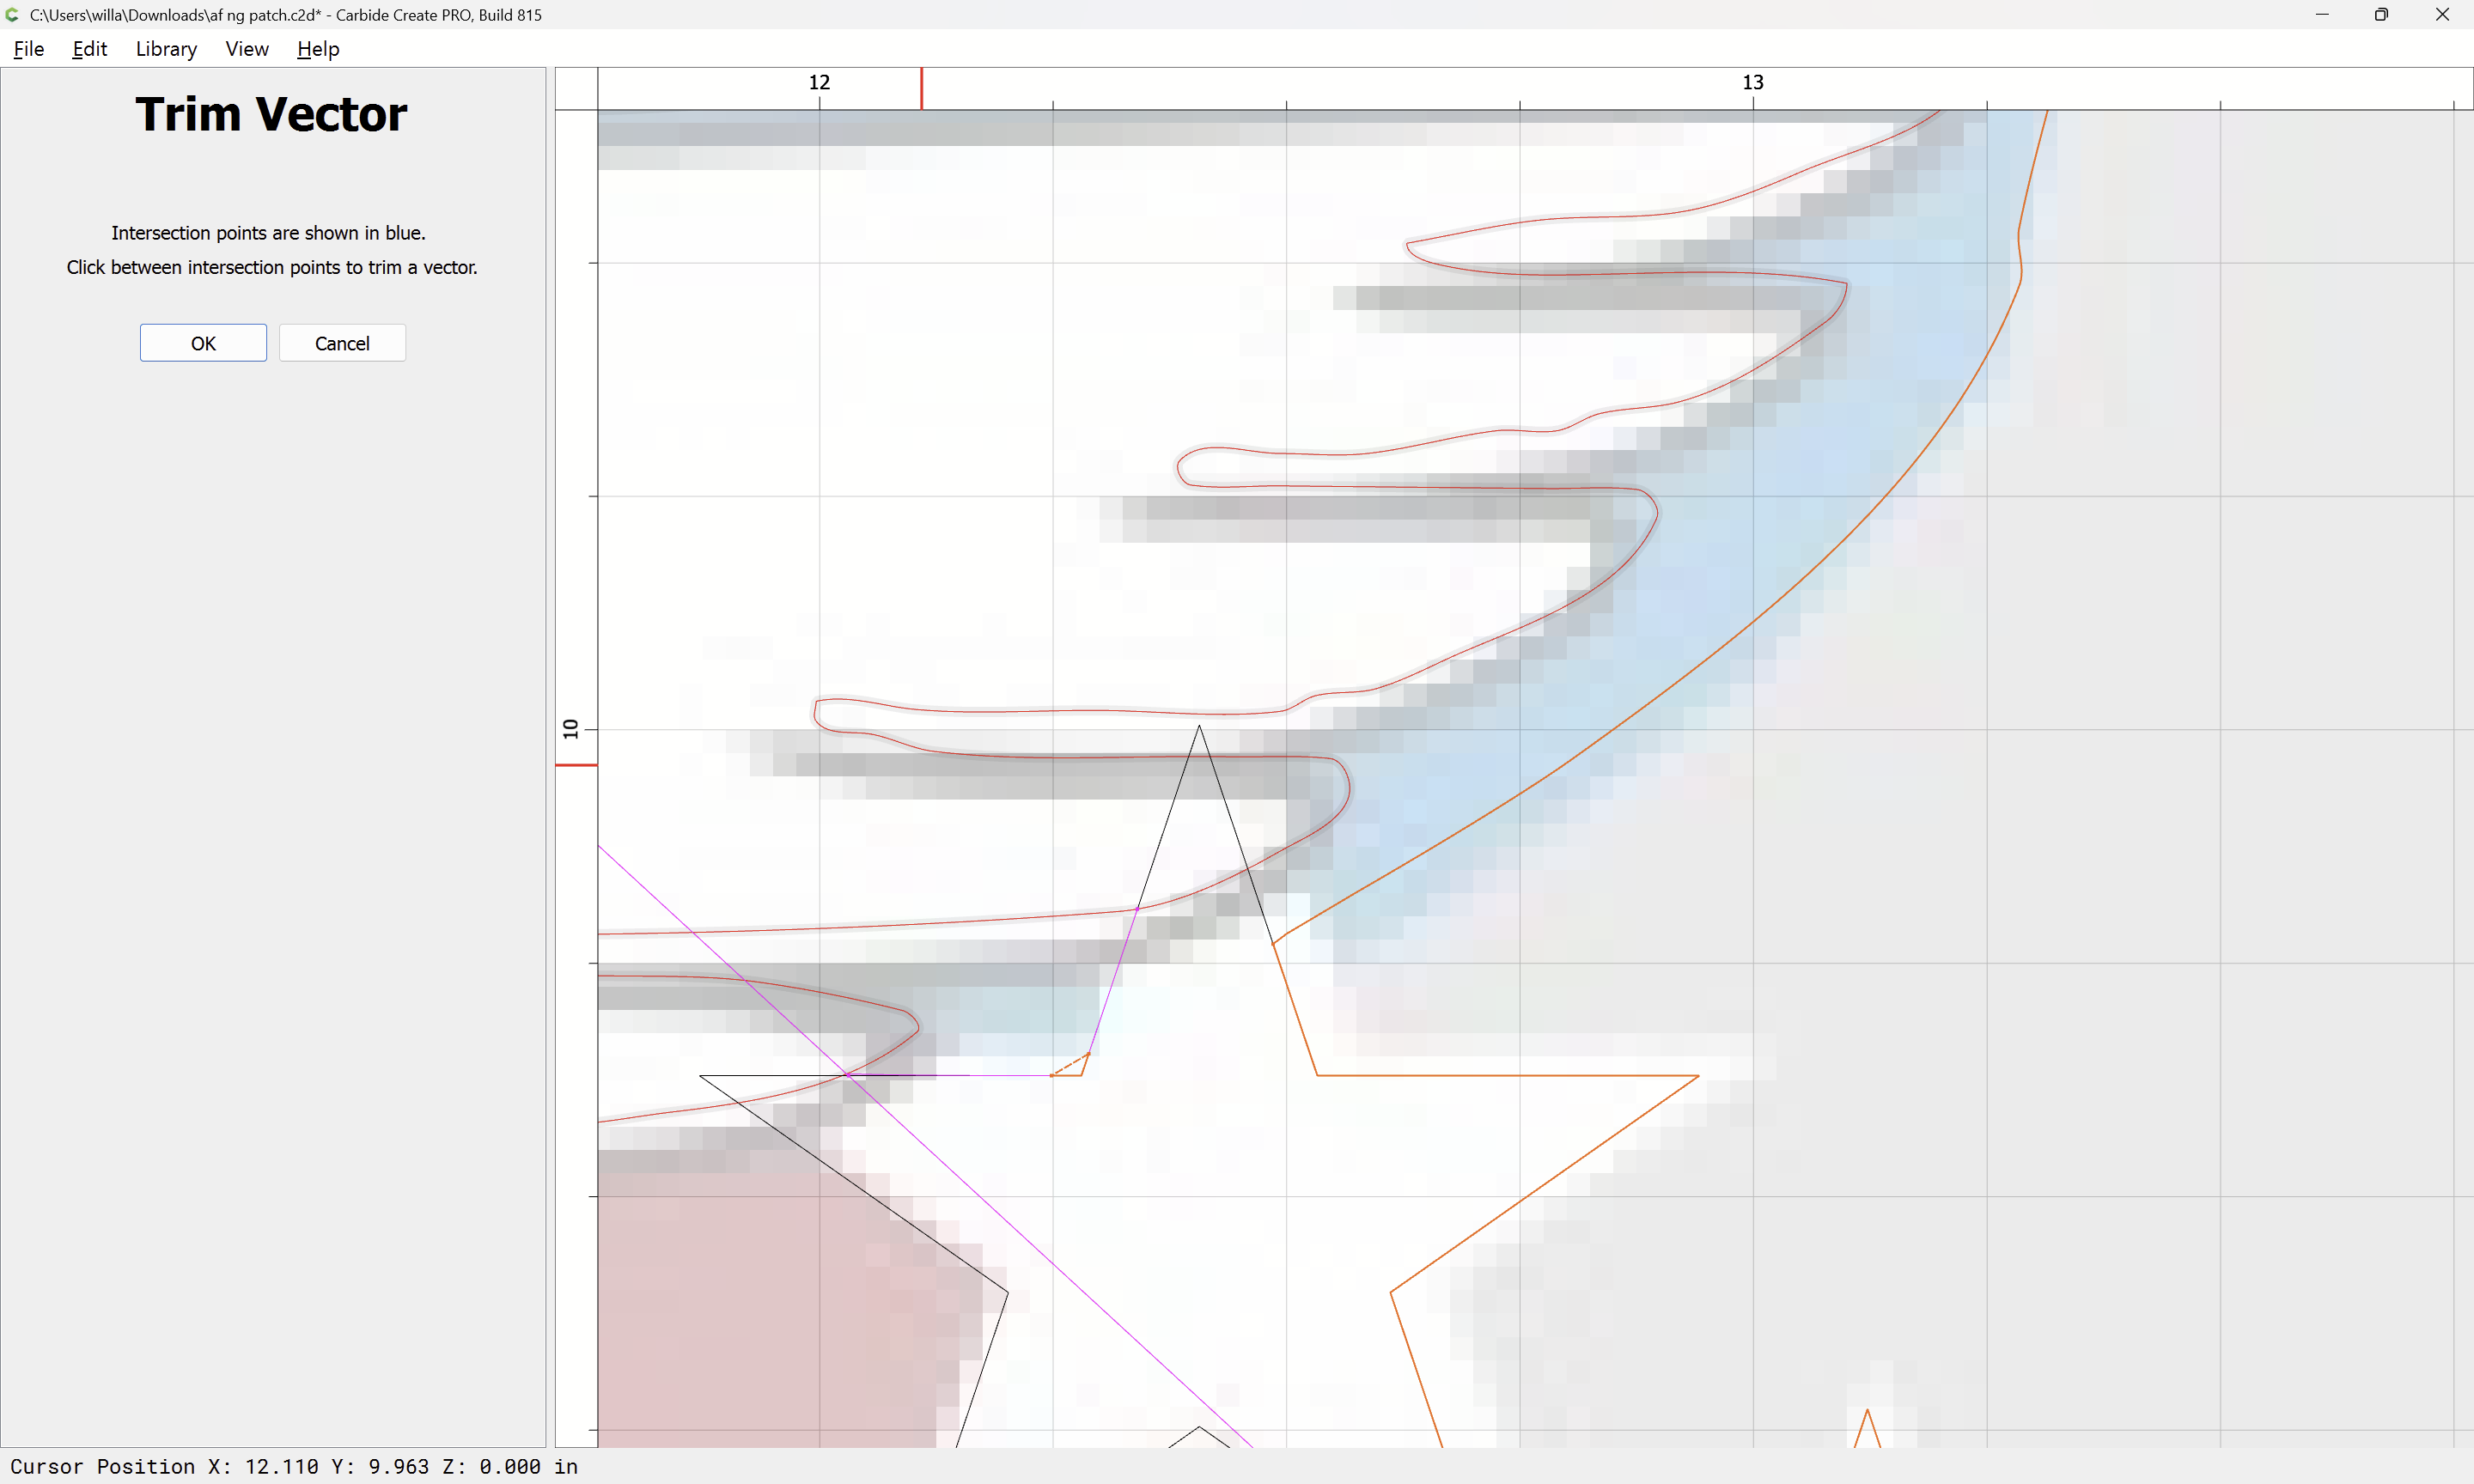
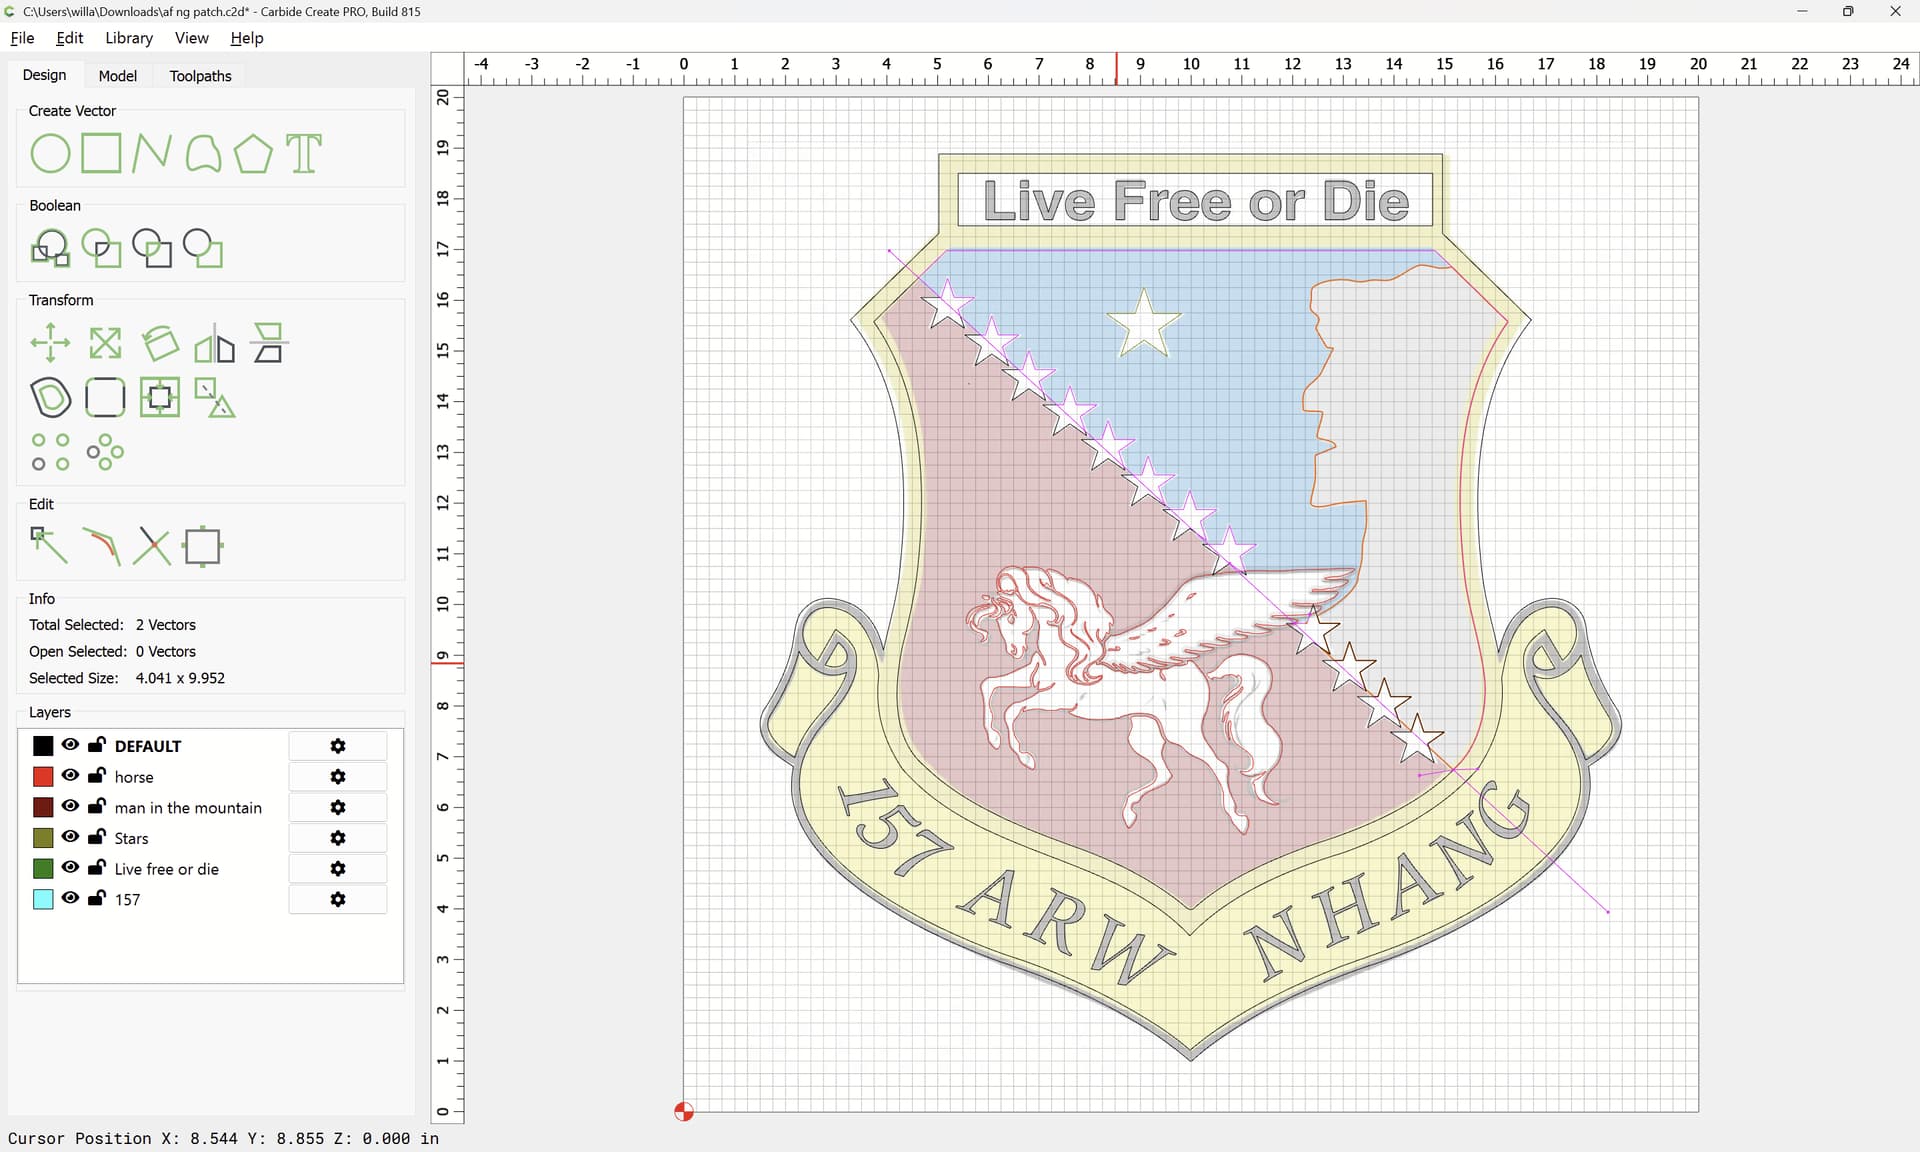
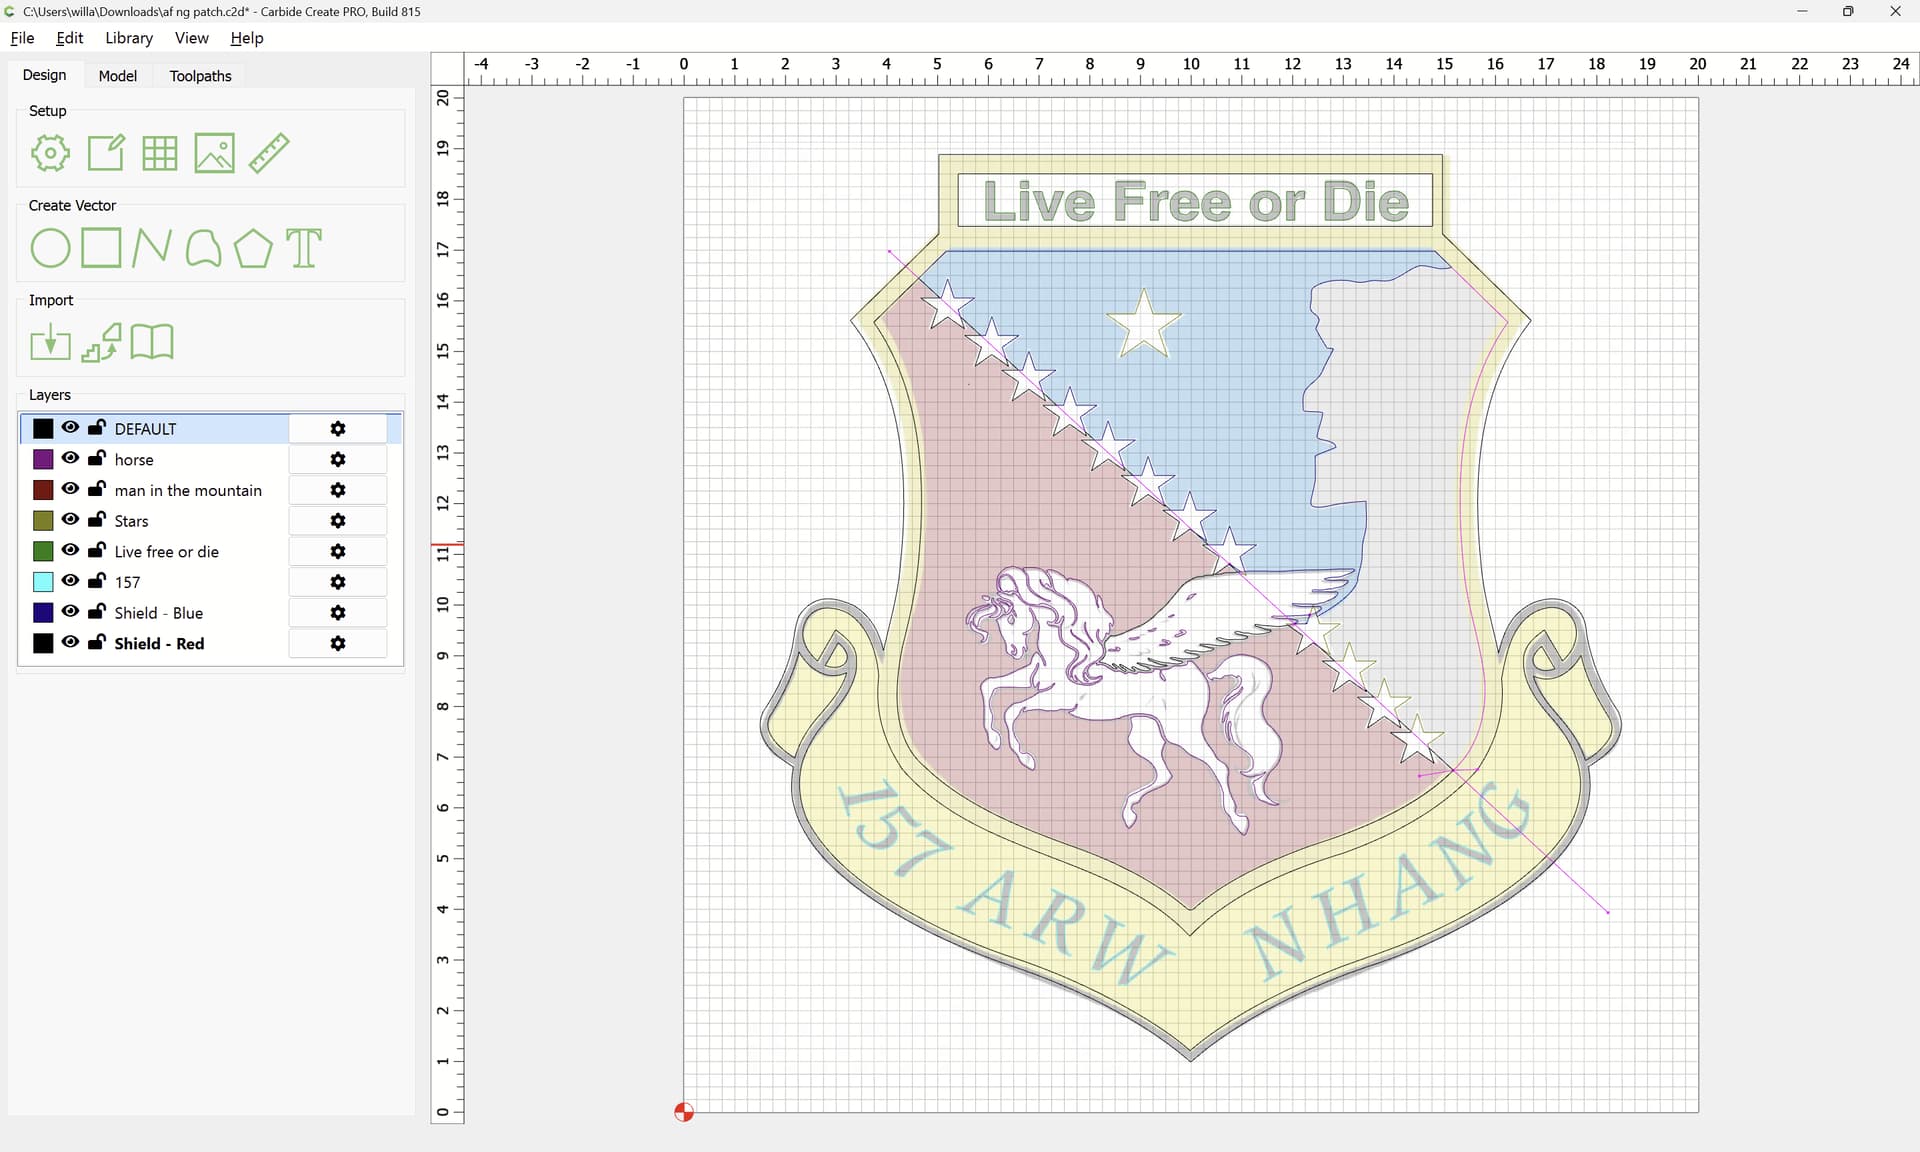
When I go to trim out the stars by trimming vectors the entire man in the mountain and the stars on either side off the pegasus disappear when I go to cut it out. I uploaded the file with zero vectors trimmed. When the pocket it cut out the stars would be cut out.
Also, is there a way to do a this in 1/4 inch bit then 1/8 to cut down the pocketing time? I was reading on here a finish pass would cut down on sanding, would I use the same or different but for that?
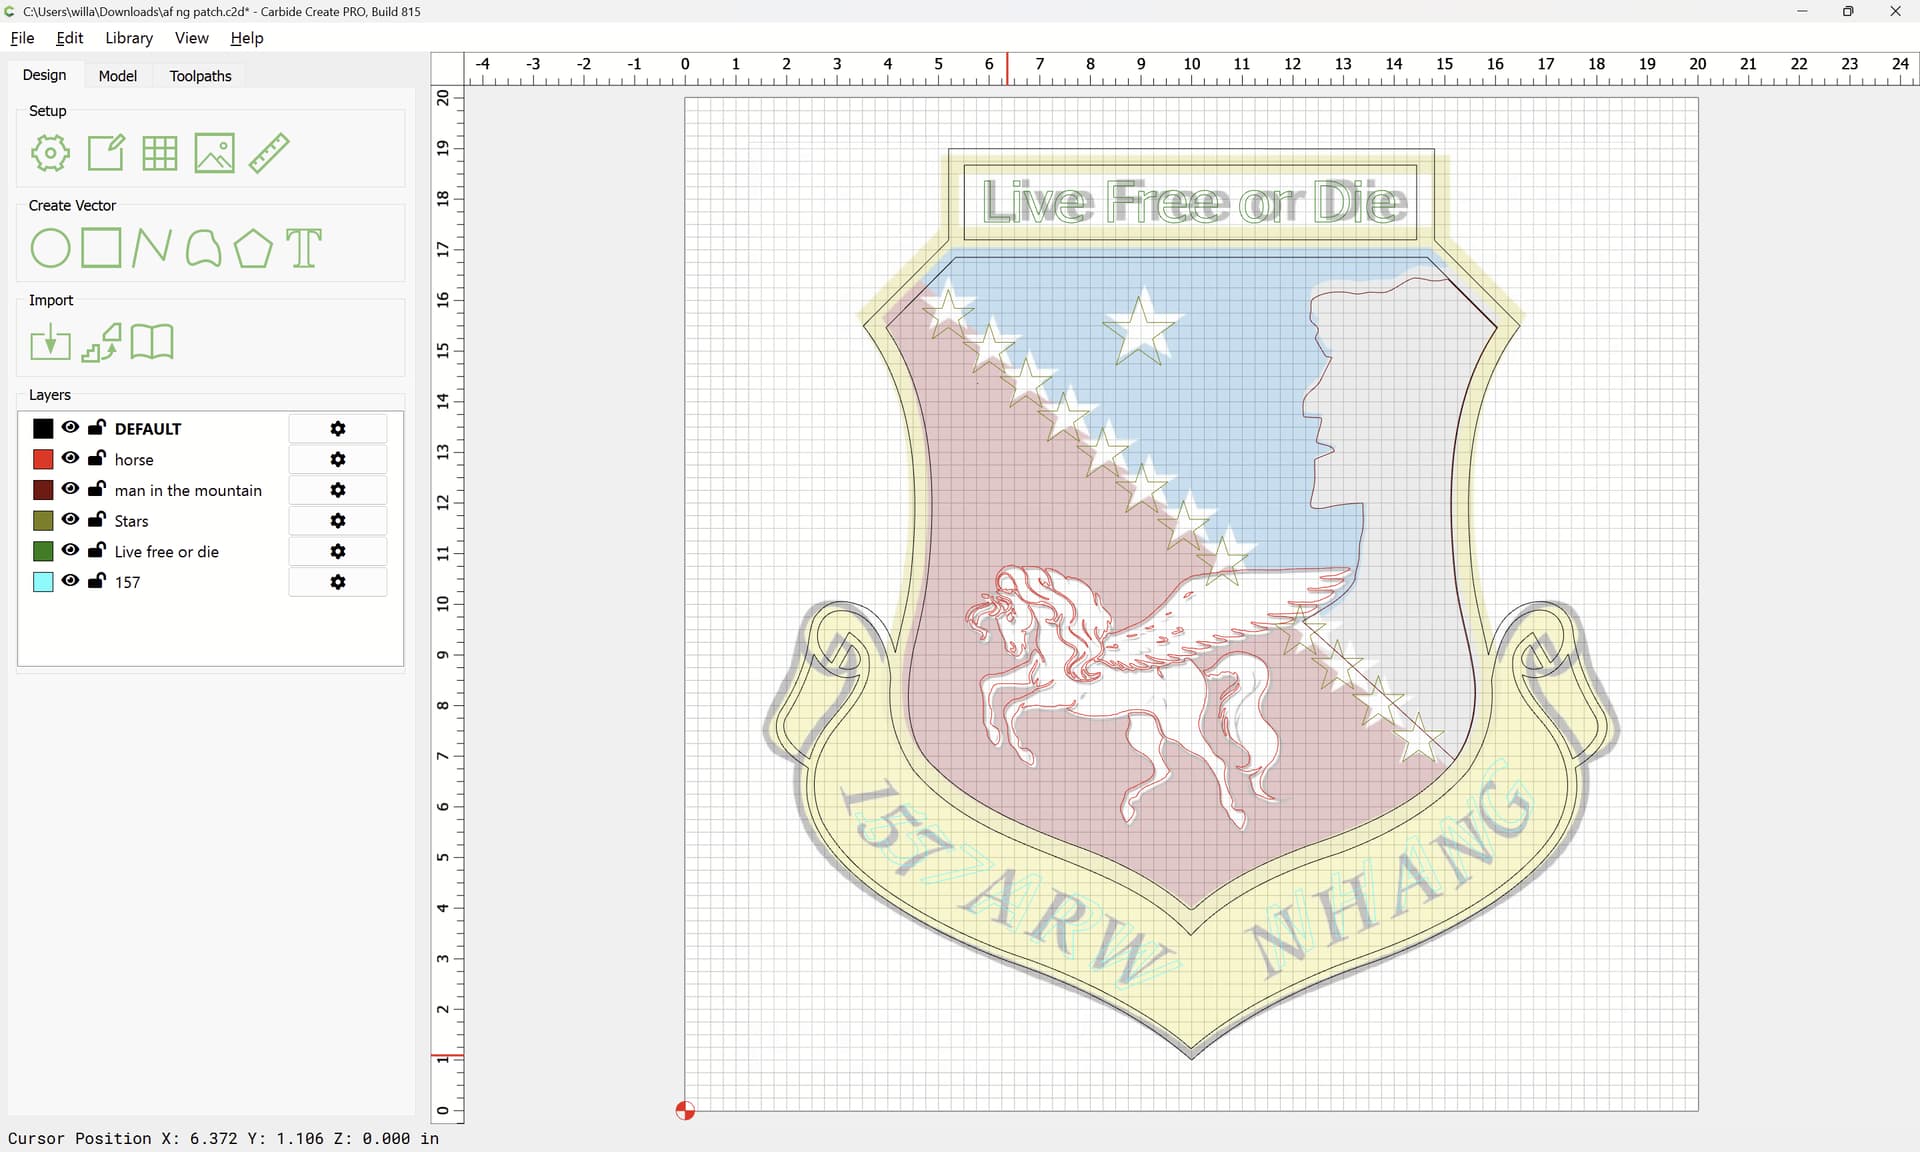
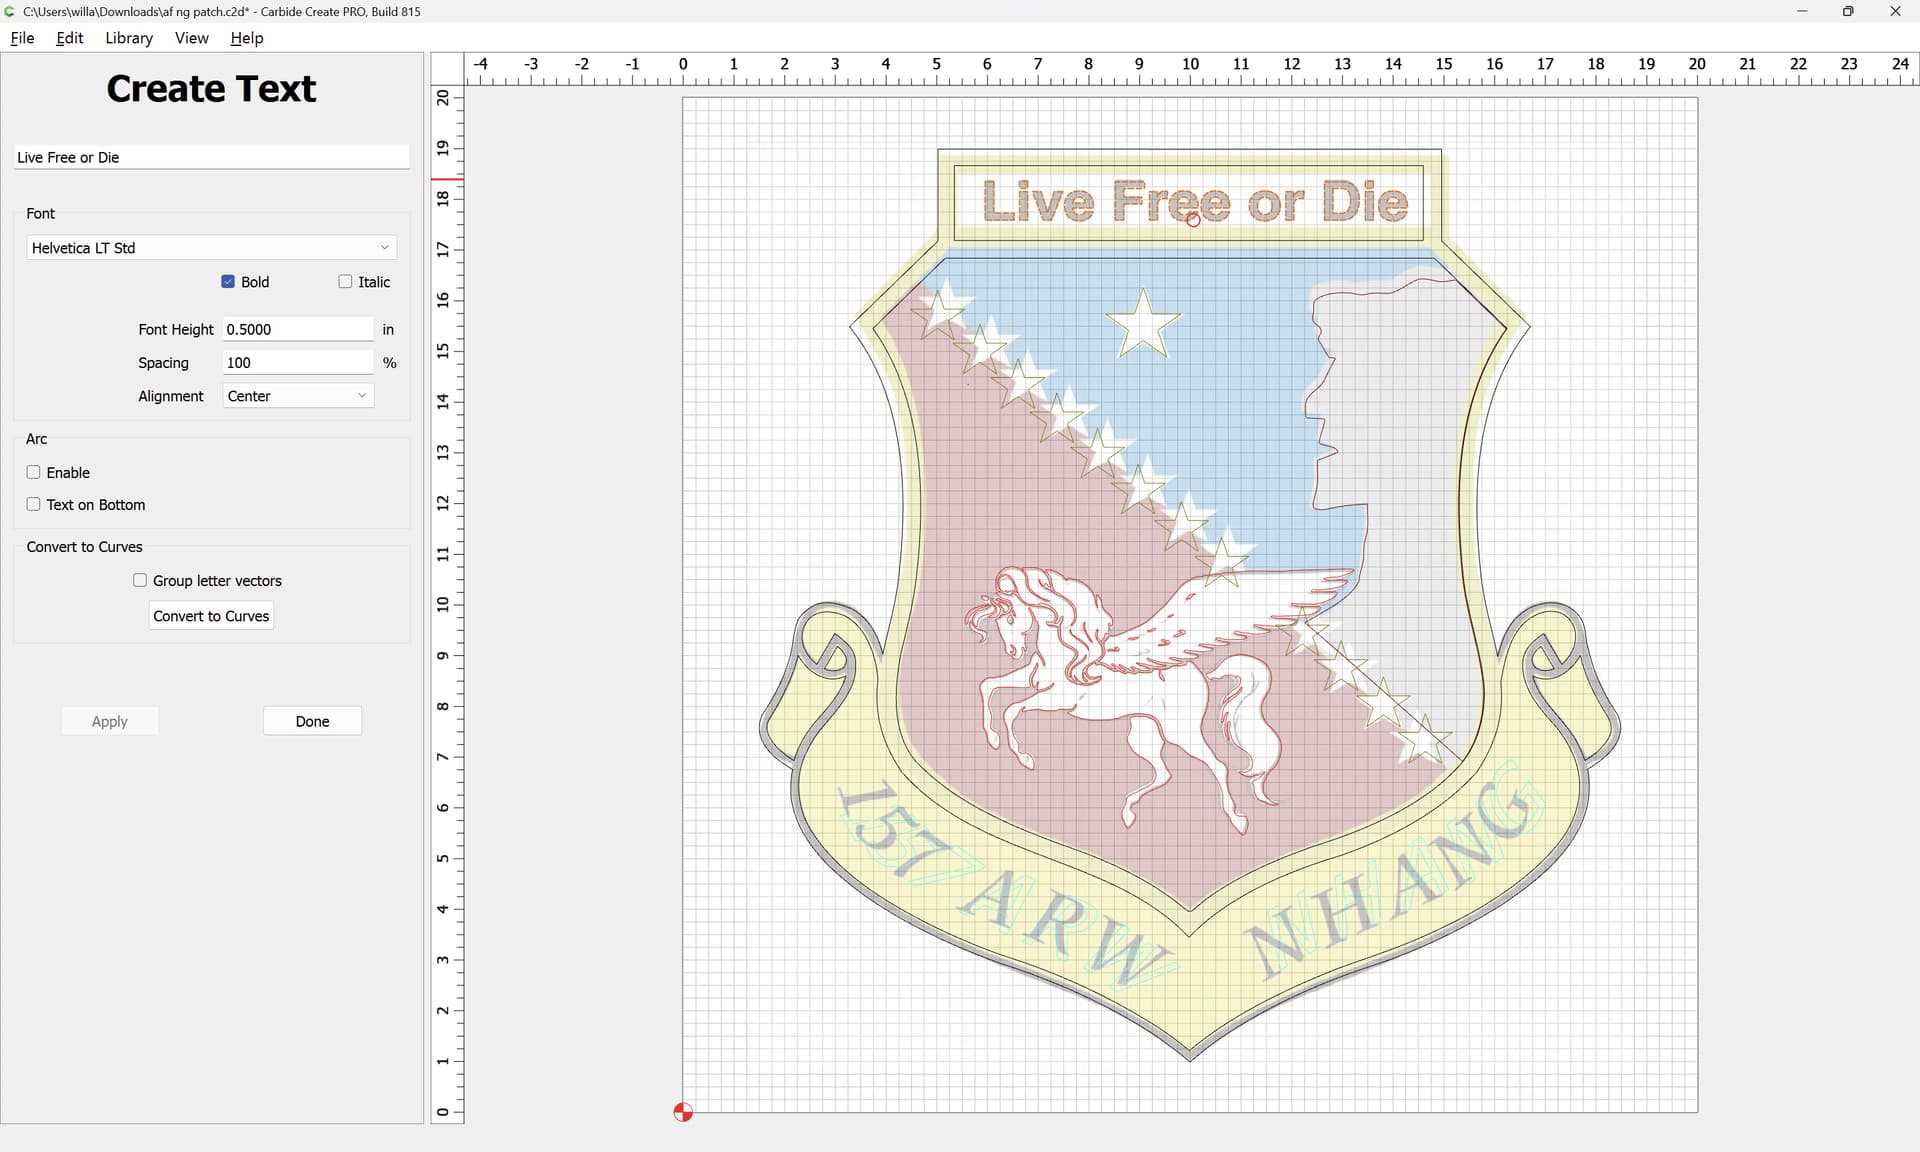
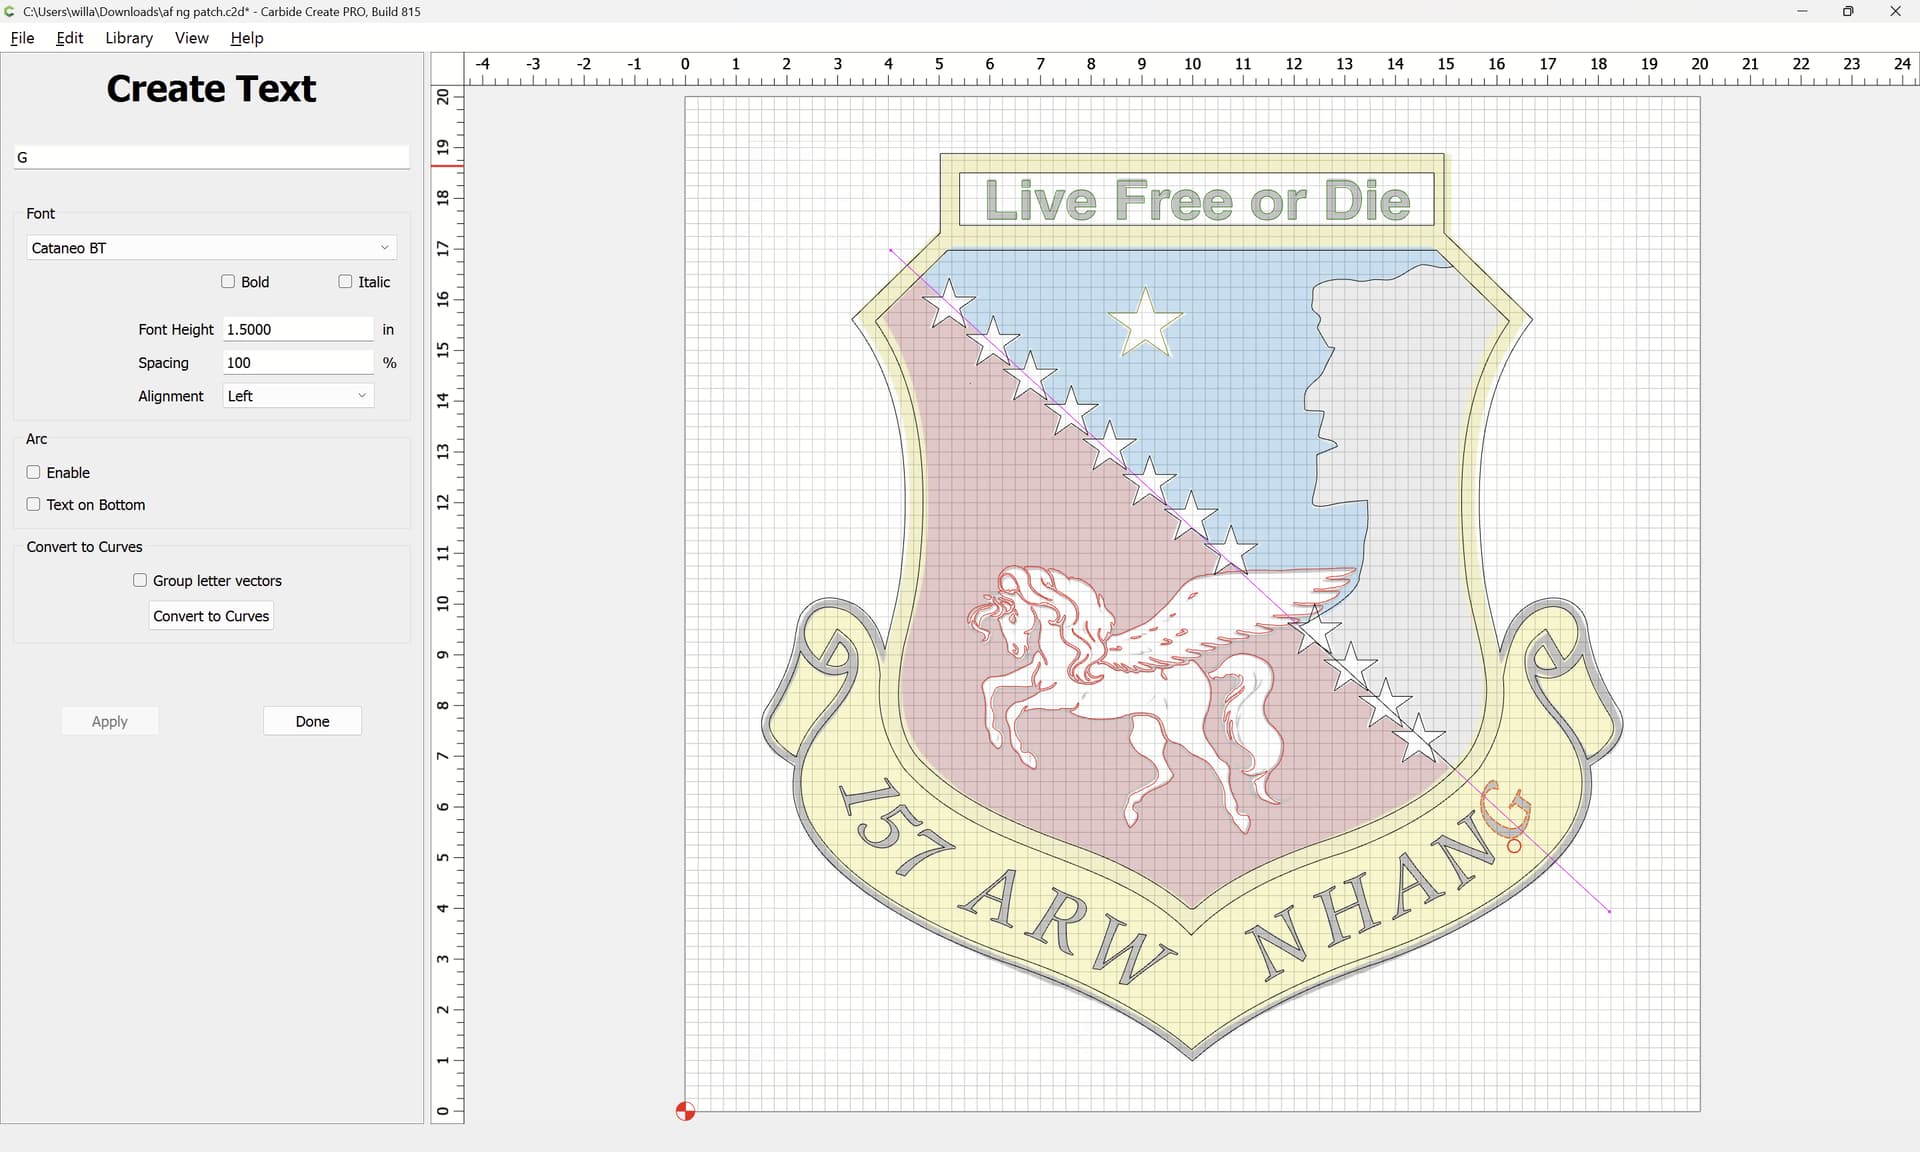
Okay, re-working things to get things lined up, the text should be Helvetica Bold and Palatino or Bernhard Modern (depending on which pixel image on is looking at), re-setting that and adjusting things we get to:
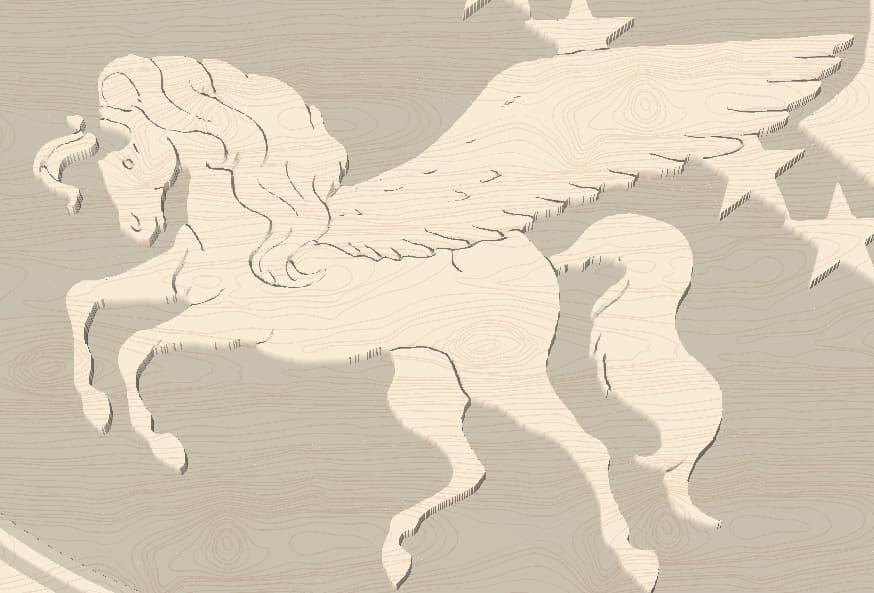
The only remaining issue is that the drawing of the horse only captures one outline, when it is drawn as a double-outline (black with white interior) — addressing that is left as an exercise for the reader, as are toolpaths. Multiple colour files are often best addressed as epoxy inlays.
Thank you, epoxy would be cool. If the stars are outlined I dont think I’ll be able to do the grey area as it would be the same depth. I’ll have to think of a way to incorporate it.
Without using epoxy, I think this is the only way that I will get the entire inside of the patch cut out and get all the items in the patch to be raised.
Ill have to ask for that, when I asked the AF for the patch for one of service members the gave the one at the very top. It’s not a widely used patch like the active force.
If you’re doing epoxy, each color has to have it’s own contiguous closed boundary. So each star would have to be made twice. Once for white, and then chopped in half for the red & blue.
Your layered approach looks nice. You may want to add an offset around the horse & V-carve it to add the detail…