Hello, I was wondering if anyone has made the Zero Clearance Guides (Small Zero Clearance Guides by KevinBarnett) Carbide3D created a video for? Specifically I am wondering how to trim the side of the guide with a spindle on my Shapoko 5 Pro? I had the thought to just turn on the spindle and job it, but I heard that doesn’t work. I use VCarve Pro software. Any ideas? Thanks!
You can just do a simple program to just trim the right side. Manual jogging with the spindle on is not supported on the 5 I believe. Or maybe that was a change in a recent version of CM.
2 Likes
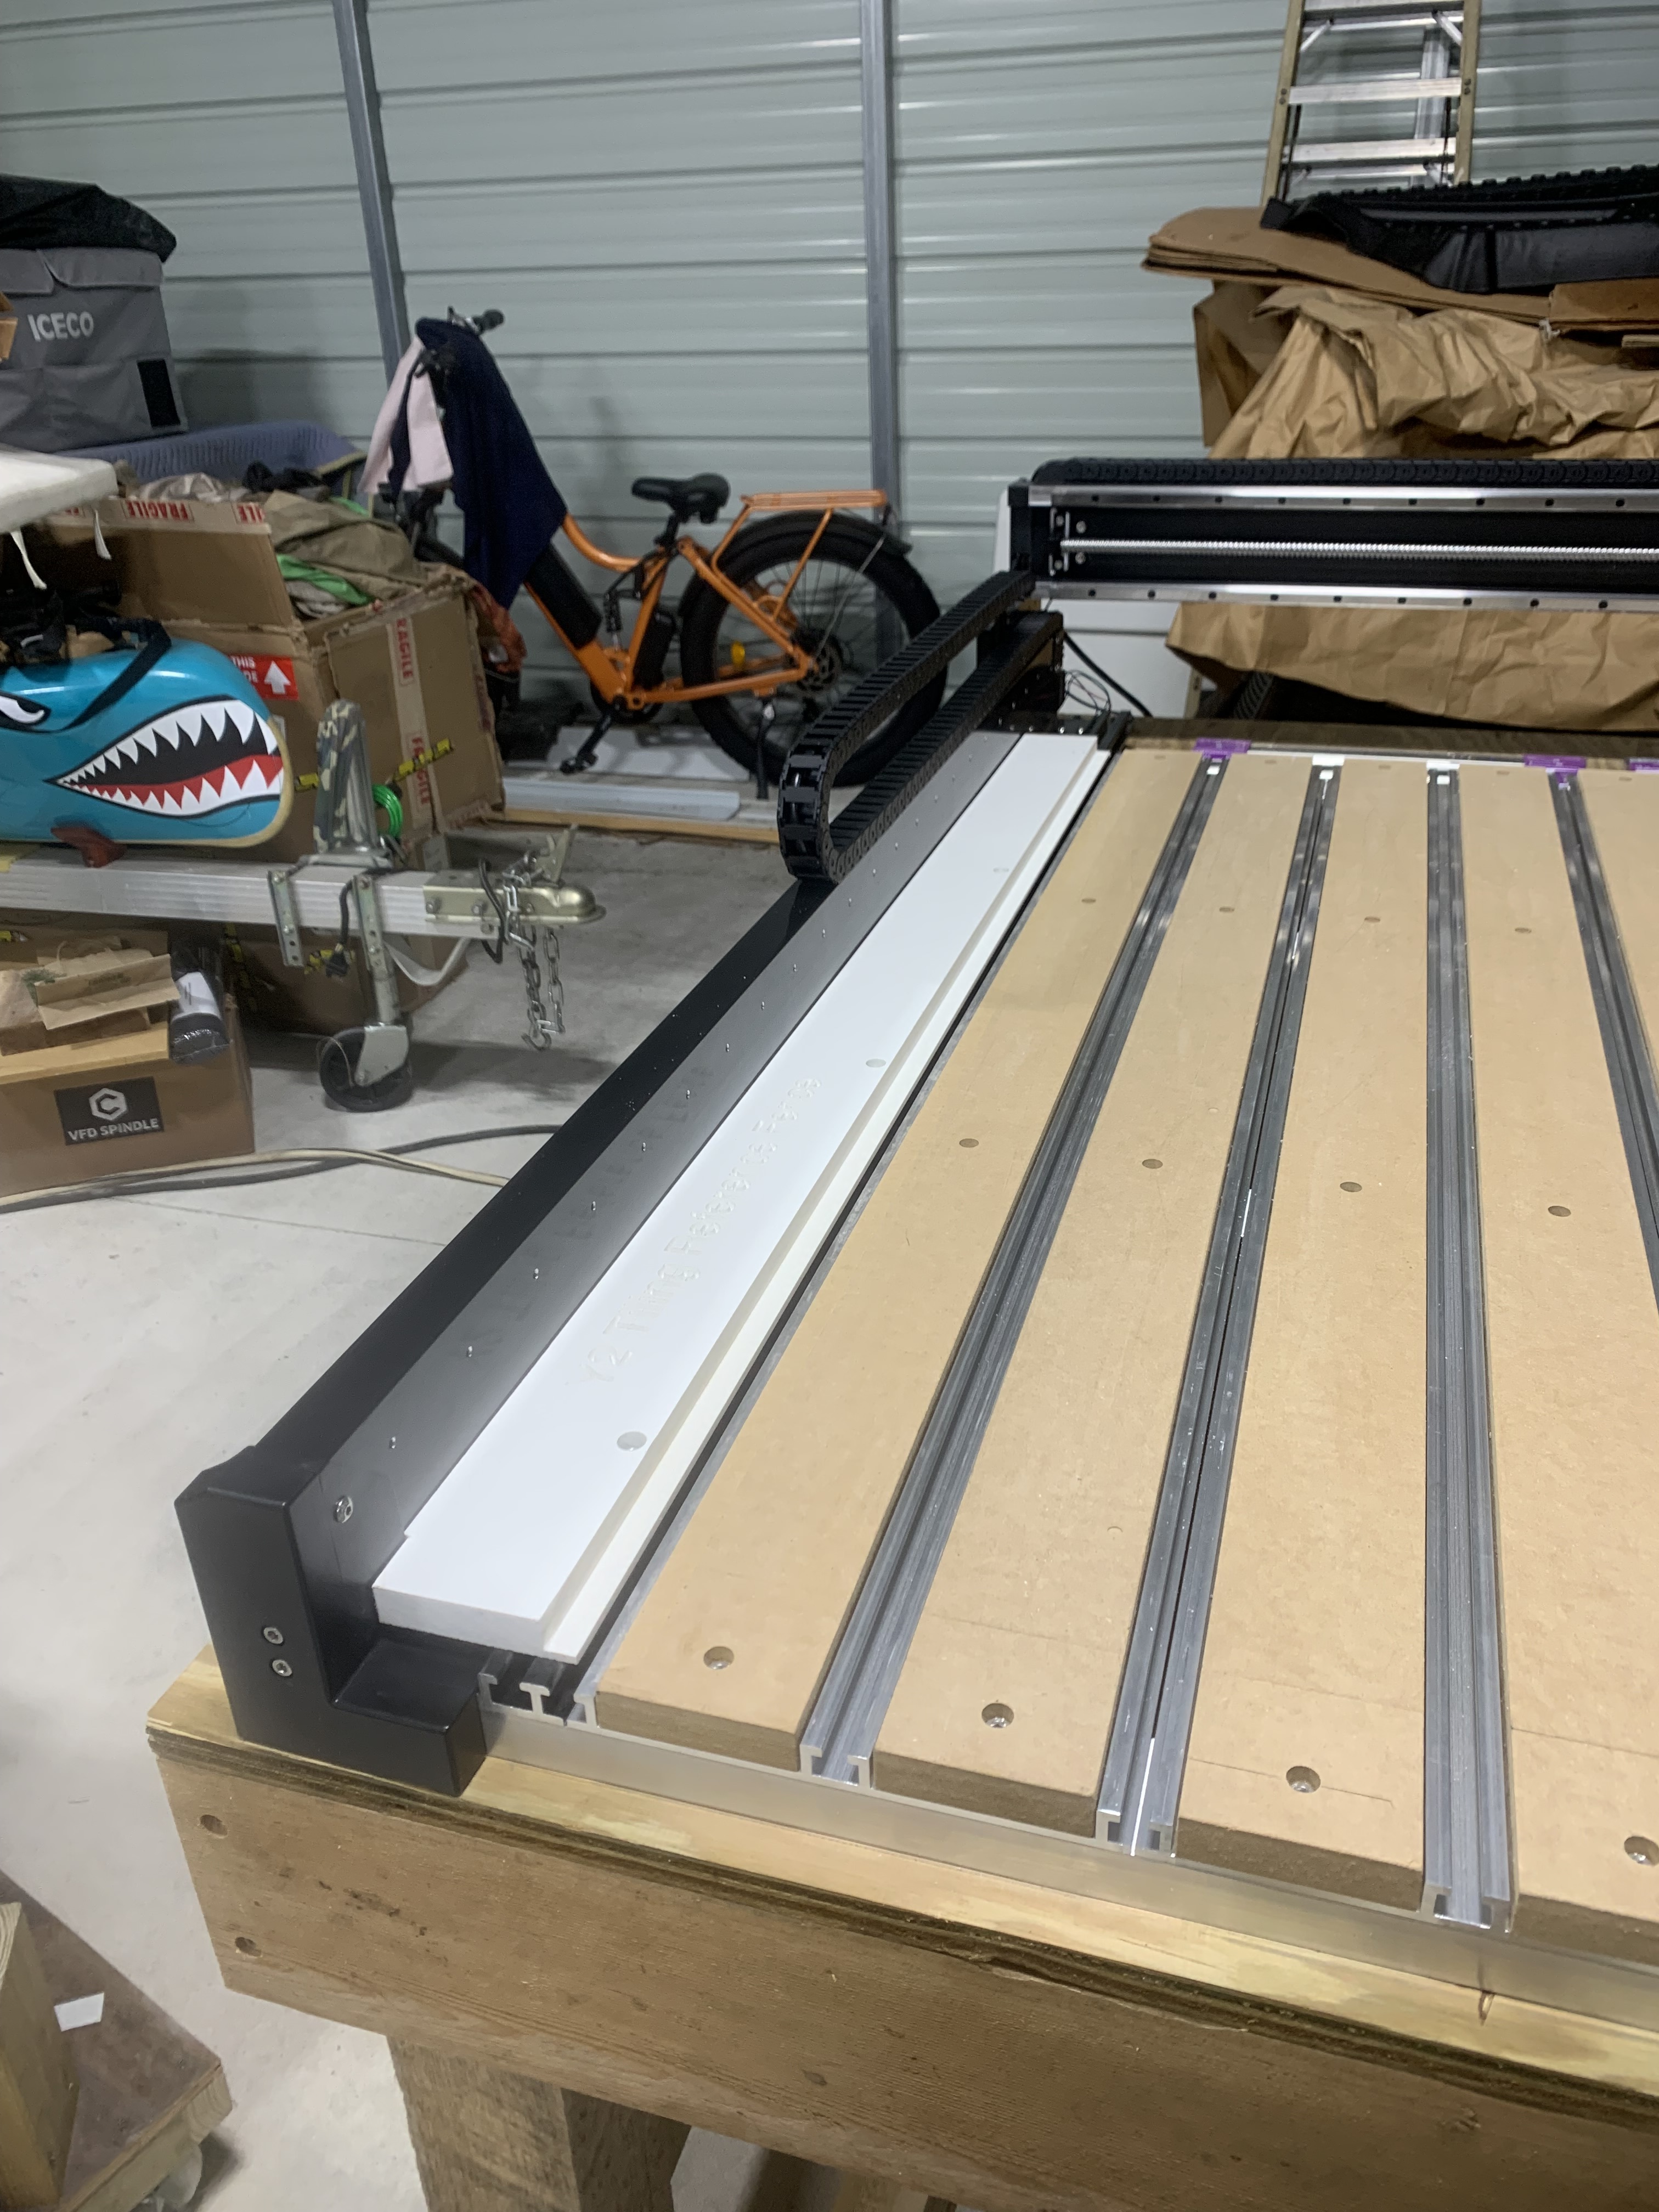
I cut a piece of plastic board from HD from a sheet of 2’x4’x.75”. 48”Lx4”W. The cut some T-nut holes with a countersink for mounting to the T track on the Left Y axis. This was mounted up against the inner left Y axis rail. This was done to ensure consistent placement if it had to be removed. Once this was mounted tight against the left Y axis rail I cut it parallel with the rail. This is used for my tiling reference when tile operations are used.
I then made a rectangle toolpath 48” in length and 4” in width. I used a 1” diameter fly cutter, this allowed me to cut a .5” wide from centerline (no offset on cut) of the spindle. This allowed me to reach over to the left even farther when the cut was made to ensure a full 48.5” between this rail and the Bitsetter. I have found variations of up to a .25” in sheet goods from different sources. This has allowed me to keep the bitsetter installed so far and which increases efficiency of the entire process for projects.
Edit; S5Pro 4x4
Original Poplar fence, subject to moisture movement due to humidity.
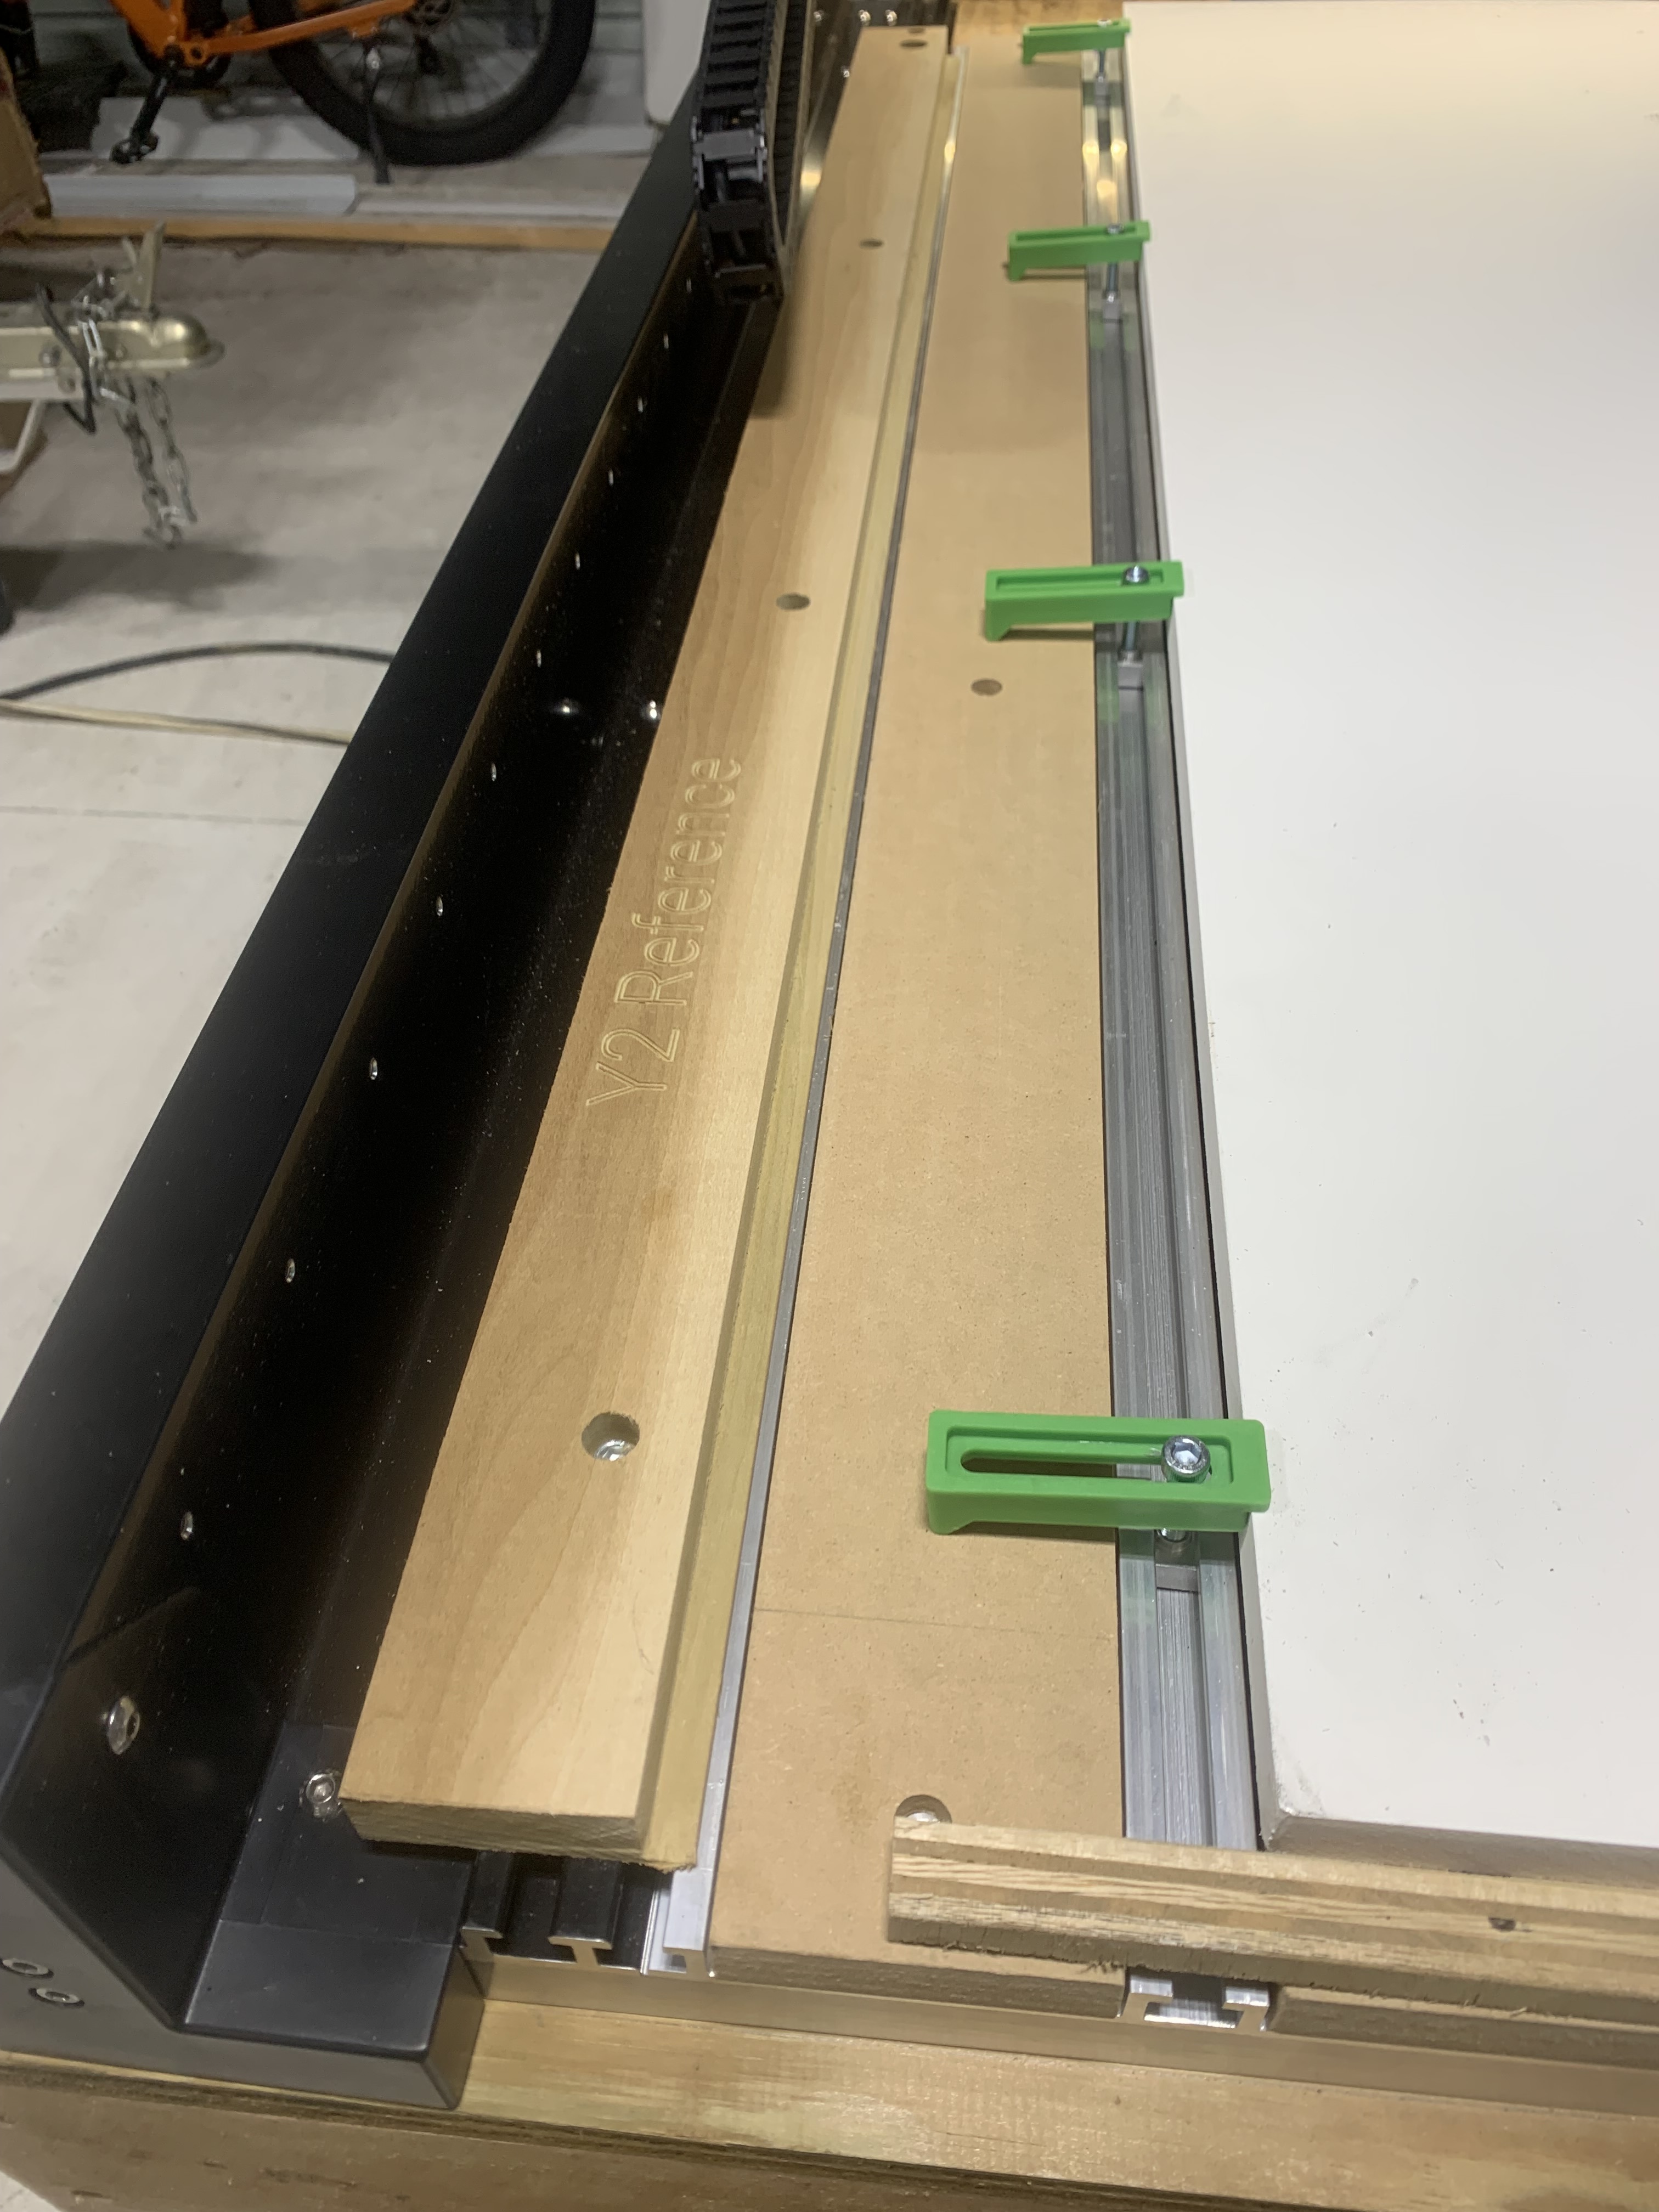
Final fence that is not impacted by humidity.
3 Likes
You might want to sink some threaded inserts in that piece so you can add clamps to help hold the left edge of the material down.
I should have also put in reference measurement marks as well. I have inserts ready to go in for the clamping scenarios, I’ll probably pull it back off and add a usable scale of some sort for the tiling process. Once installed I will see just how well it will re-align itself and if my original machining/measurements/thought process holds true! ![]()
1 Like
Yes, at least a registration mark to line of for zero in Y would be handy. I usually end up drawing a line on the wasteboard.
Multiple lines would be handy depending on the tile size.
I made a similar board some time back but didn’t has its left side register against the rail so getting it to realign perfectly was problematic. I had thought of machining the underside so that it would slide into the T Track to register but your approach is much simpler. I will try that when I get back from vacation.
Side note, I have always made my time size 1/2 of the project length. On a recent project I didn’t really want the tile overlap at the halfway mark given the design elements that were there. So, I made the tile size larger and on Tile 2 it just hangs off the back past the material. Since there are no toolpaths that go in that area it doesn’t matter. Duh. Never really thought of that before.
1 Like
Thanks for the extra info on tile sizes. I have not had time to experiment with tiling yet but your example is good to know.
As soon as I cut the poplar fence I realized my mistake for having to remove the fence and the need to make another and reference it off the Y rail. The second was for the potential moisture movement and the actual distance between the bitsetter and fence which was less than 48 & 1/8”. I needed more clearance, which forced me to figure out how to cut the fence farther over yet knowing the X axis was already all the way to the left. So the only way to get farther over was to use a larger diameter bit to machine in place.
I plan on scaling the entire 48” with pilot holes for using specific markers to address different size tiles. So far I will just use either toothpicks cut to length and colored with a sharpy or colored pencil leads (not really lead).
That’s a good idea. I bought a box of maple boards for this because I wanted something hard. I mean at least I have some maple now, but I may go with your idea because it’s cheap, and like you said, isn’t affected by humidity. Not that humidity is much of a problem in Northern Idaho, it’s pretty dry here year round. I bet the plastic will hold up just as well, and honestly it won’t be often that I even need to use it. I tried tiling a 4x8 sheet of plywood to make a table topper for a plastic folding table I have and ended up with one half being offset by 1/16th an inch from the other half, so very annoying. I was using temporary clamps to run along, but not one long straight board, so I wonder if one clamp at the front was offset from the one in the back, I didn’t think to check… Which makes me wonder if my machine is currently out of square across it’s entire length and I don’t notice because I spend most of my time in a 2x2’ area in the left front.
It’s possible there was clamp movement and/or the bed is out of square. It does not take much for a 1/16” over 48”, ask me how I know! I learned this long before I got my S5Pro 4x4 and why I took an hour to set it square before locking it down for good.
I’m in central Florida where the humidity is pleasantly ridiculous. It’s bad enough on normal days but then throw in the thunderstorms and wood gets out of wack quickly.
1 Like
What kind of plastic did you use? Do you have an S5Pro? If so, do you mind sharing your project files? If you do something with inserts for clamps and graduation marks, that would be great too. I’m still learning and honestly I’m still trying to understand how people get so accurate with their machines. I honestly feel like I’m so adhoc with my machine. It took me forever to get a working surfacing toolpath working for instance, I just check changing numbers until I got something that worked. But I often see other people setup and get it right right off the bat. Let alone people who barely cut into their waste board, which I’ve been able to get achieve a few times but still don’t quite understand how…
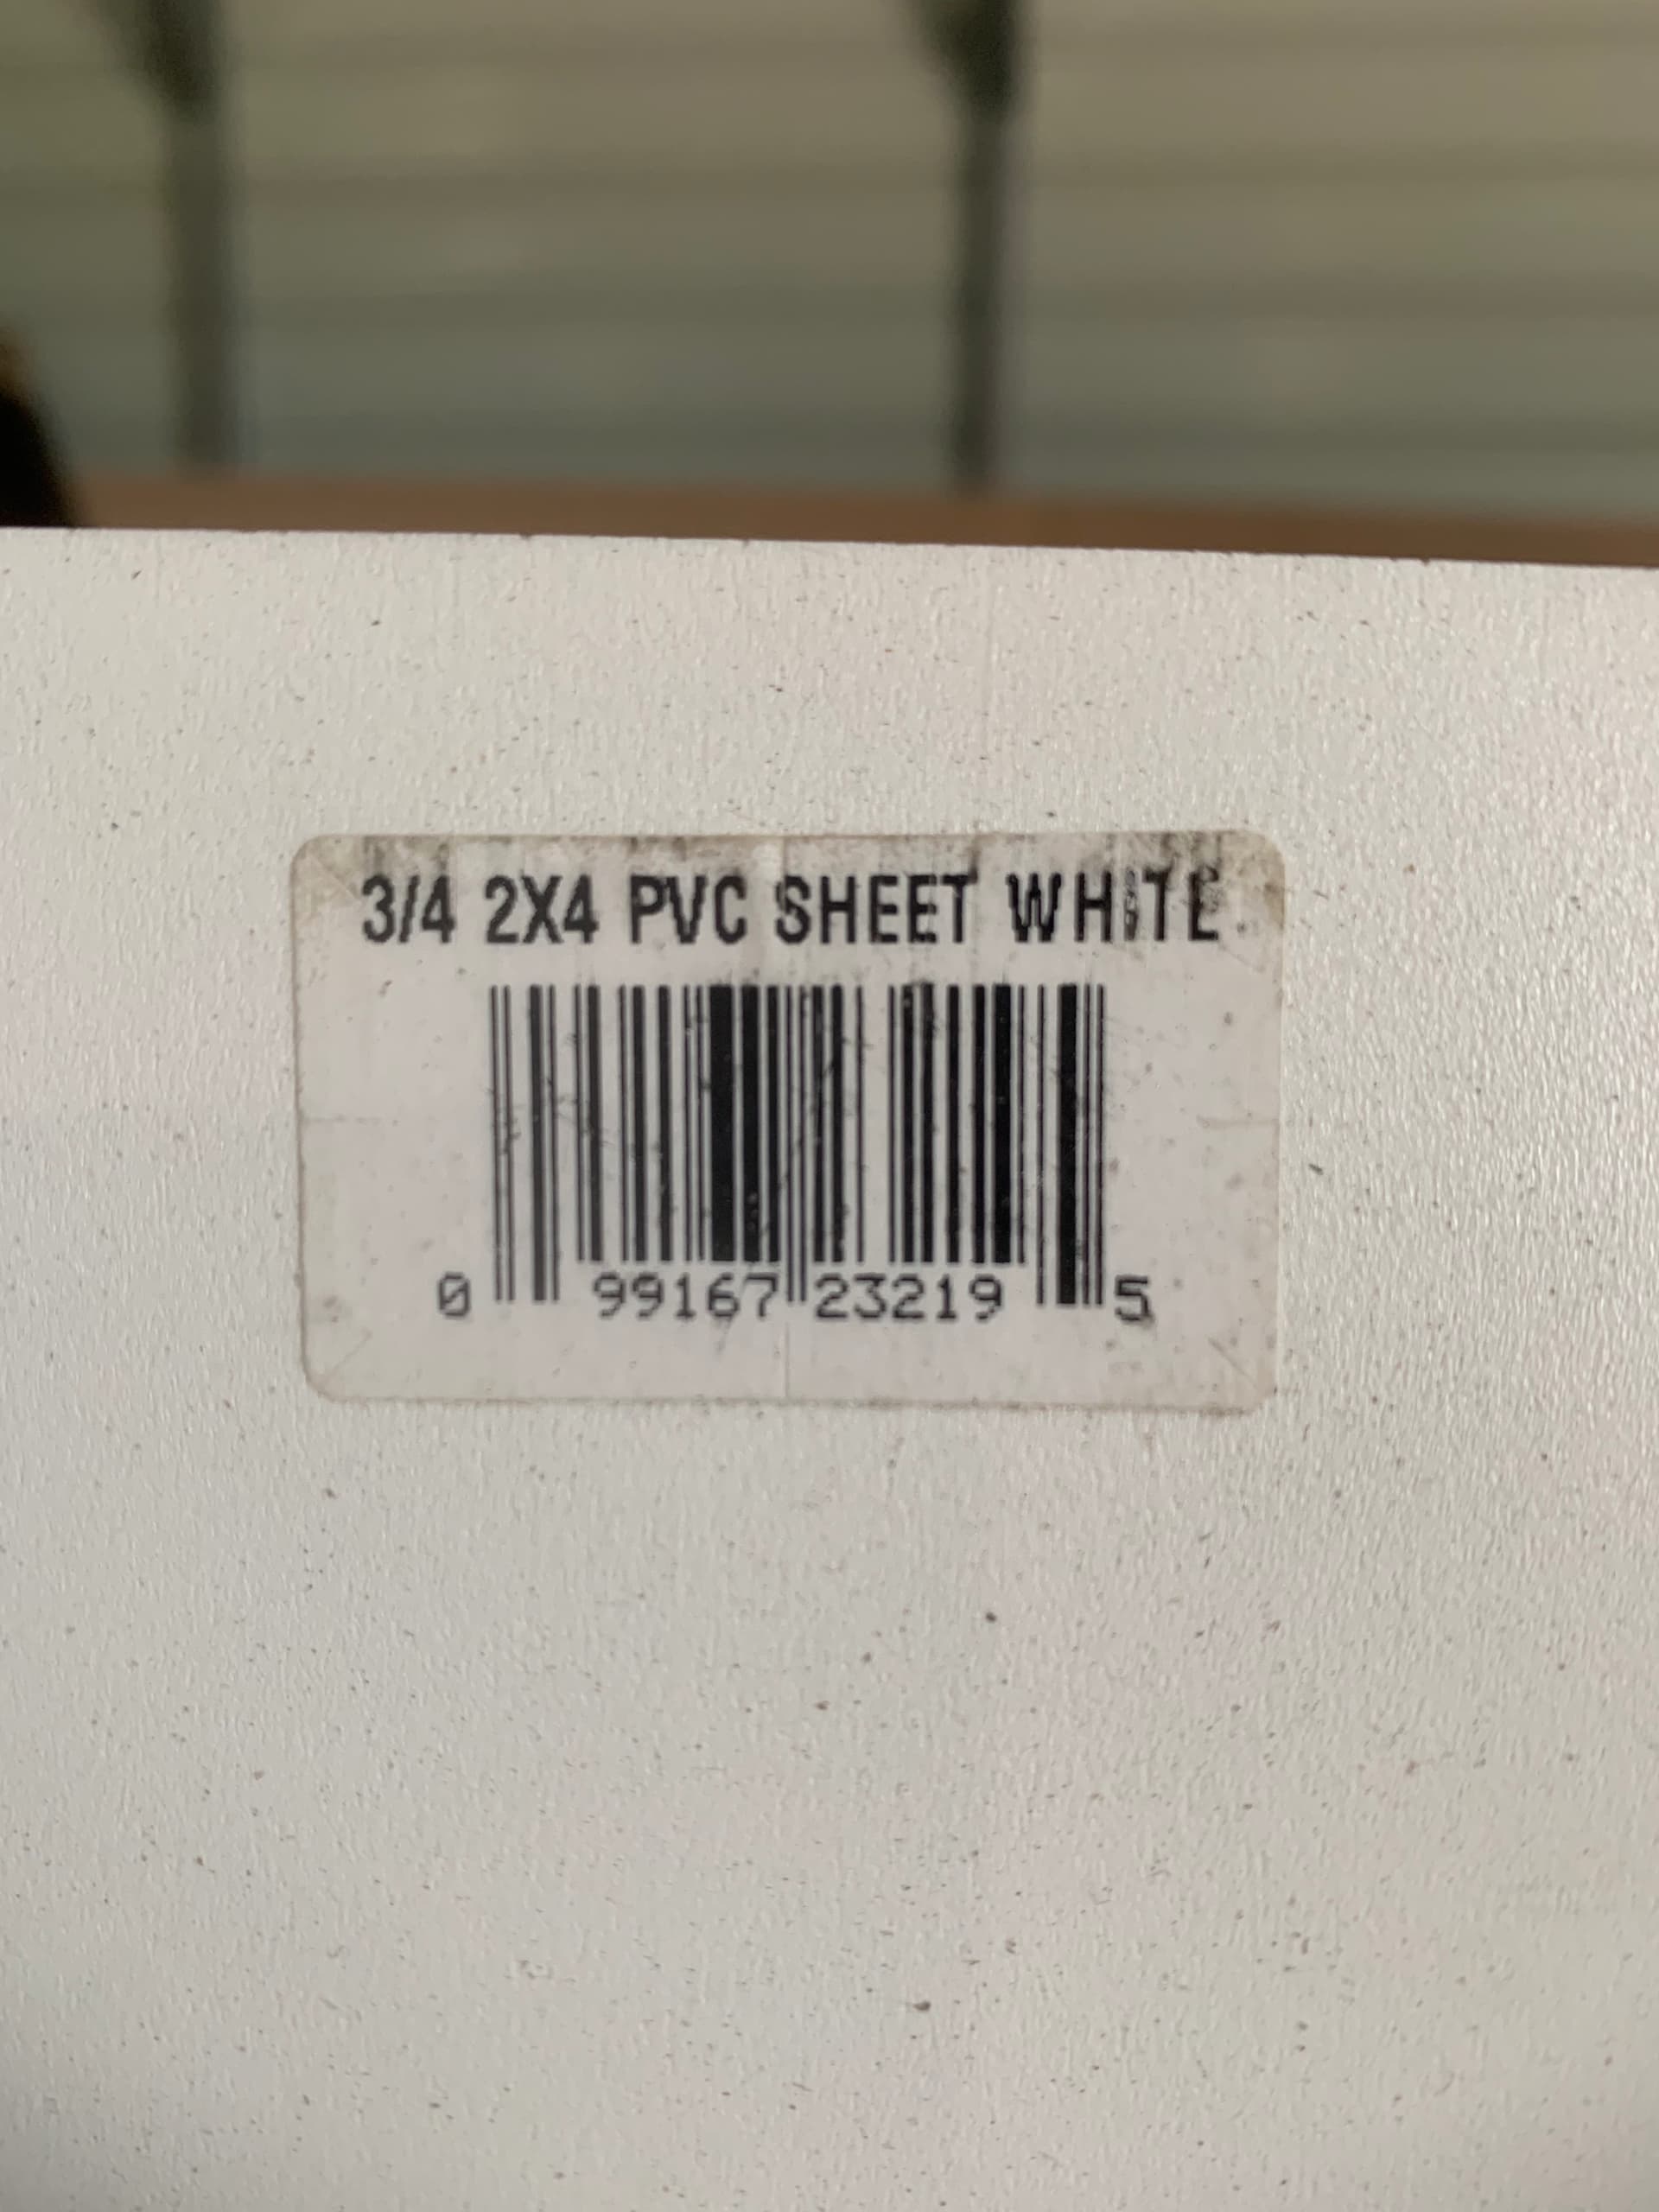
It was from Home Depot, 3/4" thick and 2x4 feet sheet. It was in the woo/trim area with the paneling. As for the files they are on the computer with the cnc, I’ll get them posted tonight and let you know. Yes, I have the S5Pro 4x4 with the 65mm version 1 spindle with the ER-11 collet.
I set up a surfacing file based on Kevin B’s video tutorial. He posted the file on CutRocket, I chose to download the file and recreated it myself due to the need to learn the process. I used several files from CutRocket to do just that, learn different setups, tool paths etc. This helped to reinforce the video tutorials that were available from C3D.
1 Like
Heh, I lived in Pensacola for 6 years, and TN for 12, so I know the humidity issues well, I don’t miss it! Cool, thanks for the info and files when you get a chance, I’ll go pick the same stuff from HP. Yeah, I need to go through more of their tutorials, I like Kevin’s videos.
As for cutting into the waste board there are those who have (me ![]() ) and those who will…
) and those who will…
1 Like
I learned a ton from all of the C3D videos, including ones on YT from years ago when the company was getting going. You have to use the machine, create simple projects and files with the specific intent of learning the machine, experimenting and then applying lessons learned to a revision of the existing file or new files going forward. It helps some folks if they come up with a simple checklist of a particular process and use it. There is a reason pilots have checklists that are required, not optional for commercial use.
I assume you mean HD vs HP… I despise auto correct… ![]()
1 Like
If you don’t have a need for the 2x4 sheet you can also get PVC trim boards in narrower widths. They typically have fake wood grain siding on one side but that doesn’t really matter.
I have used the stuff for a lot of projects.
Next time I remake my spoilboard I am planning to use the PVC for that as well.
2 Likes
I have used the product you mention (From Lowe’s) for several projects as well. Really good stuff. It’s is denser than the PVC board so if weight is a concern that’s something to be considered based on its intended purpose.
1 Like
An excellent discussion on this thread.
To answer the original question:
- With the router it’s easy to turn on and jog.
With the spindle, here’s the hack:
- Locate your Z-Axis at the appropriate X position for the guide and at a Full depth cut Z position
- Send a speed command to the spindle (24,000)
- Jog the machine along the Y-Axis by holding the up arrow key. You have to hold it or the spindle will shut down.
Be sure to test this process with your version of Carbide Motion. I’m not sure if, in the current version, it still works.
Option 2
- Create a rectangle, just wider than the 1/4" endmill, inside your design software
- Make the rectangle longer than your left side edge guide
- Position the rectangle on the lower left origin
- Create and run a pocketing toolpath for that rectangle
I purposely made the edge guide in two pieces to allow for Teez Nuts to be positioned in between the two sections. This allows for clamping options.
The 3D Door Video shows the guide and gives some details.

3 Likes
Thanks, that was helpful too. The video covered a little more. So yeah, I may do the same thing, but with the plastic material since it’s cheaper and hard. Then I don’t have to waste any of that box of Maple I bought from Woodworkingsource.com (man I wish we had more hardwood places closer to me in Priest River, ID, I’m trying to find a good supplier of quality plywood too, Home Depot and a local large hardware store only have crappy stuff).
This topic was automatically closed 30 days after the last reply. New replies are no longer allowed.