I am not sure if what I am trying to do is called slot and tab or something else. Sorry for my ignorance.
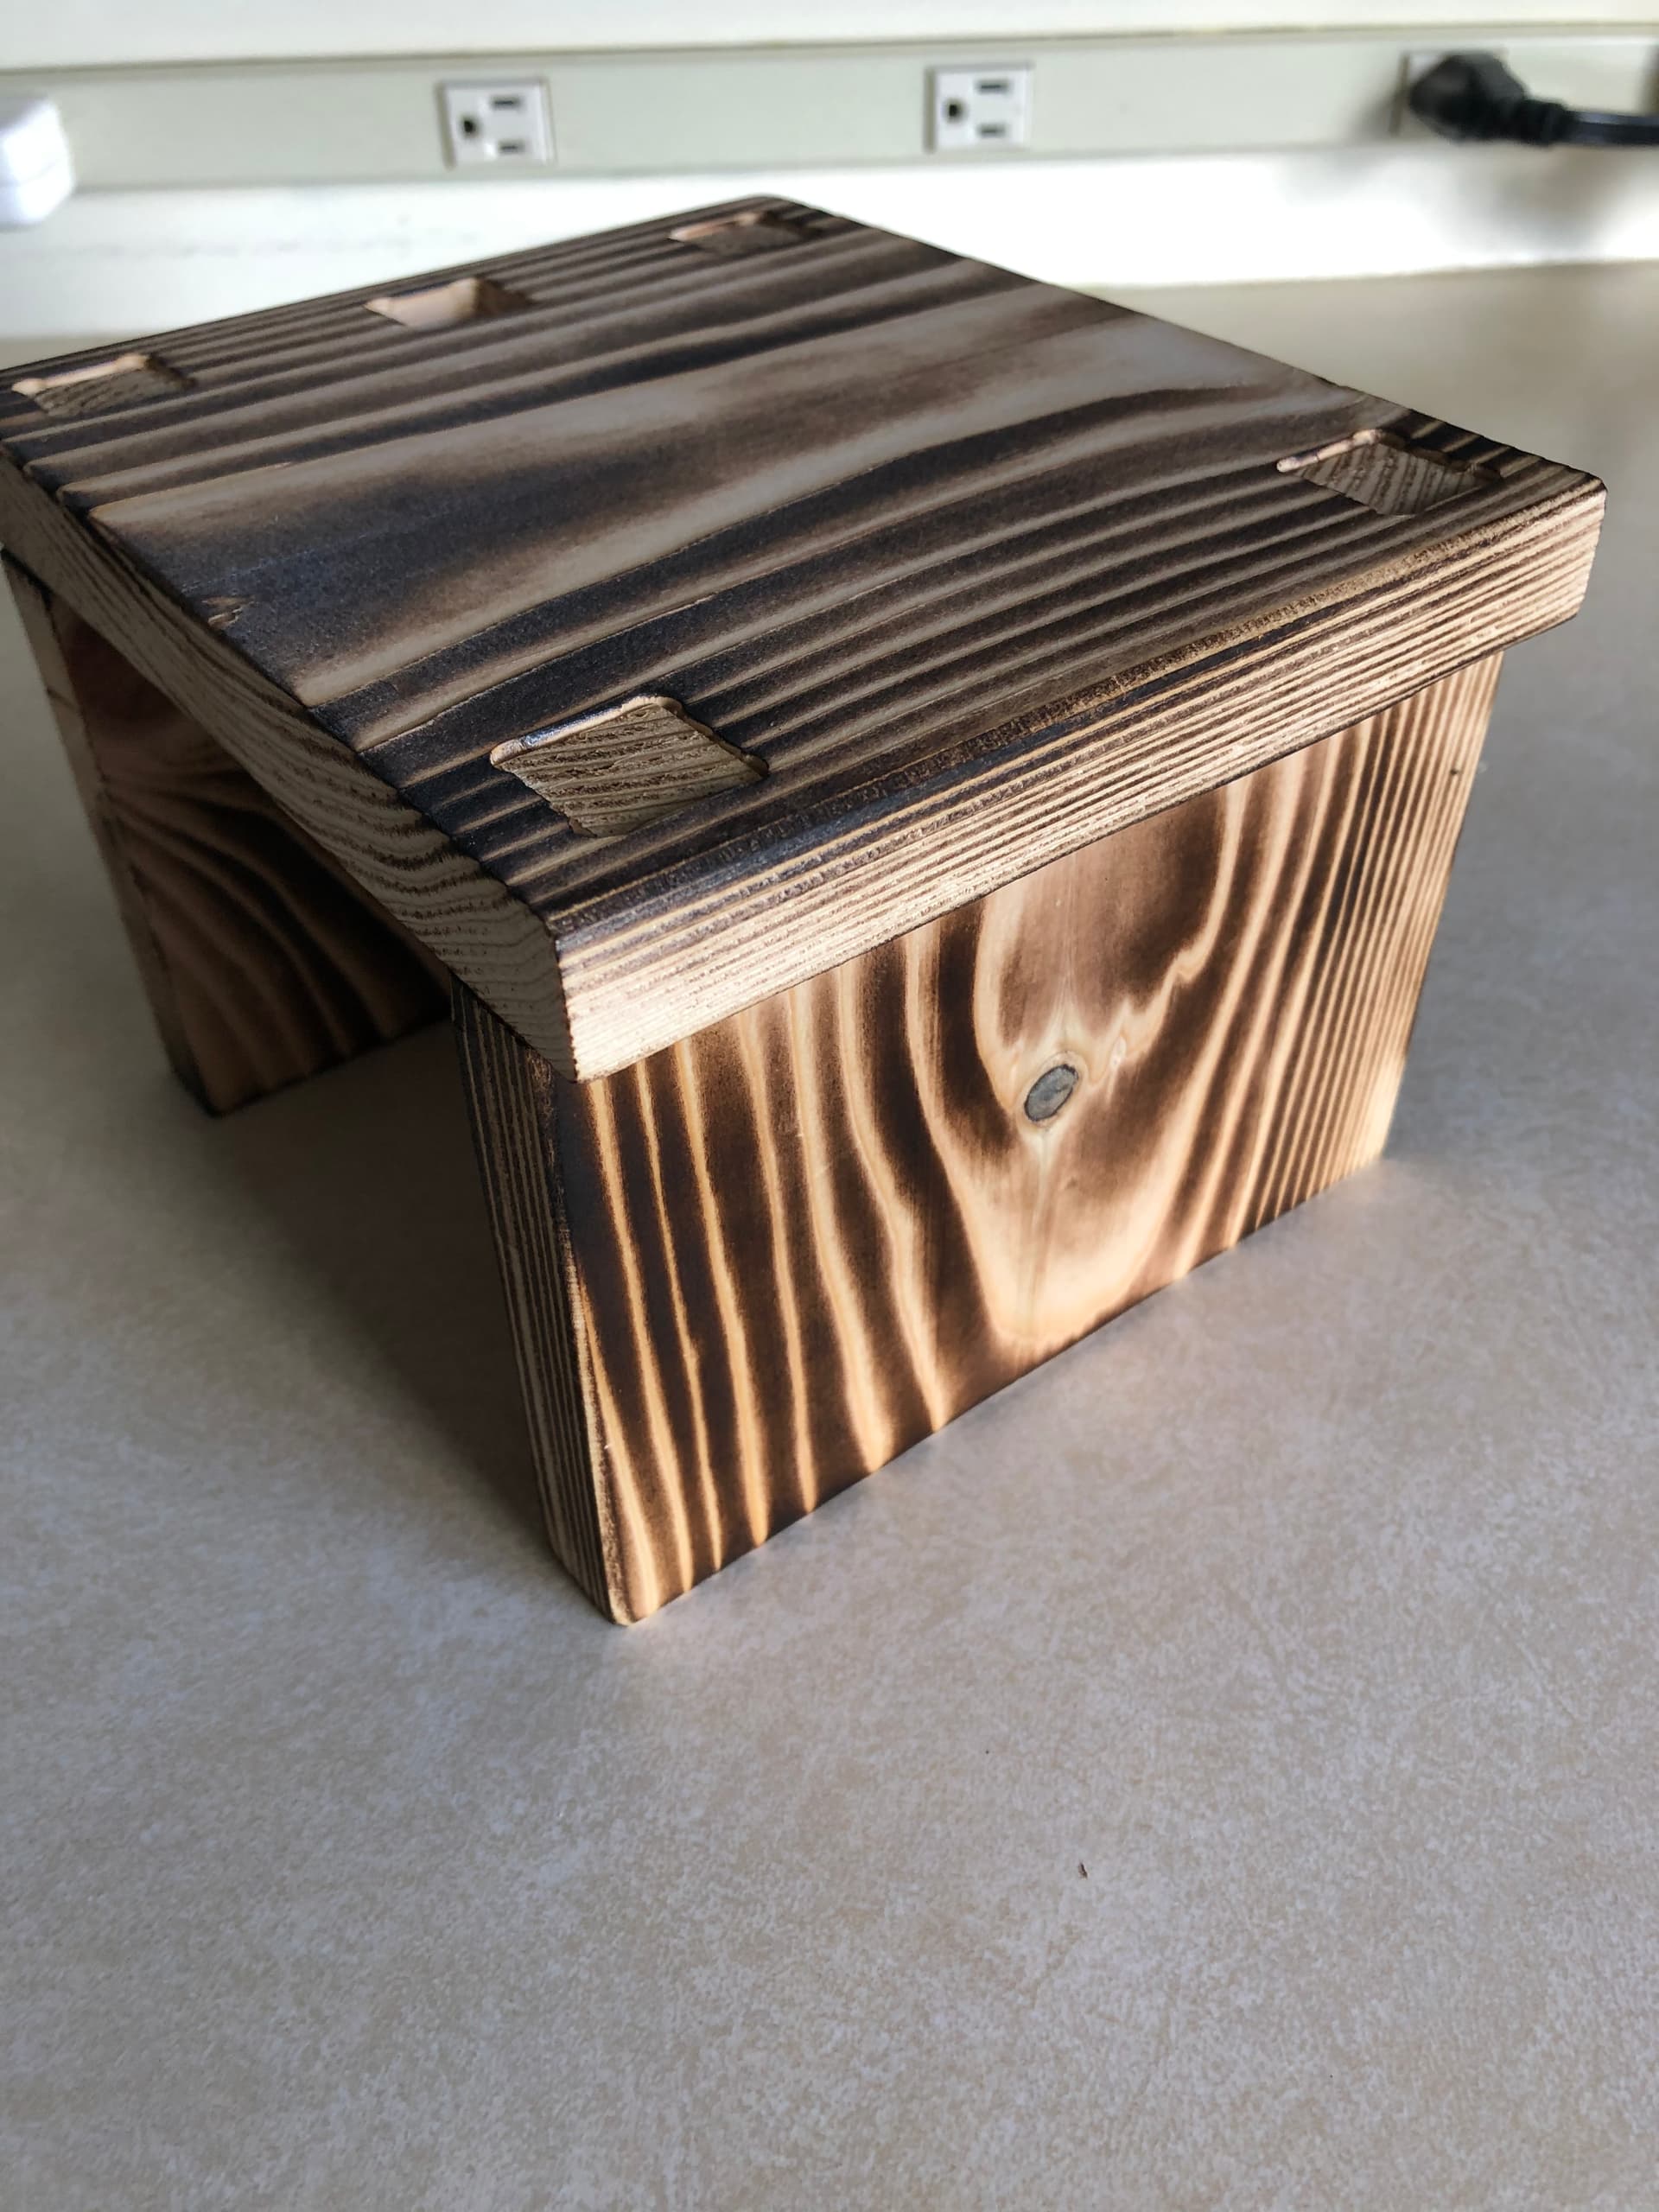
I had a customer request for me to build a hamster hideout. The way I designed it was for the customer to easily assemble and for me to be able to ship it flat.
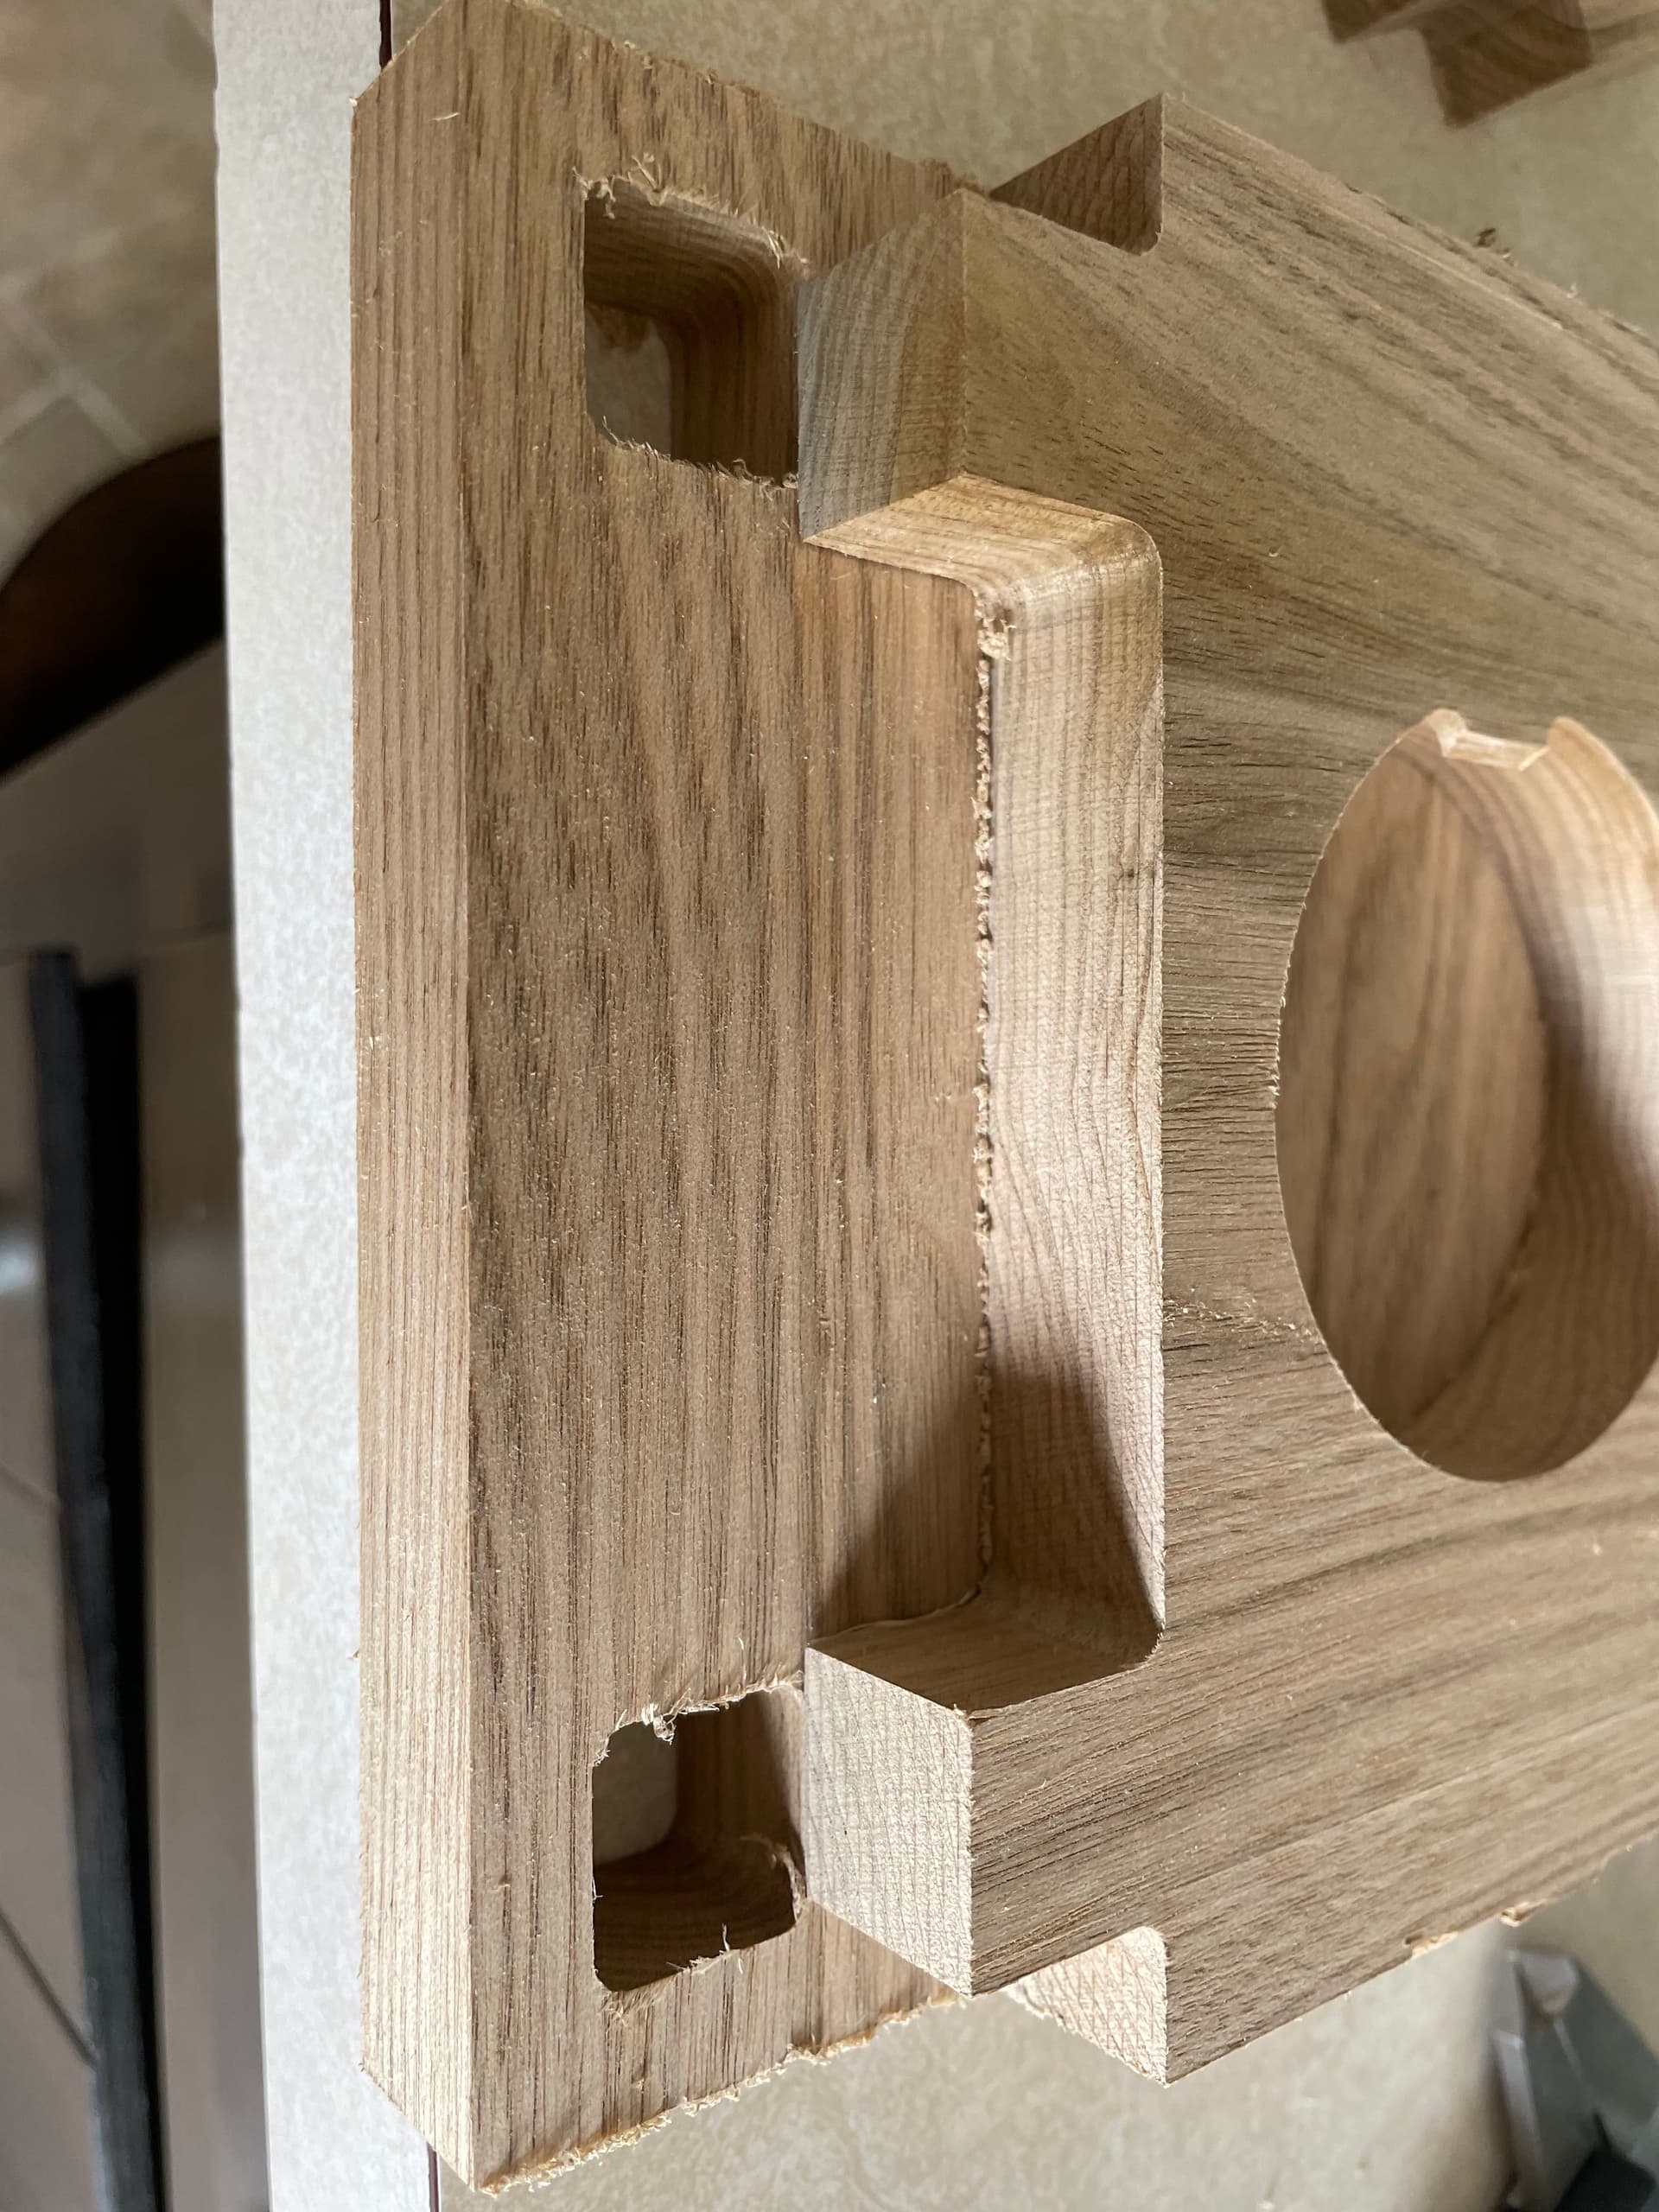
I realized when I was doing the tool paths that my tabs were going to be too small for the slots so then I added the 1/4" for bit size. So everything looked good in the simulation but when I cut the project out, it’s like I am trying to fit a square tab into a rounded slot? Plus my tabs and slots don’t line up which I was very precise where I put them. It’s like they are off by a 1/4". I’m clearly missing something and I don’t know what I’m doing.
Do I need to use a smaller bit to get a more square slot? And why are my tabs and slots not lining up?
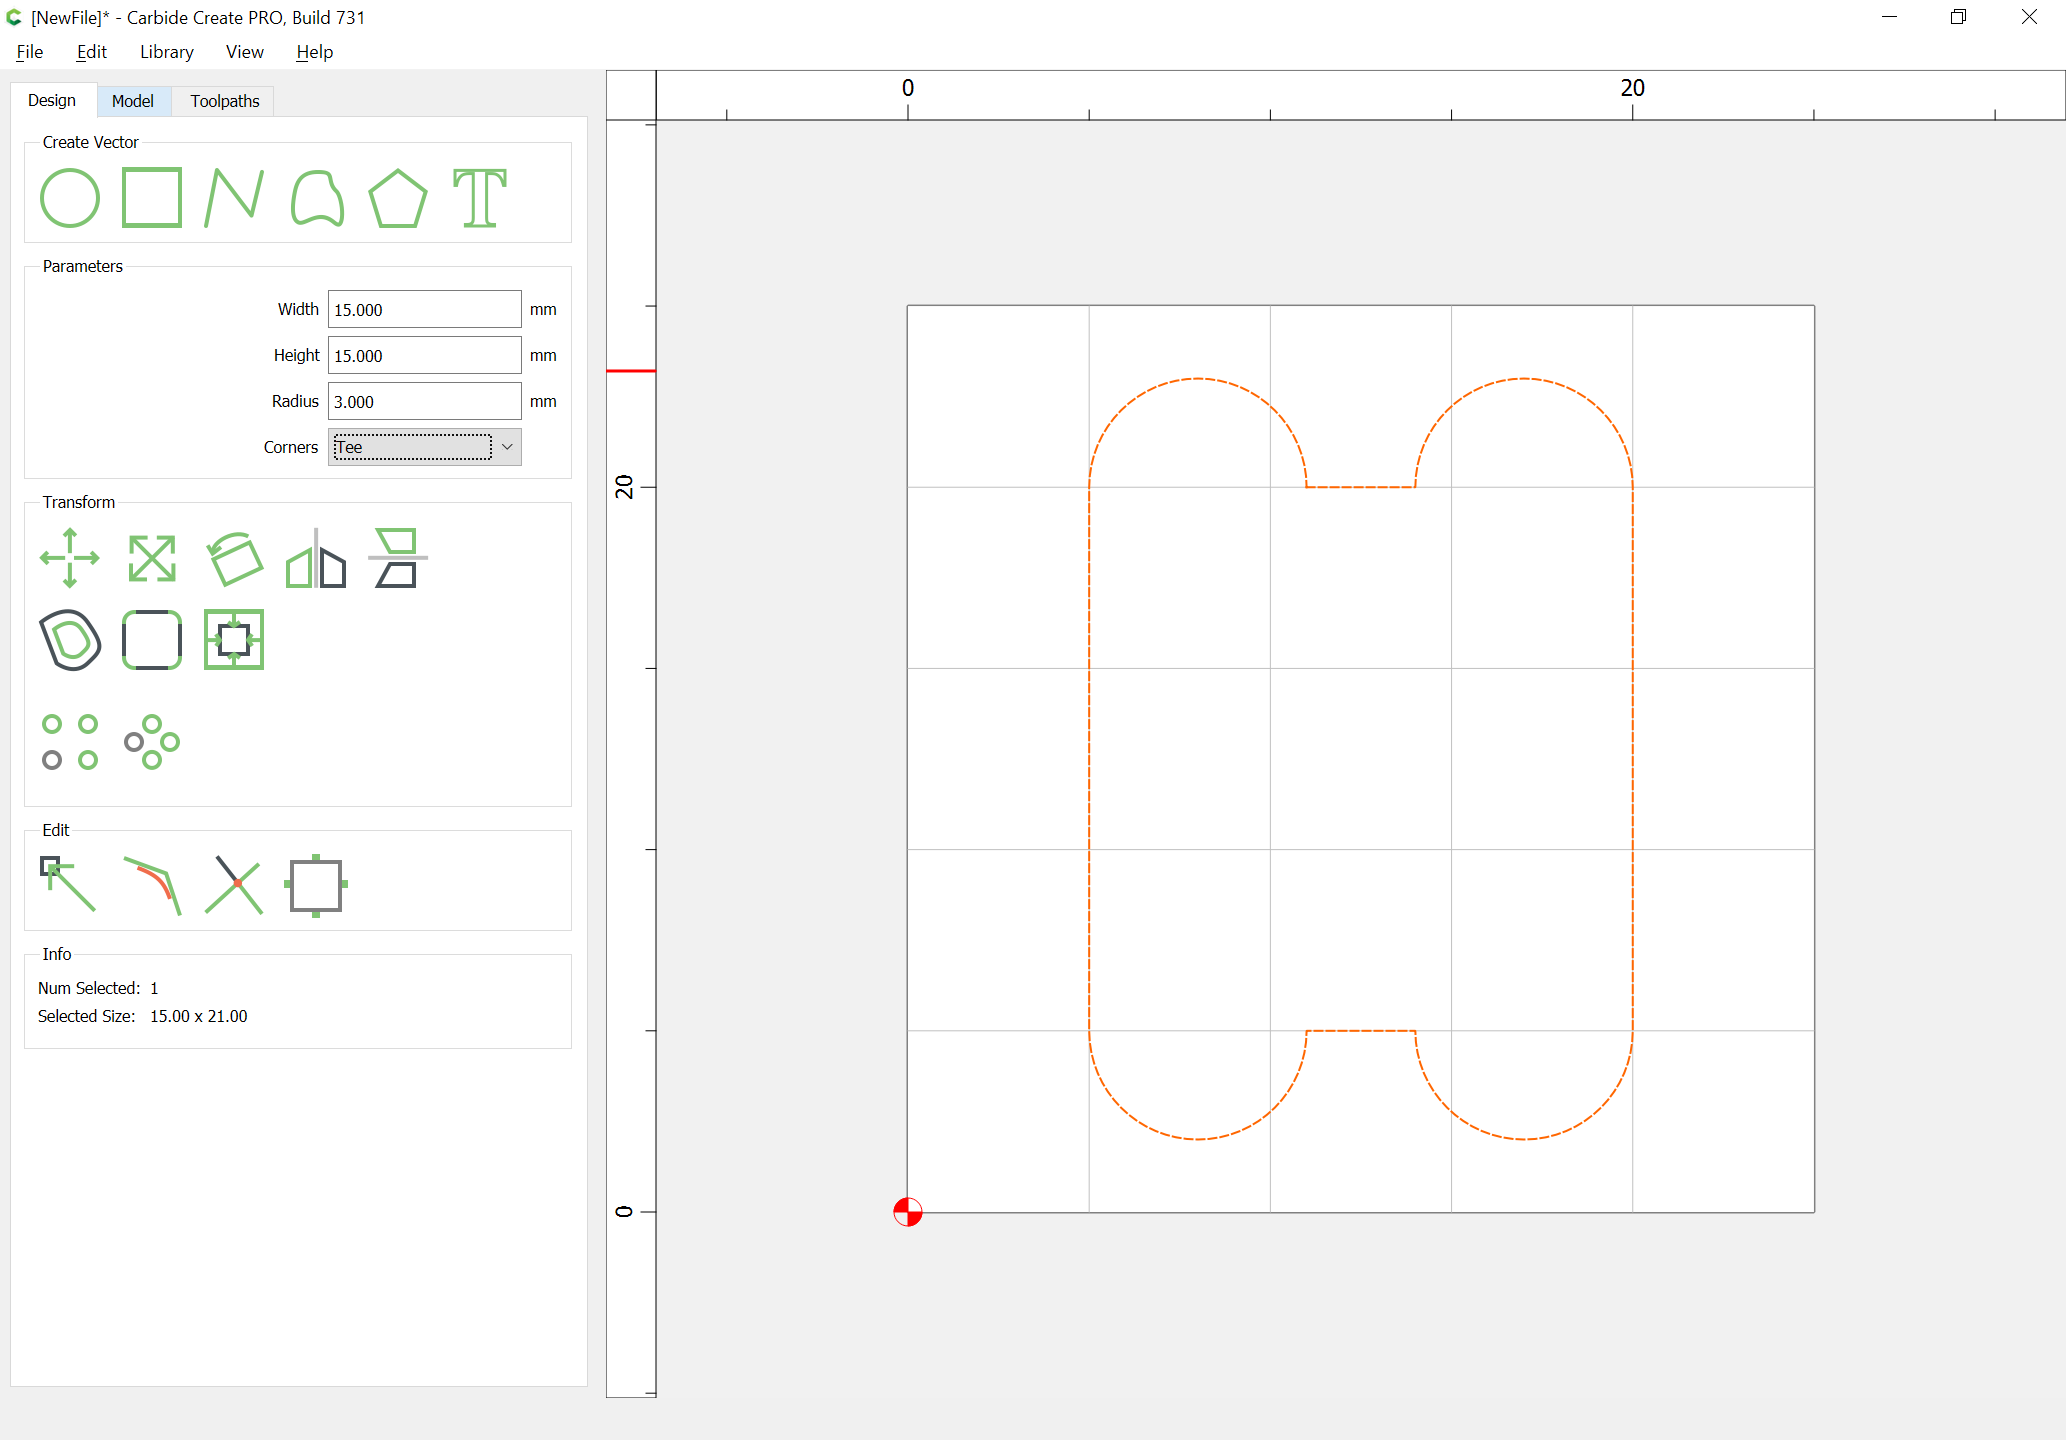
1/4 inch bit is fine. Your tabs center-center distance must equal the slots center-center distance. (Move each tab away from the other 1/8 inch). Open the rounded corners of the slots by adding dogbones (radius 1/8 inch) to your slots as in picture. To add dogbones, select your slots, dropdown the “corners dropdown menu” in Parameters and select dogbone. This allows your square pegs to fit the holes that used to have rounded corners.
I m not good at explaining, hopefully the above will help.
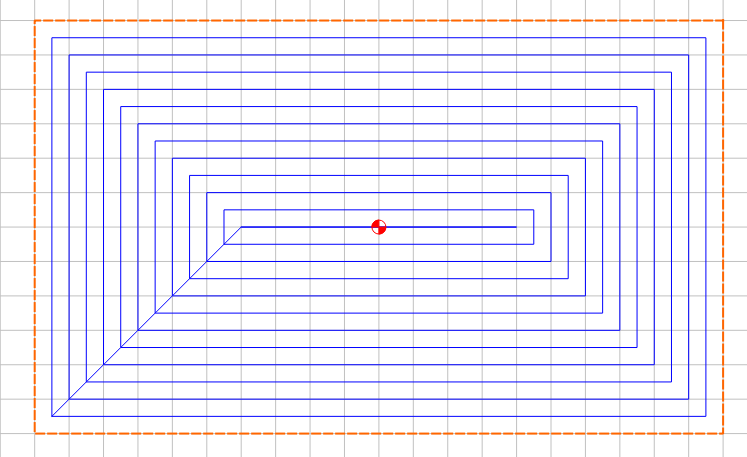
When you make inside cuts you get the radius of the bit left as a round corner. When you cut an outside corner you get square corners. In the v7 version they have a rest machine option that the round corners can be reduced by using a smaller bit that does not have to cover the entire pocket only the round corners. You still wind up with round corners but smaller ones. For instance if you use a 1/4" bit for the pocket you wind up with .125" radius corners. You can come back with a .125 bit and get 0.0625 radius corners. Still round but much smaller. You could try a 1/16" bit but they are delicate and depending on the depth of your pocket may not be practical. Using the 1/8" rest machining bit you could just round over the square corners with a chisel and get your project to assemble easier. I think it will just require some hand finishing due to the nature of inside cuts vs outside cuts.
The first example here is a pocket of a rectangle.