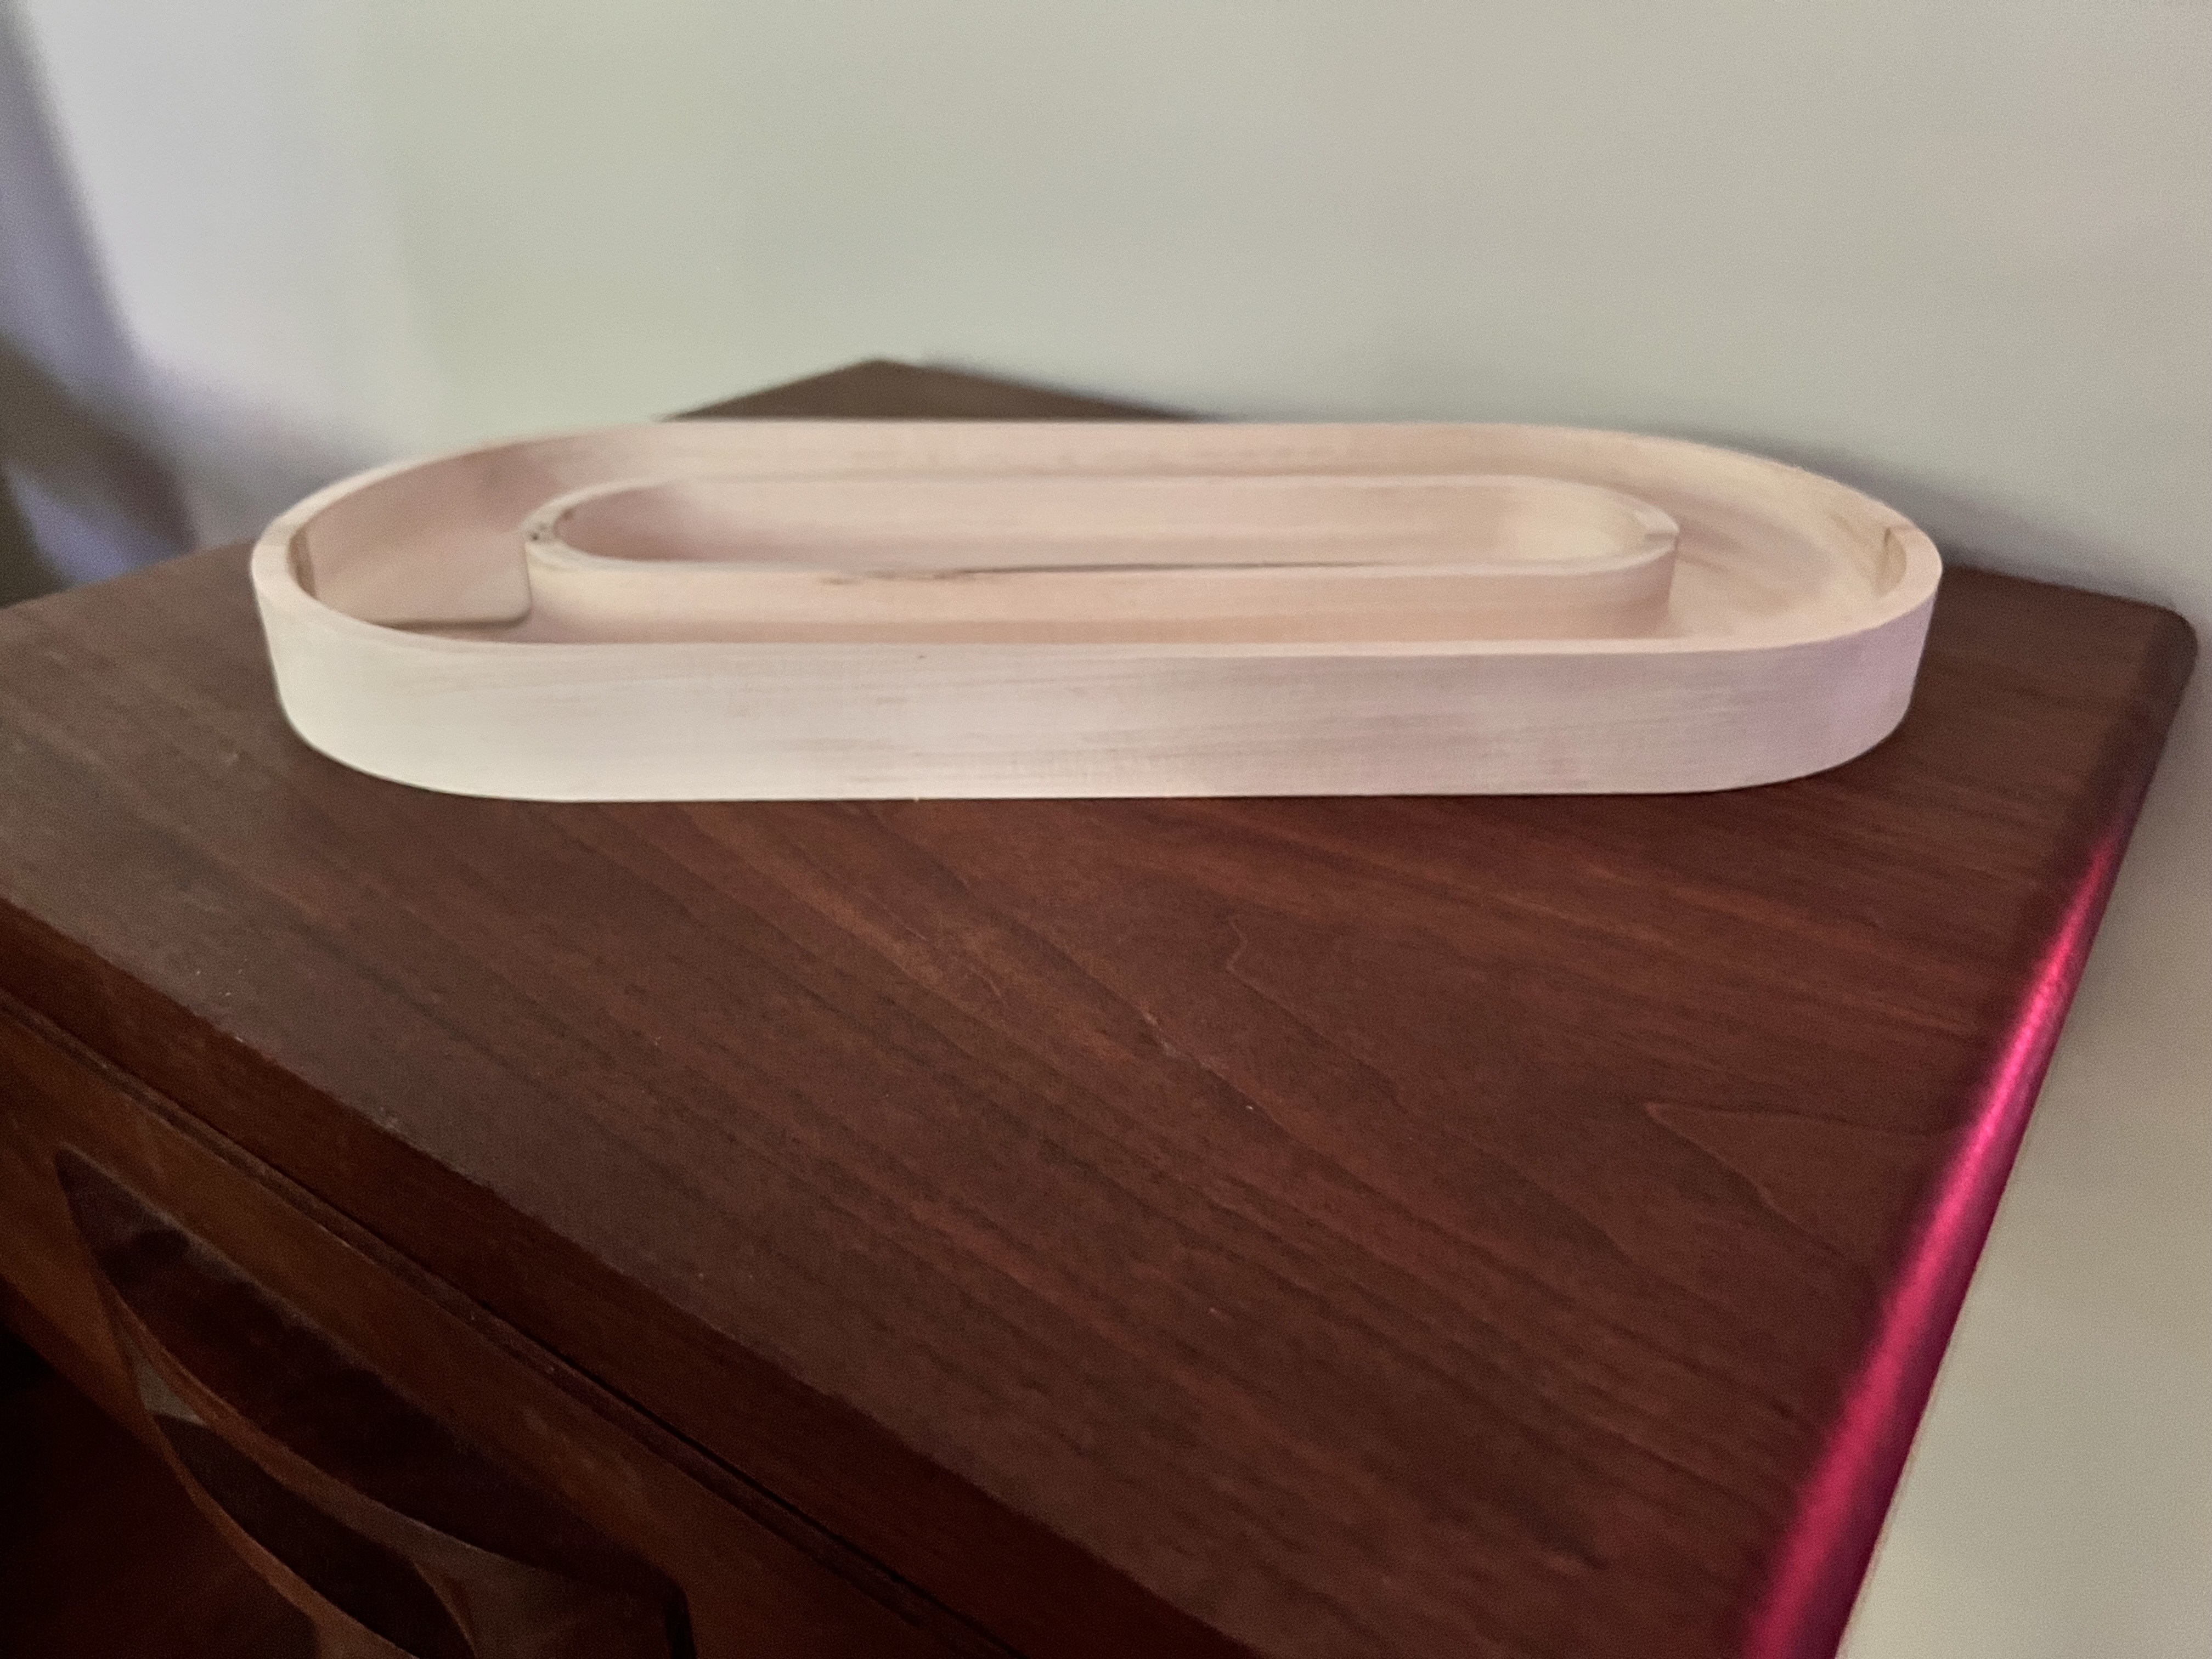
The bowl came out otherwise fine. It’s just the one bite I think could be adjusted if I could fiddle with the any the bowl bit runs. Should have added these yesterday but this is what it looks like after minimum sanding
3 Likes
I used Poplar on this Sign. I usually use Maple, but Lowes was out of stock.
I do not plan on painting it. I first stained the entire piece with a Walnut oil-based stain. Then, I went over the last name with an Ebony Oil-Based stain. The Black stain leached (?) down through the wood into the background. I will recut the background pocket to lower it another .05" to eliminate the black stain, then refinish it with a walnut stain.
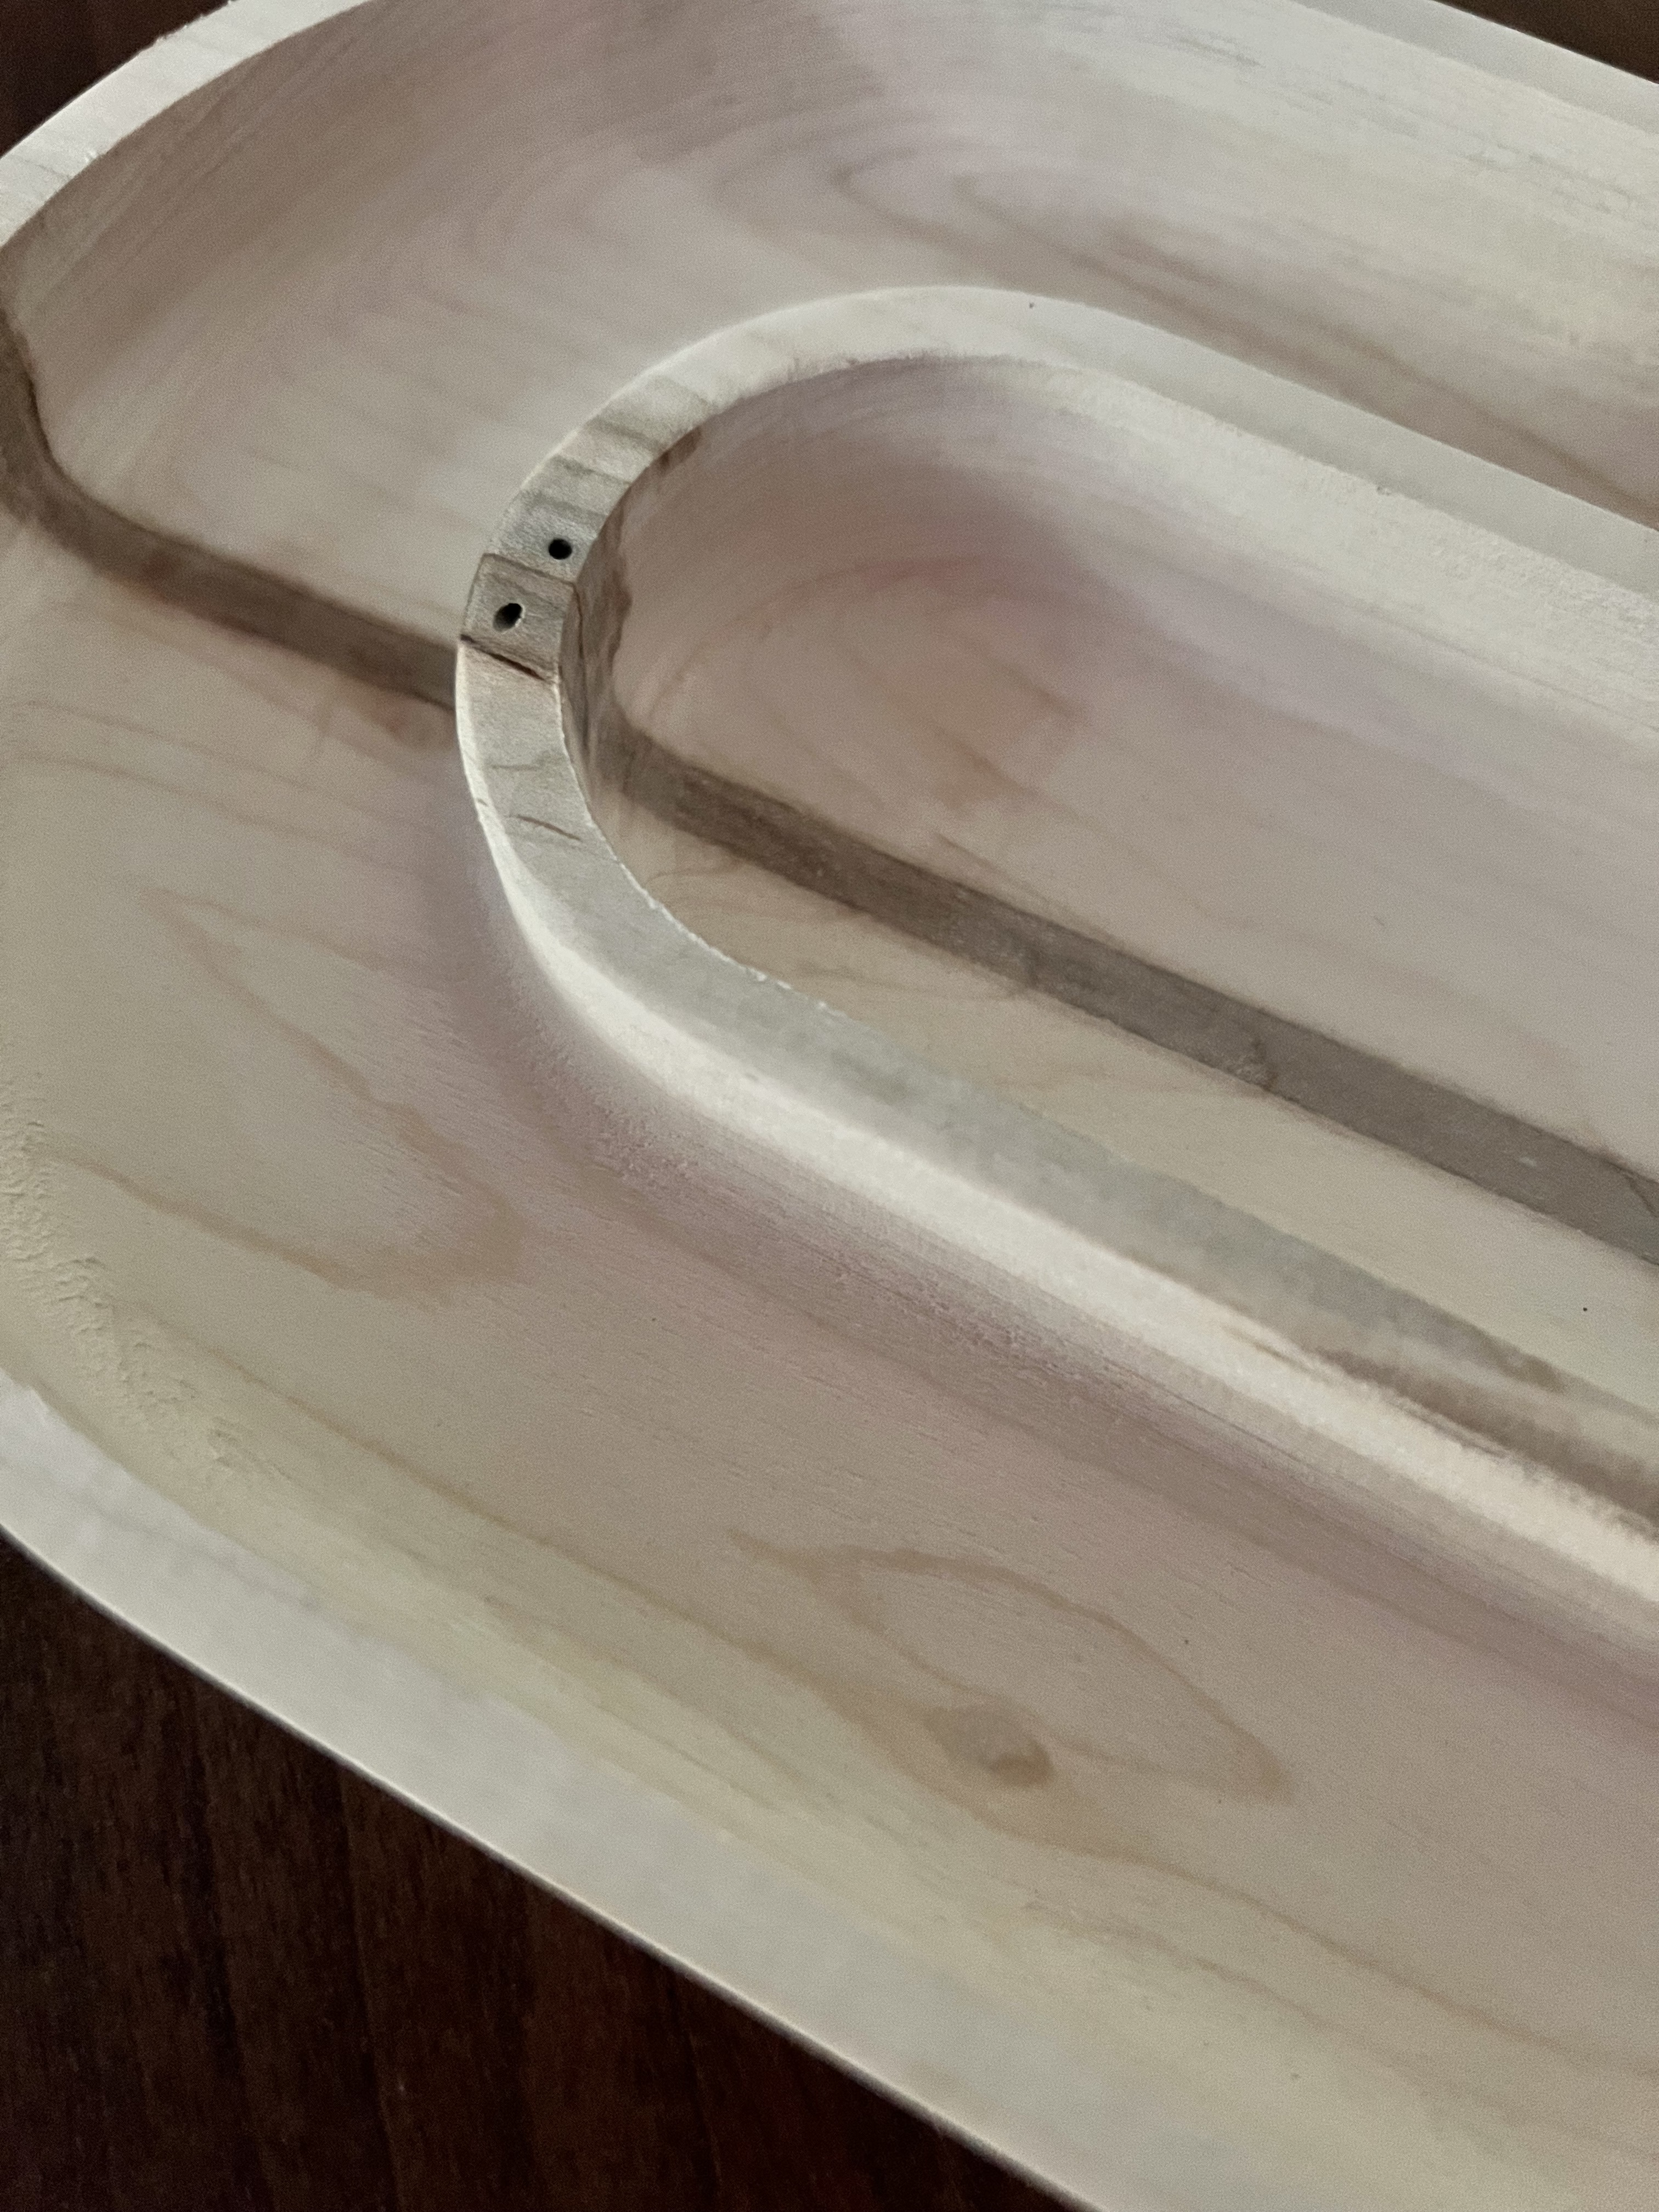
I bet the “gouges” on your corner are from the piece not being held flat onto your wasteboard. As the bit plunges into the wood, it can cause the wood to flex, which makes for an uneven finished bottom surface.
Your design of your CAM with a rough and finish pass likely minimized the problem. Next time, start with a flat piece, and you will get better results. You could have also run the finish pass one more time but a little deeper. Hand sanding that is going to be a pain in the rear.
I suggest adding some Black CA glue for those two little pin-prick holes.
It looks amazing!!
2 Likes
If I understand what you’re asking, let’s think like the program.
Select the 2 vectors that make the pocket & offset those curves inward 0.375 (the radius of your tool)
Now offset those curves 0.200 (your stepover) until they cover the whole pocket.
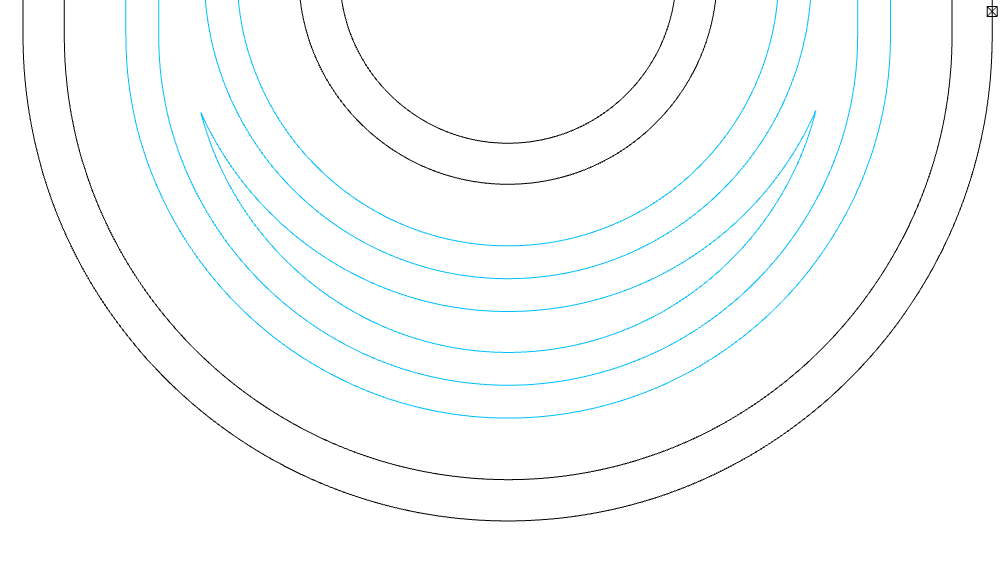
Because the width of the pocket on the end is greater than the width along the sides, it needs to clear out the middle before making the contiguous passes around the whole pocket.
The pocket path works inside out, so it cuts the 2 crescents at the ends first, then steps outward until it gets to the boundary.
3 Likes
This topic was automatically closed 30 days after the last reply. New replies are no longer allowed.