Turned the XXL wasteboard into a vacuum table

I’m trying something new for me, well all this router stuff is new to me, but after watching a few compelling videos, I decided to try to ditch the clamps, and tape for a vacuum table.
I have a little past experience with a magnetic chuck, and I liked it.

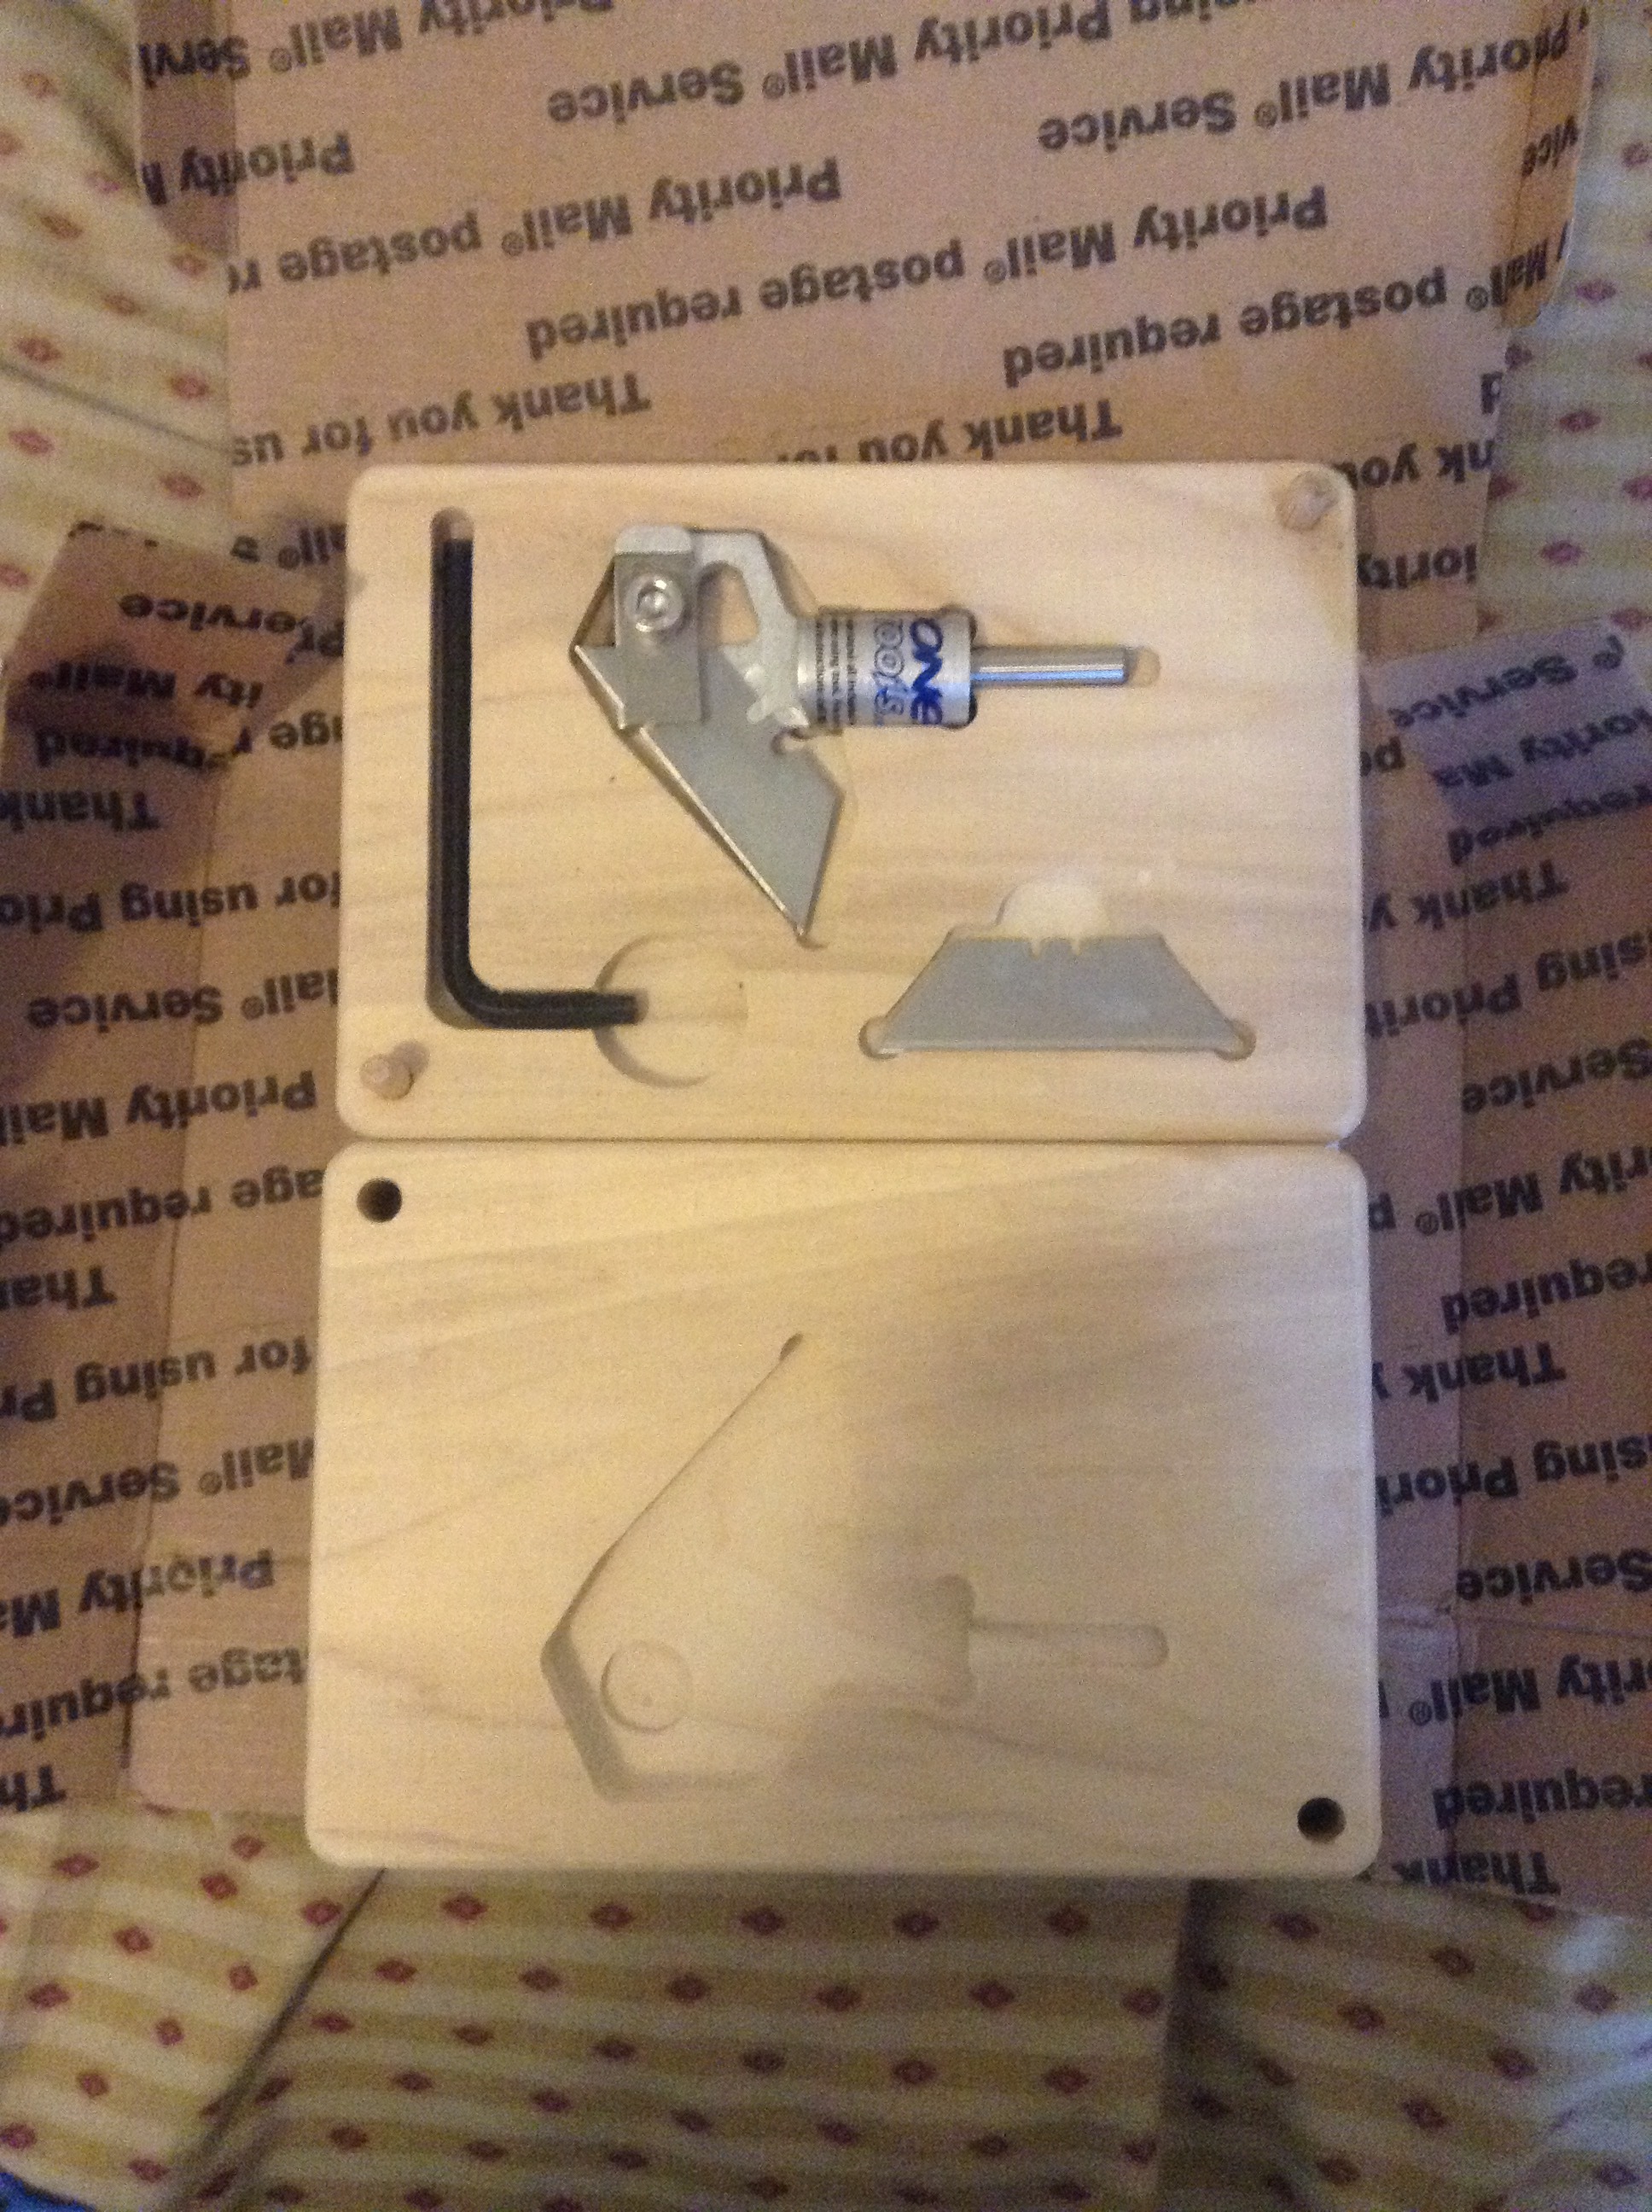
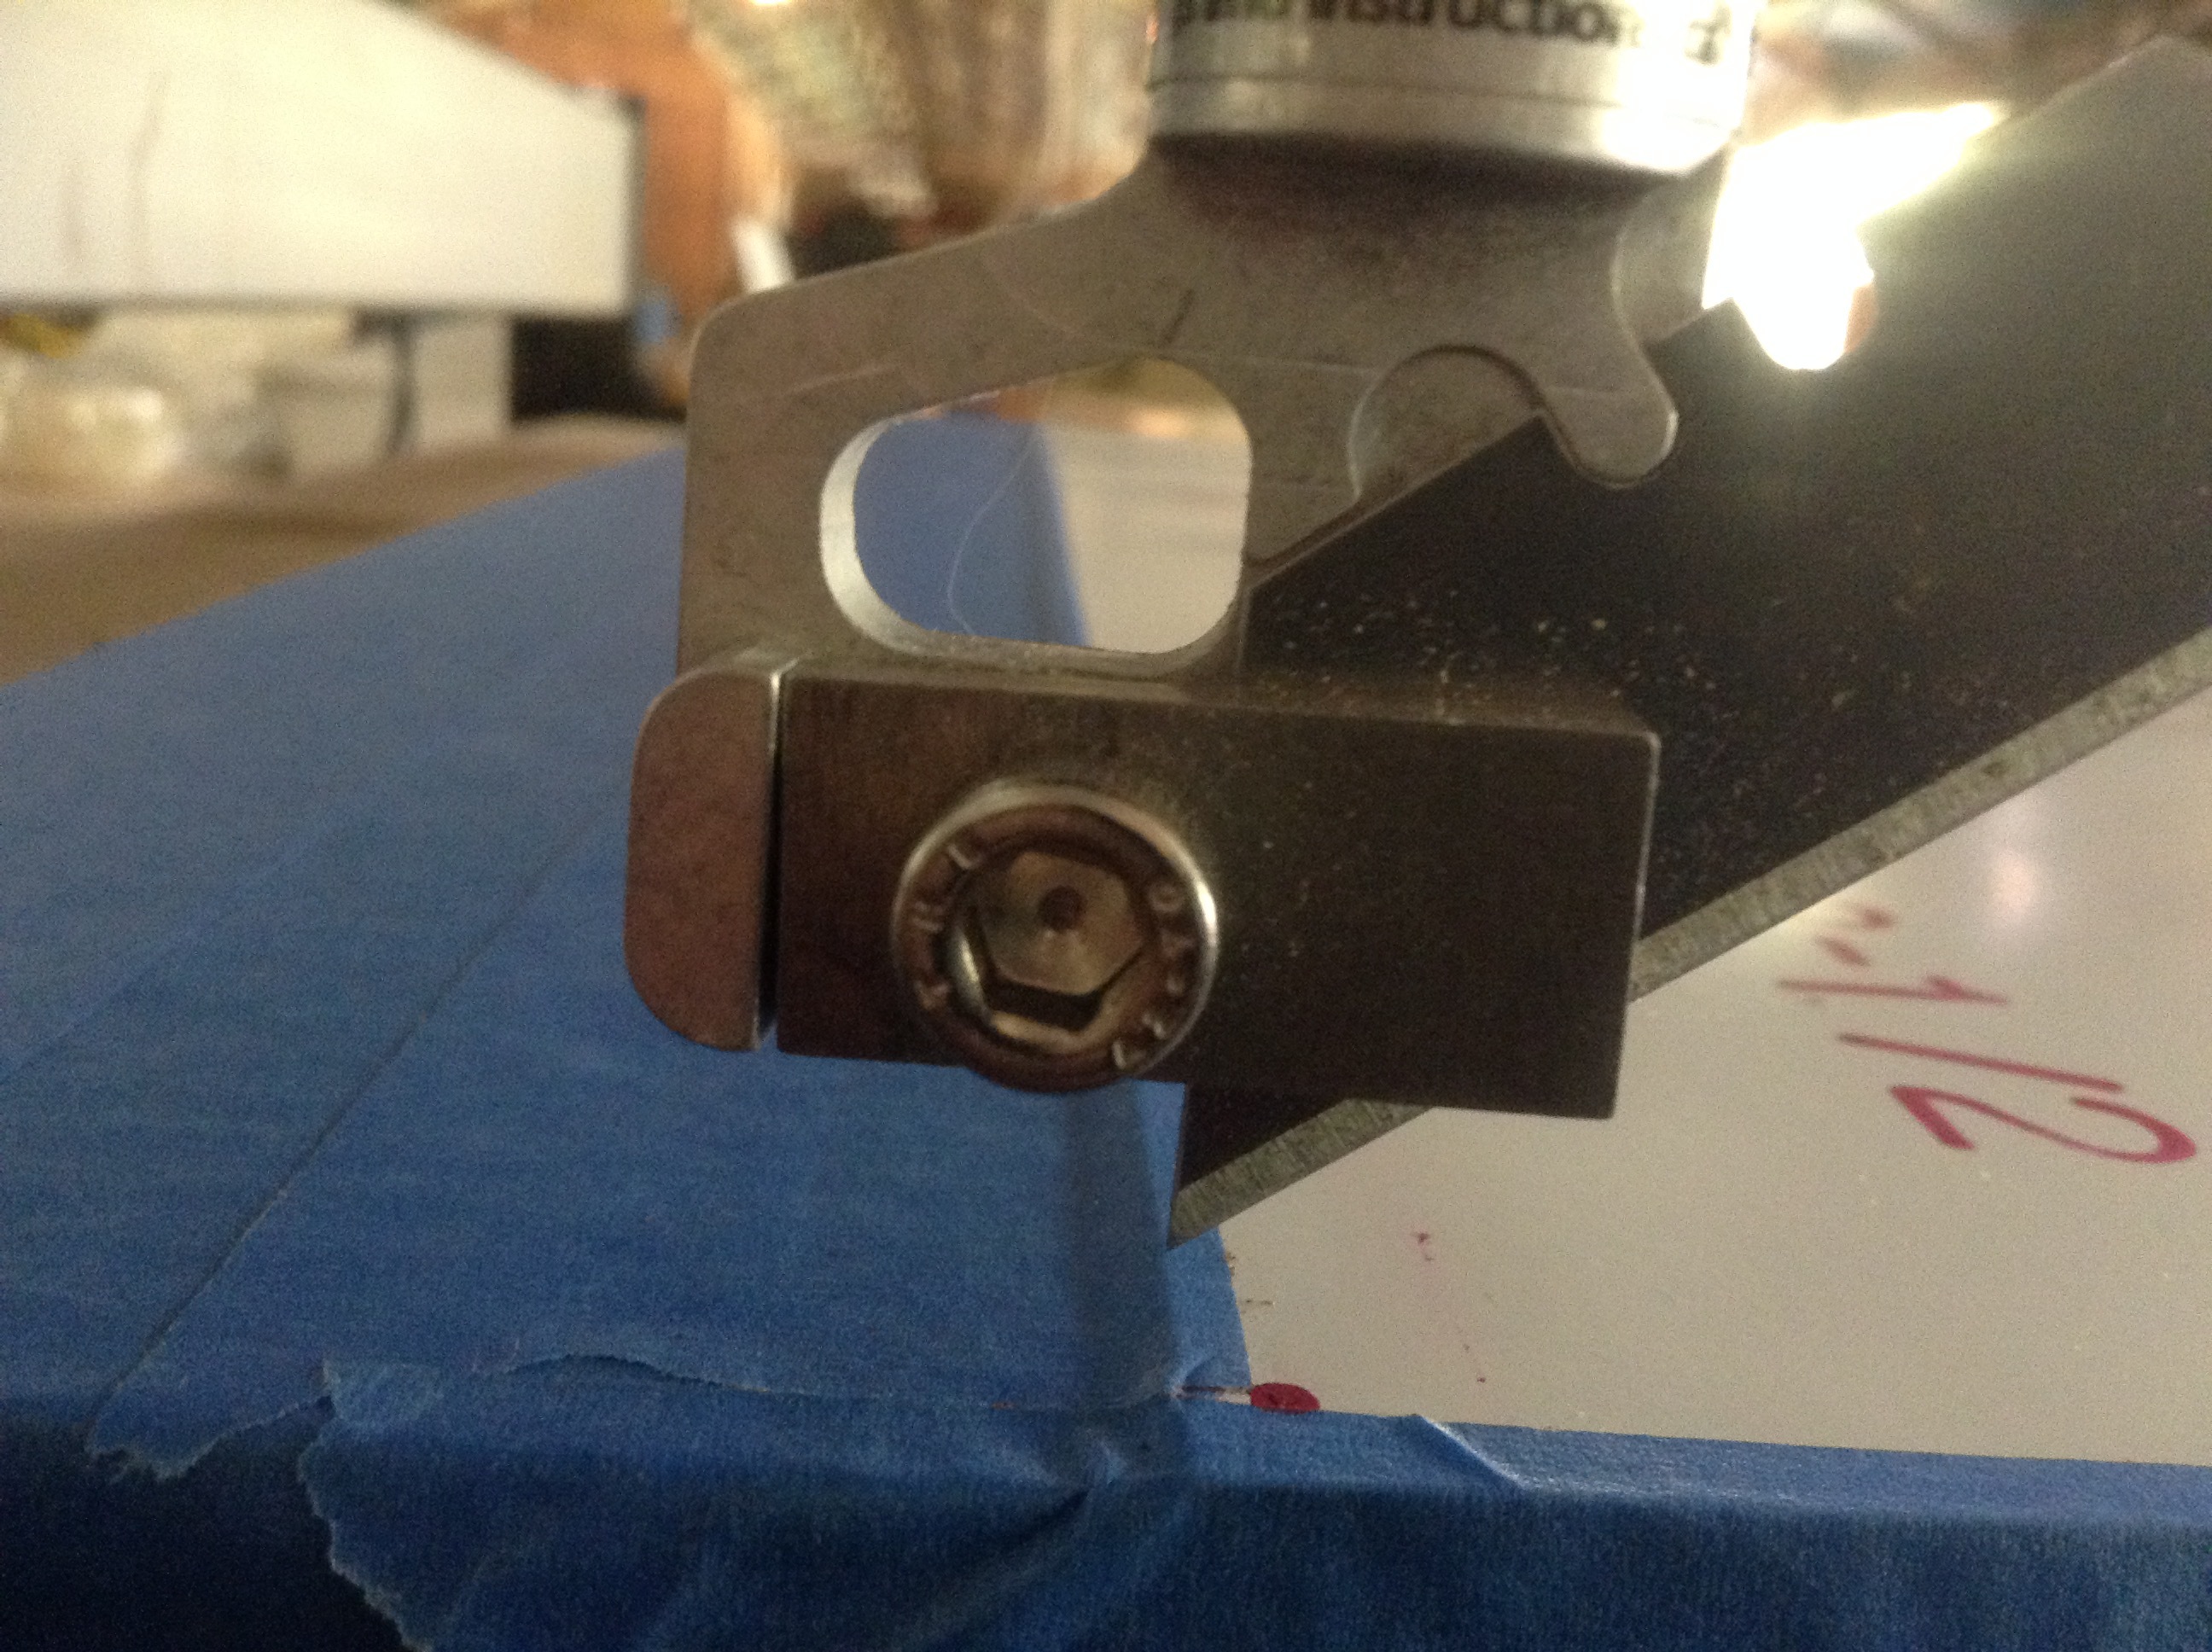
I recently purchased a drag knife from Donek tools, and I watched all their videos, and must have gotten brain washed because I spent all weekend building me one.
I kind of copied thier instructions, but I bought pegboard instead of making my own.
Here is thier video:


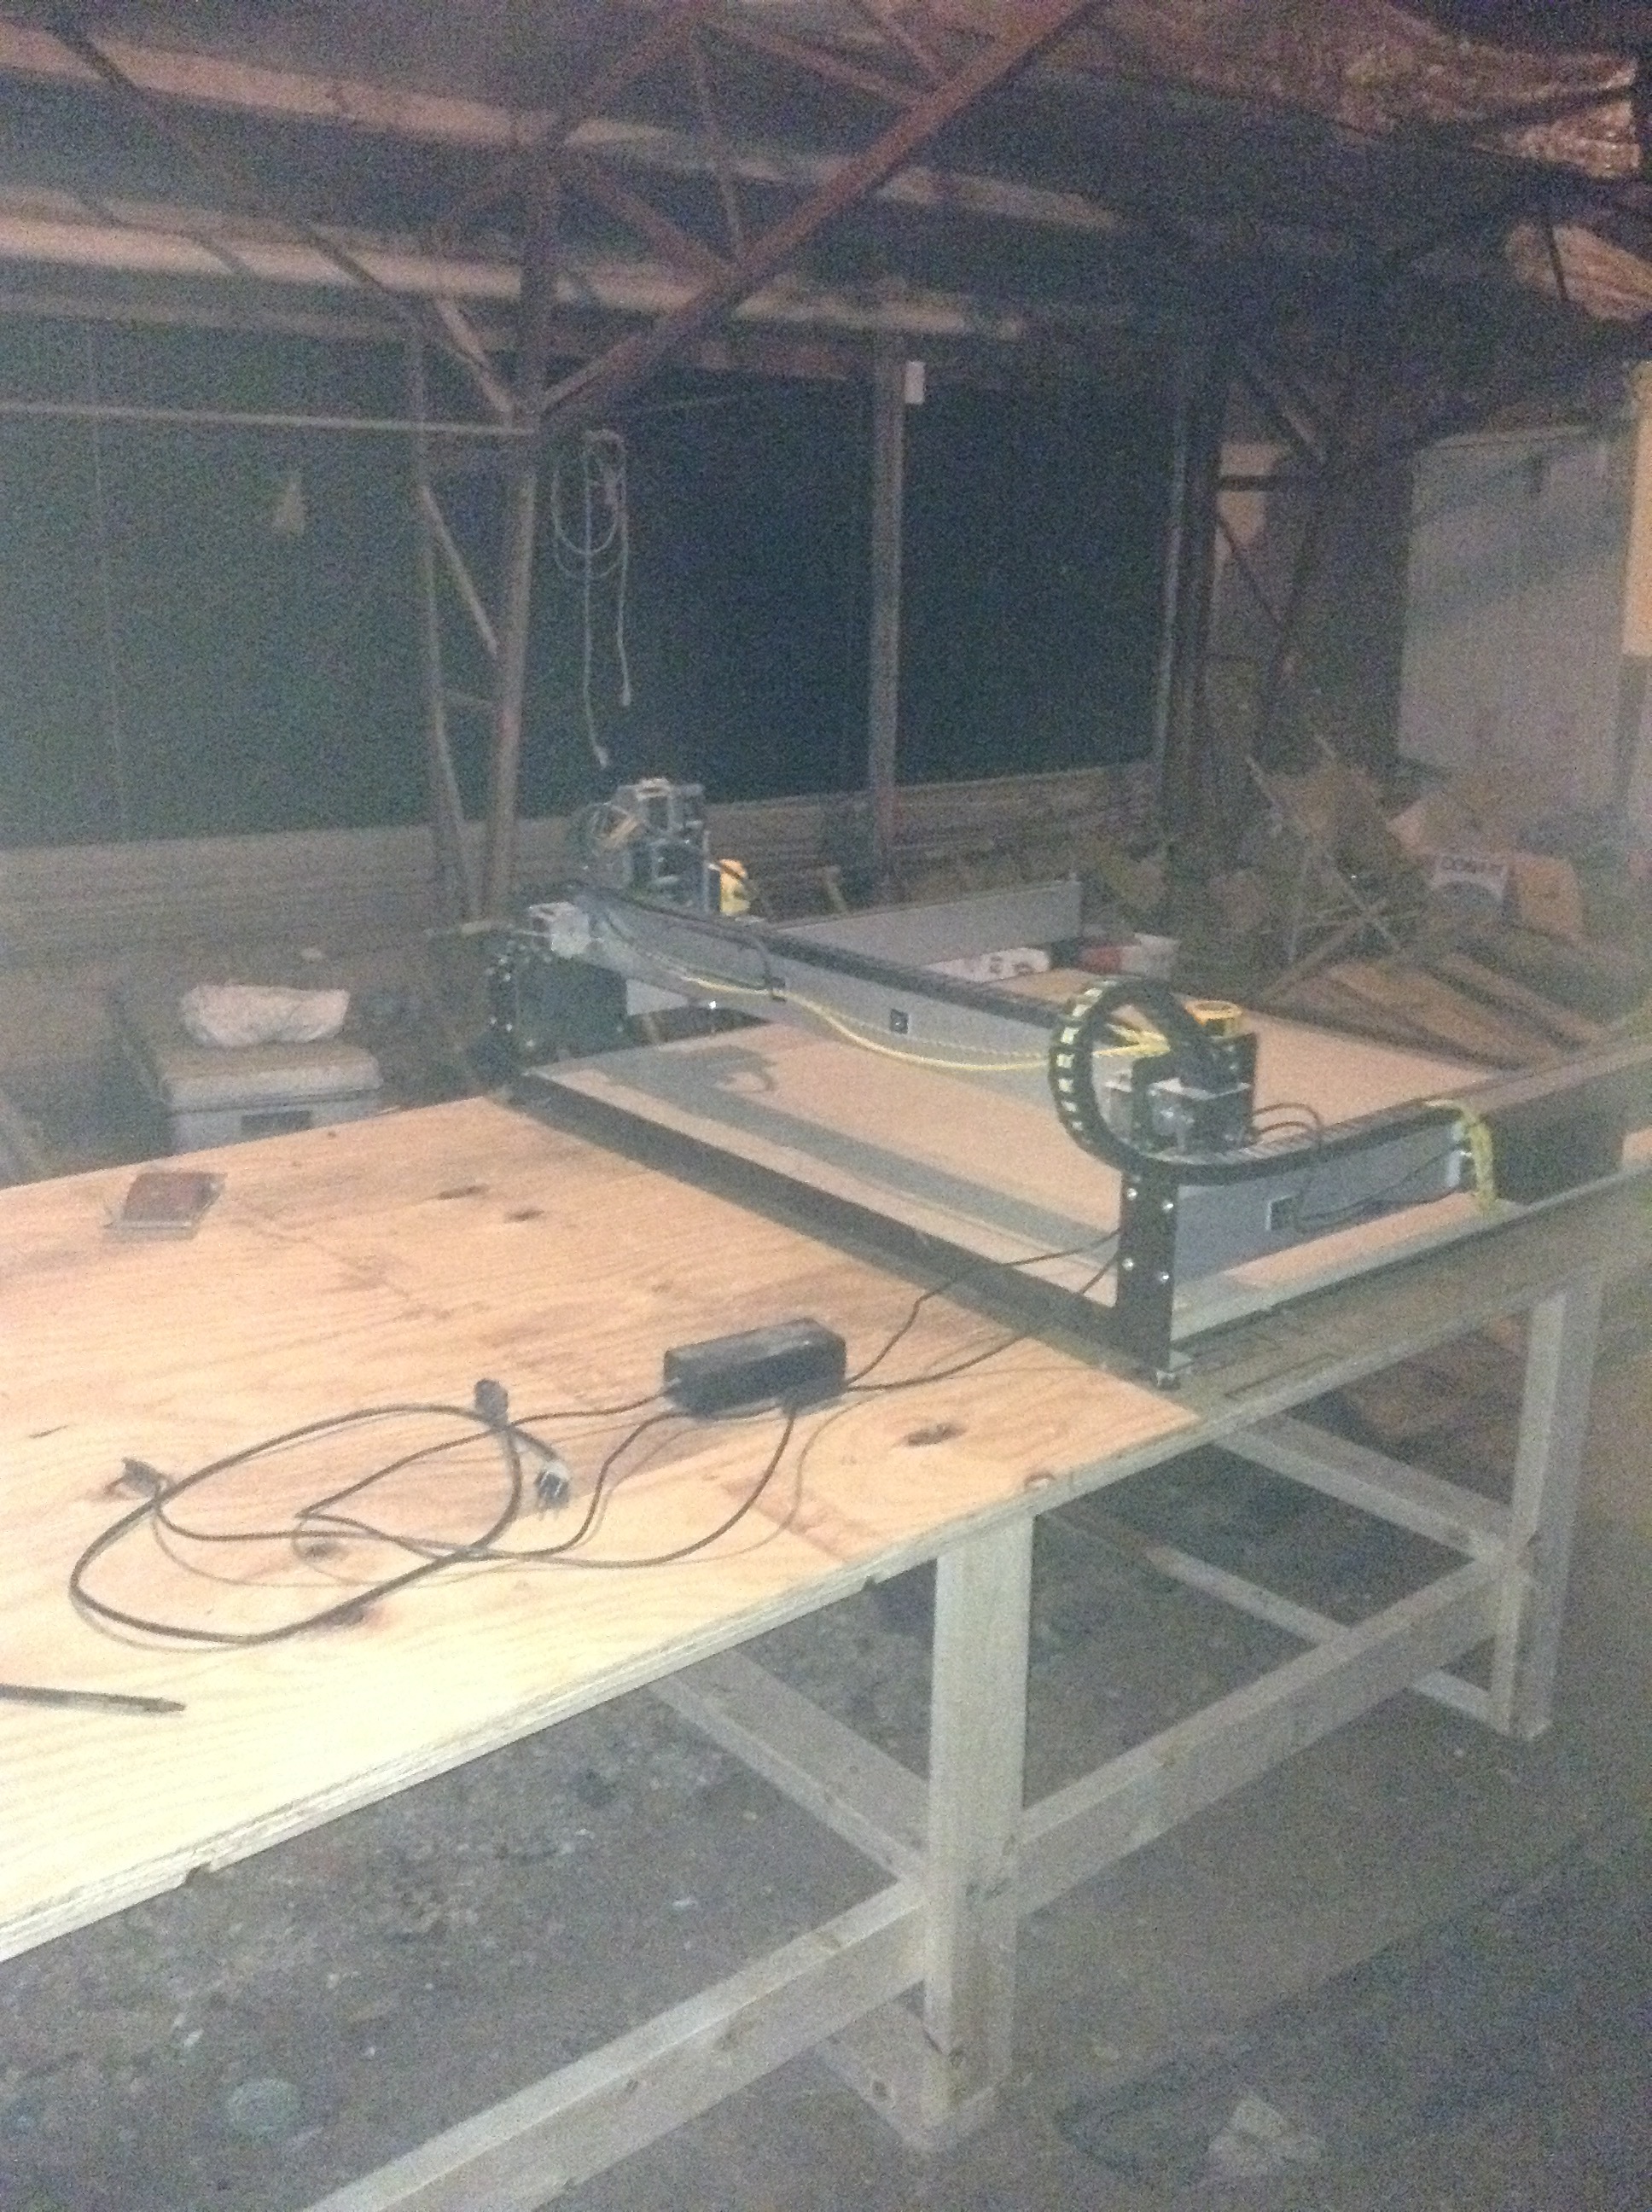
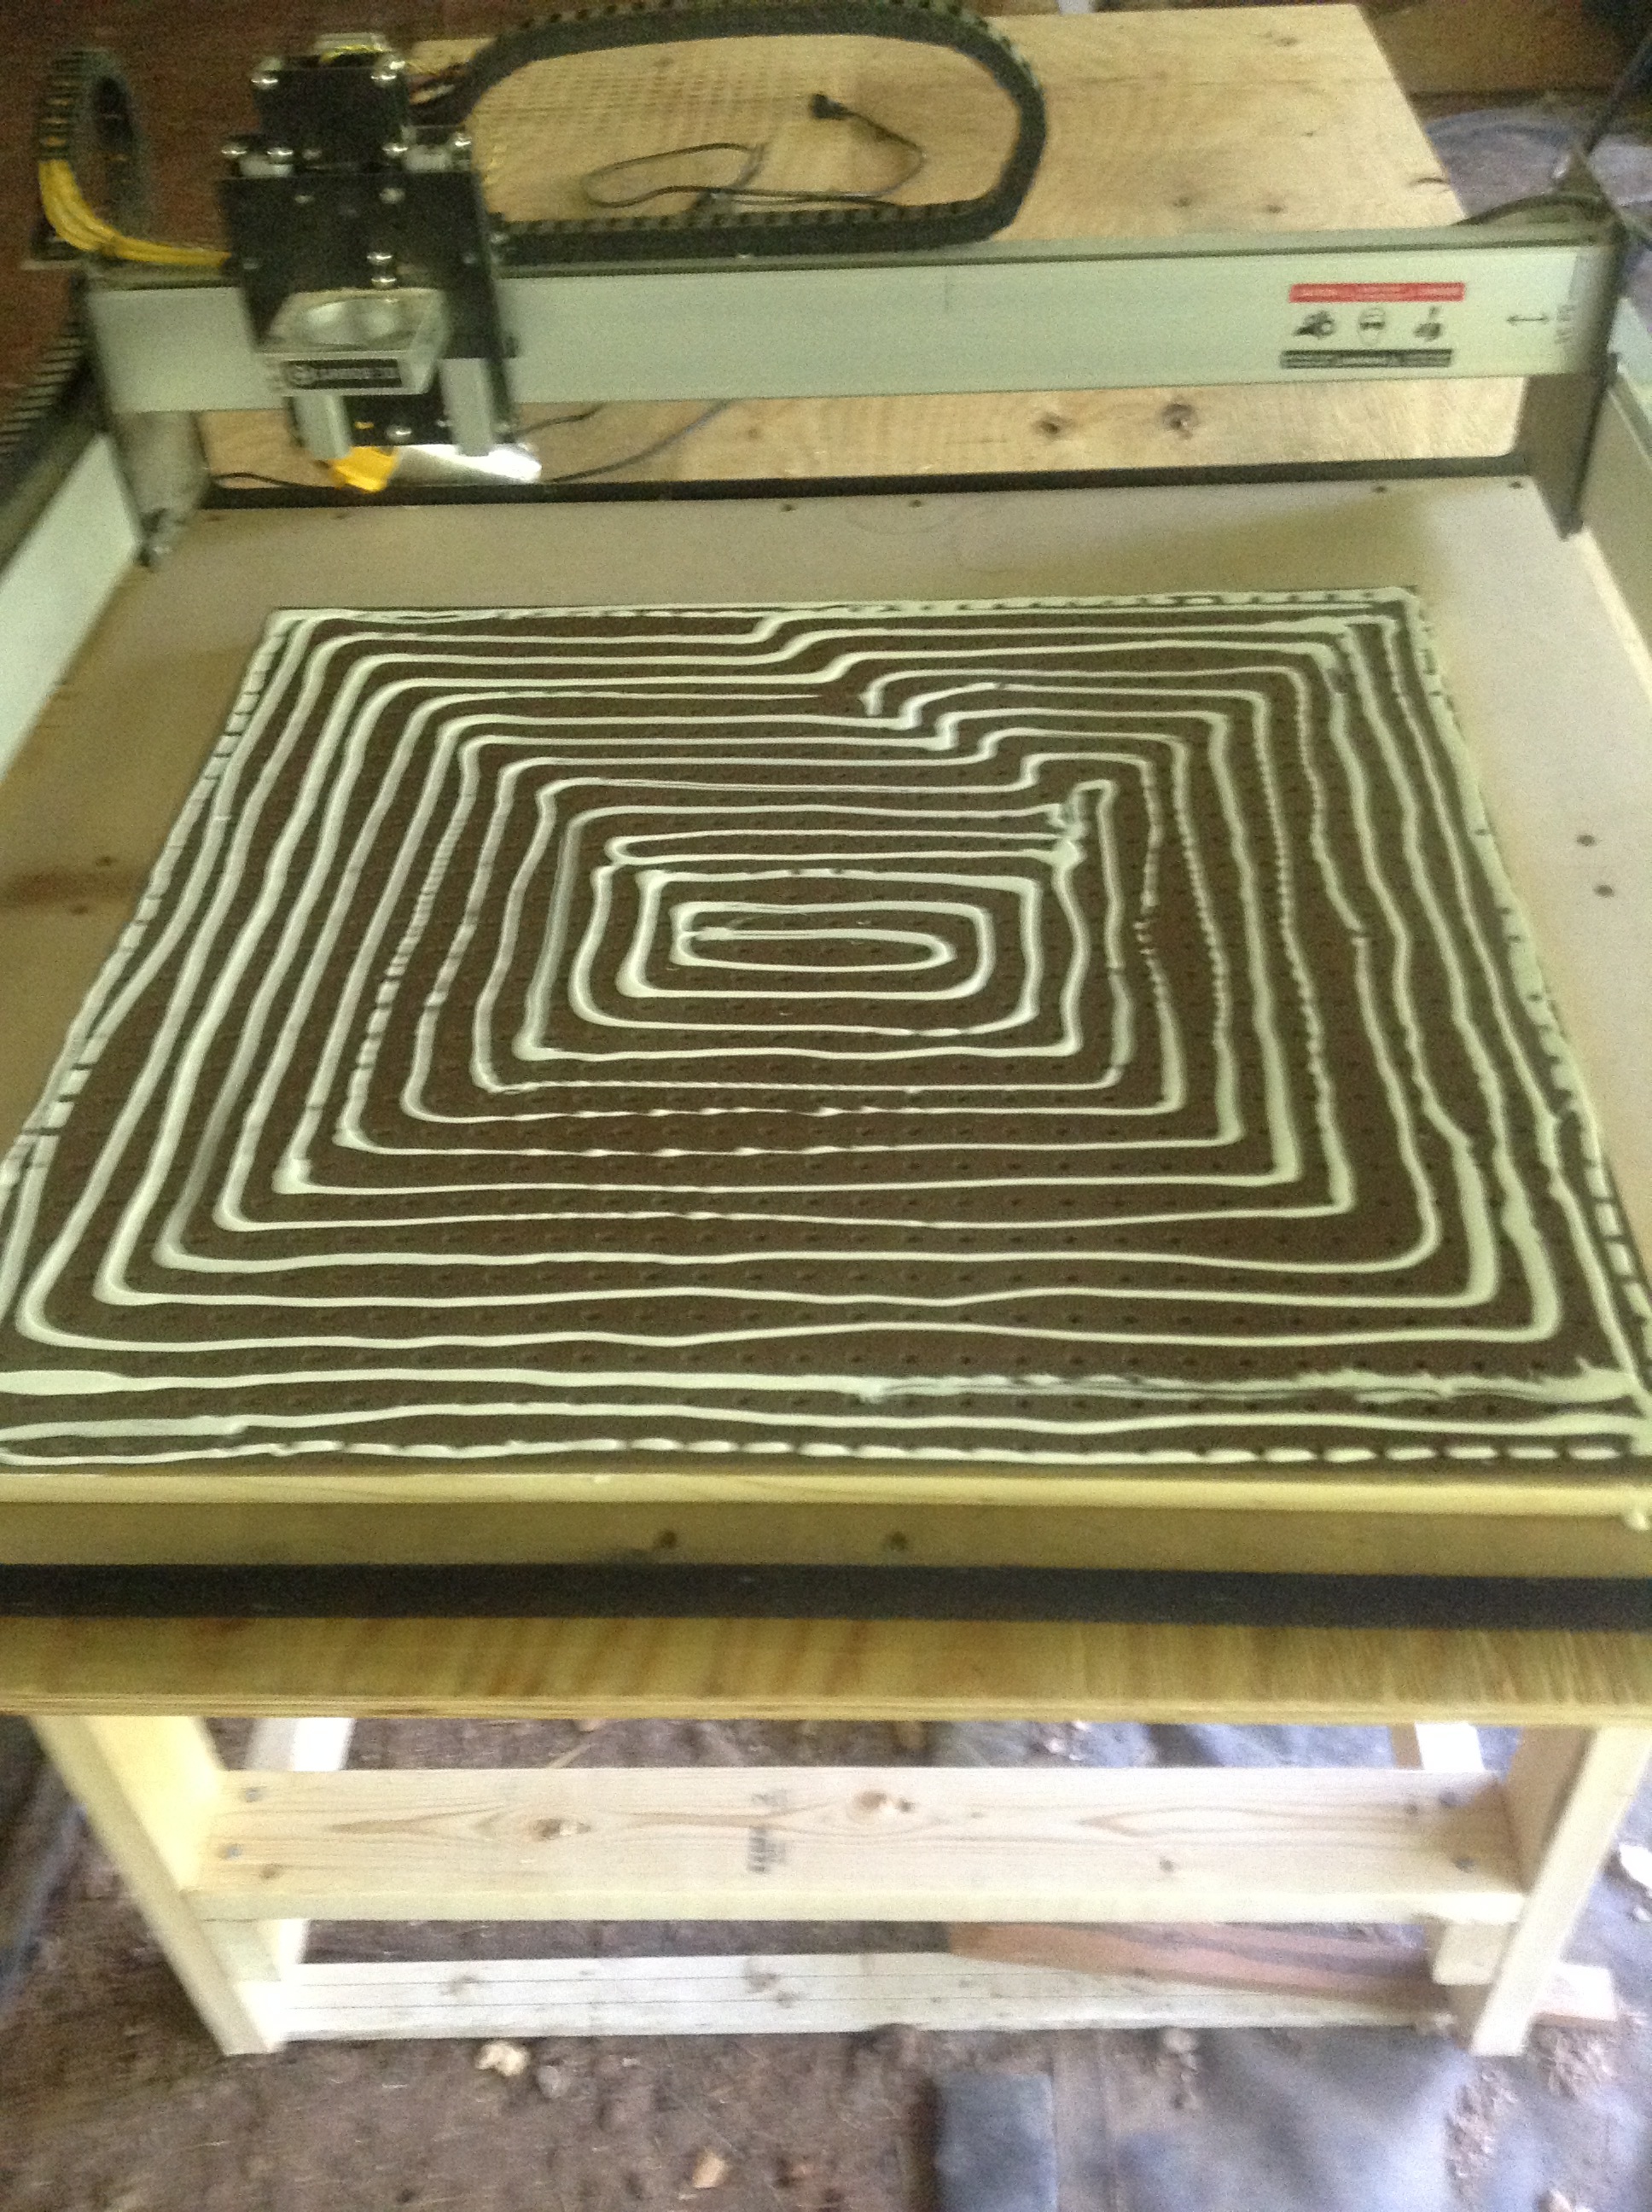
I basically just turned the floor of the Shapeoko into the vacuum table.
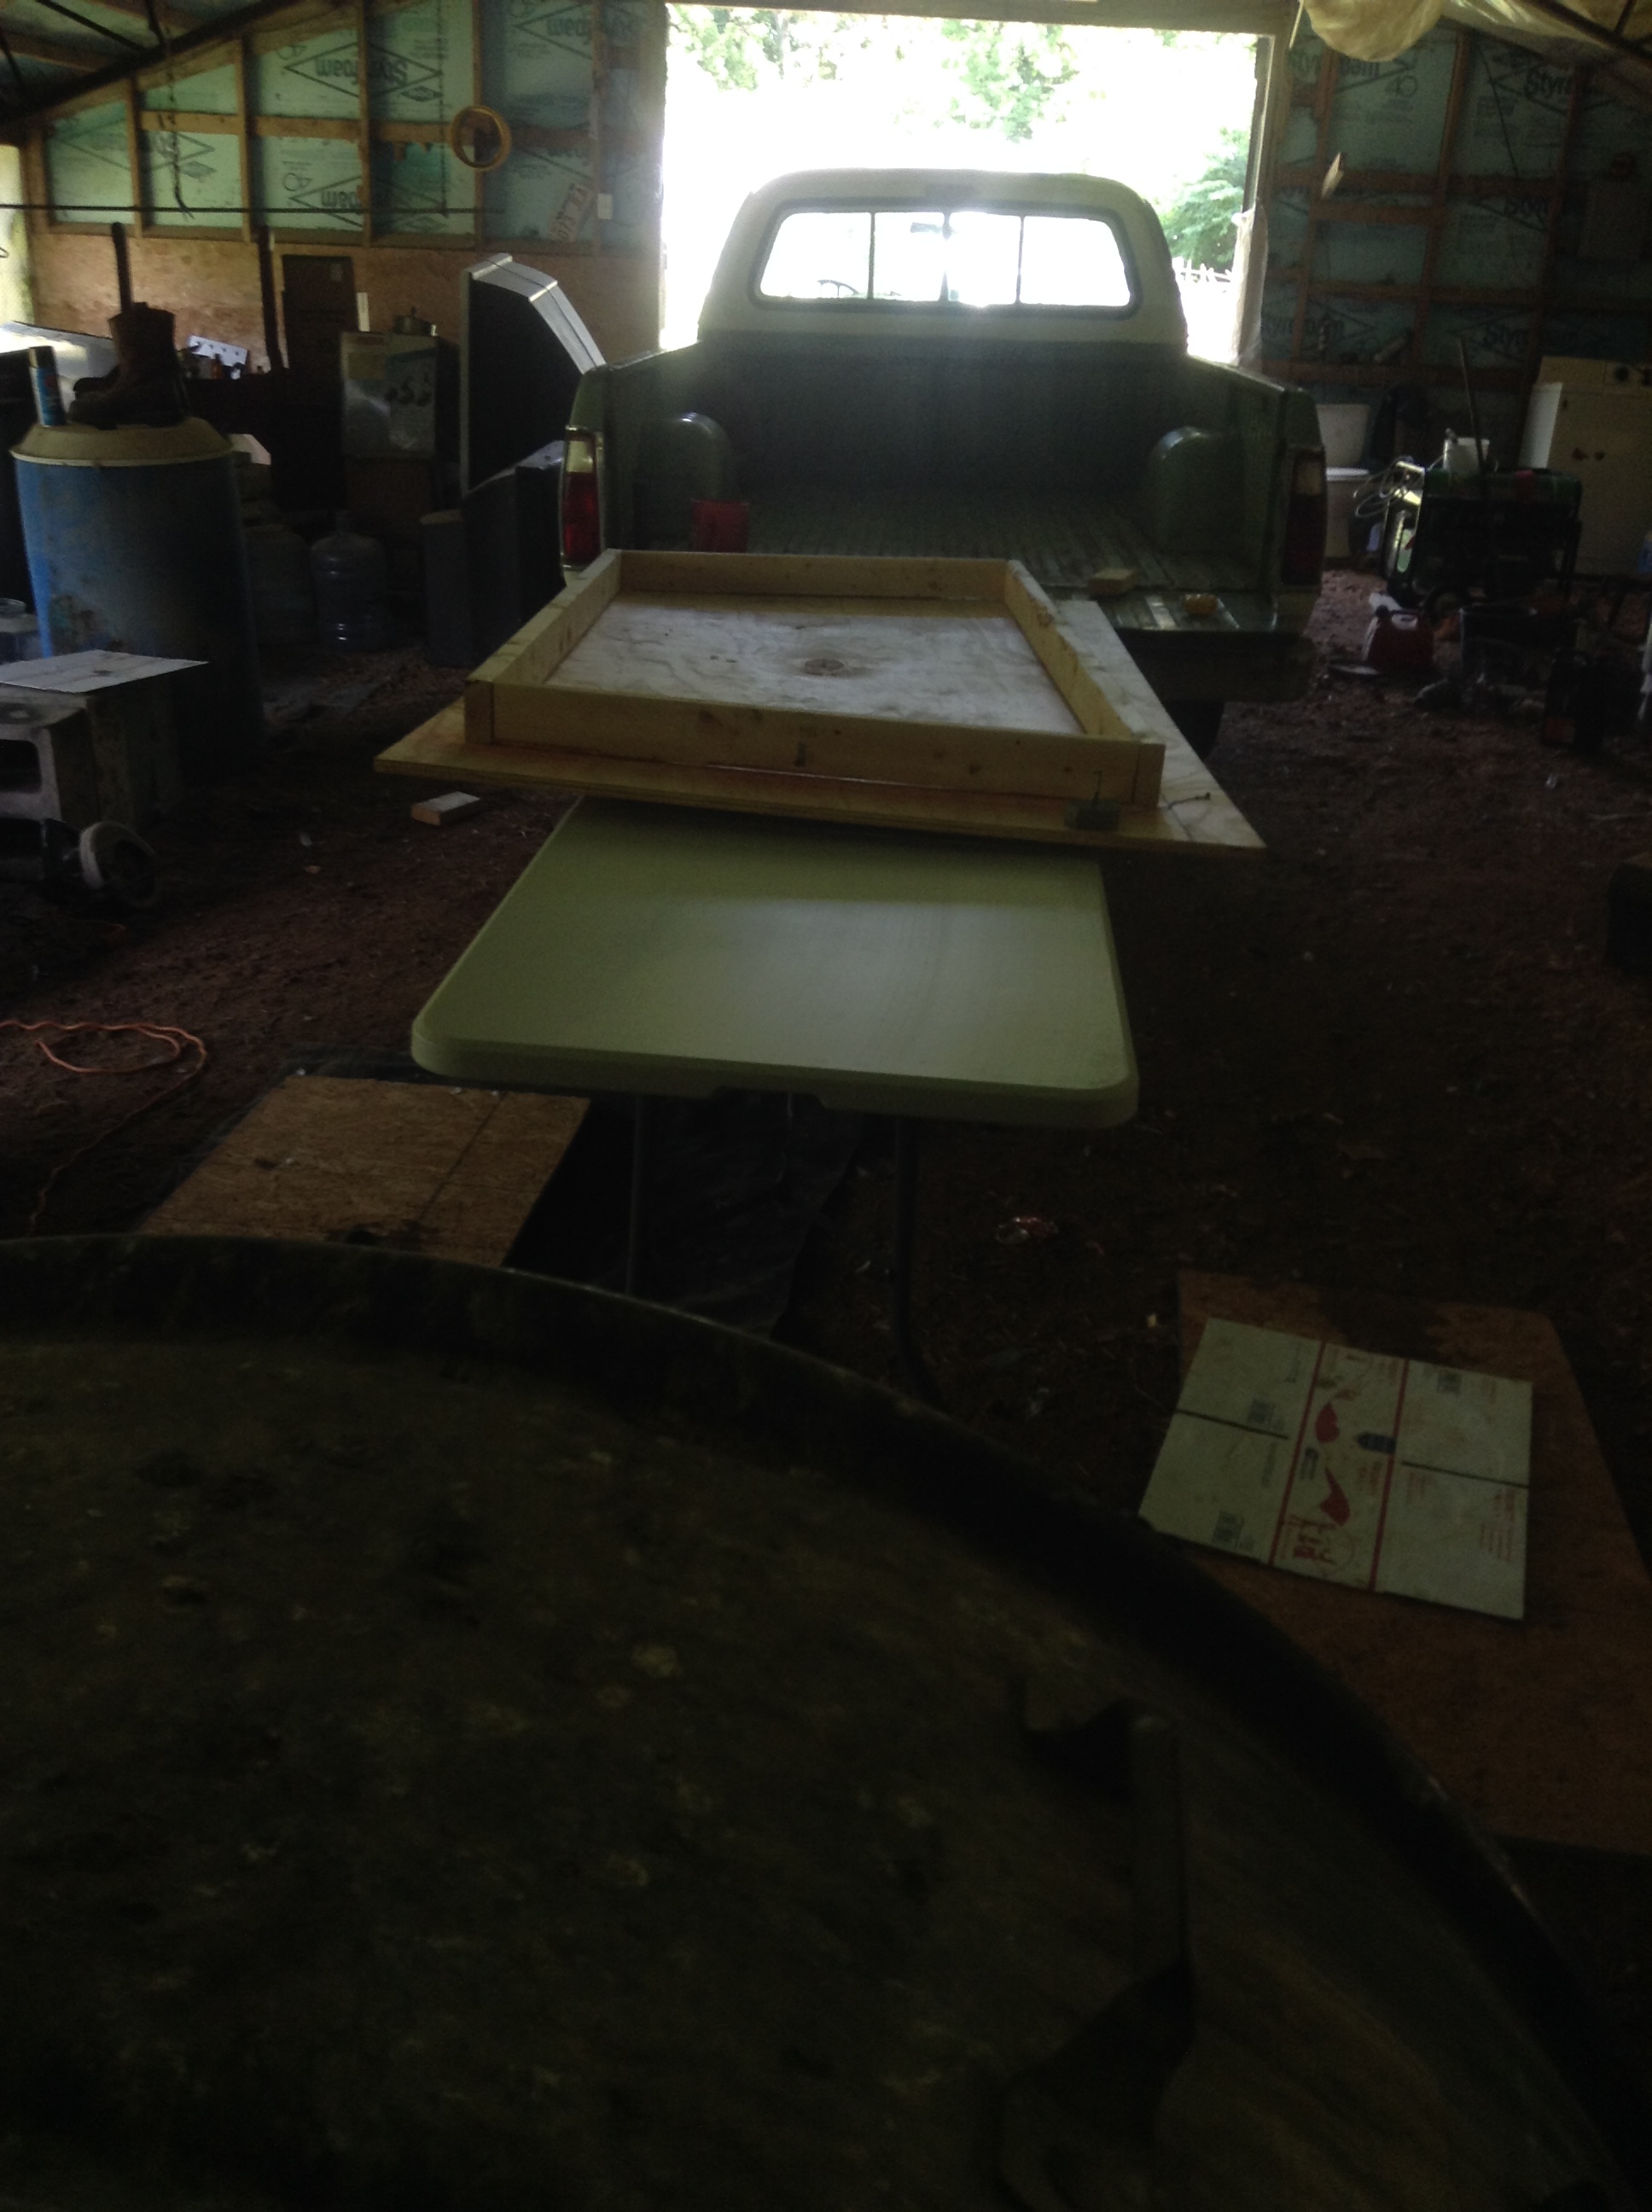
First I had to build a decent table to set it on. It’s been in a “temporary” spot for 6 months.
Here are the pictures.
The only thing left is the surfacing.
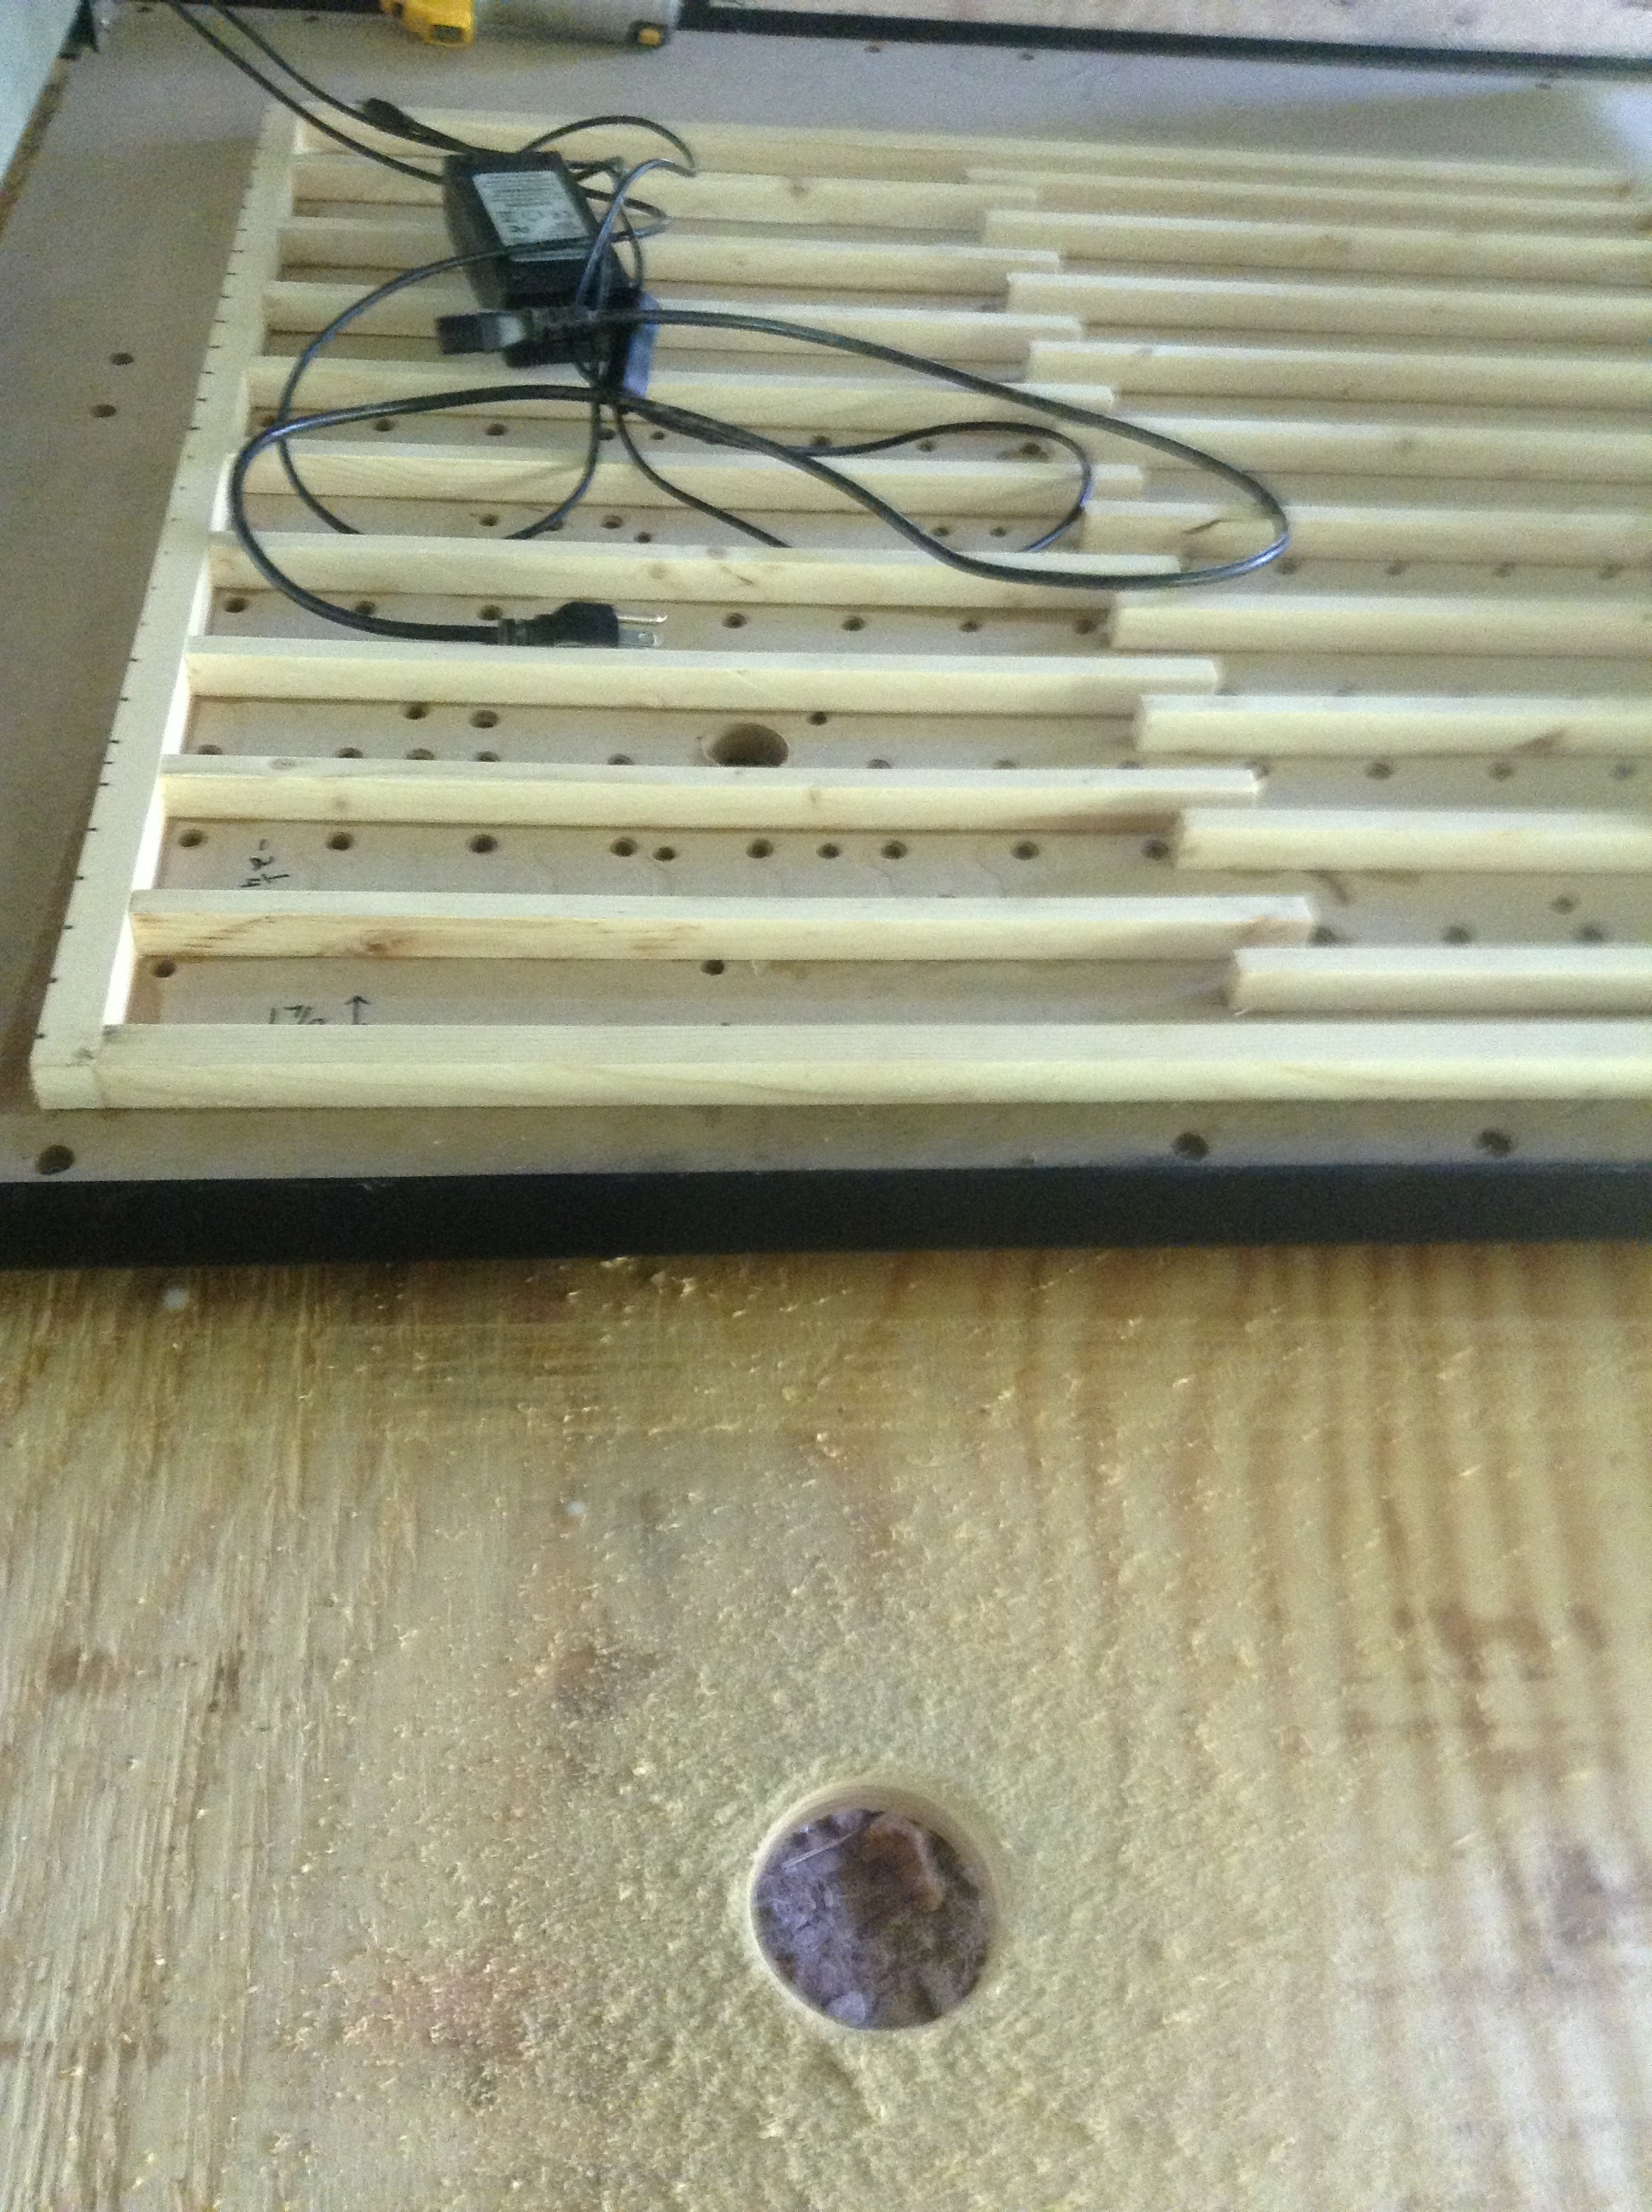
A good, sturdy 4’X8’X3/4" table, nailed and screwed.

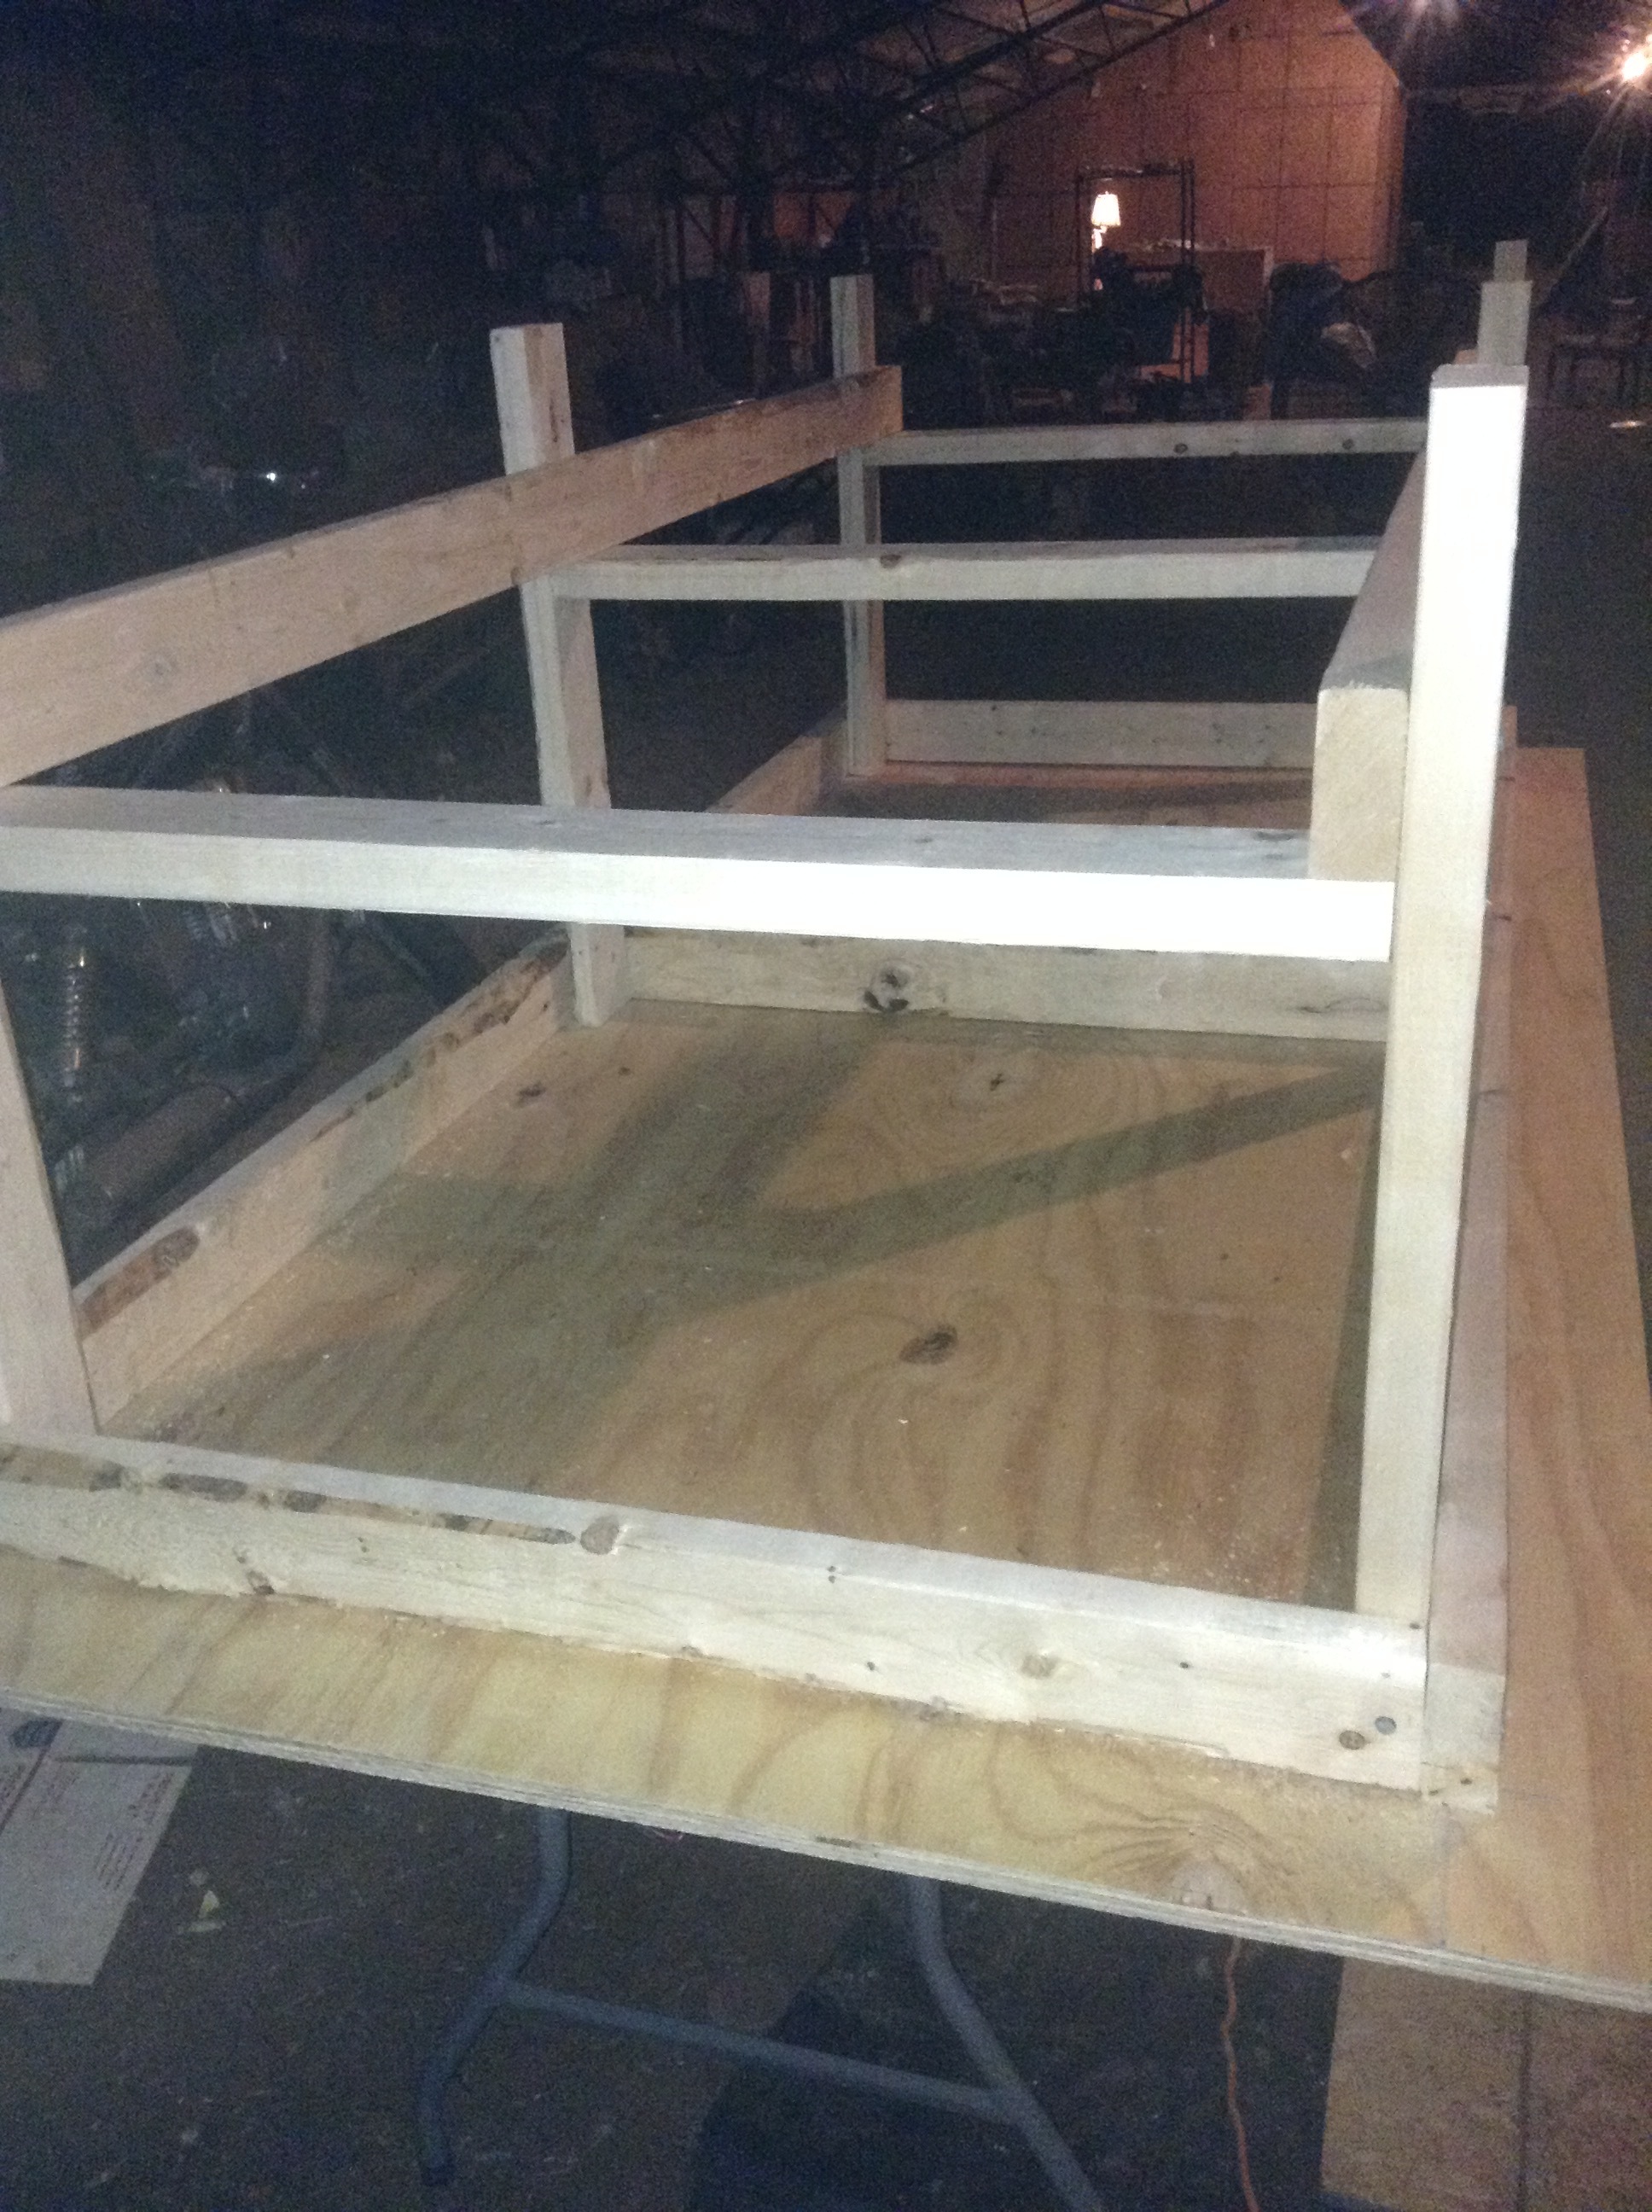
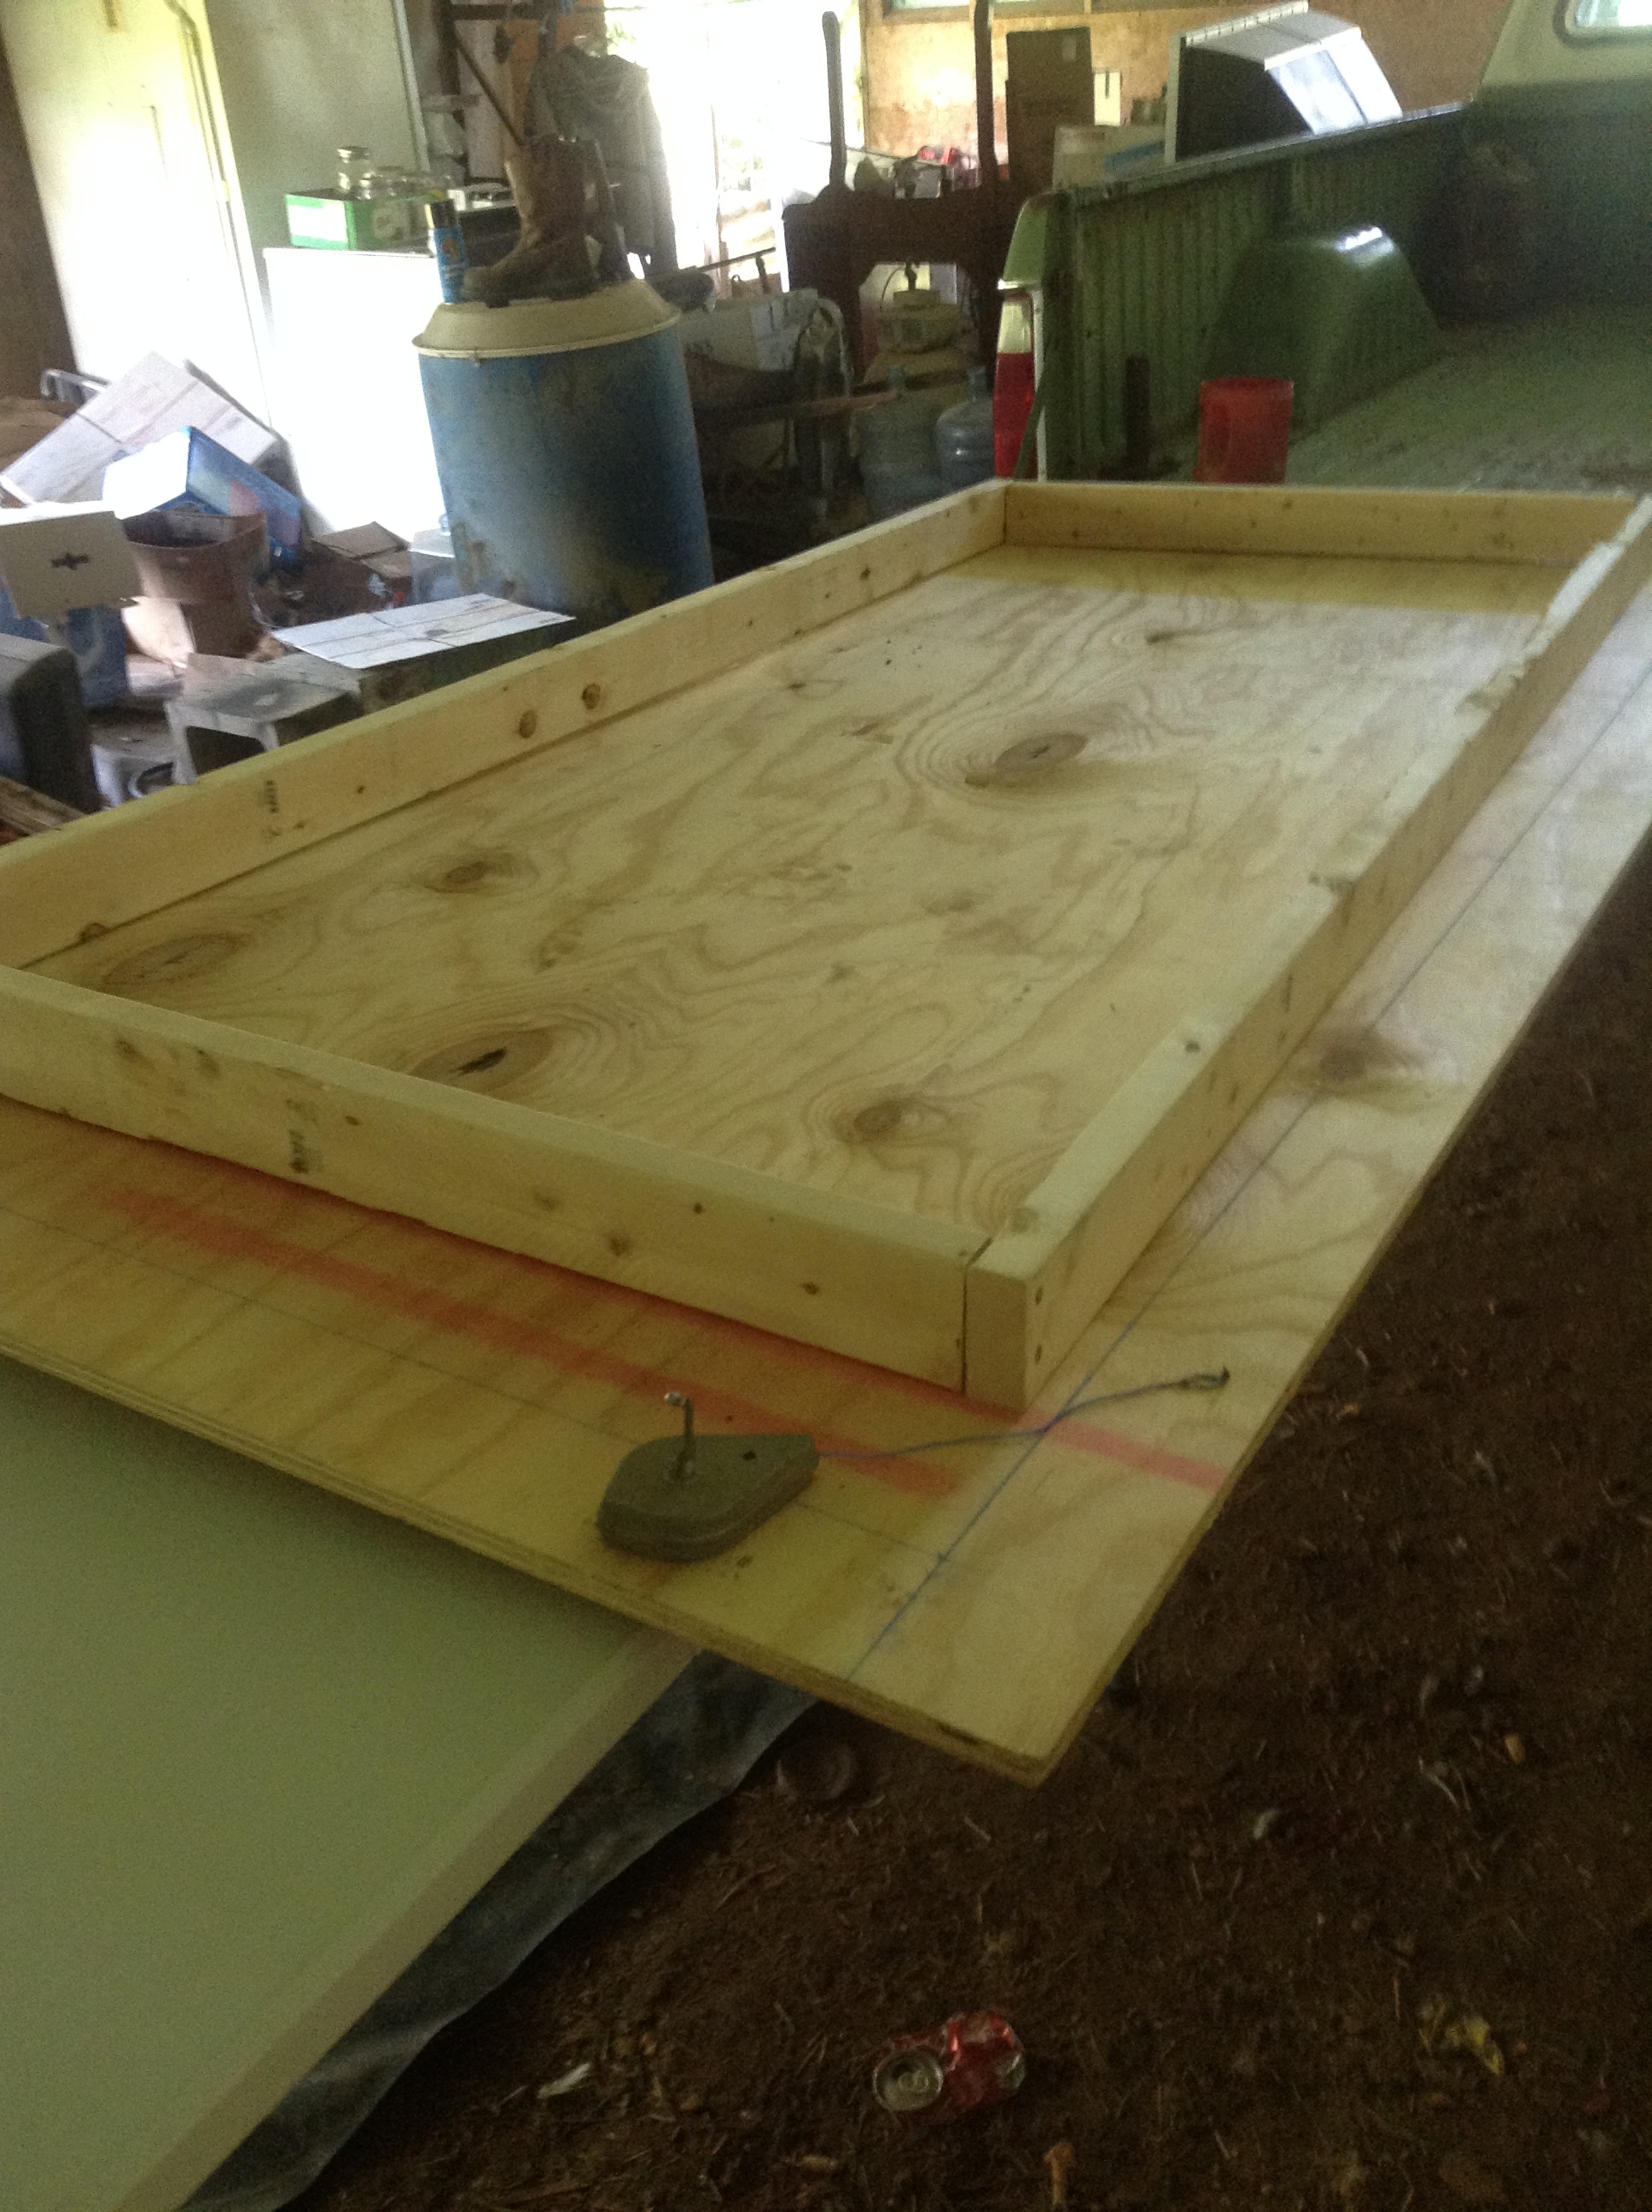
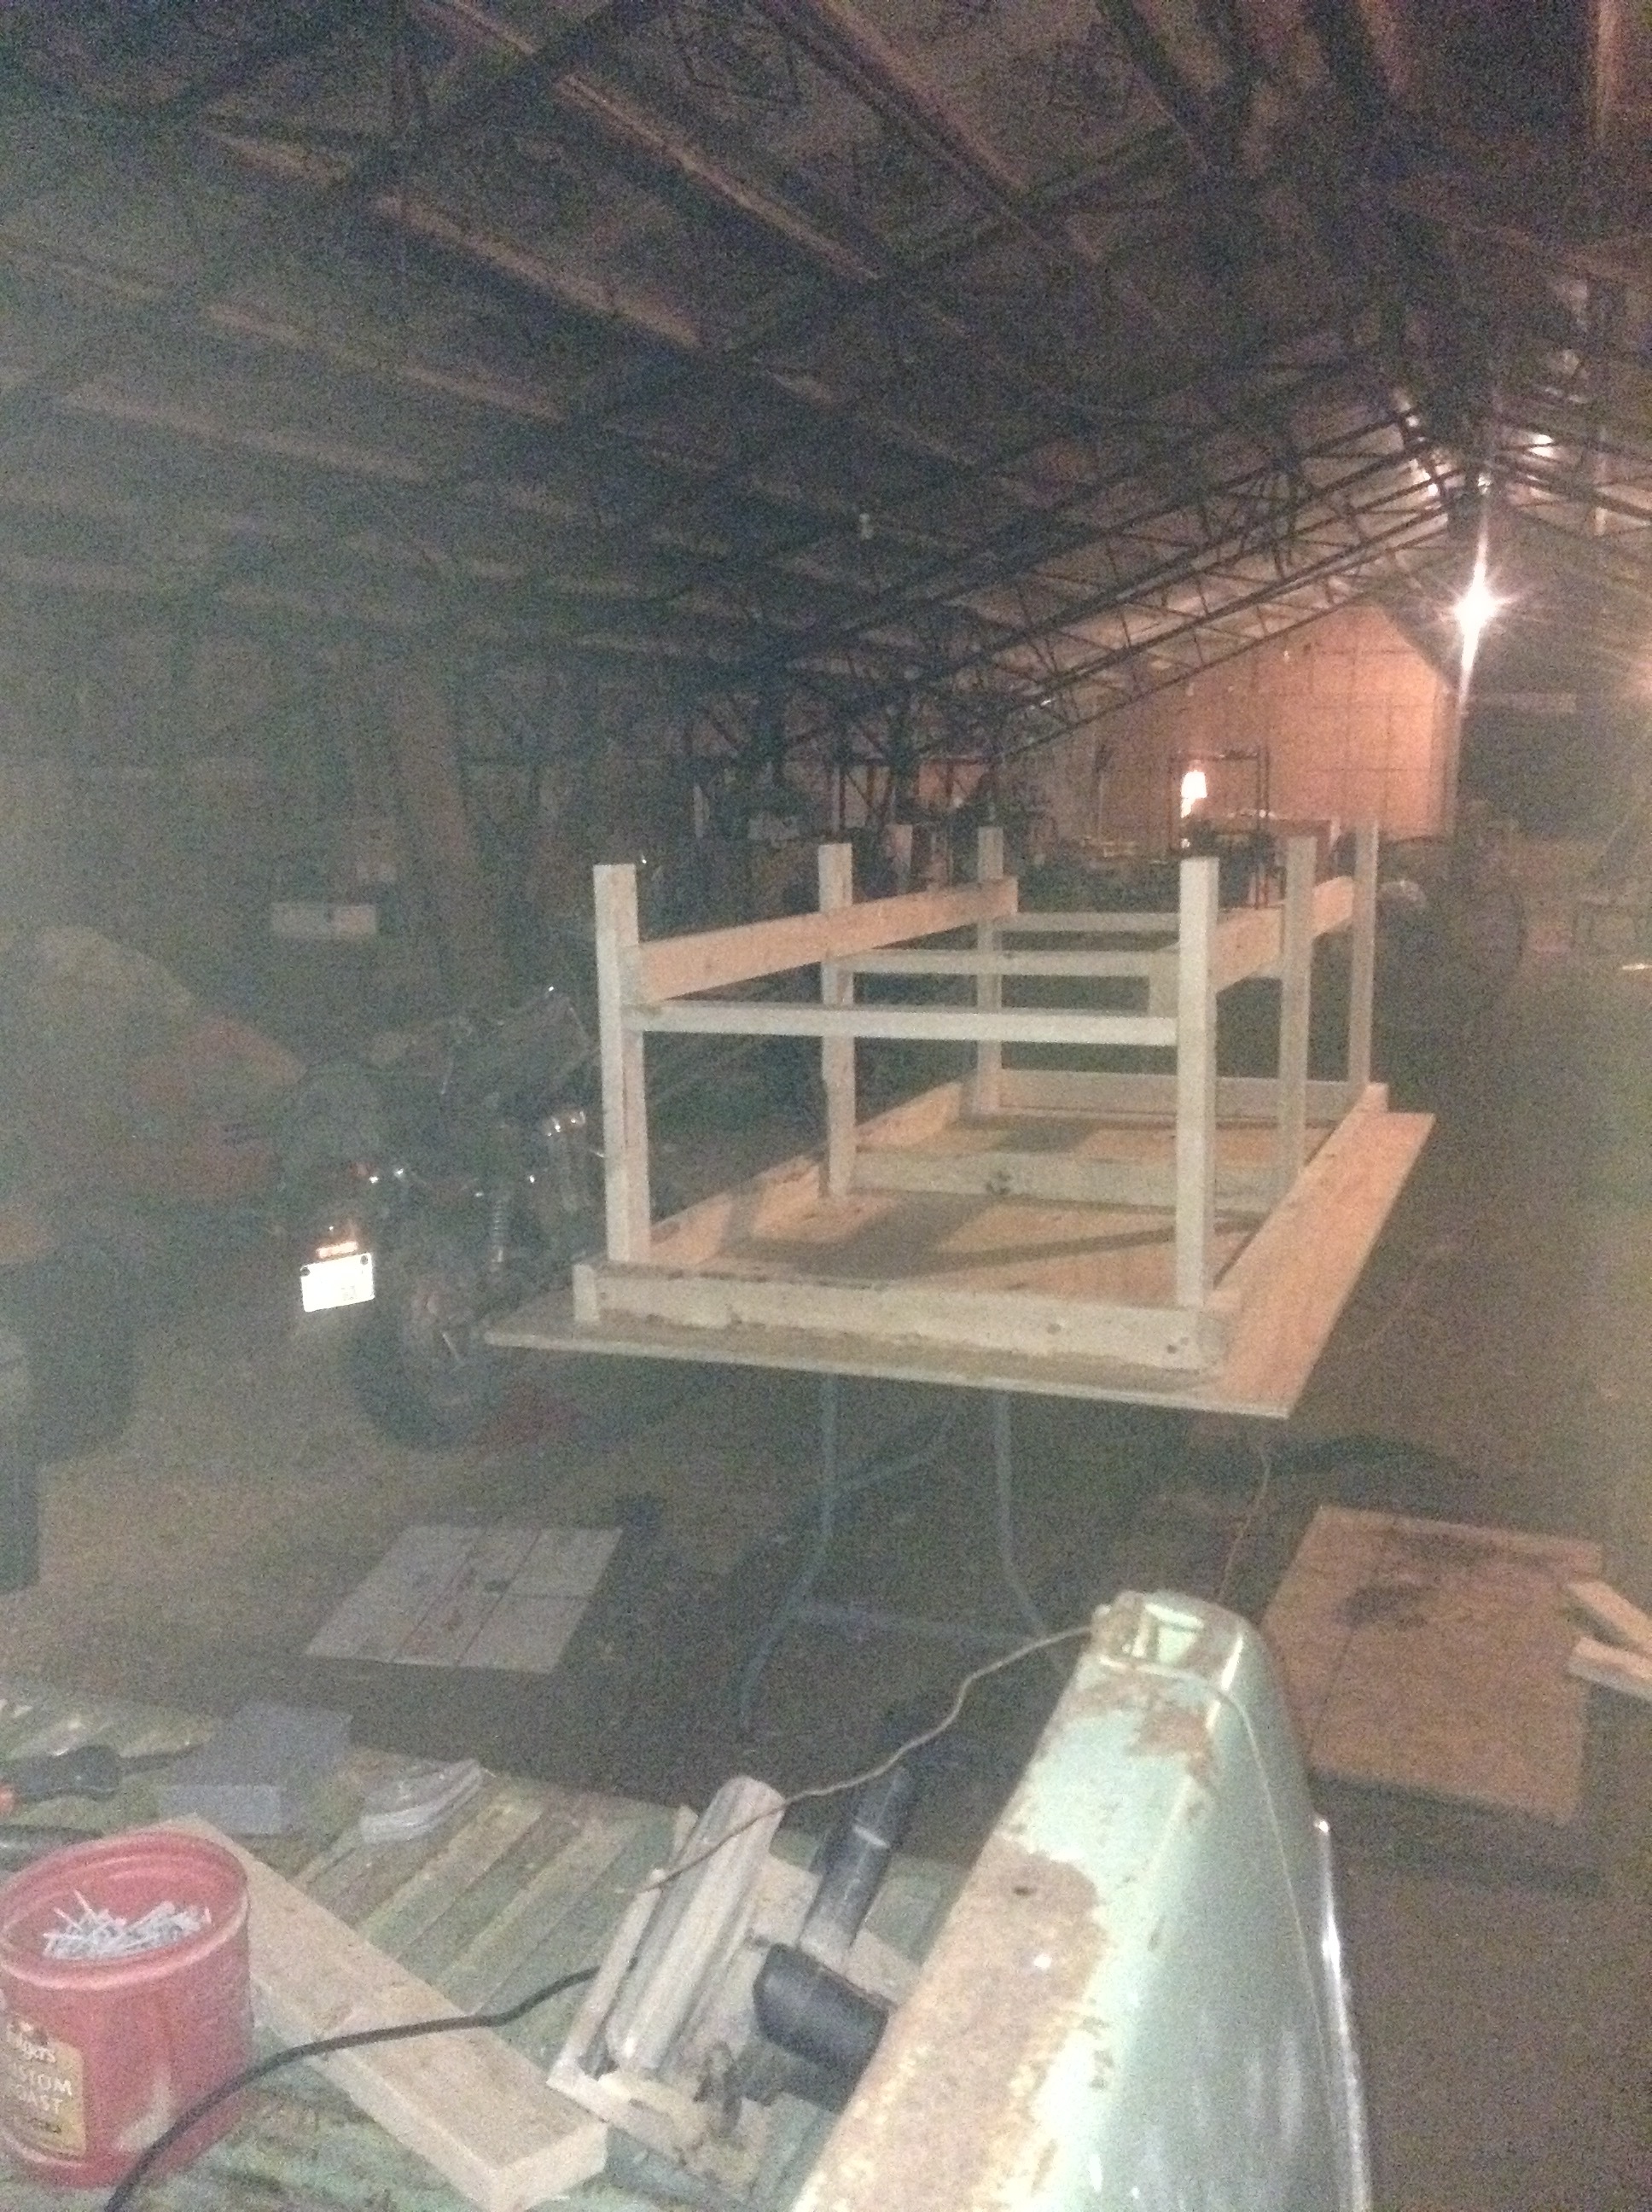
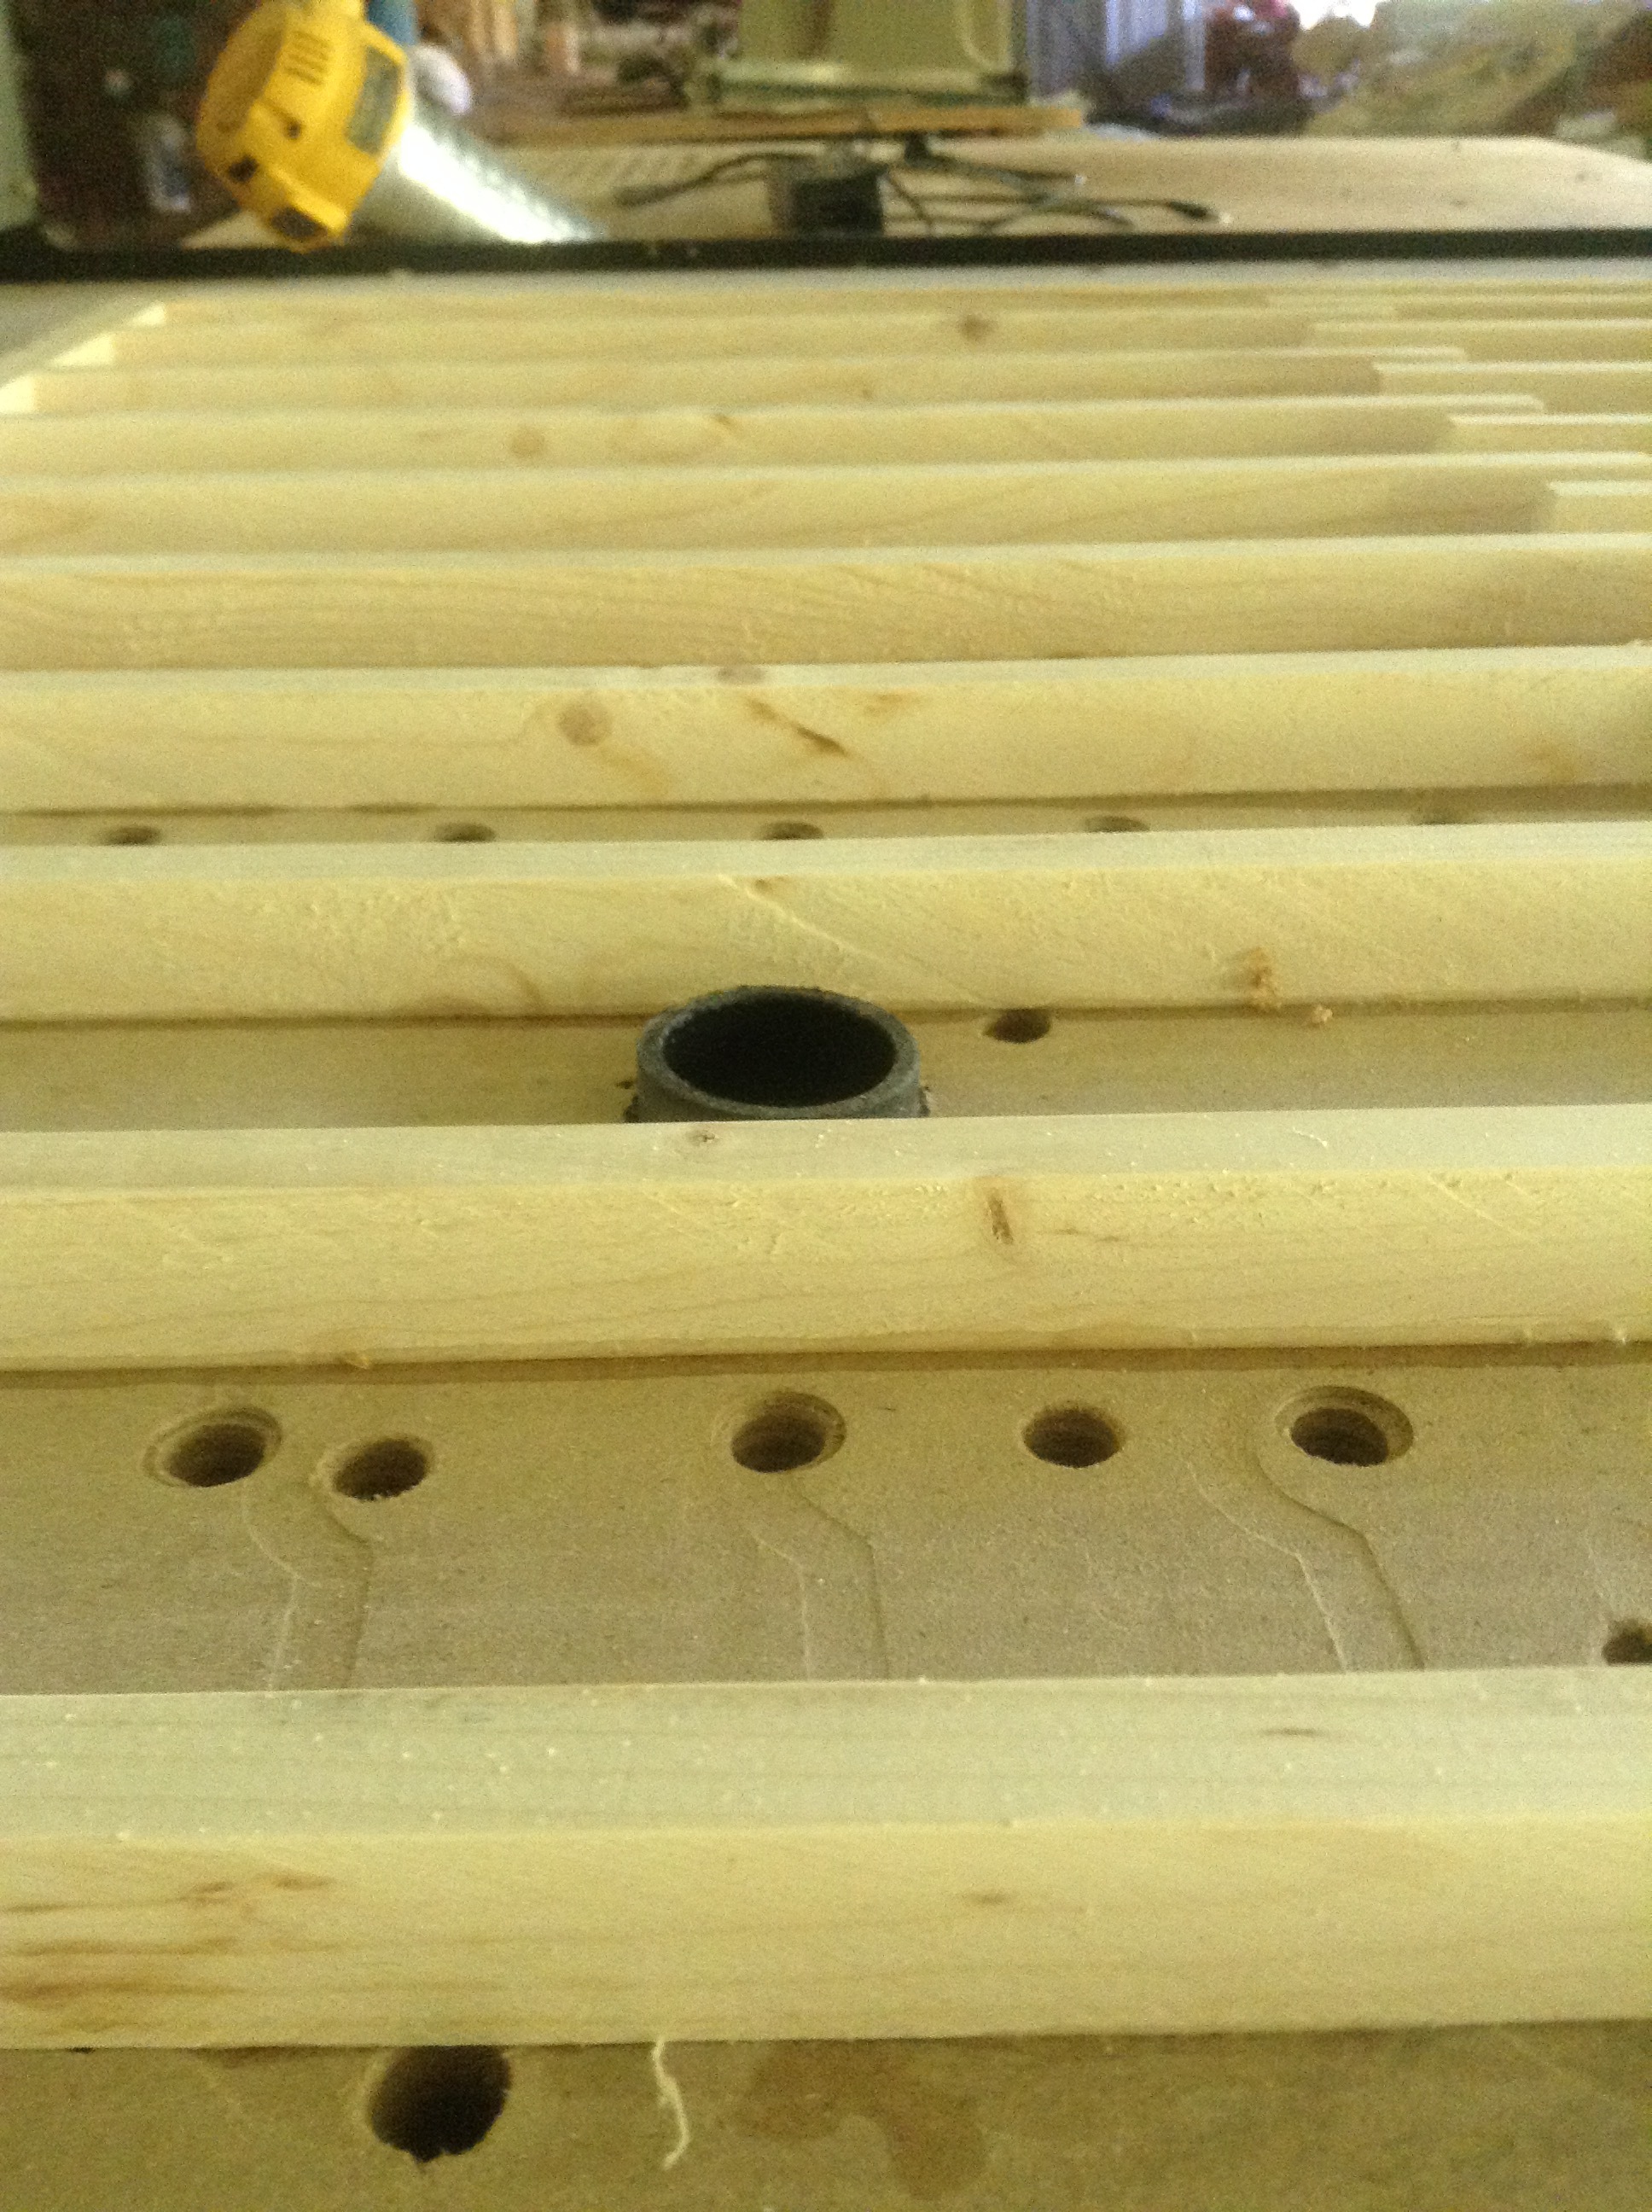
I cut and sanded 1/2" strips of a 1"X12" for the air channels and top supports.
Then placed them 3" apart, between where the holes would be.

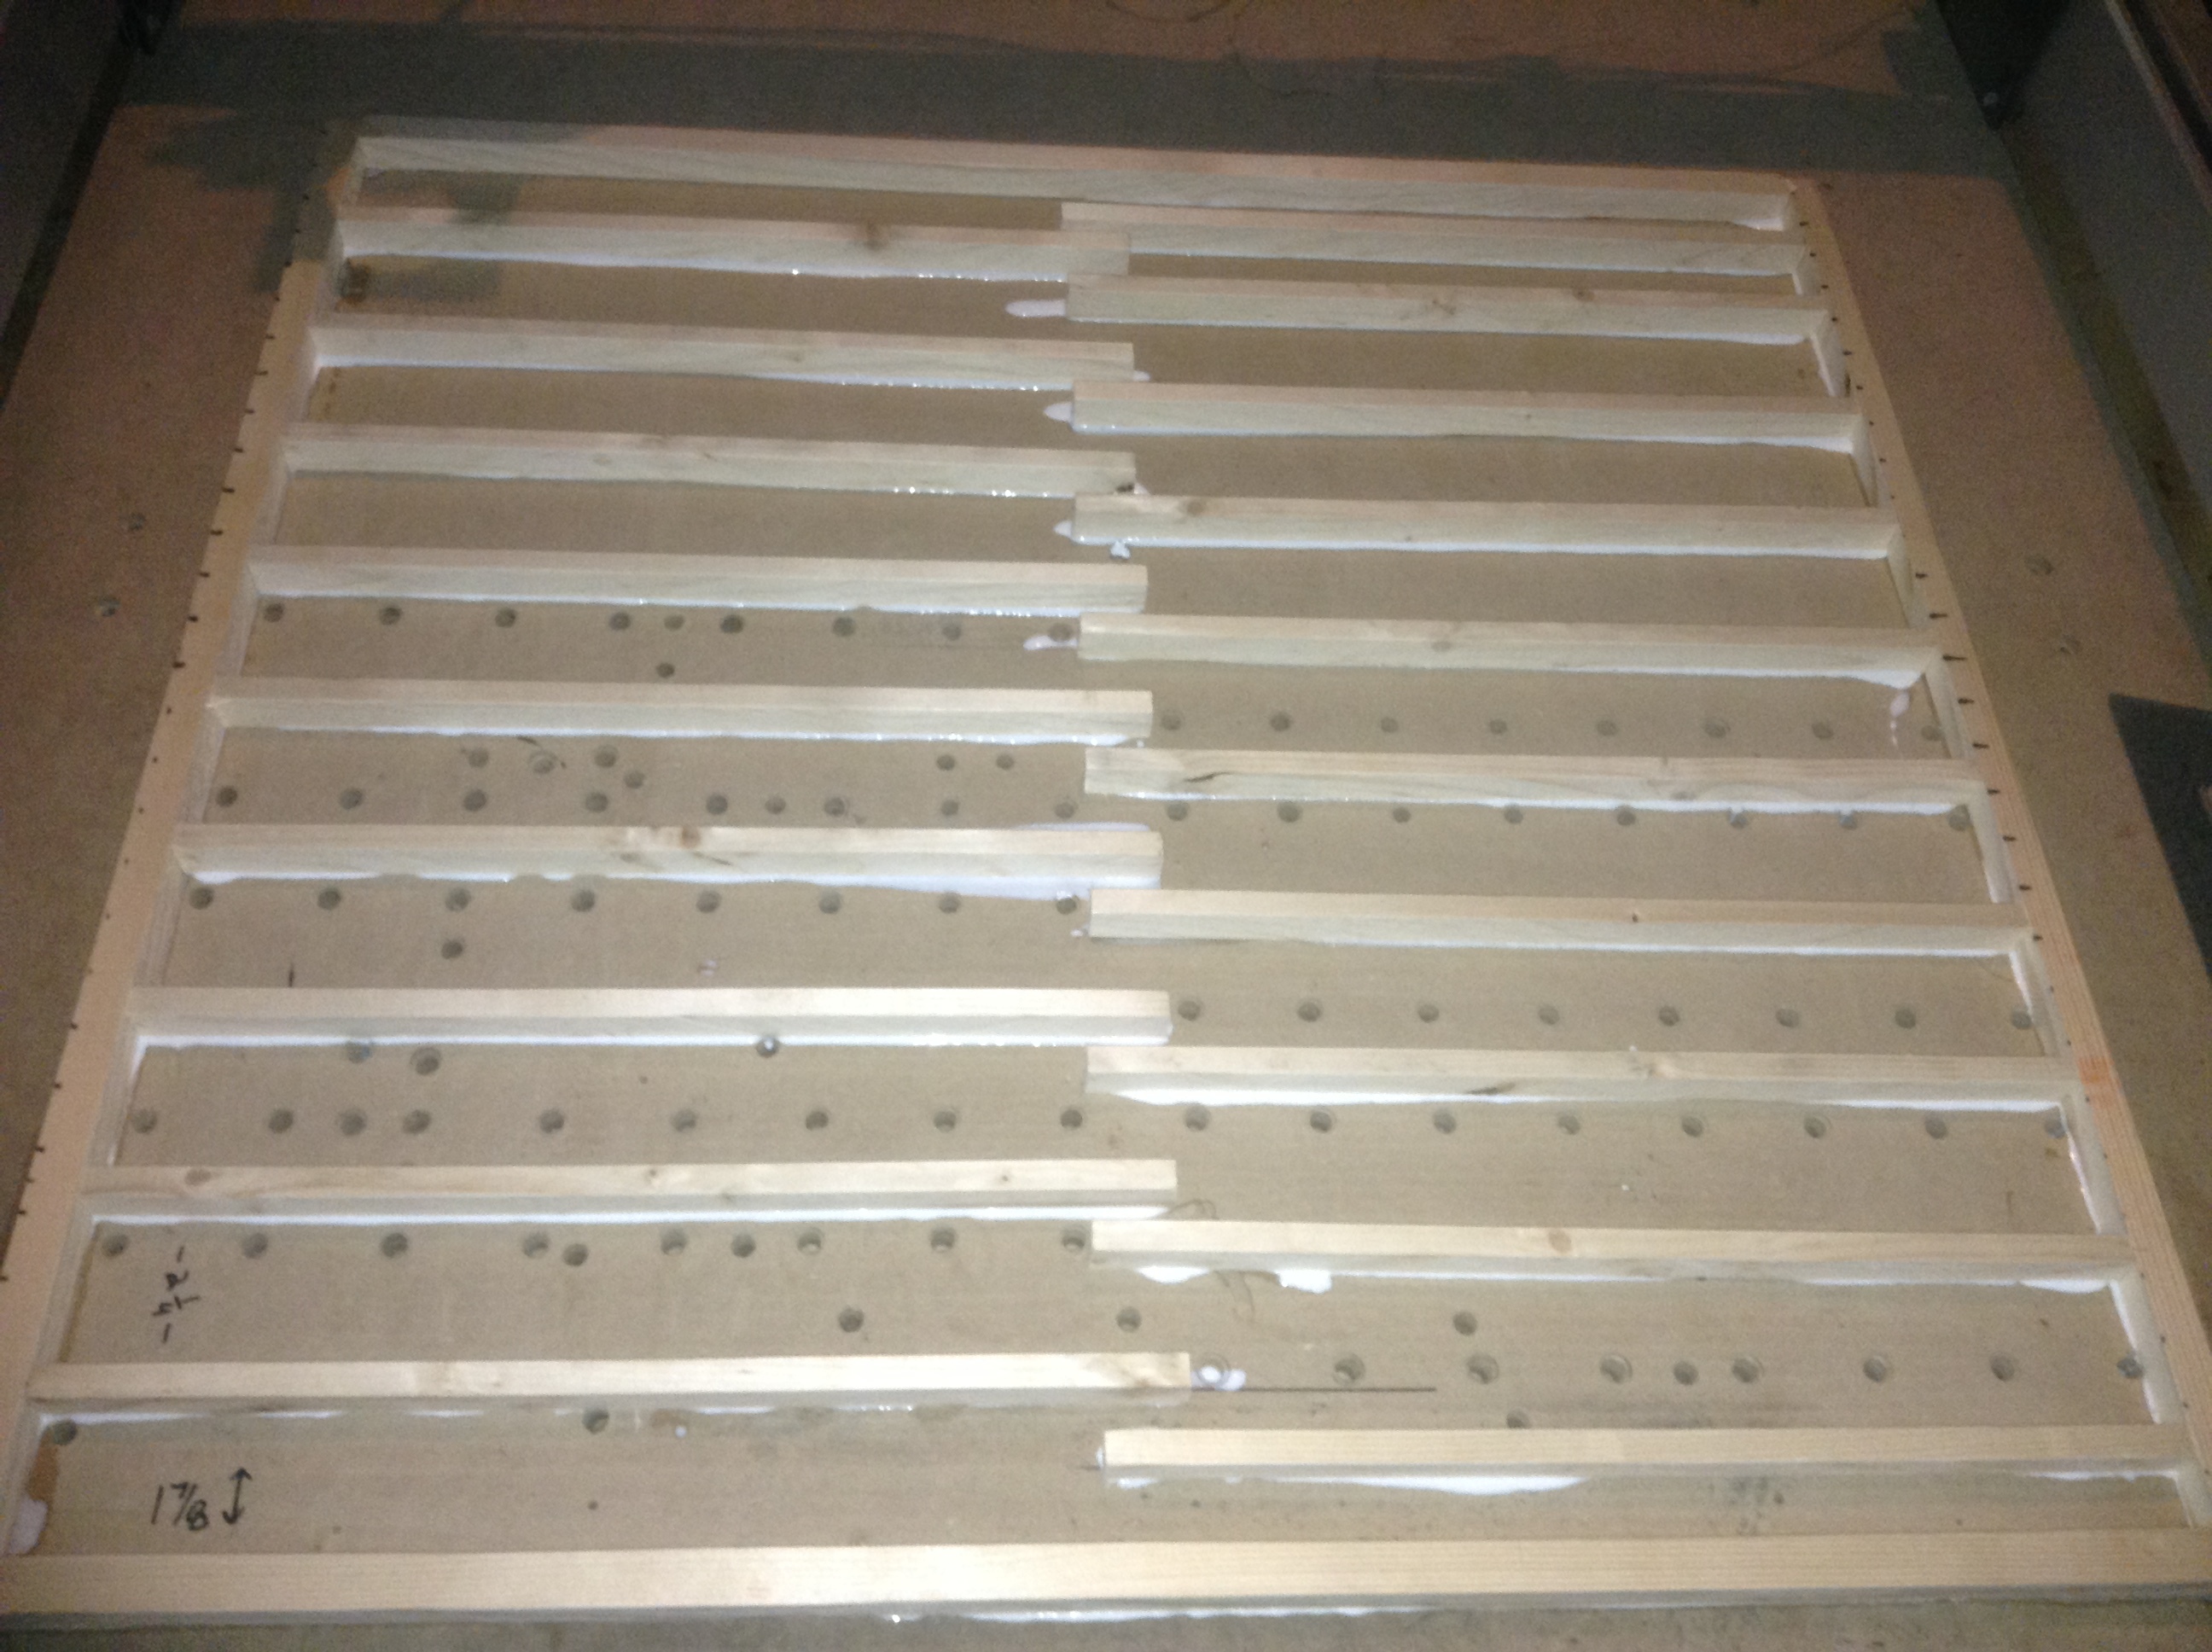
I weighed these down with boards and blocks, and let them set over night.

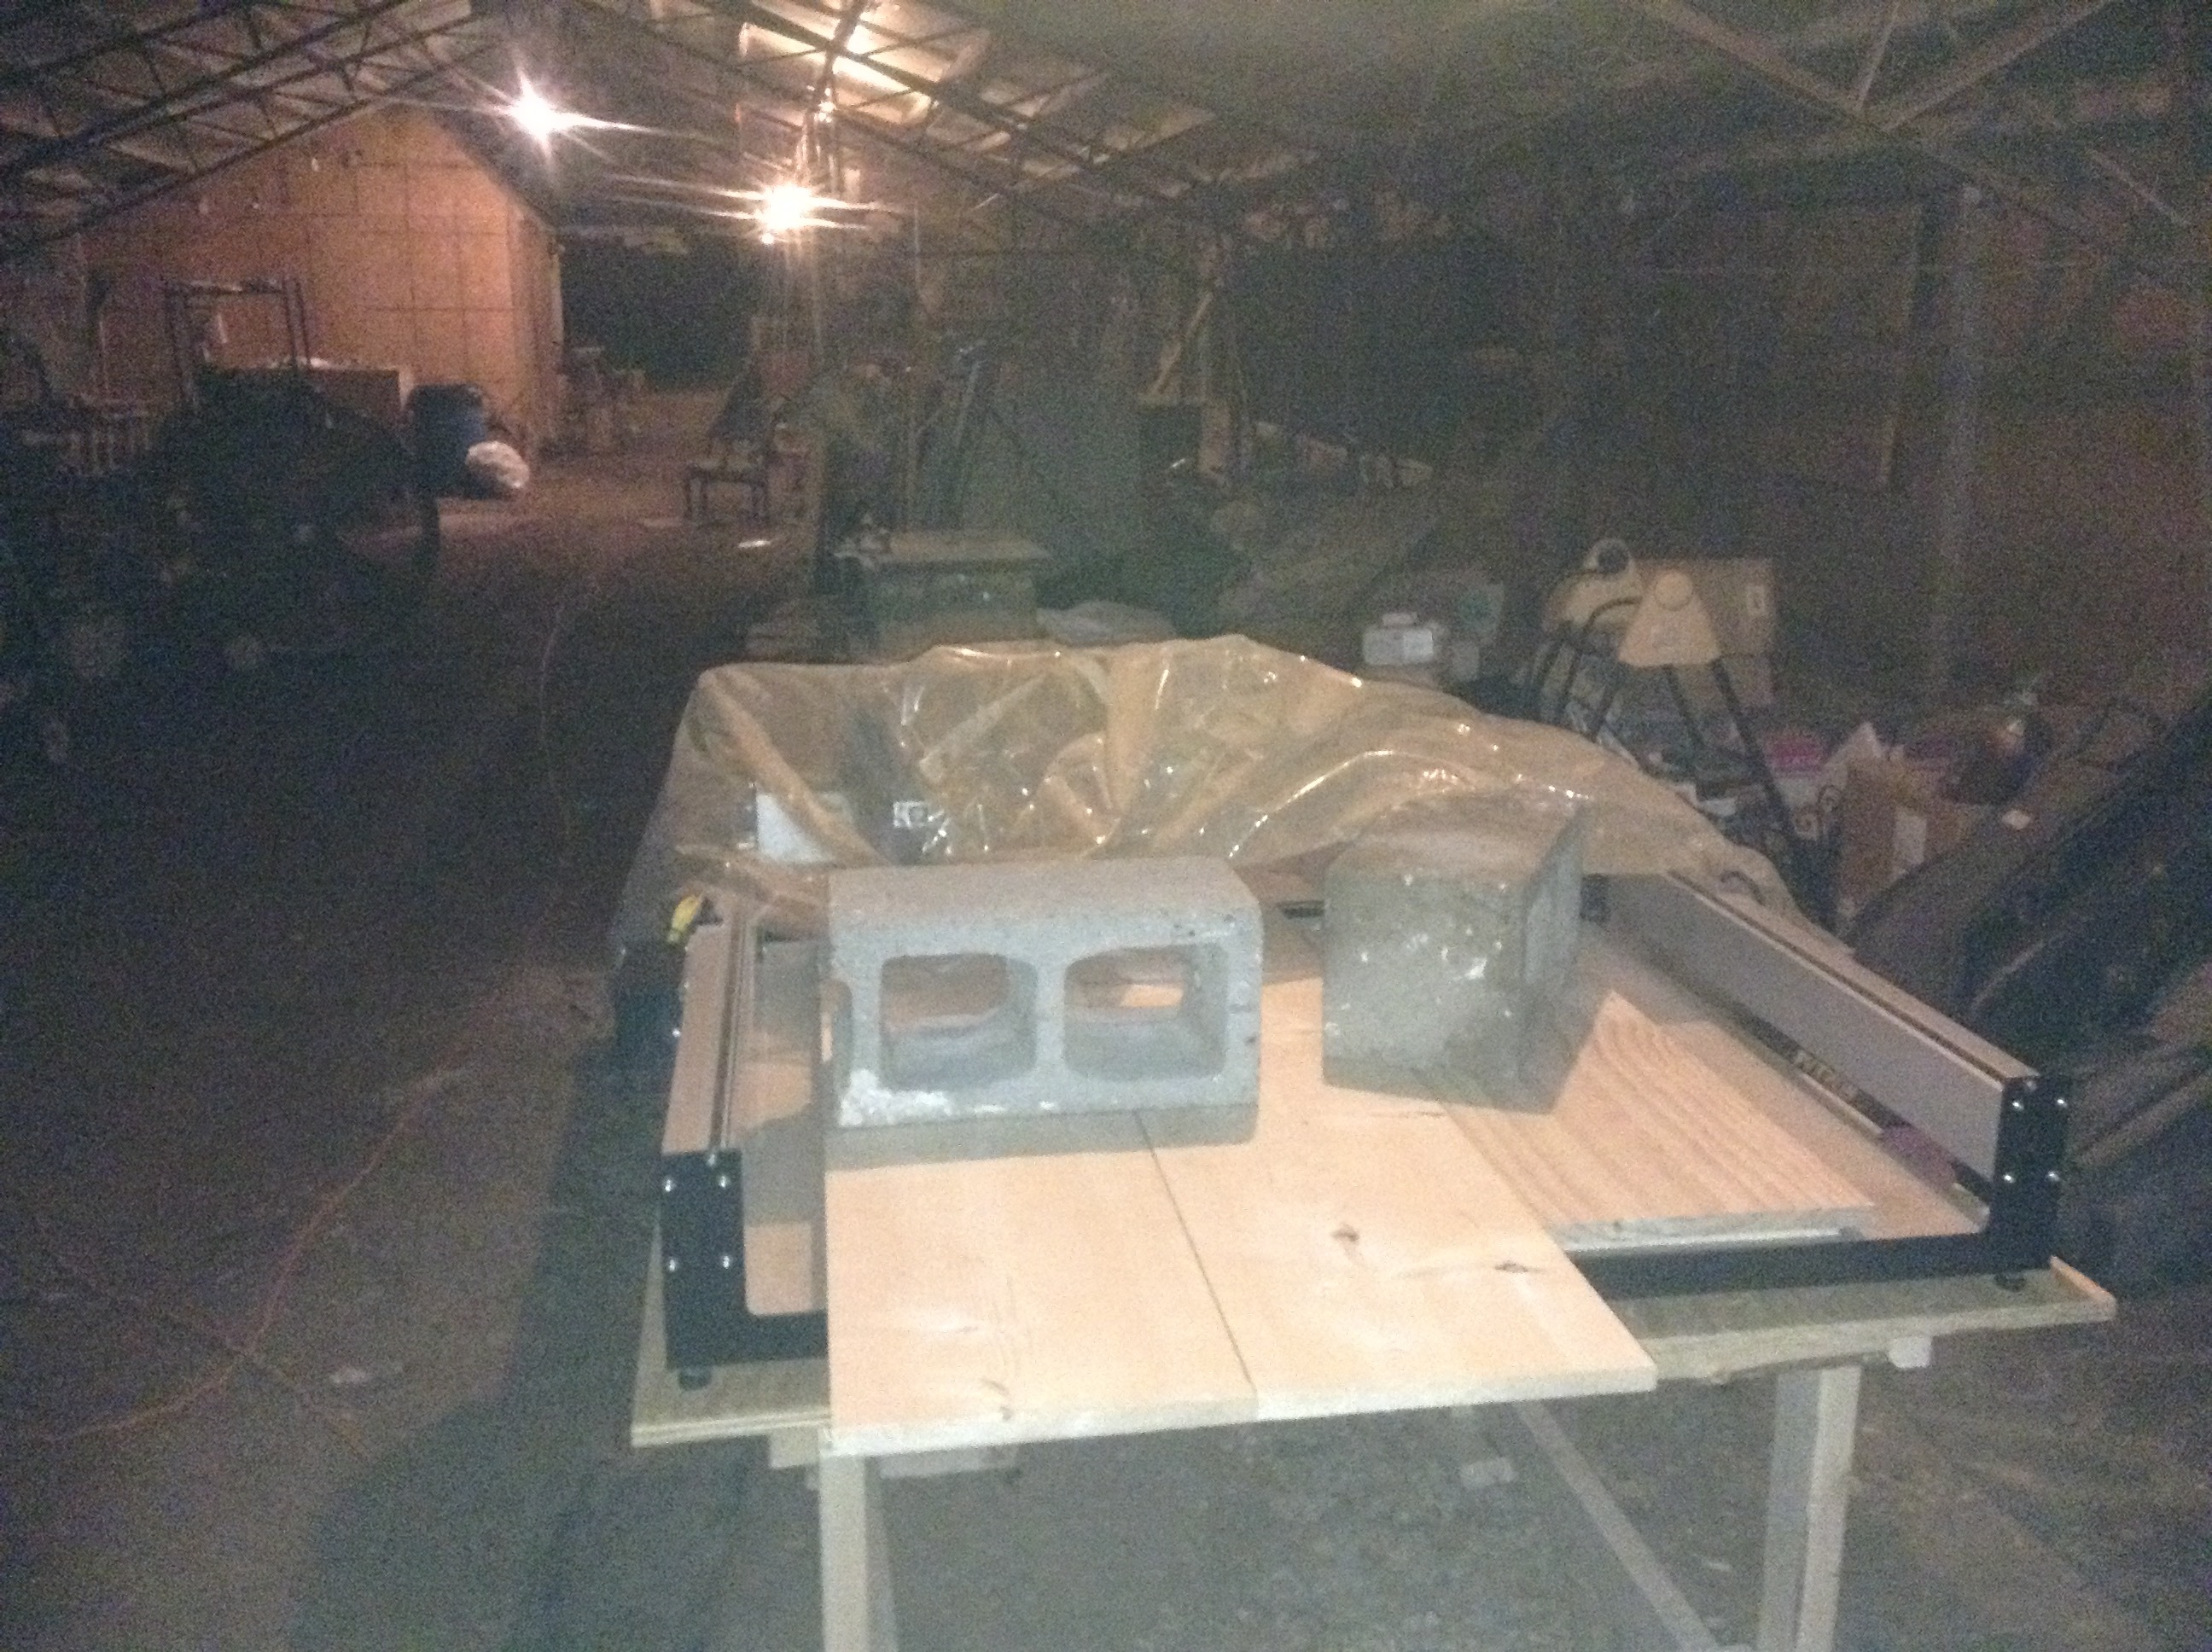
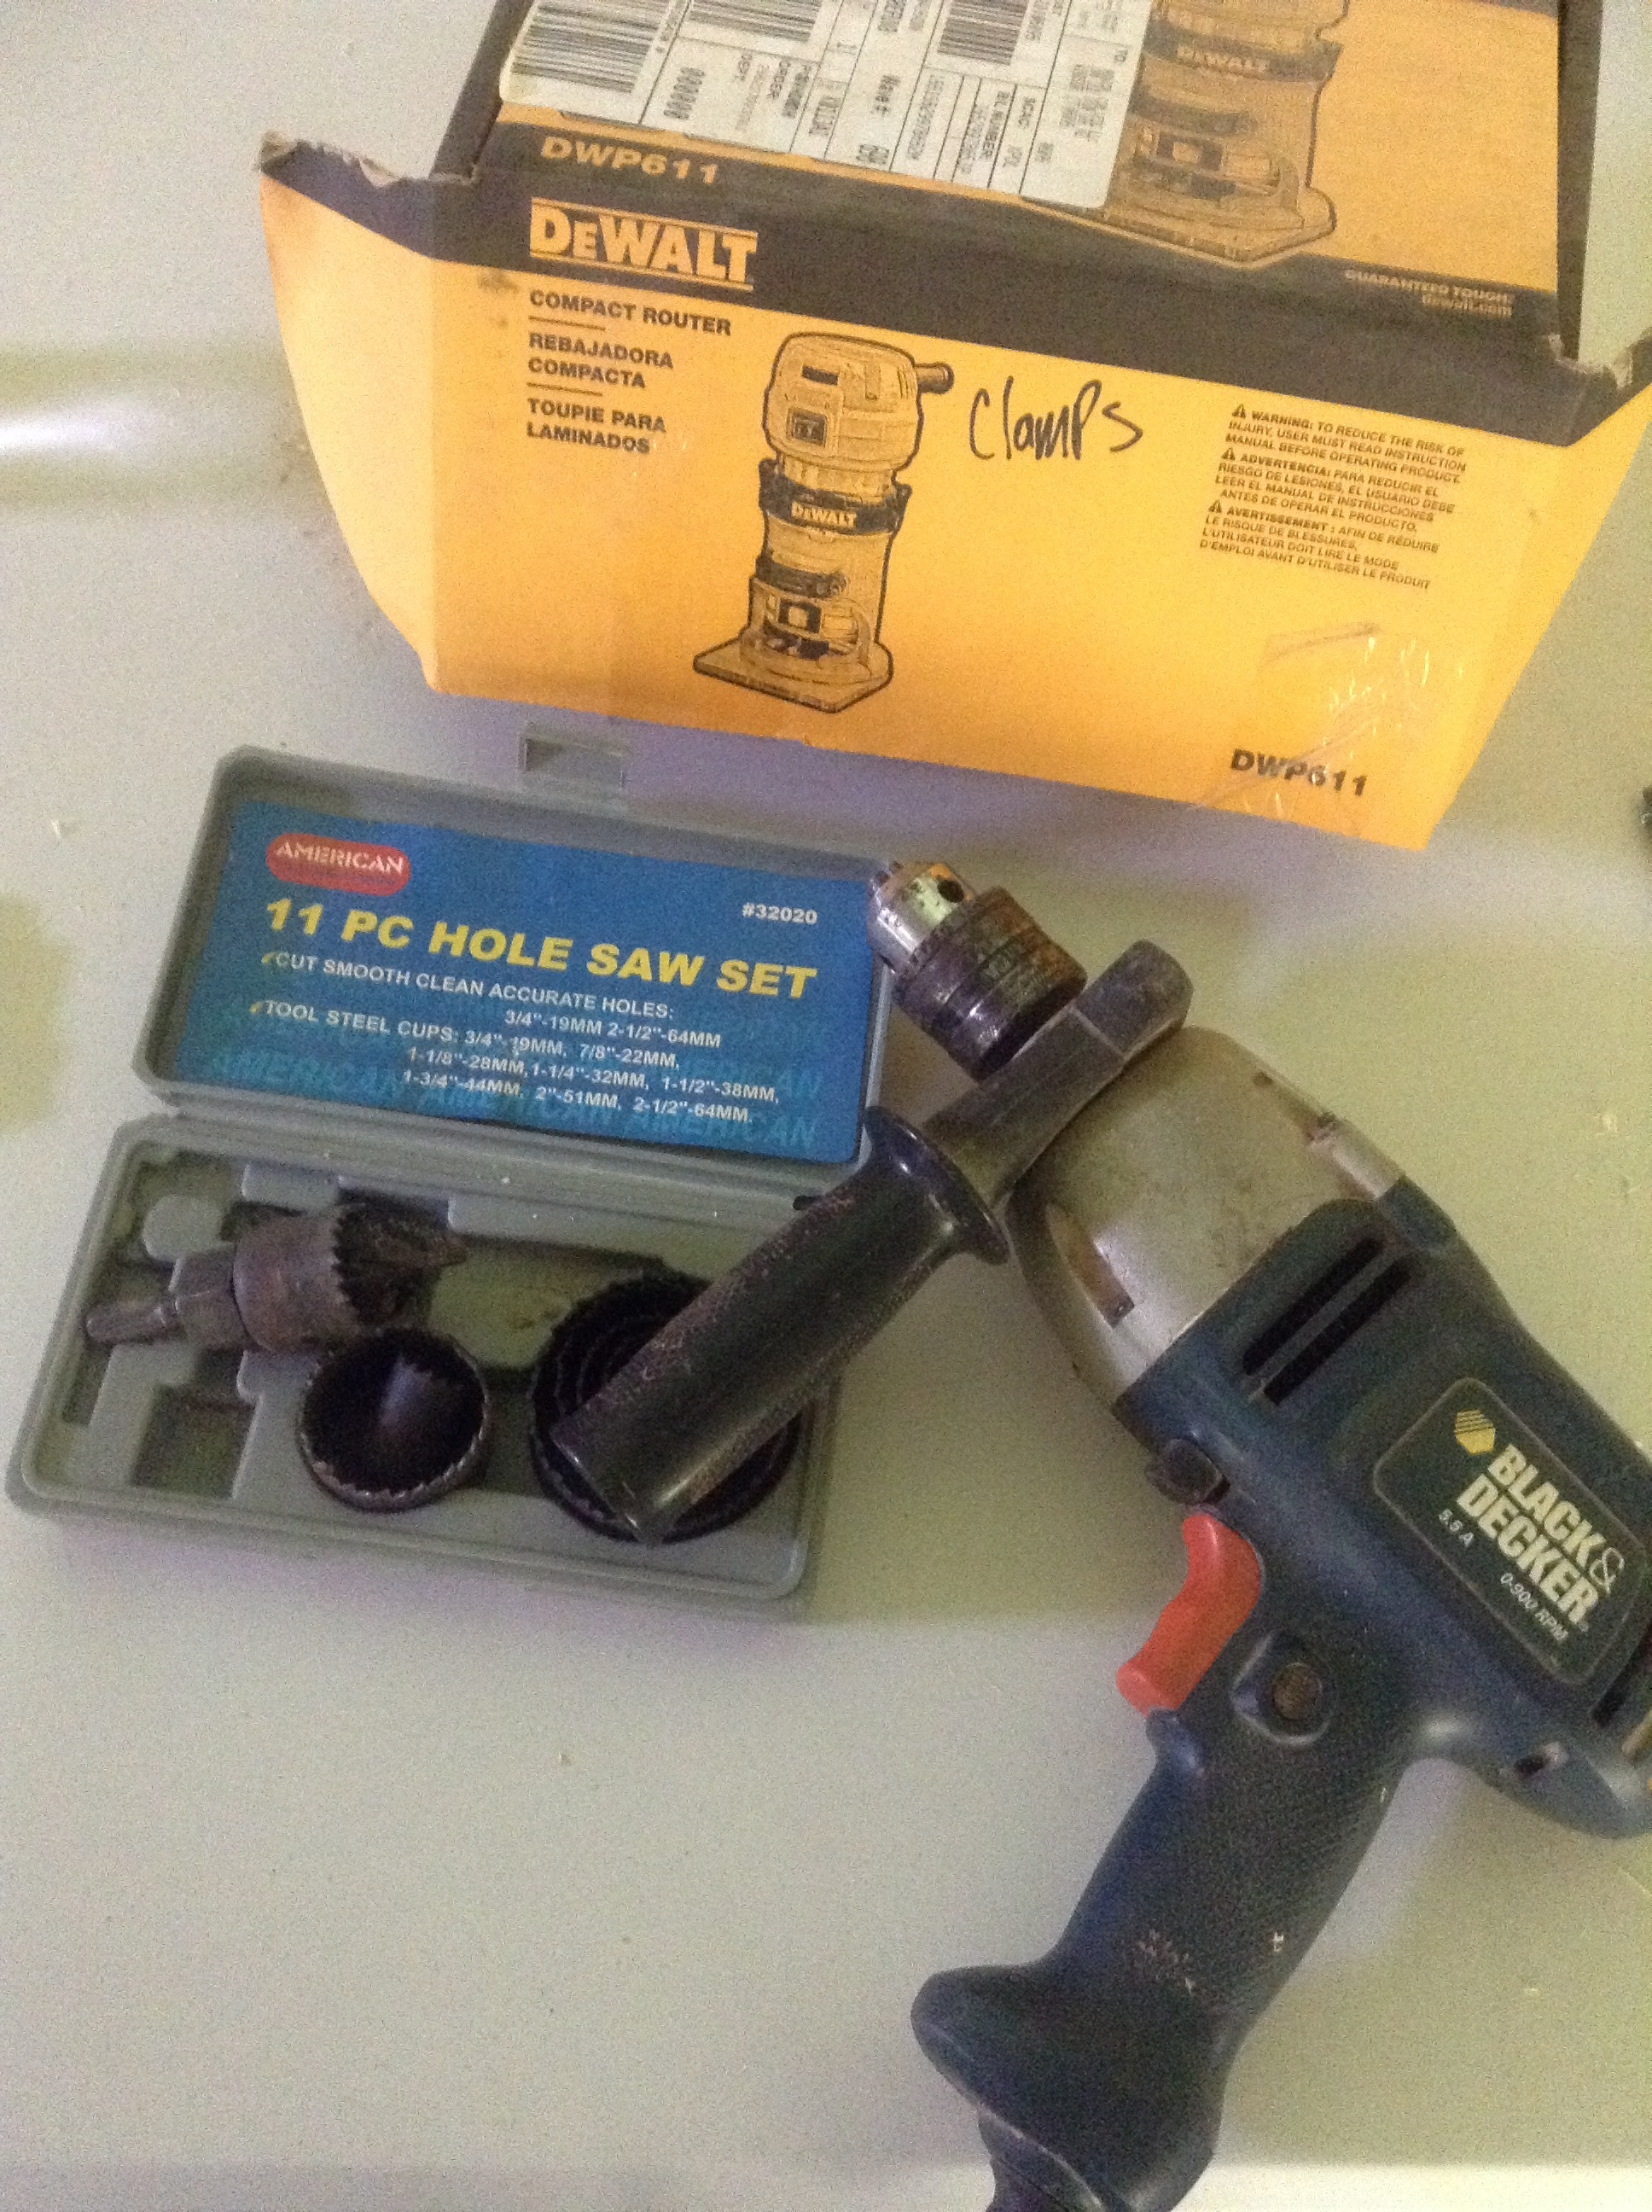
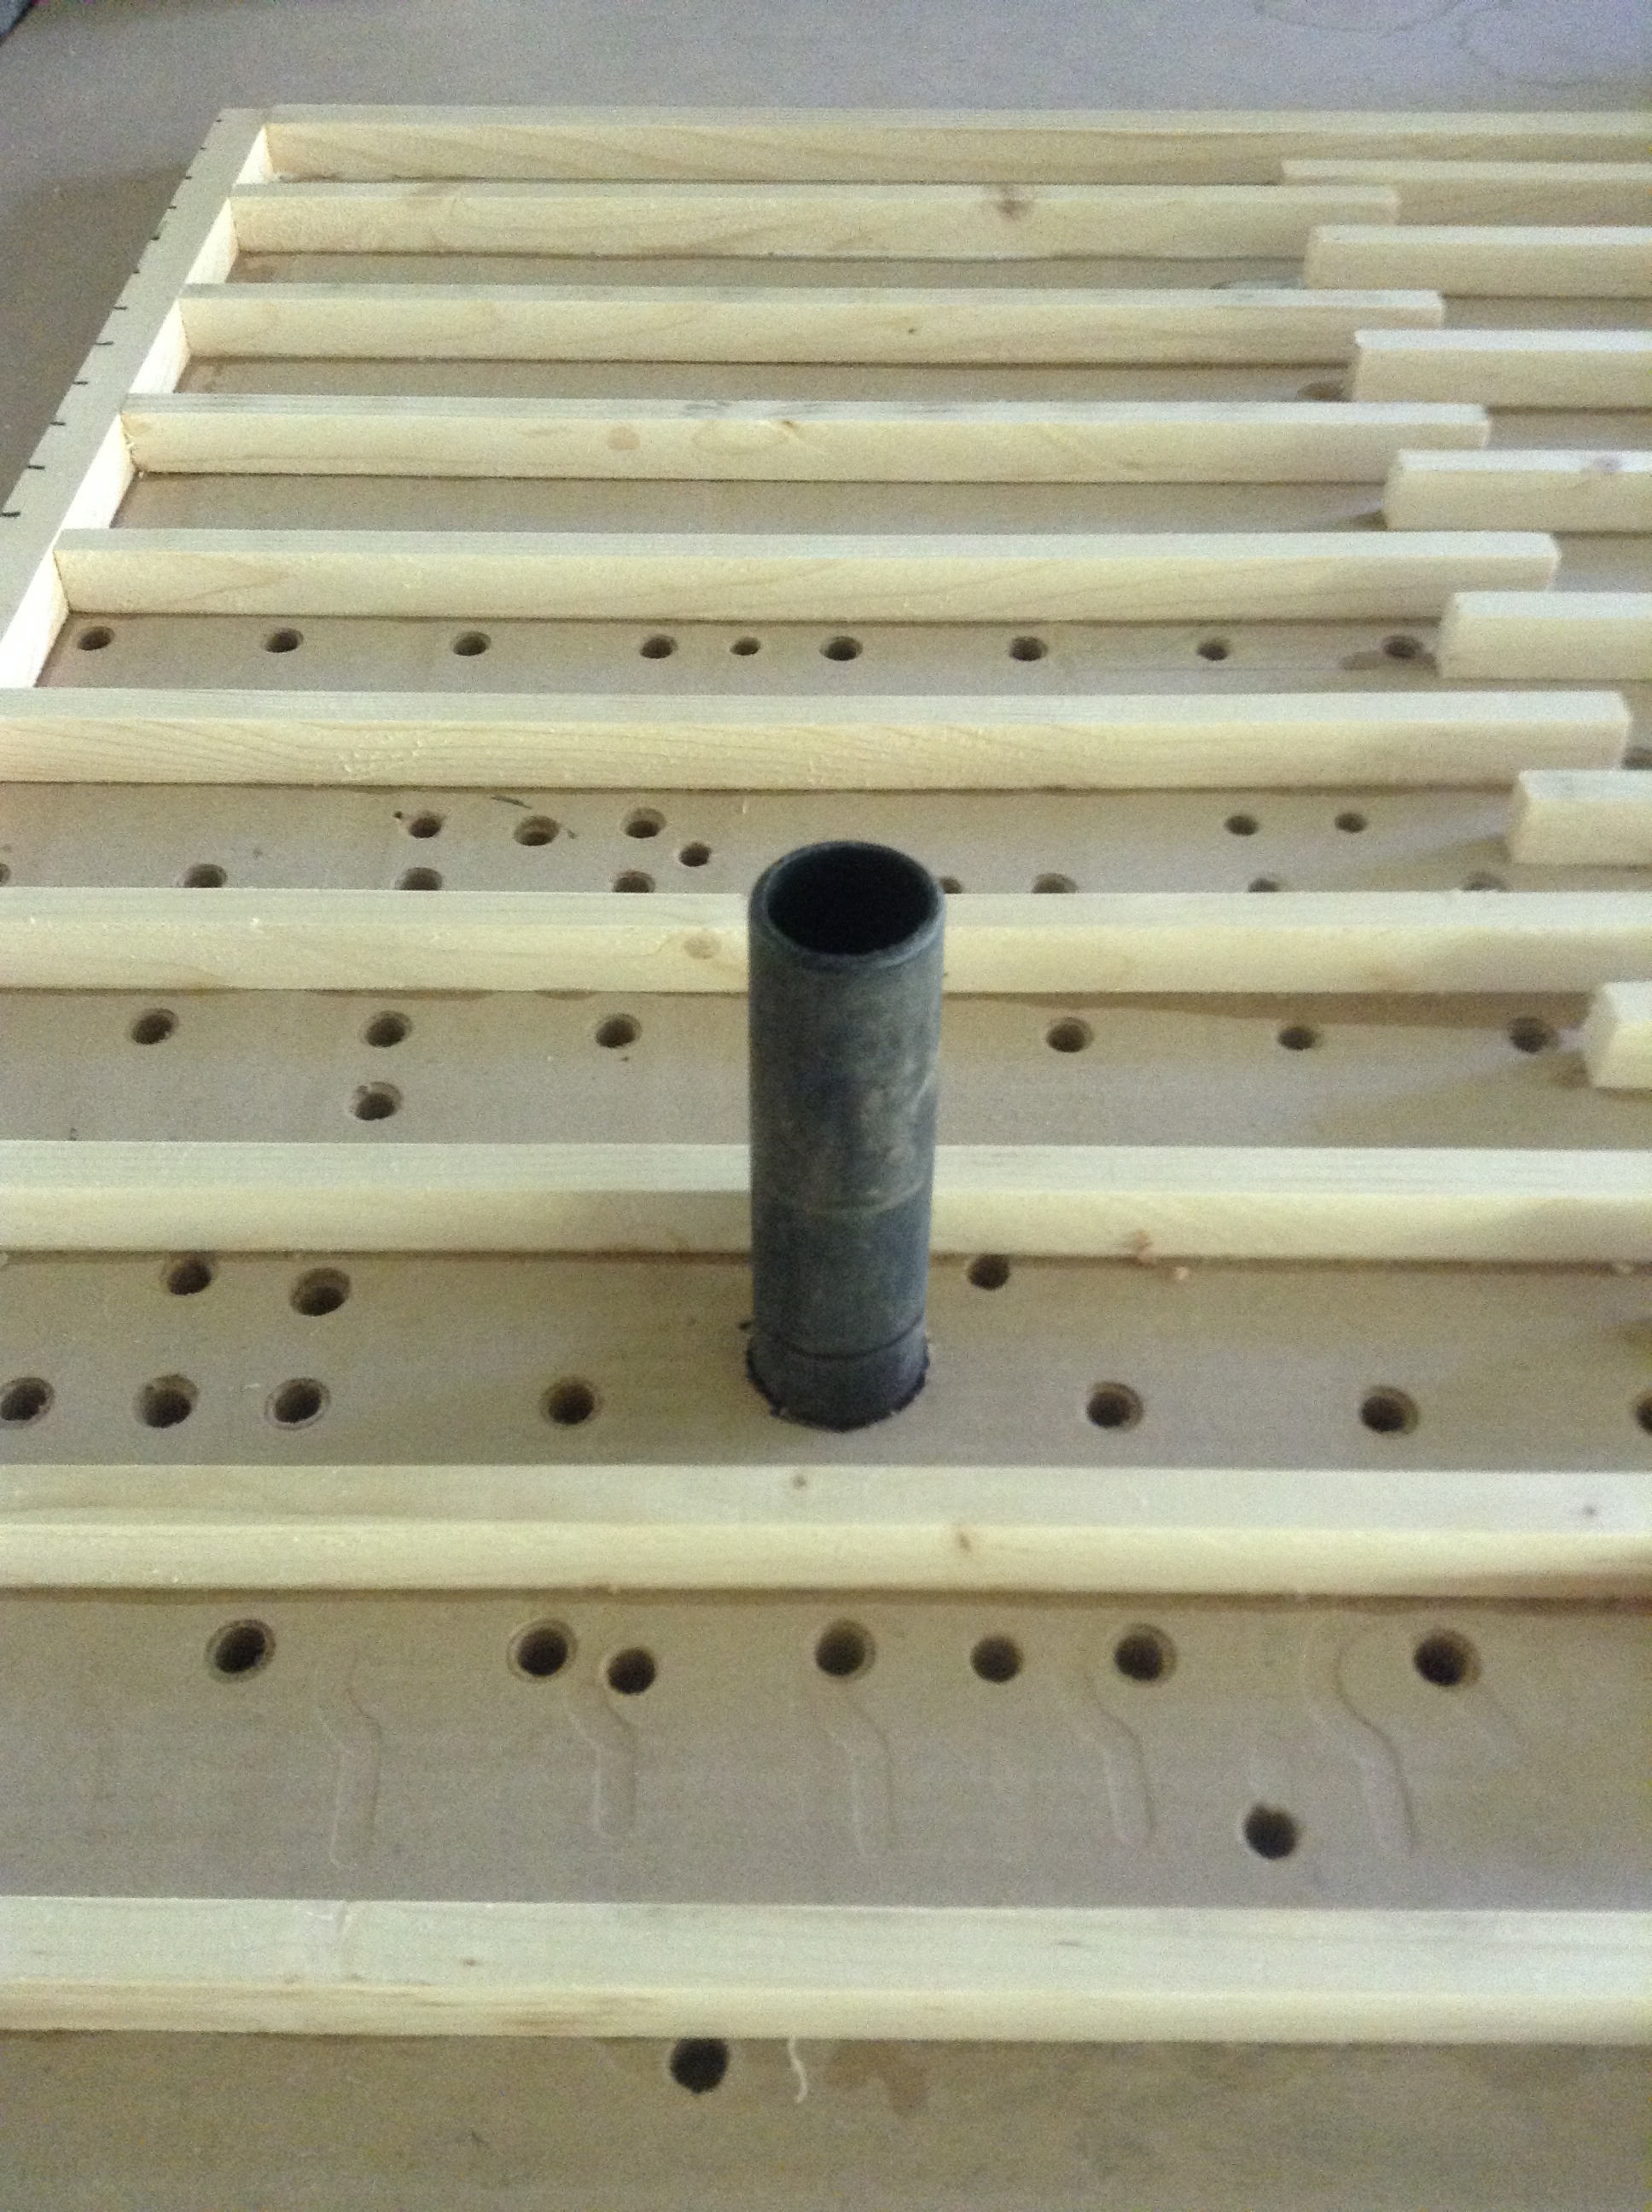
Then I took a hole saw, and drilled between 2 of the wood spacers, just big enough for the 1 Gallon Shop Vac hose, and marked the table underneath.
The hole ended up over sized a little, so I had to cut the tapered hose extension down about 3".
Then I scooted the machine back, and drilled with the biggest “American” hole saw I had.

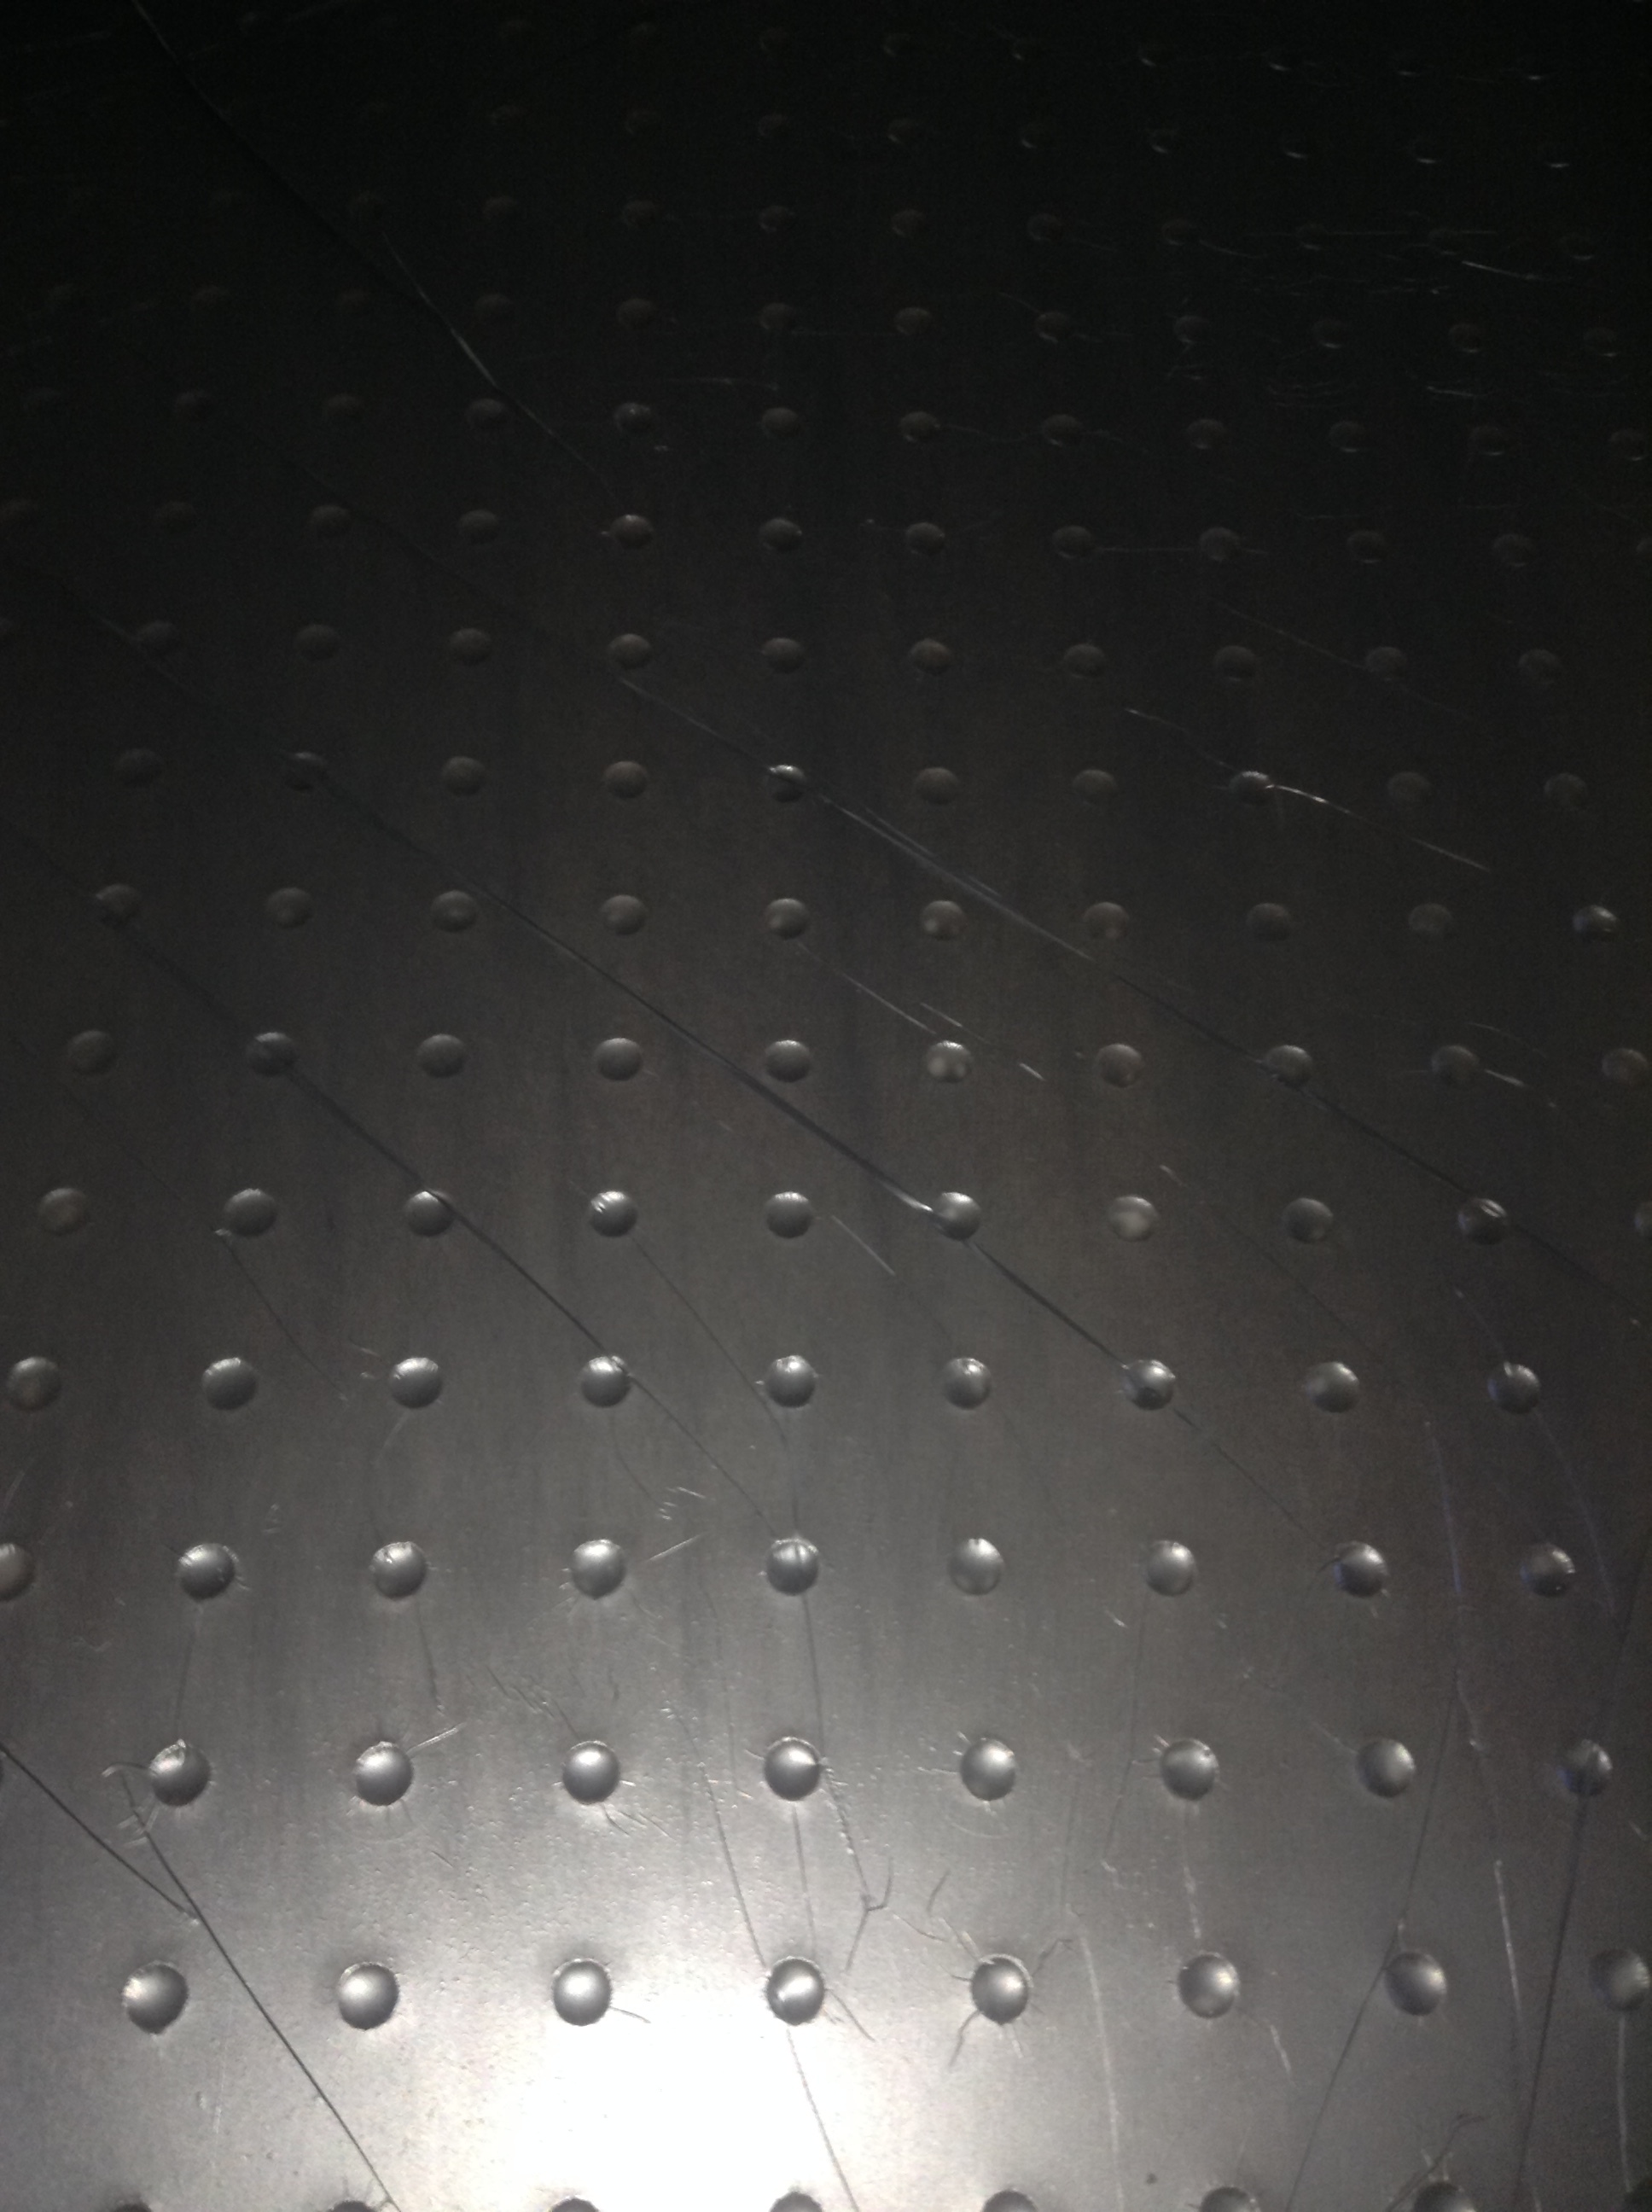
Finally, I cut, and glued the peg board, and covered it with a plastic bag, and left the vacuum run for 30-45 minutes, while the glue set up.
I put four, 1/4" bolts in it to keep the holes lined up.
When it’s dry, I’ll take them out.

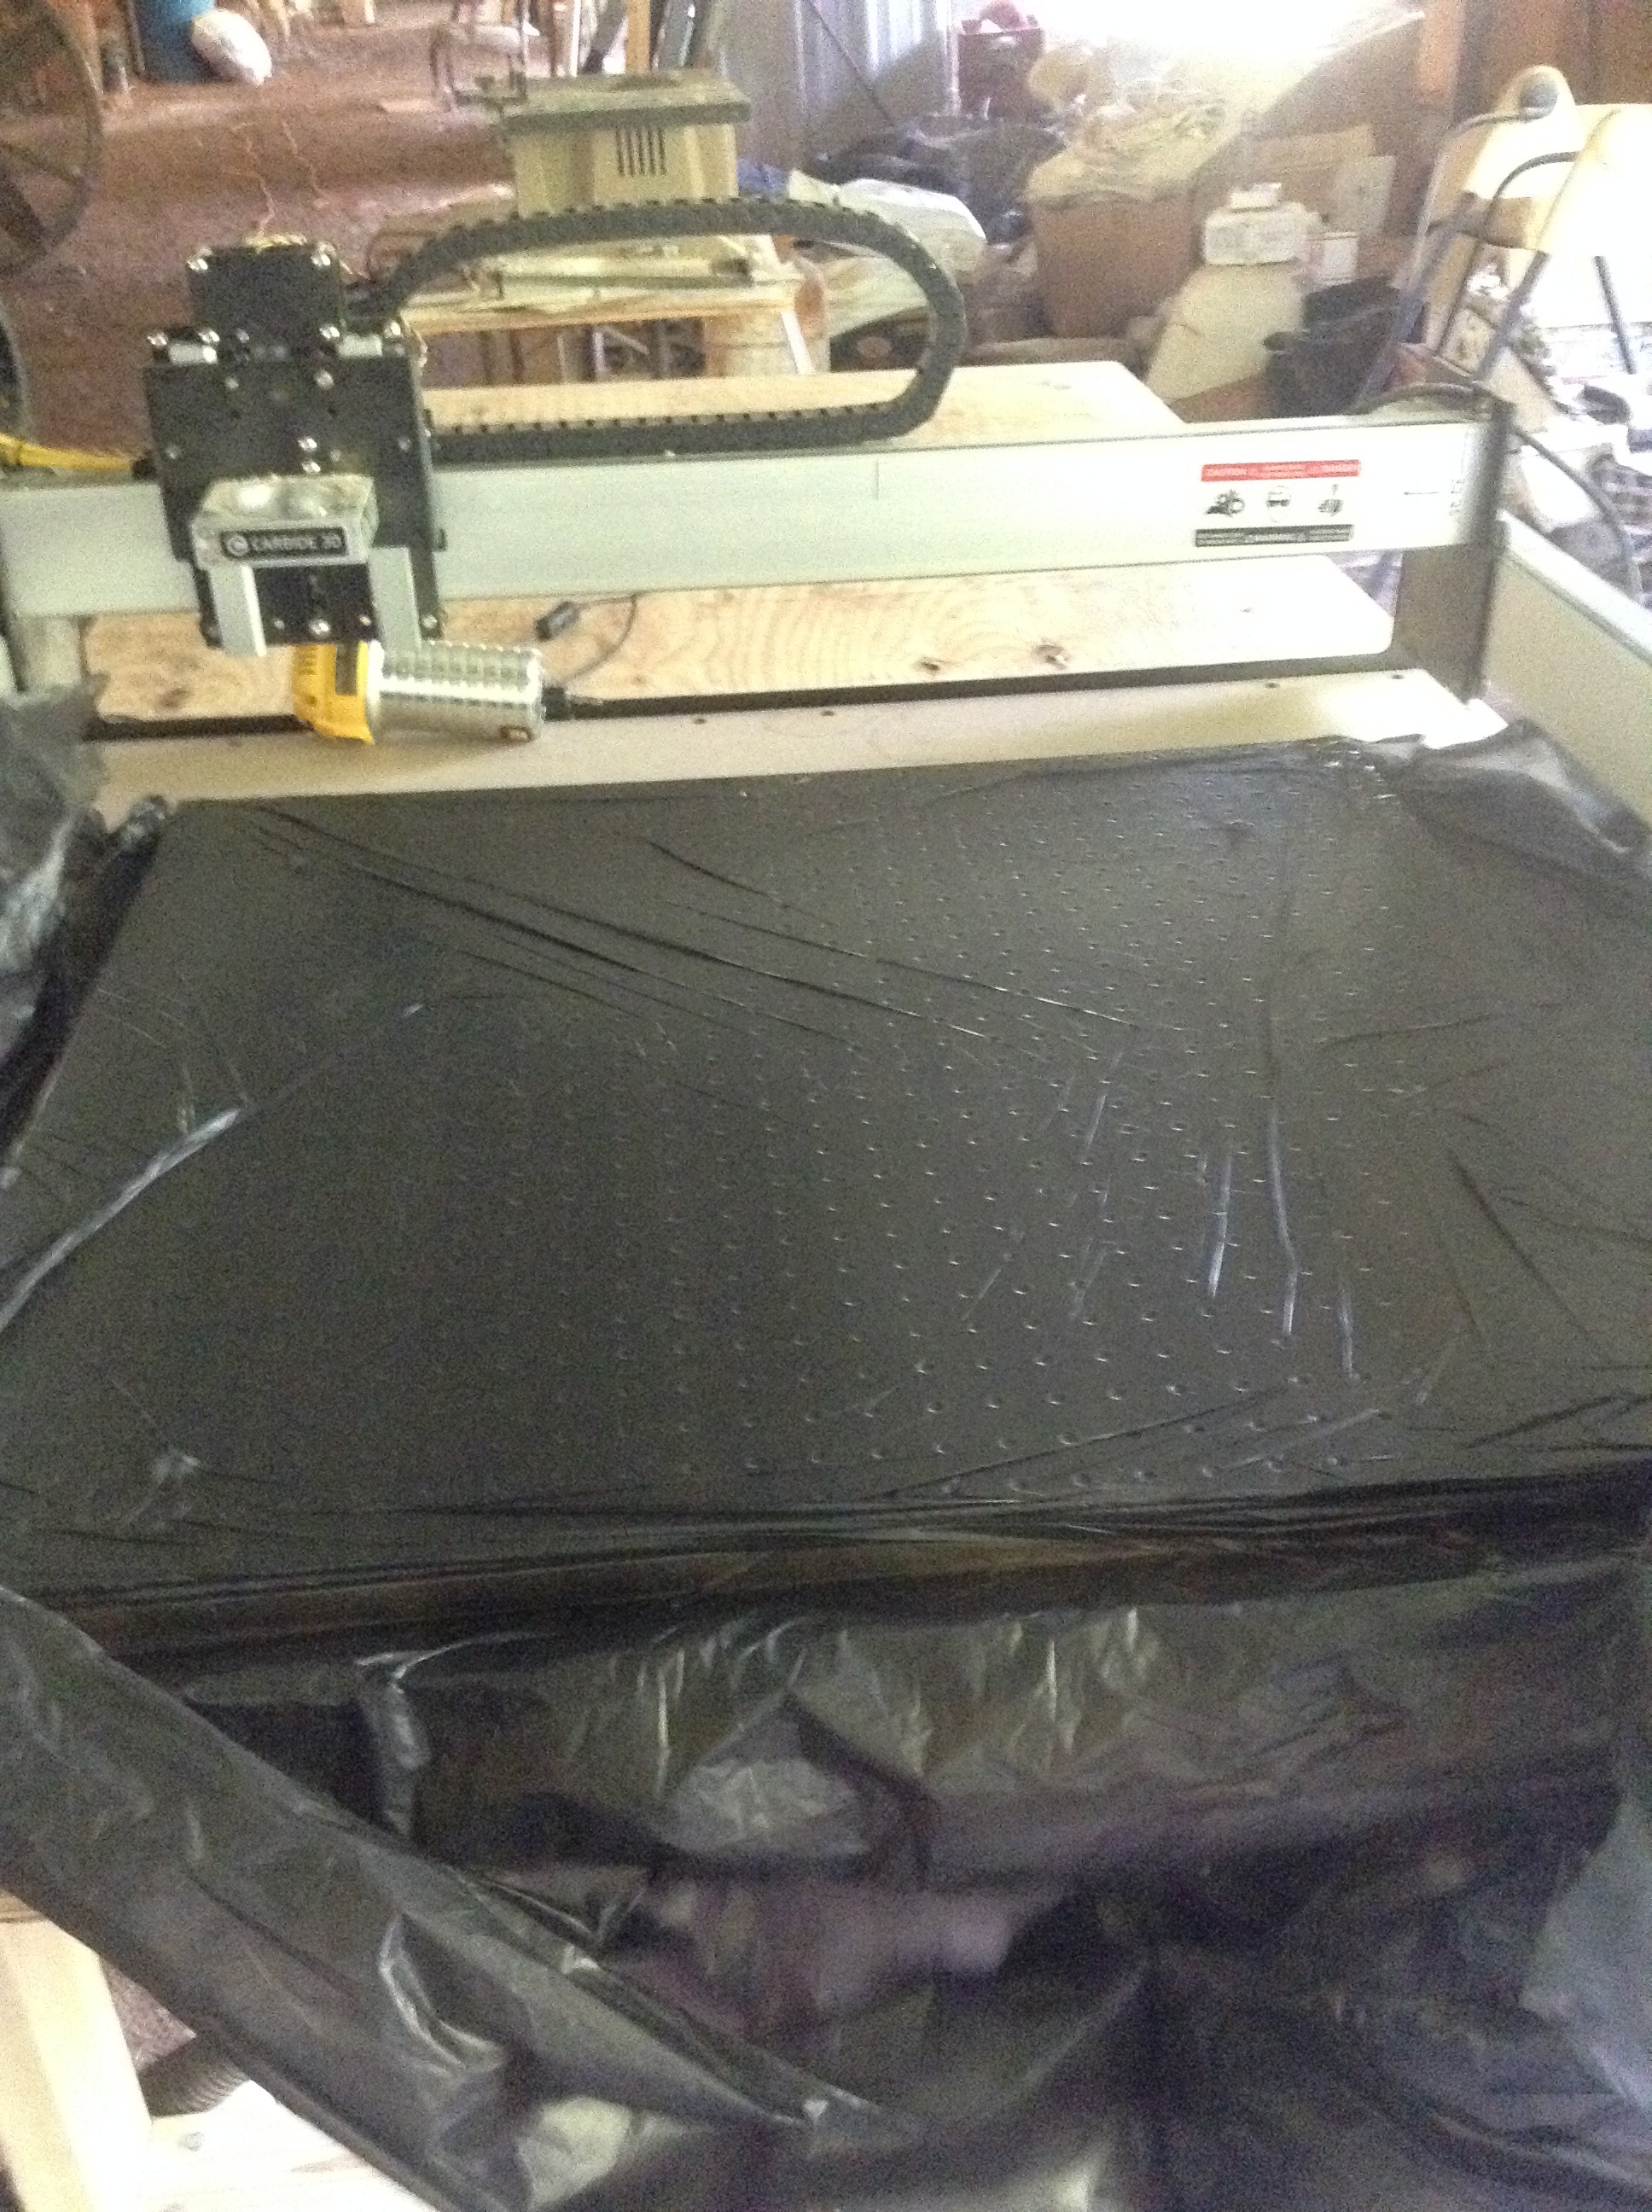
All I have to do is surface it, and use it :slight_smile:
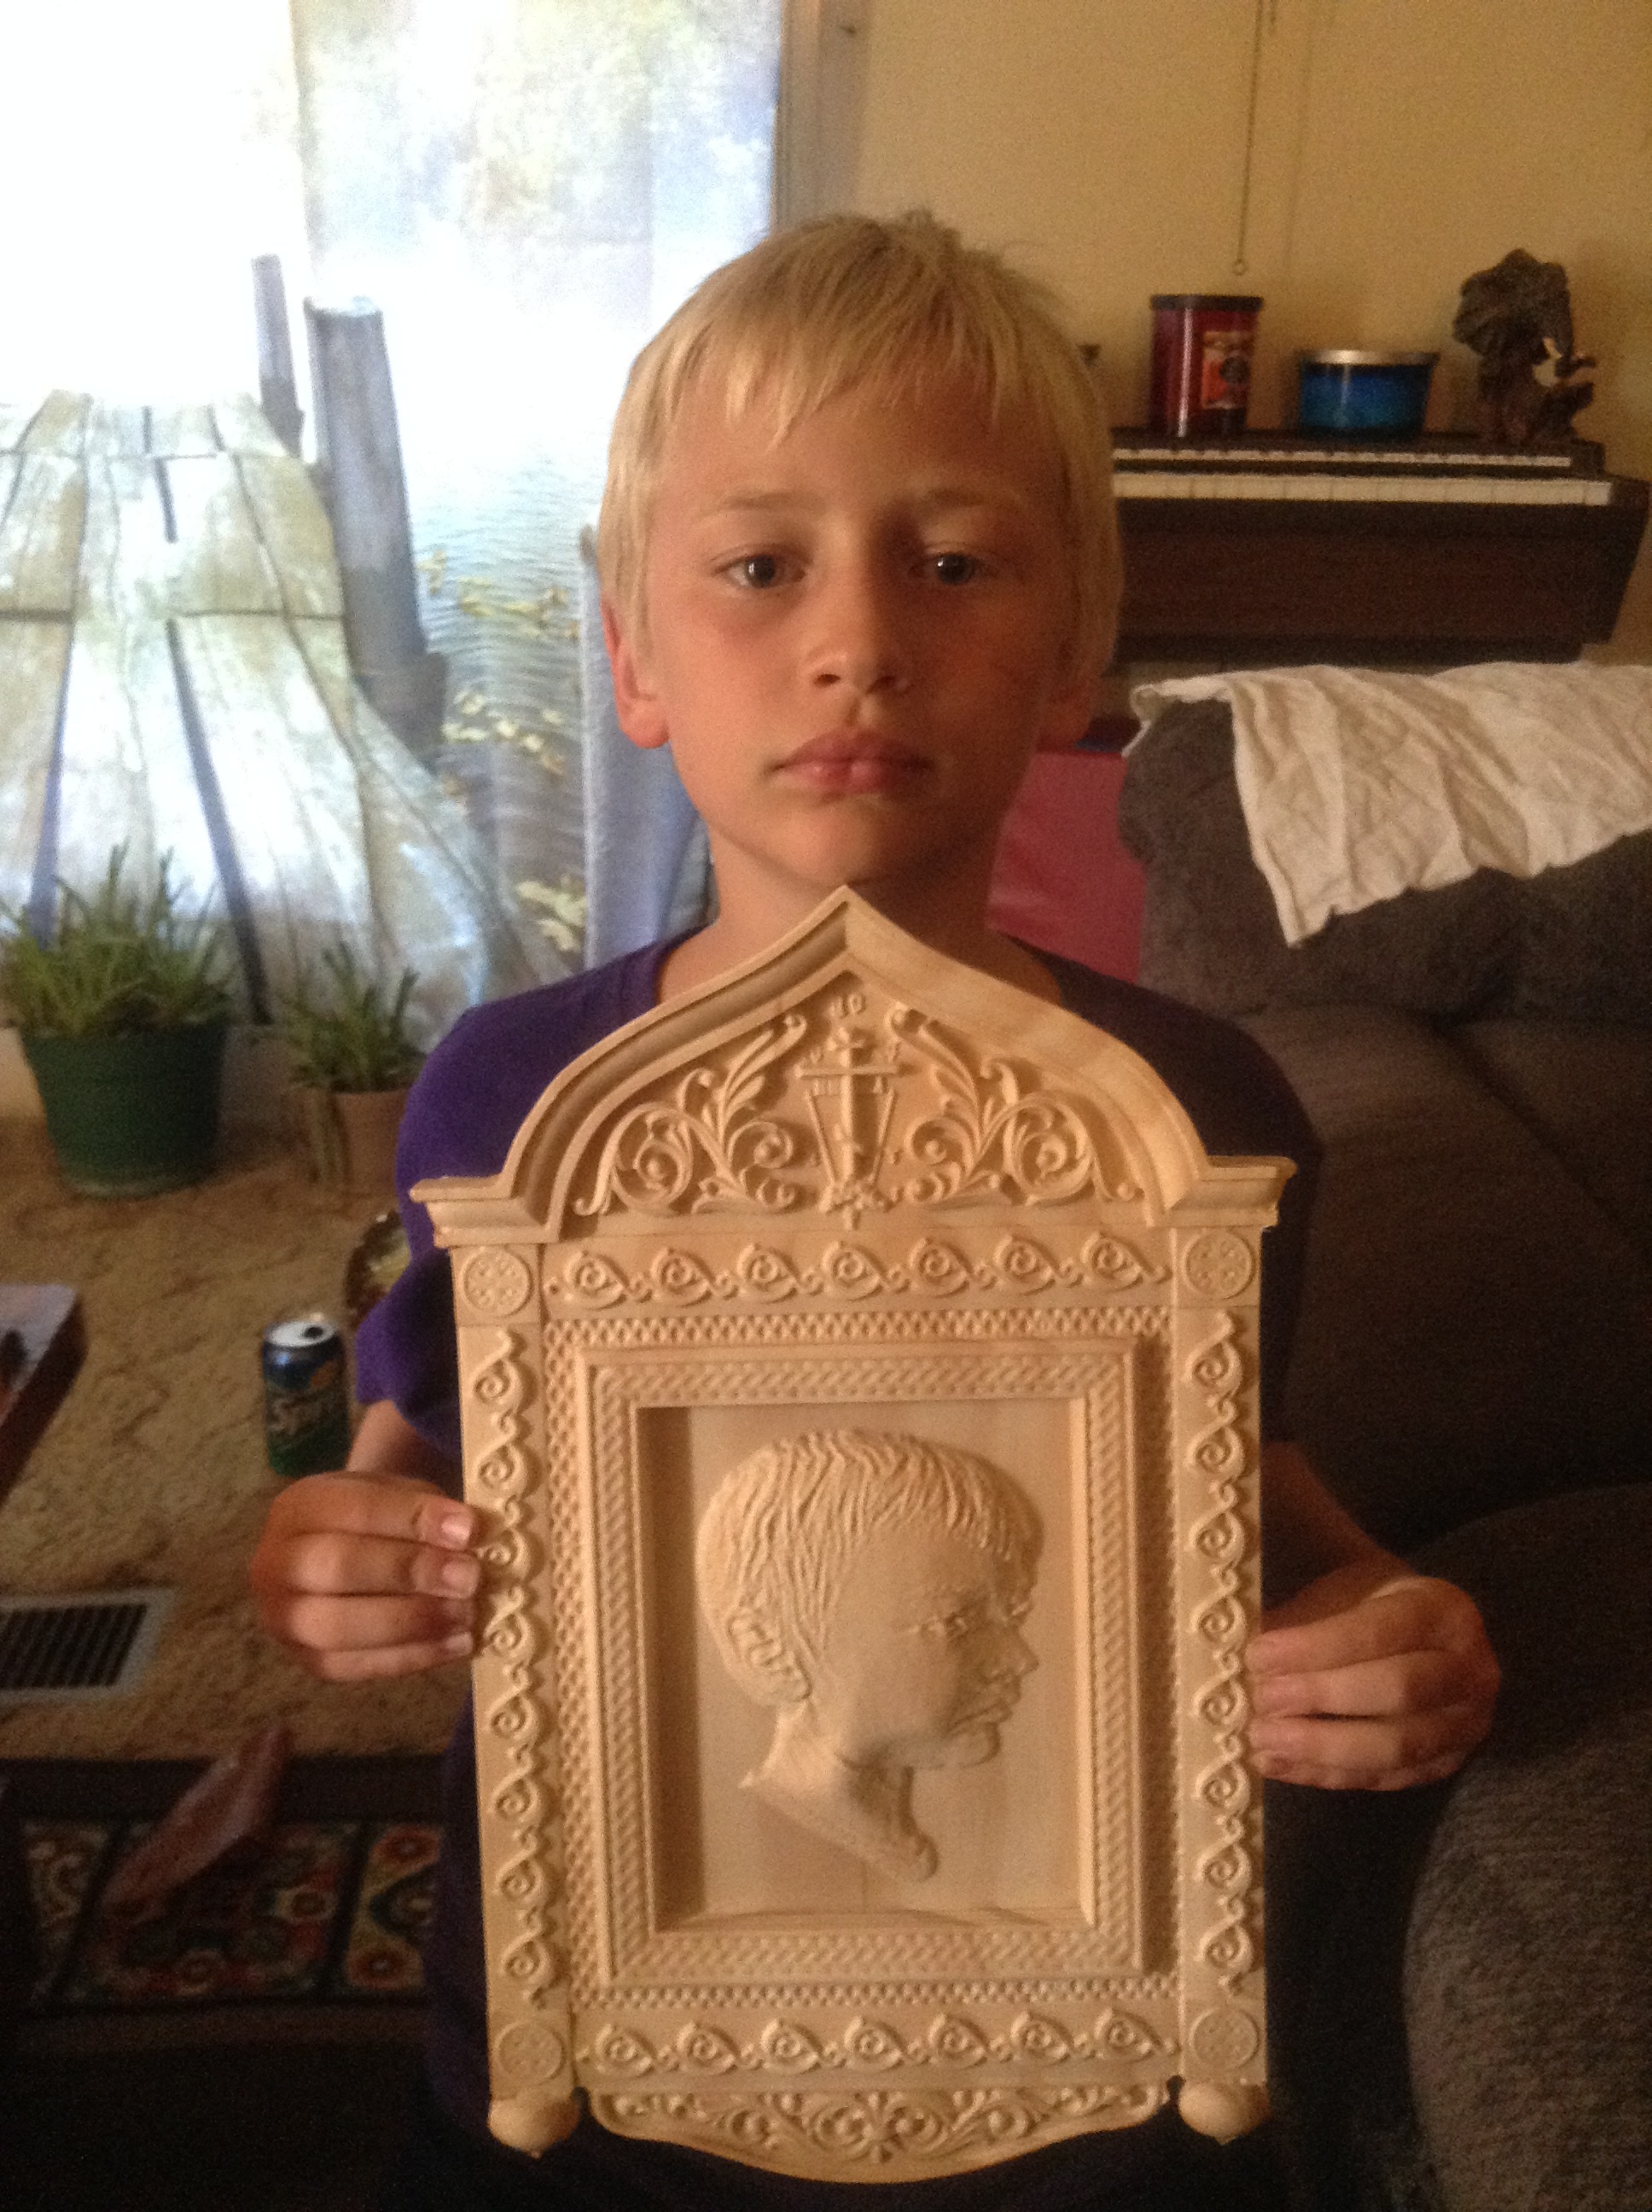
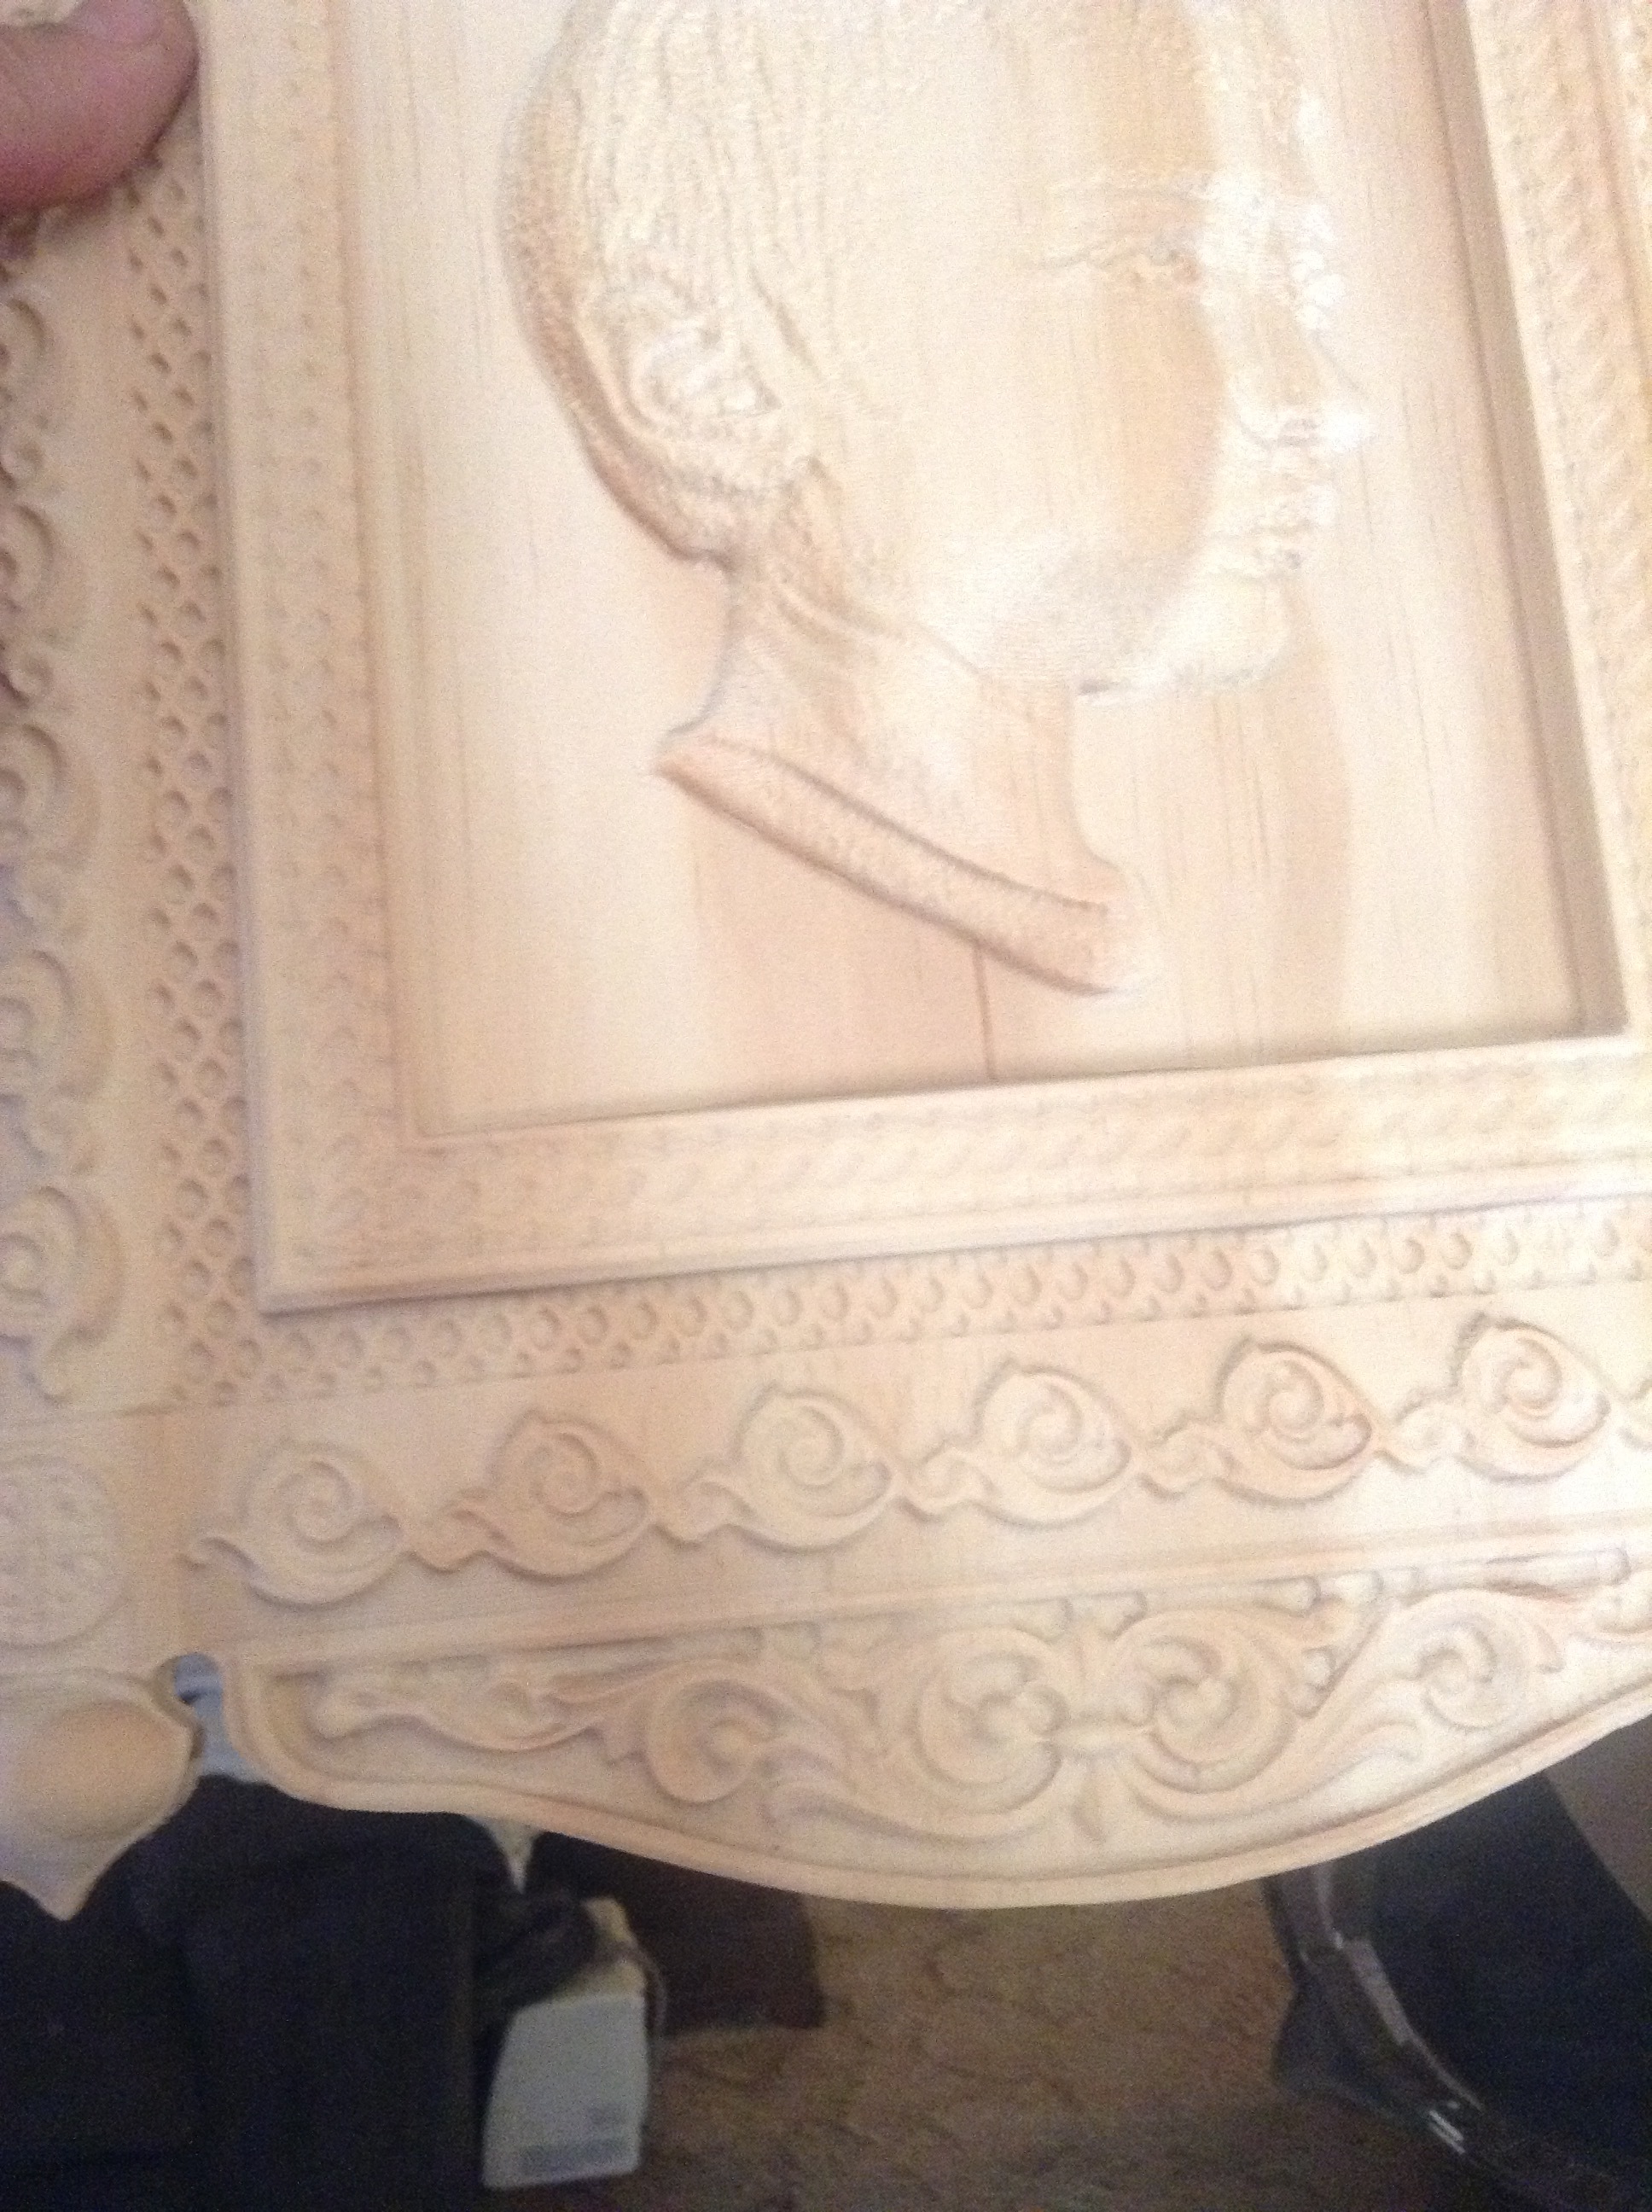
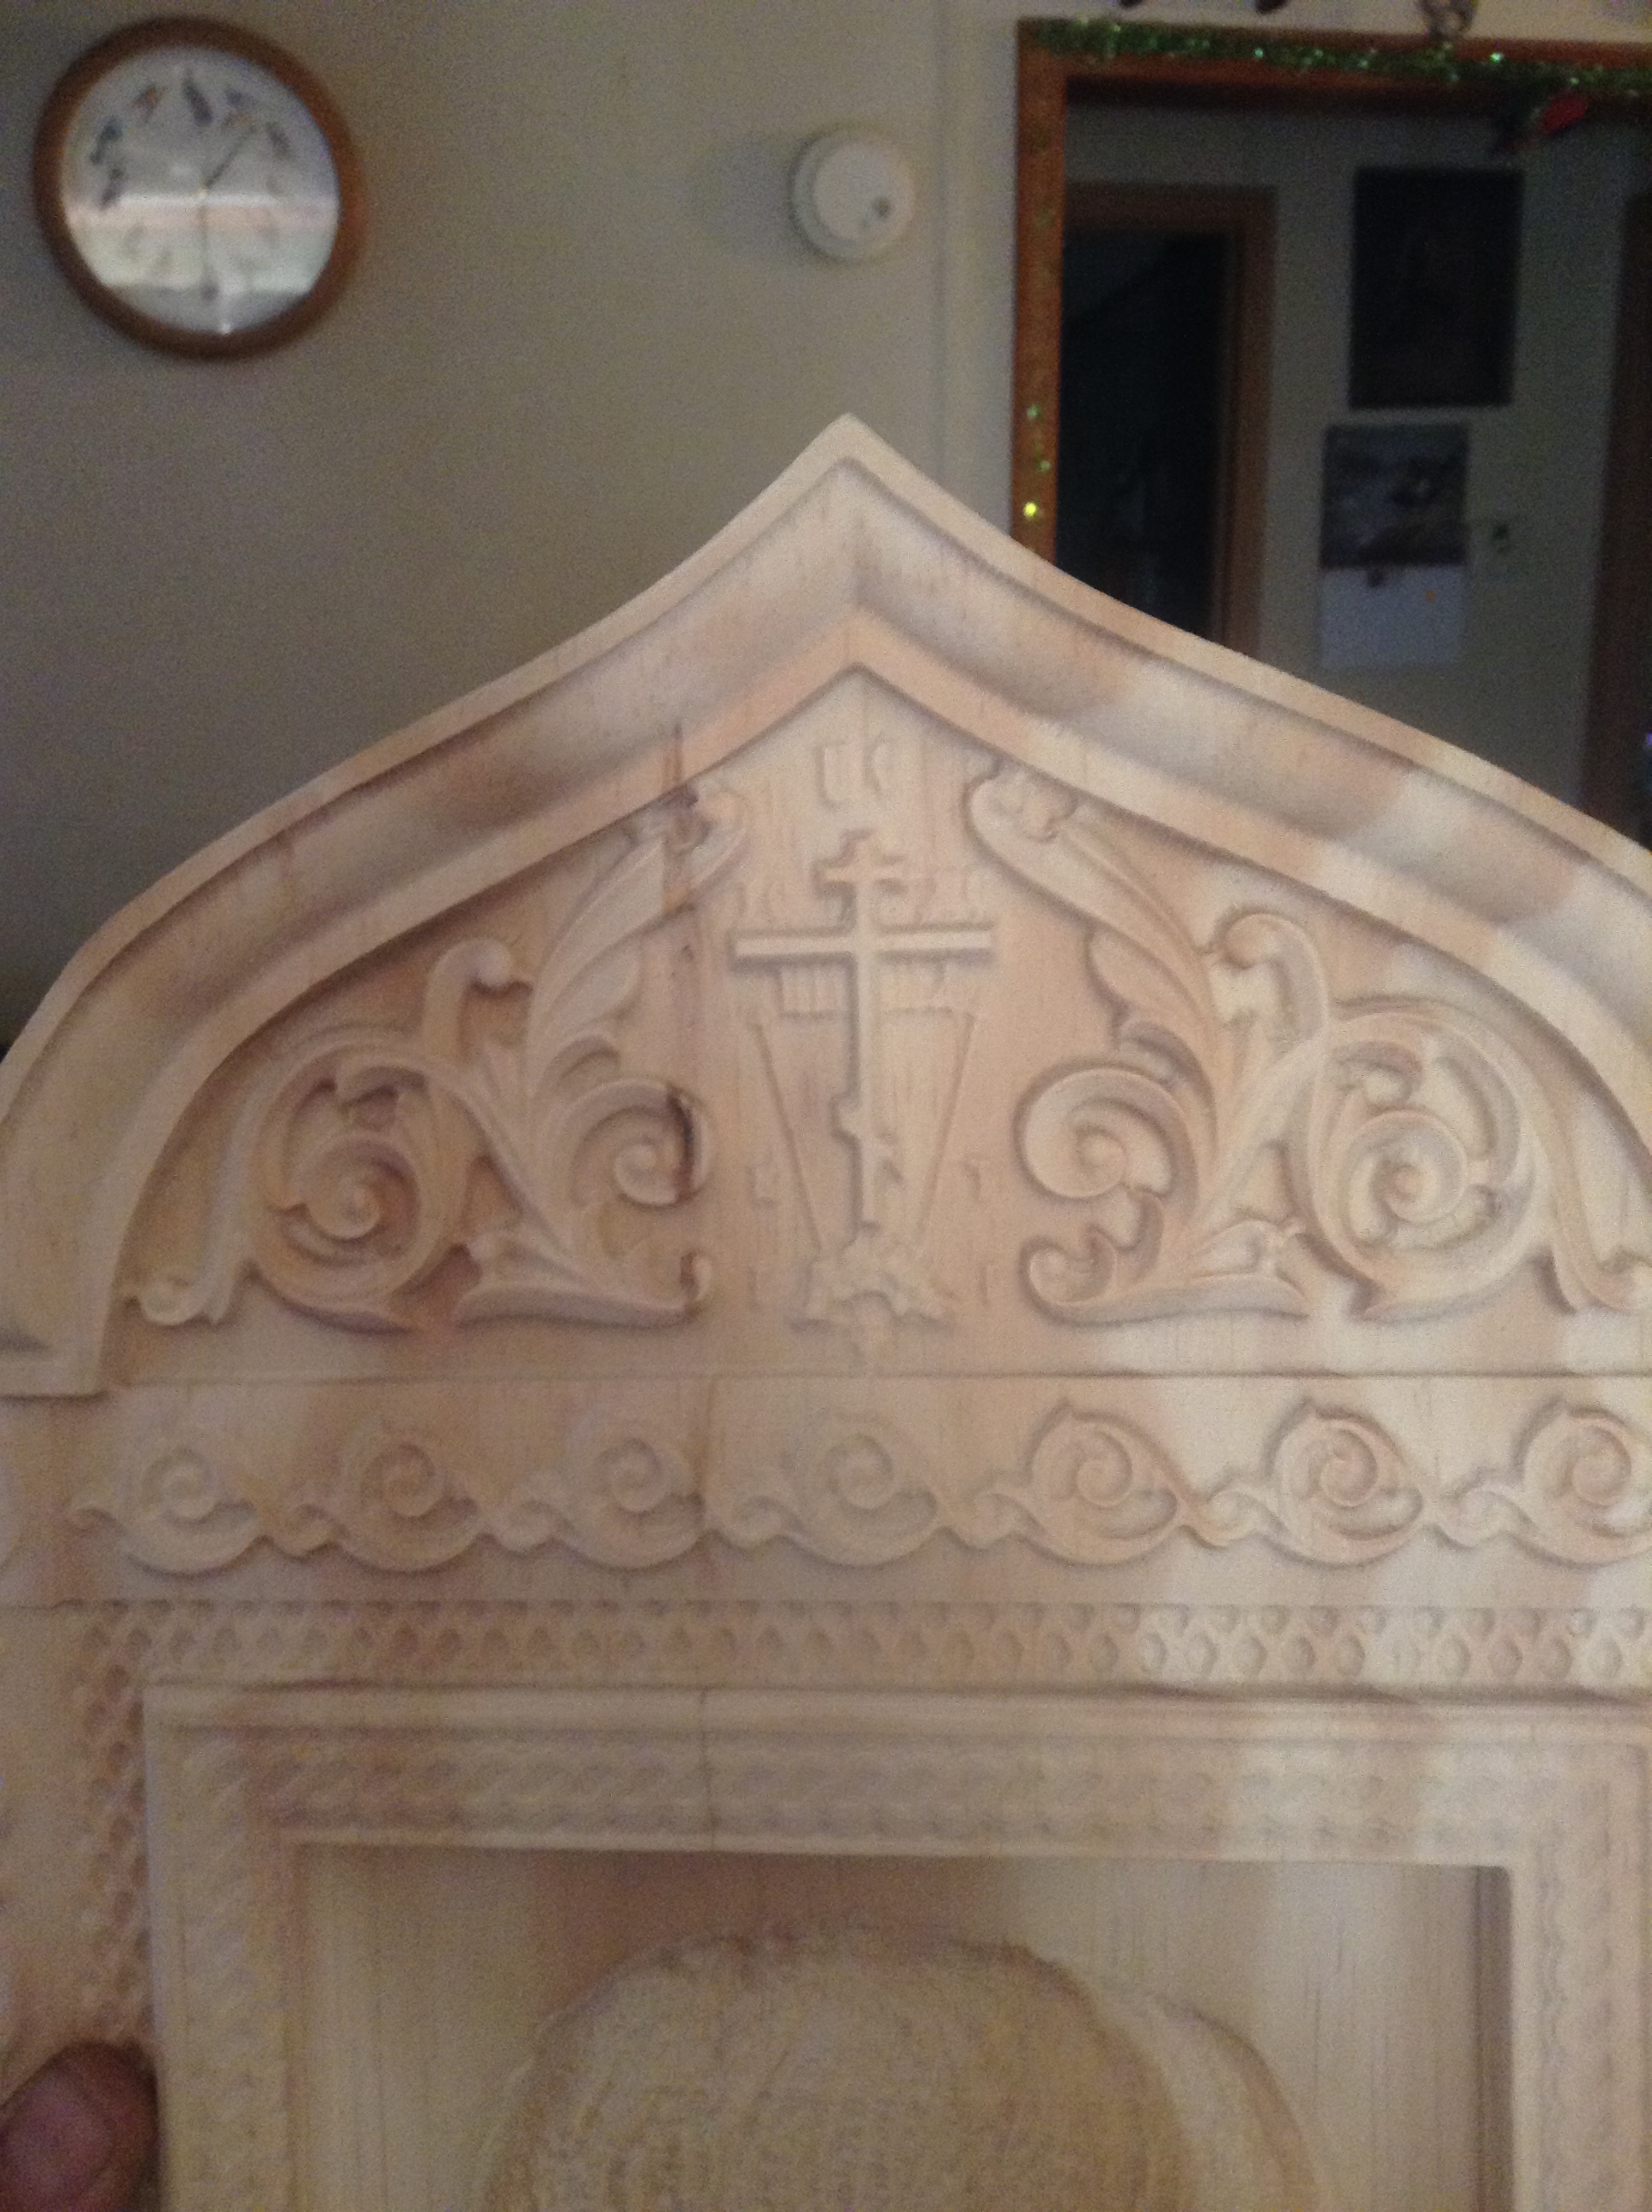
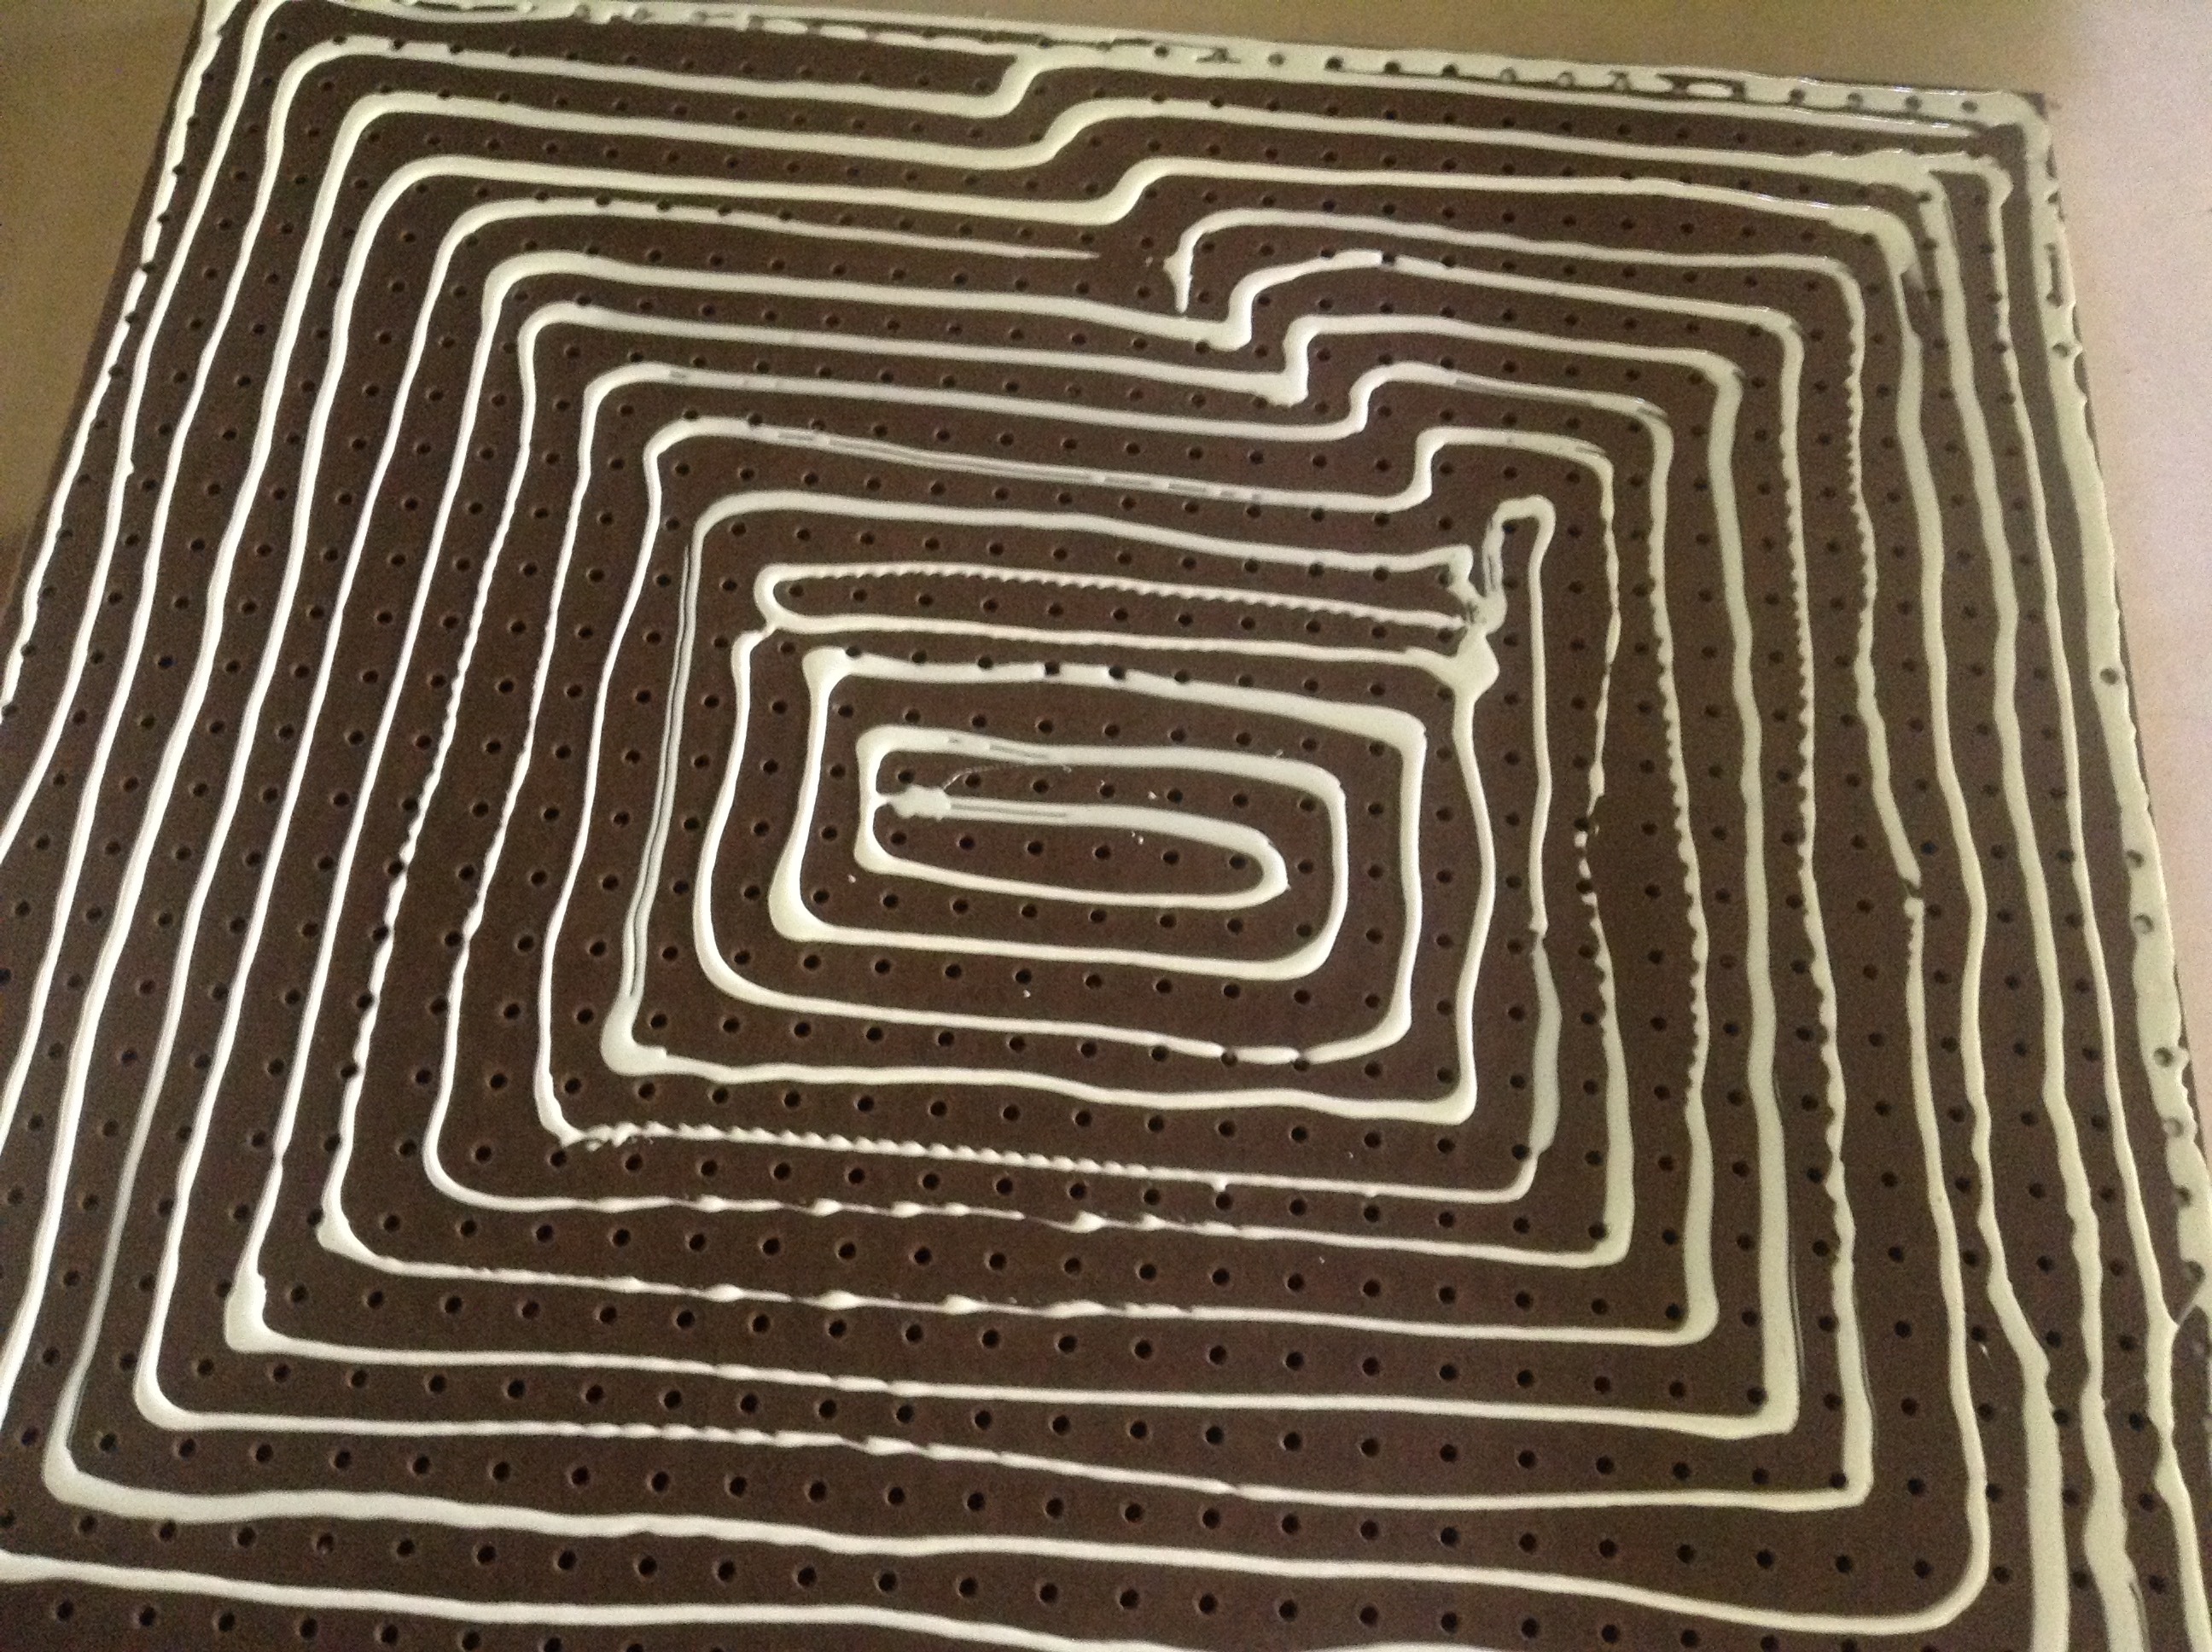
My drag knife is suposed to be here tomorrow.
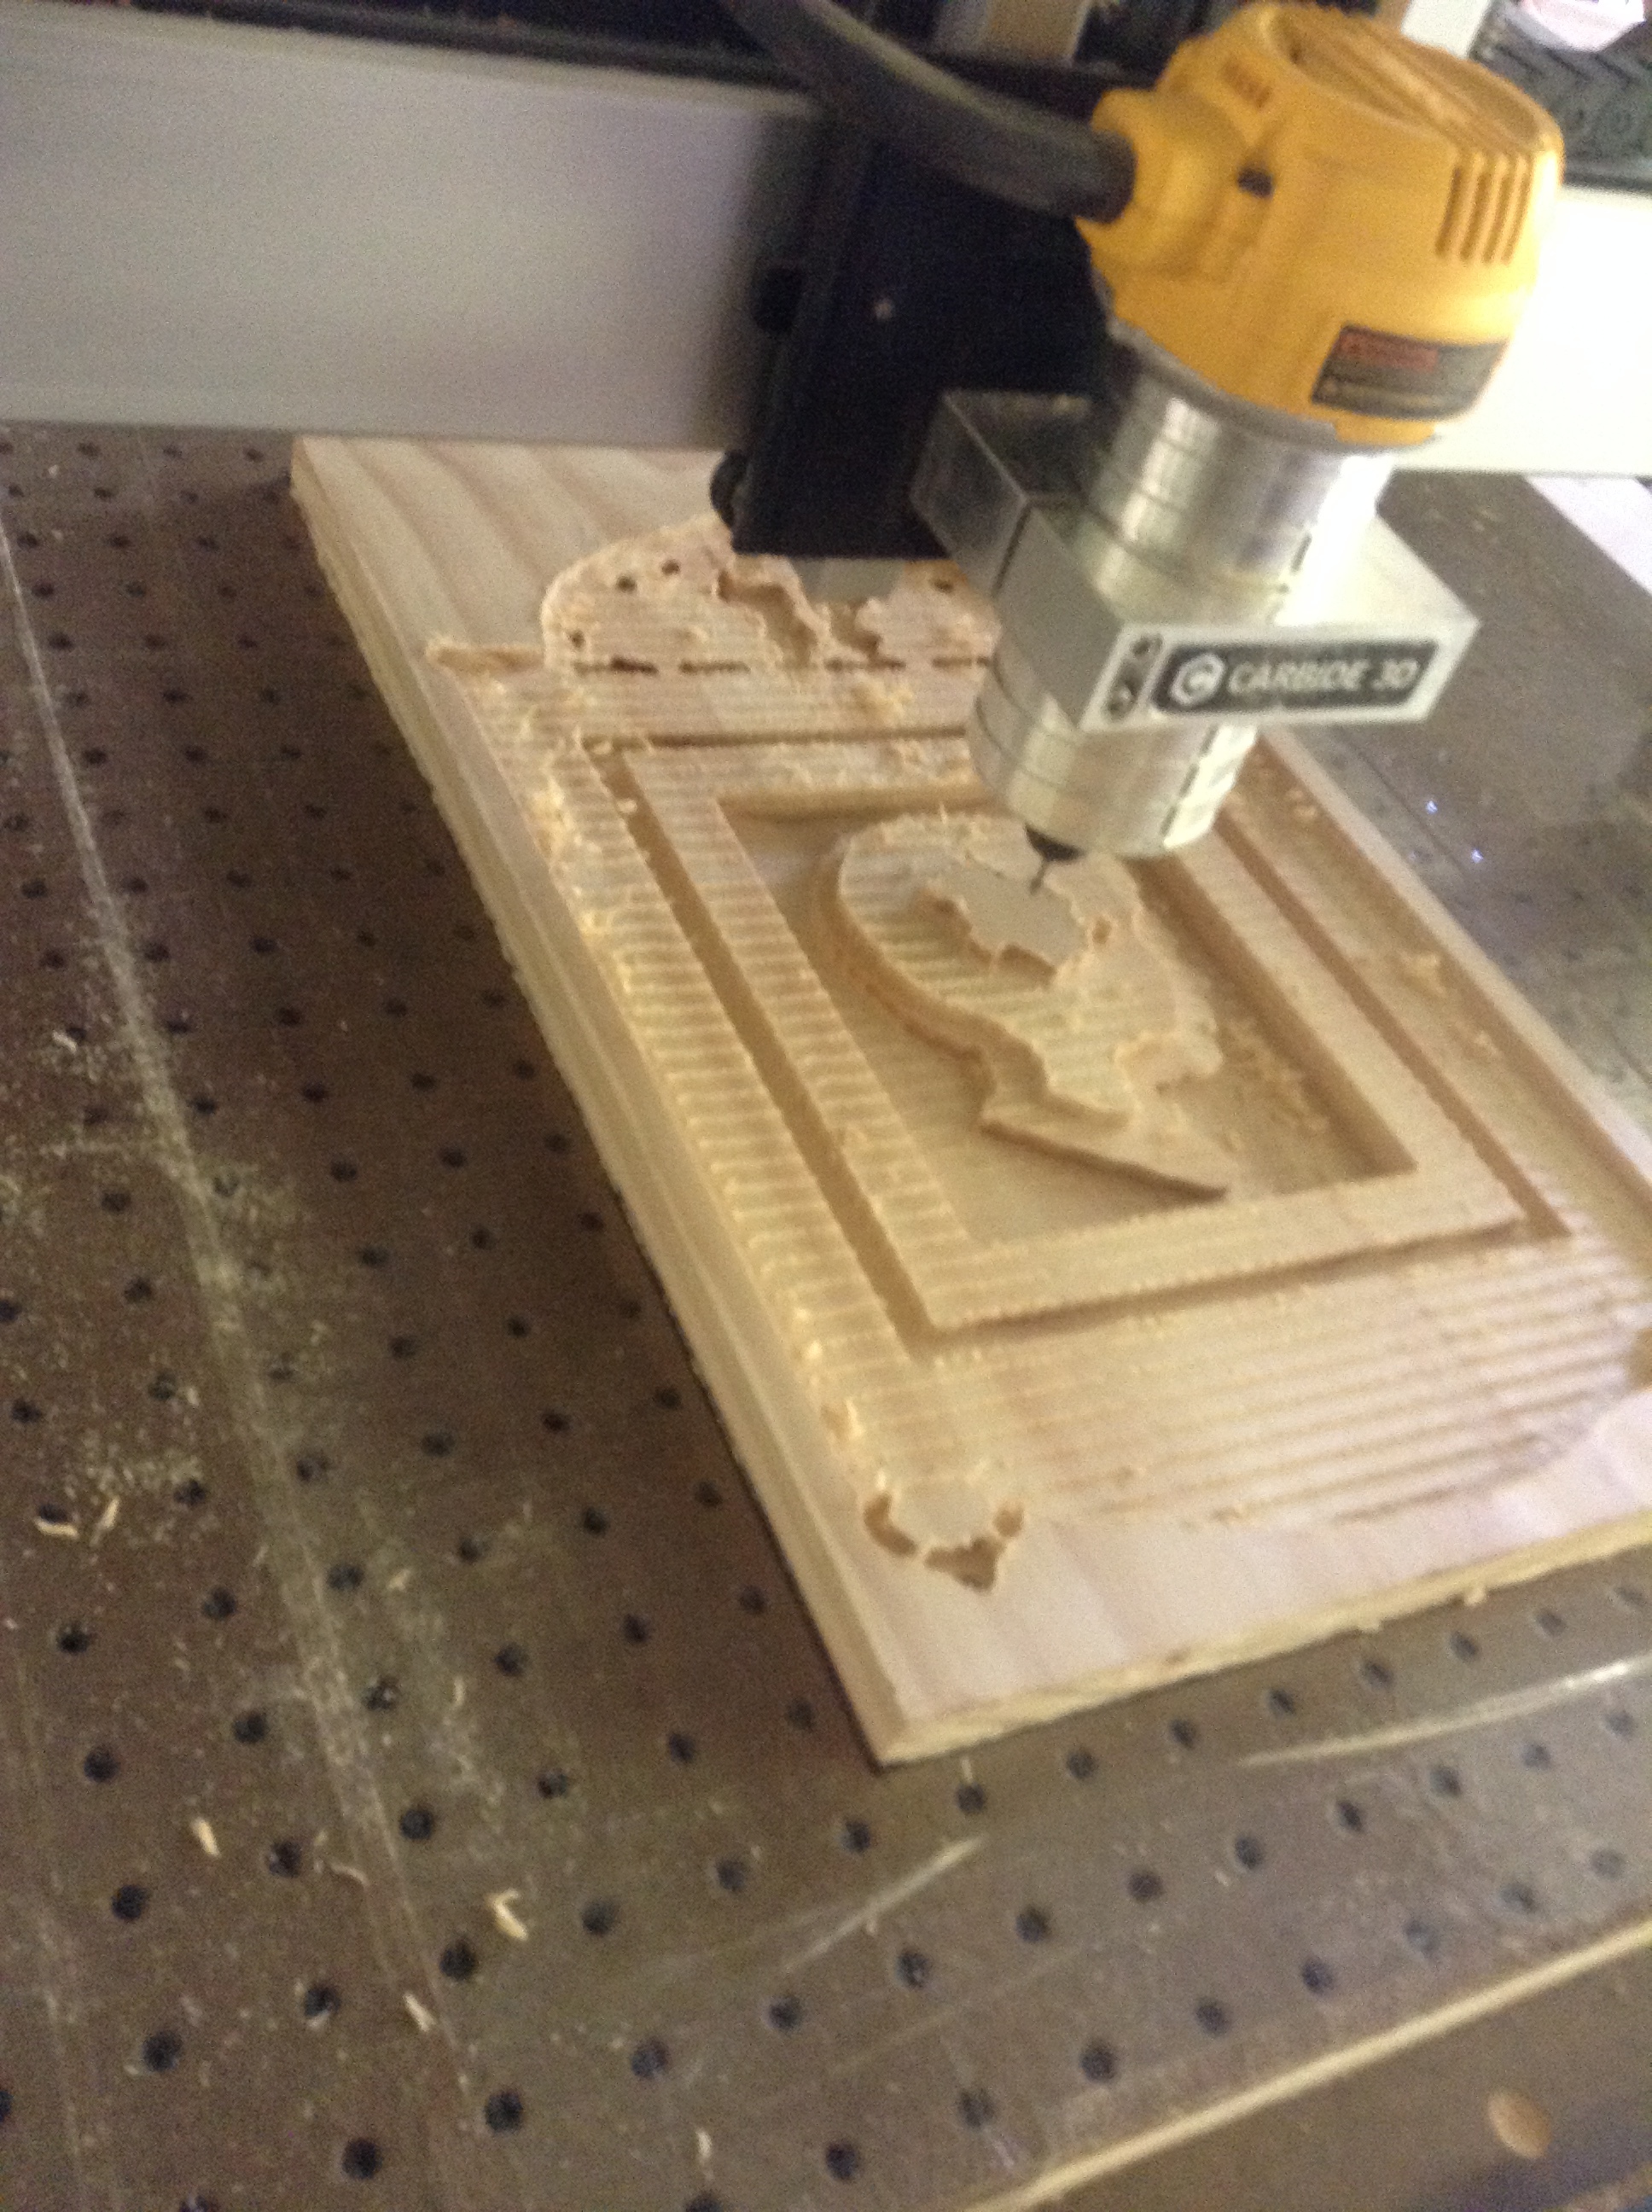
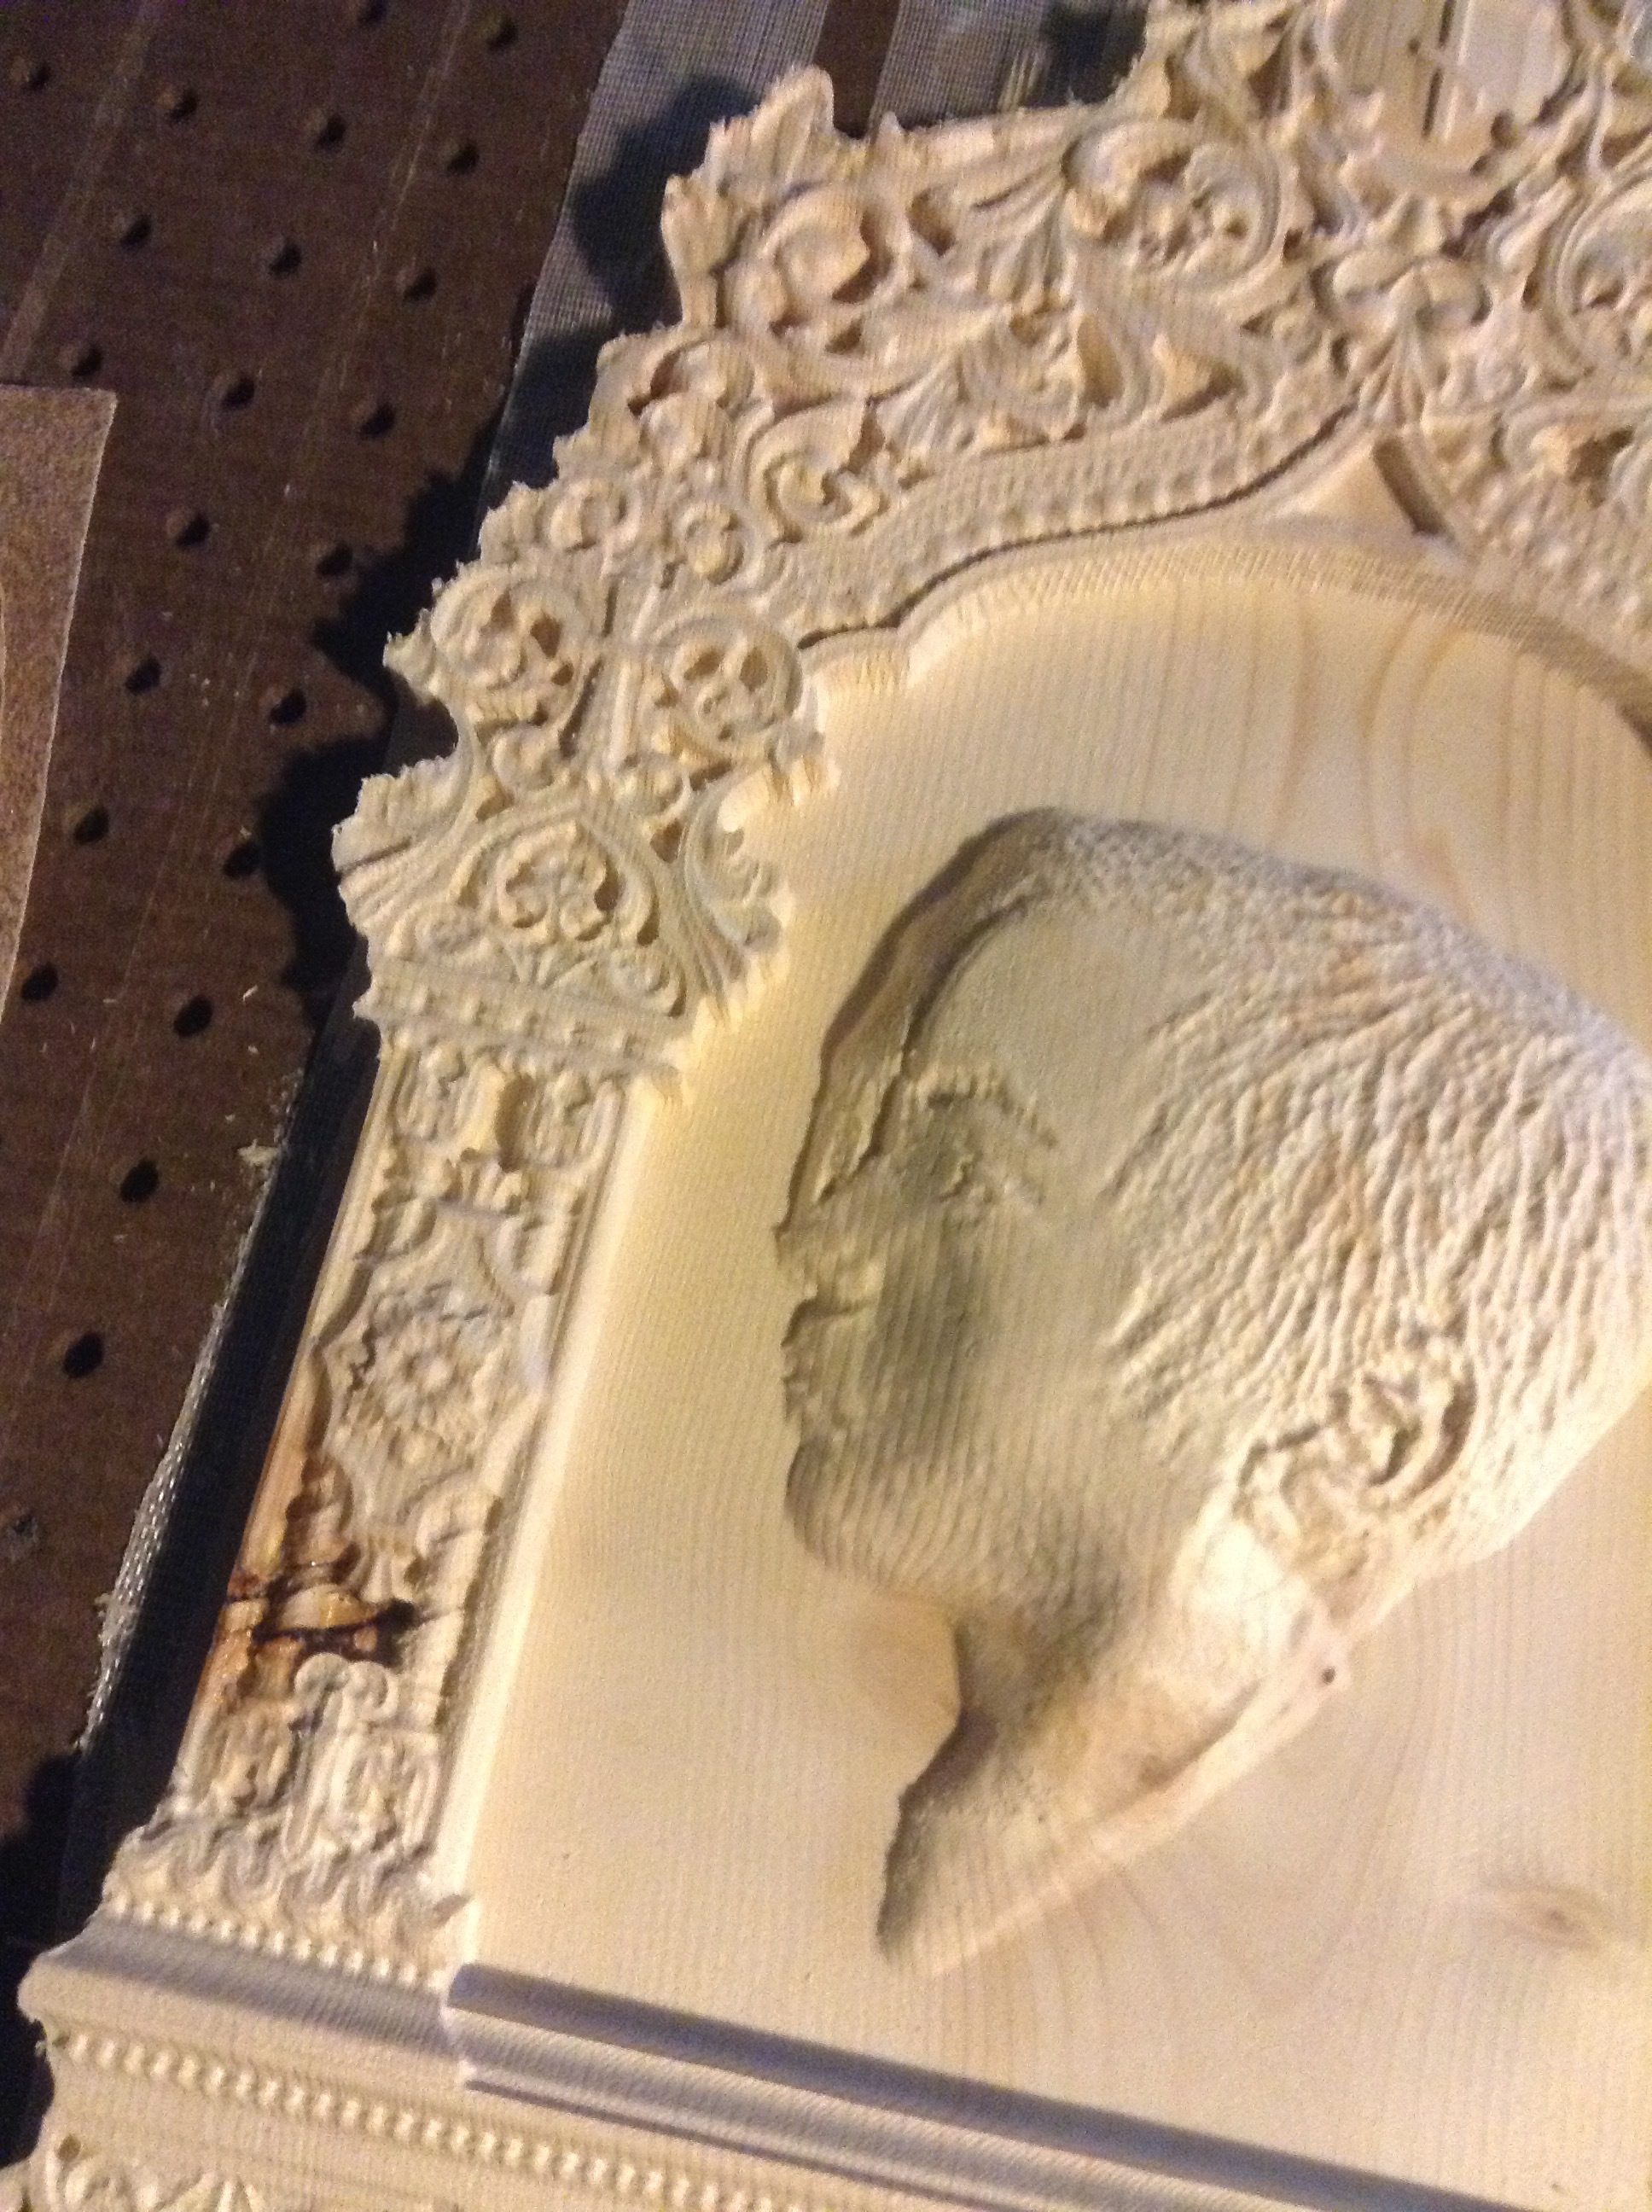
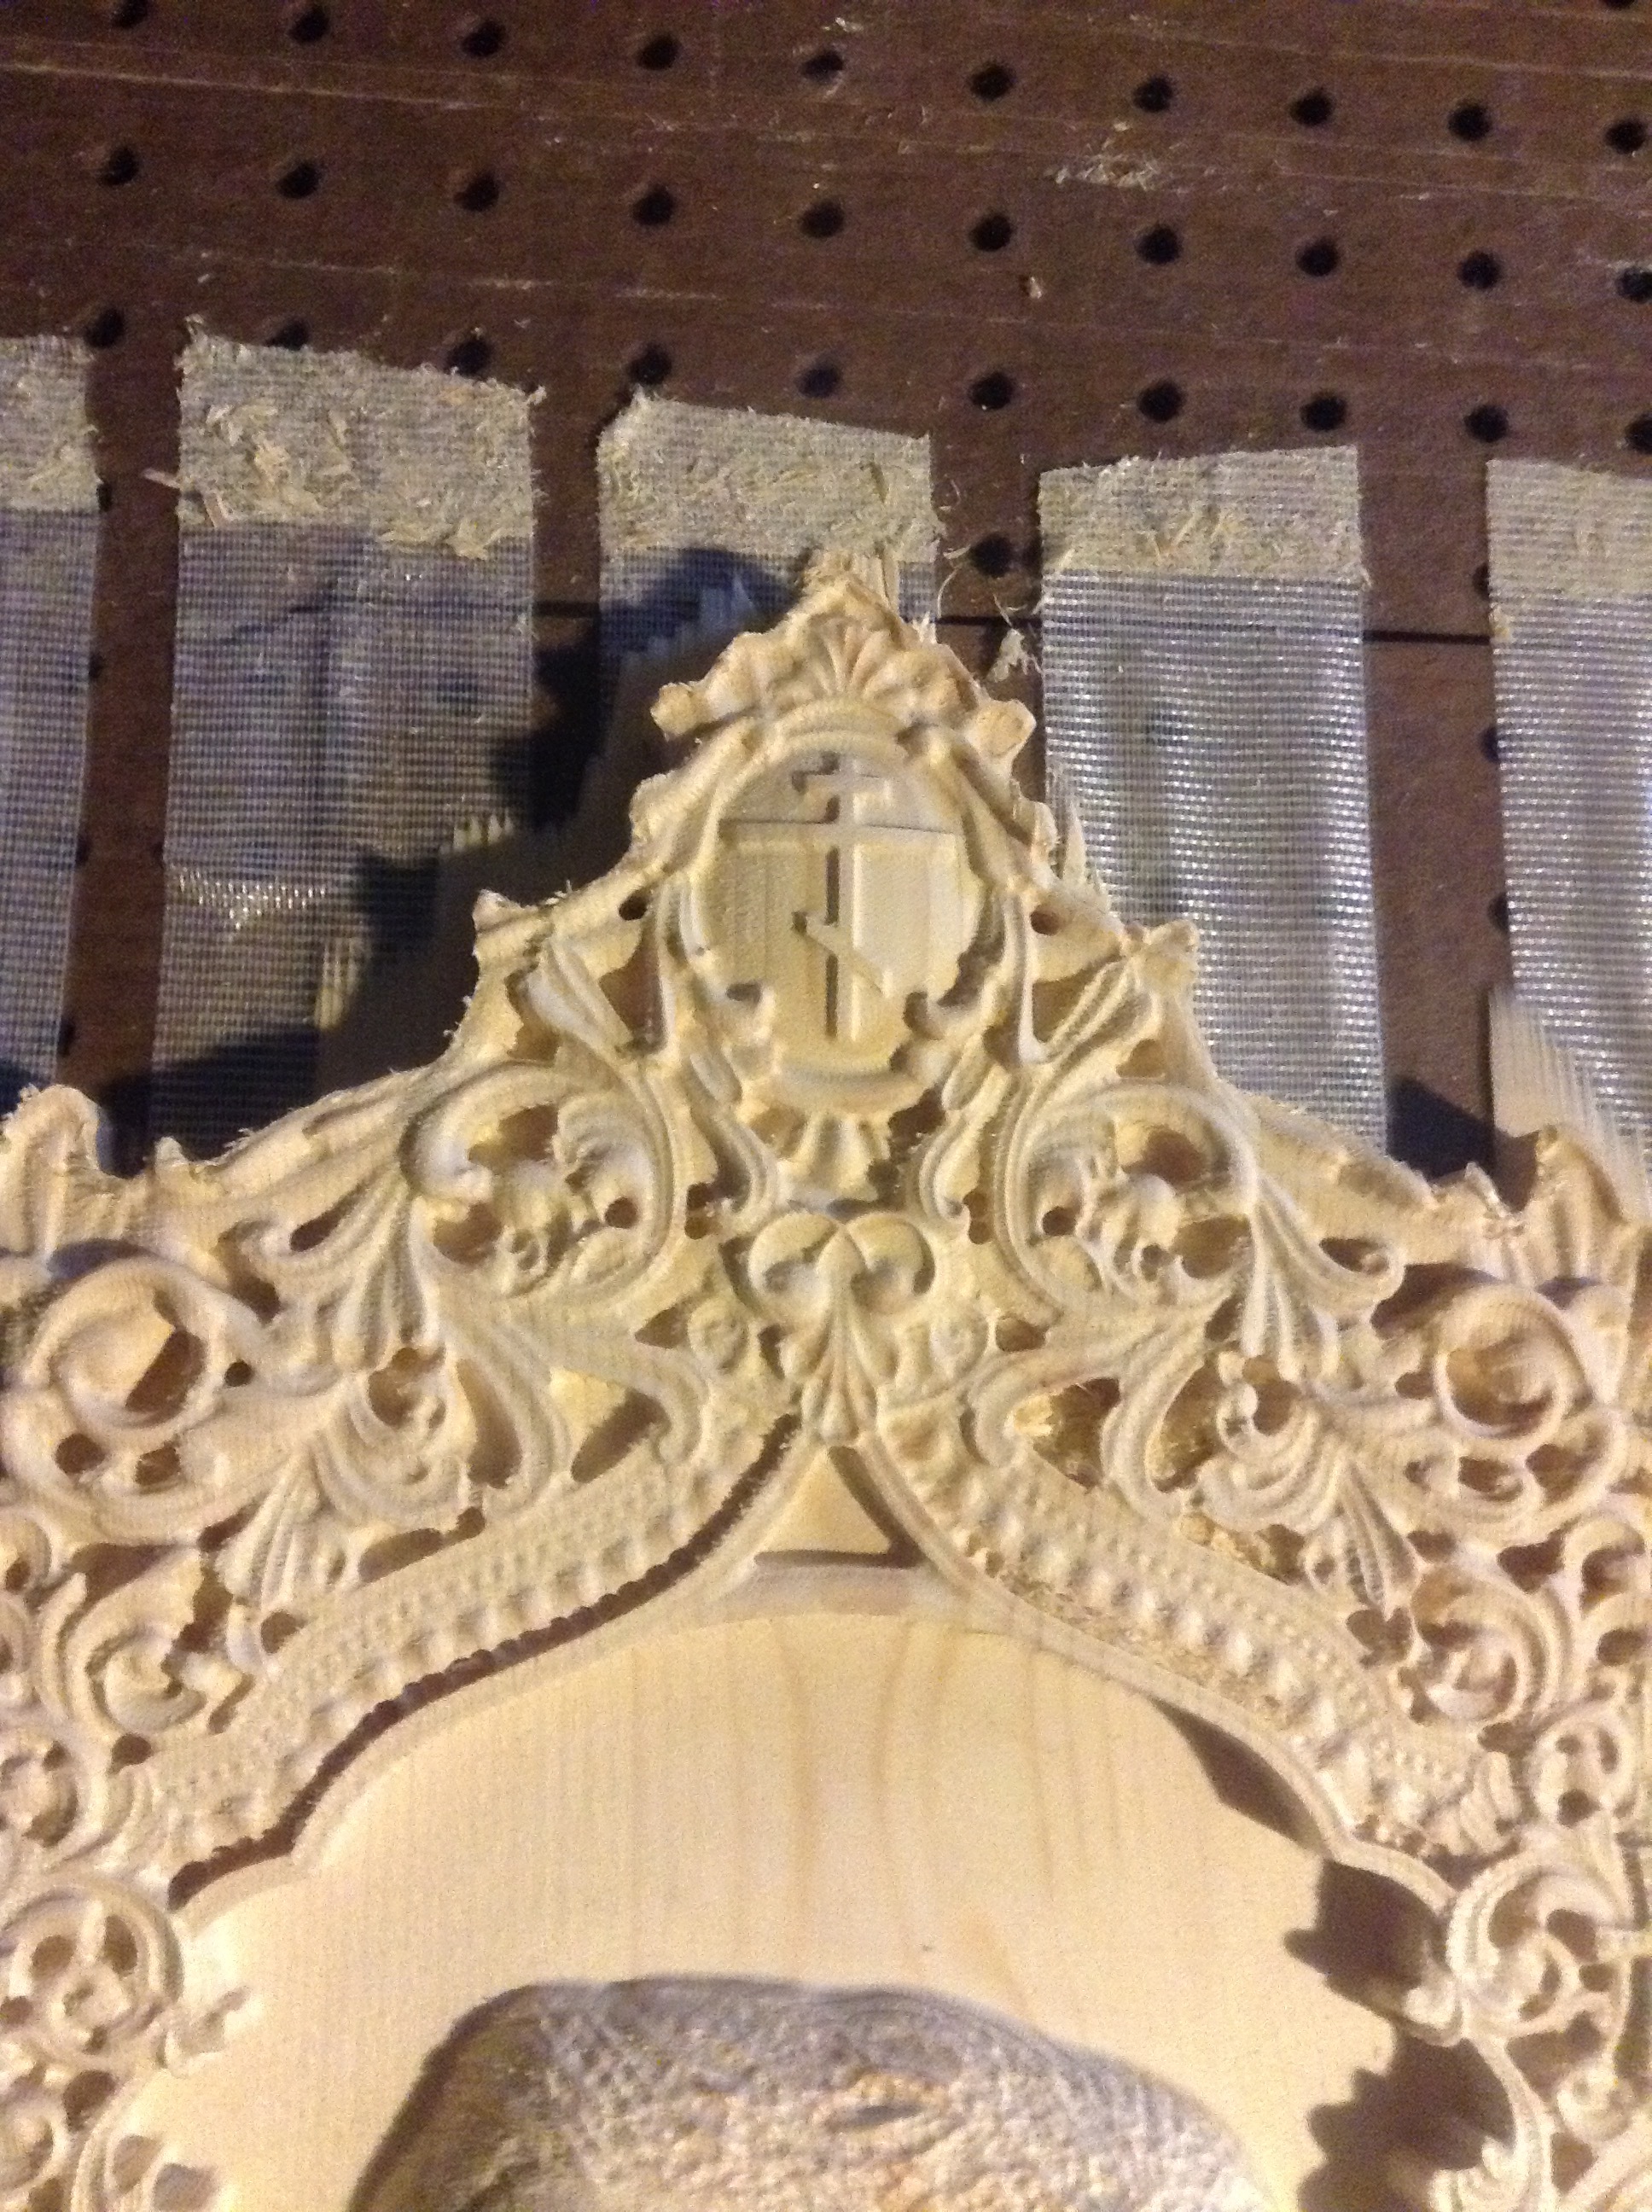
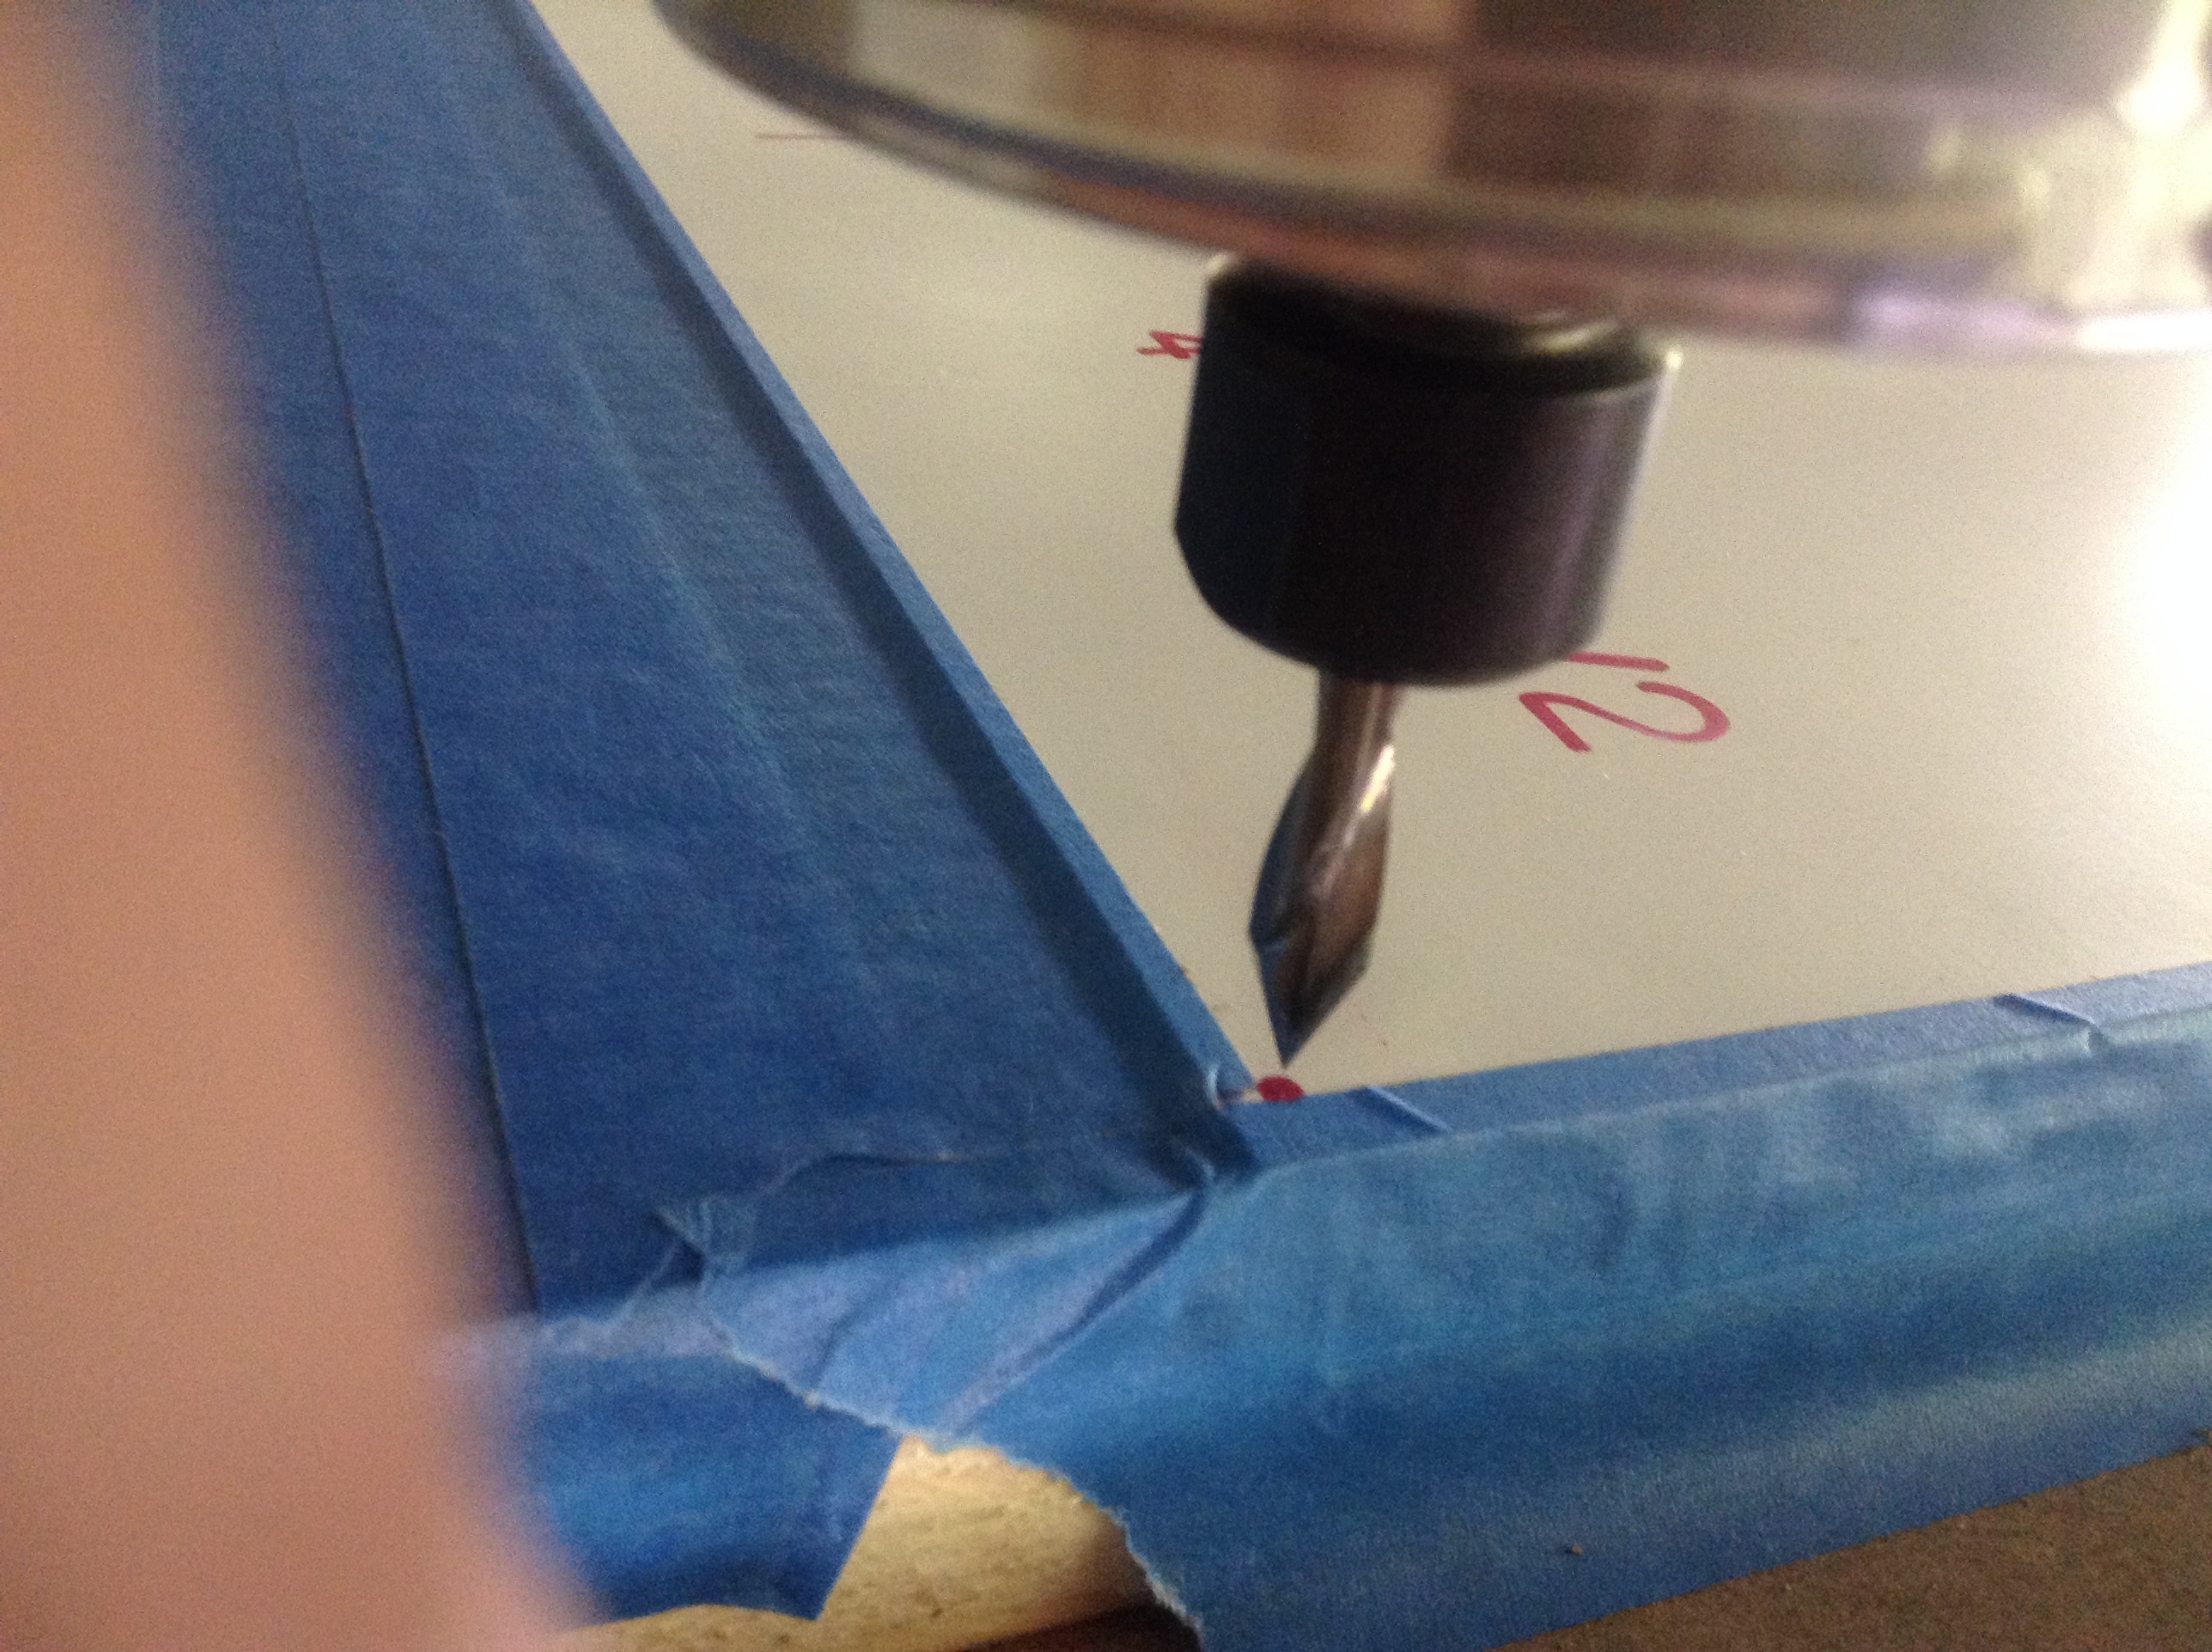
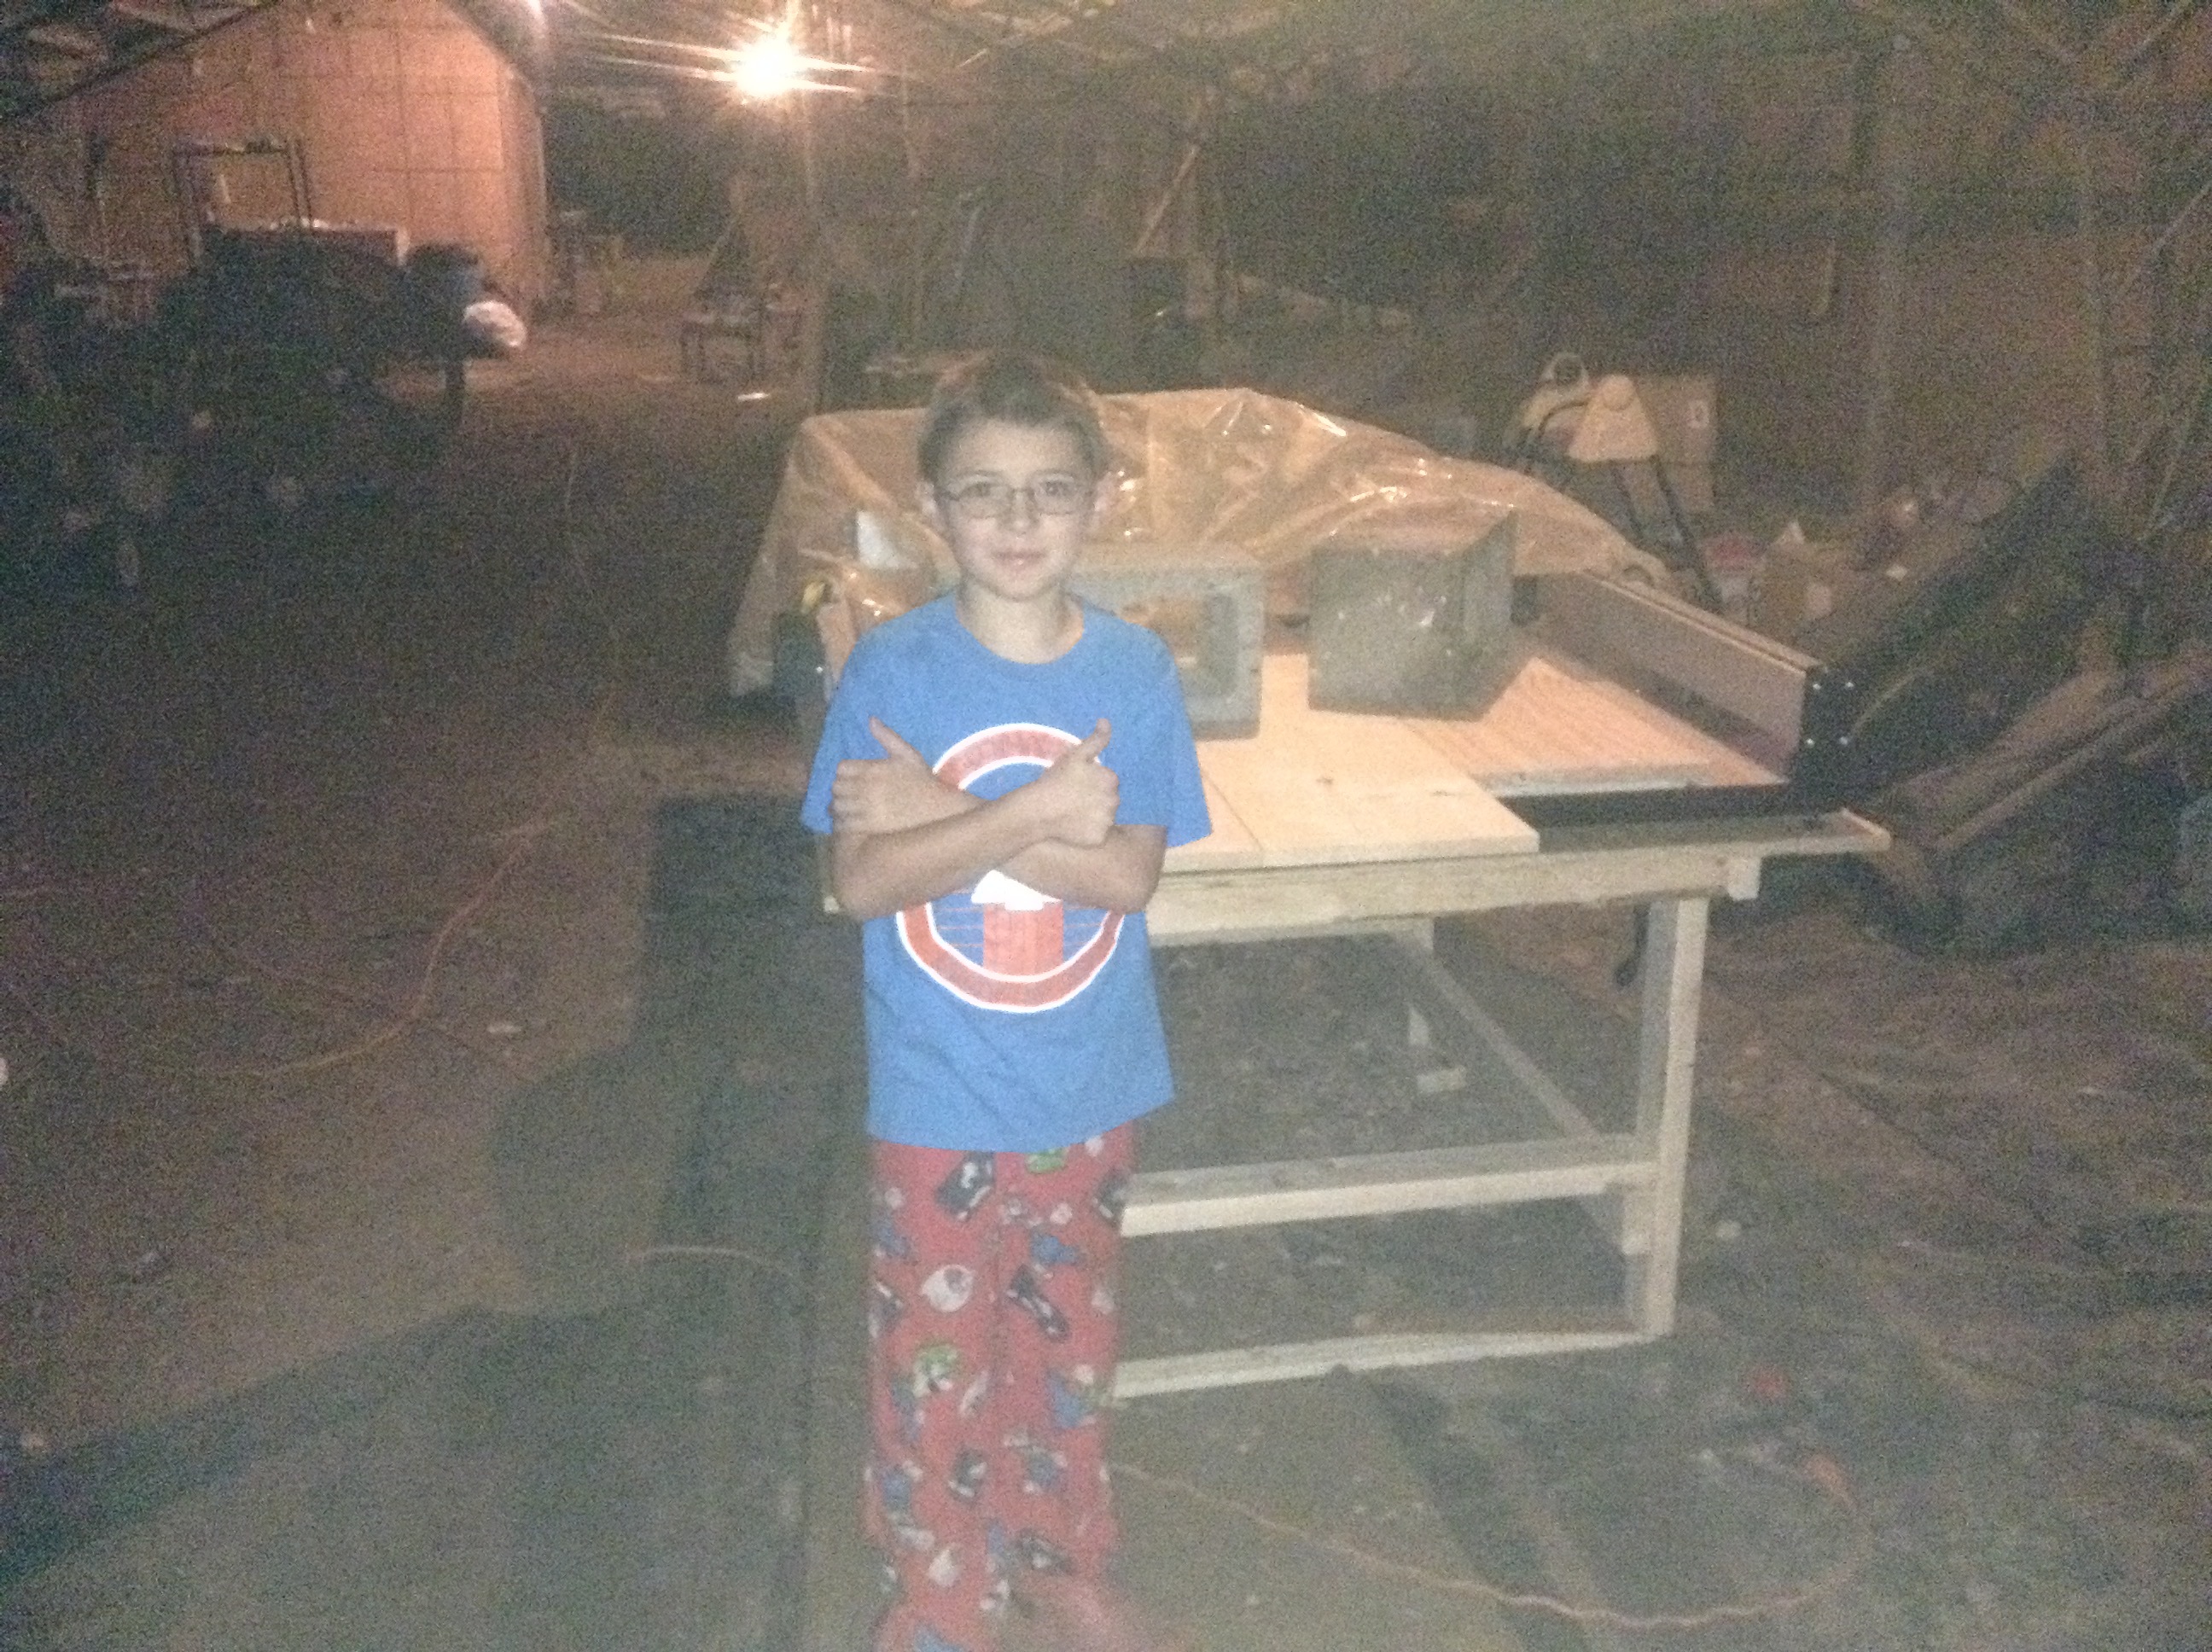
Here is me testing it out. I was amazed.

10 Likes

Wow jerry,You put alot of hard work into that.The results in the video are great.Cant wait till you get the drag knife just so i can see what you come up with next.Fantastic job!!

2 Likes

That’s awesome Jerry, nice job. I like the plastic extra area seal to contain the vacuum to where you need it.

1 Like

Thanks, Guys.
I hope that peg board surfaces OK. It seems like MDF, but I dont know, yet.
When I have to surface it again, I may go with a grid and rubber rope. I saw better (maybe) designs after I started this one.

you’ve got a lot of glue under it, and it is tempered, so I think a real thin pass would be fine, how thin…?

1 Like

Vacuum hold down has intrigued me for awhile… great project effort, and I can’t wait for your uage experiences.

2 Likes

Surfacing went OK.
I believe the material is basically MDF.
One problem with not making my own holes is they are not square.
The top twisted a bit on the glue, and the holes are out about .2".
I’ll have to make some true registry points, and I have 1-1/2" in front of it, so I can true that up, to be able to use a speed square, or something.
I’m going to see how fast I can go from Idea to the machine paying for itself, and am going to be posting the profit and loss all here.
At least that’s the plan.
I have another job, that I do from home, so I don’t mind sharing ideas.
Some people are stuck in jobs they hate, and they don’t have to be.
I learned to machine at home while I worked in Hot, 120F plus every day, as a fabricator, and industrial maint. guy.
I got pushed too far one day, got suspended, and never went back.
I only had $5,000 to start with, and bought a 3 in 1 on credit.
I’ve done better since, being self employed, than I ever did workin for the man, especially in the south :slight_smile:
The other good thing is that everything, I used to “waste” money on, is now tax deductible :slight_smile:

2 Likes

Very nicely done, look forward to seeing how this works w/ your drag knife!

1 Like

Got the knife, today :slight_smile:
I ordered it Thurs., and received it Mon.

1 Like

Quick thought, I think those peg boards, with all the holes, are made out of HDF (High Density Fiberboard)? I was looking online for higher density sheets for a mold project instead of using stock MDF, and HDF came up in one search.

4 Likes

Good news and bad news.
I have the knife, and a new box of the “best” blades. The Irwin, Bi-metal, spring steel.
I have the 2’ by 8’ by .035" thick magnetic sheet, but I tested my waste board with the dial indicator, and the front is .020" higher than the center, after surfacing.
My friend has the exact same reading on his machine.
After doing some searching I found it’s an issue for the XXL.
You can not have supports 40+ inches apart and not have bad flex (talking about the feet).
The leveling feet are purely wishful thinking, and should not even be included with the kit, so people don’t get confused and try to use them.
I don’t know, maybe a leveling foot in the center? When I first got it it was high in the center.
I’m going to take the feet off and set it on some dense foam board, and hope that will get it close enough.
Like @DanoInTx talks about in this post

Oh yeah! To end with good news. I found this awesome site to get my templates started!
I’m going to make pipe fitter templates :slight_smile:
Mmm Hmm!

1 Like

One thing about doing art. Perfectly even isn’t always important.
I did some heavyish, and fast (as always), milling using only the vacuum for hold down, and no problem at all.
I won’t do it again with the vacuum, because it was 4 hrs of milling.
Do you know how many .DXF files I could’ve cut out in 4 hrs.? Me neither, but a lot.


Thanks to @RichCournoyer for the sock idea :slight_smile:
My buddy @orlrobinson
This 2nd one, I went back to tape :slight_smile:
This is Eligh and Khonor. My two oldest grand sons.

The frames were part of a 1500 piece, .stl set, I got from the Russians on Ebay :slight_smile:
I forgot the dimensions. These are 11-1/4" wide by 18" tall.

5 Likes

I didn’t realize how big that was,it’s Huge!!!.that sock buddy is awesome :frowning:

1 Like

I started nights tonight. Too hot and can’t afford to cool my shop with ac.
Hey good news!
The foam worked. I haven’t even resurfaced yet, and it is now between .005" and.01".
The center now being high.
I’m going to shave off as little as I can.
.01"-.015".
Easy fix, so far.
Pushing on the bed only moved it .002"-.003".
Much Mo Betta.


Here are some photos of the foam.
I used smoother pieces, but you can see it’s pretty dense.

Update: It’s now resurfaced, and I’m quite happy with the results-
The numbers are in inches,

4 Likes

That is welcome news!

1 Like

Made the first templates.
Made a quick video showing it cutting out a saddle for a 4", sch. 40 pipe to be welded at a 45 degree angle to another 4" pipe.
The saddle is the hole, the pipe gets welded over.
The shape getting welded over the saddle is the miter.
Here is an example of some commercial ones:

I’m cutting .025" thick, card stock, 150/50 IPM feed/plunge.
The roosters in the back will drive you nuts, but this proves we’re making progress :slight_smile:

3 Likes

Thanks for posting all this. I’m really impressed with the simplicity of the vacuum table–inspired even–so thanks! Love the framed portraits too!

2 Likes

That is amazing Jerry, I downloaded artcam 2018 free from autocad, it is a basic version but doesn’t have the modeling editor so you can raise the surface. I’m trying to use this for engraving pictures. This is worth downloading but it is very basic. Your work is very encouraging and hopefully I can figure a way to work towards that end. Thanks Jerry, Jude

1 Like

I didn’t put a video together yet. I did take some, but I haven’t got it edited yet.
I took some pictures too, and I think you’ll be pleased with the results.
I used a sharpie, (Like the “Hello World” taught us) to draw the size and angle on them.
It took 10 minutes to set up, draw, and cut out one 24" by 29" sheet, or set of templates.
The straight “straps” are pipe “Wrap-A-Rounds”
You use those to mark a straight line around a pipe, or any lumpy, curved surface, about $10 bucks, less shipping ($6 profit).

.14" Offset. NOT .16, like the website says.


Finding my 0,0:

If it fits, it ships:

And Finally, what we’ve all been waiting for:

My paper note may not entirely make sense, but the last 3 lines say it all :slight_smile:

4 Likes

Lmao! last 3 lines is all that matters,great job my friend,they came out amazing.

1 Like