I have had the shapeoko 4 for years now and am just getting to setting it up. When I first turned it on, only one limit switch and the probe light could be activated. I pulled all the connections in the control box and inspected them and replaced them and kind of pushed on the wires. the limit switches now all activate their relevant lamps on the controller board. However one of the two y motors jittered when i put my hand near the wire. I pushed the wires into the connector back a couple more times and now i can actually touch the wire without the motors jittering.
none of this gives me any confidence for the shapeoko 4 running without problems once it is subject to the vibration of the router being on and jumping around.
are there higher quality connectors that anyone knows about? Otherwise, I’m tempted to re wire the motors and sensors with soldered connections.
The Micro-Fit connectors when properly crimped and plugged together should maintain connectivity through the full range of machine motion — if they don’t, check the connection and if it’s not something which you can obviously address, check in with support.
Use zip ties to secure the two parts of the connector together & secure them to frame/bracket points such that they don’t get strained or the conductors. Ensure there’s no straining due to vac hose or enclosure contact.
In my experience this is most important for the X & Z motor connectors as they get vibrated around the most during operation. I actually haven’t had issue with my Y motor connectors though.
For any suspect connections, jog the axis & gently wiggle/flex the connector. If there is stuttering/stopping/grinding-like noise then the connector is not making a solid connection. If zip ties can’t get the connector solid, then perhaps a replacement cable harness via C3D support is a solution. Alternatively, hardwiring things together is another, though unsupported, option.
C3D makes good machines and stands behind them while under warranty. After warranty they still support you but you have to buy your parts. On and off over the years they have had connection issues and depending on how old your SO4 is it may have been in the batches they had problems with.
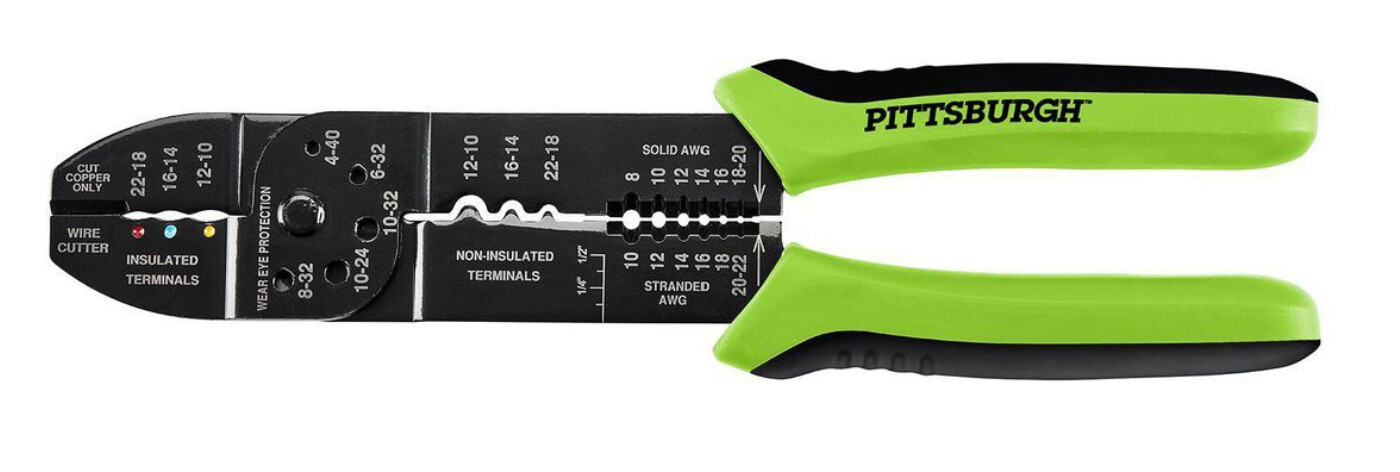
As @WillAdams suggested soldering makes a hard connection that with all the vibration of a cnc machine will eventually break. Flexible connections would work best. However to make your own connectors you have to have the proper crimping tool. The C3D machines have connectors to make it easy to replace components without having to rewire the machine. The SO4 is a solid machine so if you dont want connectors use butt splices. Again you need a good crimp tool. Those cheap plier type crimpers are not the best way to crimp butt splices.
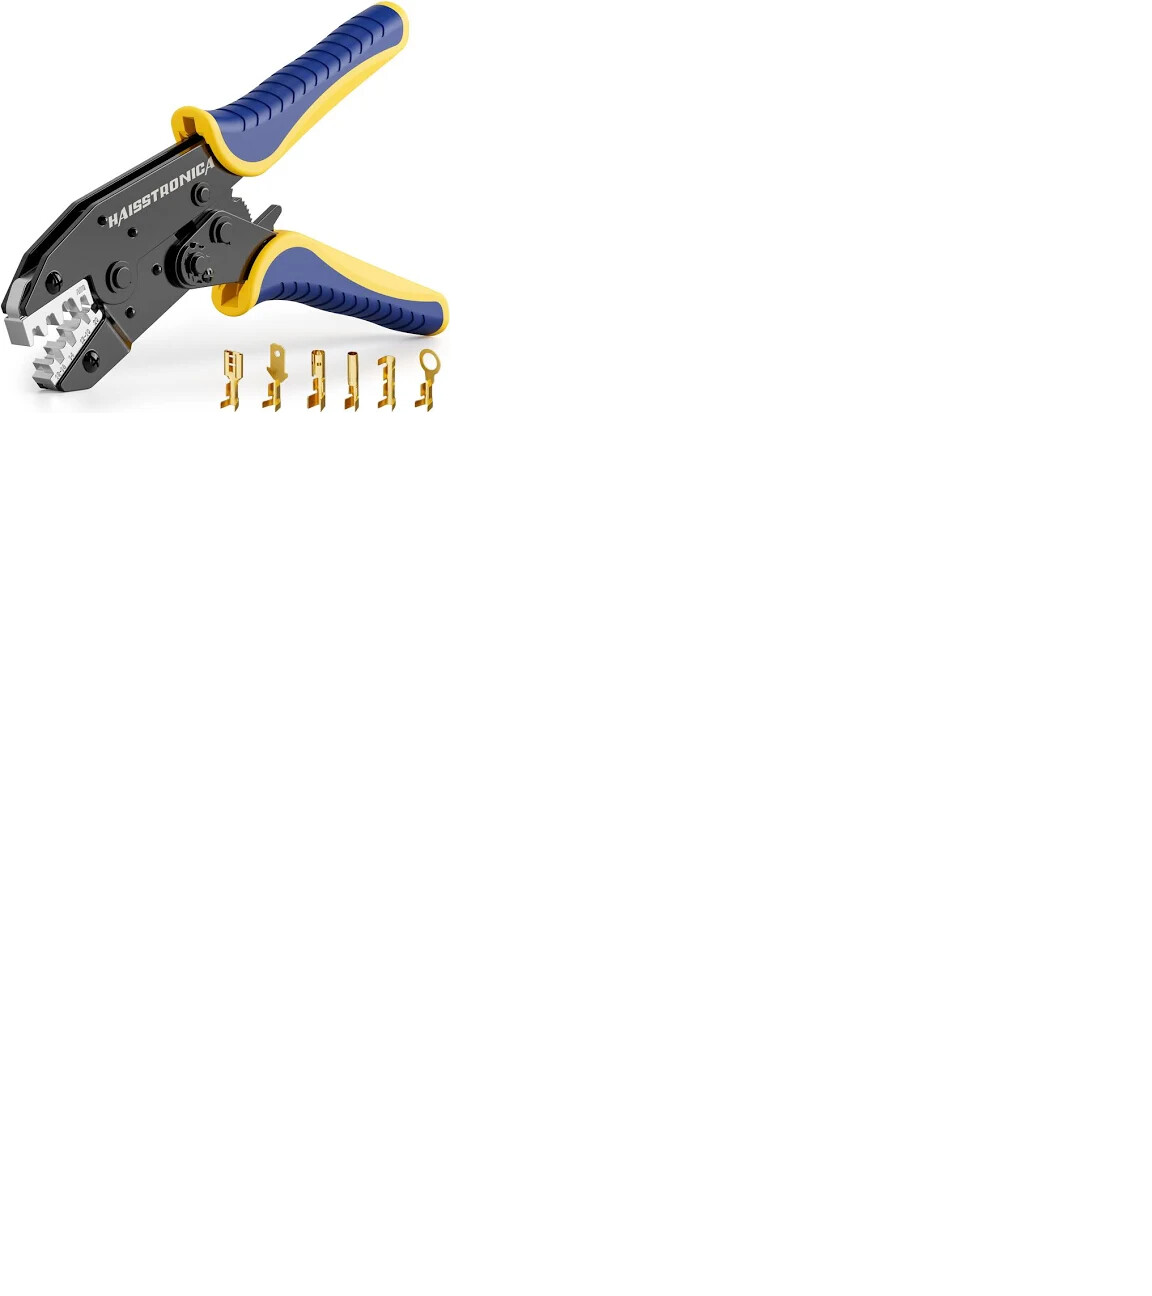
I have these crimping pliers that you change out the jaws for different kinds of connectors. They are fantastic and work well but are expensive.
Thank you for the quick response, Chaotica. I’ve seen little bits on automotive wiring that hold together the two wires to take the stress off the connector. I’m not sure how I would use this strategy on the S4 since the weak spot so far is where the wires connect to the control board. @WillAdams makes the point that soldered connections subject to cycled stresses can break.
Maybe mine are odd, but I replaced the cables and removed and soldered my connections back in late 2019 or early 2020.
I have not had a wiring issue since then, but it has only been 5 or 6 years ago.
Thank you for the good quality guidance Gdon_2003. I have the crimper you label as good. I’ve used it to crimp wire on to connectors from SparkFun that look a lot like the connectors on my SO4. My experience is that they fail to hold very well with motion and have a single digit to low double digit number of connect/disconnect cycles before they are too loose to have enough friction to hold the connection together.
I’m hoping for a source of connectors I can use to replace the ones that came with my SO4. It sounds like people are suggesting I contact customer support.
At times I’ve considered finding some mini-aviation connectors to replace the mini-Molex - at least on the motor connections. But haven’t gotten around to trying that.
Thank you for sharing your experience, Mindless Corpse. If you would please say how much do you use your machine - hours per month or something? Do you remember what gauge wire you used? I find myself wondering if heat shrink tubing or flexible potting of the joint might reduce some of the vibration problems.
Interesting read, what I have not seen is the mention of potential of surface corrosion/impurity buildup of the physical connector itself. Which sounds like was partially resolved in the original post.
Many years ago I purchased a used boat in a coastal area. I shortly learned that the previous owners were not concerned with long term connections so to speak. I replaced wiring/connectors with “tinned” material as well as used a liquid film product to “block corrosion”. Later when heat shrink connectors were readily available to most consumers (now I’m dating my self) I started using those for additional protection. I’m not advocating tinned wire/connectors in everything except salt water environments.
I never had an issue with the replaced material while I owned the boat for a decade. This process has continued to this day on any type of electrical connector I have to make. I also routinely use the corrosion block on connectors for items I purchase. For example connectors on my lawnmower, outboard engines, motorcycles. My wife caught me taking apart a pice of equipment one day pulling apart connectors and stated “you know that’s brand new right”, I said “of course” and she walked away. Now she asks me if I have what I need for the connectors before we leave the store because she has experienced the results herself.
My SO5 Pro was assembled with this process (including the controller/VFD connectors) and I truly believe it can help with connectors used in this specific application with the inherent constant movement/vibrations in the wiring harness.
Sorry, short story is my rate of connection type failures that I have experienced is very, very low and if it fails its usually me ripping the wiring connection apart by accident during use.
Between laser and milling and general goofing around I cant even guess at hours used. Some months maybe only 20 - 30 hours. Some months maybe a hundred hours or so. Some months very little.
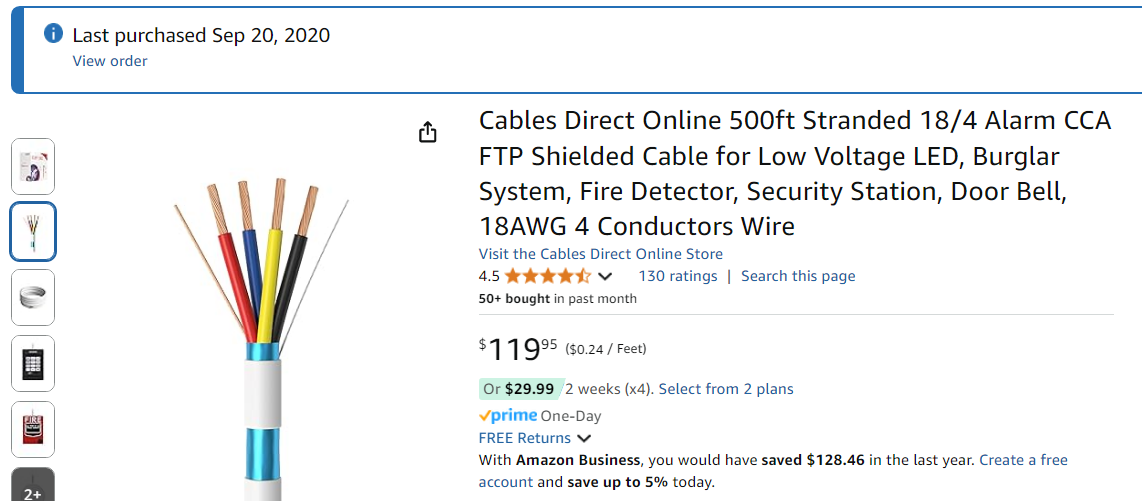
My first thought when I saw the beefy cable was how did it fit in the chain. I see you zip tied it and it worked just fine. Thank you for taking the time to give me guidance on rewiring.
There is satisfaction in having someone acknowledge you were right after they question your judgement. I did a job as a gift to a friend. I spent two weeks doing one aspect of it “the right way” with her dogging me about it every day. The day after I finished that part of the job she said “I spoke with a professional and they said it has to be done the way you did it…”
Thank you for sharing your experience. My shop is a mile from a bay. I’m looking at some of that corrosion blocking liquid film. I found one called Corrosion Block, maybe that’s the same one you got? Says it is non-toxic which I like. When shopping for shop chemicals, I like products approved for food processing equipment in case one of my students eats some of it…
I have used AlOx which is marketed for high voltage aluminum wiring such as electrical power distribution wires. It does a good job of excluding oxygen. I assumed it was conductive but recently measured it with an Ohm Meter and found it to be an insulator. I use conductive grease (DIY silver filings mixed in dielectric grease) under the battery terminals on my car and it does a great job of reducing corrosion.
By tinned, i assume you mean soldered? Probably not a bad idea to apply the corrosion block whether one crimps or solders?
Yes, that is the product. Wasn’t sure about just calling it out in the forum. It’s blue in color, very oily consistency when applying but transitions to a “grease” type film after. It’s much more $$ than it used to be. I have found the aerosols cans lose the propellant over time so I just pop a hole in the can with an awl and drain it out. What’s left of the last can is in a reused chalk line refill bottle. Works well due to the small tip to apply in small areas. A little goes a long way. Any crimped connection has this applied, twist the wire, apply to “wet the strands” and crimp in connector. When heat shrinking you can see the film work its way out the heat shrink. I start the shrink from center of connectors and work out to the ends, this removes the most of the air inside the connector and you can watch the air bubbles move out as the shrink pulls tight to the wire insulator.
It’s crazy but not one of my salt water boat trailer wiring that in/out over the years has failed since I started using this method.
I purchased “tinned” wire and connectors. Provides a tin layer over other materials to prevent corrosion. Any marine application should have this wiring. Just putting 12 gage automotive “copper” wire in a boat is asking for trouble.
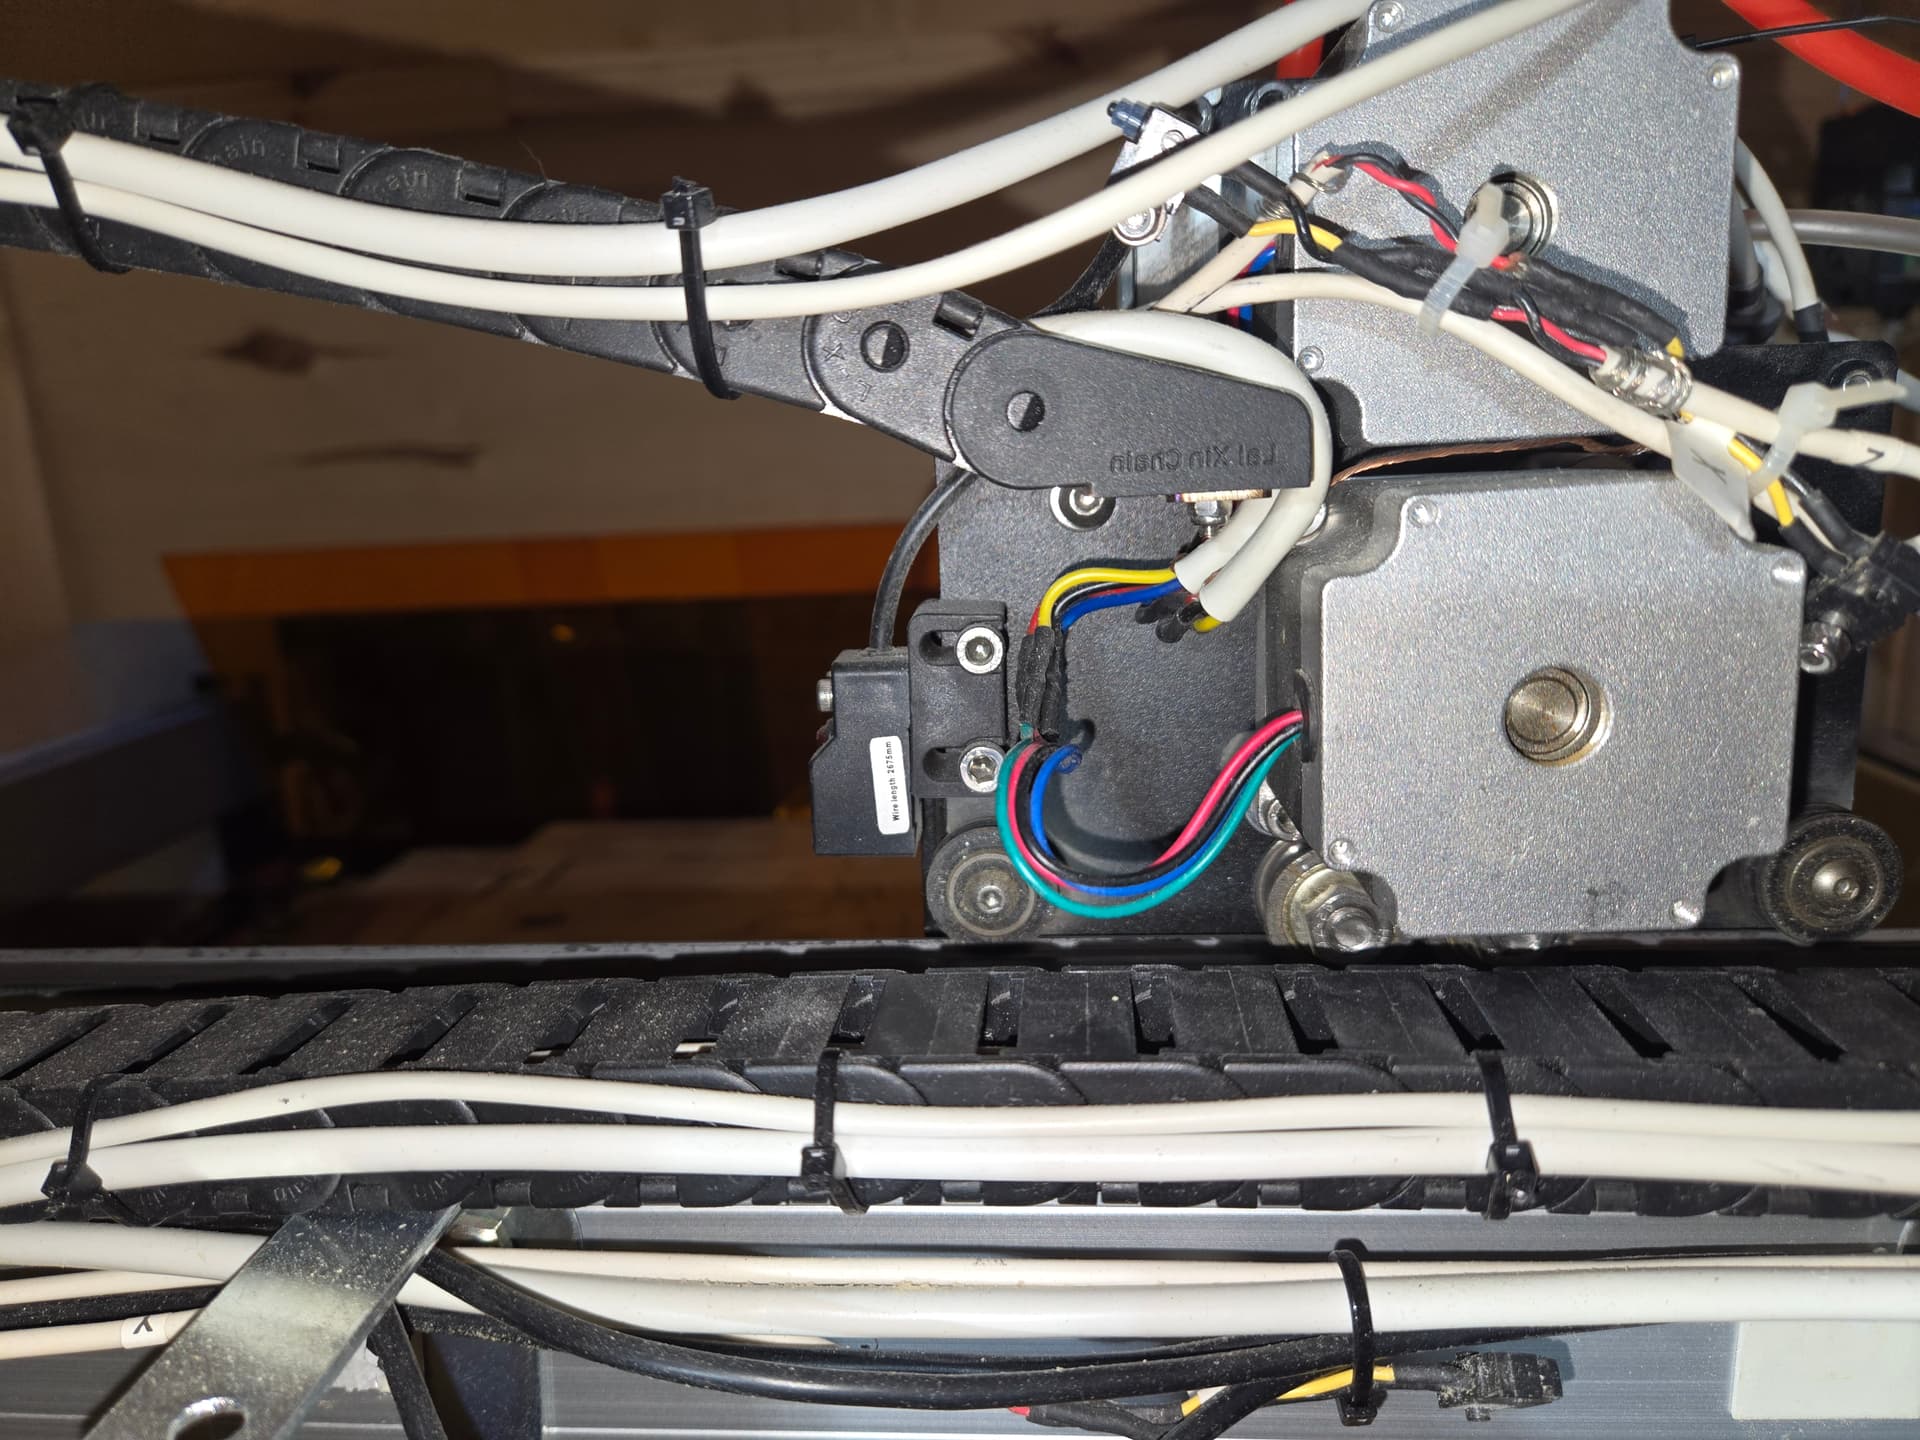
The cables for the steppers and both sets of limit switches fit into the cable chain fine as long as you lay them in neatly. The two cables zip tied outside the cable chain are separate power and PWM for the laser.
I had the same issue. Spent a year troubleshooting with Shapeoko support (not full time). There was a test process where you hold a metal screwdriver near the limit switch and the light would turn red. When i did that and wiggled the harness the light would flicker.
Sometimes during a build it would lose track of where it was. They eventually sent all new wire harnesses which fixed the issue. Replacing the harnesses took a while to replace. The new wire harness didn’t have the same color wires but it worked. The other issue i have from time to time is the collet coming loose during a build.
Check your collet nut for wear on the threads. Inspect your collet for cracks all the way around from top to bottom. Sometimes collets break and if you don’t realize it, when you tighten a tool up inside them the tool might feel secure, but when you start running the machine and the vibration kicks in, the tool will slip the collet and/or release tension on the nut and vibrate back off. Also inspect your route/spindle shaft for cracks or messed up threads. This too could be an issue especially if you had a tendency to tighten the nut down way too tight and it stretched, or rolled the threads enough not allowing the collet nut to tighten fully. If everything looks good, then you might need to just tighten the nut down a little more then you think, or put on a thread lock locktite that is of the low torsion rating, but use this only if you can’t get your collet from stop slipping, and at your own discretion.
If you do pick this route, make sure you use the lowest level of it so you are not using something like the red threadlock, which requires a torch to release the thread enough to remove the nut. That would be bad of course, so use caution on even using thread locking stuff. Or another possibility would be to use a single wrap of thread tape that will help lock the threads, but only if it actually tightens the collet properly and efficiently.
Only use these secondary methods if all else fails, and use them with caution and note, an improper amount of thread locking could cause more trouble and issues then it would be worth. I just don’t want you to break your machine trying the other methods and then you break your machine and now will be broken down and void a warranty, if you still have one. Again use caution if you decide to use any thread locking material of any sort.
The Collets are considered consumables. Meaning, replace them periodically.
Especially if one has slipped, that slipping galls the inside and changes its size.
Also, after each use, during bit changes, completely remove the collet and clean it with air blast.