I’m trying to get finer detail in this piece. Almost everything is good, but the shoulder for the .063 bit is rubbing on a section of my model. Any suggestions for ways to deal with this? I don’t want to scale the depth down any further. I can’t seem to find small bits that are longer (understandable I guess) - of course I’m only looking on Amazon right now. I’m looking at mm bits to maybe split the difference (2mm maybe).
I know that I can make a job that uses this bit for everything but the inner walls of the frame by adding vector areas to machine, but is there another way to handle this? The sw I’m using isn’t allowing me to enter anything more than the tool diameter and number of flutes. No tool profile support.
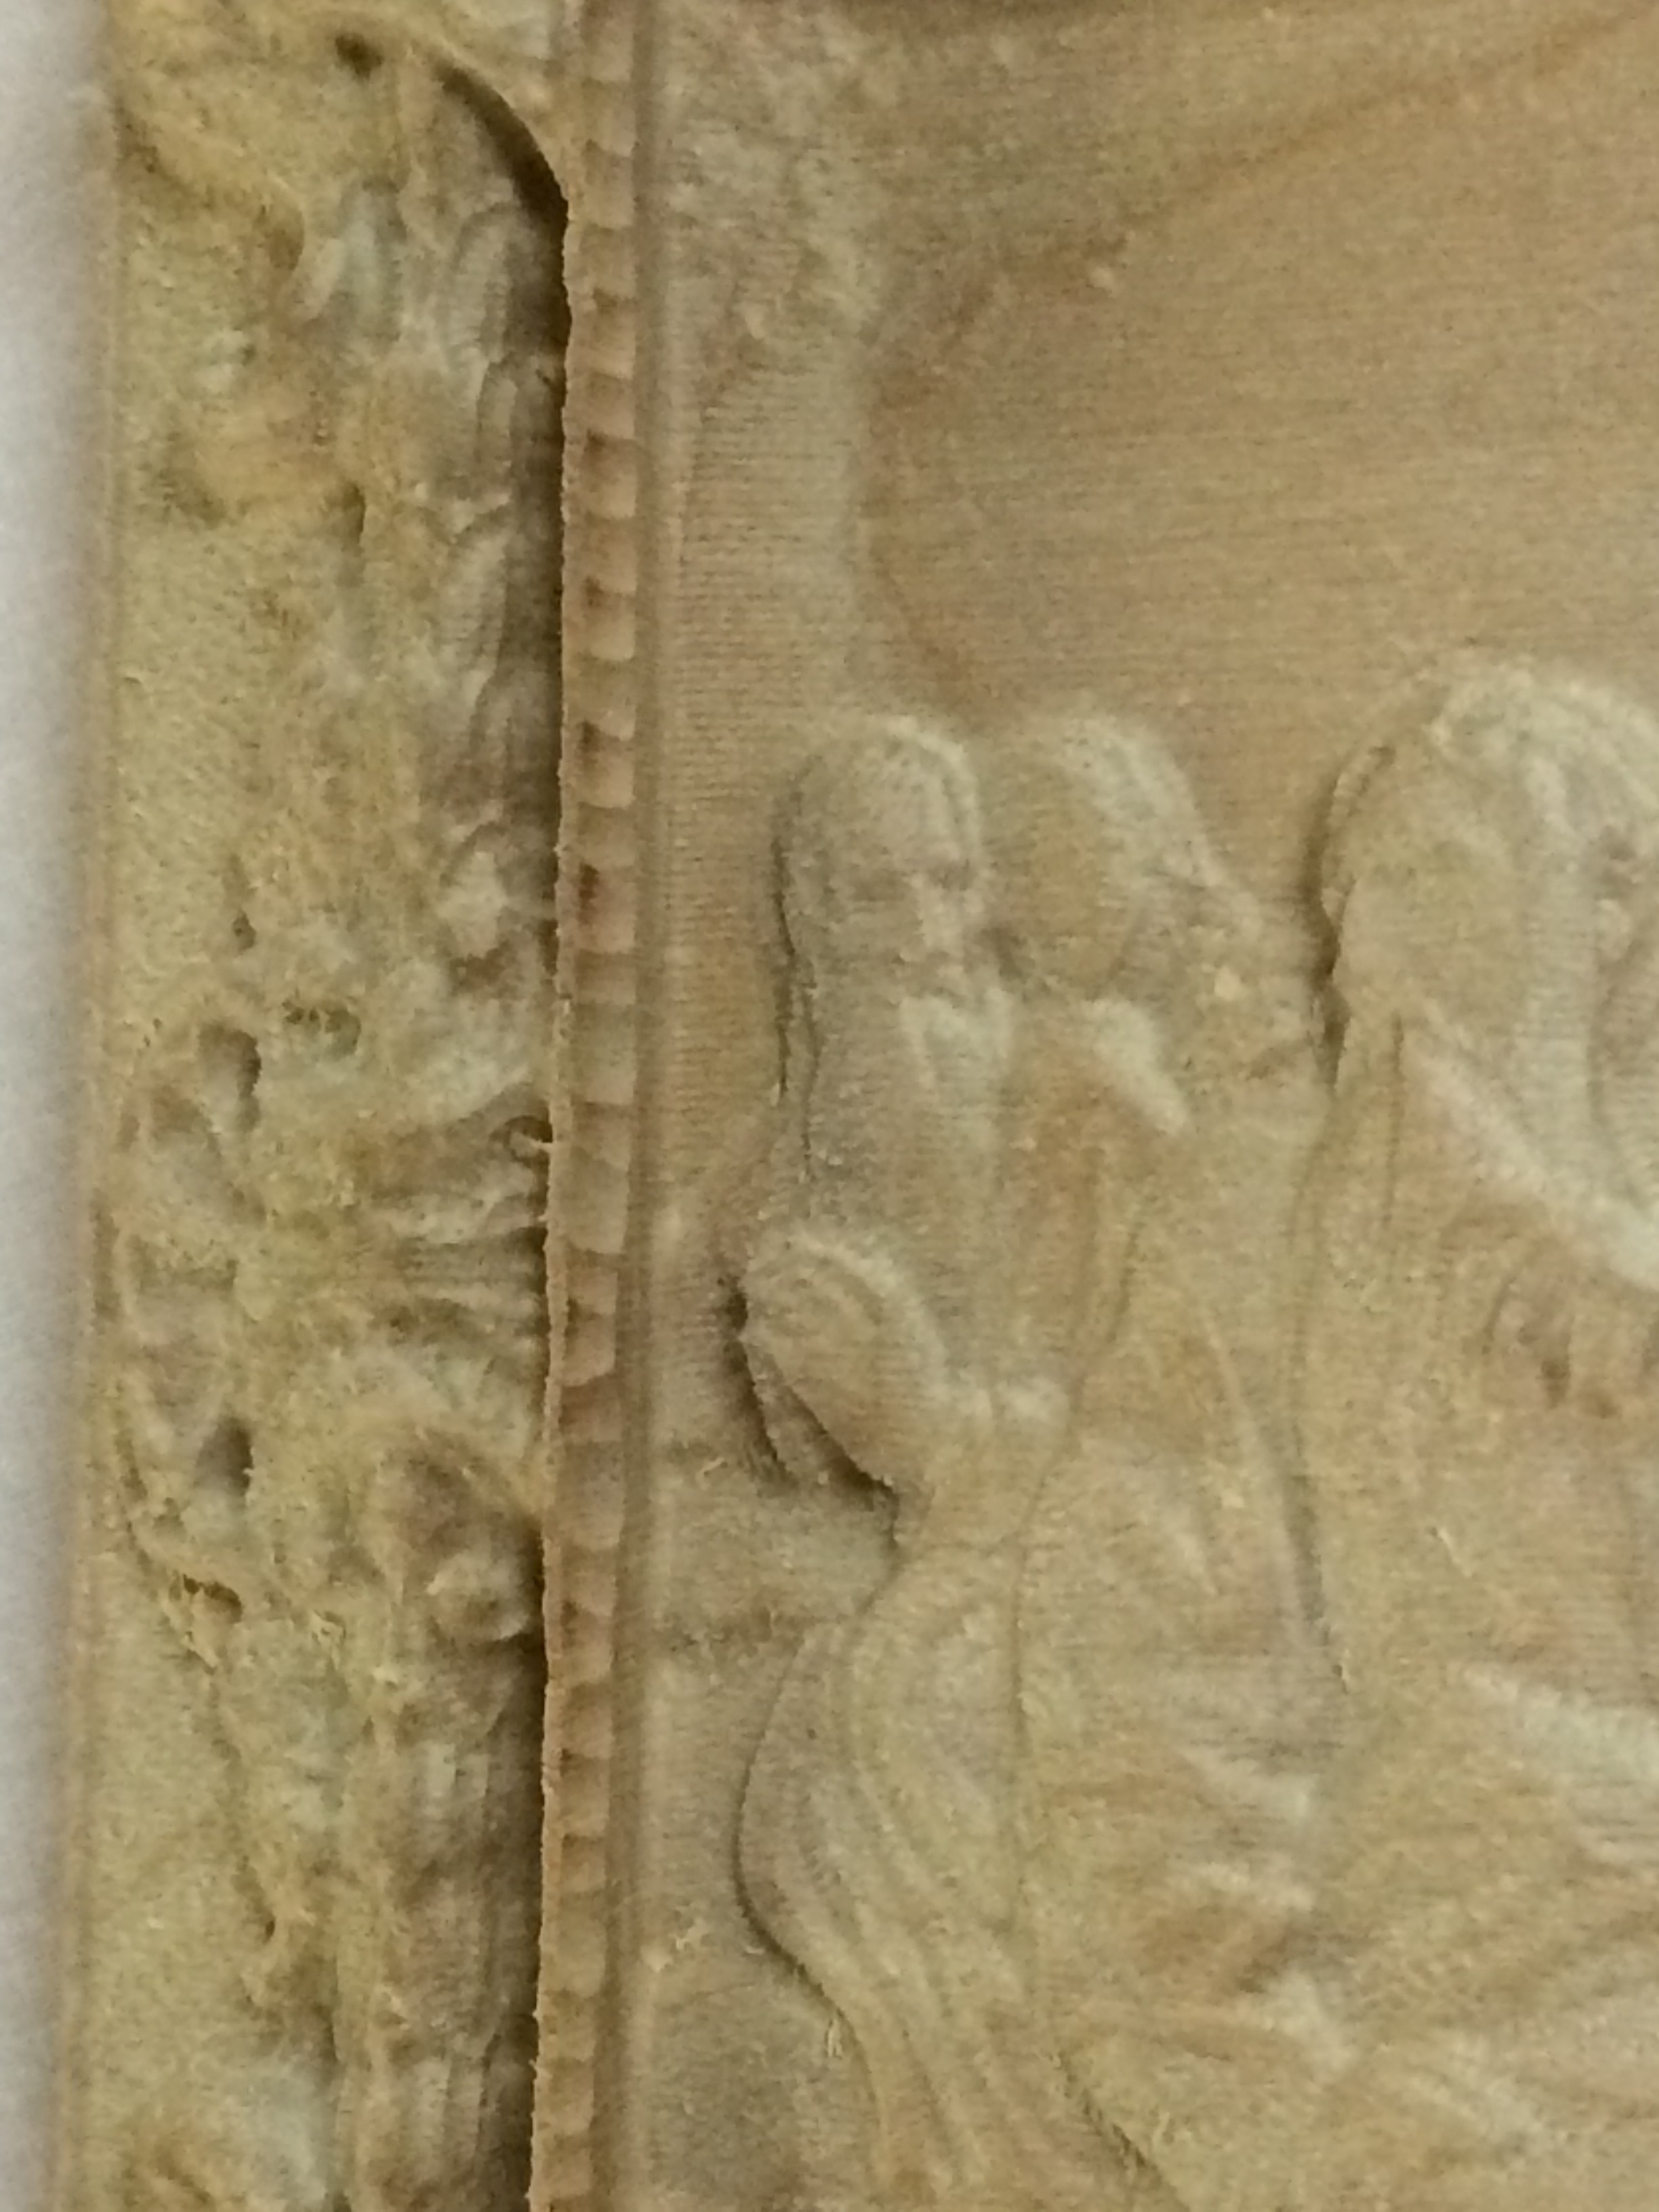
Another question: is reducing the step over the only way to get rid of those fine lines? This job is already taking a long time to run. I’m not seeing feeds and speeds for the .063 bit so I’m sort of winging it. I’m just using it for my finish pass so other than what’s leftover where the larger mills can’t I’m only removing .02" or less.
Toolpath settings - I’ll have to double check, but I believe I’m at .009 step over. I’m not sure where I read it but I thought the rule of thumb for a ball end was less than 1/3rd the diameter. I’ll try .003
How fast can I run the 1/32" at the .003 step over? (I’m using soft to medium hardwoods now, and I will be trying hard hardwoods soon - like hickory and oak). This piece is in cherry.
And while I’m at it, what is the maximum travel speed for the SO3?
Reach - as far as is reasonable, it’s more about that shoulder rubbing on things than anything. I keep running into this problem now that I’m working on objects that have sharper angles and more depth. (I’m sure you can see I’ve burned the top of the bit a couple of times.)
If you have the homing switches so you can reliably do tool changes you may want to look at using multiple passes, so that you can use larger tooling for roughing and then a smaller tool for a finishing pass.
These are typically used for cutting thin rib slots and cleaning up sidewalls of mold cavities for injection molding setups, but also work for this kind of thing for finish passes where you’re only removing ~.05" axially and taking 0.01" step-overs.
This presumes you’ve got the precision collet, which it looks like you have
That is a good tool selection by @UnionNine
Rough first with a .125 or .063" ball then use a tapered tool for a finish pass with a fine step over.
The Harder the wood, the better it will finish.
I suggest fine tuning a tool-pathing solution for a model like this in renshape first.
That way you can see the form without grain.
Does your software have a cut preview? Can you modify the model?
Study it closely for deep pockets, you may need to create artifical floors to fill in areas that are “pitfalls”.
A long reach tapered tool will be able to fit into deep pockets in the model, this can often plunge the tool farther than you would want and will grab a tool and rip the work off the table.
The Shapeoko will feed up to 100 ipm. take a few steps before you go to max speed, especially with a $35 cutter.