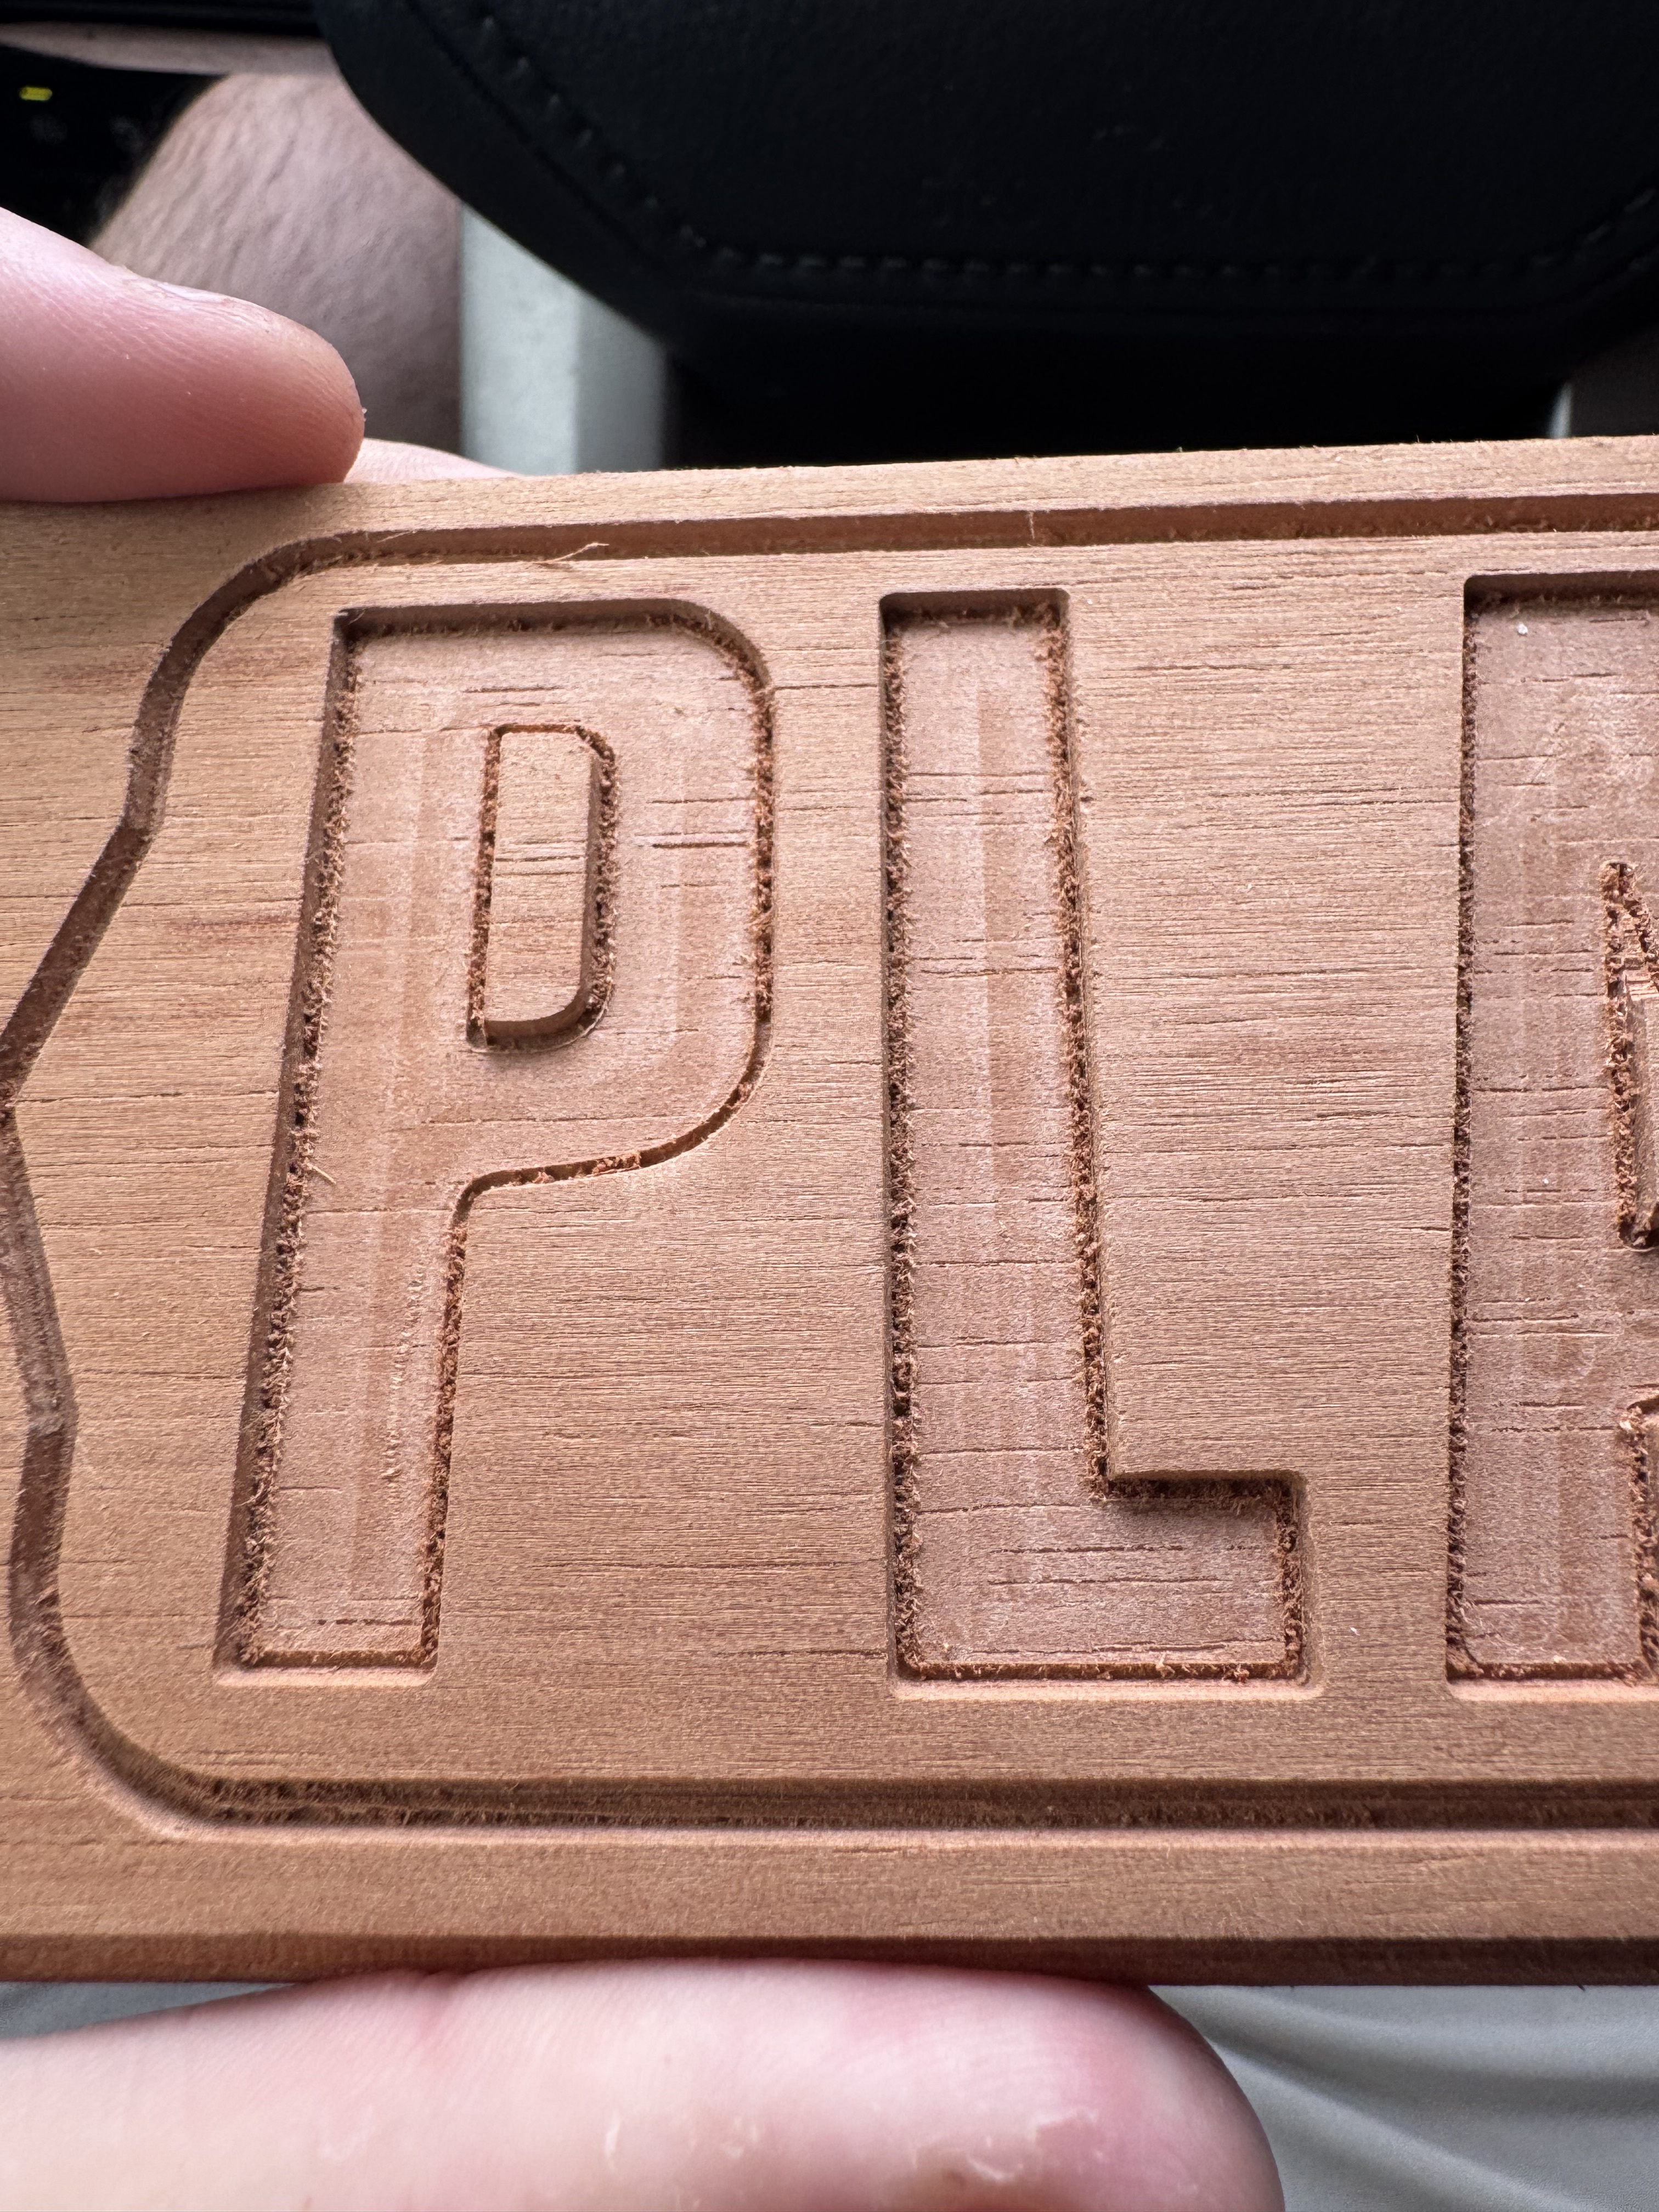
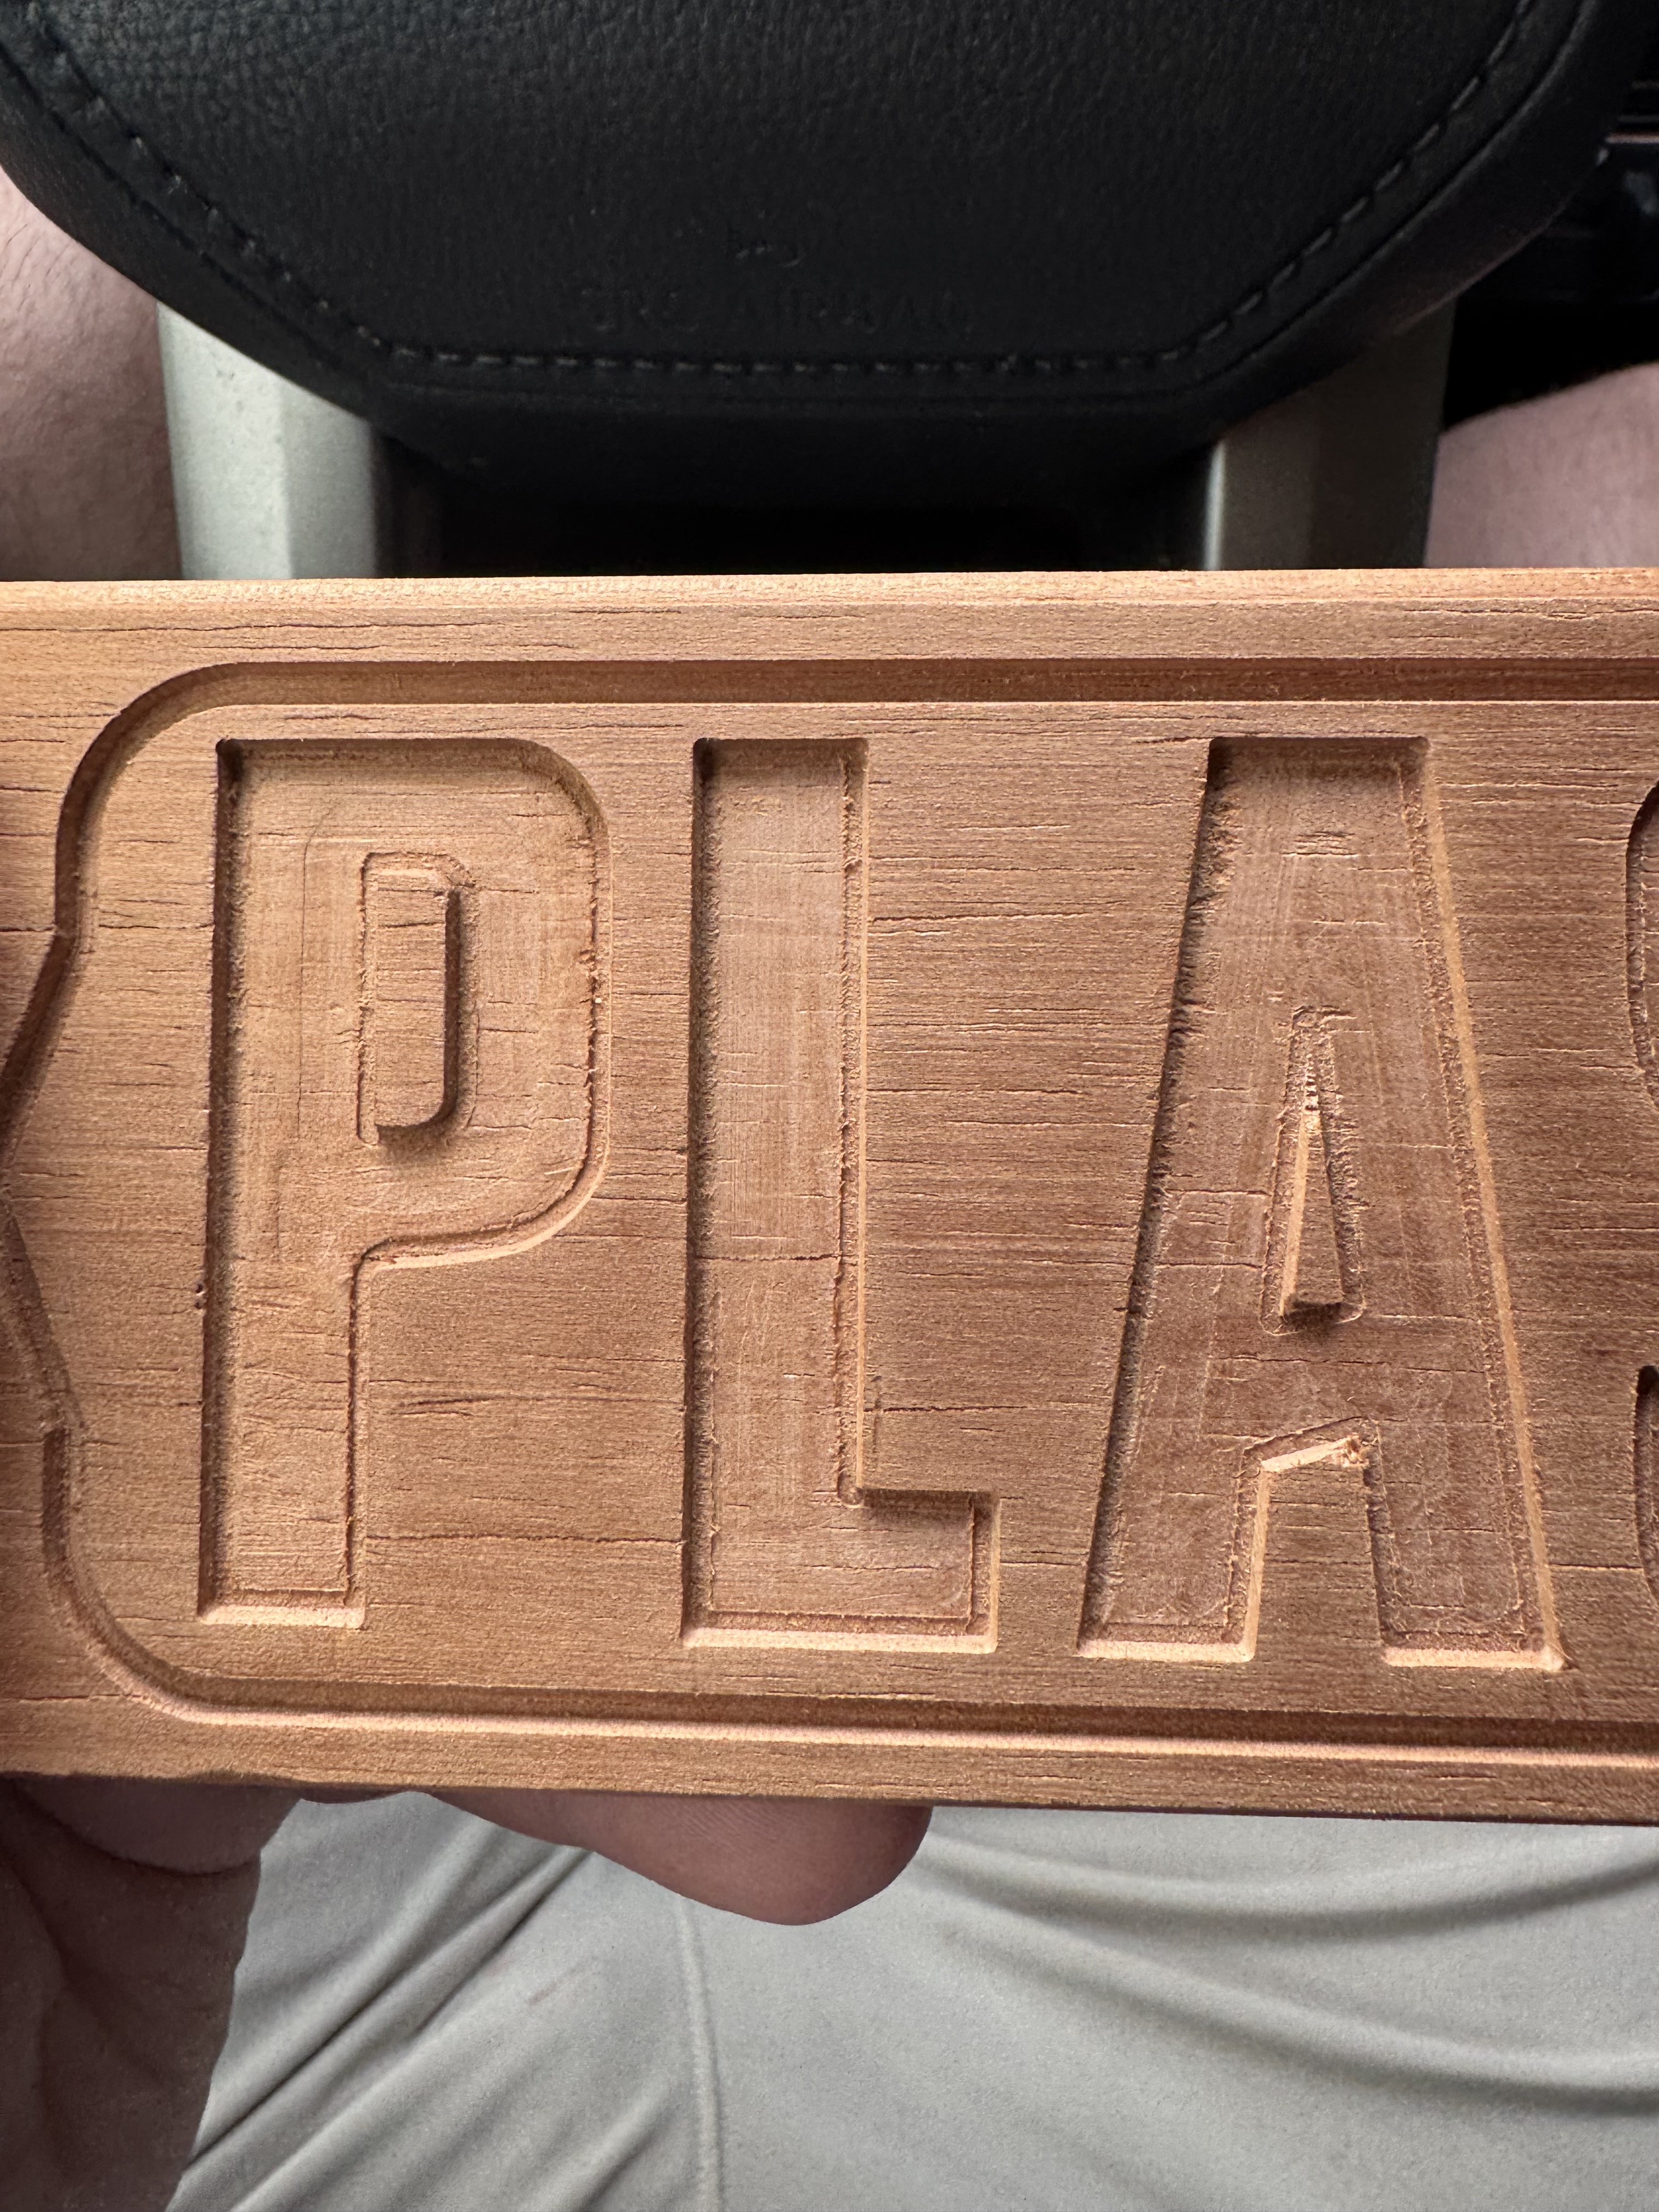
Hello everyone, this is my first post. I am stumped. For reference I have a shapeoko 5 pro. I am running an advanced Vcarve path with a 30 degree bit I purchased. I pocket out some letters with a 1/16” end mill, then come back with the v-bit to give it better detail. However, something weird keeps happening, the v-bit will go slightly deeper than the pocket area, even when using the bit setter. I do change collets from a 1/8” collet to a 1/4” collet when moving from end mill to v-bit. I do these types of processes all the time, never seem to have an issue except with the v bits. I have run into this with a 30 degree and 15 degree bit. I have attached pictures, I hope someone else has some thoughts. You can see at the edge of the pocket, the v-bit is deeper. I have checked, this bit is brand new and not rounded or broken.
Take a good look at your vee bit. Does it have a sharp point or is the point rounded over. If it has a sharp point that is what you want. If it has a rounded over nose then it will not cut correctly because the BitSetter thinks it has a sharp point but the round point is misinterpreted and so the bit cuts deeper than intended.
Some vee bits are rounded over from the factory and some have their tip broken off by dropping it or the edge is so fragile it gets broken off when cutting. Look at the bit very closely with a magnifying glass to verify if you have a rounded point or a sharp point.
I have a sharp point on the tip. On both tips actually where I have seen this problem actually.
Joseph: look at the specifications, not at the tip. Had the same, a 0.1 tip looks sharp but is not. Needs really be a 0 tip one. And: even a 0 tip v carve wears off! I just have to send one to have it re-sharpened (Dinosaw in Hudson NY) after 8 inlay cutting boards hardwood endgrain, because it is not sharp any more. I use 0 tip ones:
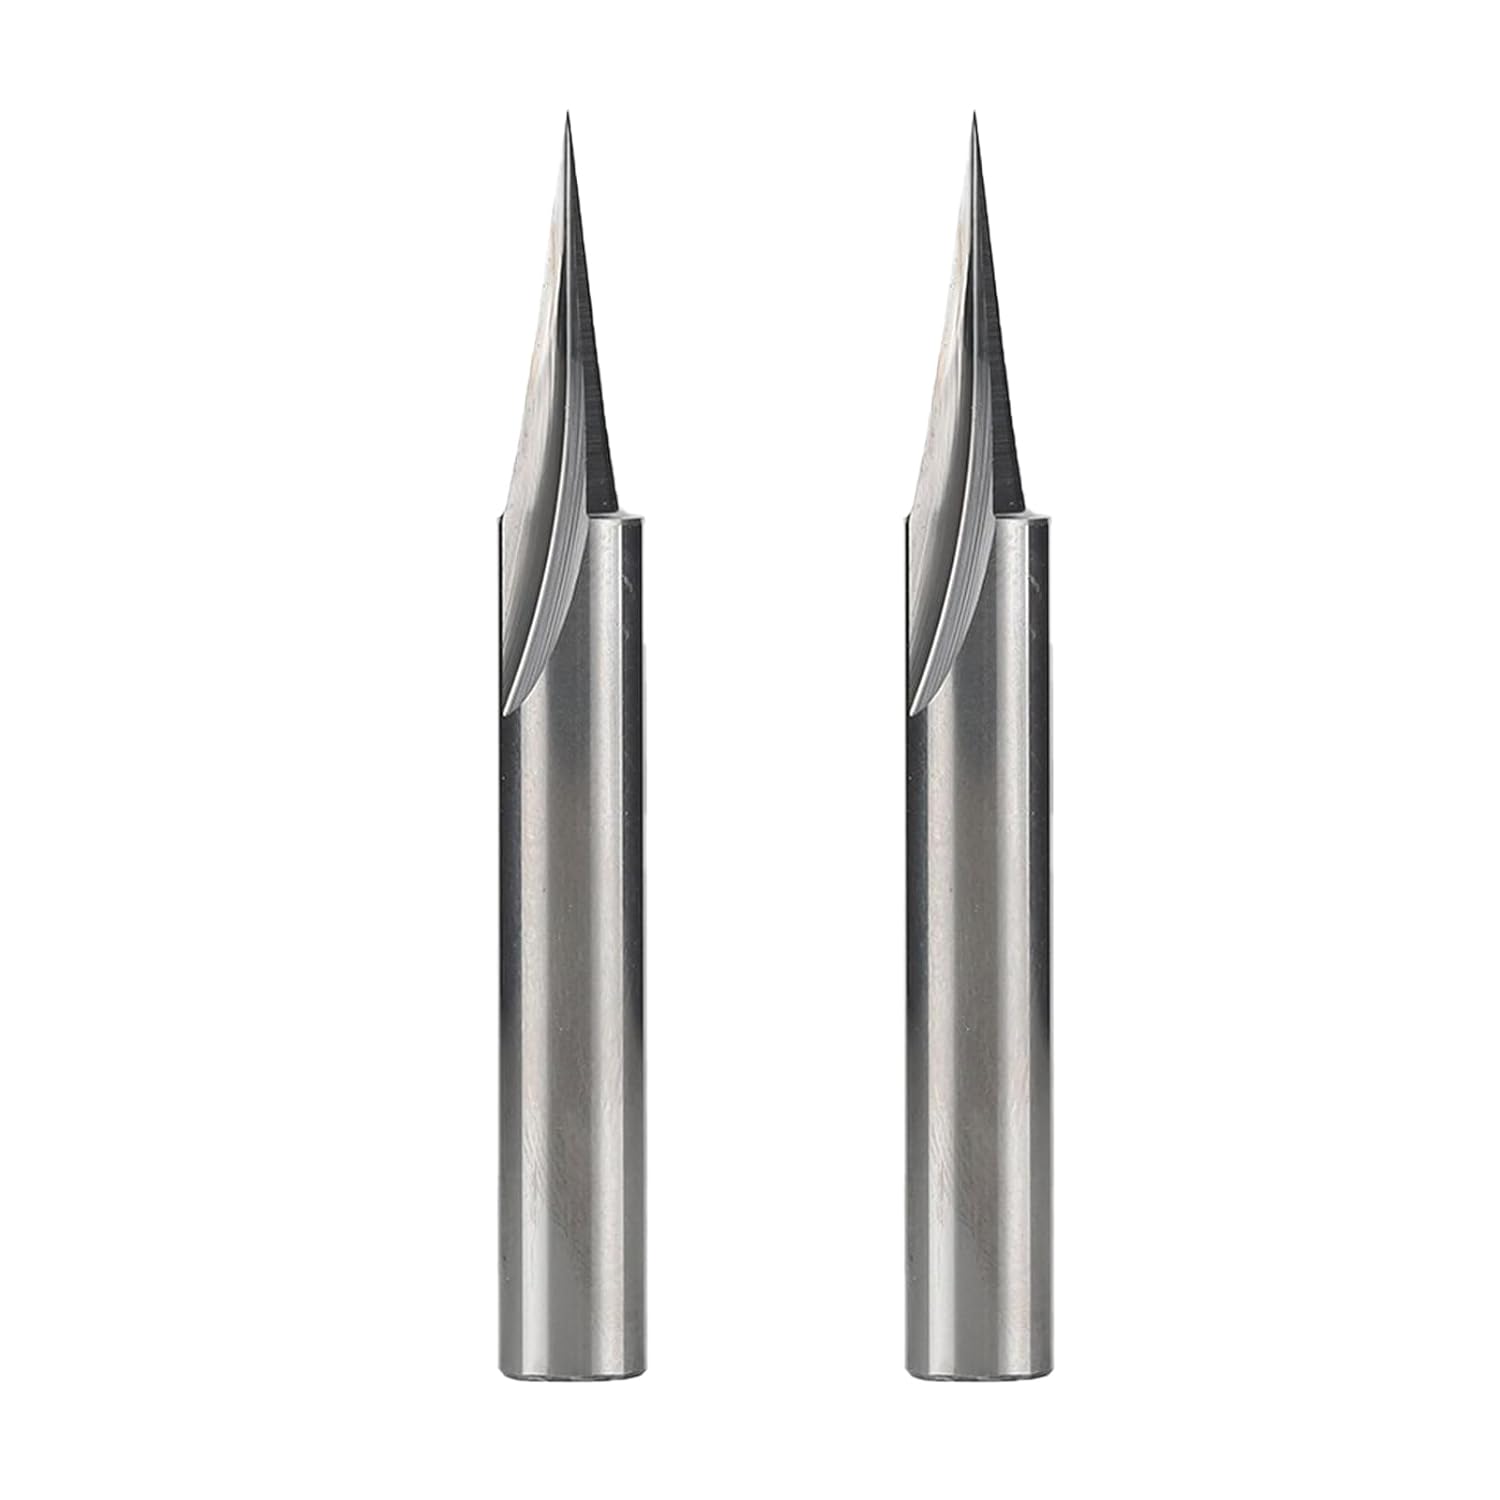
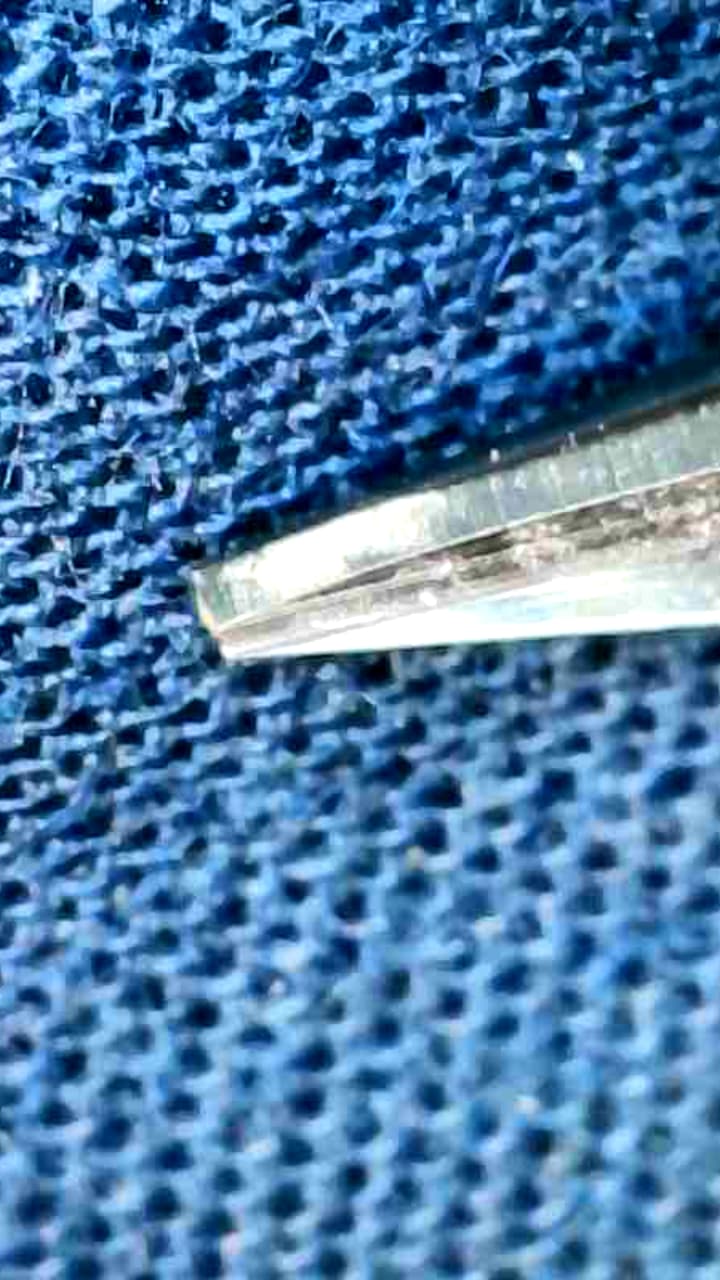
looks pretty sharp with the phone, right?
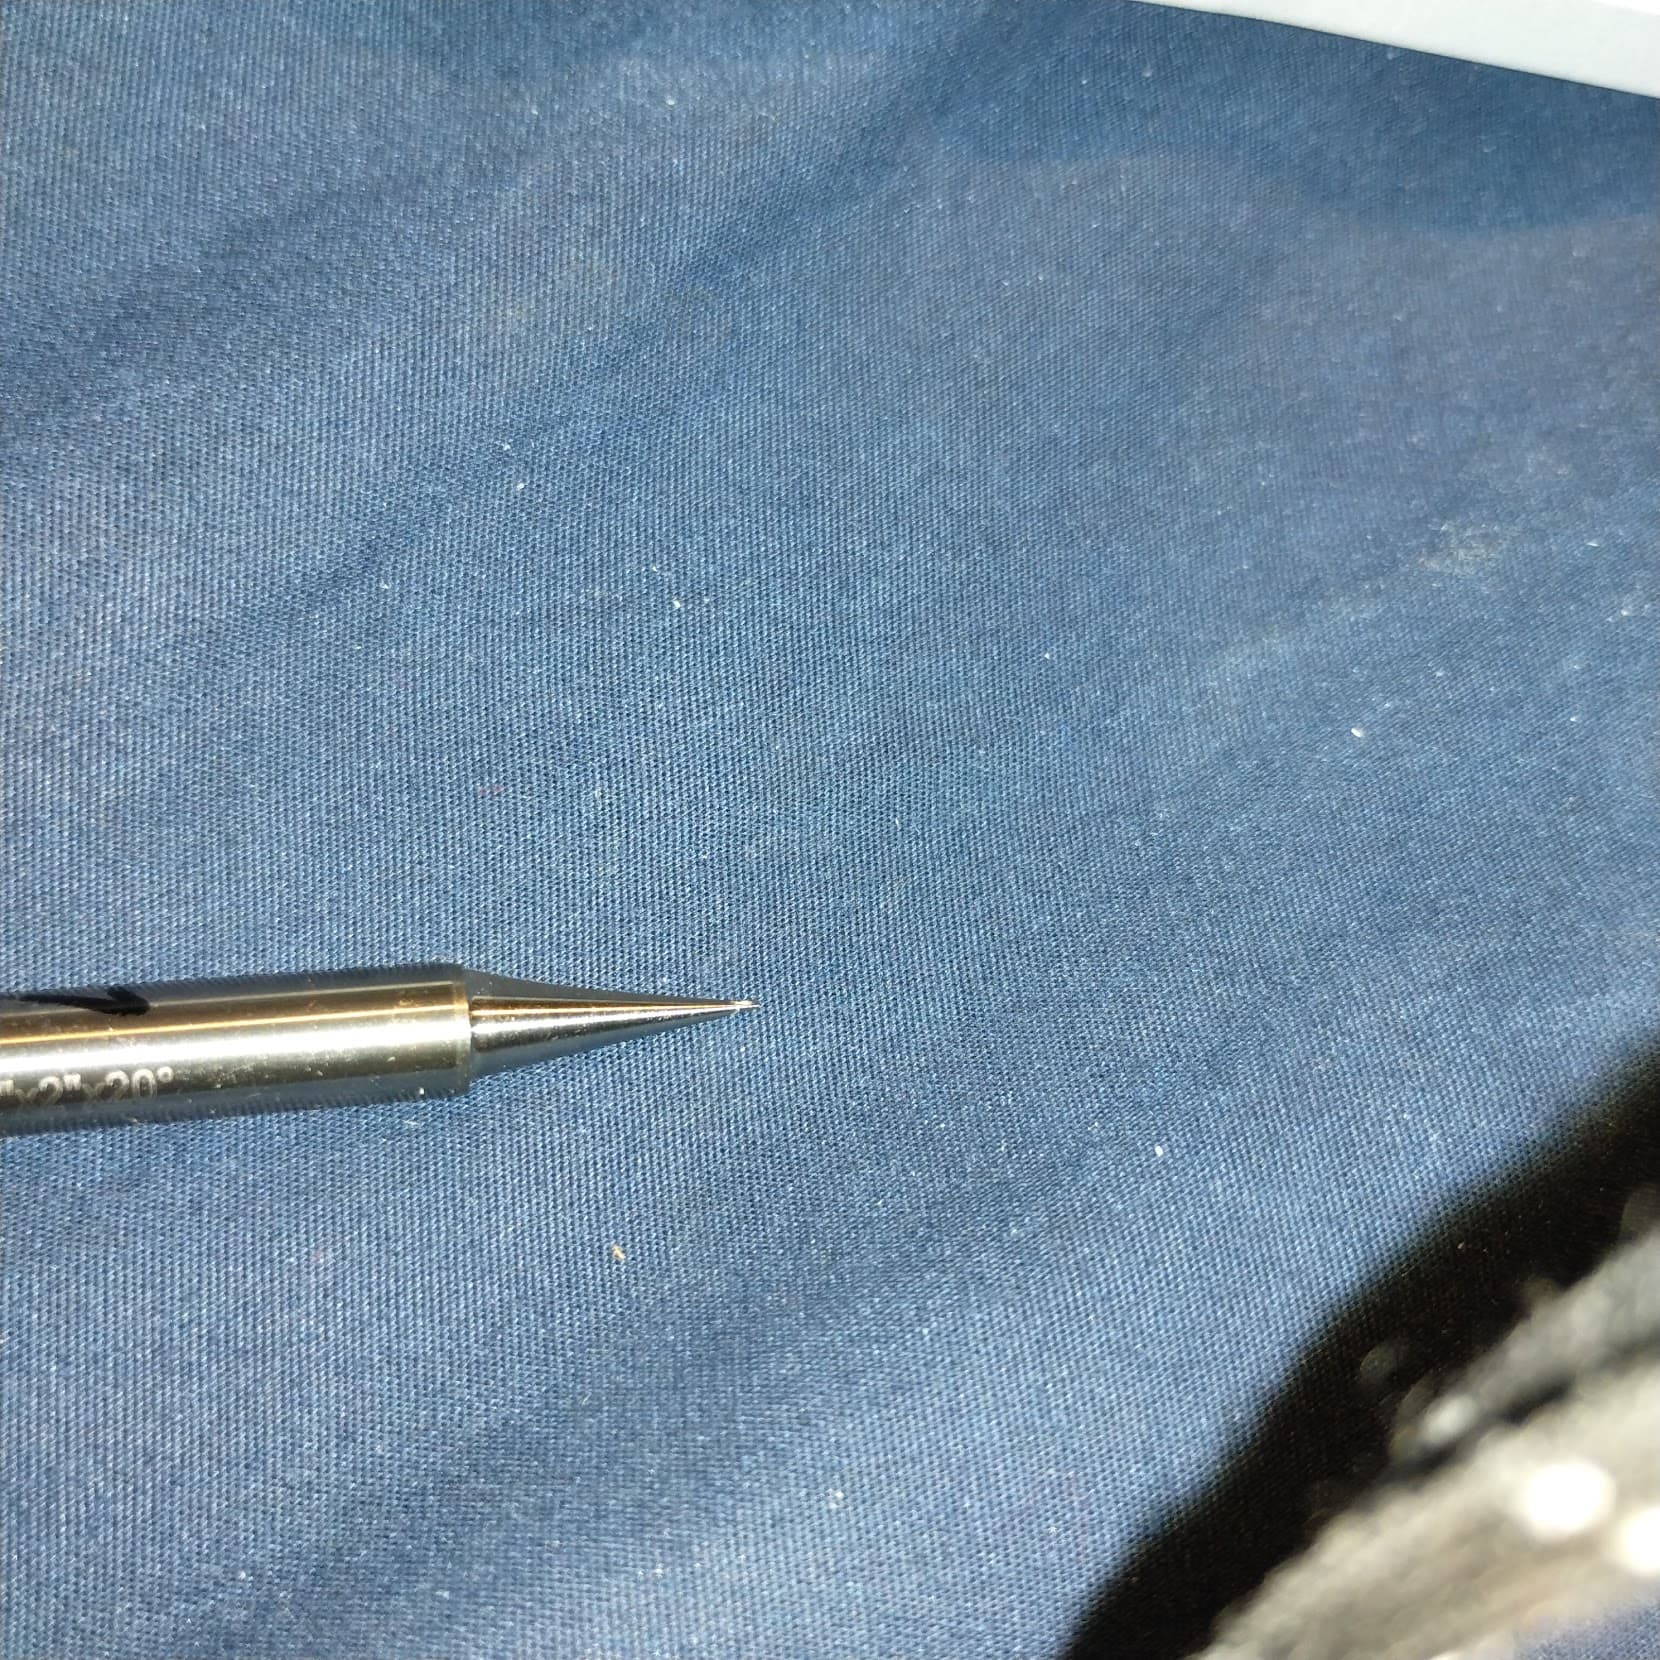
not so much with the microscope:
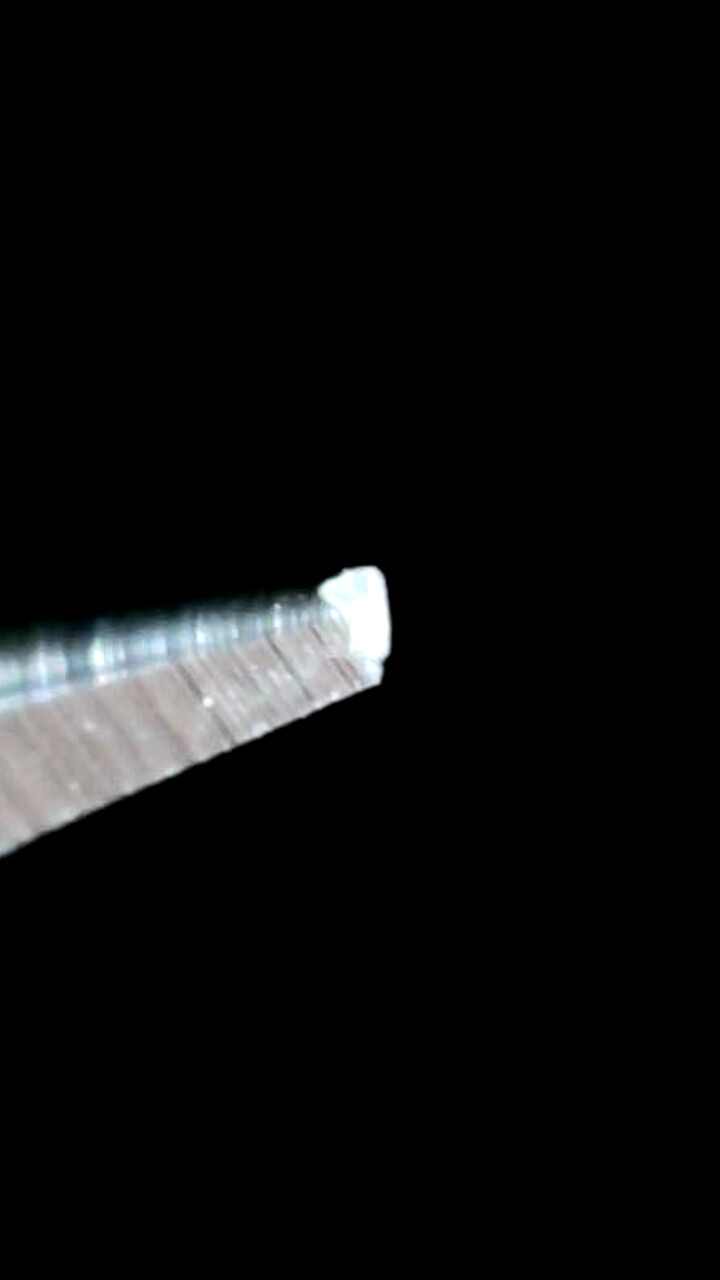
GL with a new bit…
Thank you for chiming in, I appreciate all the help I can get. I see what you’re saying, this tip is actually is a diameter of 0.01 and I will see if I can get anything to zoom in a bit more. So I ran the program again, and I’m getting issues with a 1/32” end mill as well, when it finishes up the corners of the letters in the pocket, I will notice floors inside are a decent amount deeper. I know there’s going to be some tooling marks, but these are quite a bit deeper. Similar to the issues I get with the vee bits. Any thoughts?
Spindle or Carbide Compact Router? Secure in the mount?
Power up, jog to the center for all axes, chuck up a probing pin and then grab the tip of the pin and try shifting in all axes — if it moves, then investigate — a likely culprit is the bearings on the router.
If the machine is mechanically sound, what is the total depth of the pocket and what is the Depth per Pass?
I would try adjusting the Depth per Pass so that it results in a very shallow final pass which is effectively a finishing pass, so if cutting to a depth of 0.5" w/ a Depth per Pass of 0.125" so that 4 passes are made, reduce the Depth per Pass to 0.124" — 5 passes will then be made, and the last will remove just 0.004" of thickness (plus whatever is left uncut by the previous passes).
Thank you also for chiming in. It’s the 80mm spindle from Carbide 3D. I will have to try this later in the week, for the mechanical stuff. I will say I notice it more on 1/8” shank bits. I did clean out the collet and made sure it’s tight. I will also note, it seems to get more and more off as the machine goes through the passes. As it starts the corners, it will be perfect, heck you can’t even really see tooling marks. As it gets more and more into the tool path, those marks become deeper and deeper for subsequent corners.
For settings, I generally do 50% the diameter of the tip. I can try your settings as well.
To make sure I understand, I want to grab the probe when it’s in the machine and it’s powered on, and push in the X,Y, Z directions to check for any play?
Yes, the probing pin, installed in the spindle, with the machine powered up and jogged to the halfway position of each axis.
How is the bit configured in Carbide Create? It’s difficult to configure V-Bit other than 60 or 90 degree in CC.
Or are you using another software? If it’s the case, can we see the configuration of the bit?

Ok, Sorry I exposed my problem the wrong way.
Yes it is easy to configure them but when I am trying to do inlay with 20, 30 or 45 degree, the result is not perfect. It is perfect only with 60 or 90 degree.
If you have a file with a correctly defined V tool which does not work, please upload it and we will look into this with you.
Ok, as soon as I have time, I will create a new subject for it.
Don’t want to muddy the waters too much, but is your stock perfectly flat?
Imagine if the stock has a bow in it so the center of the board is higher than the left and right. If you only clamped on the edges the larger end mill could force the center down ever so slightly, maybe even only 0.005". The v bit would not force it down as much (if any) and apear to be cutting deeper. This also would explain why it gets worse as you move to the right.
I use double sided tape any time I can. I also surface all stock prior to cut.
Hello, my stock is leveled with a 1/4” end mill in the area I have the issue. It should be flat. Thank you for the response.
Hello, I was able to check this after returning from some travel. I don’t have any play that I can tell when I go through this process.
If possible, can you email in a photo of your machine and a copy of the .c2d file to Support@carbide3d.com when you get a chance?
I’ve had this happen with thin stock, also had an issue with some double sided tape that was too thick. The larger bits tended to push the board down a little if there is a gap.
Not a problem at all, what do you want to make sure I capture in this photo? I will get the file together, and get these emailed over.
If you want to send it in ATTN: Fleming, that works just fine! A photo of the machine, a photo of the cut and a copy of the file would be enough for us to dig deeper into this with you.