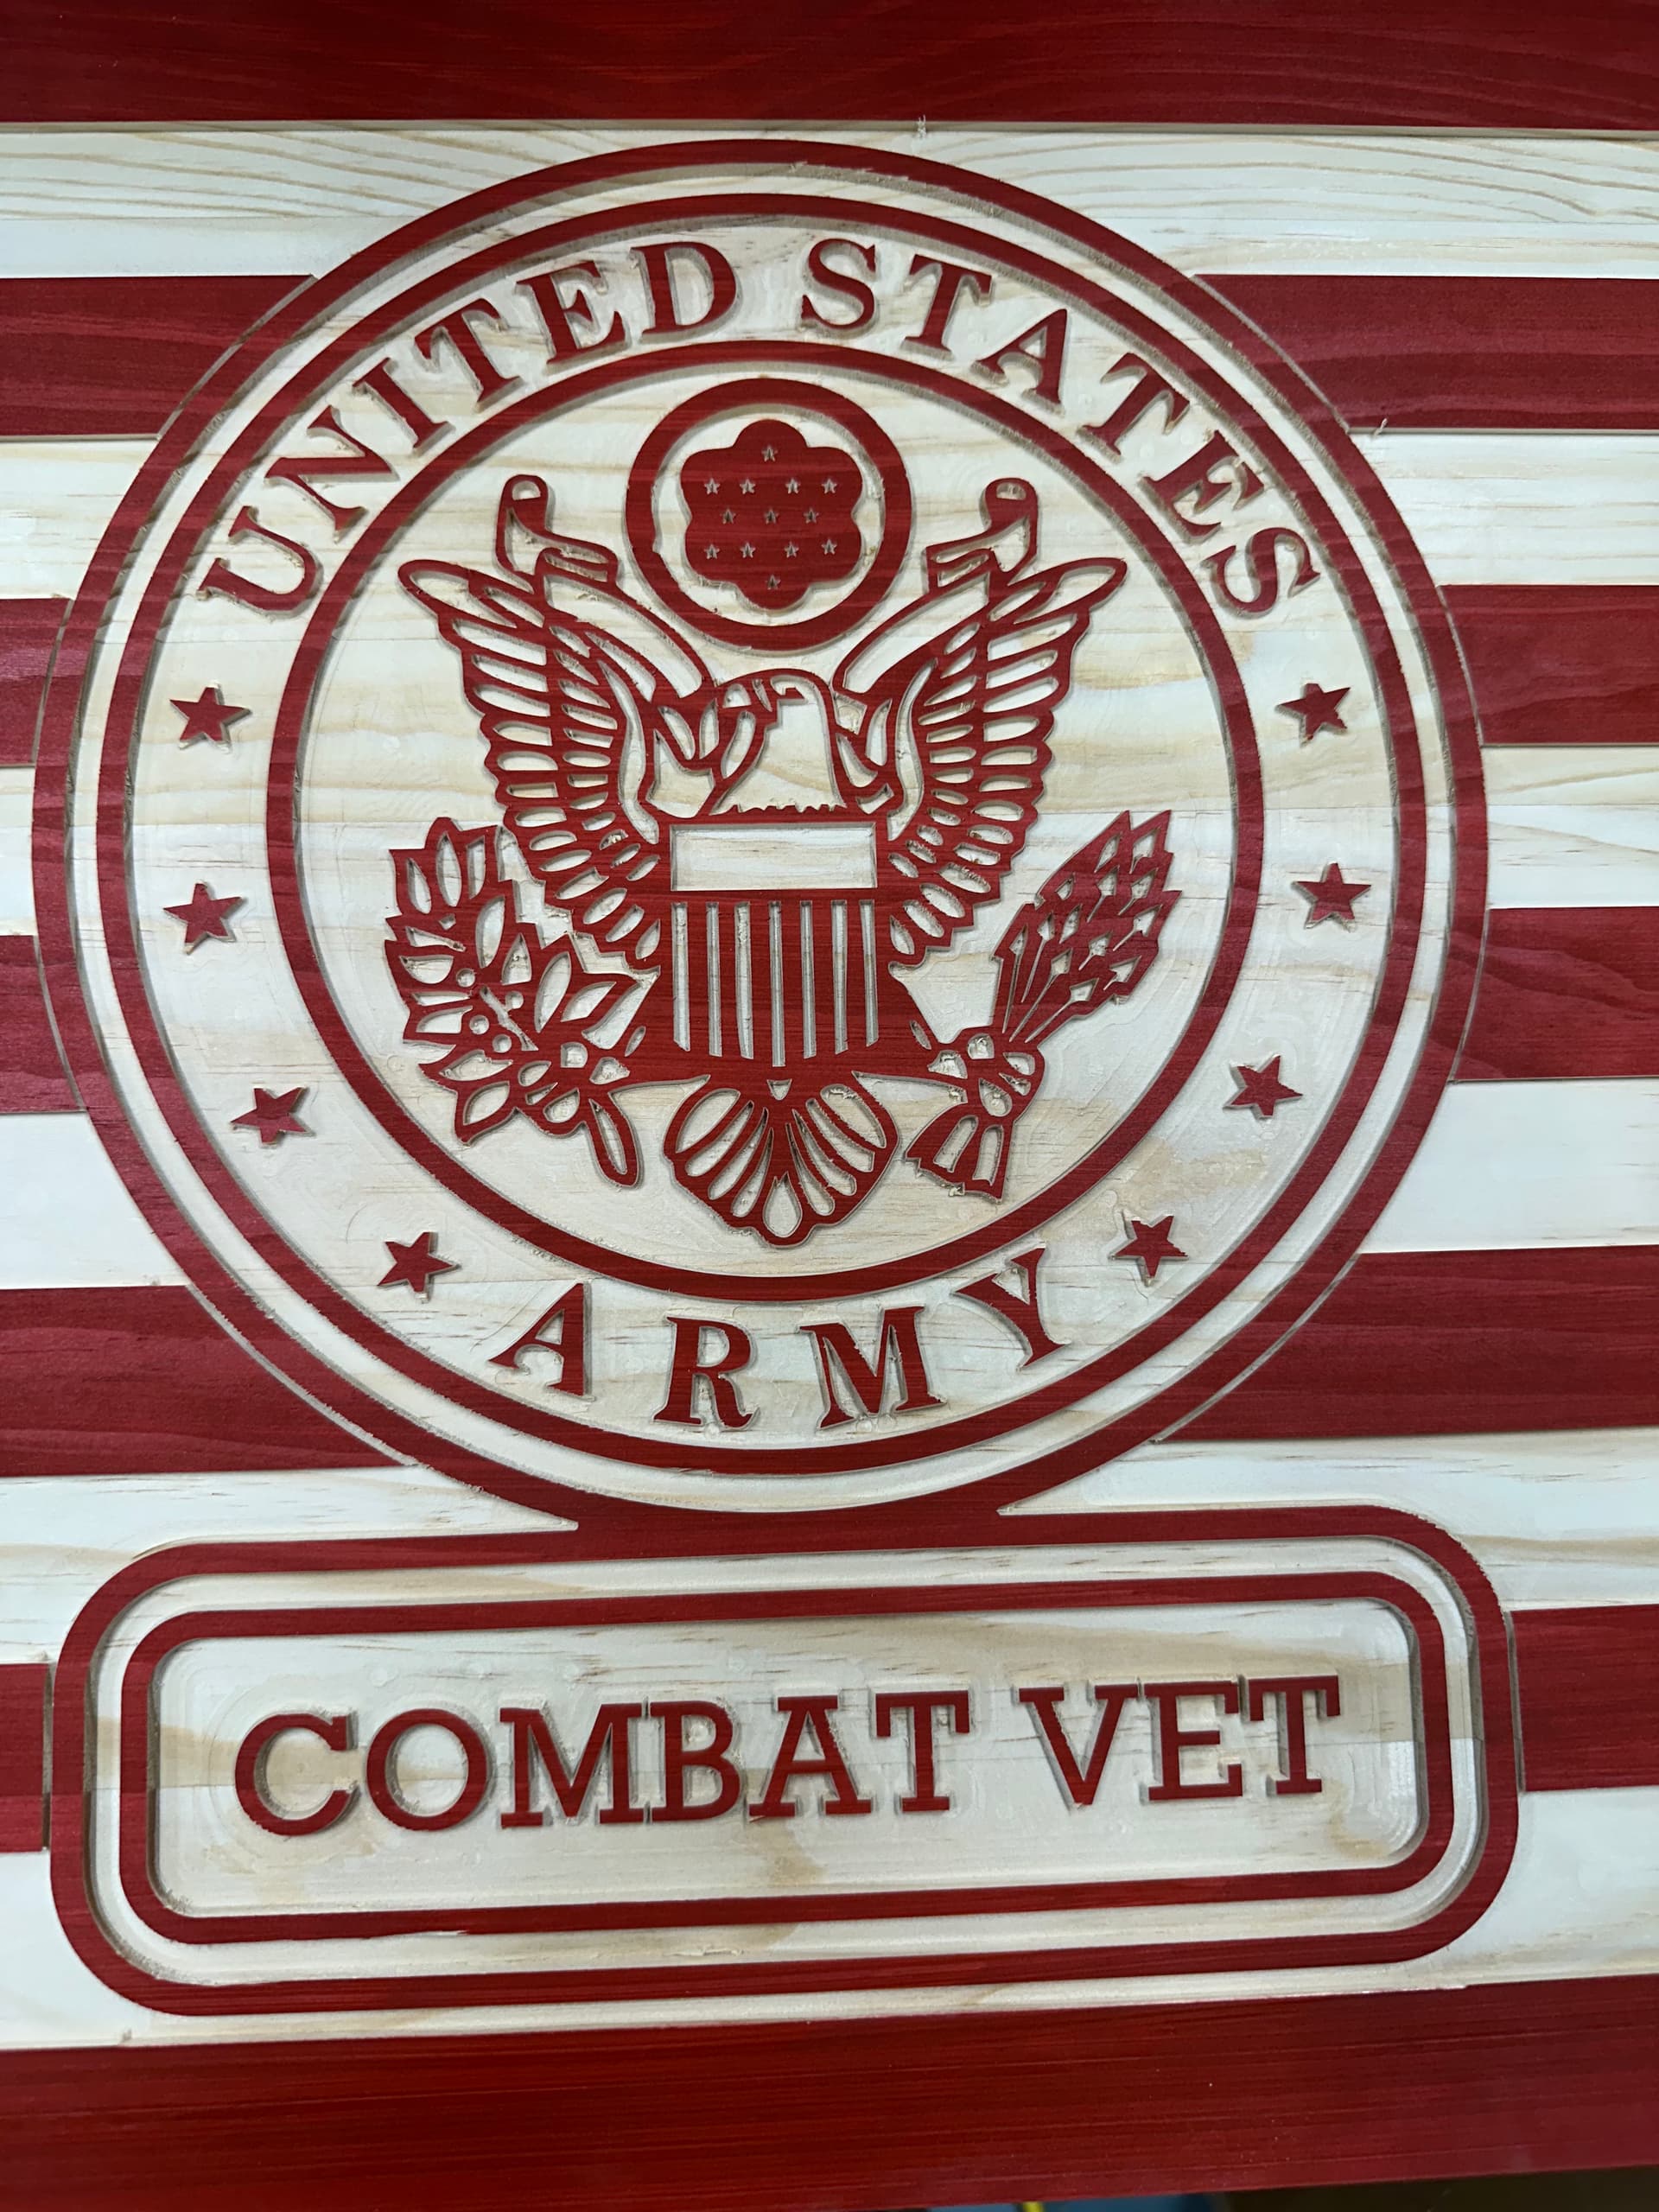

I’m trying to V-Carve the Army logo and I’m having issues with the stars and some of the lettering. I’m doing this in white pine. For the v-carve I used an 1/8" bit to pocket things out and a 30˚ bit (Amana 45771, Stepover 0.008, DPP 0.1, Feed Rate 40.0, RPM 18000) as the v-bit. Depth is set to 1/8".
What I would like is thoughts on how to prevent the chip-out you see around the stars and some of the letters. Would a different V bit work better? How about running the Vee code before the pocket code? Speeds? Any thoughts would be greatly appreciated.
Using a finer-grained hardwood is the most expedient option.
Some folks have been successful at setting the origin a little high, spraying with a hardening fixative/finish which is “hot” and can be added to (lacquer is one good option), then running a full-depth finishing pass.
One thing which I’ve been meaning to try is to do that with an obtuse V tool (say a 90) on the theory that the more oblique angle will be less prone to chipping, then finish w/ a 60 degree tool.
The other option is to use a chisel to pare down to a smooth surface which can then have a scrap glued up in register, then painted.
1 Like
So if I switch to something like maple, you think the tear out will go away?
It should be much reduced — that said, leaving a roughing clearance and taking a finishing pass is just good practice.
1 Like
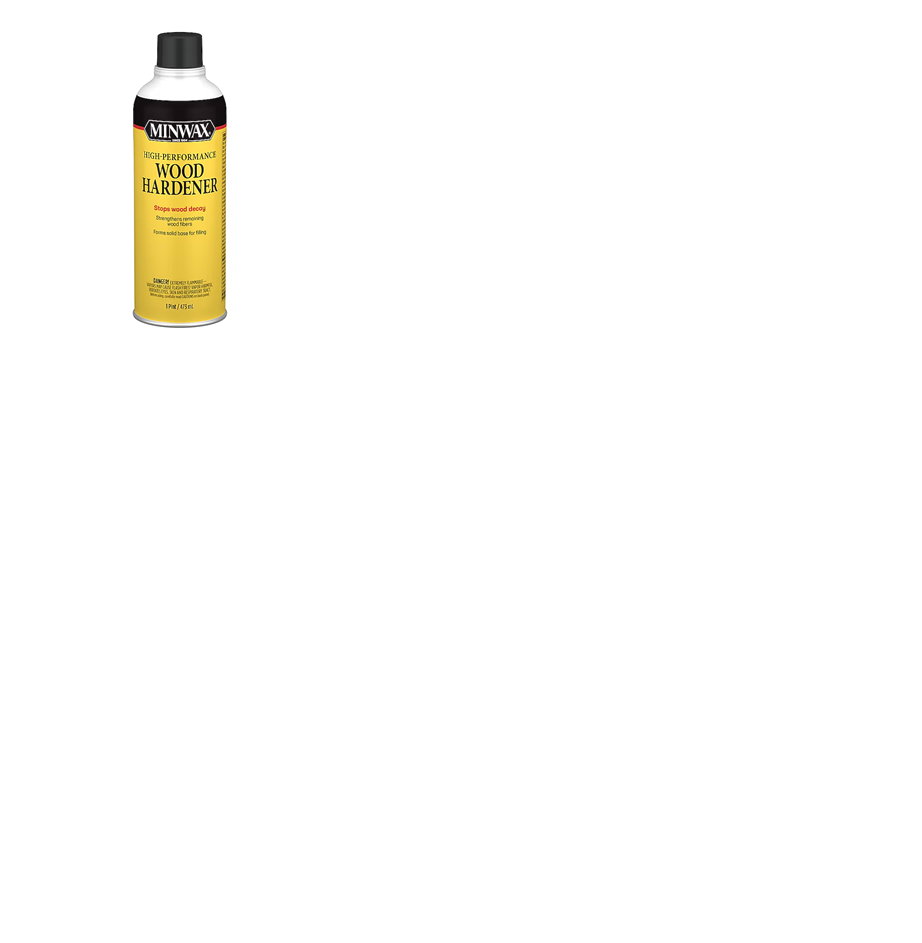
If you want to use the pine then you need to harden it. Minwax makes a product for hardening pine.
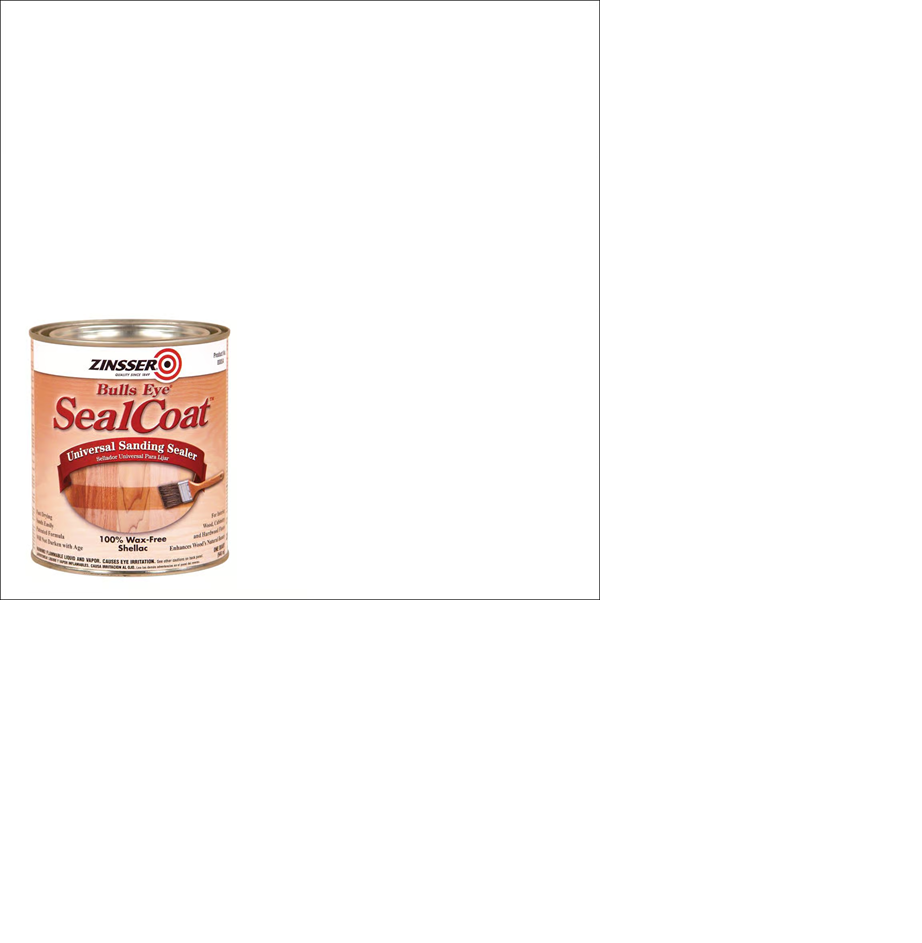
Another alternative is dewaxed shellac.
The thing is pine is very soft and brittle. That makes it easy to chip out. Although cheap it is cheap for a reason. Plus with pine it is hard to get good quality wood without a lot of knots and defects. Maple would be a good alternative but it still needs sealing to keep the chipping to a minimum.
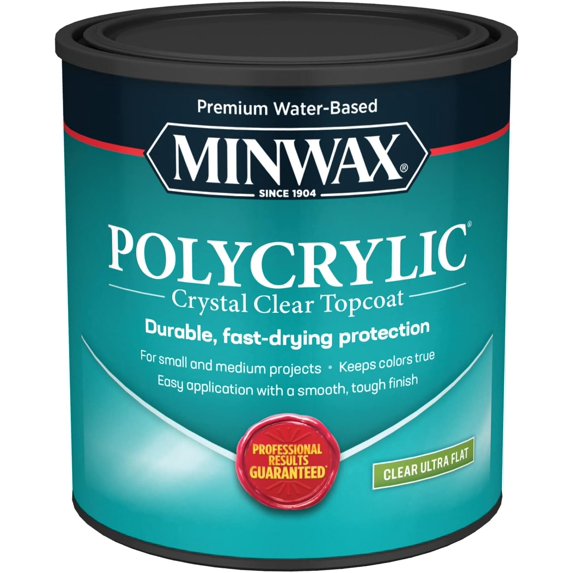
Pine or Maple need a good seal coat before painting to keep the paint/stain from soaking into the opened fibers along the edges. I use the dewaxed shellac on most of my projects. The only draw back if you want to call it that is it gives a slightly warming (yellowing) effect. So with pine and/or maple you could also use waterbased polyurethane sealer and it will not change the color. It will raise the grain so you have to sand and seal twice or you will get a rough surface.
4 Likes
Thank you for your reply.
I’m trying to picture the work flow here. First I prepare the board and stain it the red/blue. Then, doing like Will suggested and do a higher pass, I’m only cutting 1/8" deep so would cut that down to 1/16" or raise my origin by 1/16". Then apply the wood hardener. Then do a finish pass down to 1/8".
Does that sound about right?
I do a lot of similar plaques using pine and feel your pain. I follow a lot of the advice others gave you.
Here is the order of operation I use once the panel is ready for paint and carving:
- Heavy coat of shellac.
- Paint the panel. I like using acrylic spray paint like Ironlak.
- Carve. For similar logos and the stripes I use a depth of .04 -.06. I find using the v bit first reduces the chip out especially where the clearing bit may follow the grain like in the stripes.
Sharp edges like the stars in the logo and words are always tricky with pine. If your design allows it, you may want to see how it works inverting the original image so you carve the stars vs. pocket. This could save machining time too.
2 Likes
This topic was automatically closed 30 days after the last reply. New replies are no longer allowed.