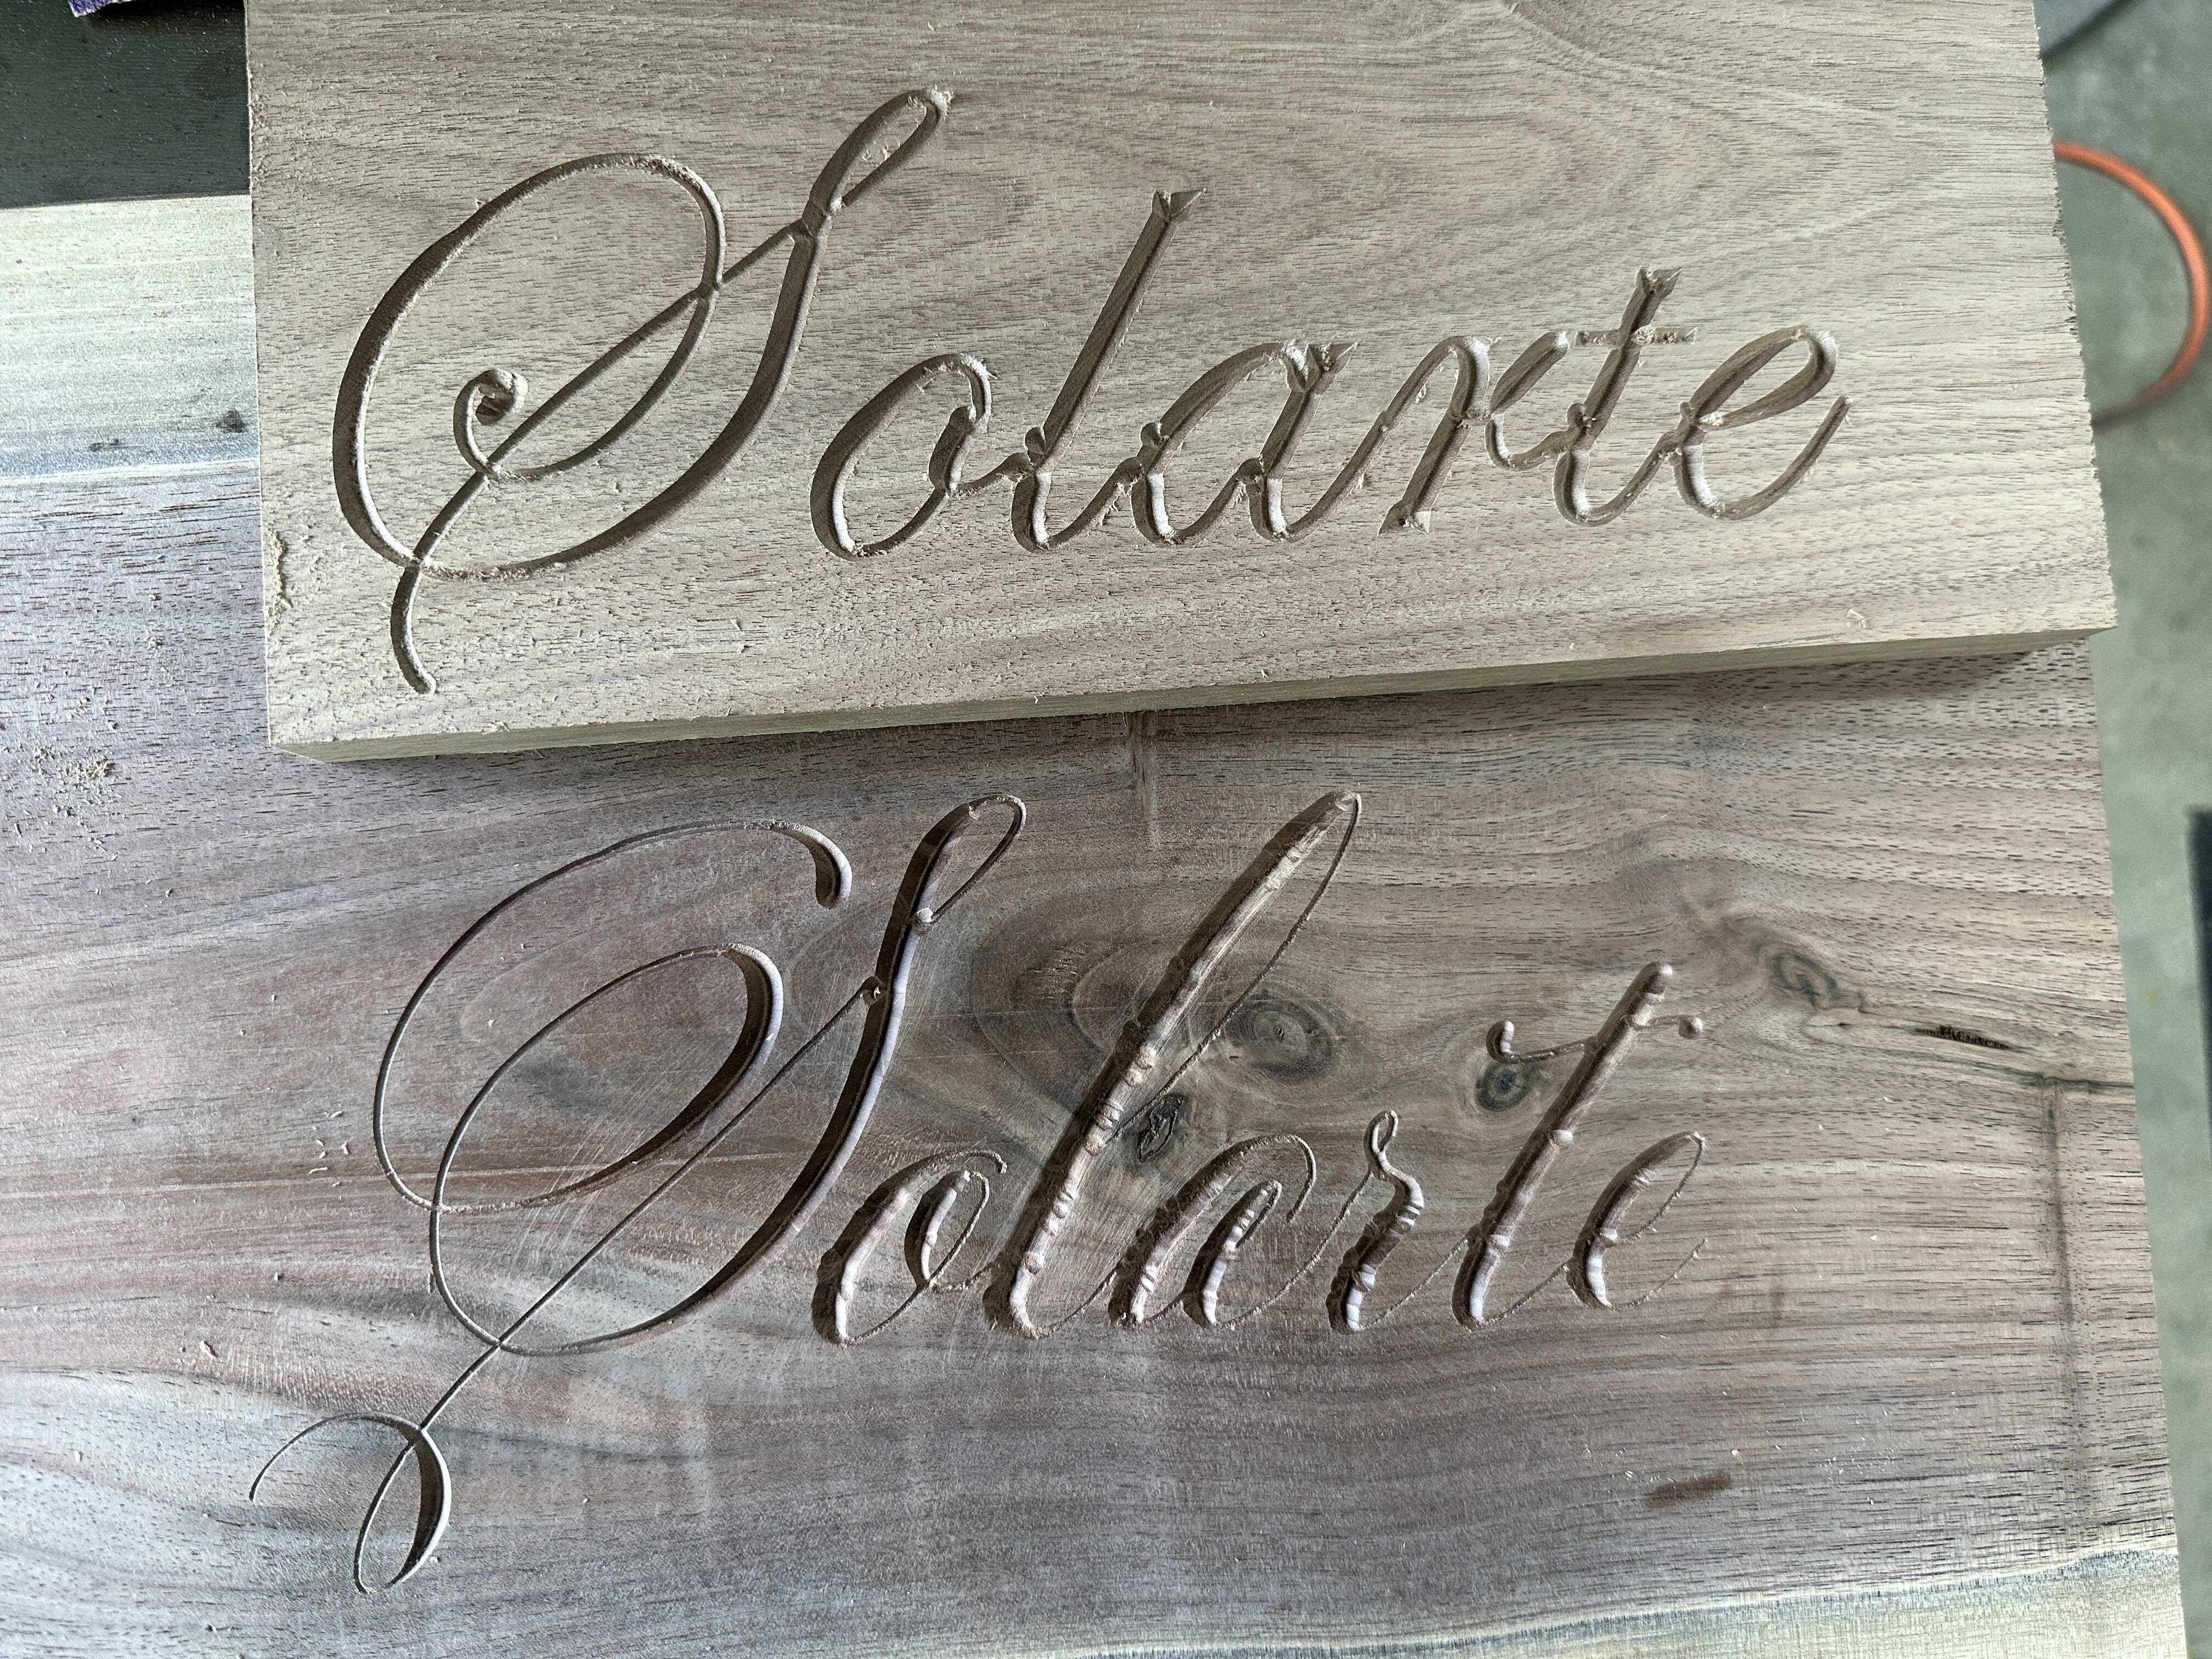
Hello all, I am new to CNC and learning the ropes on my Shapeoko 4. Im trying to do some lettering with my v-carve bit and it’s coming out very badly. It’s all rocky and not smooth at all.
Im using the default speeds and homing on the bottom left of the stock. I’m also seeing the jaggedness in the preview in the carbide create software. Tried two different fonts and same issue. The depth is set to default as well. 0.10. Any help here would be appreciated!
I suspect it is the Font. I can see the divets and that is at the junctions of the script font. The router would seem to be pausing there and you get the little circles (divets). There are other script fonts available and maybe try one of those. On the bottom picture the L is a cross grain cut across a knot. That may be unavoidable but adds to the issue with the carve looking rocky or wavy.
On a CNC cutting into wood the machine changes direction and the wood grain is on this piece right to left. when the bit goes bottom to top you will get grain tear out. Try putting some Dewaxed Shellac (Zinnser Universal Sanding Sealer) or the Minwax Wood Stabalizer. Both of these products harden the surface to help with tearout. Also make sure your bit is sharp and has no buildup on it. There are tool cleaners to help clean bits or just plain old soapy water and a nylon brush. Let the bit soak for a while and then brush it off. Rinse in clean water and dry the bit thoroughly. Do not apply and lubricant to the bit leave it dry.
The first order of business is to make sure they preview looks OK before you commit to wood, even then a practice piece in MDF isn’t a bad idea. Typically with V-carve you set the depth to stock thickness. This lets the carving be as deep as it needs to be to have the V-bit touch both side of the object. If you want to limit the depth use advanced V-Carve. This will follow the contours and fill in between at the fixed depth. When the areas are large enough you can also use a clearing bit for bulk material removal.
If you can post a file there are a lot of experienced people here that would take a peek and offer suggestions.
Don’t limit the depth for a V Carve. It’s never what you want, if you think you want that what you really want is an Advanced V Carve. Just set the depth for the V Carve to ‘t’, a special value that means “the thickness of the stock”.