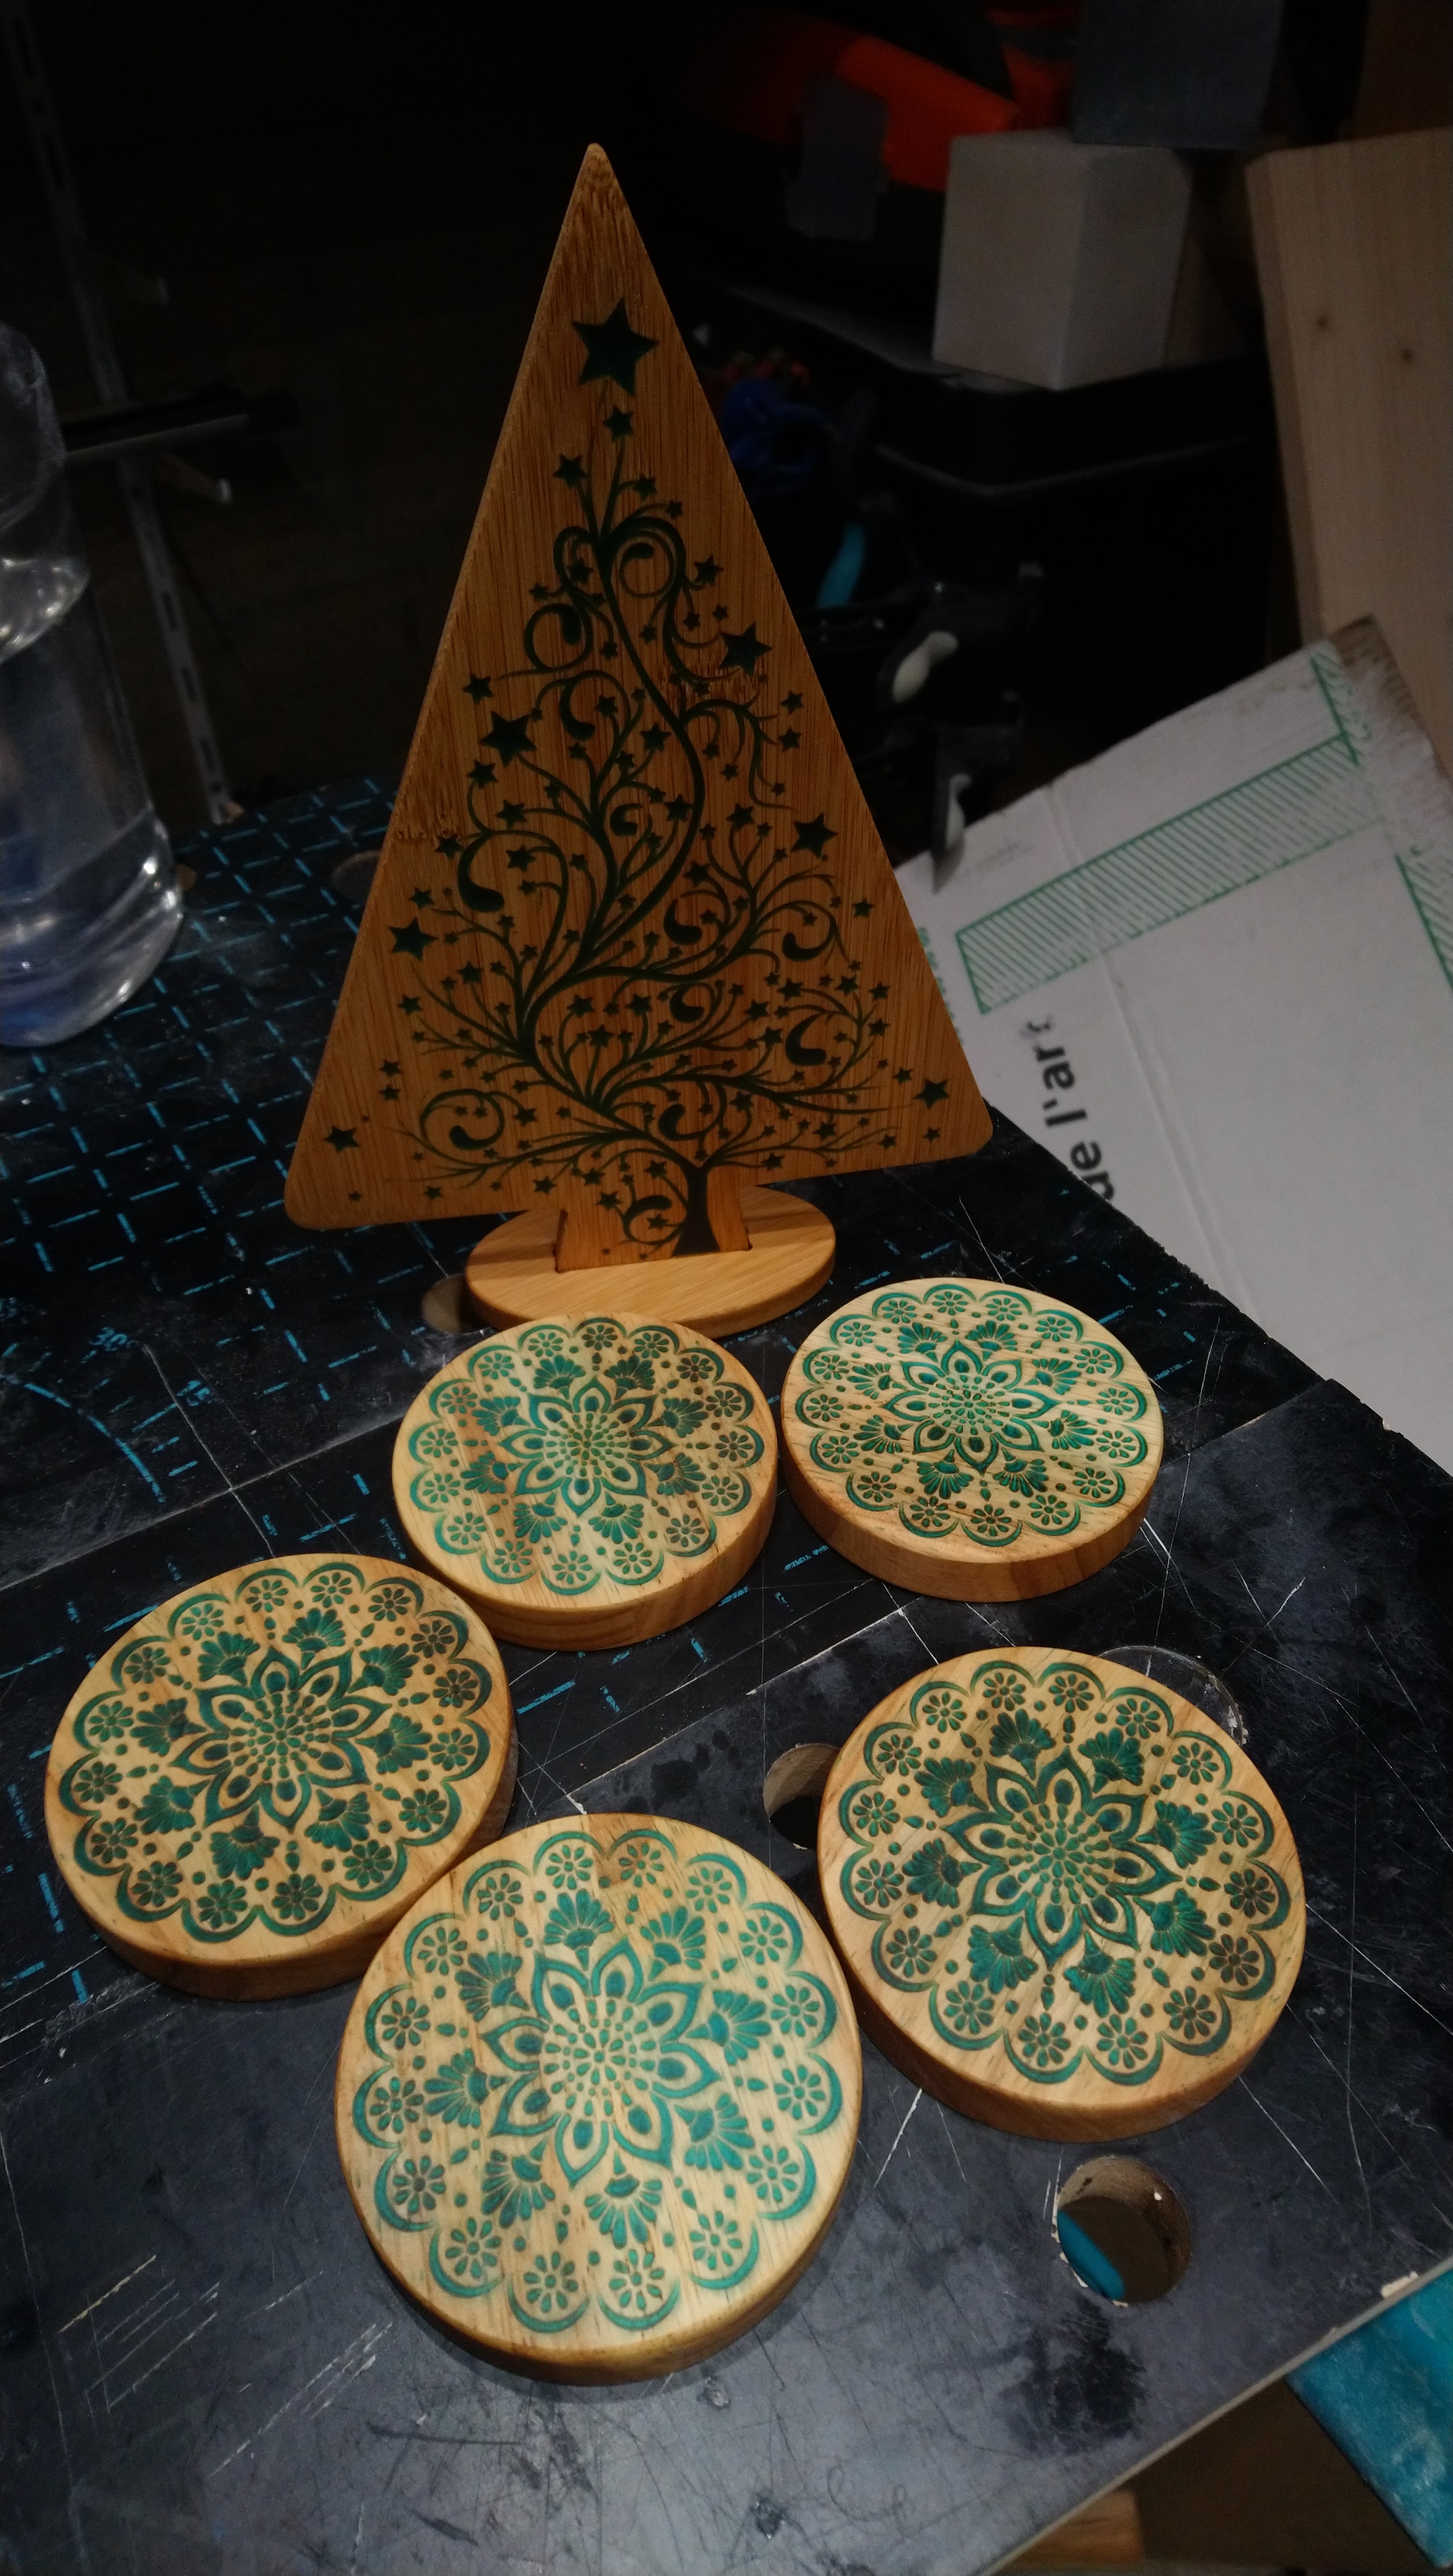
I have been wanting to try epoxy resin inlay for a while, here is my very first attempt.
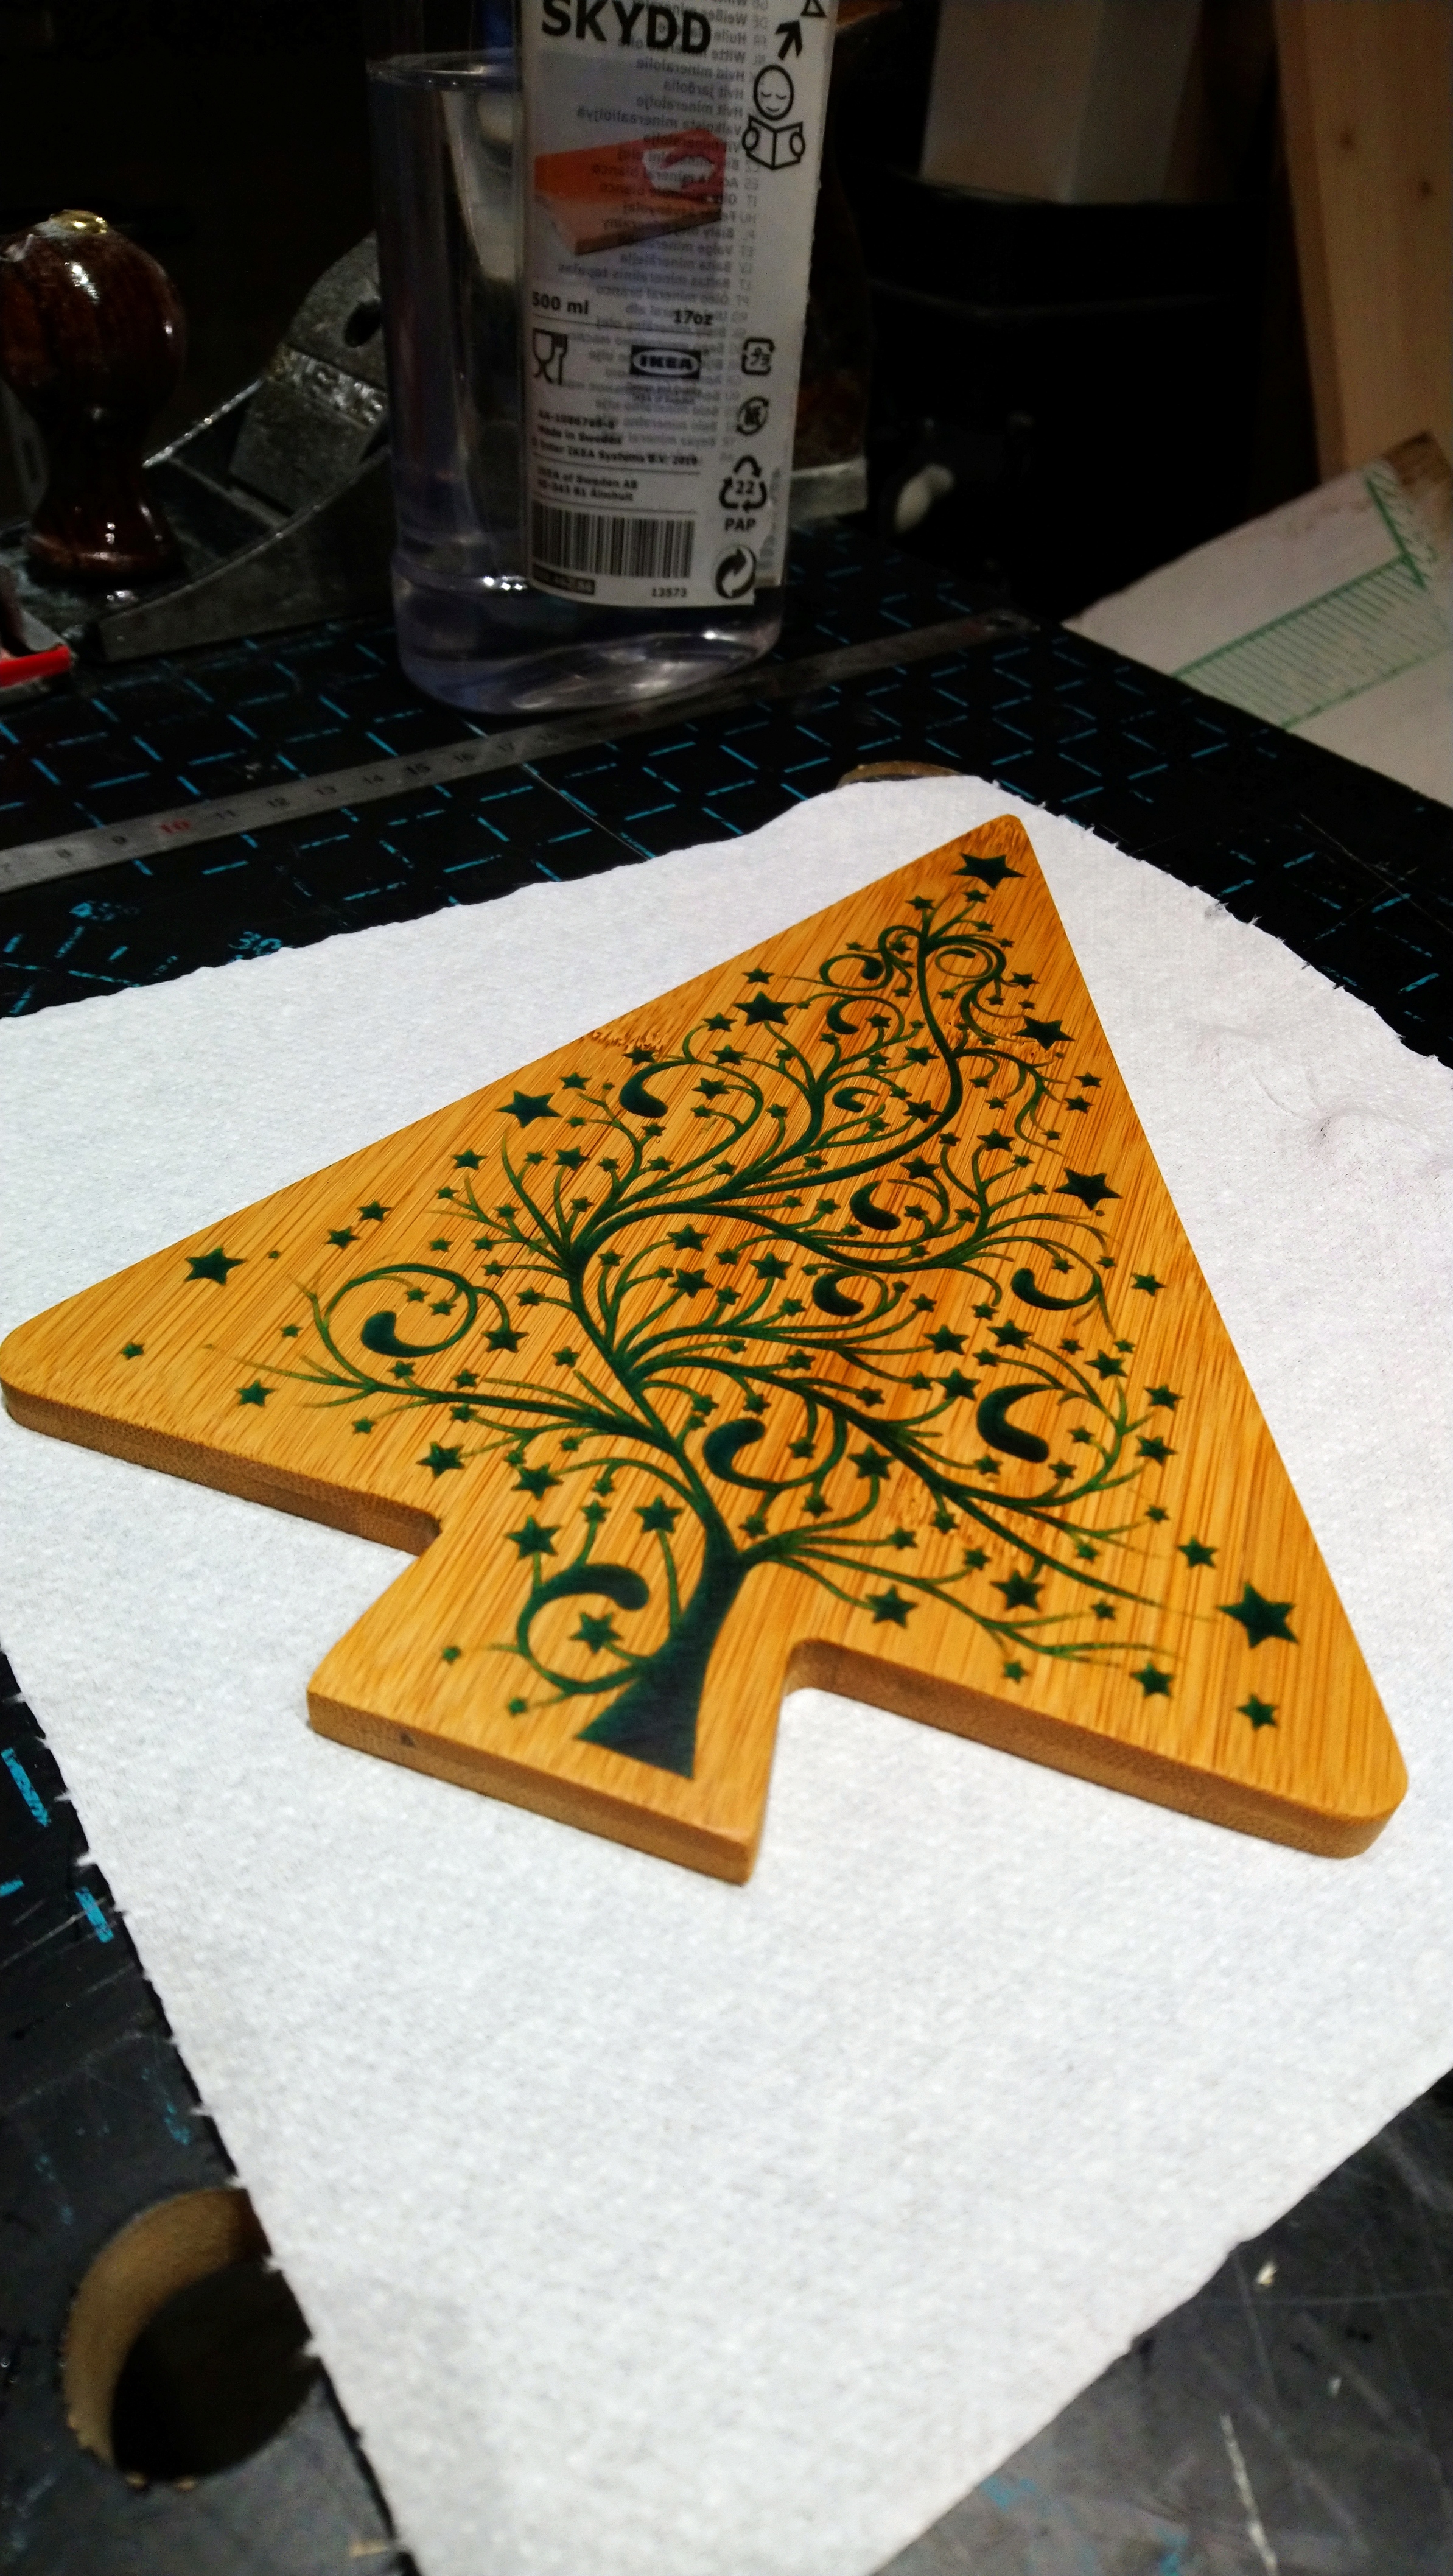
Not perfect, but it gave me all sorts of idea of where to go next with this technique, and it’s easy enough.
I have been wanting to try epoxy resin inlay for a while, here is my very first attempt.
Not perfect, but it gave me all sorts of idea of where to go next with this technique, and it’s easy enough.
Looks good. What kind of resin did you use? Did you put it in carefully enough to not need to sand it?
Beautiful work!
Well done!
I used a “Resin4Decor high gloss epoxy resin”. And I learned the “do not put too much resin” lesson the hard way, I had to sand off almost 1mm of epoxy and it took forever 
While I was at it I did a set of coasters, using beech. The resin bled a little bit in the wood, while I had zero bleeding with the bamboo. Interesting…
You can try painting on a very light coat of clear resin first then adding the colored resin after it dries. They look good in the photos.
Use a coat of sanding sealer on porous wood first.
How did you apply the resin? What depth did you use? It looks great!
I just poured the resin from a cup, but way too much. Next time I’ll use a syringe or something to be more precise and minimize the sanding. The depth is whatever the 90deg Vbit took to carve the features, about 3-4mm at the deepest places.
I found out that air bubbles could be formed in a resin inlay from raw wood. So I applied polycrylic to the inksyvfirstvto seal it. Worked perfectly.
Nice chair ! thanks for sharing
Bamboo is just a grass and somehow bonded together to make “lumber” so I assume the bonding agent seals the bamboo in such a way to prevent bleeding. Inherent in regular wood is air and unless you seal it first there are bound to be air bubbles. However a heat gun or torch just after pouring the resin held about 6-8 inches above the piece will pop the air bubbles. I have had great success with a product called art 'N Glow clear casting resin. www.artnglow.com/resin
It makes perfect sense thanks (bamboo). I did use a torch on the second try, no bubbles. Next time I’ll be less lazy and apply a coating before pouring the resin and it should be all good
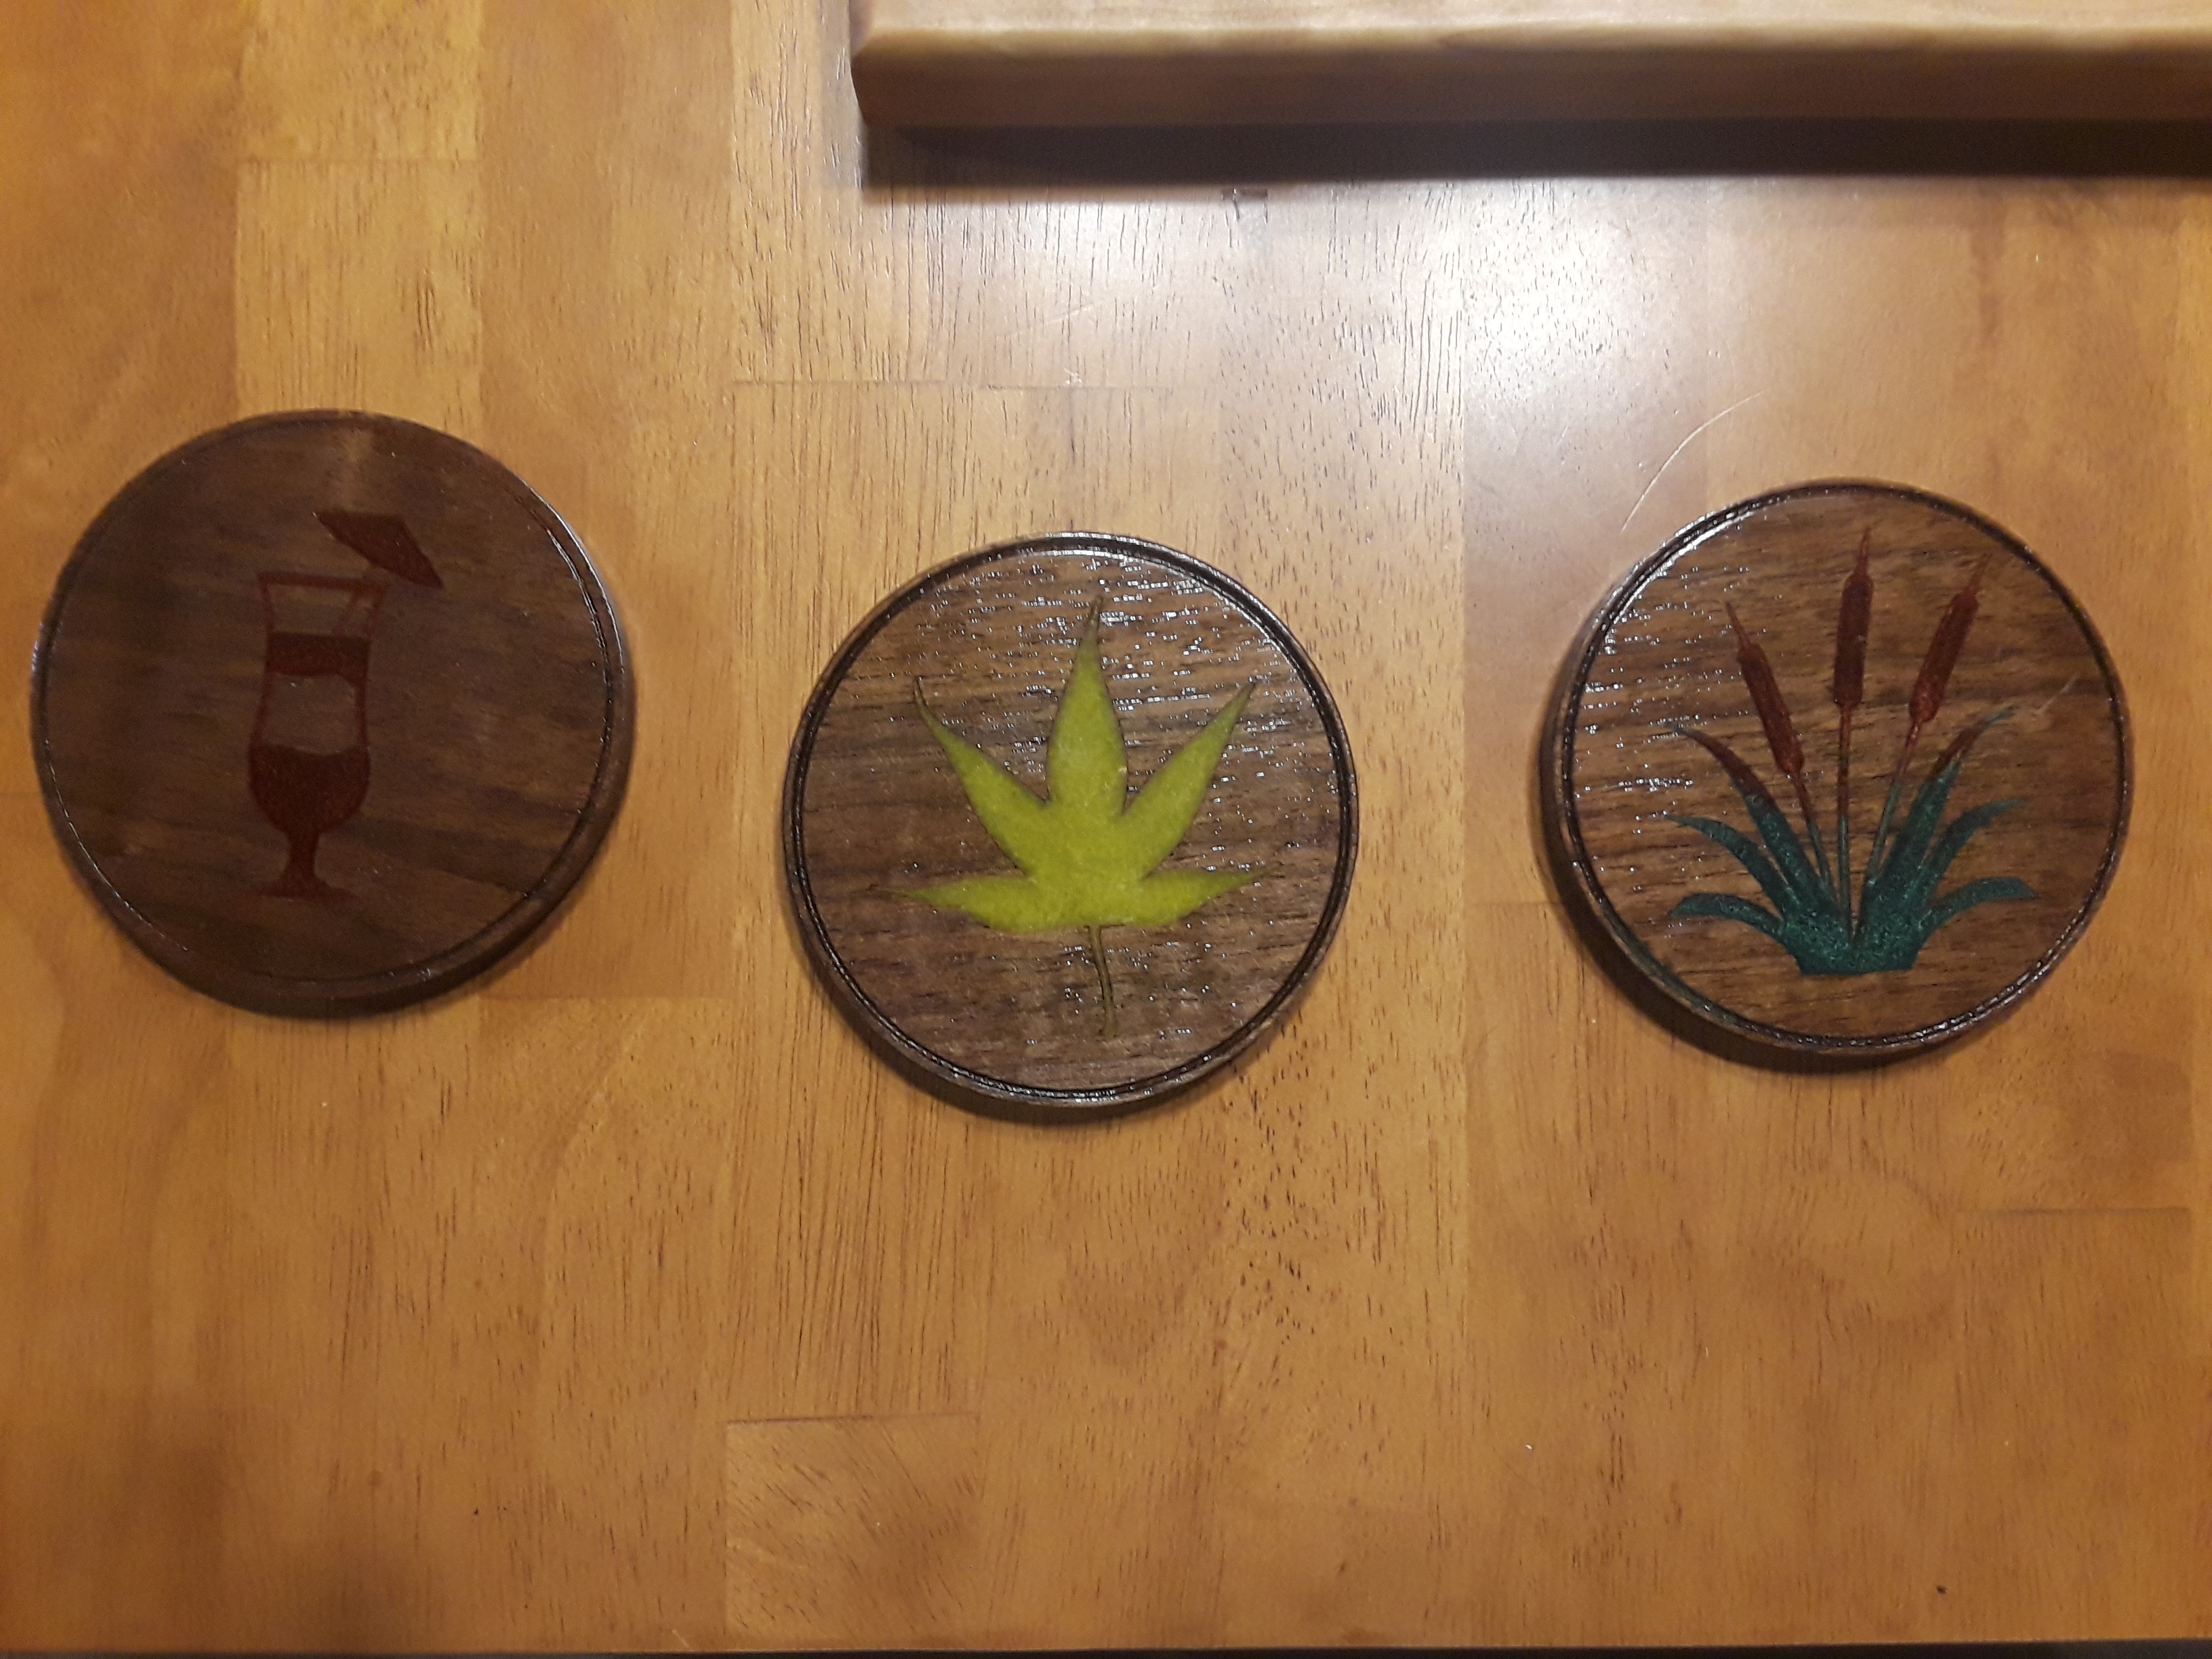
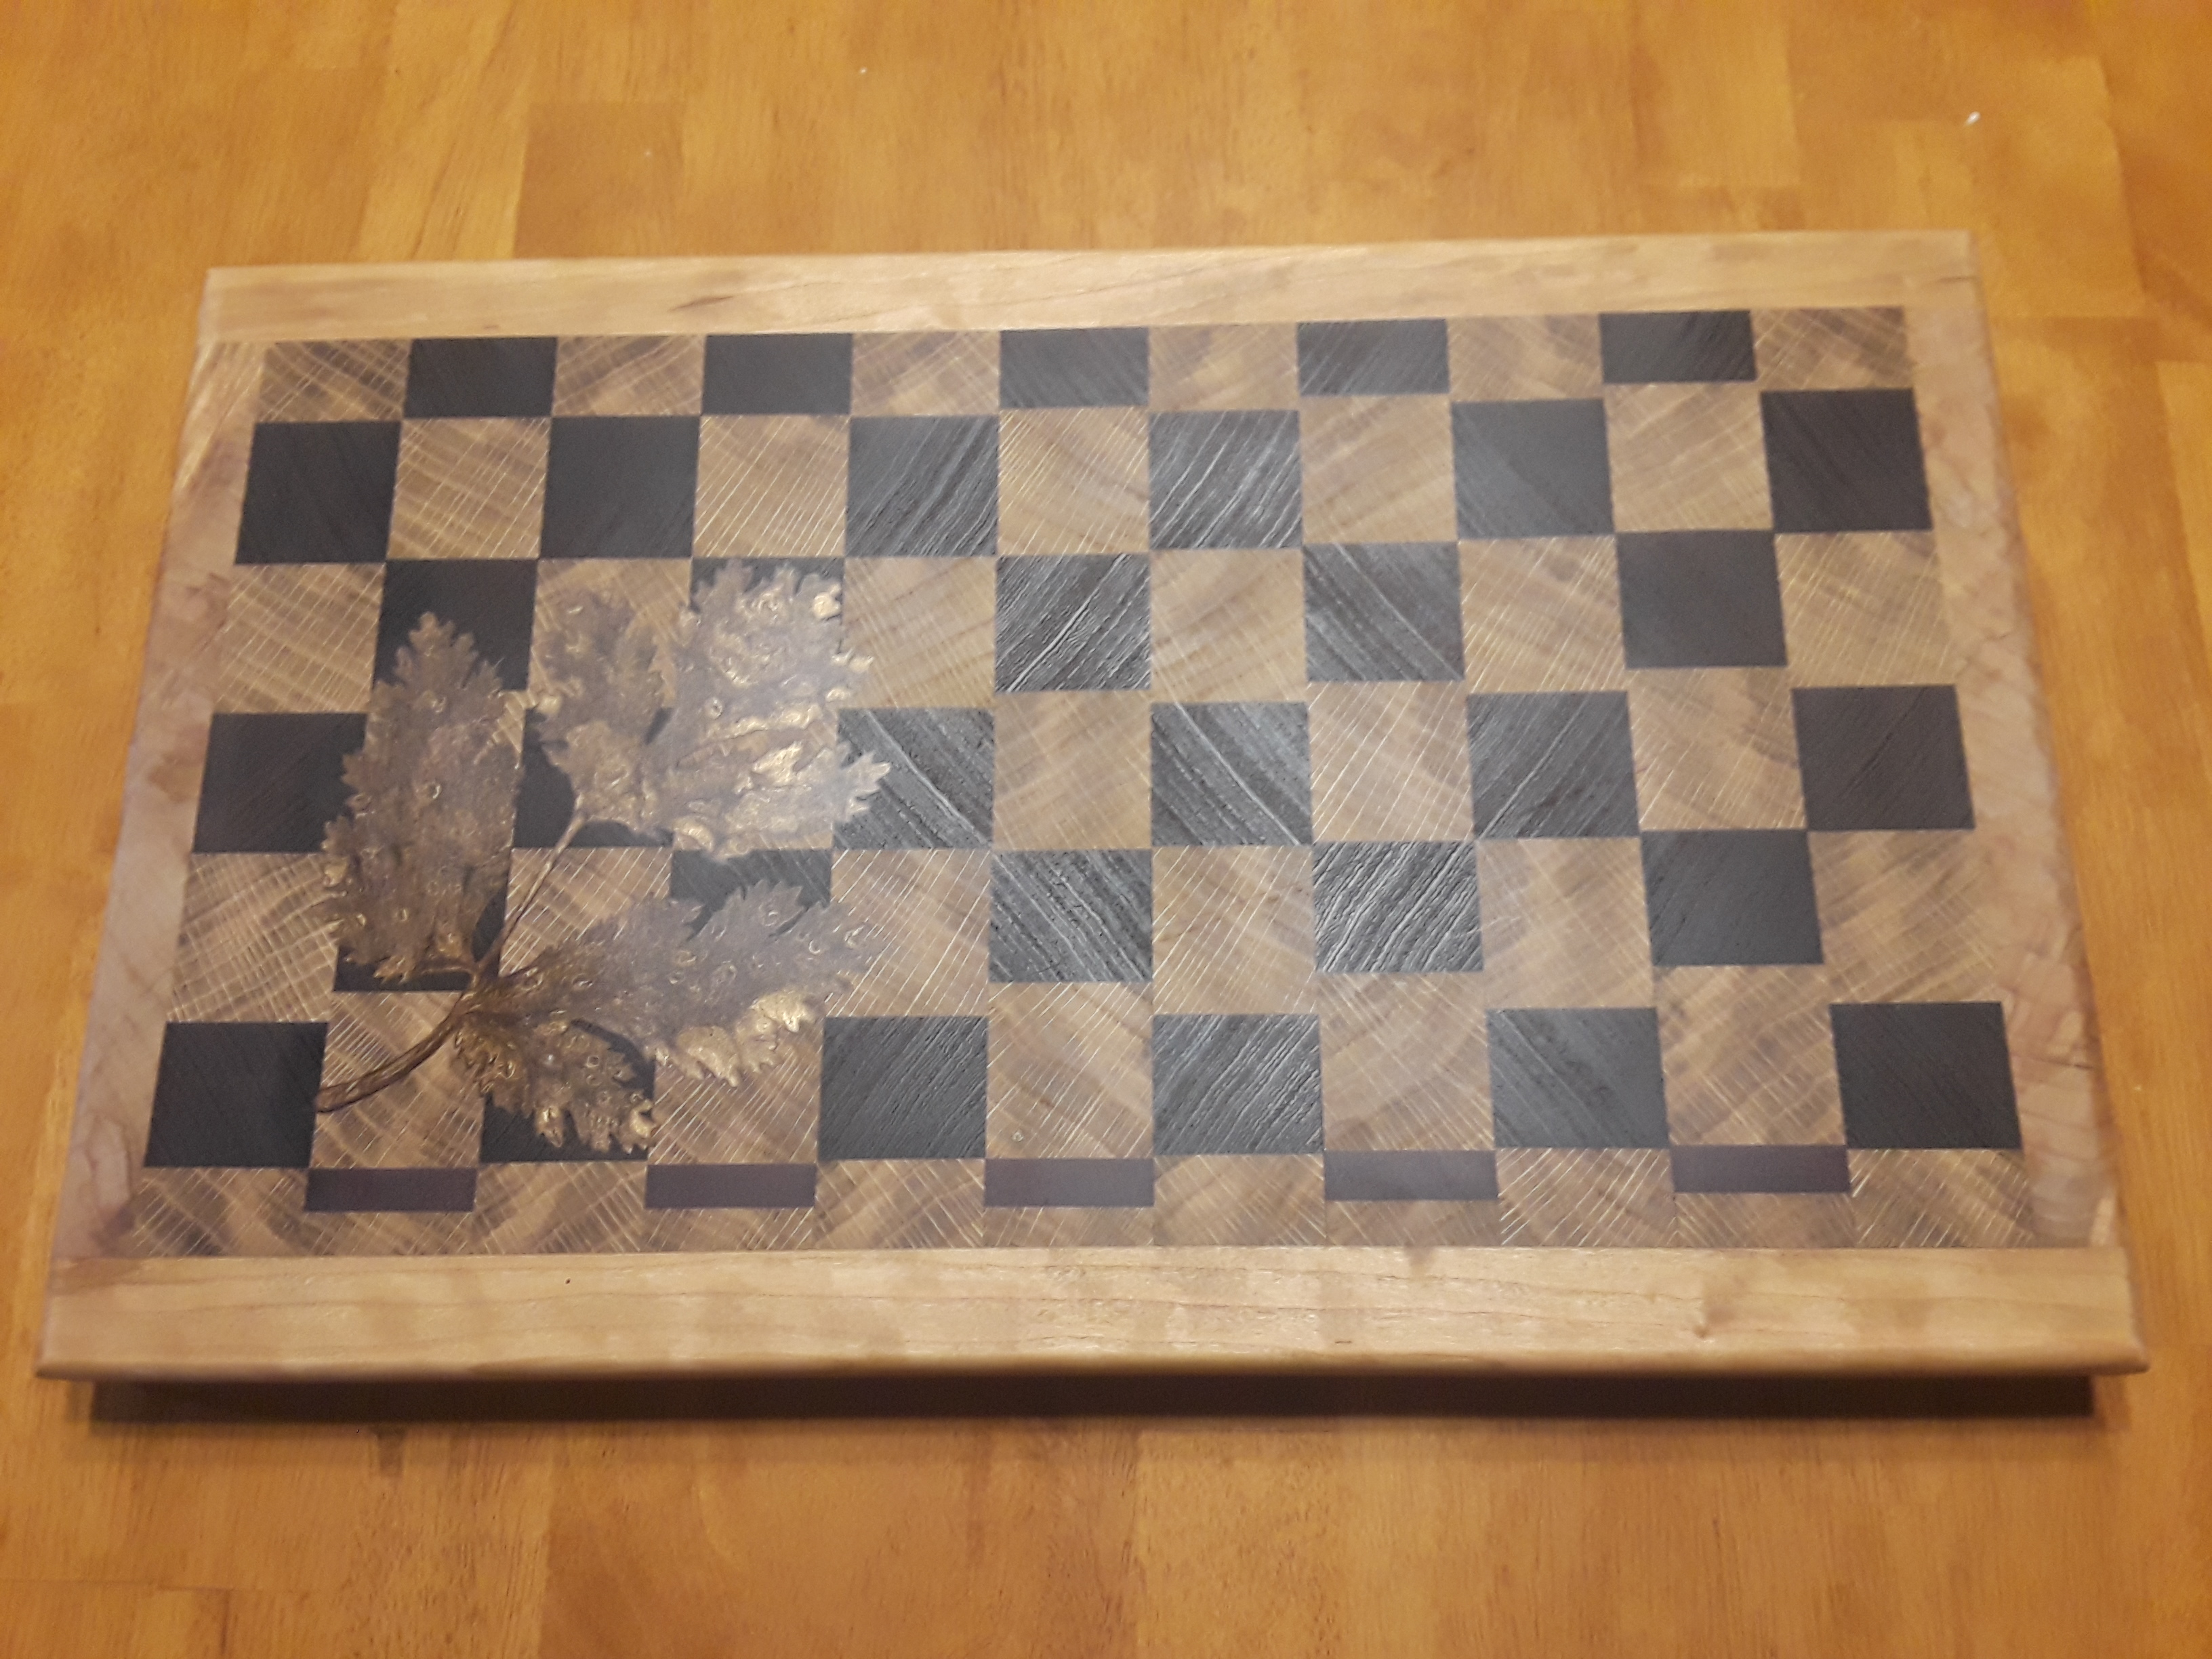
Julien, we must have some thoughts in common: I have just done a resin filled set of v-carved items, too! Used the art’N Glow resin to fill drink coaster inlays, and flower /herb inlays on some cutting boards. I ran into a “slight” problem on a couple of boards. When mixing the resin, I mixed equal parts of resin and…resin! Both are colorless, and my aging eyes allowed the dummy here to pour and mix pure resin and think it would harden. Whoa! Makes for a messy cleanup after the resin sits on end grain for a day or so. 
don’t hesitate to share a few pictures, I’m always looking for inspiration !
@roodyj I imagine that you are not the only one to make that mistake! No worries. I have yet to meet a person that has never made a mistake.
@Julien As for ideas, I really want to do a Frank Loyyd Wright style inlay on a picture frame in oak and join the corners with walnut splines. I have been trying to figure out a good way to groove out all the 1/8" lines from a 2.5"x.75"x6’ board of oak, probably cut down to fit into a Shapeoko 3 XXL. The challenge is maintaining a clean groove transition across the miter joint before its assembled. One advantage is that I can cut miters to at least a 32nd or better. This is due to the typical dimensions for most of my frames easily exceeding the capacity of a benchtop planer. The workflow would be simple 1. Cut Grooves 2. Epoxy 3. Plane 4. Miter 5. Assemble 6. Splines 7. Finish. I just got a pile of white oak and a nice stick of walnut. I have pics of the goal but none that are my own. I will post one of my own soon though. I think with really creative design geometry one could get the miters to match the CNC machined lines easily while still giving the frame a complex but simple design.
Very cool ! Thanks for sharing
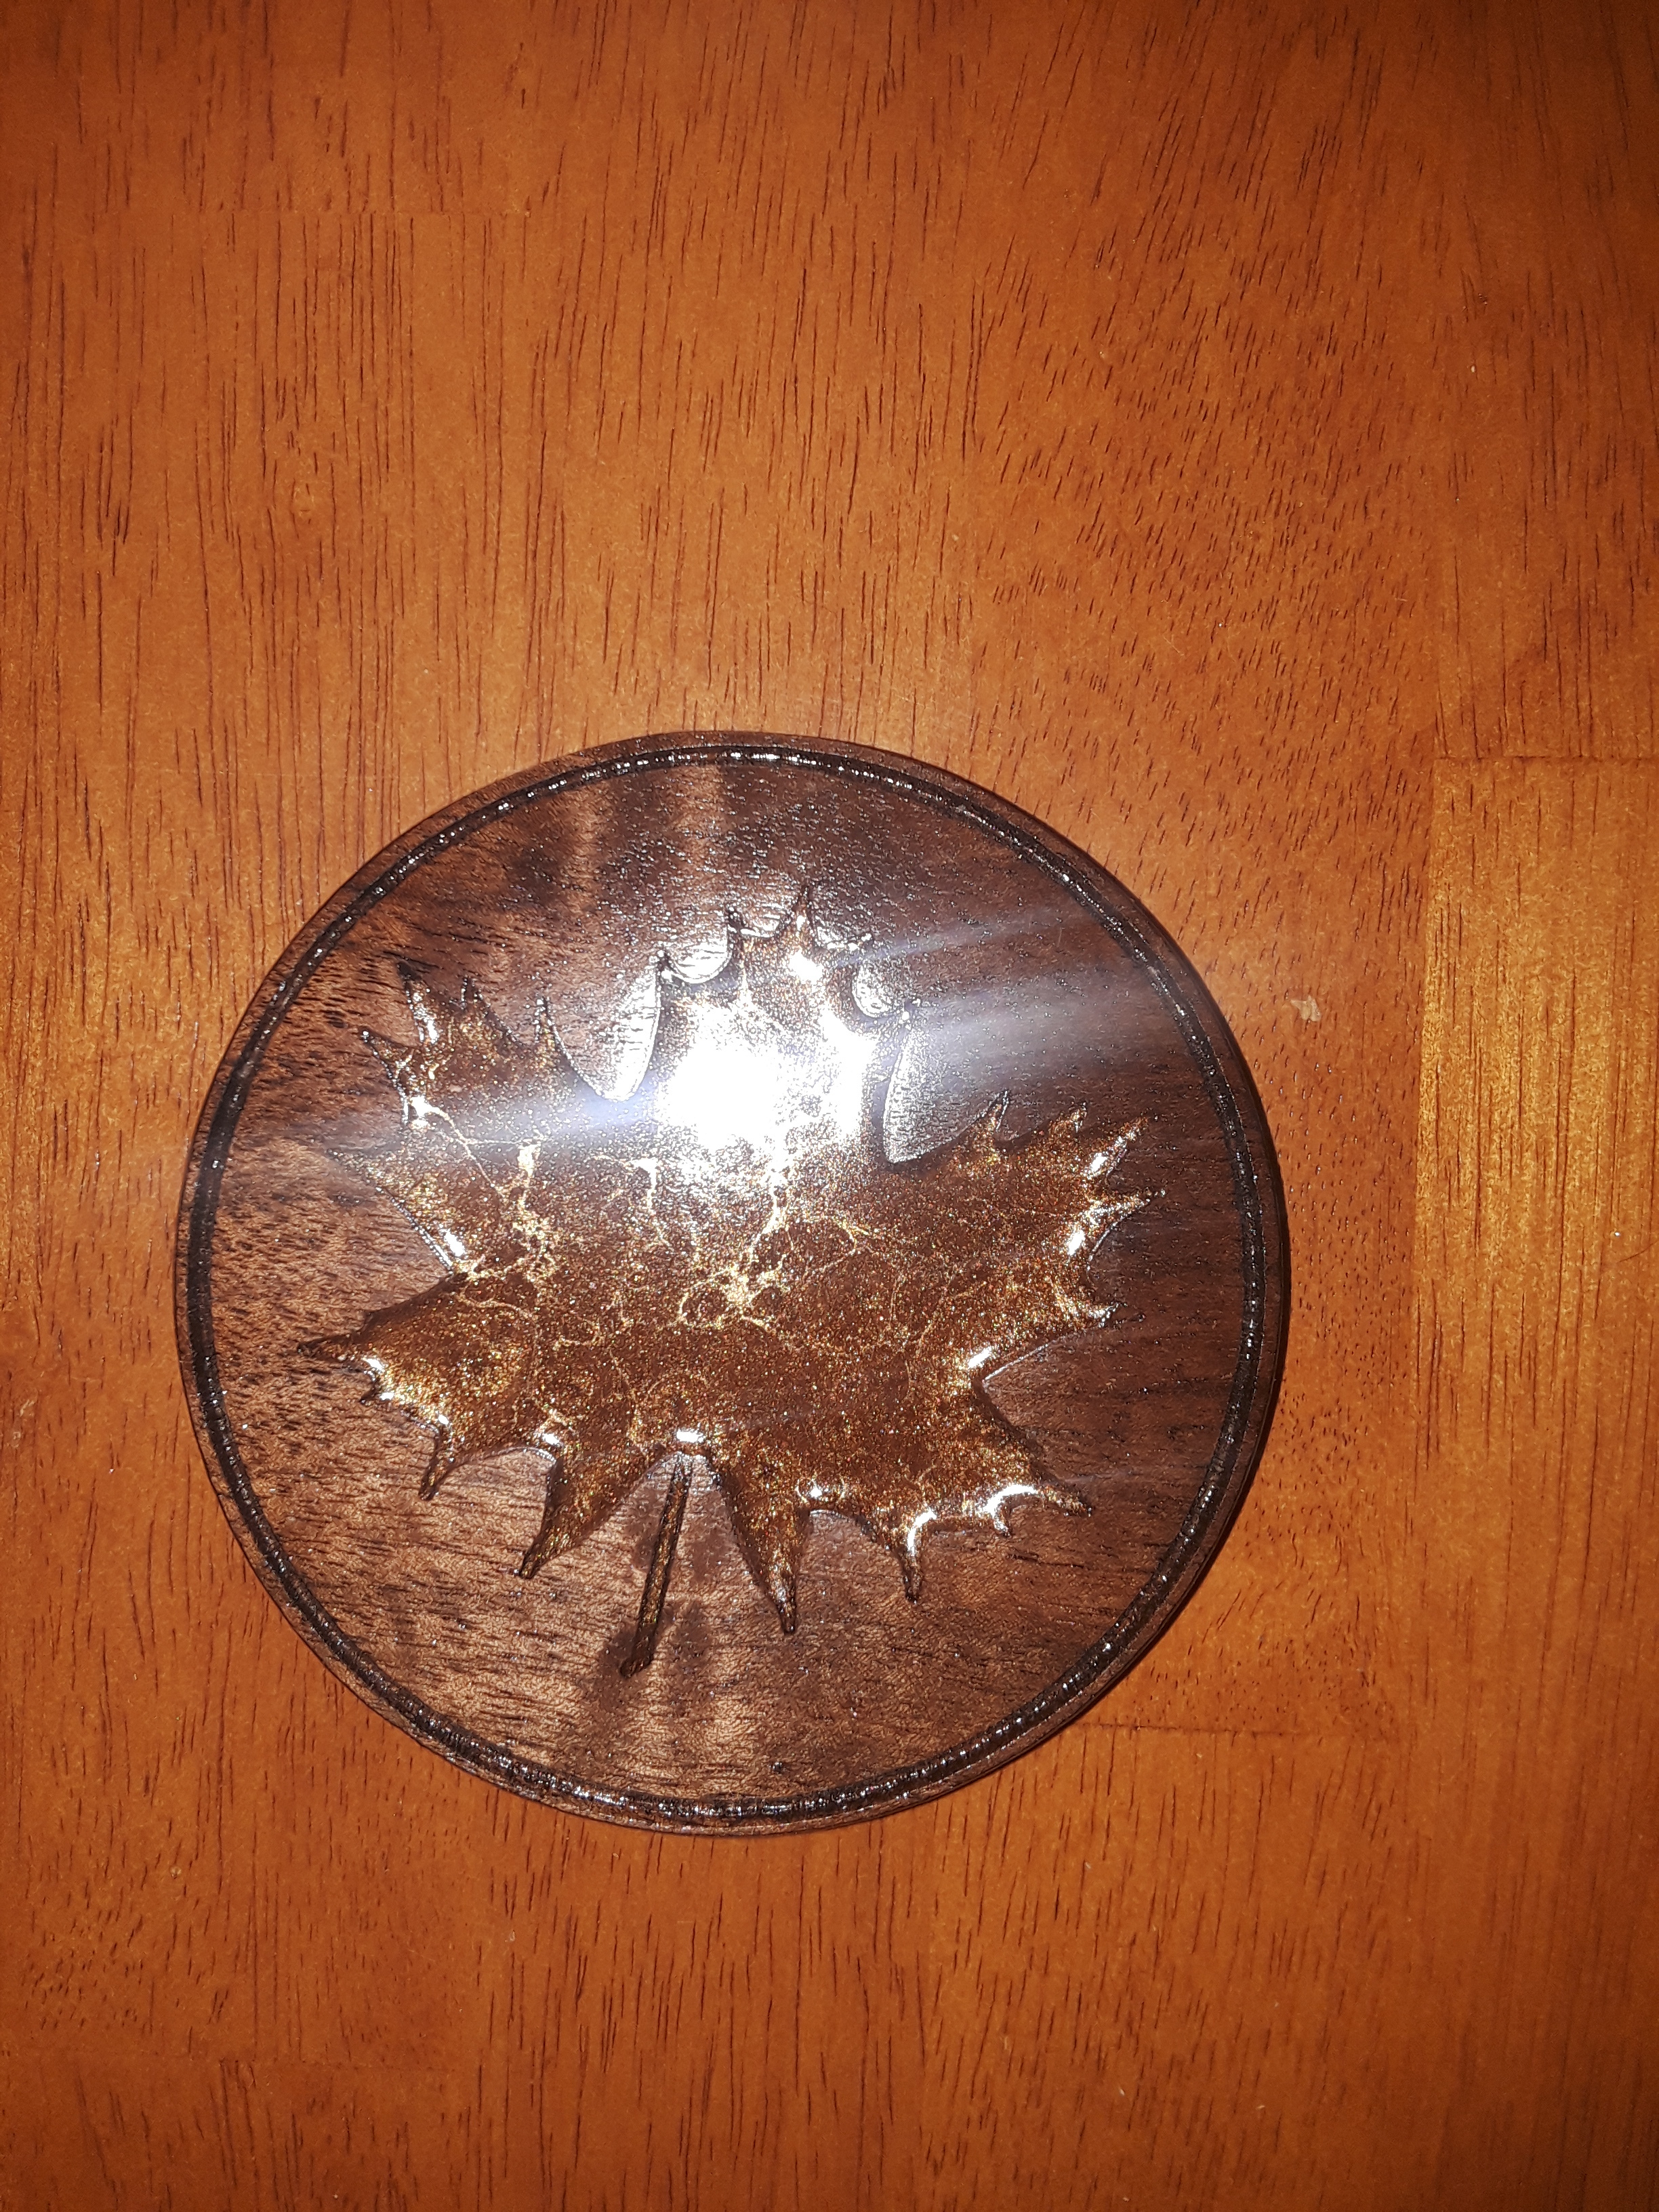
If you would like your resin to stand out a little more you can paint it with silver or gold metalic paint first.
The light reflects off it and makes it stand out better.
good tip, thanks ! I just received a set of color pigments (my initial try above was using food coloring I scavenged from the kitchen ) and will experiment soon, so I’ll give this a try.