Veneer inlayed Cribbage Board

Well….I’ve been playing with this idea for a long time. Let’s see if it turns out.

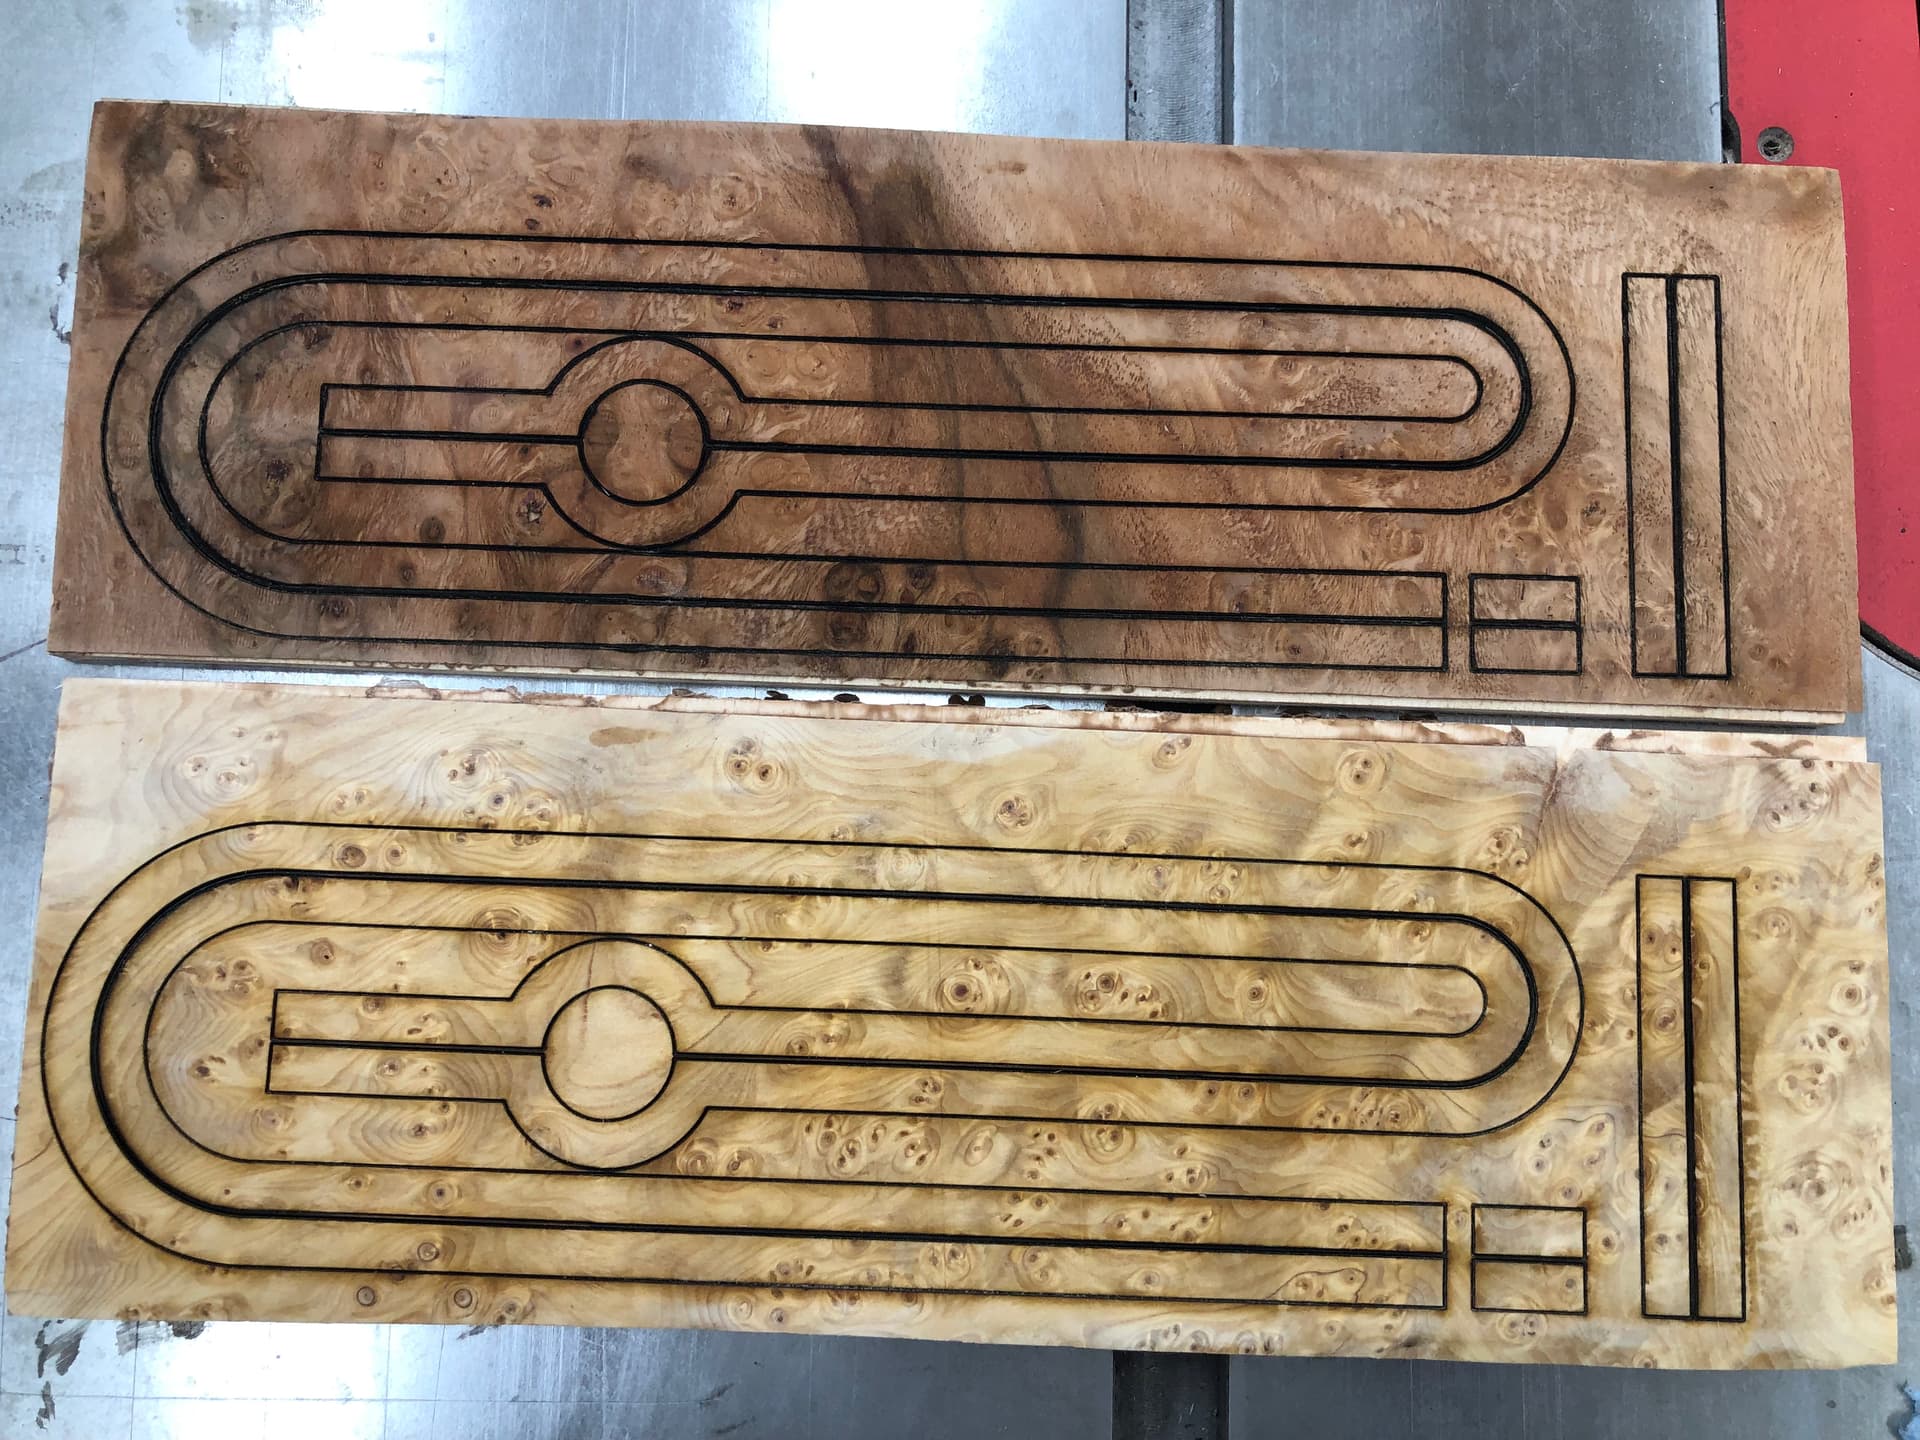
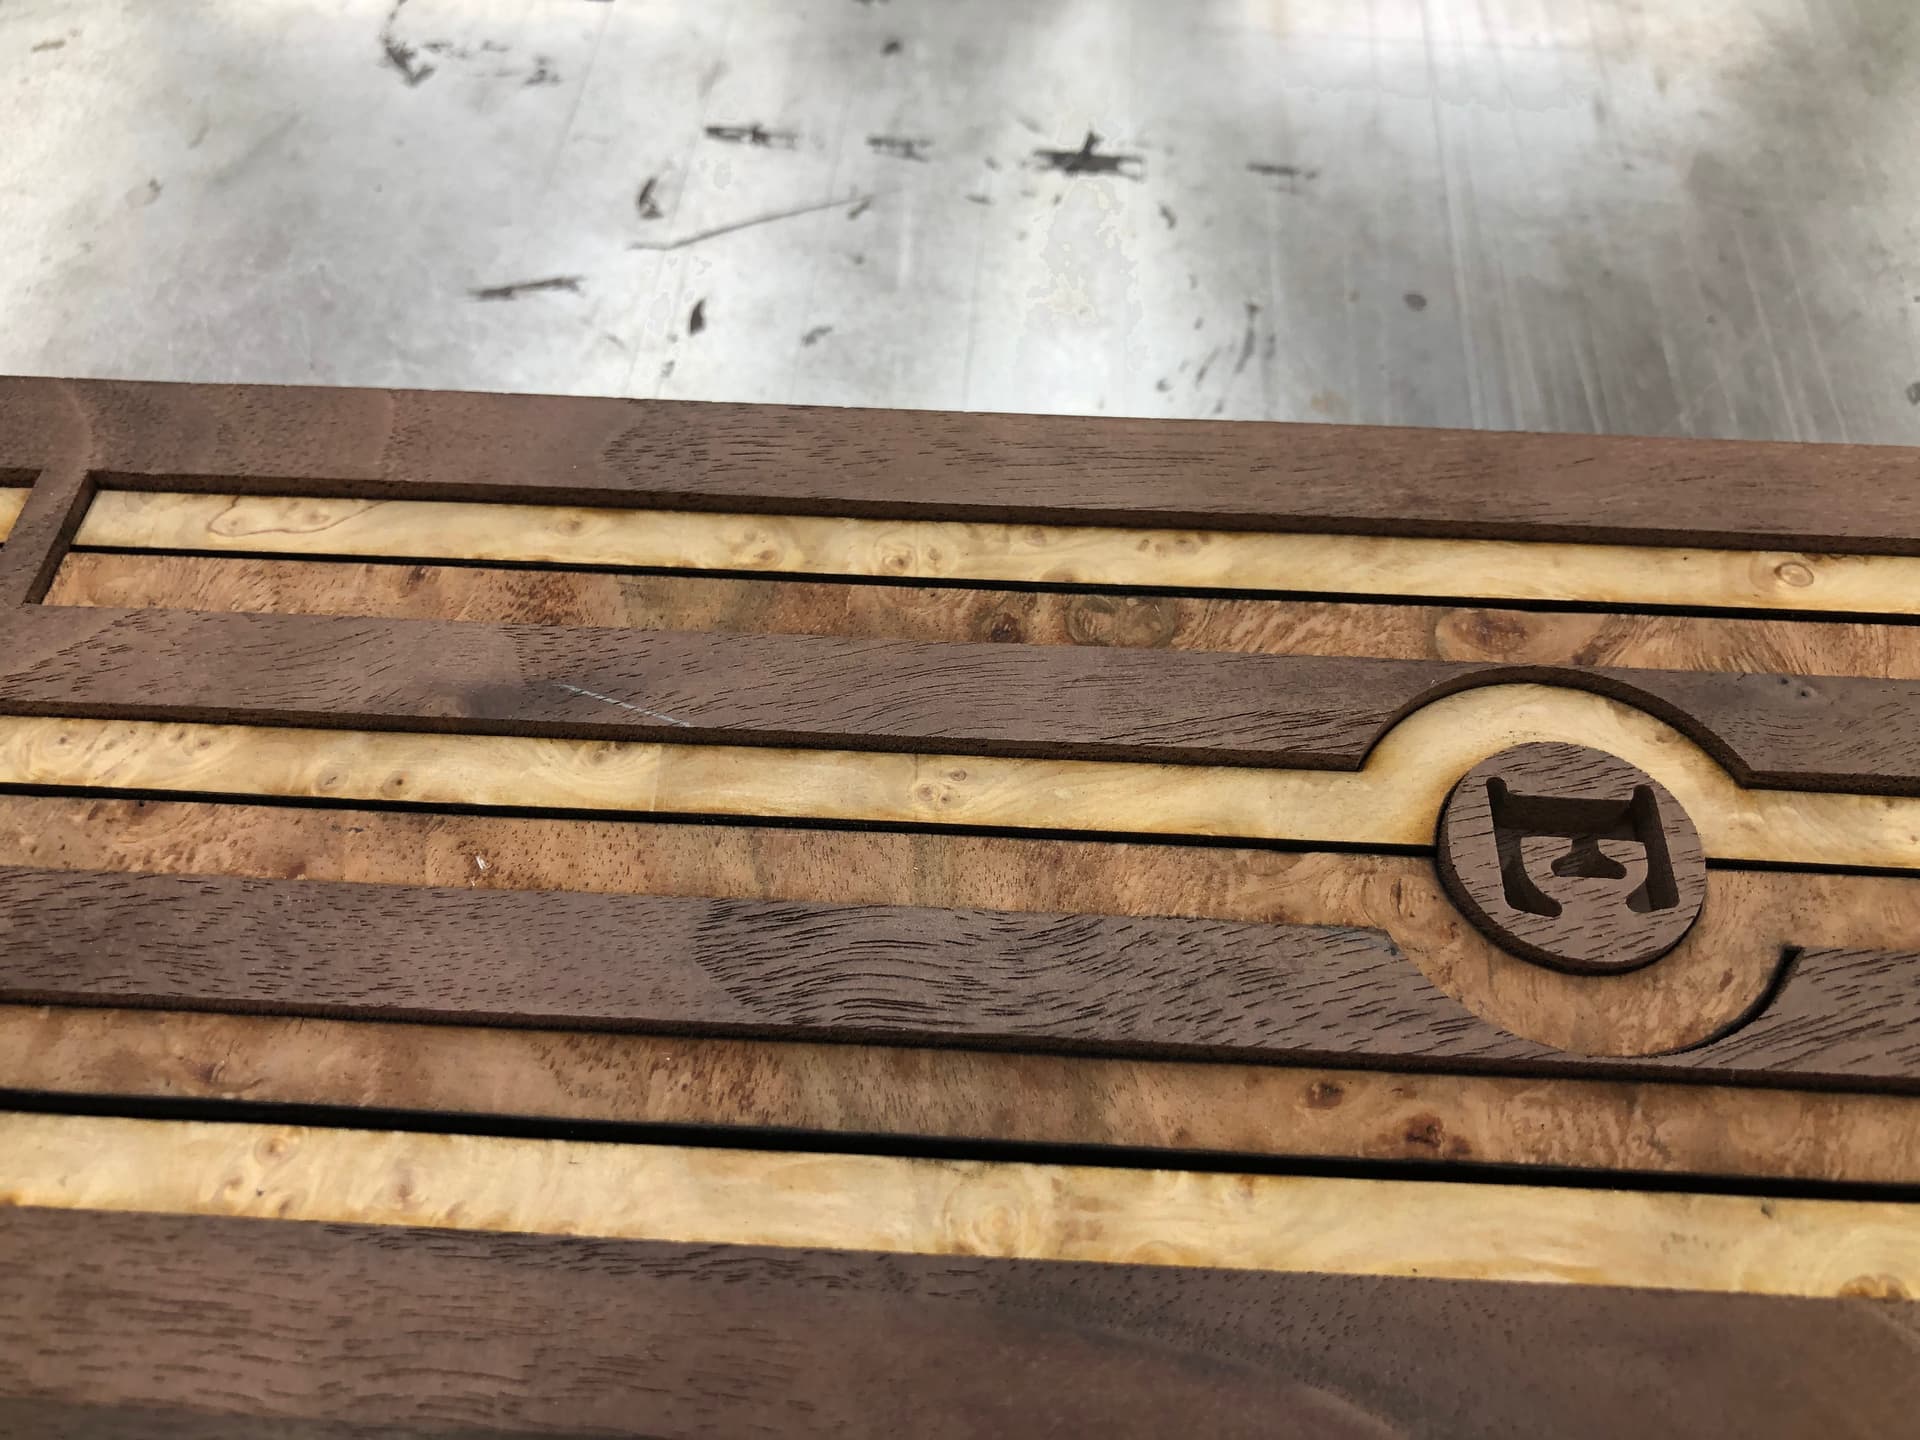
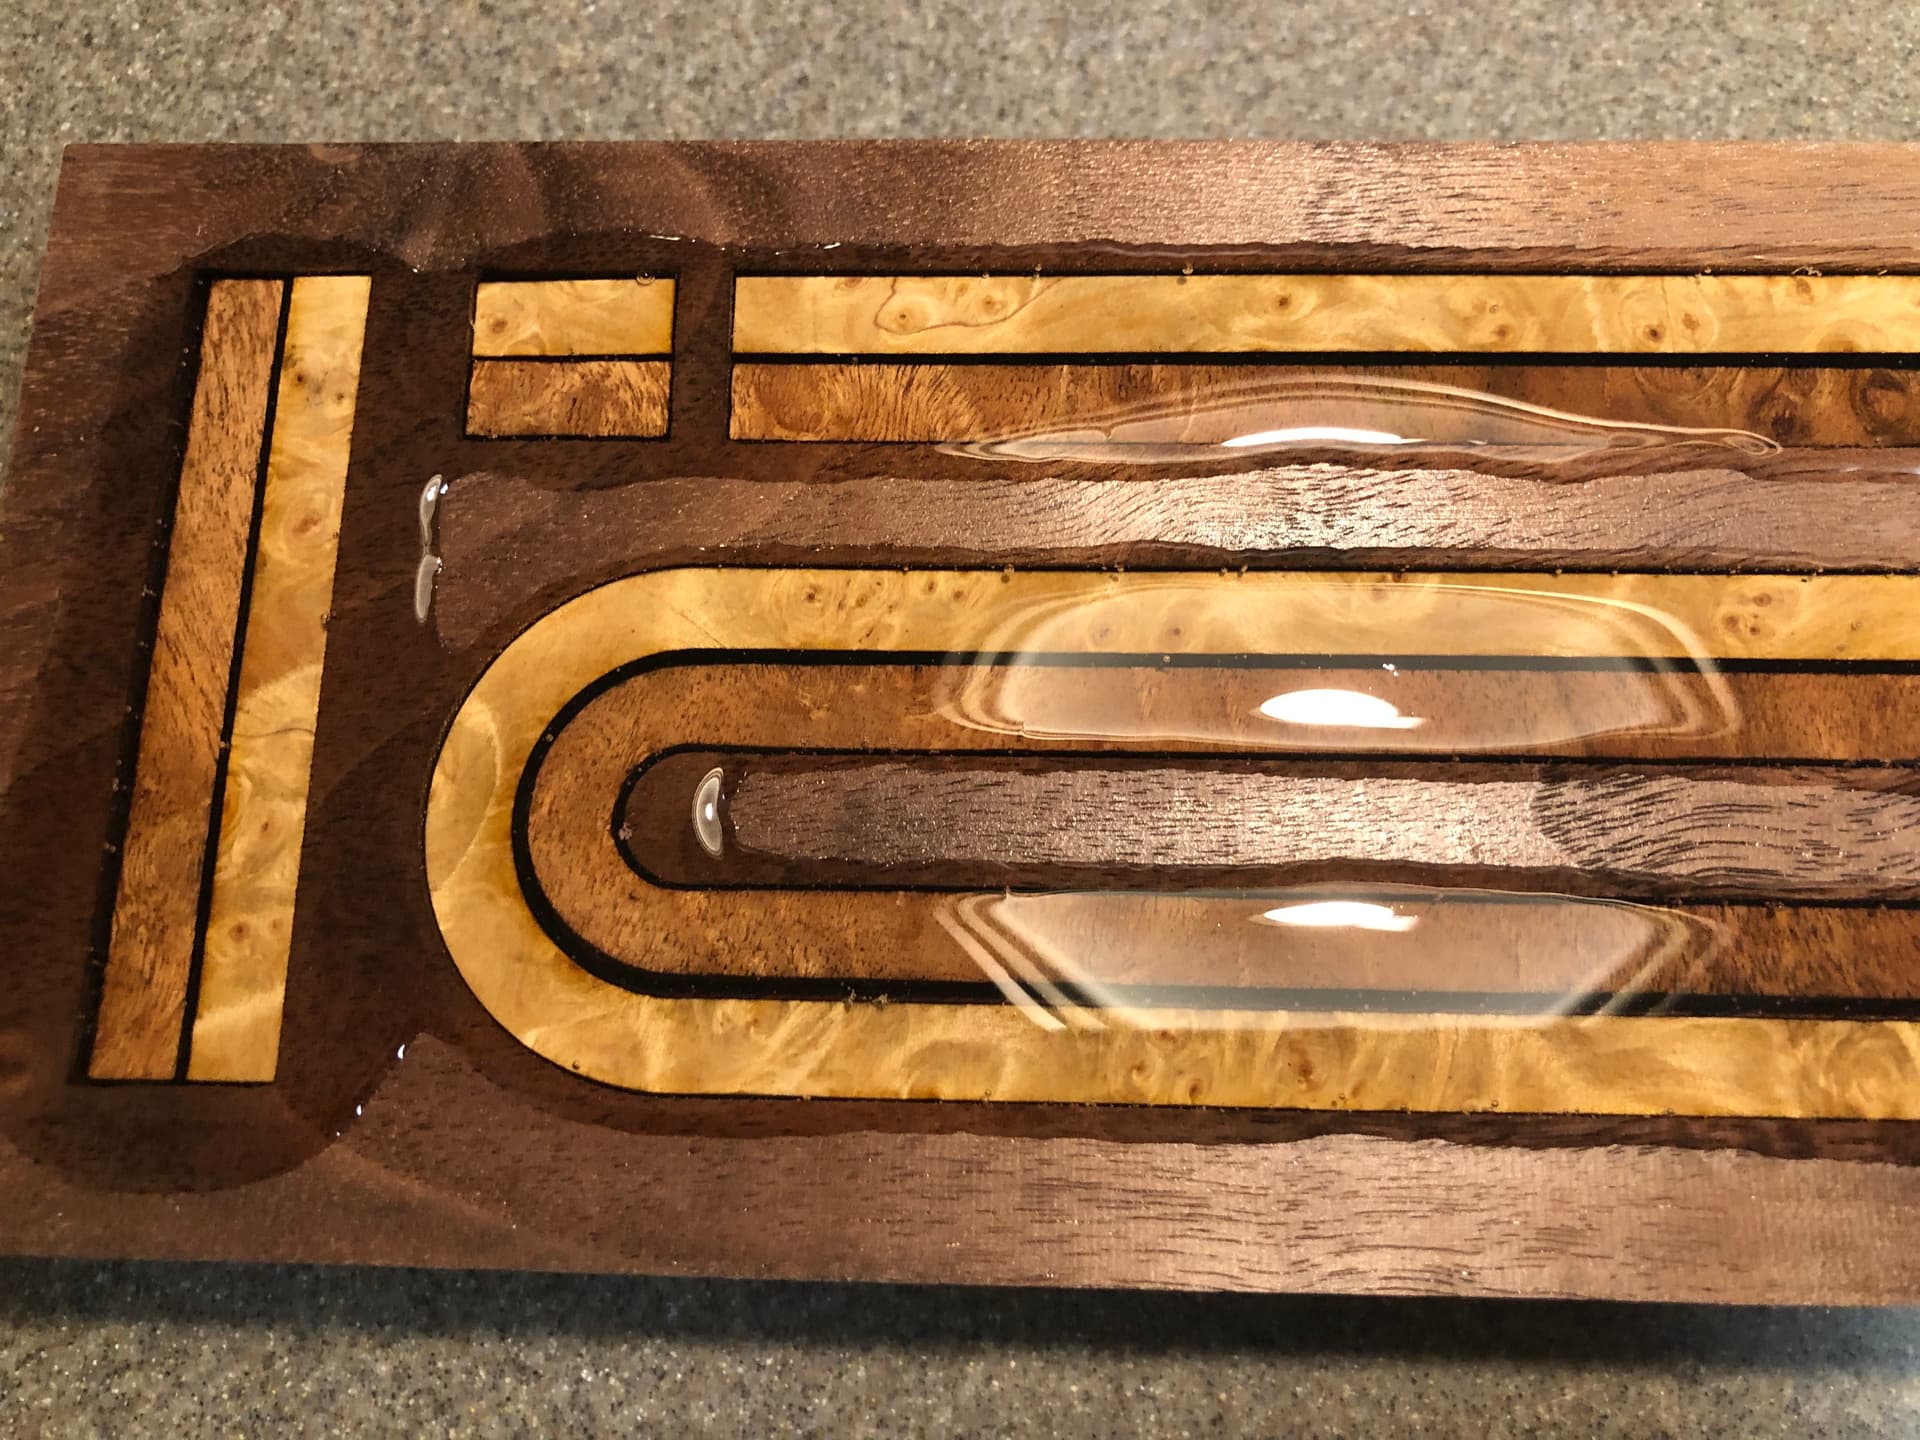
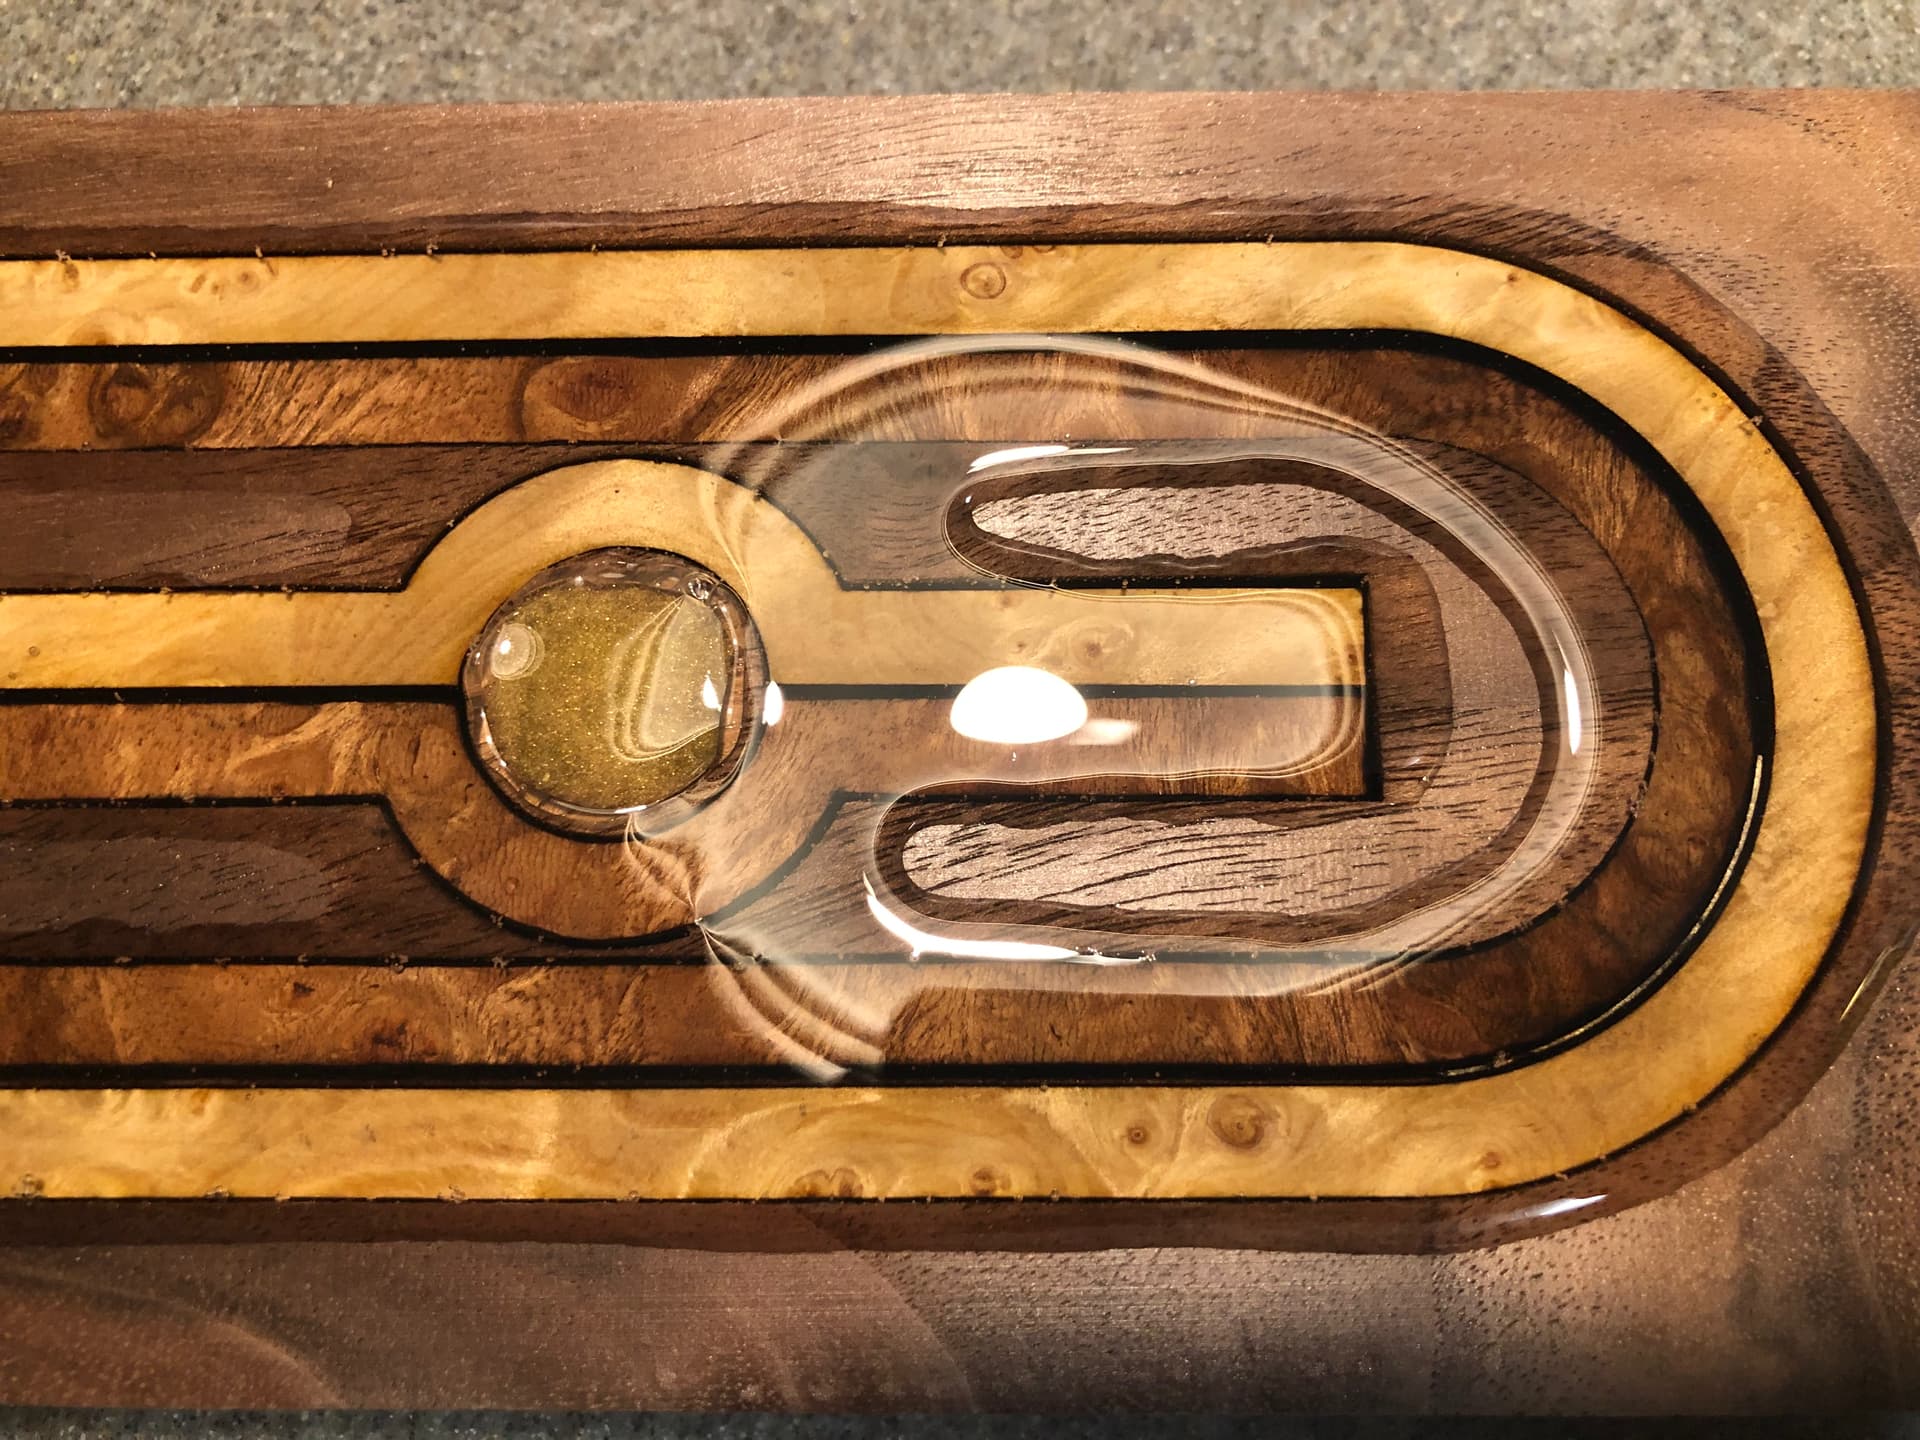
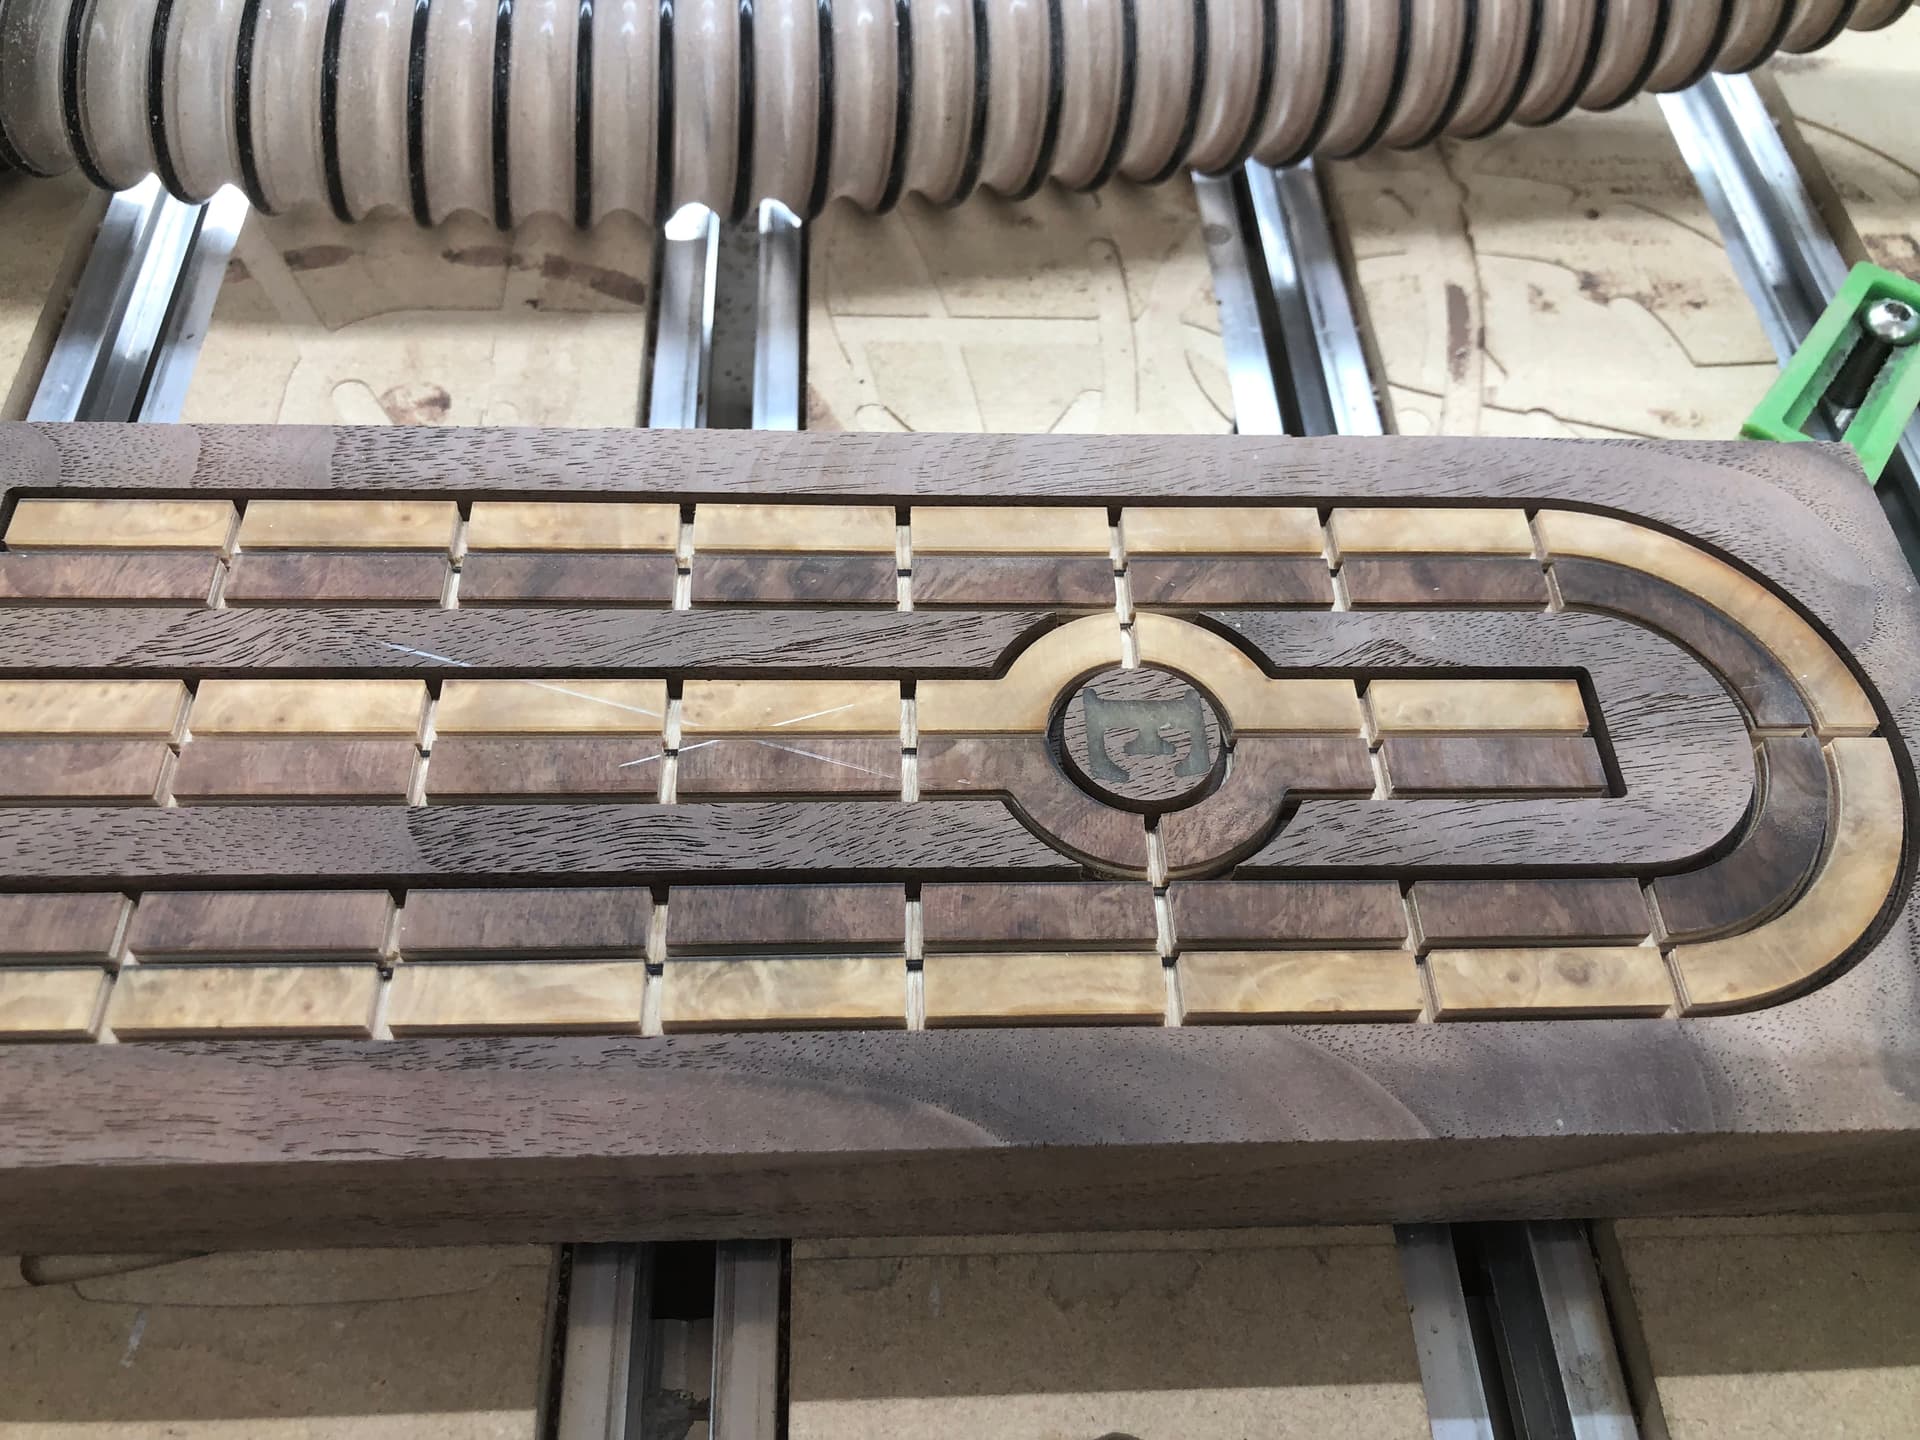
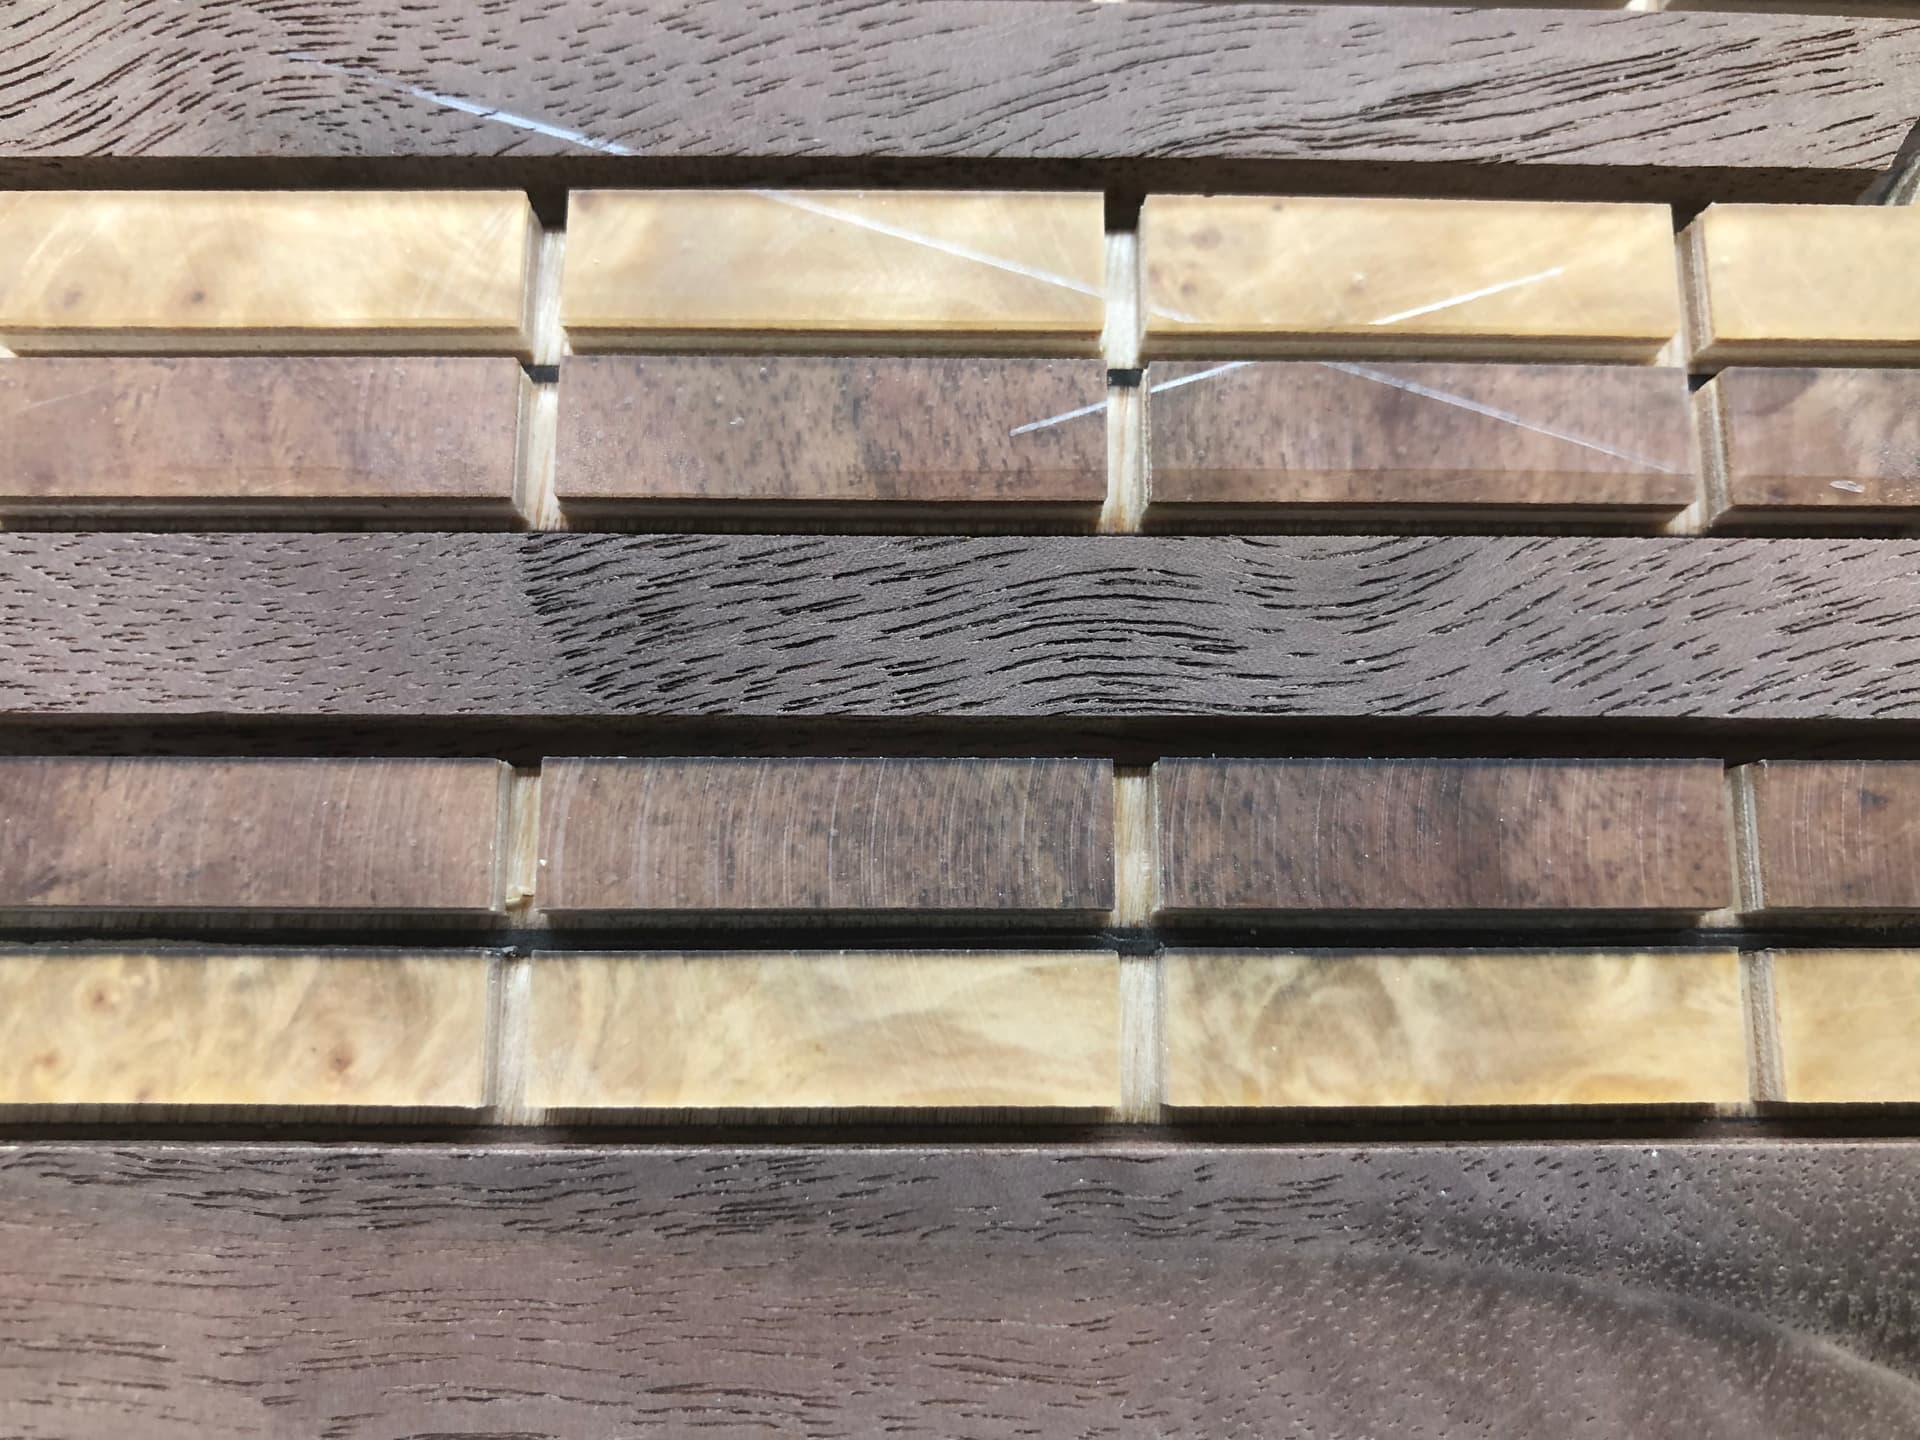
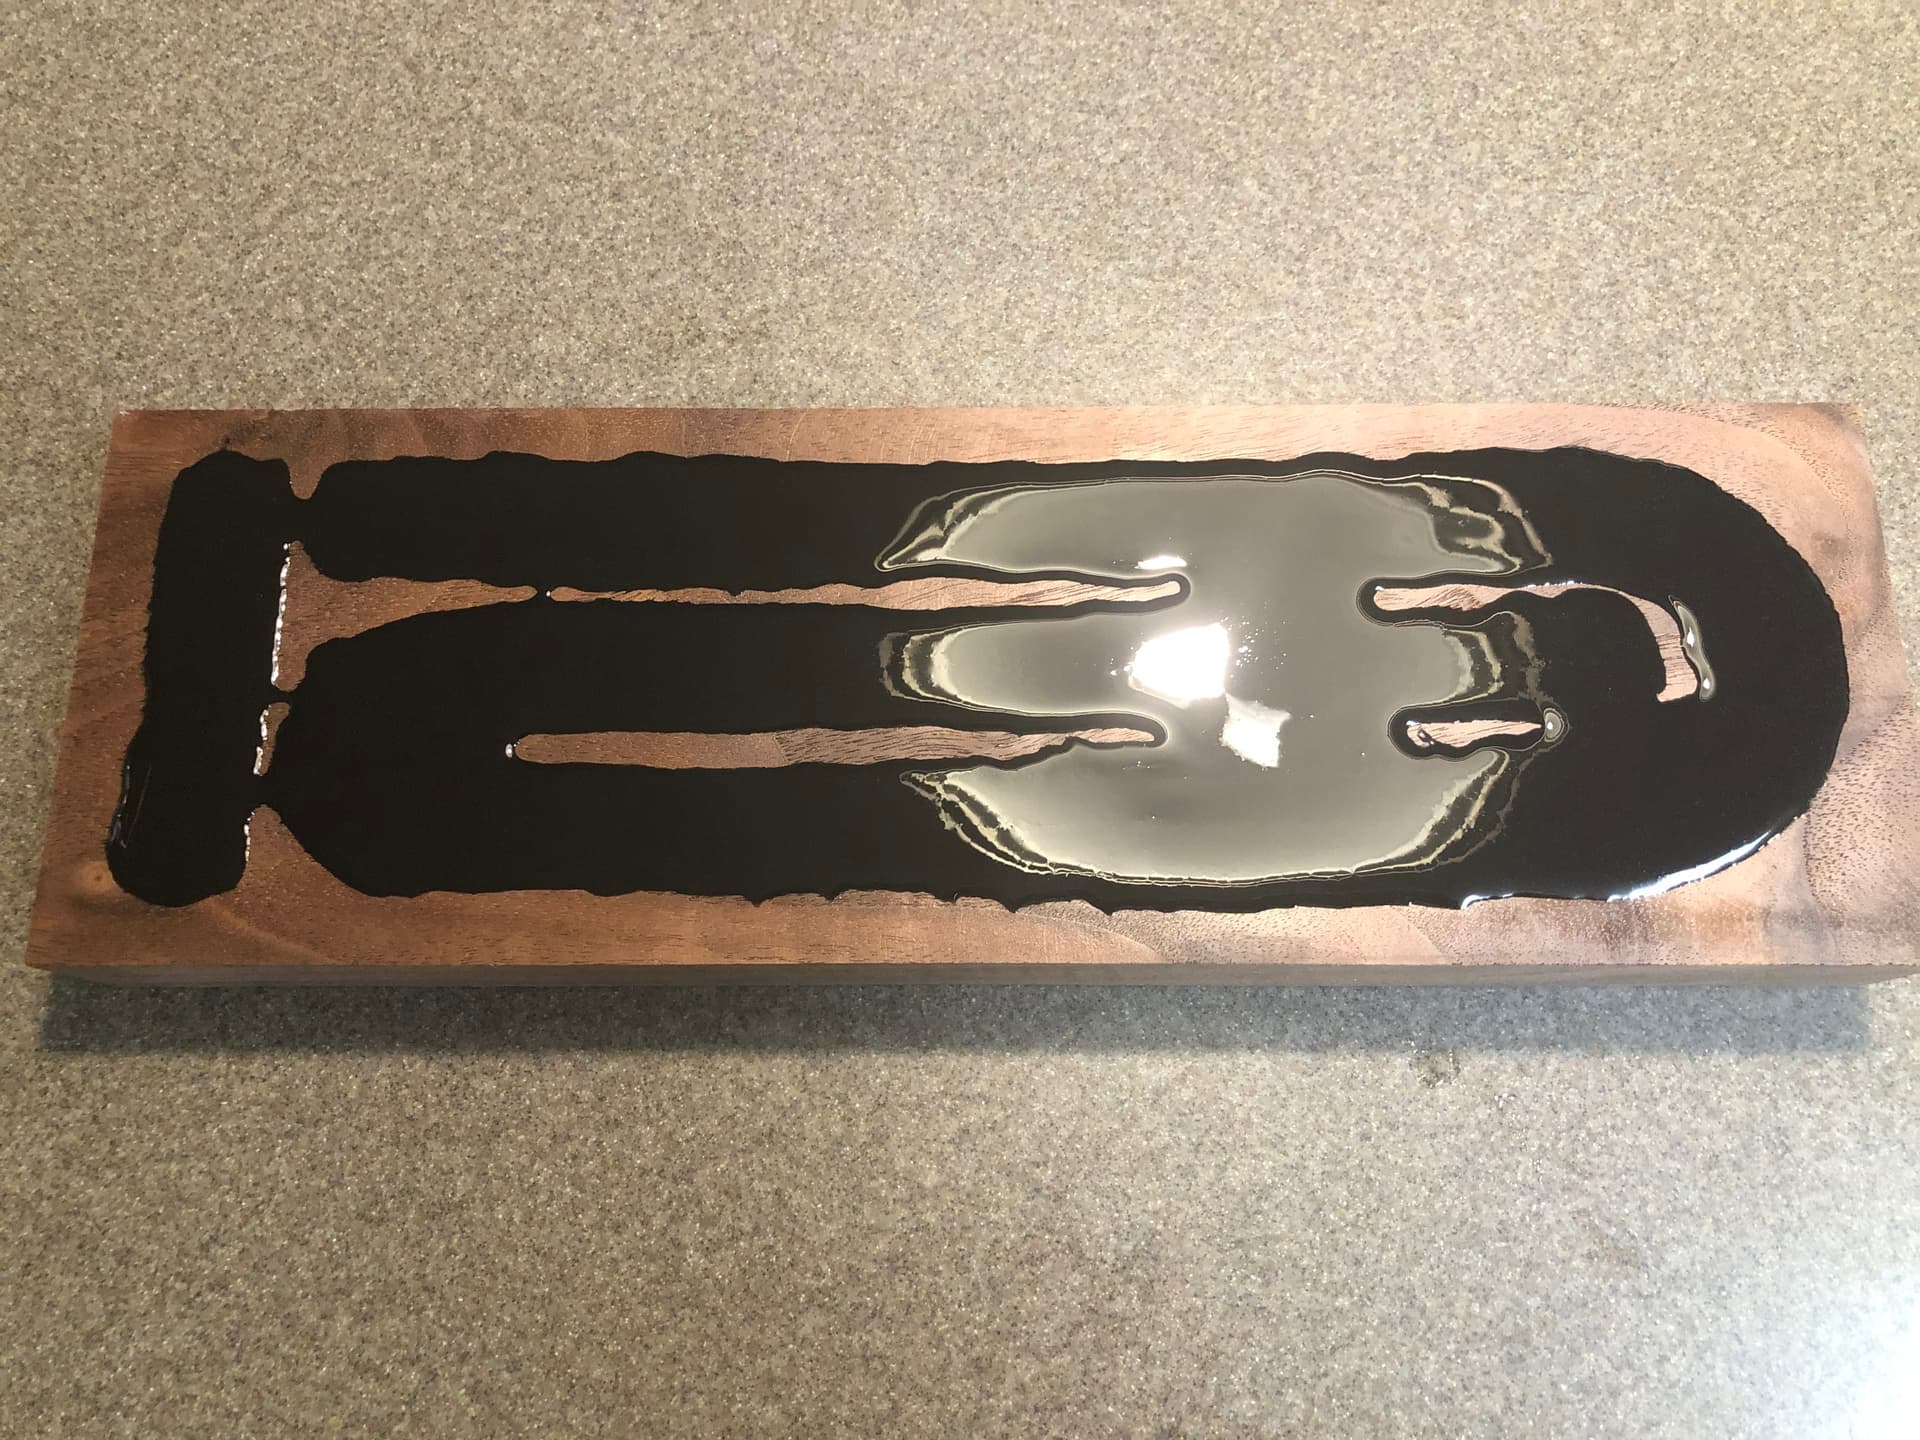
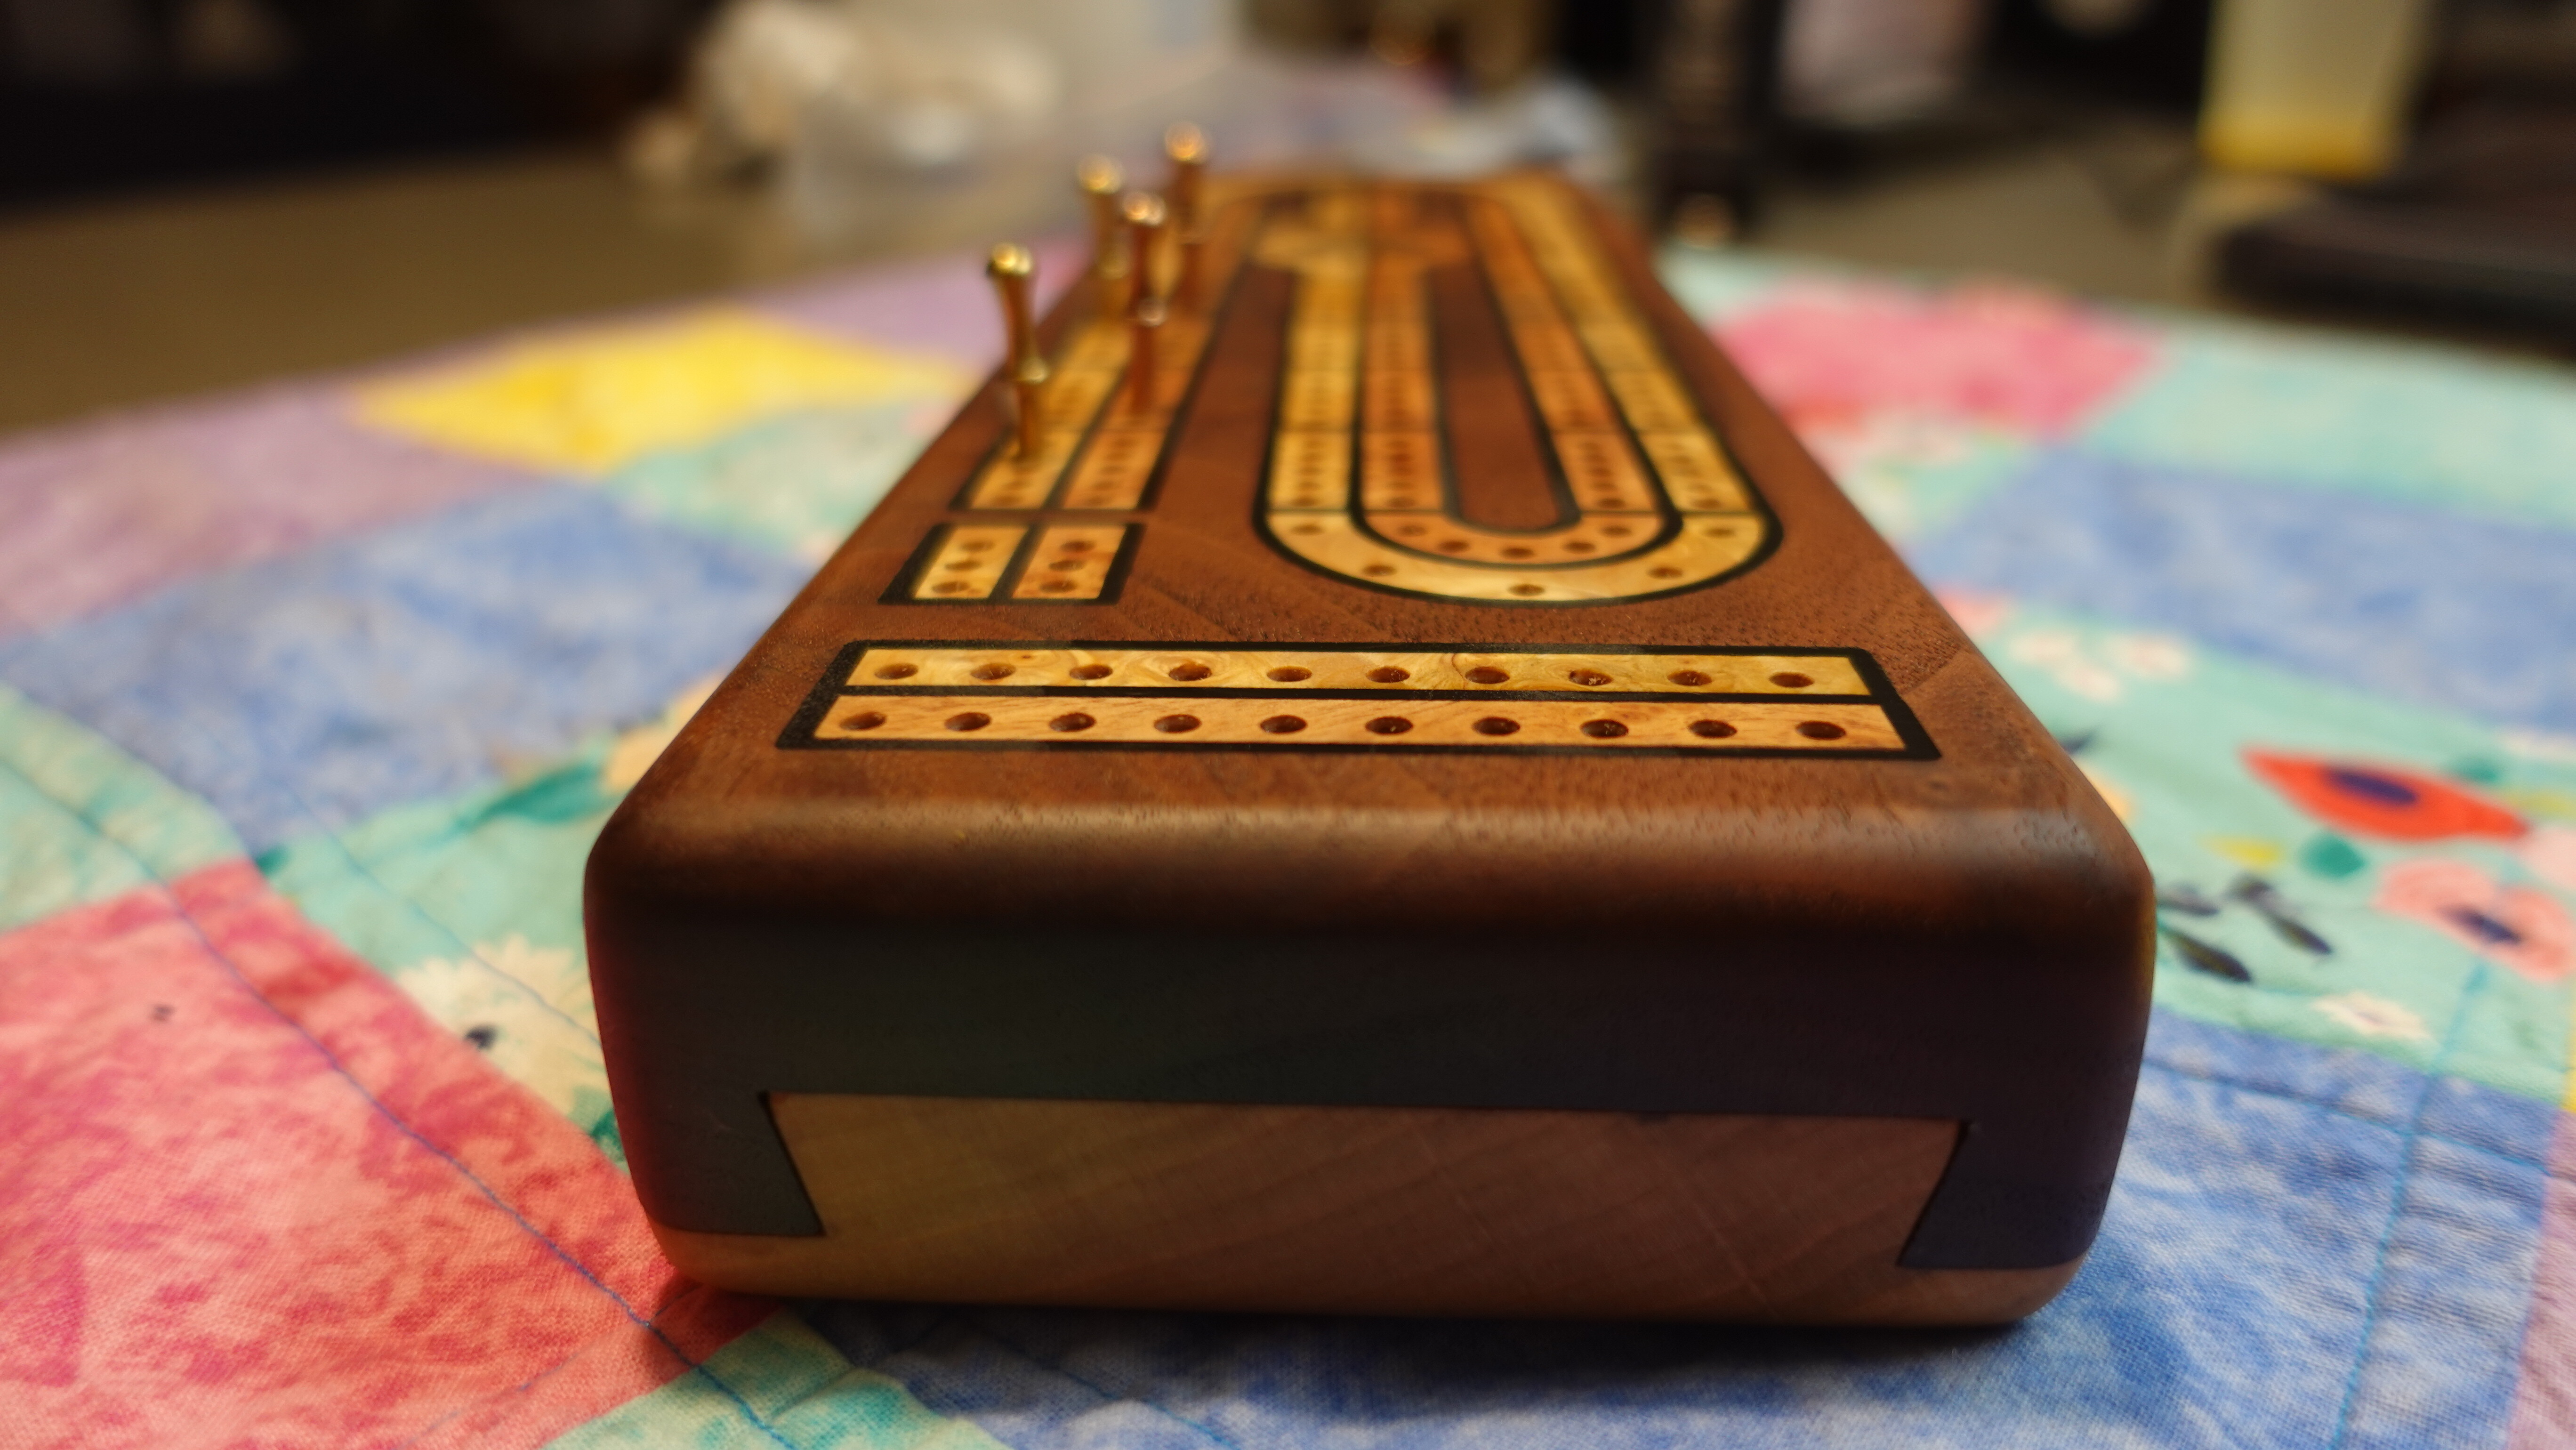
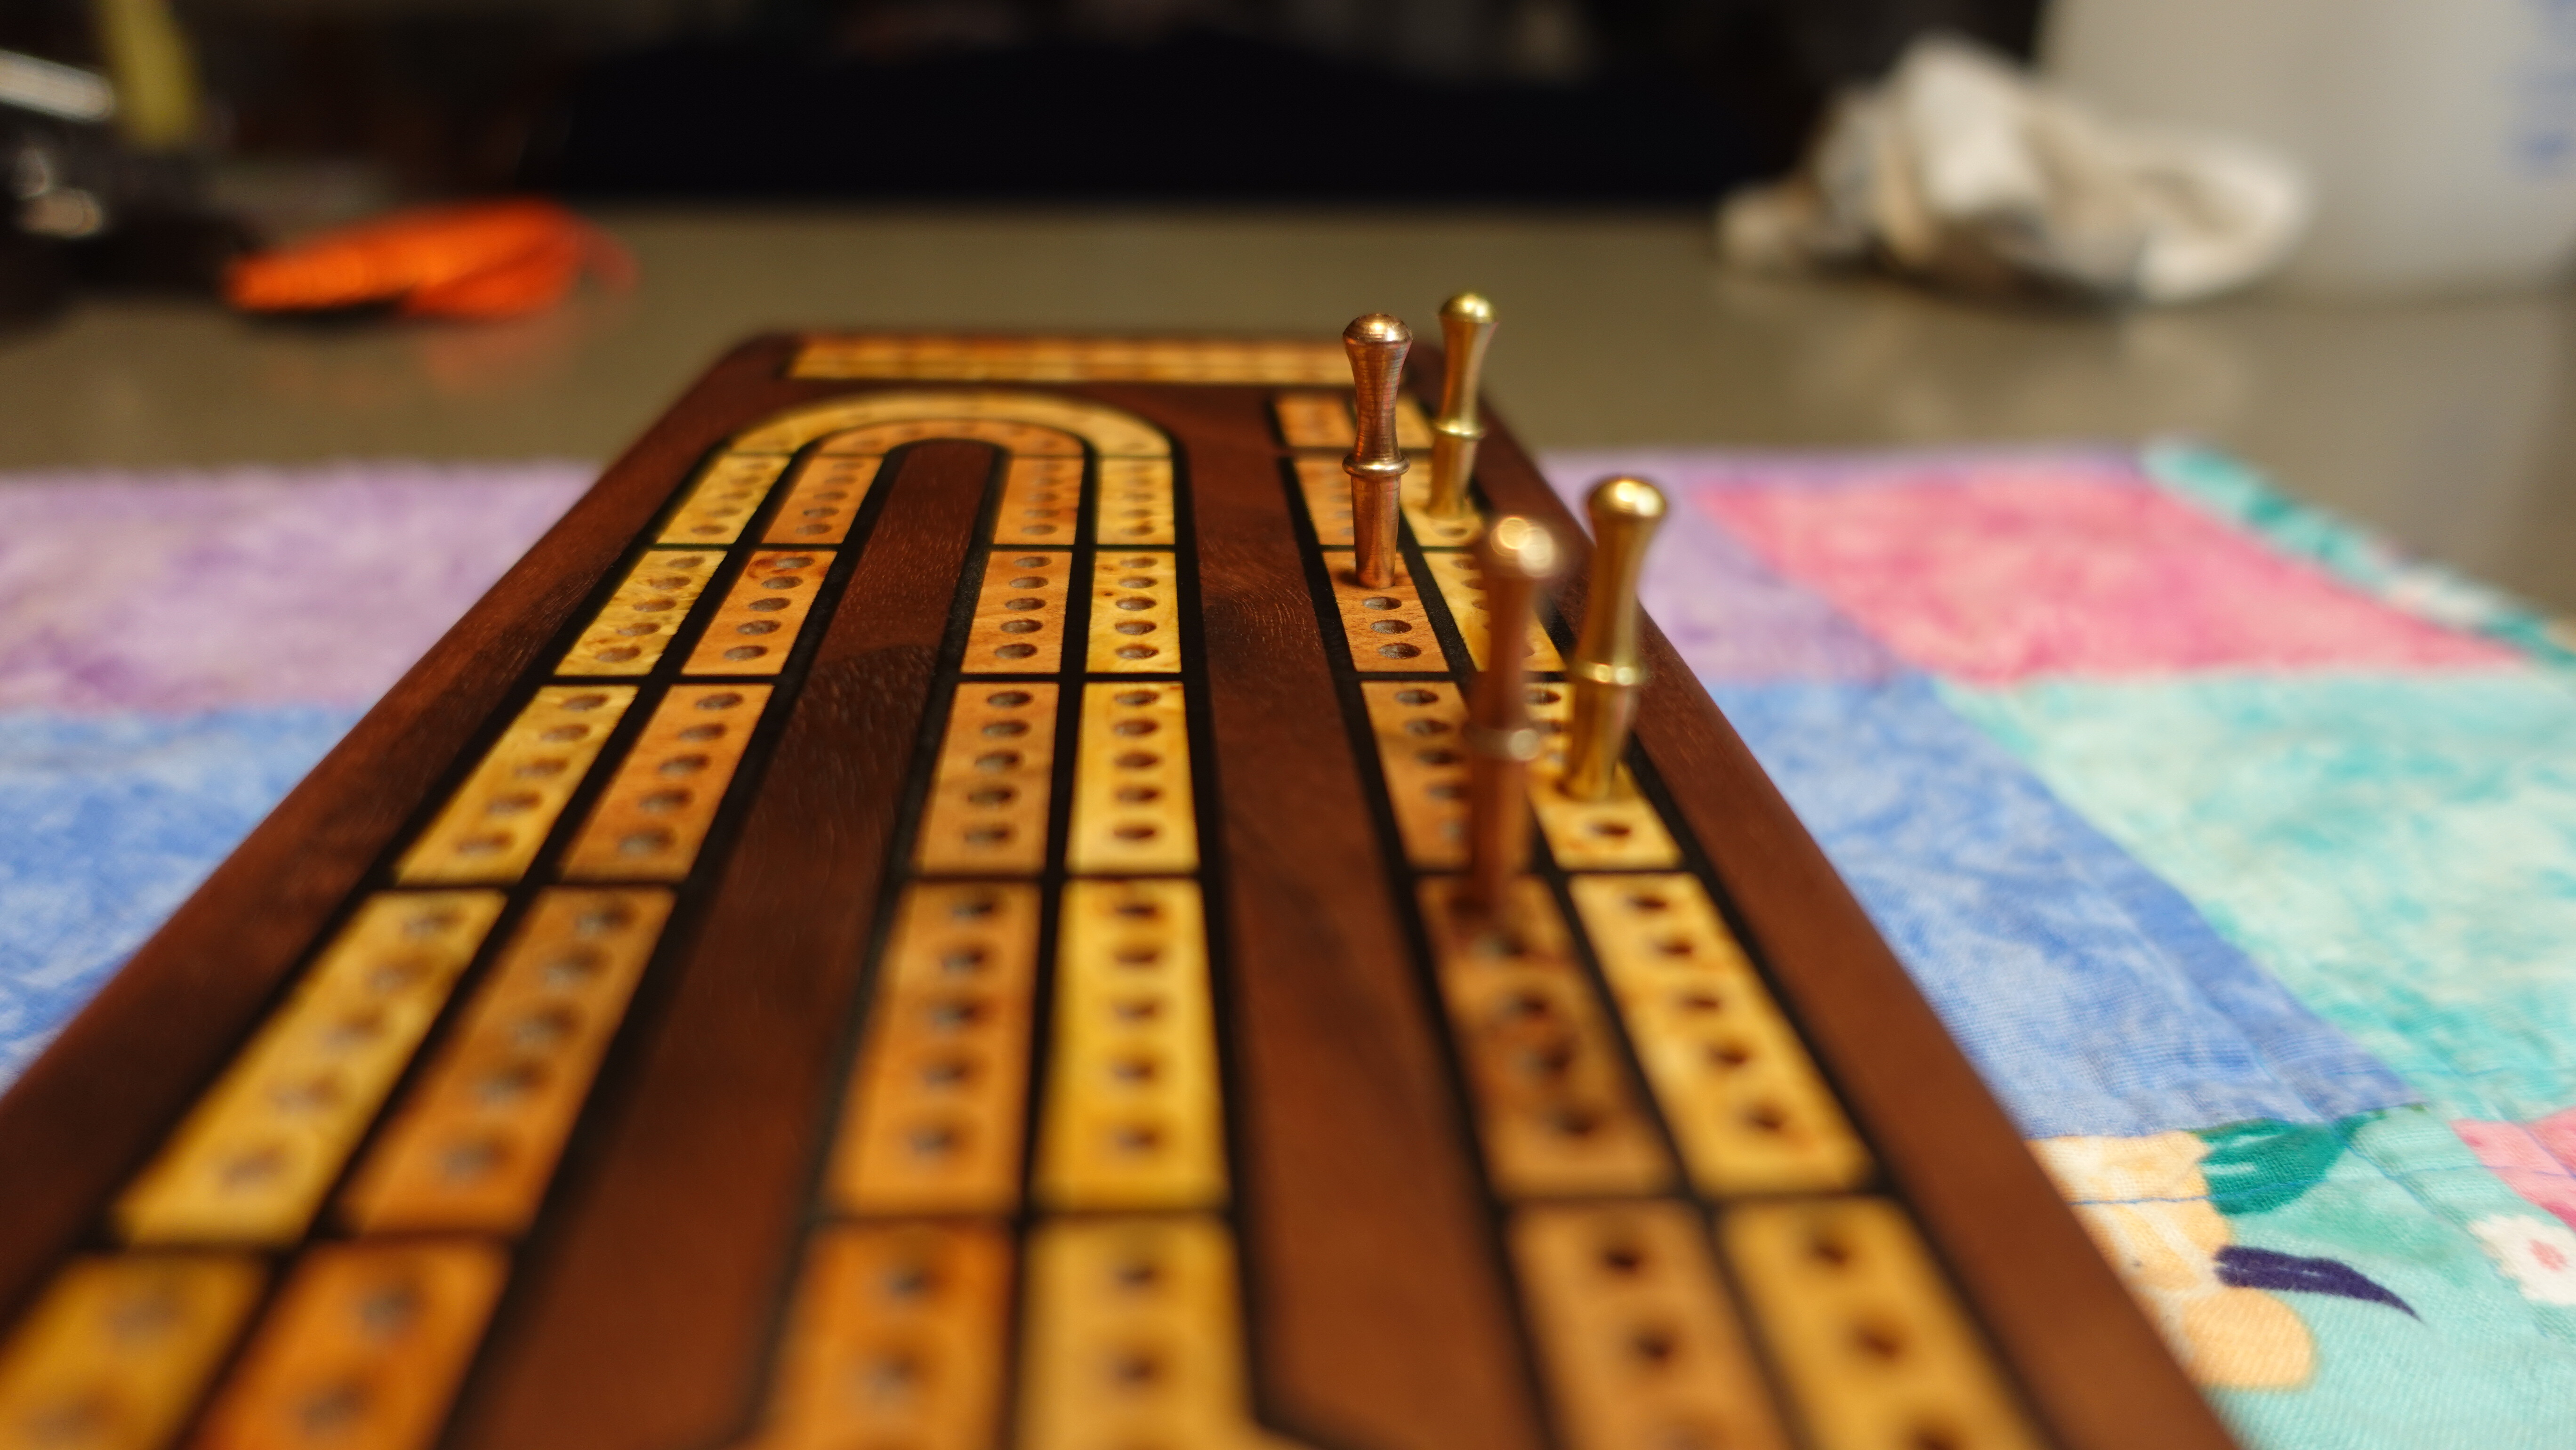
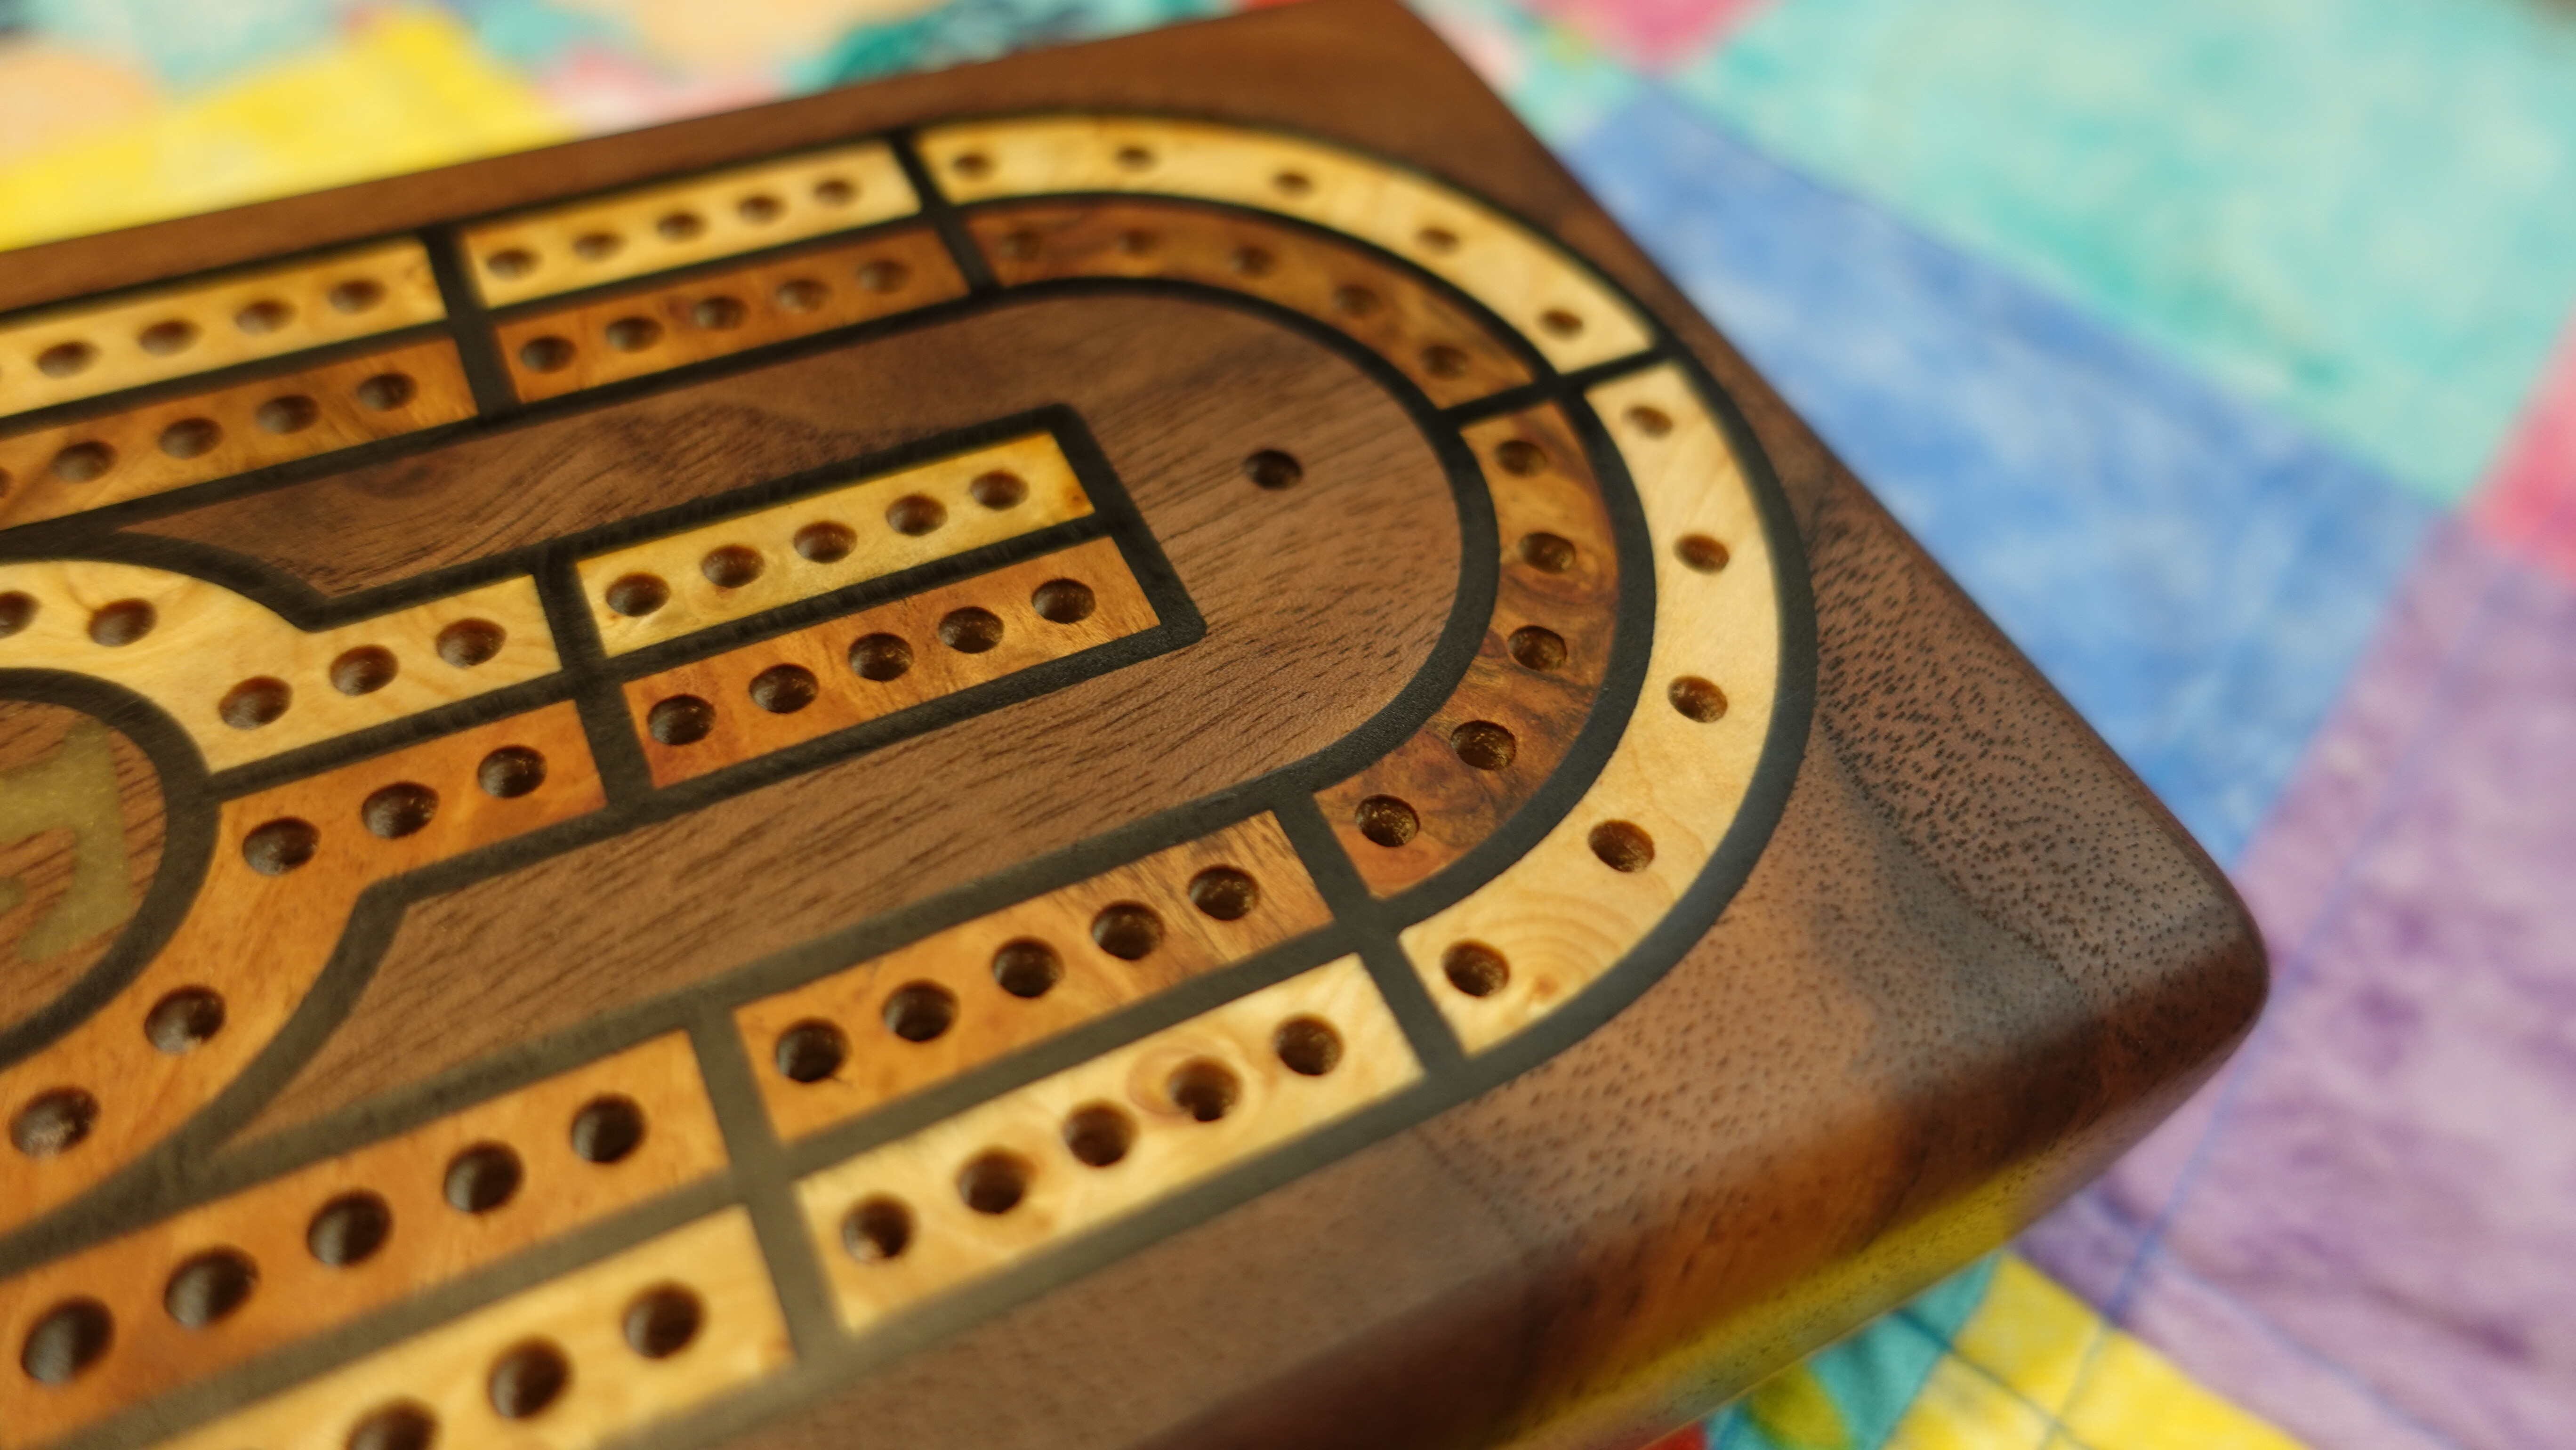
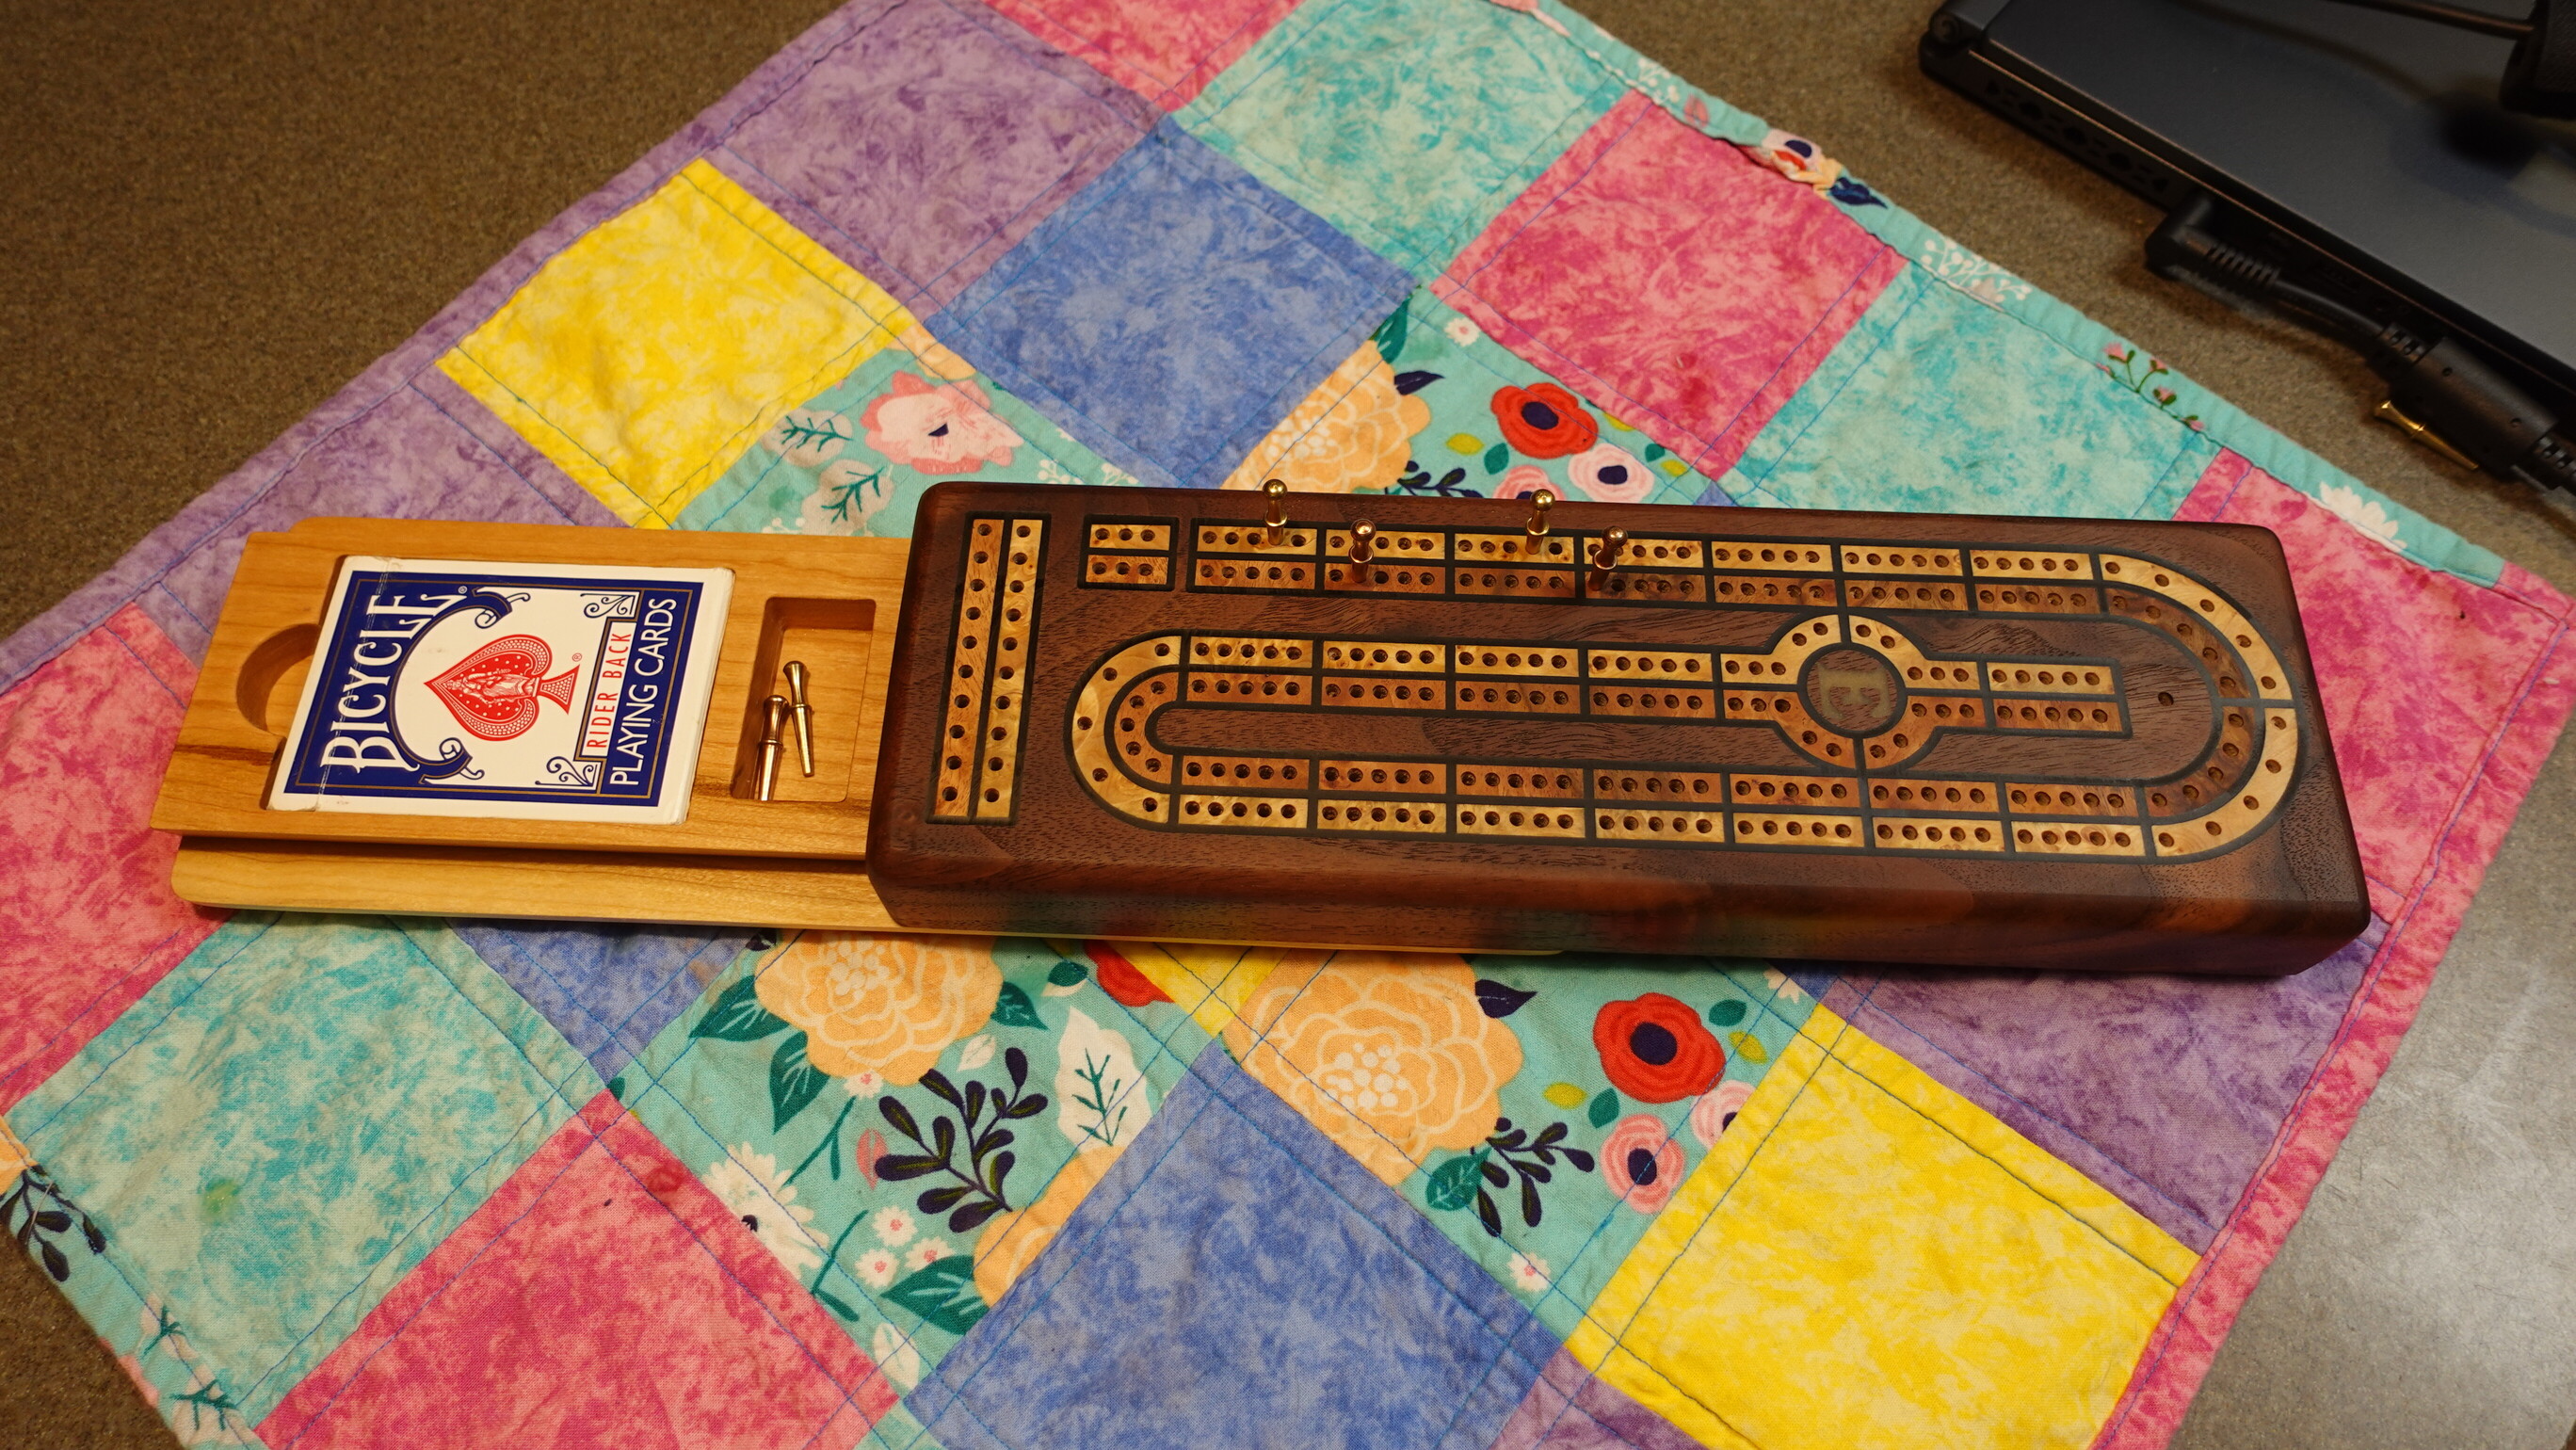
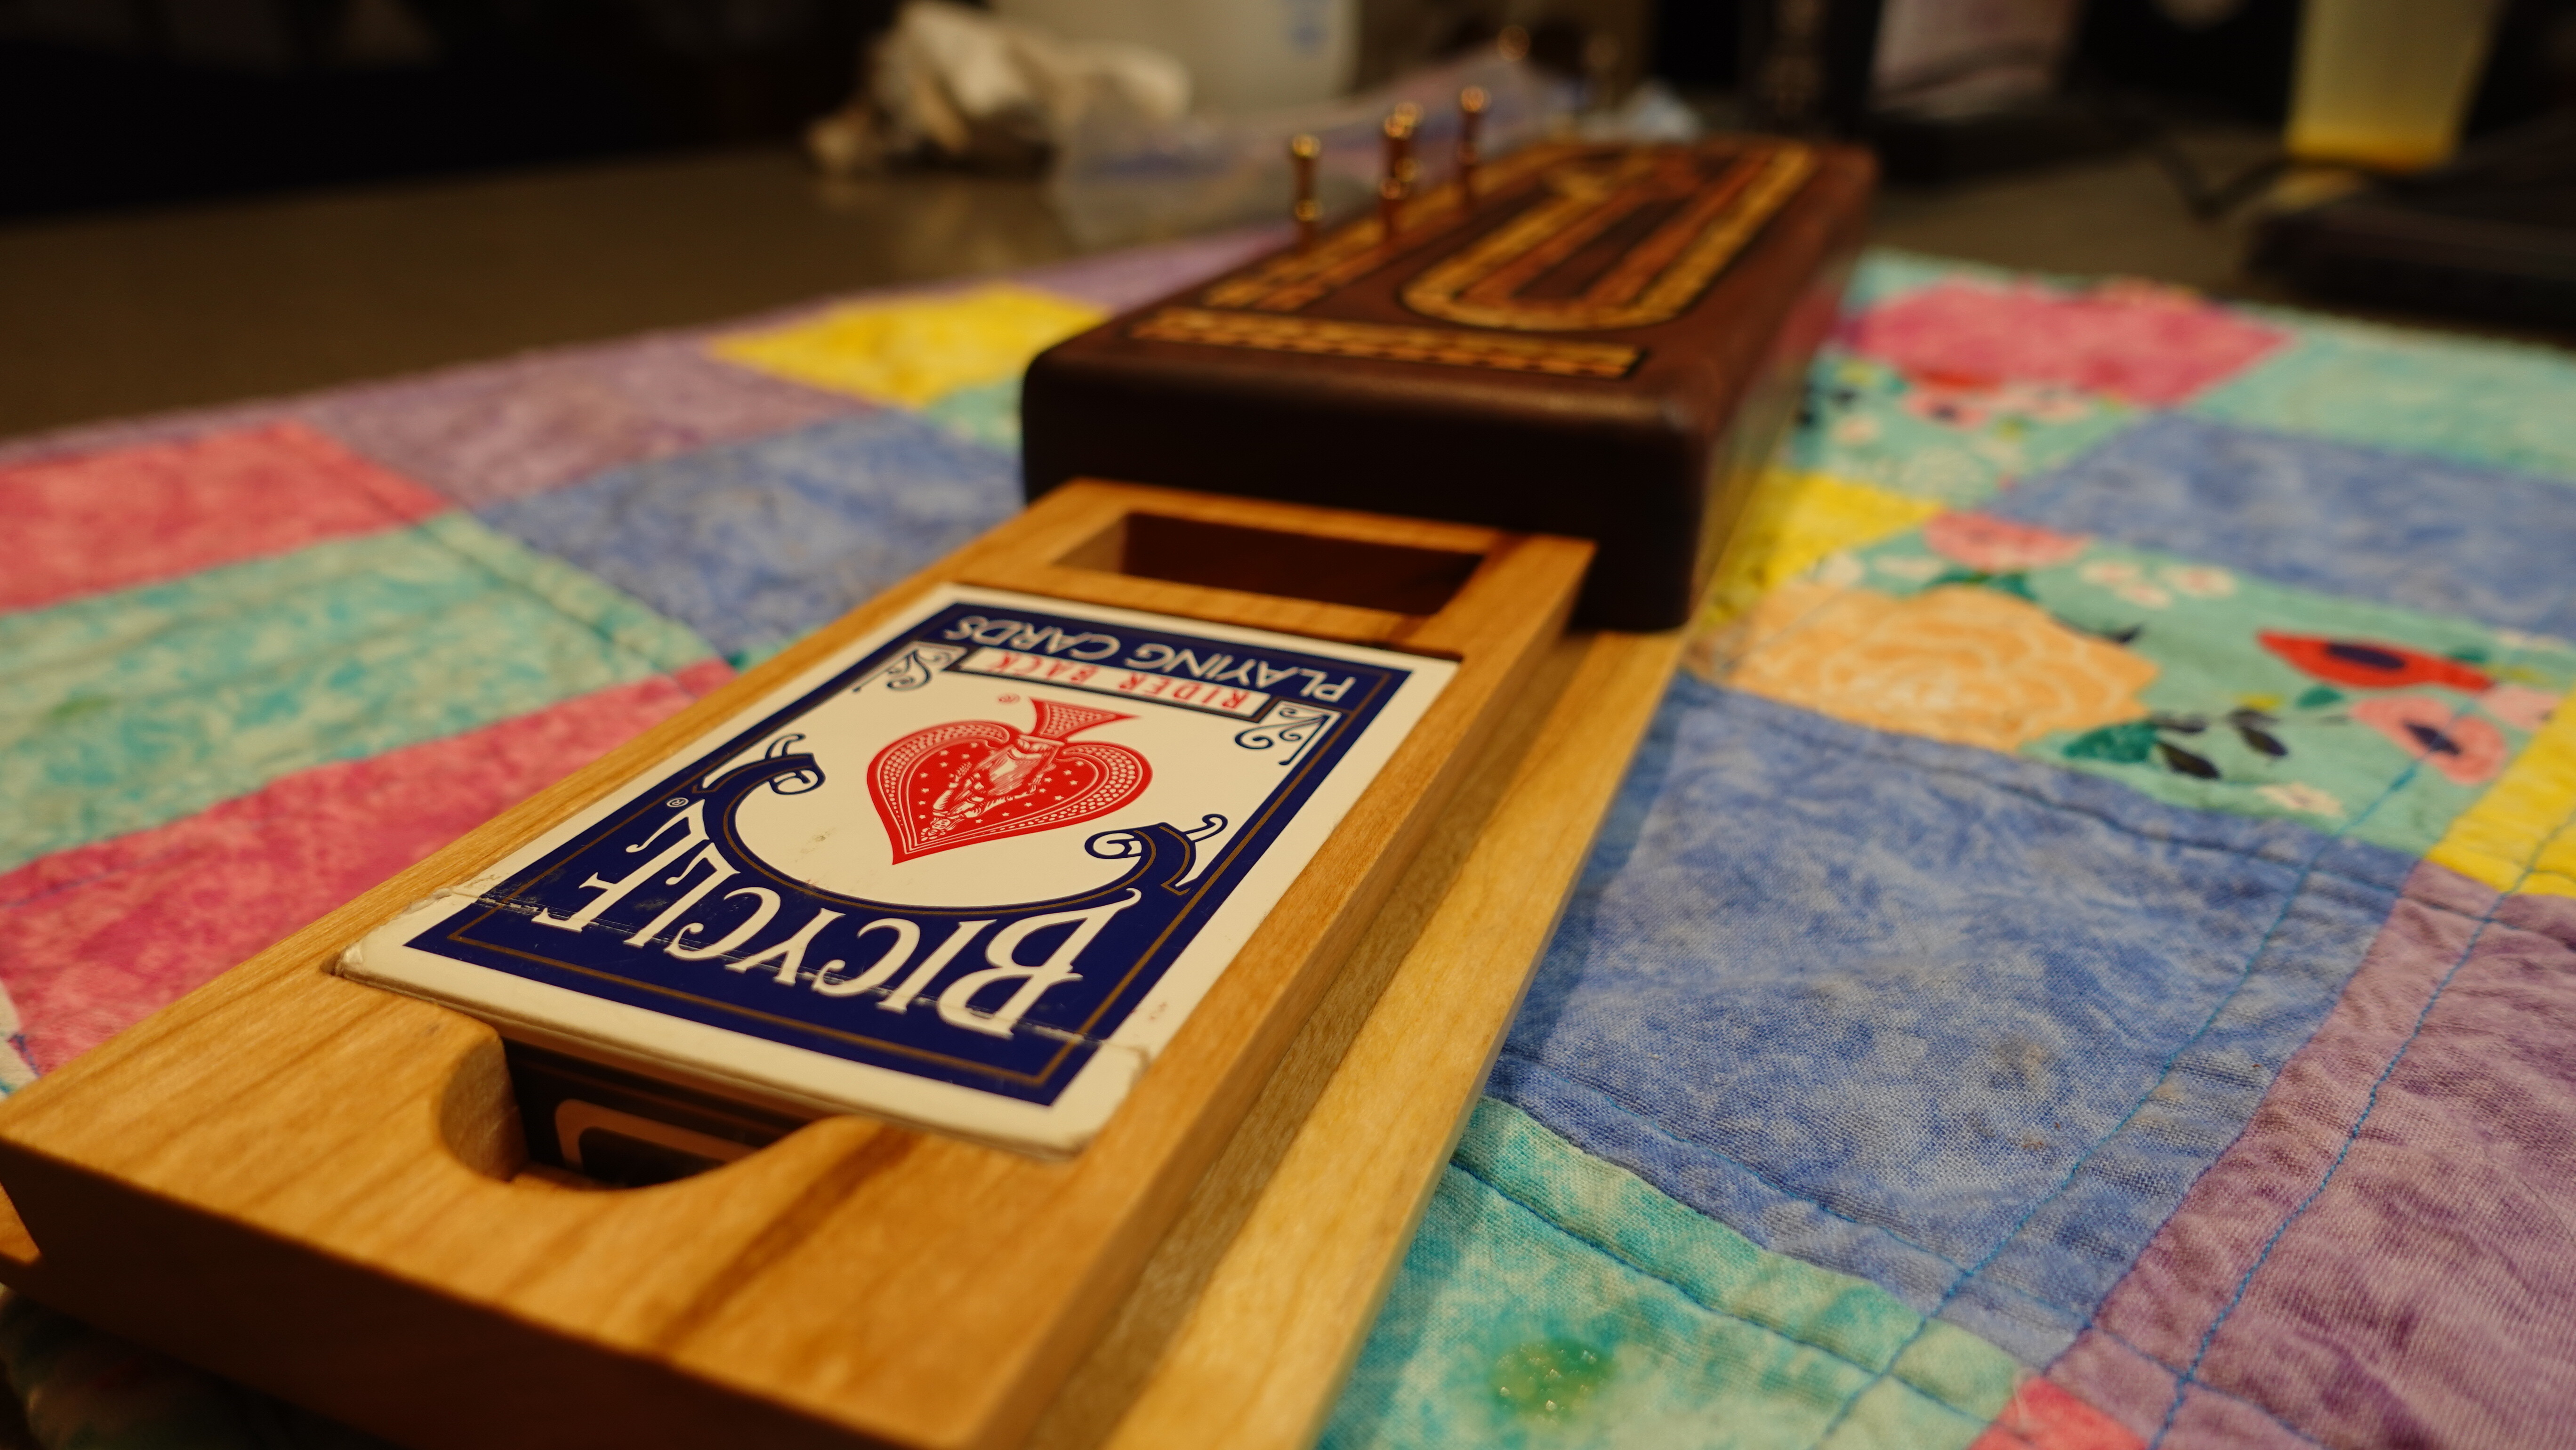
I cut the player track on my laser. I’m going to fill the gap with clear epoxy and then face it down to .005 to protect the veneer. Then cut my black lines and fill with black epoxy.

After that cures, I’m got a super nice 1/32 spiral up cut bit to cut the letters and numbers and then fill again with a silver.

Fingers crossed :crossed_fingers:

15 Likes

Done for the night. I really like the burl veneer. Super excited to see this come together.

10 Likes

So glad I encased the veneer in epoxy. No tear outs and everything is crisp.

I still have my final depth to clear out after the pour tonight and tomorrow, but everything is moving along quite nicely.

10 Likes

Decided not to cut the letters and numbers and go only with the holes.

Still holding up :nerd_face:

14 Likes

First time doing a track underneath, liking the dovetail look

10 Likes

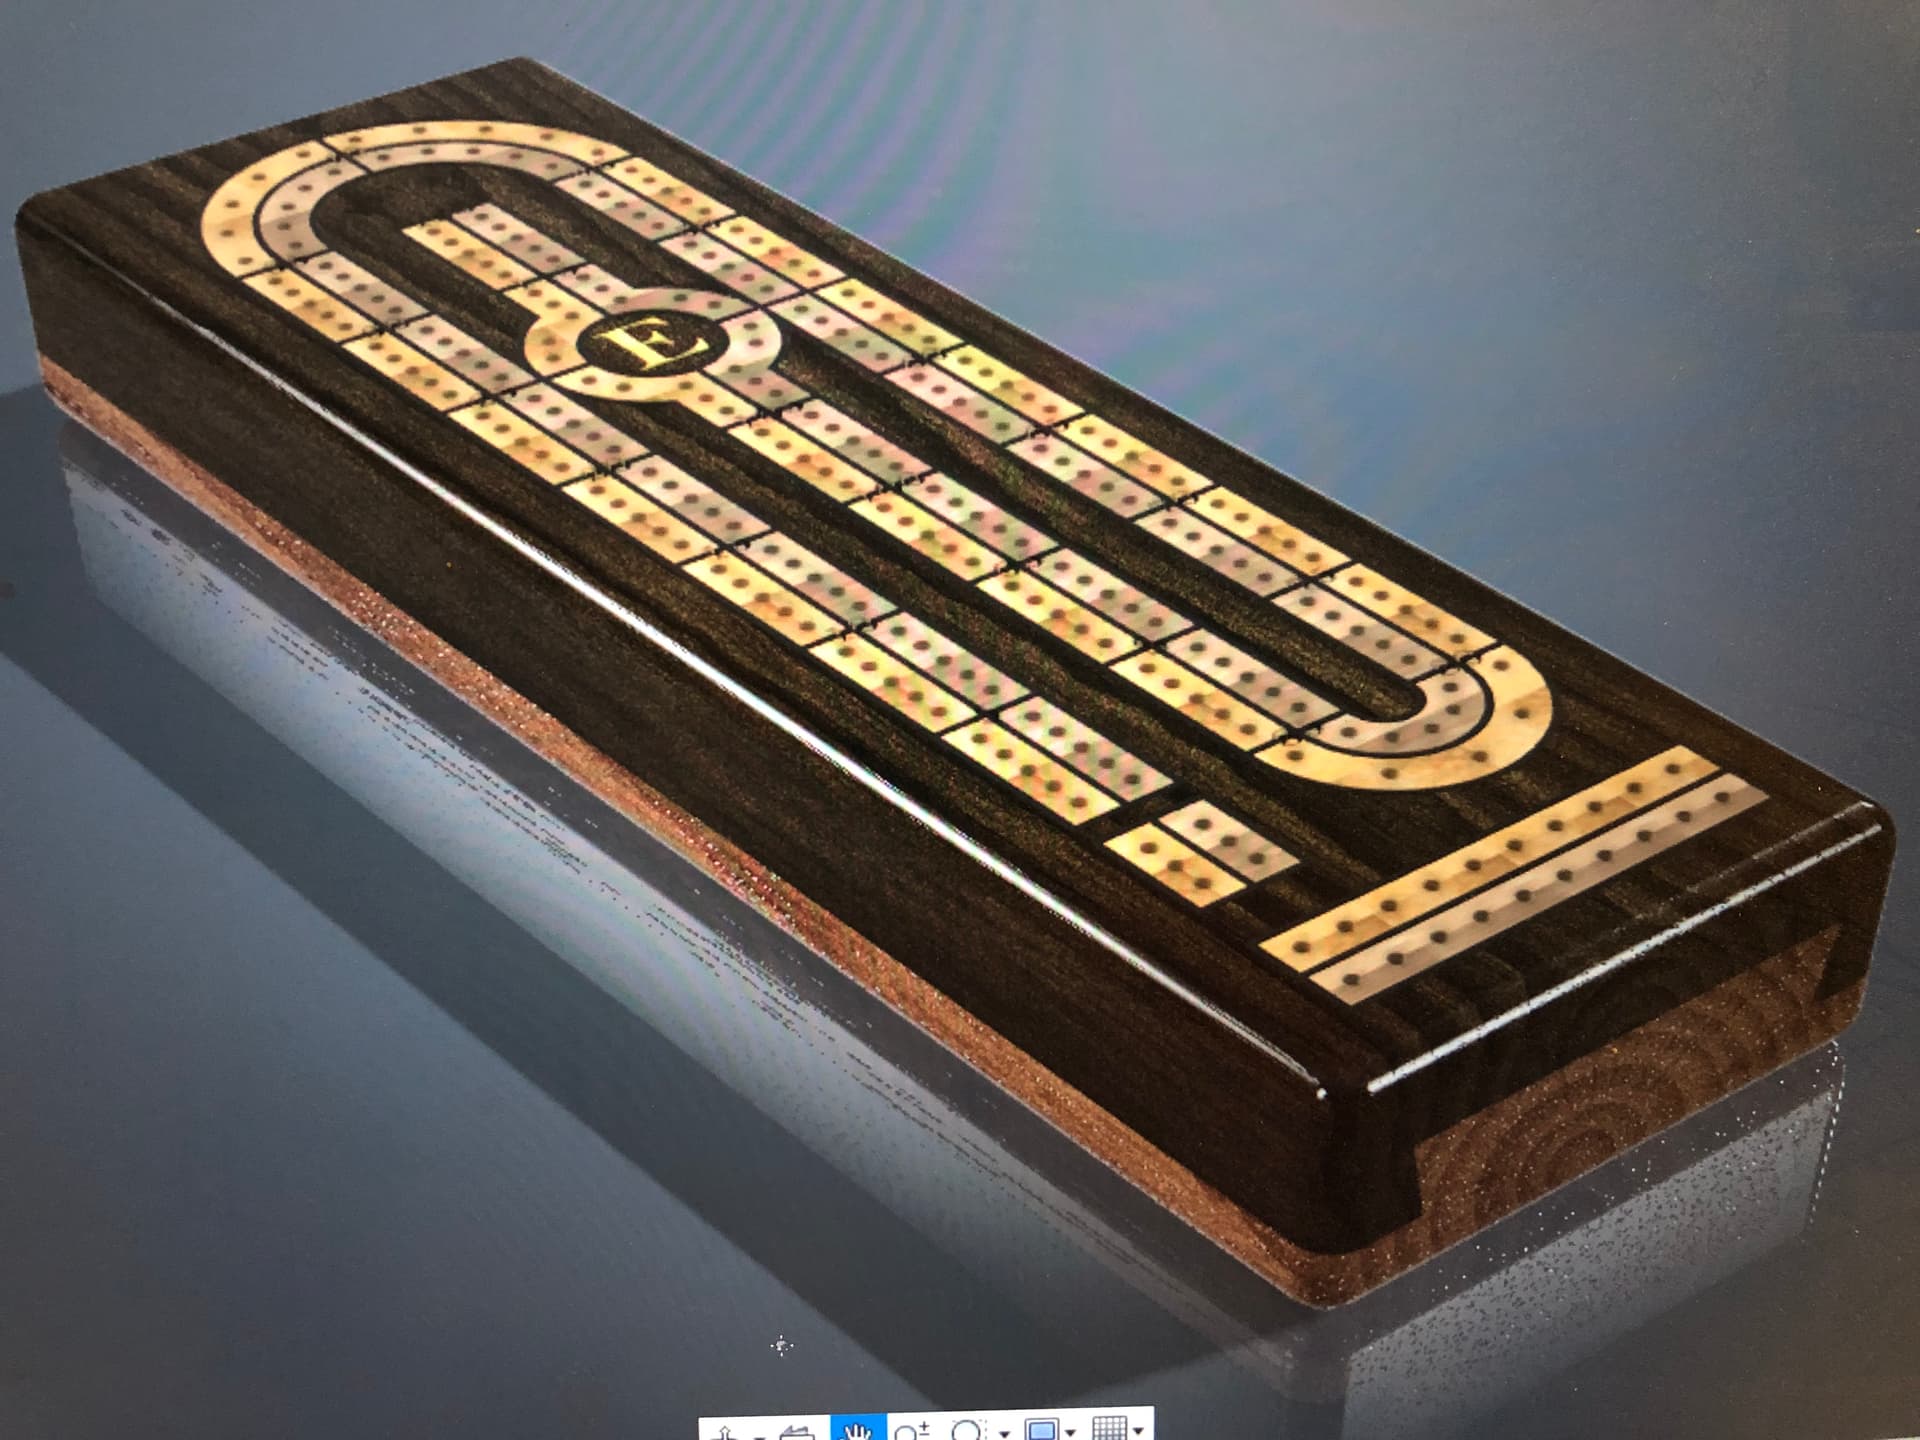
Super please with this experiment. Not happy about the E, but in the end, everything turned out. Veneer is so delicate and I’m actually amazed it came out on top.

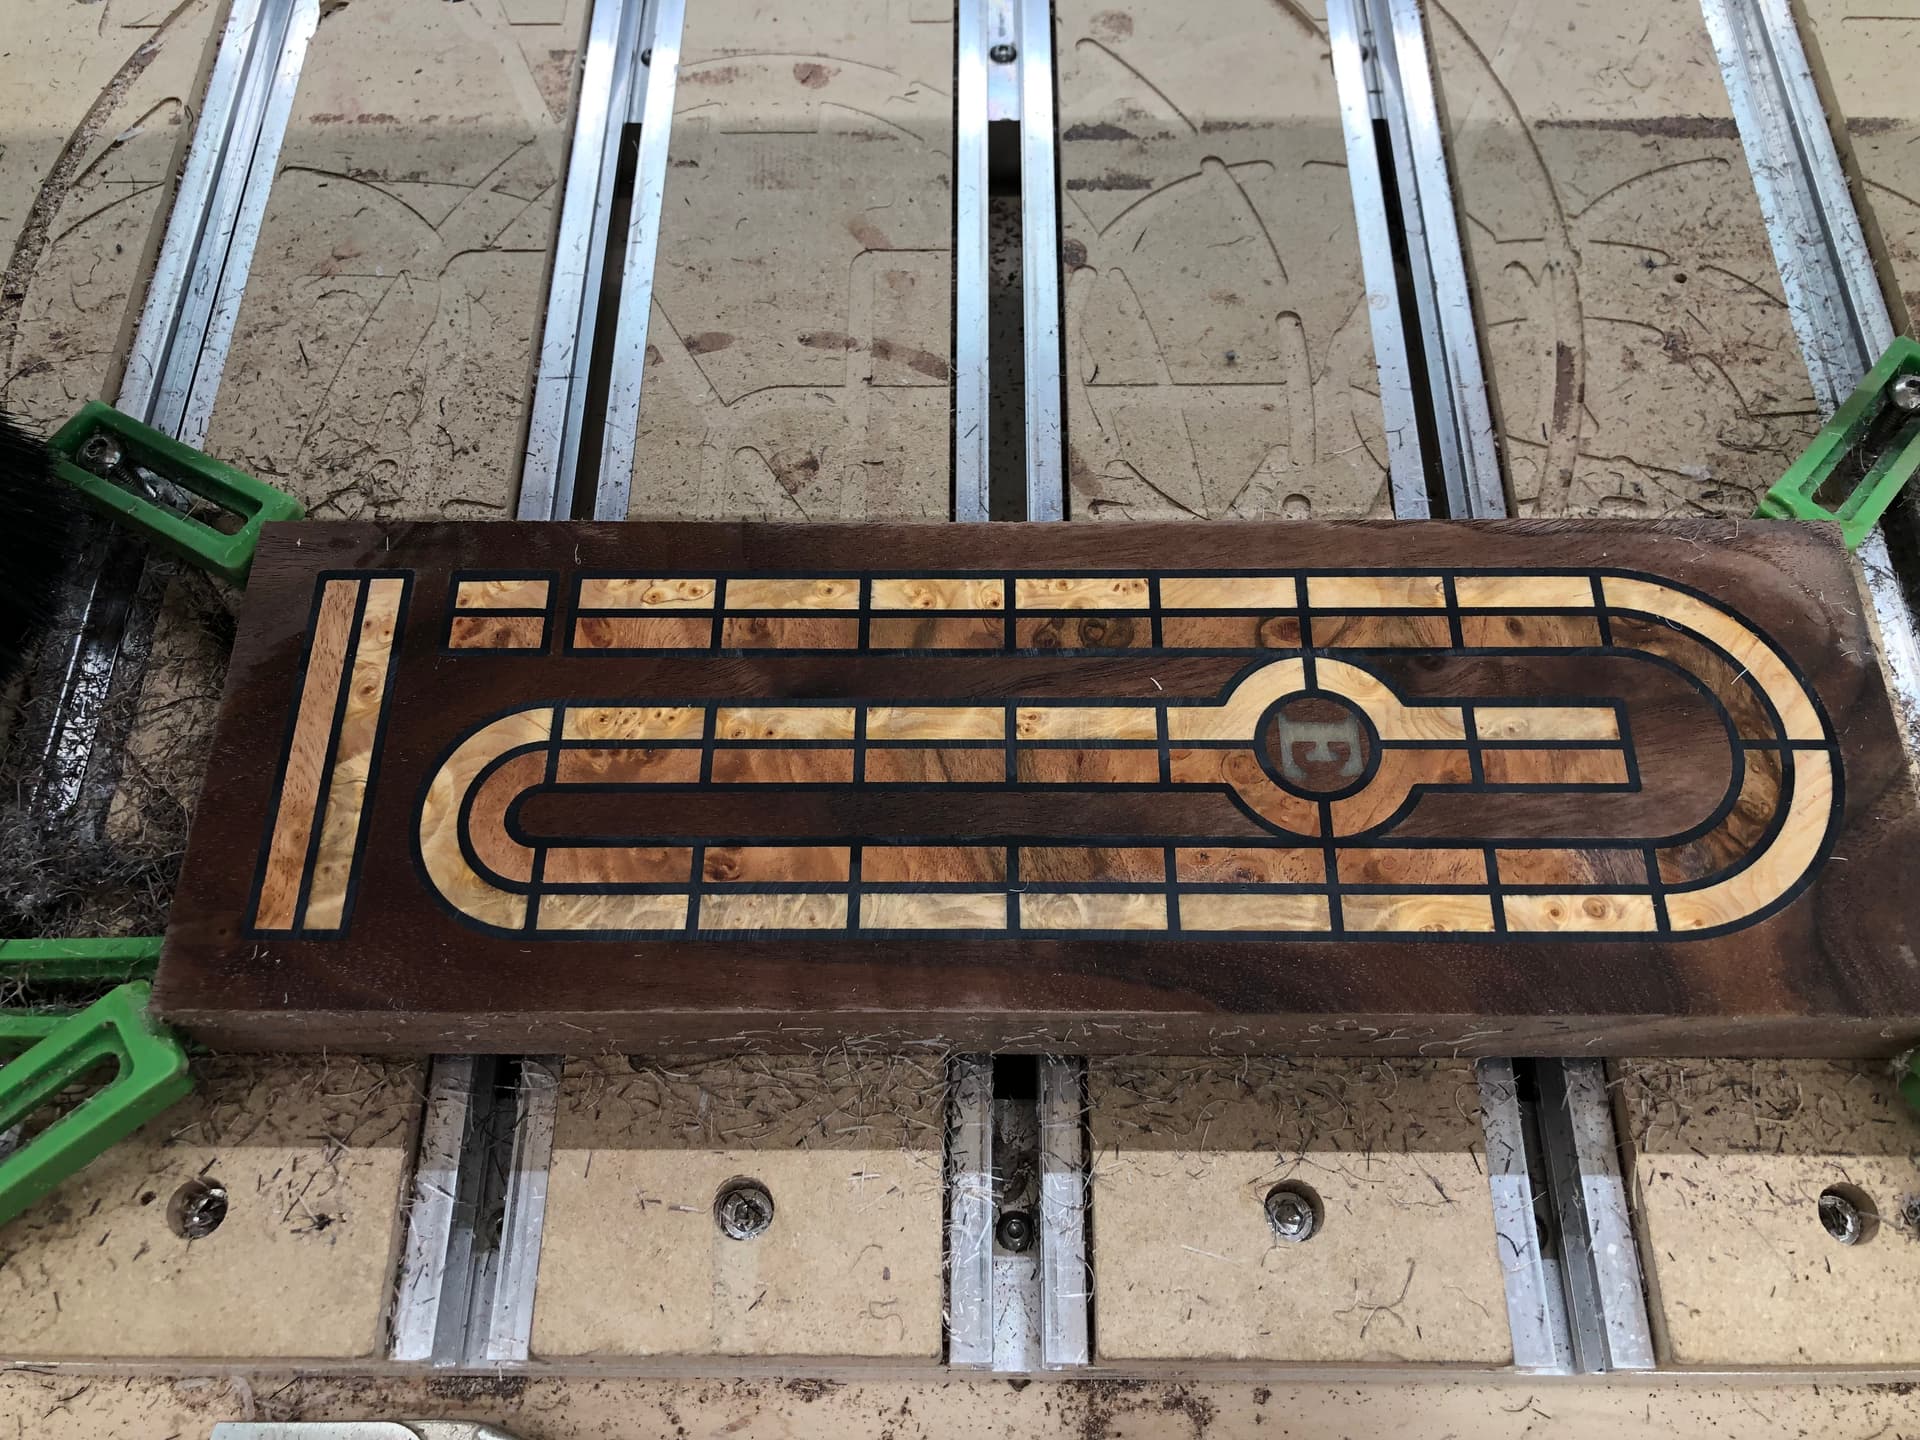
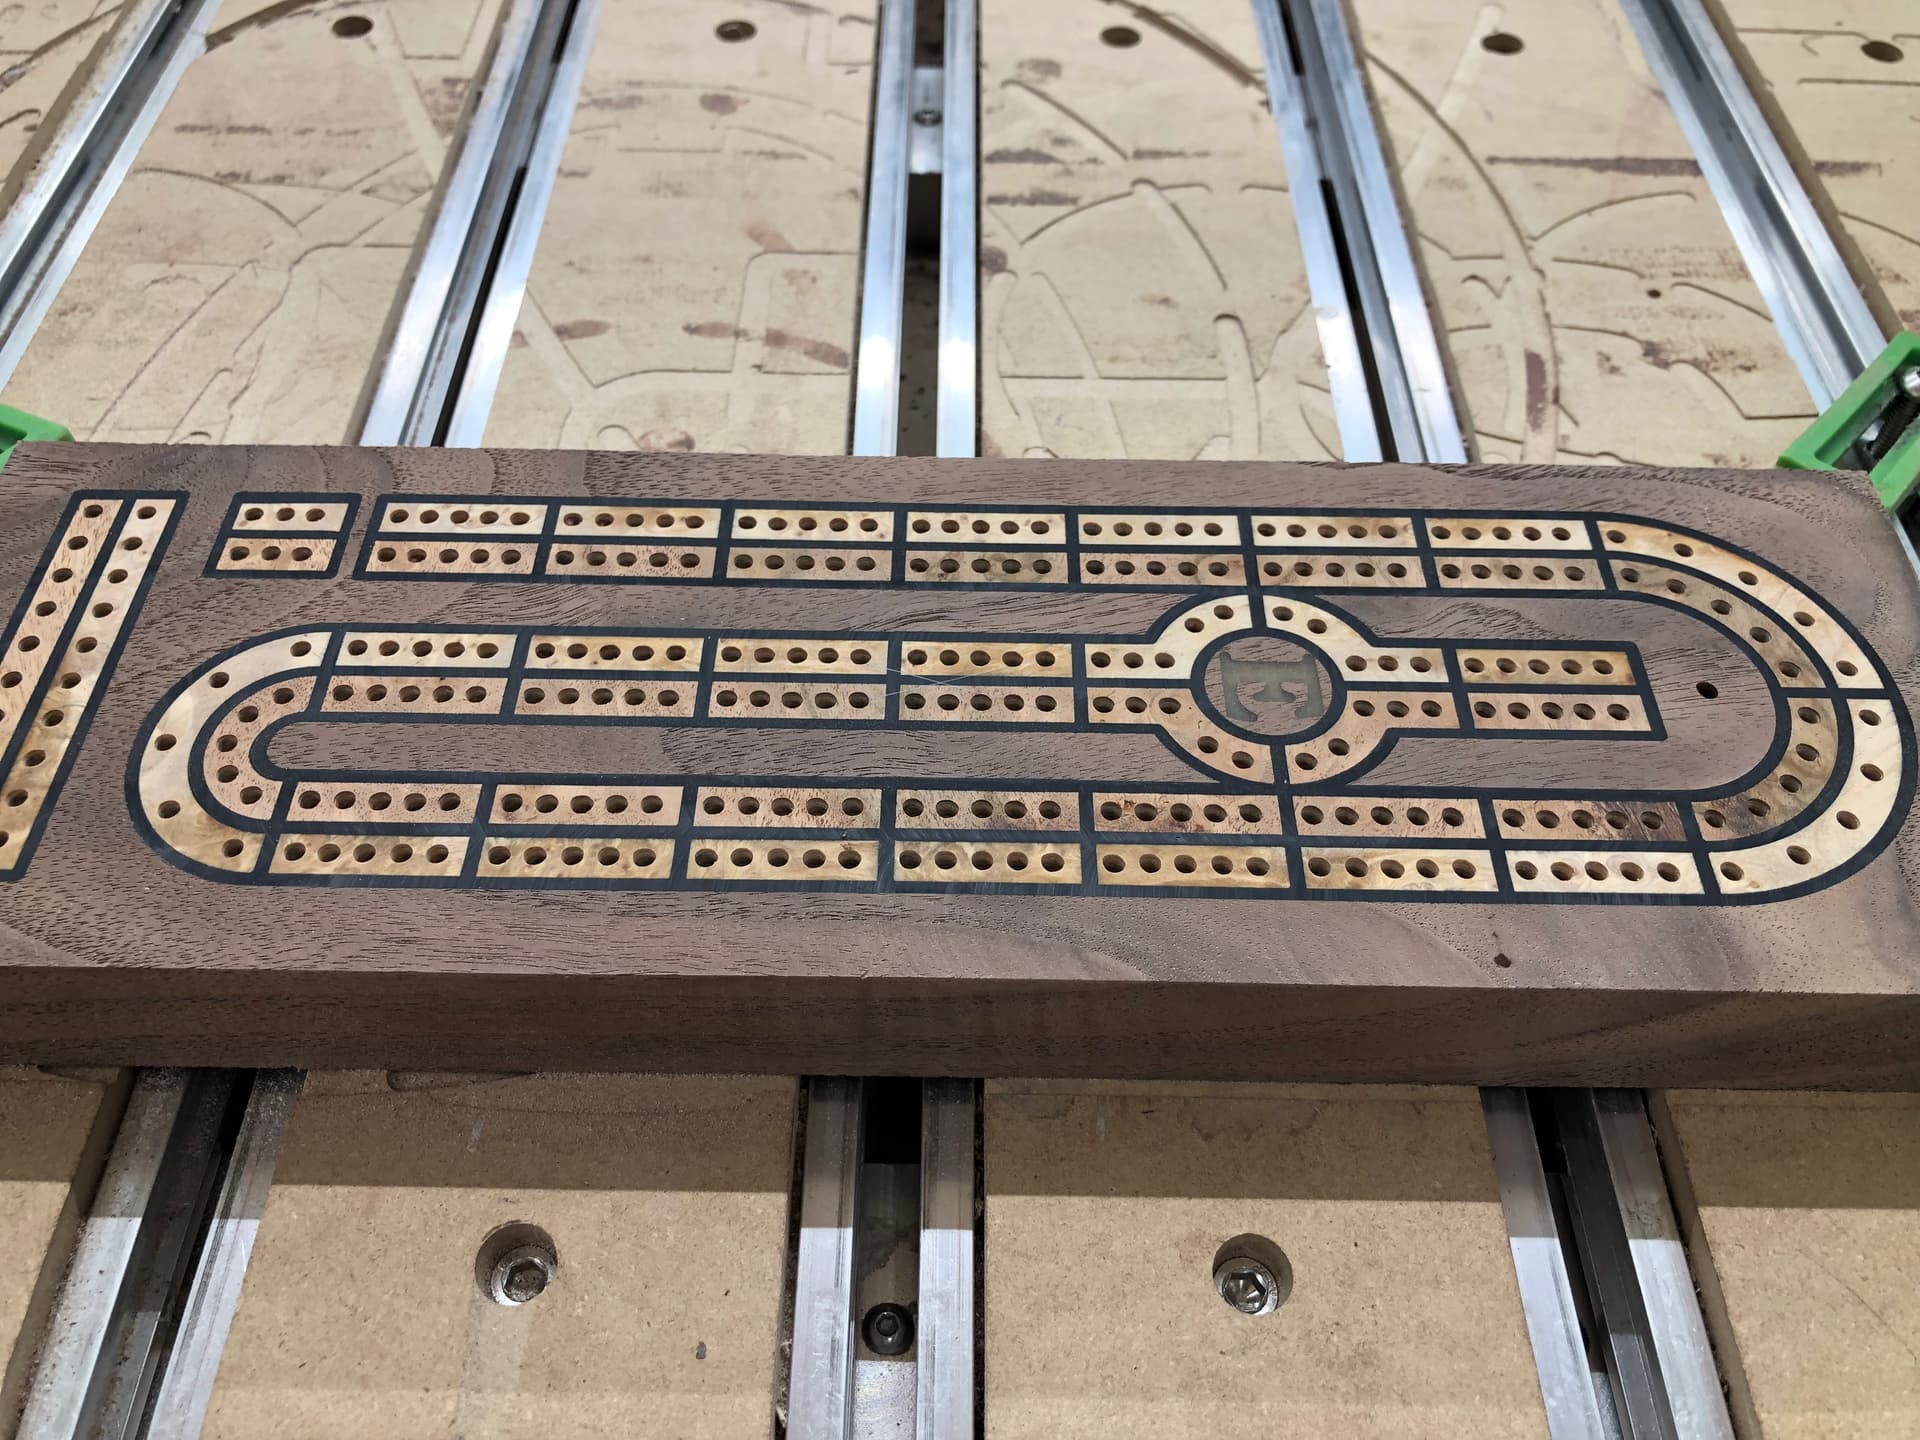
Material: Walnut, cherry, Fir Burl, Pepperwood Burl

I’m putting together a YouTube video of the entire process from start to finish. I’ll post it once I learn how to video edit. :nerd_face:

Cheers and thank you Carbide3D for making such a great machine!!

25 Likes

Beautiful. I want to hold it.

Beautiful. I would love to get back into Cribbage again just to use this board.

Great Job!

Very nice work! Did you do the sliding dovetail on the cnc also? Cant wait for the youtube video of the process, im looking at making one for an xmas present for my father in law.

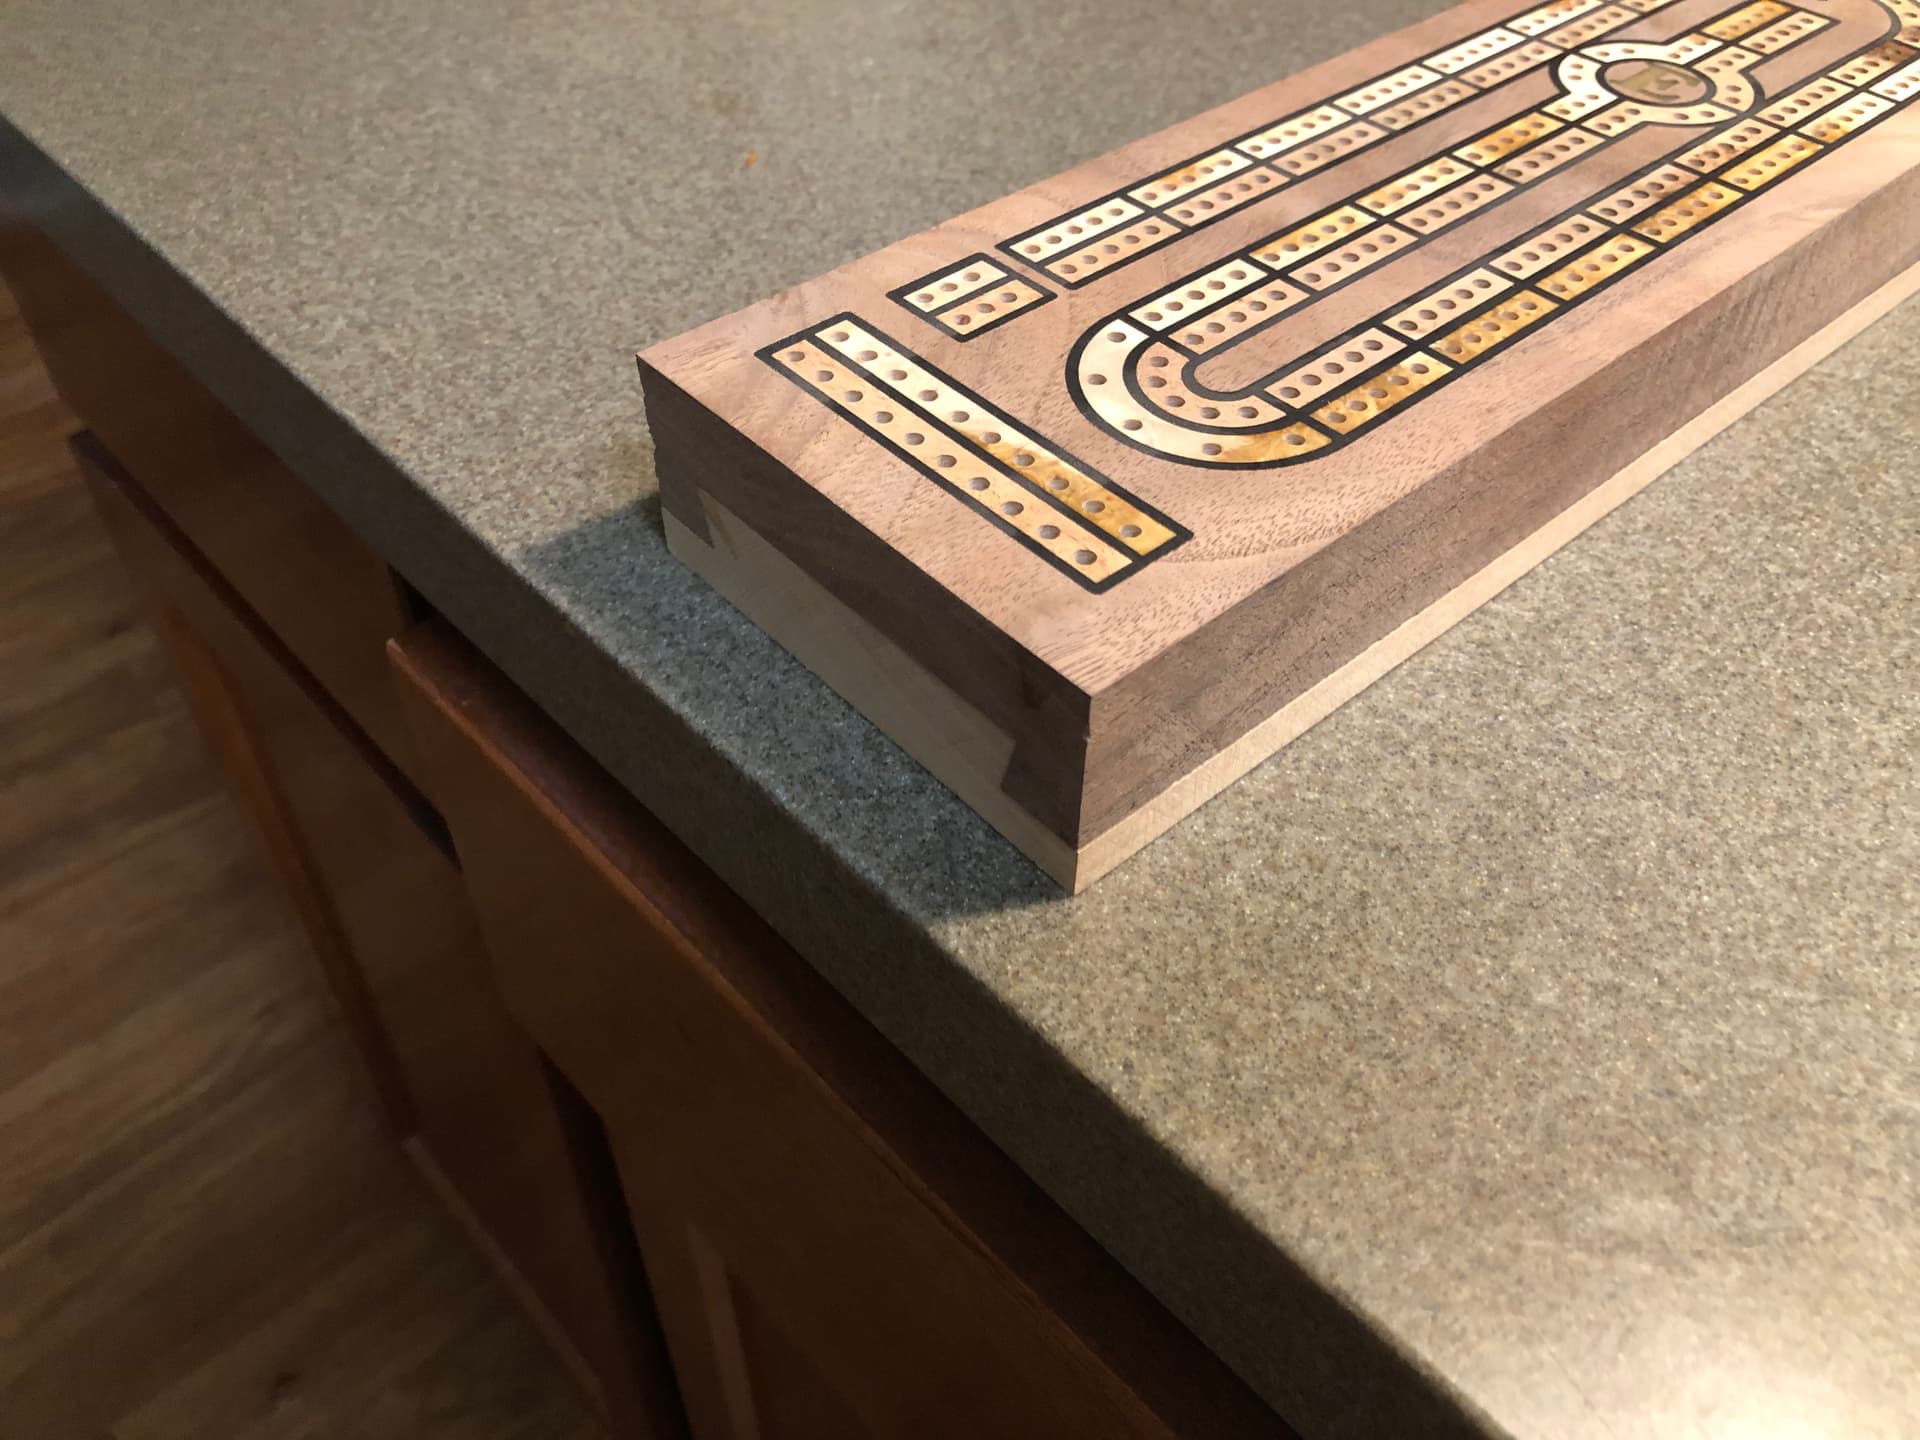
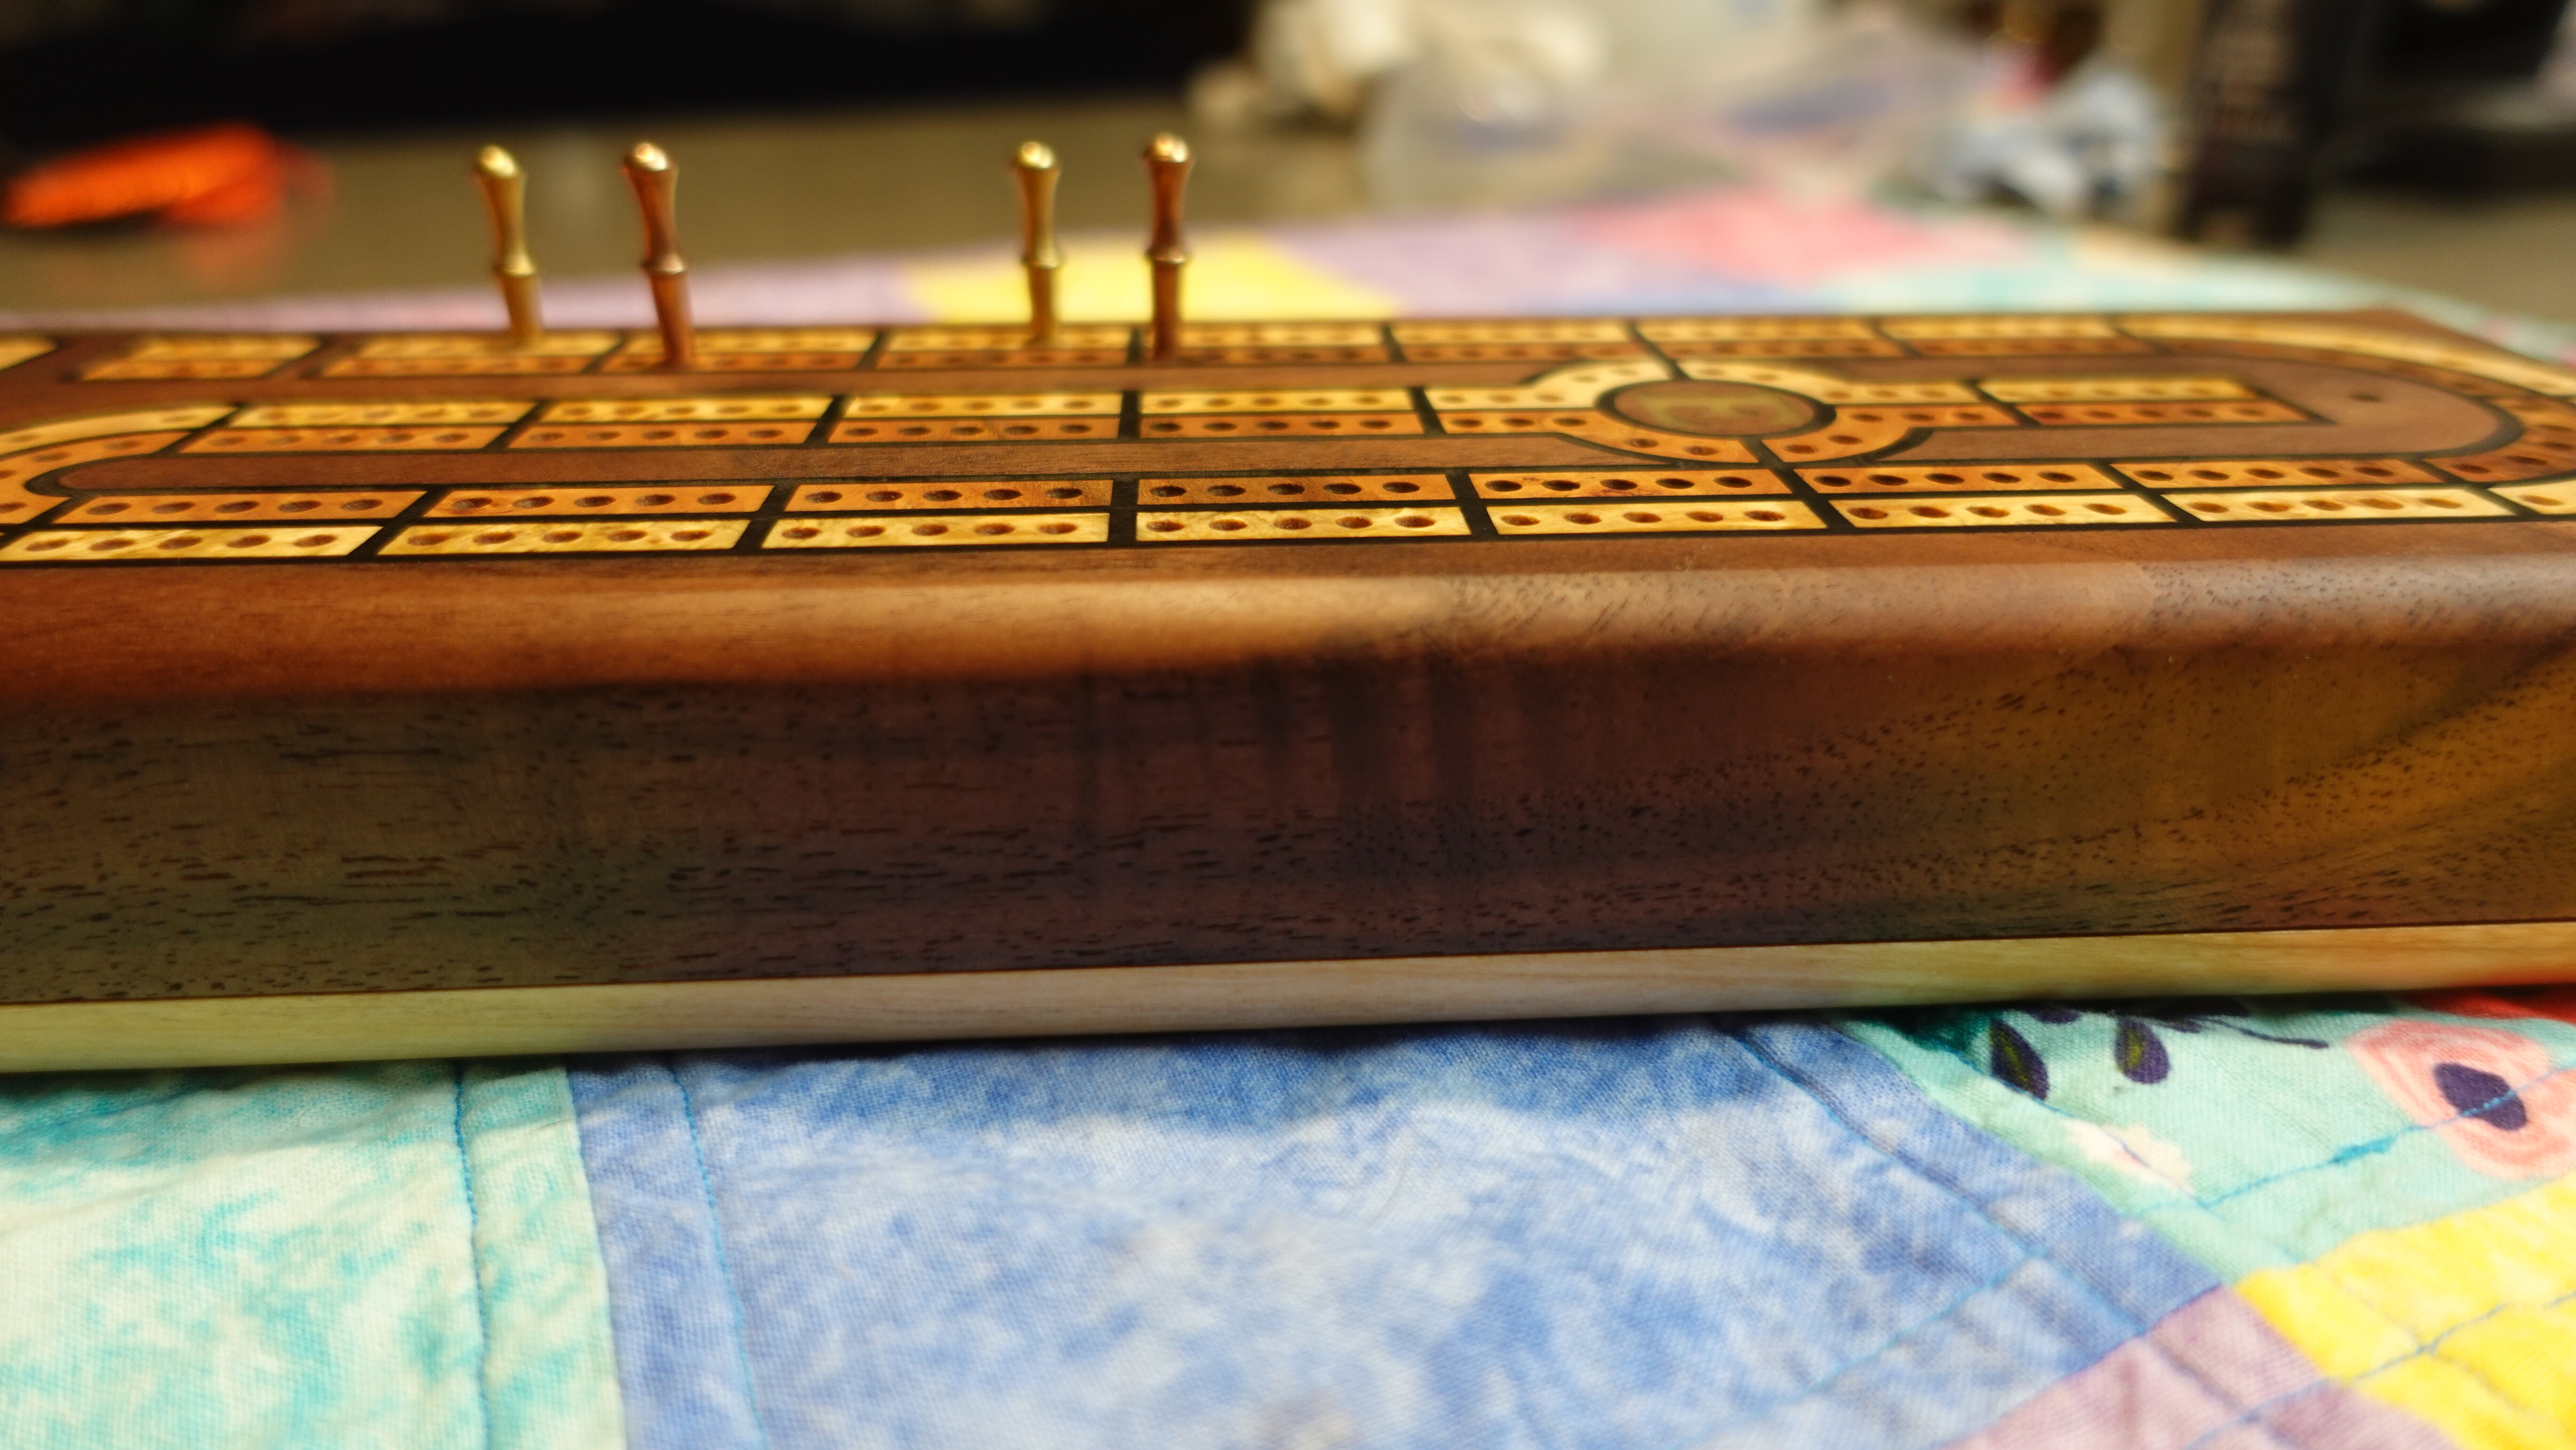
I used my router table for the sliding dovetail. Walked it in for a tight fit. It really helps when you cut to exact dimensions. Total width was 4” and the dovetail is cut right at .5” on both sides.

I’m hoping to get the video out this weekend

1 Like

Alright….take it easy on me! I just uploaded my first ever YouTube video of the Inlayed Veneer Cribbage board. Please check it out and like / subscribe! Super excited as this is the first video I’ve created.

Thanks!

10 Likes

Great Work. Love your finished piece.

The vid was long, BUT I got to see the care you put into you work. Great job!

Be proud of all of your work, video and board

1 Like

@Zman thank you for the feedback!! Hopefully the next one won’t be so long. :nerd_face:

I can sit and watch a master at work all day long. And I mean master!

In a previous life I was tasked to create training presentations. Watching the people’s eyes glaze over caused me to rethink my work.

Be proud, you did an excellent job on both

Fantastic job! Considering the amount of work you put in the video length is just fine. I’m curious as to the final finish you used.

Rubio Monocoat. Super easy to use and leaves a great wax finish. Alittle expensive, but a small amount goes a long ways!

4 Likes

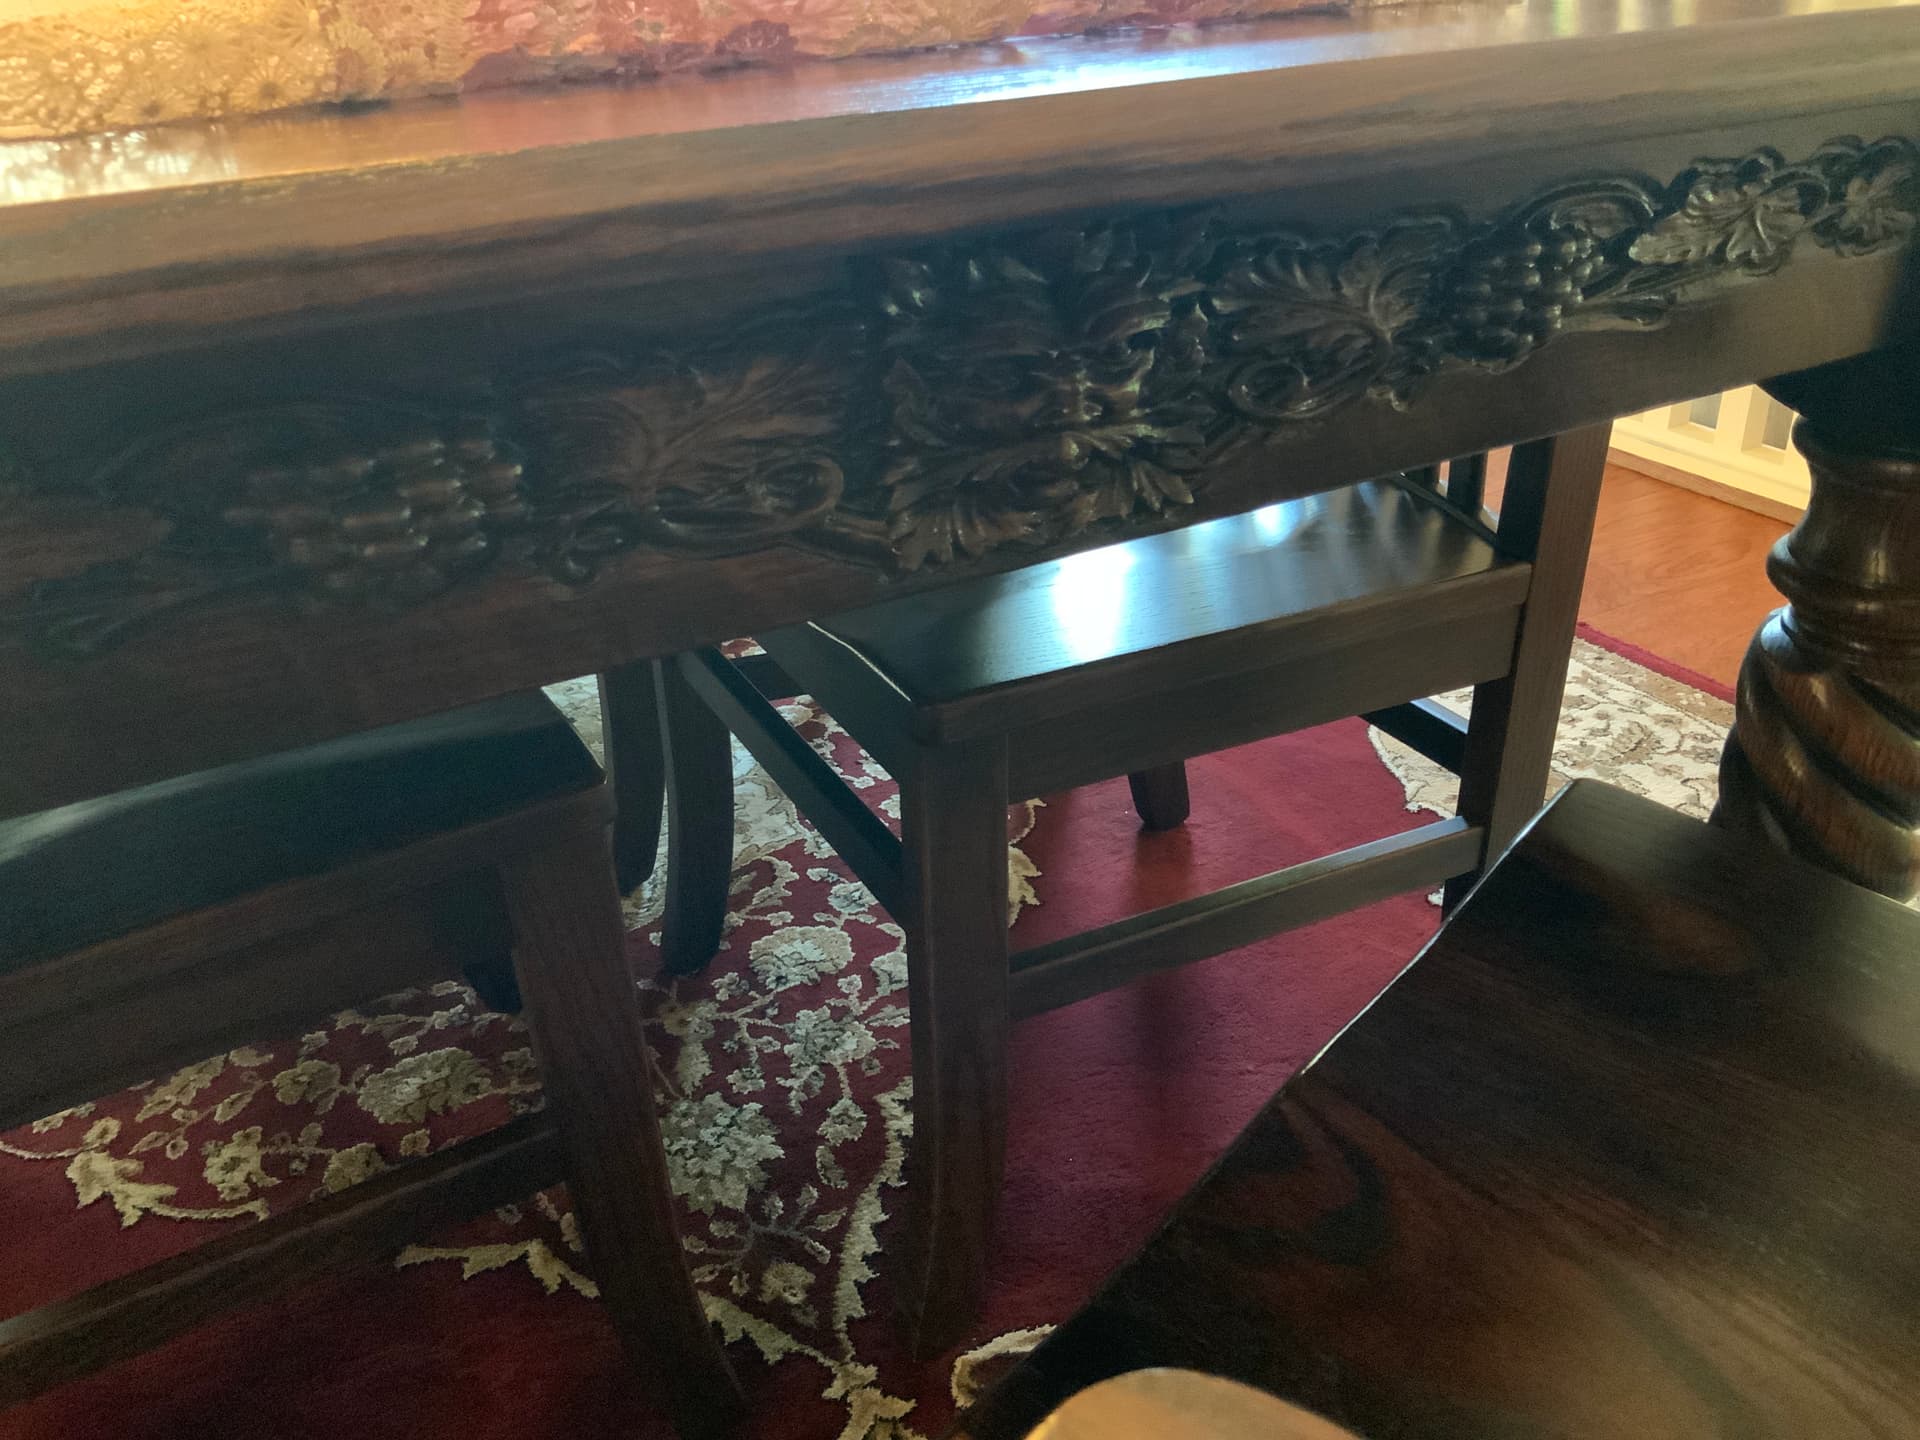
I’ve been hearing a lot about Rubio lately. I’m considering using it to finish a dining table, but I have no idea how much protection it provides, compared to say, a polyurethane. Any thoughts?

Me too, need to check it out.
You might also consider General Finishes Conversion Varnish. https://generalfinishes.com/wood-finishes-professional/water-based-topcoats-and-sanding-sealers/enduro-conversion-2k-varnish
Bullet proof, easy to use, beautiful finish.
My table project:

Aprons cut with SO3XL.

Sorry @Merick01 , didn’t mean to hijack your thread, beautiful work on your cribbage board!

3 Likes

@Griff no worries, the table is amazing!

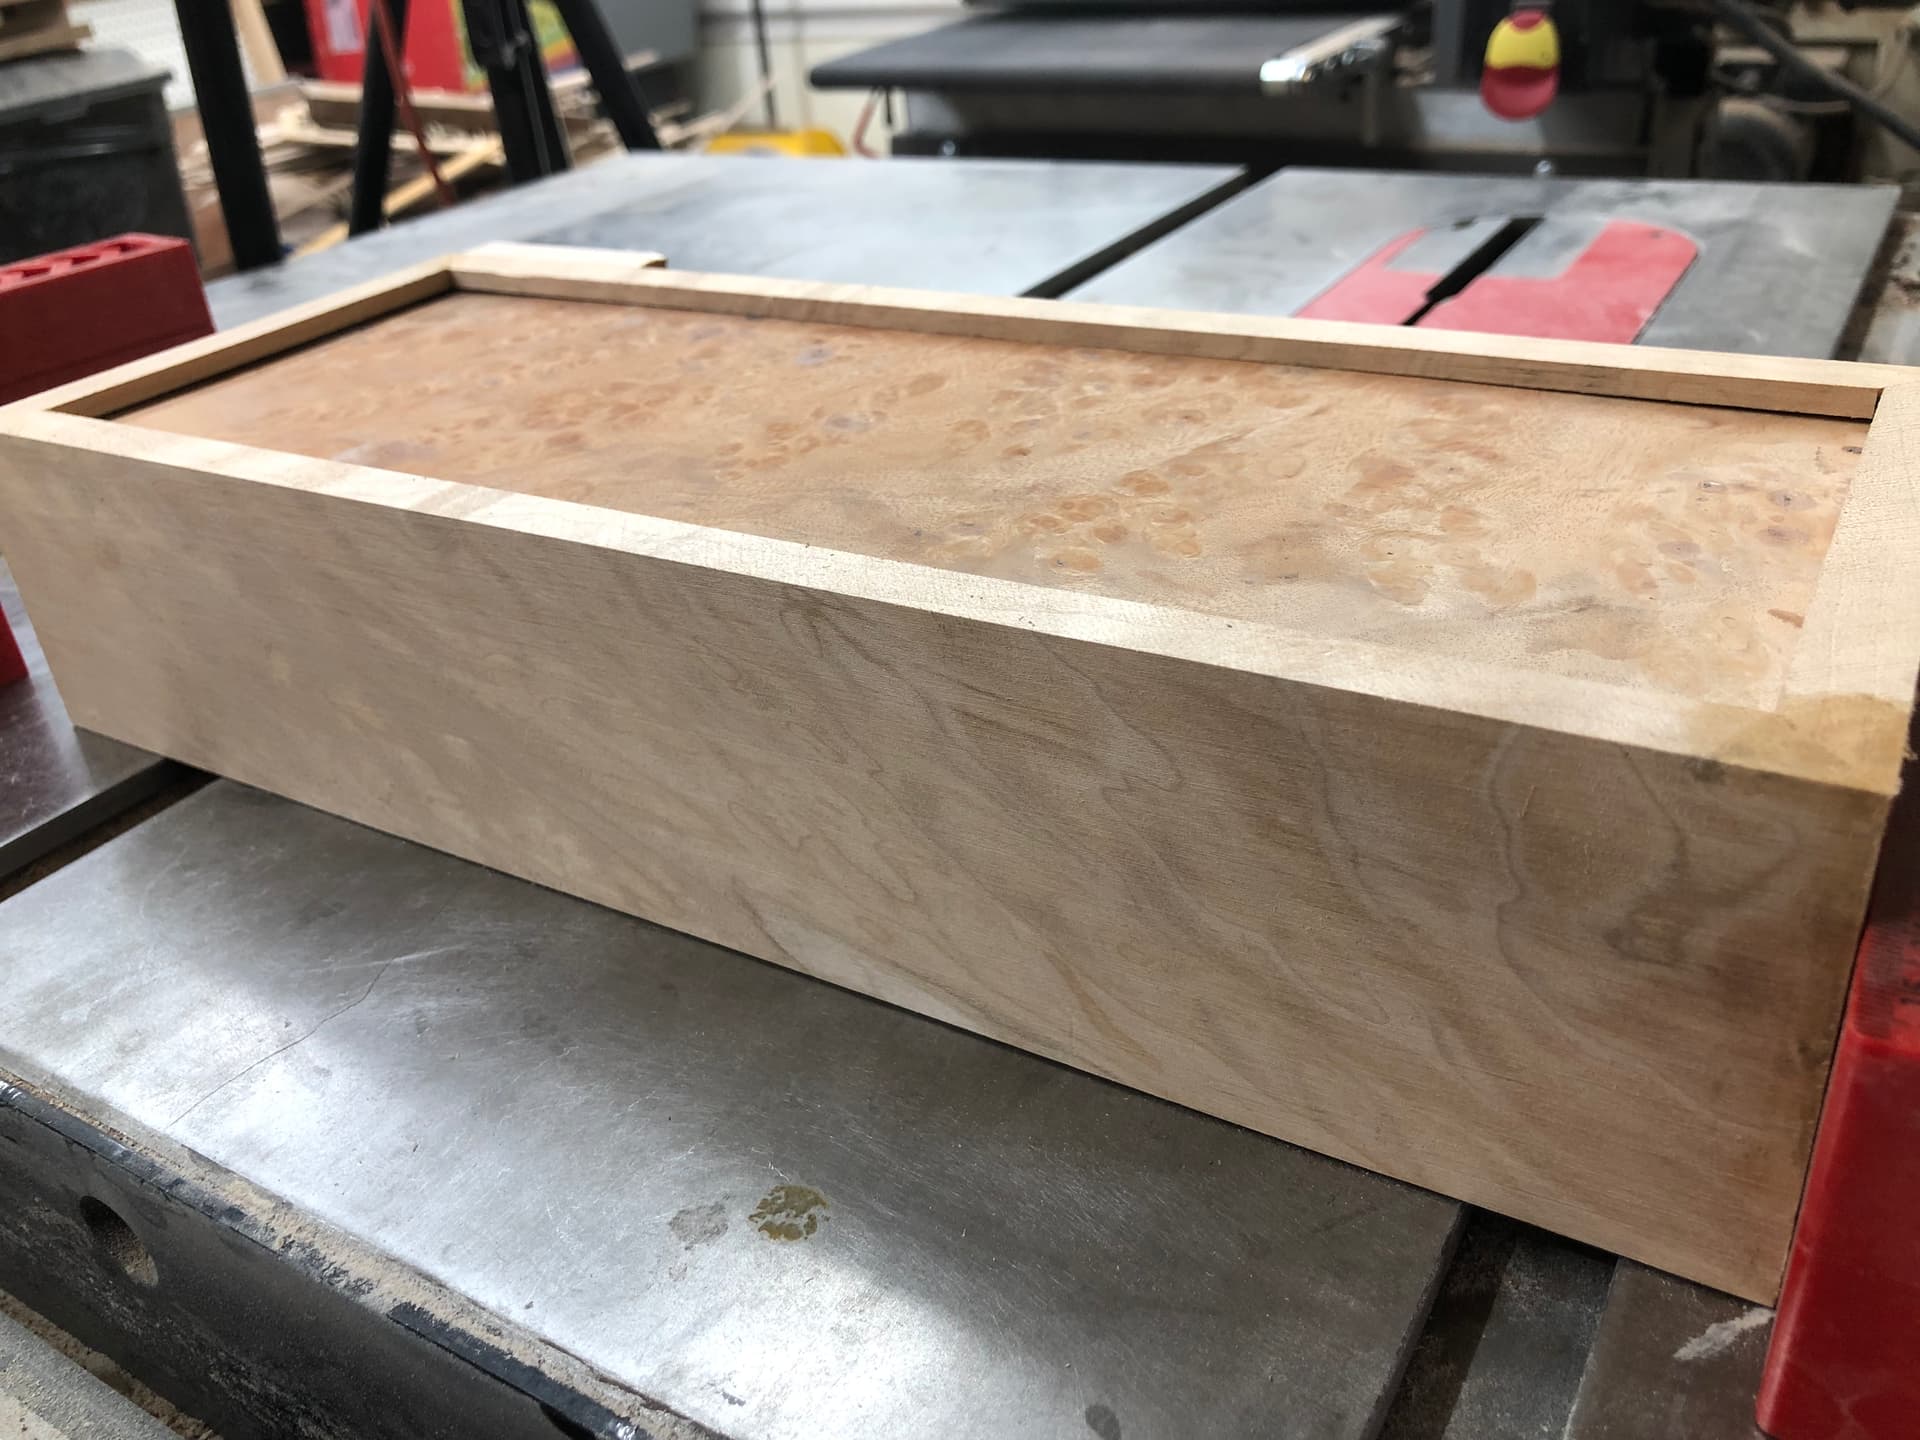
After 2 weekends of playing, the wife wanted a keepsake / traveling box to store the cribbage board in.

My local lumber yard donated me some free quilted maple off cuts so why not! Picture is the bottom…I ended up doing another mountain scene practicing my marquetry :nerd_face:.

Video will follow once completed tomorrow.

Cheers!

6 Likes