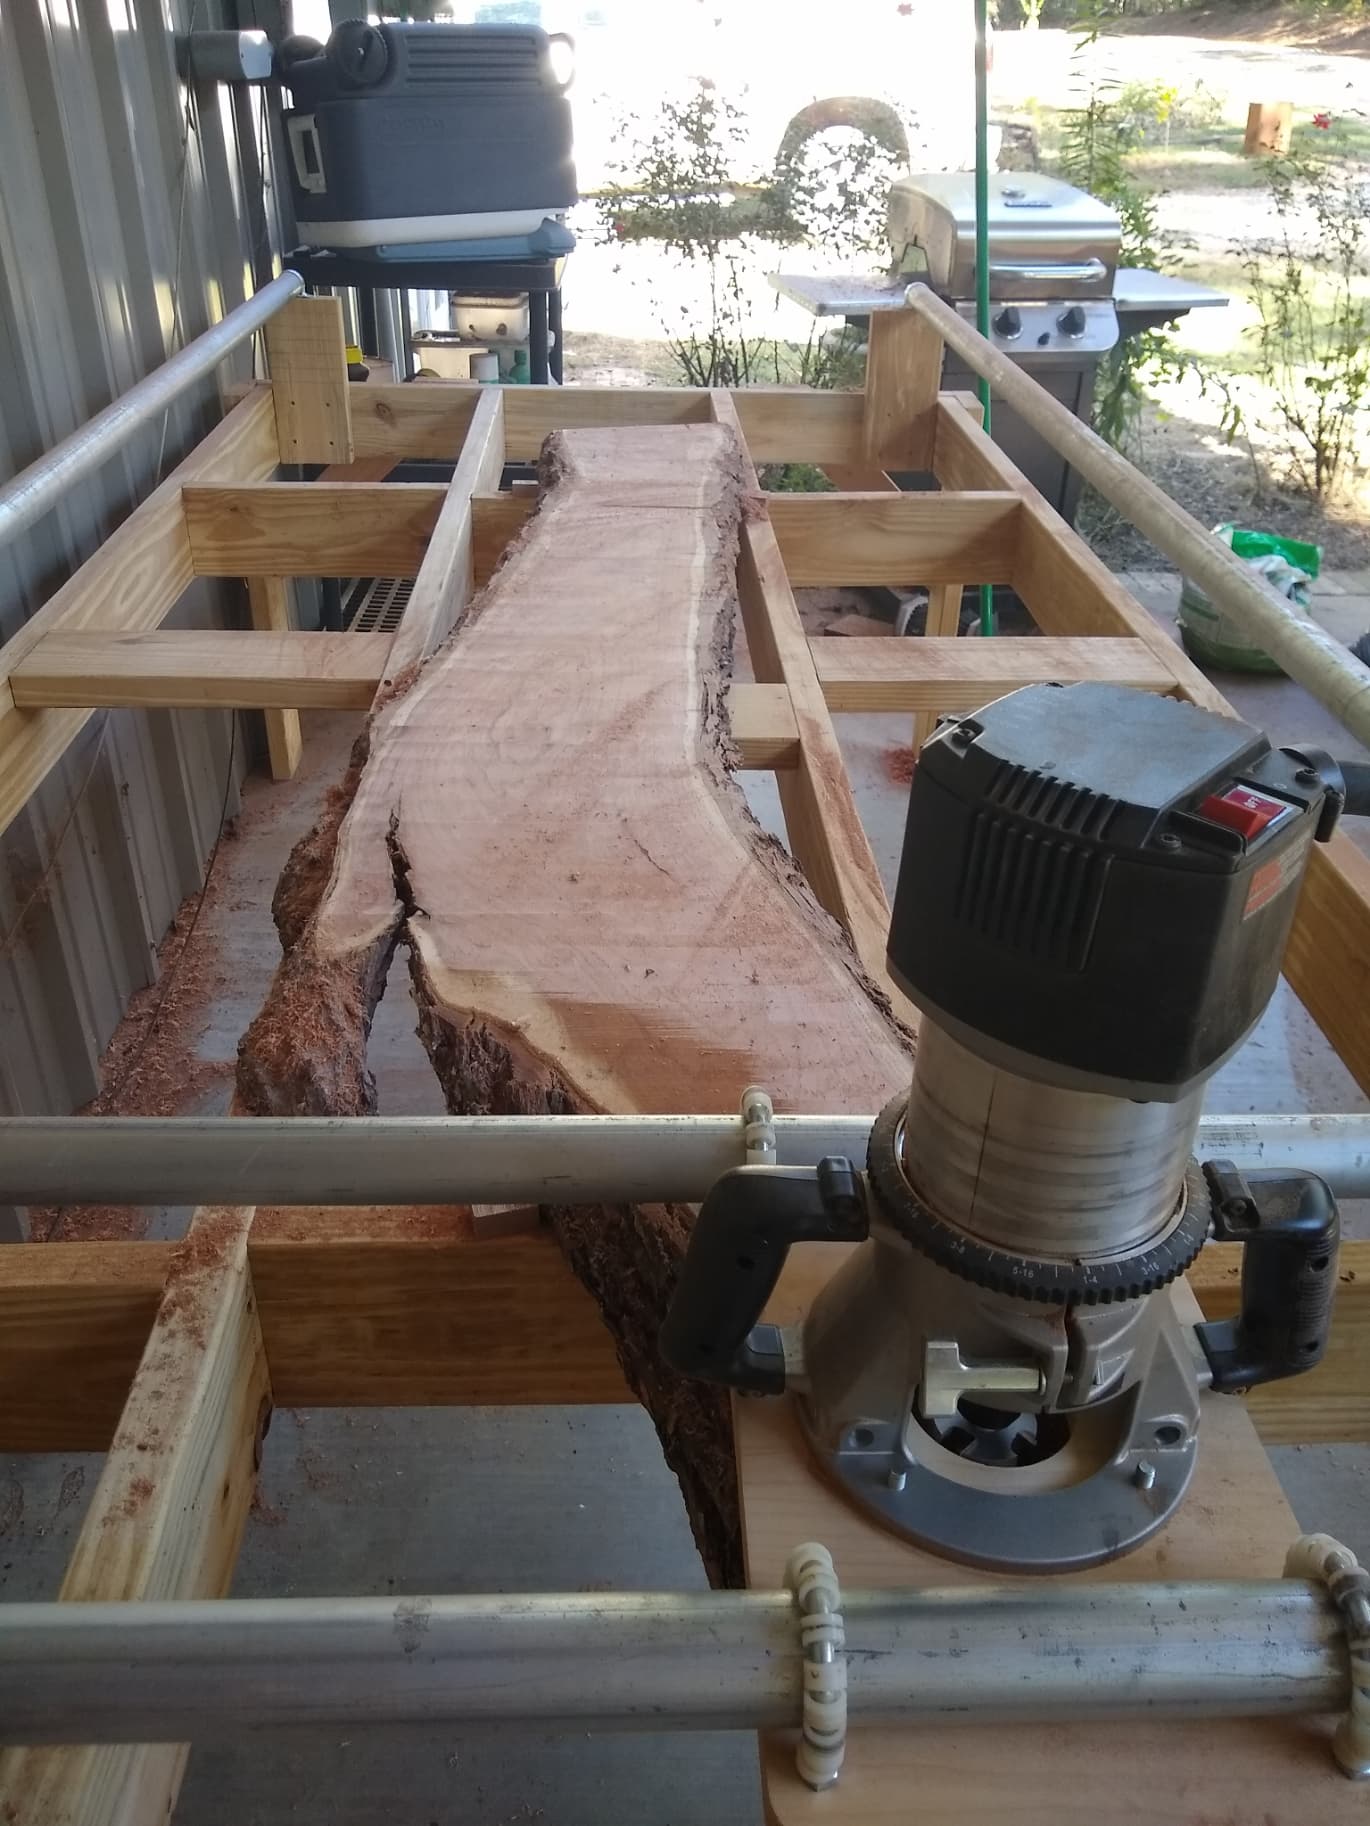
I bought a Veritas Slabbing Kit from Lee Valley. I built the frame a couple of months ago. The frame is 5’ x 10’ and you use 1.5" EMT for the runners. This was my first time using it. I learned a few things and for $99.00 it is a pretty good design. The wood cost about $400.00 and the emt was about another $100.00.
The 1.5 EMT is slightly flexible. So when pushing the router across you need to have a light touch. If you grip the router tightly you tend to dip the EMT and you get low spots in the flattening process.
The whole things uses U bolts with plastic washers to glide the router side to side and across. I had to clean the rails with the 3m finishing pads and apply Johnsons paste wax to get a smooth glide.
The router sled that came did not fit my Porter Cable 7519. So since I have a Shapeoko I created a custom one for the PC and I also have a Frued FT2000. I made two separate sleds for the routers. The mistake I made is the bolts come in from the bottom and it is a pain to remove the router. Every time I use the router I like to check the collet for tightness because there is an extension and router bit sticking down. The vibration from use can cause the collet to loosen and spinning at 14000 rpm and a 2" x 1" Infinity Mega Planner bit can be a disaster. So I am going to redesign the router sled and put threaded inserts in the base so I can put the router mounting screws in from the top. It will be somewhat of a pain to remove the router but the danger makes it imperative to remove the router to inspect it and at the end remove the router to take it inside.
Move the router slowly across the work. The Veritas instructions say you can zig zag across making one pass a regular cut and the reverse a climb cut. I only go in the conventional cut. The climb cut is rough and makes the router shutter.
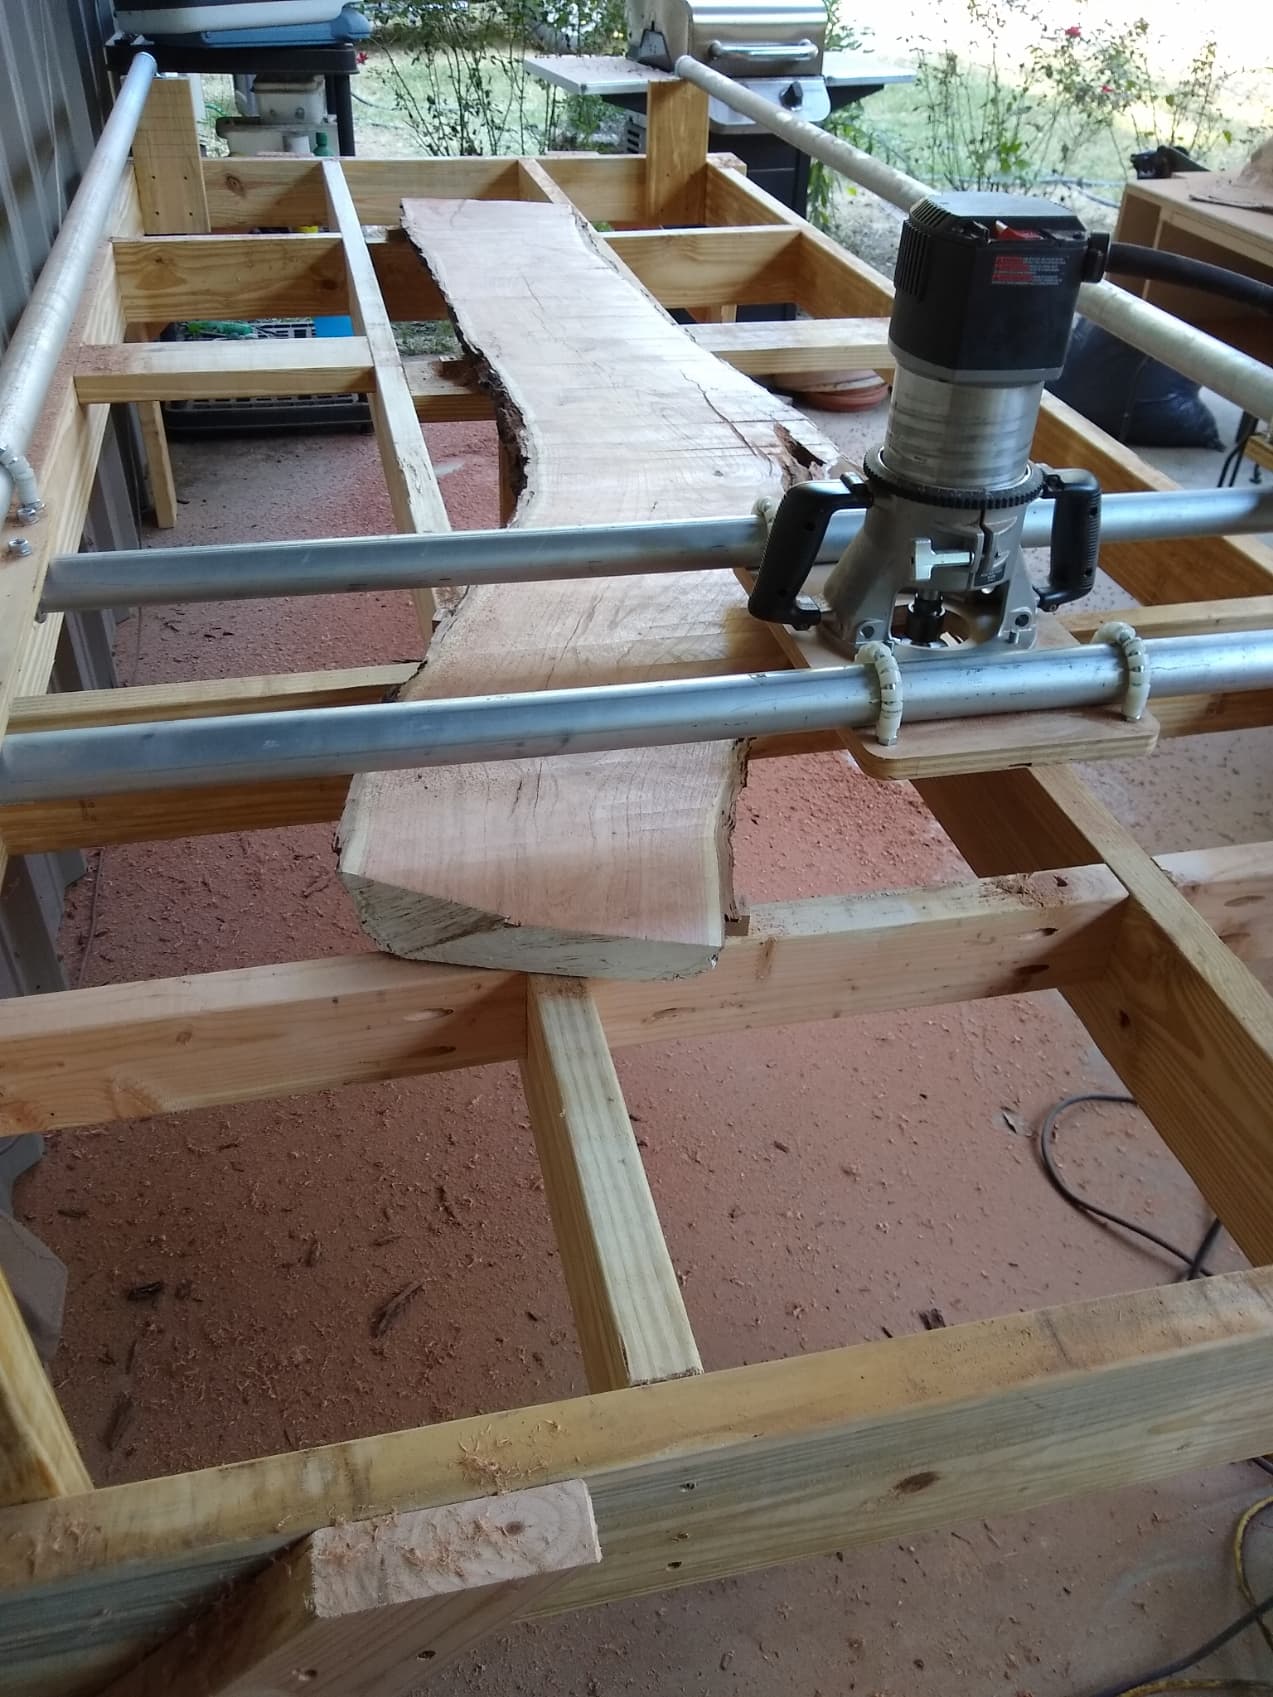
I made some 1" oak squares with a hole drilled into it to lock the slab down. I used 1.25" screws to keep the slab from moving. I need to make them more like 2" because the slabs sometimes dip on and it is hard to get the screws in and out. So a longer dog with the hole drilled on one end would make locking the slab down easier and faster.
So if you are considering a slabbing jig the Veritas jig is a good one. I looked at several commercial ones like the Woodpeckers one and several others. You still need to make a base which is $200.00-$400.00 and then add $1000.00+ to the slabbing kit it gets pretty expensive.
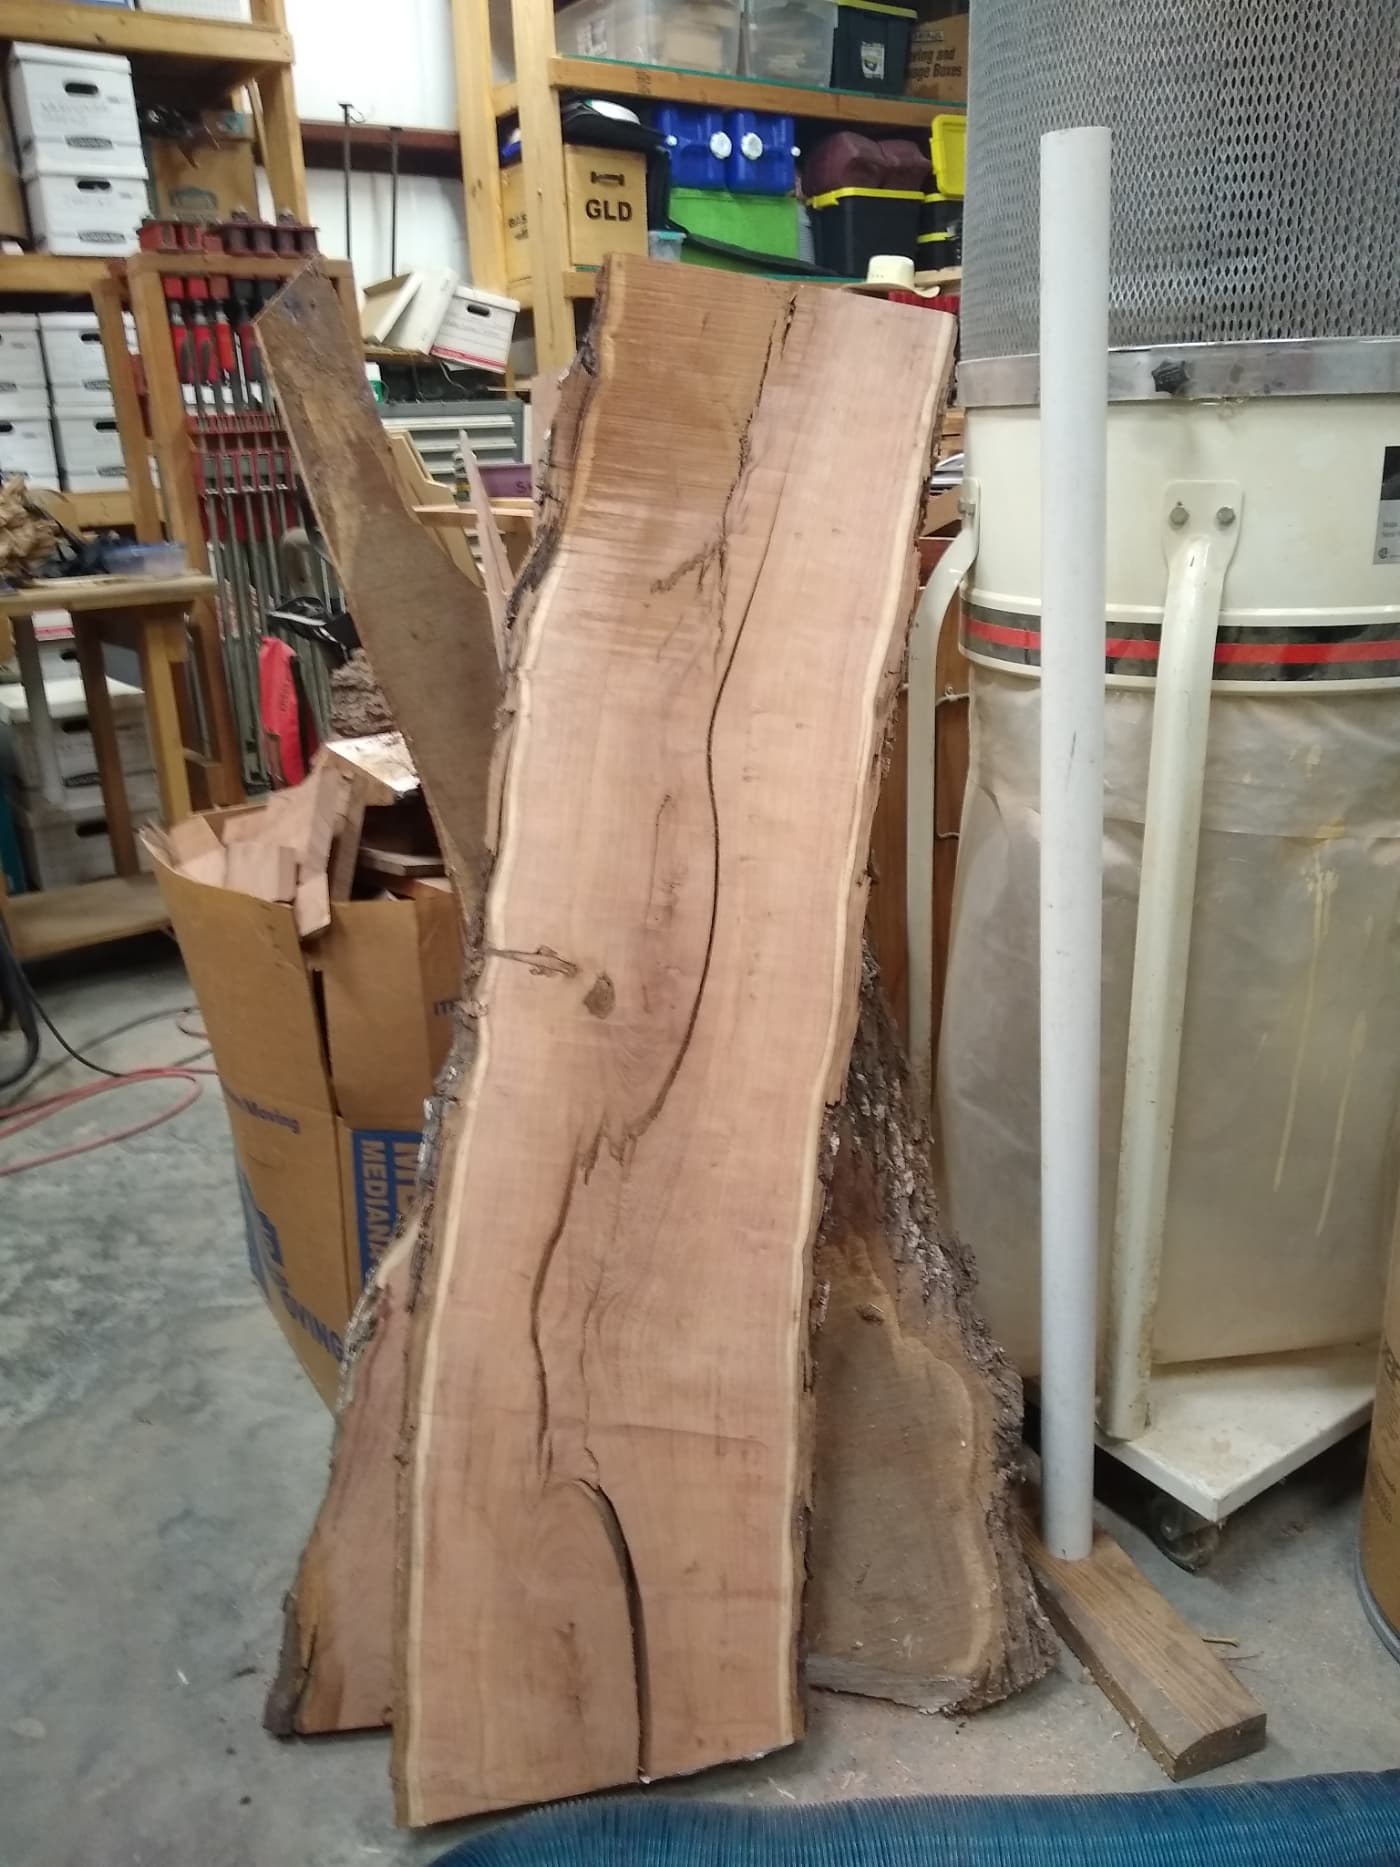
Here is the second side of my slab flattened. The tram marks can be removed easily with a 60 grip pass on the 5" random orbit sander.
Base: $200-400.00
Kit: $99.00
Router: PC 7519 $400.00
Bit: $99.00
Router Bit Extension 1/2": $30.00
3 10’ 1.5" EMT: $100.00
Woodpecker Slab Flattening Jig: $700.00-1500.00 plus odd accessories
TrueTrak 4’x4’: $800.00-1200.00 Depending on size and accessories
Woodhaven: $500-600.00 96"x48" Flattening jig only
All the above kits require a table to sit on so add that cost $200-400.00
I use the slabs for general woodworking projects as well as on my Shapeoko SO3 XXL with HDZ.
5 Likes
Griff
(Well crap, my hypometric precursor device is blown…)
2
I have a bunch of mesquite from a very large tree that a friend cut up on his sawmill. I recently got two big black walnut slabs from our woodworking club. I also got a big pecan slab from a friend that had a large pecan tree fall in his front yard.
I have thought about buying a saw mill. I live in the country and trees are everywhere. During storms trees go down and there is a lot of firewood. I also thought about an alaskan saw mill because it is portable. The thing about having a saw mill is it takes a lot of expensive equipment to handle the logs like a bobcat or tractor, chains, large chain saws and so on. That is why I am considering the Alaskan saw mill because the main expense is a large chain saw and ripping chains. If I get the Alaskan saw mill I can take it to the tree and slab it up and handle moving the slabs to a trailer. With a saw mill you either take it to the tree and set up which is a couple of hours or you haul the heavy logs to the mill.
In Nacgodoches there is a saw mill which is associated with or wood working club. He cuts the lumber relatively cheap compared to the expense of buy a saw mill and maintaining it. Plus you have to store the saw mill somewhere and something is always needing fixing. The issue with using a saw mill is you have to transport the logs to them and haul them home. The saw mill has a tractor that they use to move the slabs and help load them. Once you get home you have to sticker the slabs and let them dry for 1-3 years.
The USDA has a plan for a solar kiln that you can dry slabs in about a week or so depending on thickness. It is a frame with black plastic or plastic covering and some fans and vents. All you need is free sun shine. You use the winter or summer it just takes longer in the winter. Air dried lumber is the best and even kiln dried lumber it is best to let it sit air drying after the initial drying to let the wood settle down.
Here is the link to the pdf for the solar kiln. The pdf was too big to upload.
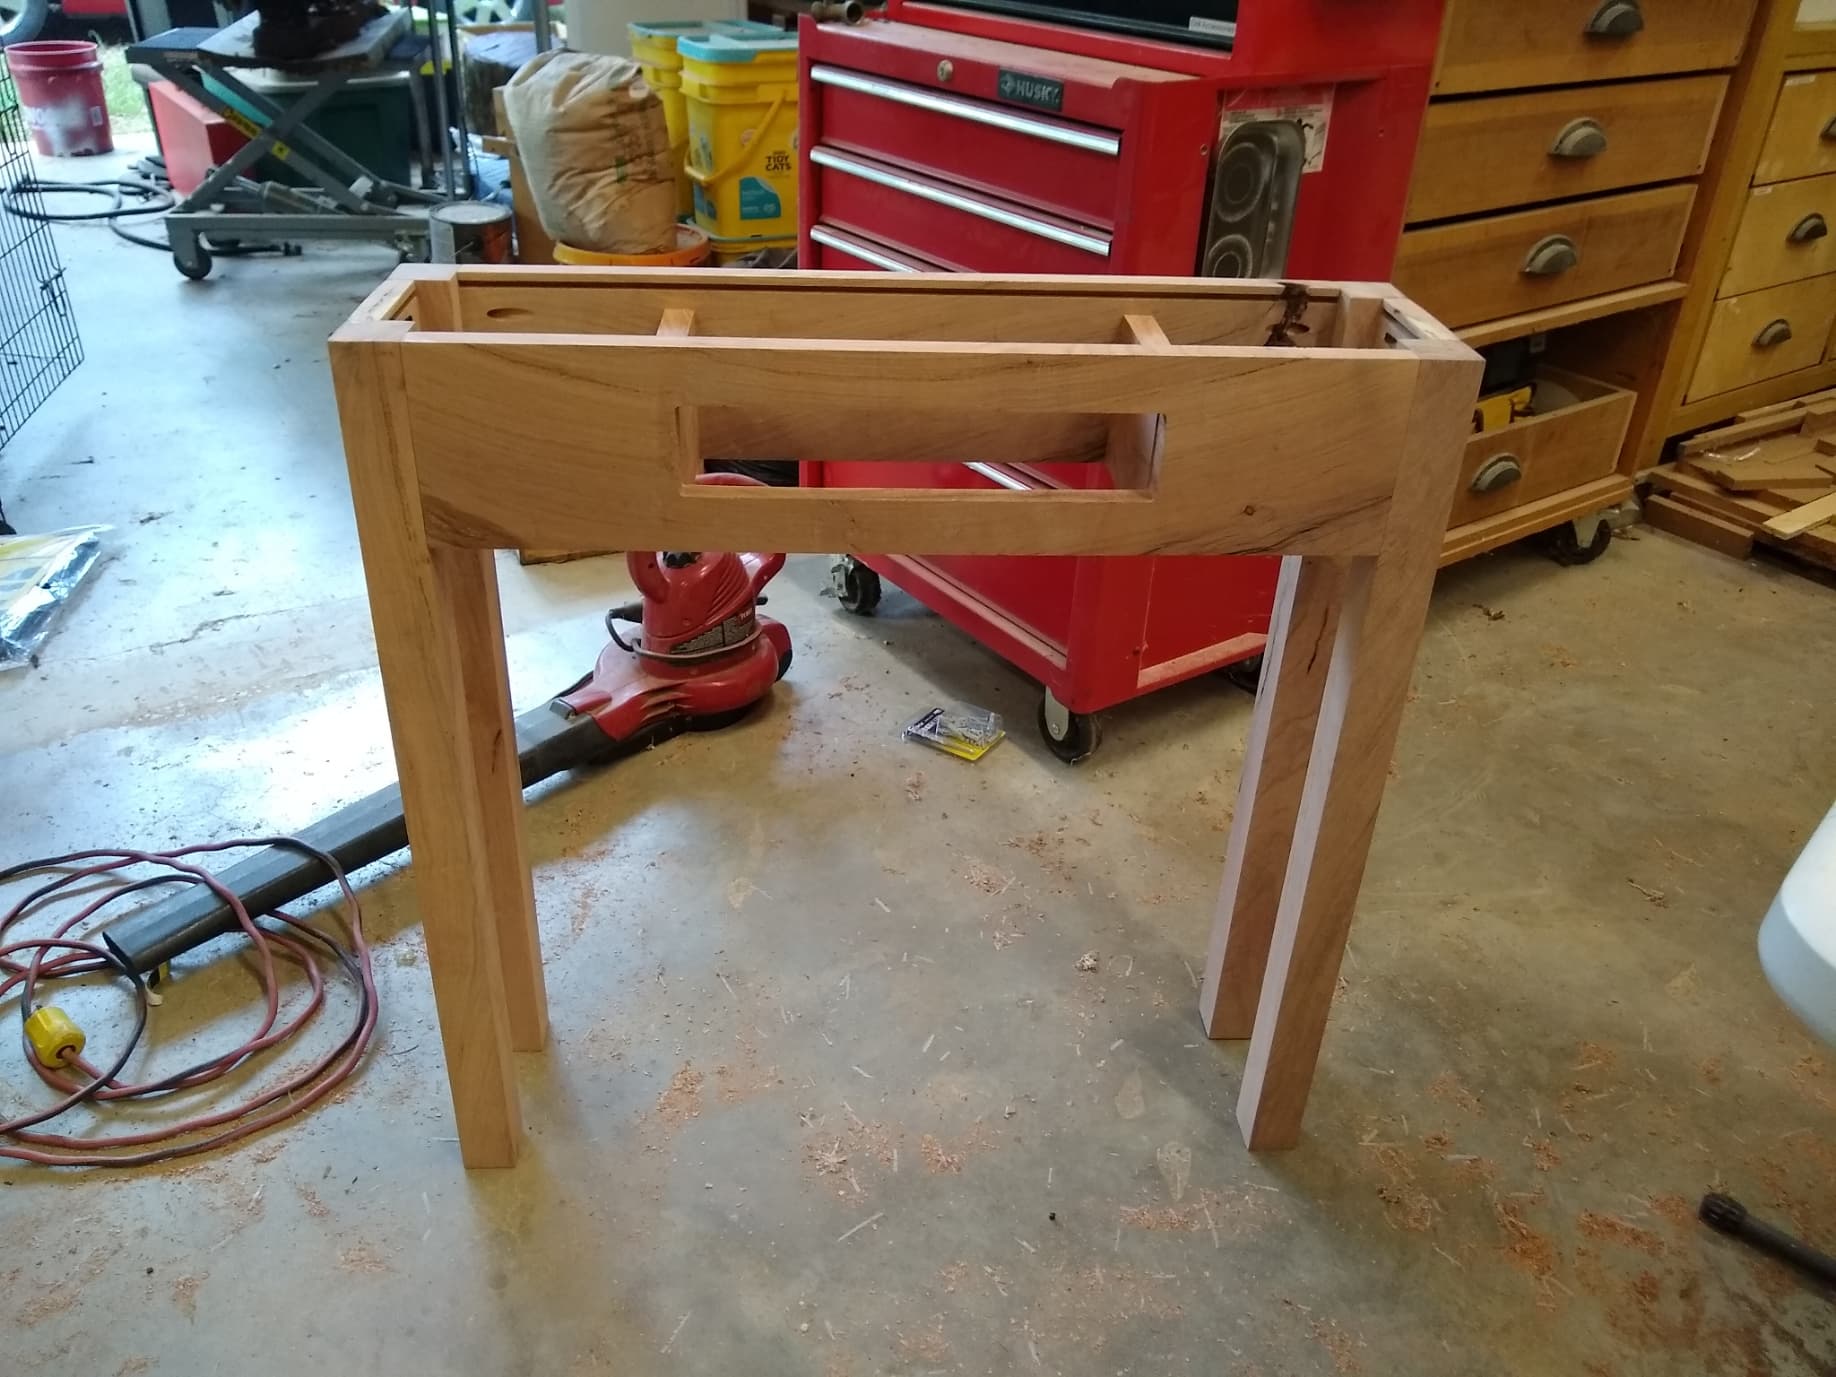
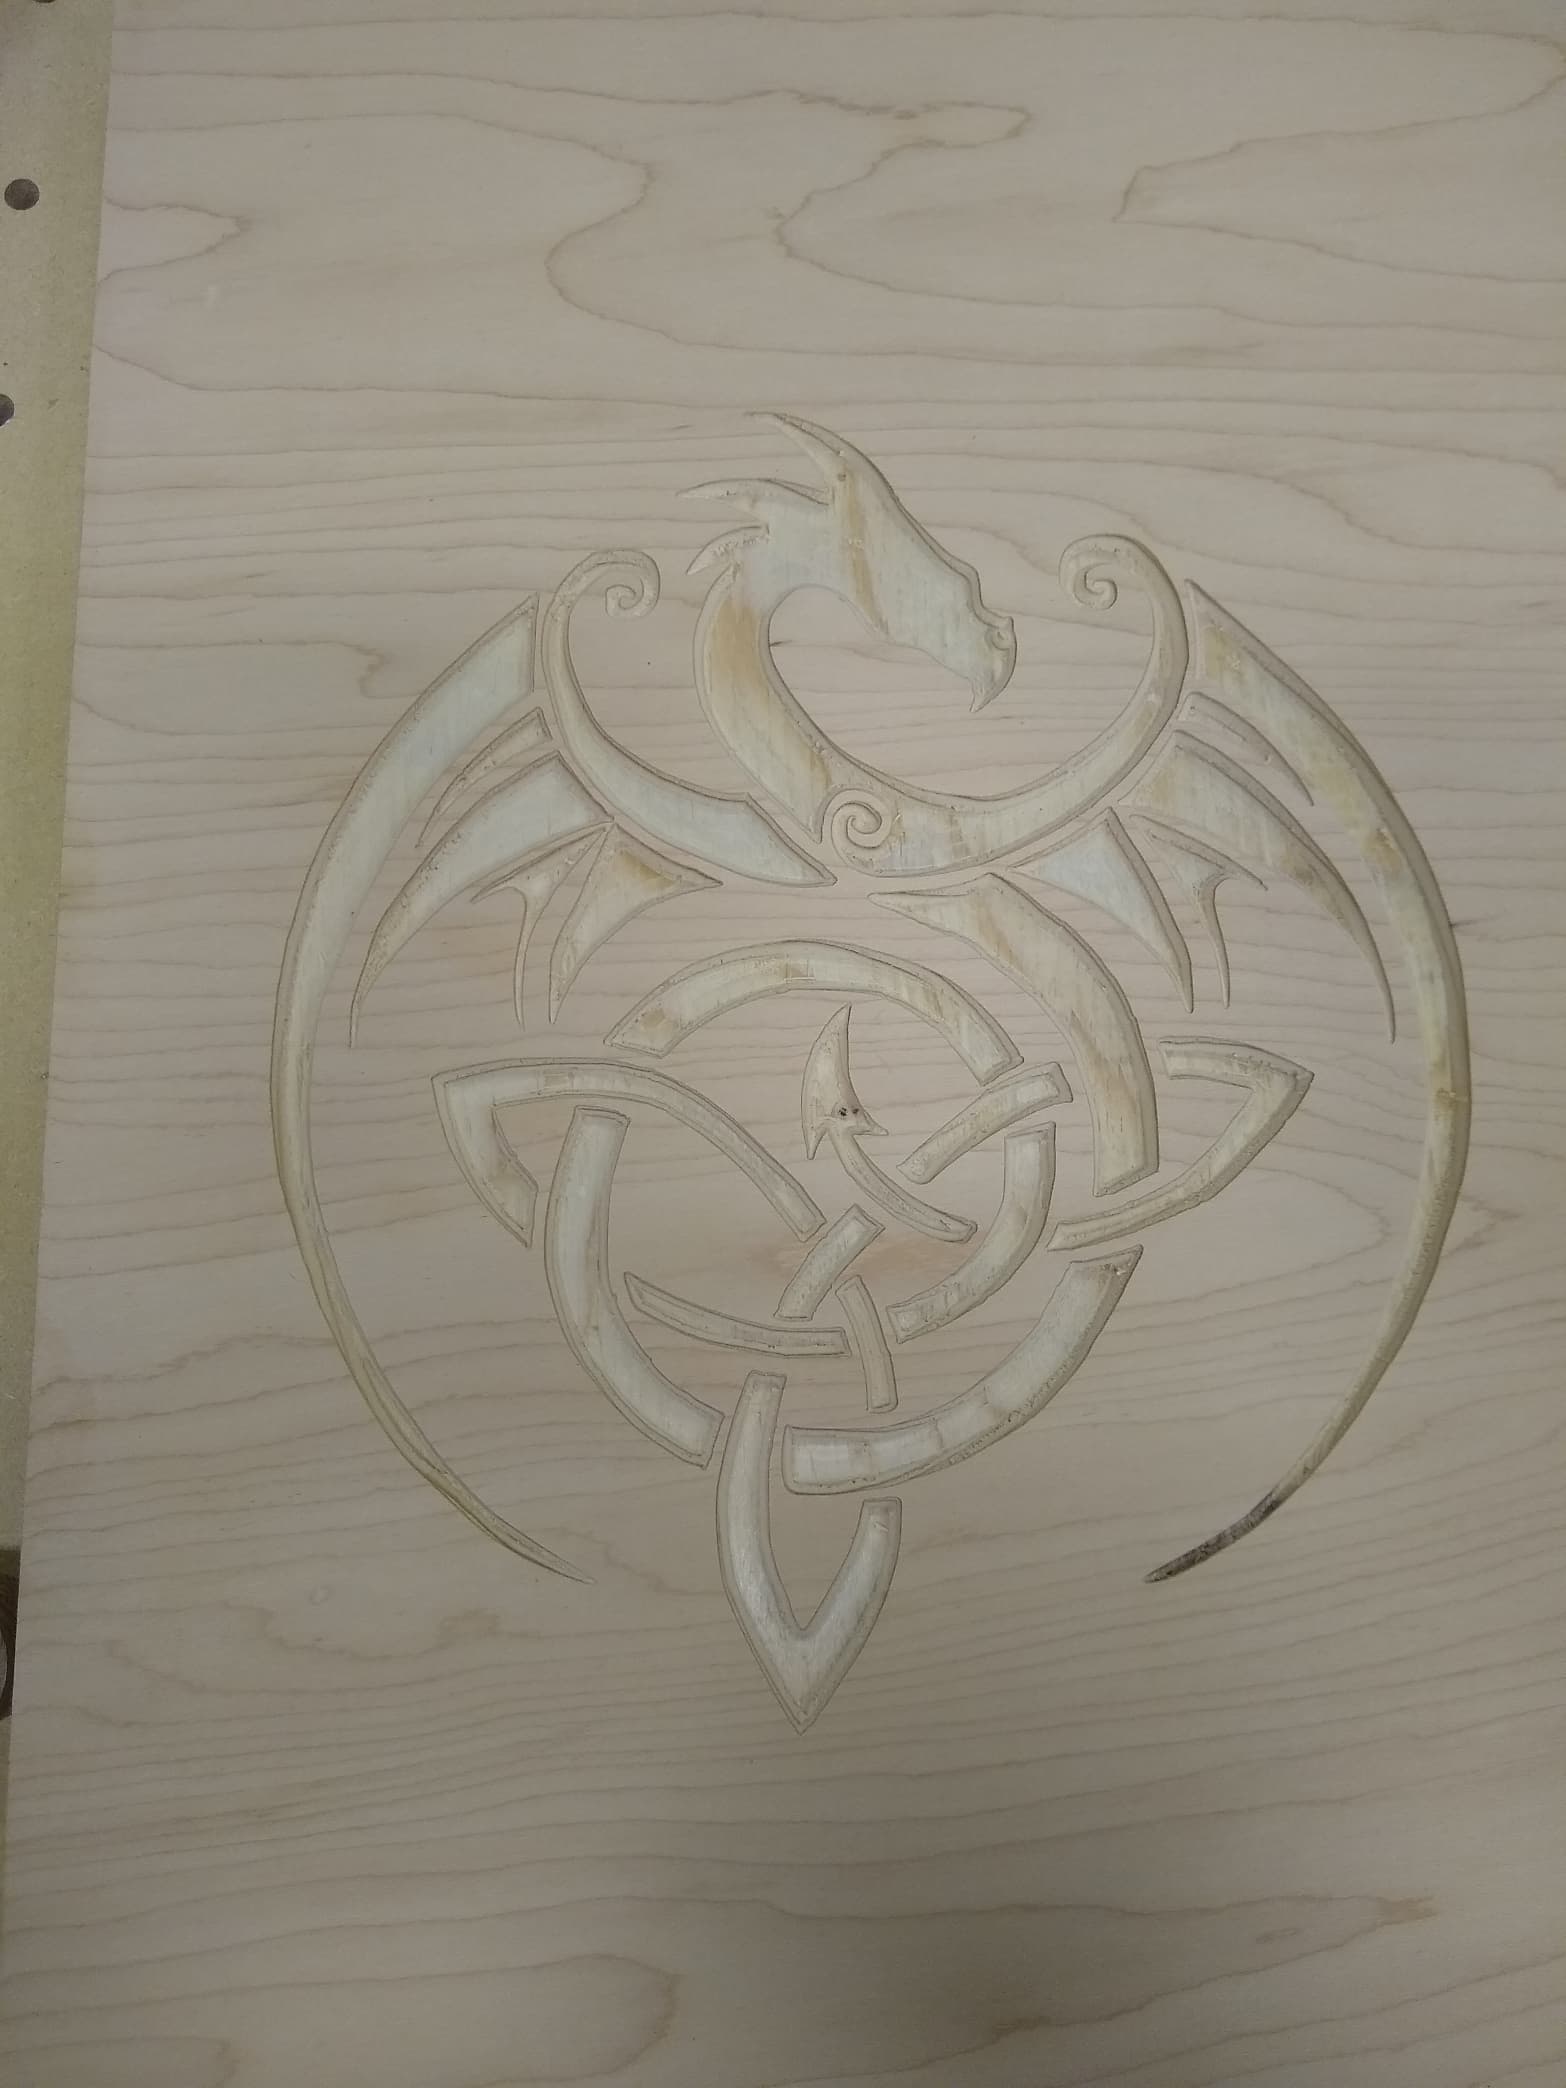
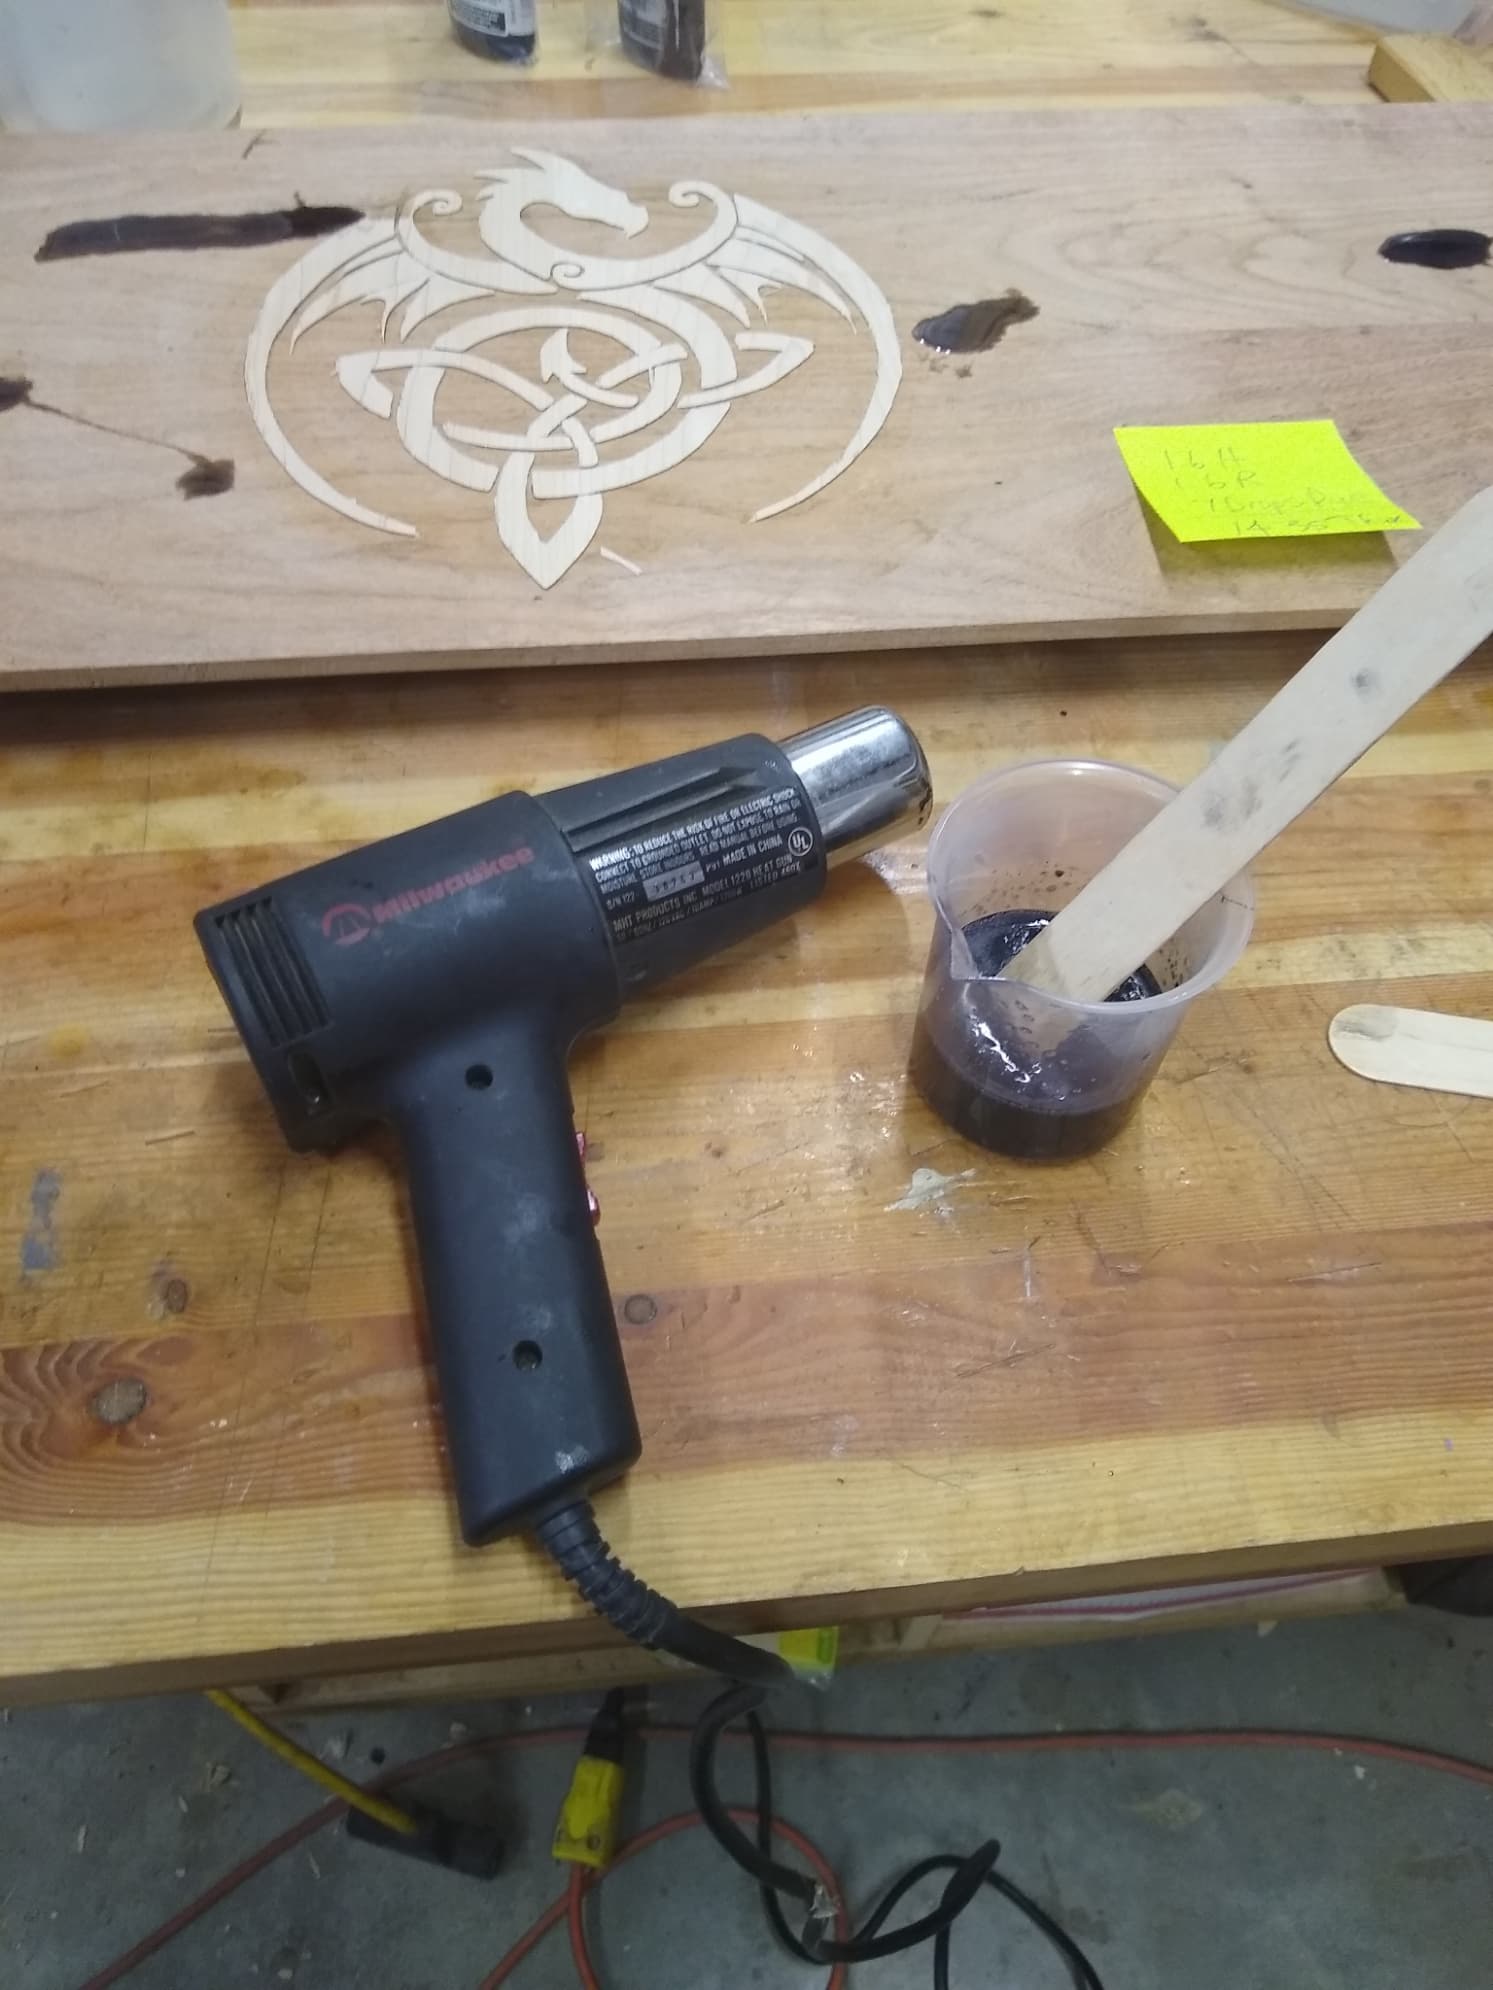
Here is an update on my Hall Table I am making for my grandson. I put it into a pdf to document the progress of the table build. I have the base done, the top made and made a test cut in maple plywood of a dragon I will either epoxy fill or make a maple inlay for the mesquite top.
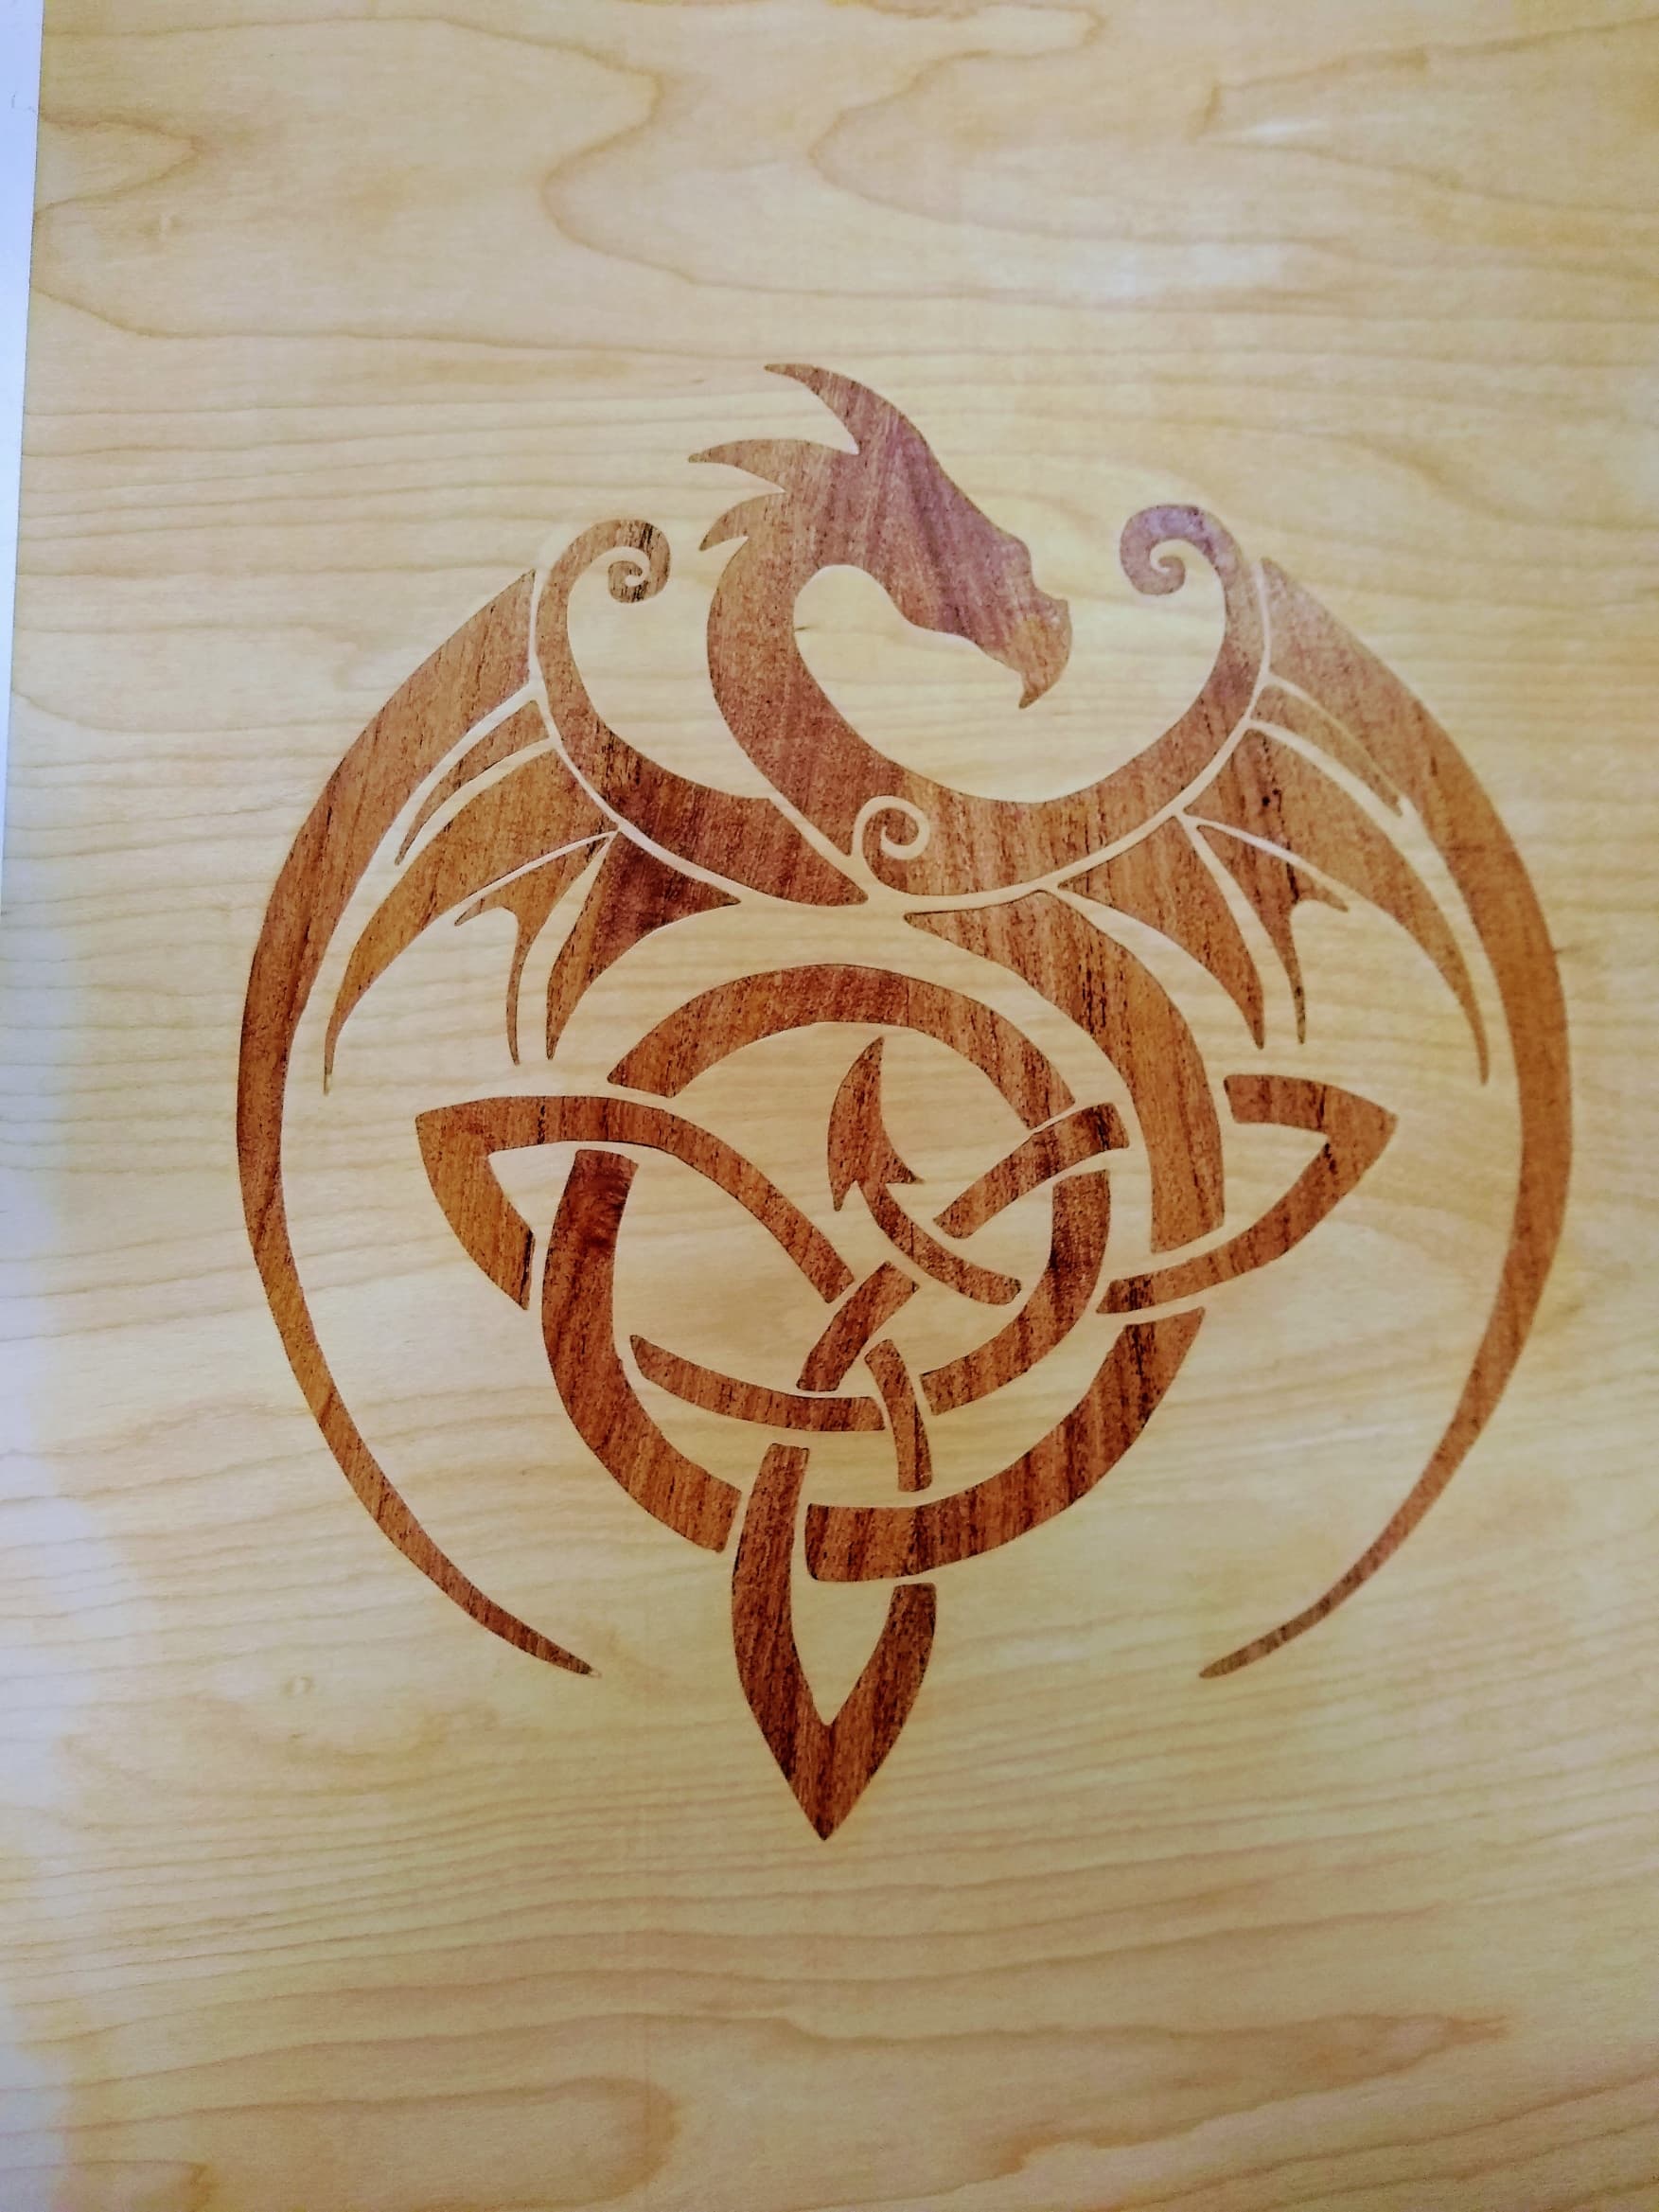
Edit October 16, 2022 to the project in pdf form. I got the male plug cut and glued in. After drying I ran it through the planner until just a little bit of the inlay was above the surface and then sanded with 120 grip sandpaper. The picture has mineral spirits rubbed on it to simulate the finish.
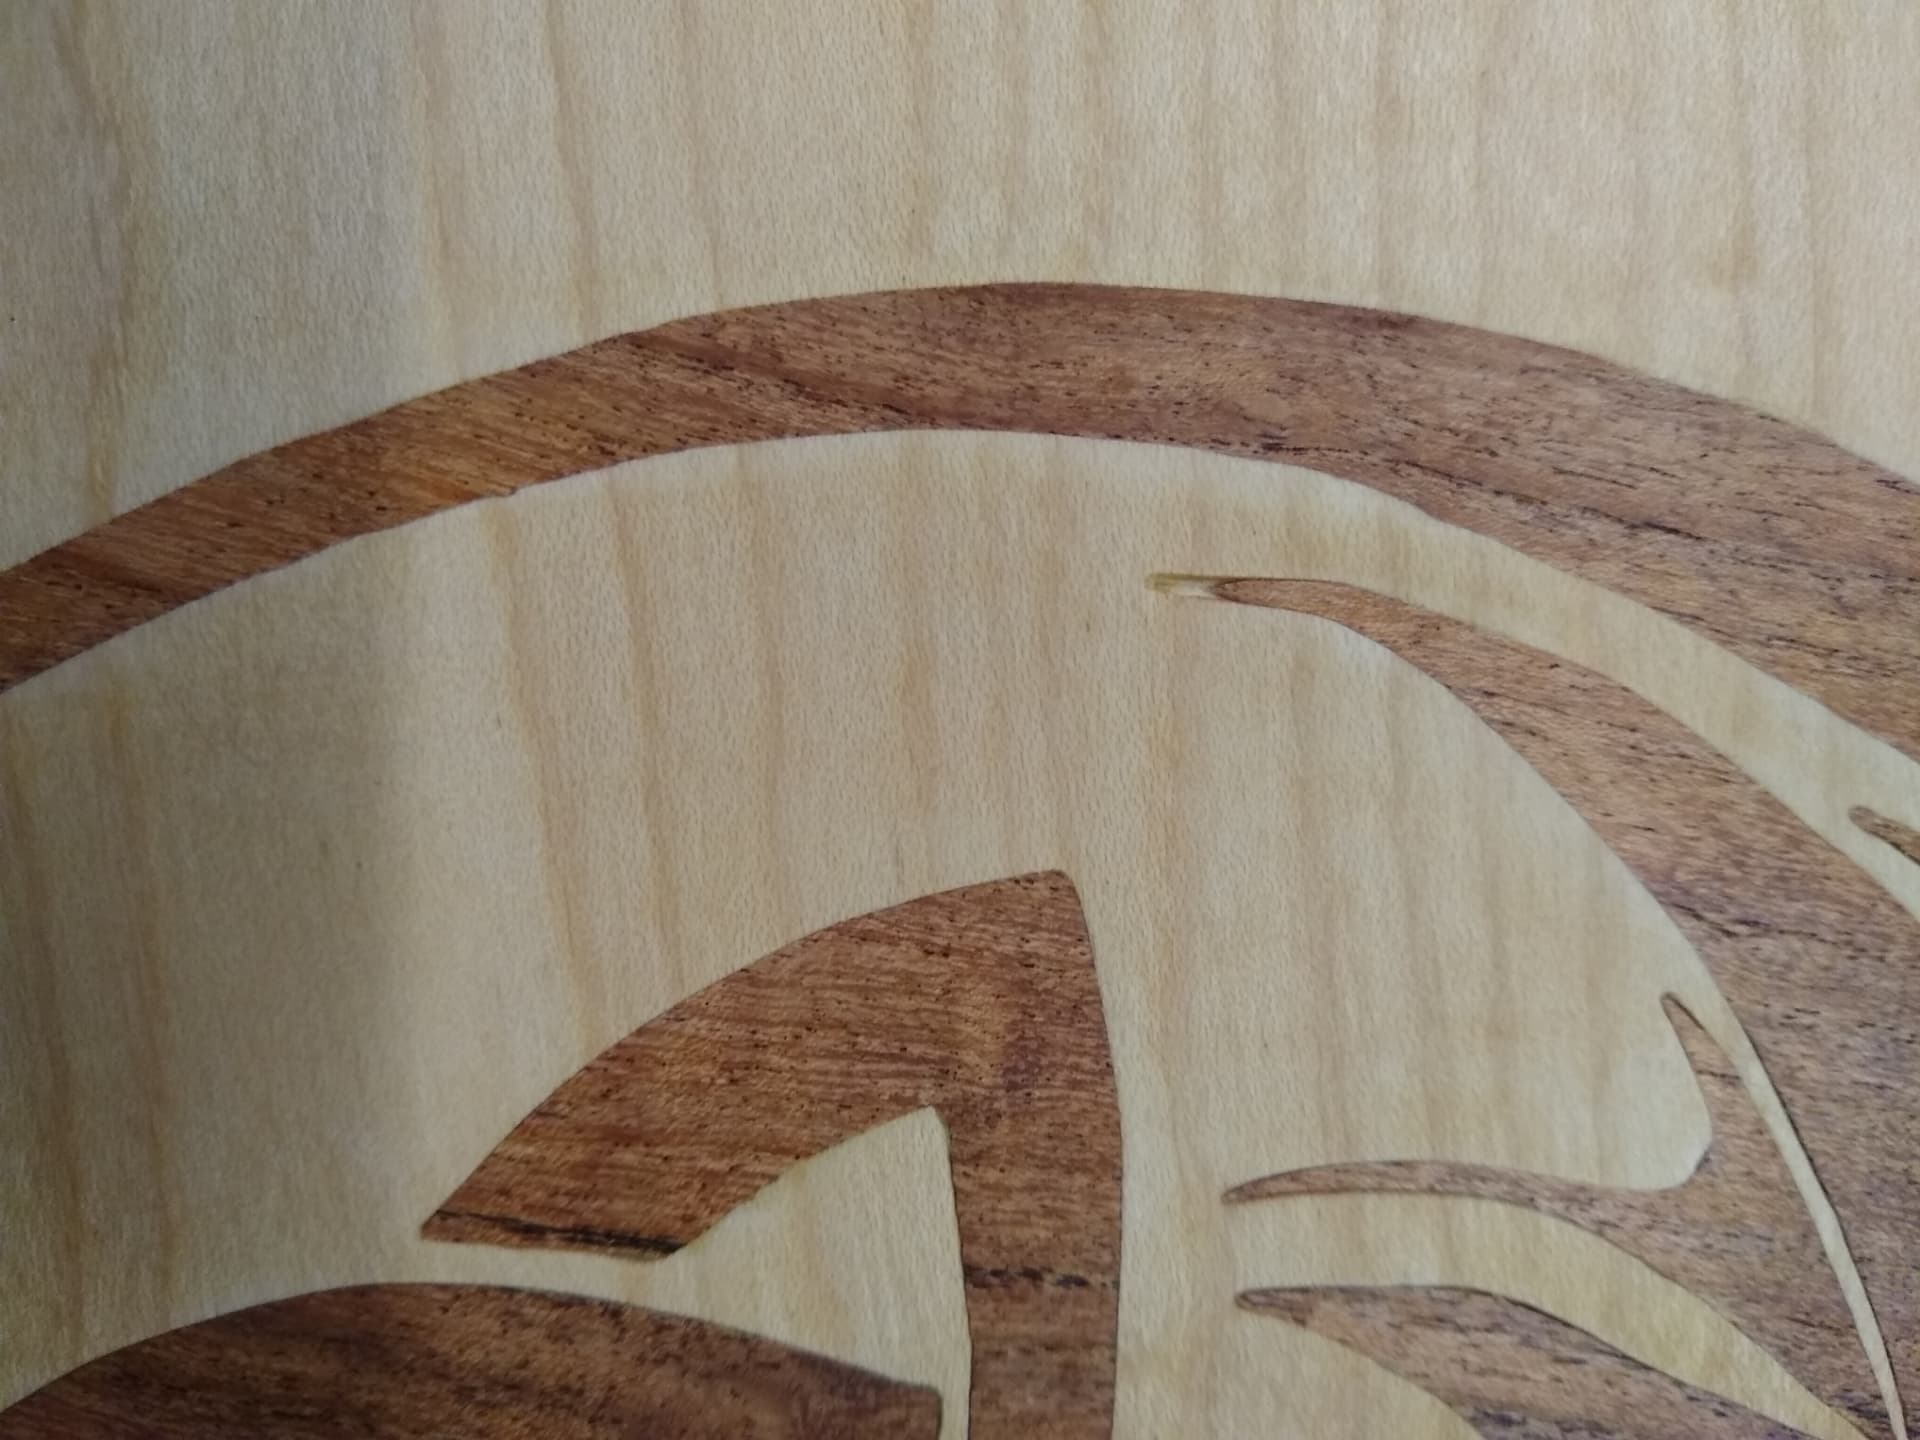
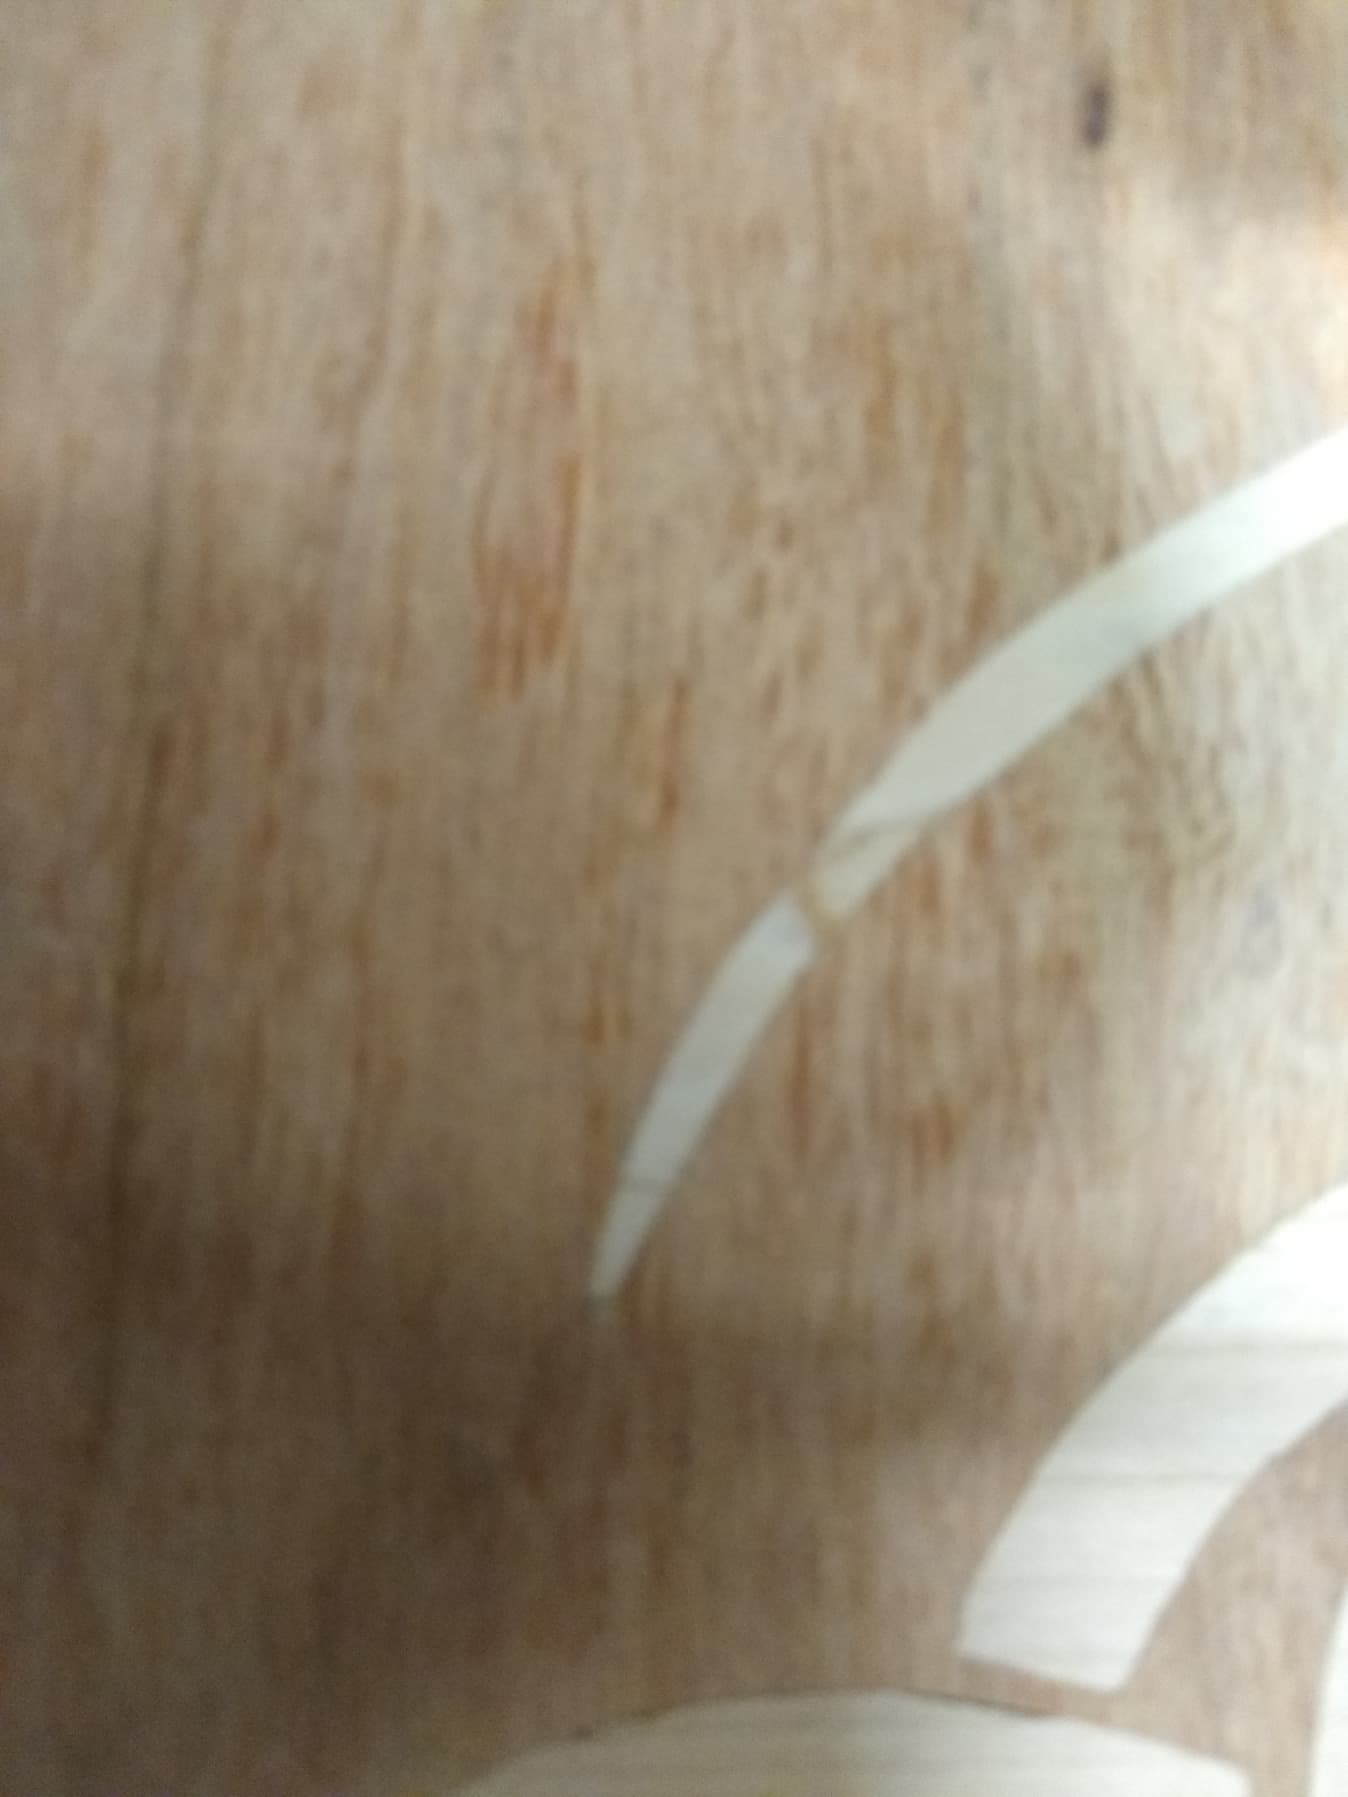
I had one little spot where a part of a line was missing at the tail end. Likely got knocked off during machining or when I initially fitted the inlay into the female socket. I had a hard time lining up the inlay on the female socket during initial fit and during glue up.
Here is my c2d file. The female socket toolpath is disabled and the male inlay is on the current file.
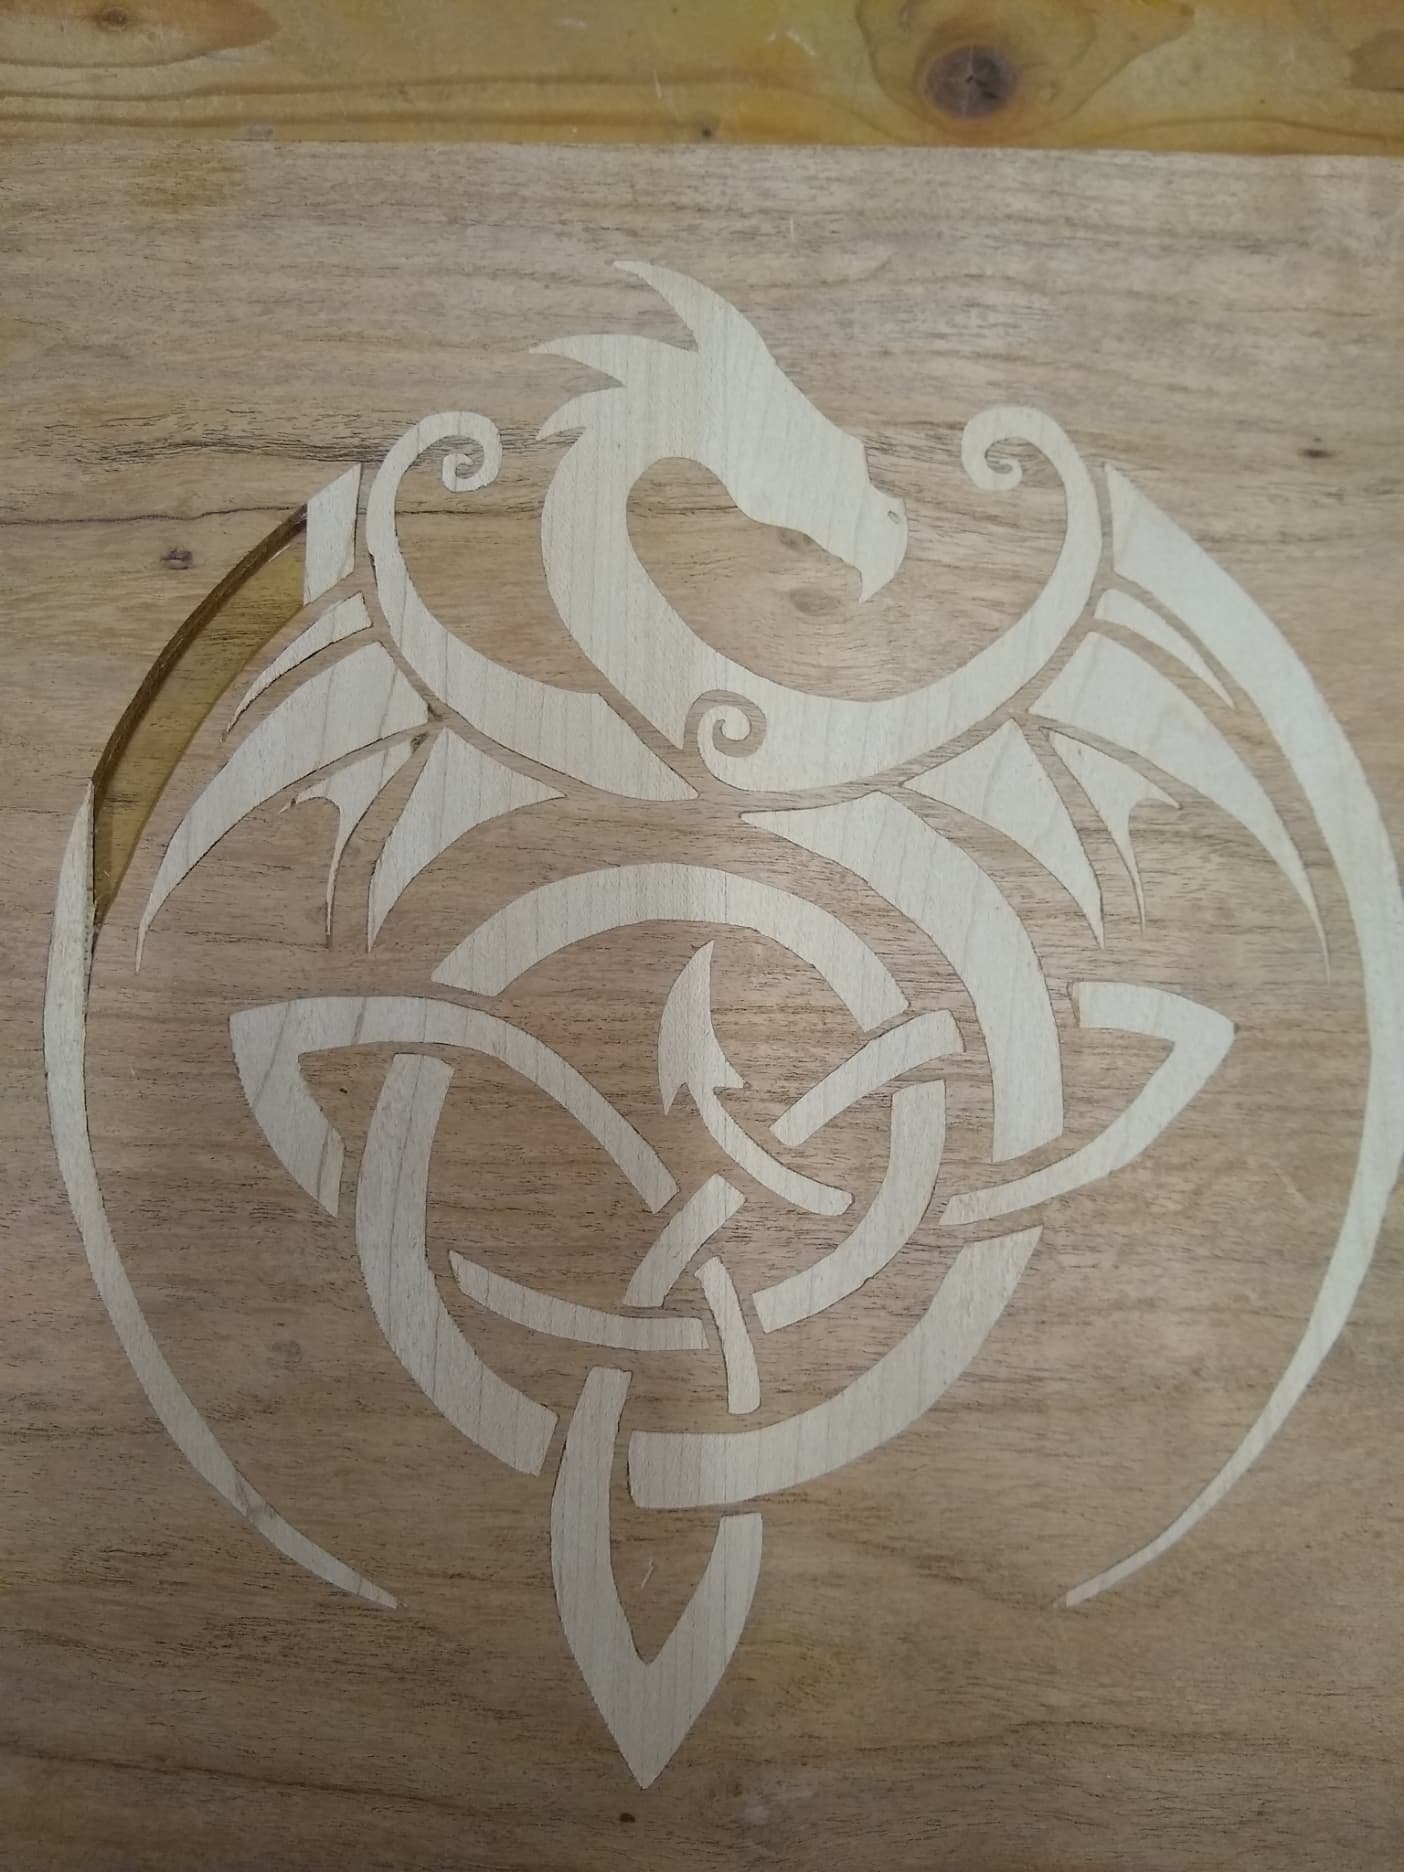
Take a look at my settings. I usually cut to .2 inches with the starting depth on the male inlay starting at .1". Because I only went to .15" i decreased the starting depth to 0.075". I was using a #102 1/8" bit for the pocketing clearance and was apprehensive about taking the initial .1" depth cut on the small bit. The reason I made the test cut to was to make sure the male plug fit and had a tight fit along the edges. The test came out great and I will hang the dragon on the shop wall after framing it.
I had a setback today. I had glued the maple inlay in and used my planner to remove the excess maple for the male plug. I left the plug proud and put some black epoxy on some defects on the table top. I put the top back through the planner and I heard a weird bang and when the piece came out part of the inlay had come loose. I will try to repair it but if it proves problematic I will just start over. I think my mistake was I had the maple inlay 90 degrees to the mesquite top grain. If I remake the top I will orient the grain the same direction as the grain. I had thought about that after I had made the plug but mesquite is a very stable wood. Although it might expand and contract The maple is less than 0.15" so I was not too worried. I will try to go into CC and isolate the part that came out and draw a box around it and try a boolean to just get that part. Then I will use a carving chisel to cut out the existing inlay and the male inlay and see if I can fix it. If not I will just start over.
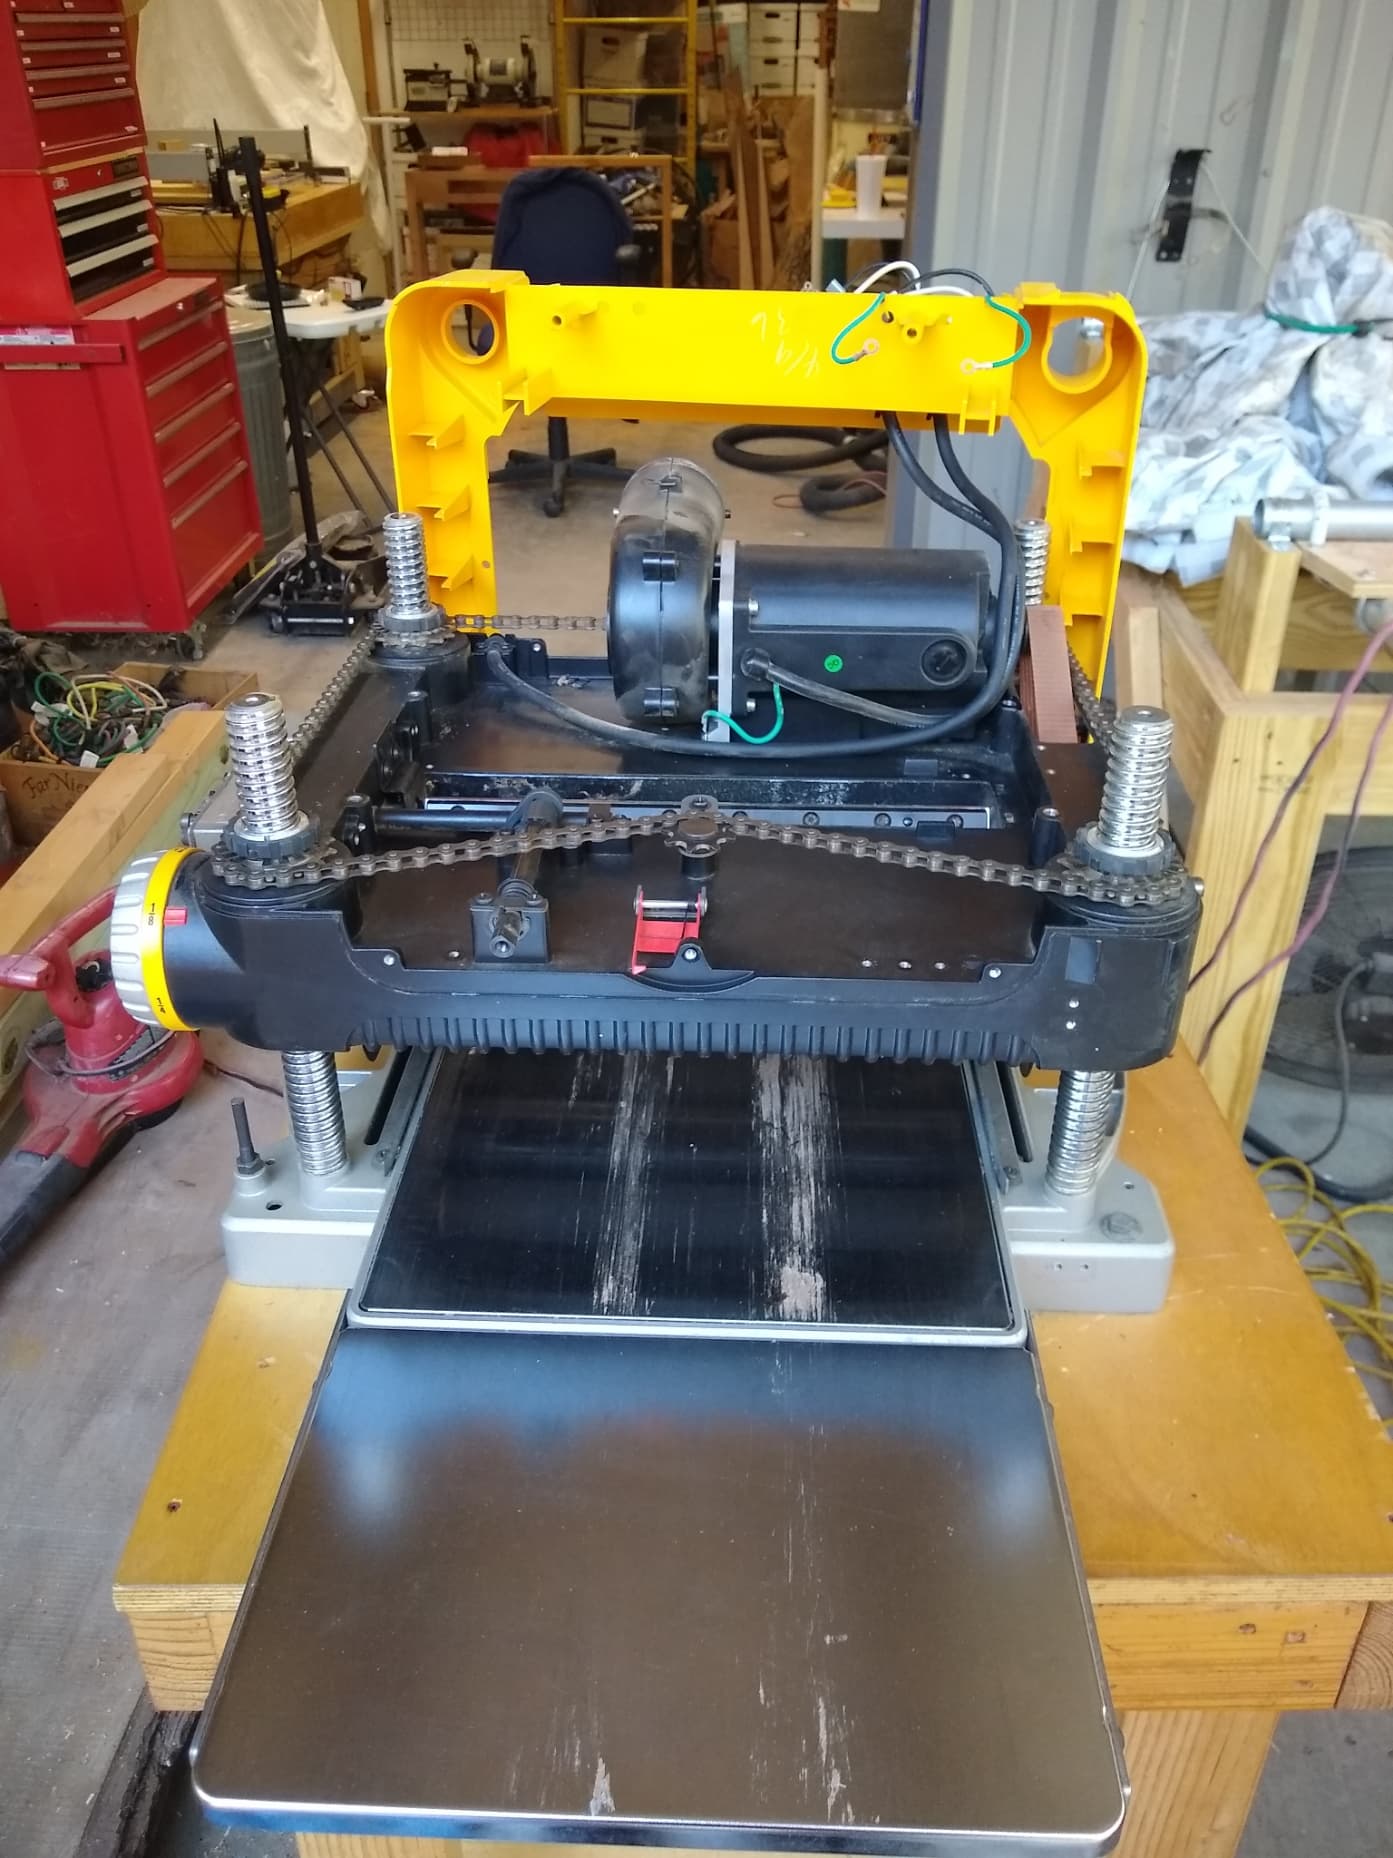
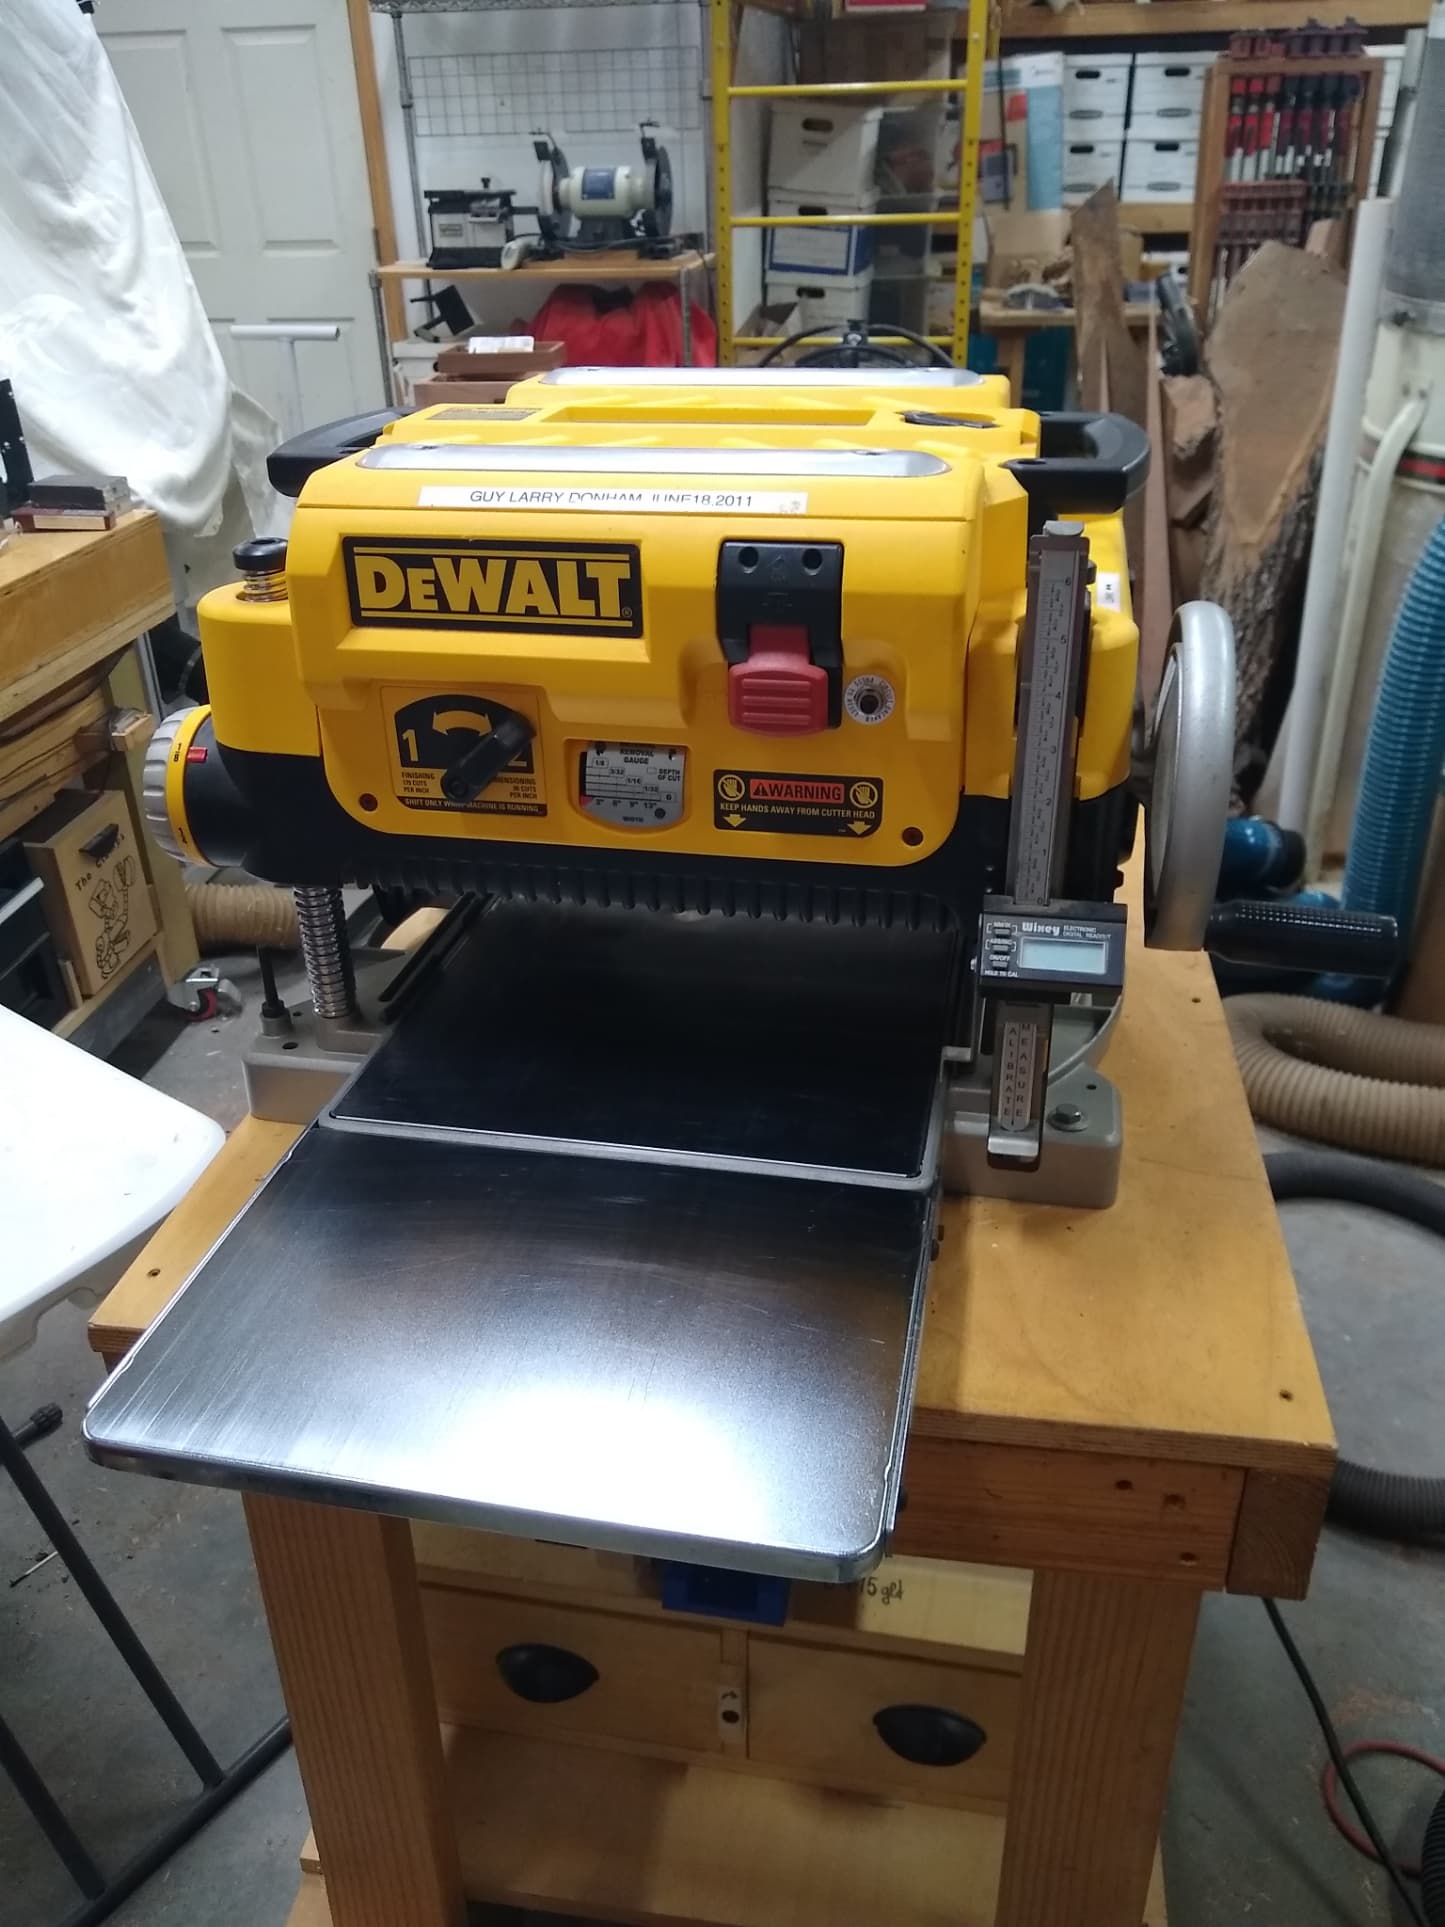
Since I heard the loud band and my planner knives were due to be replaced I did a little minor surgery on the Dewalt 735 Planner. It looks worse than it is. What I found was my dust collection over knives had jammed up with sawdust. I went over the whole machine and replaced the knives. Everything on the inside was good. I have a whole quart of the Mobil Vactra #2 oil and while I had the case off I put a little on the drive roller chains. I did not put much but since I was in there I thought why not. There is a chain that moves the whole planner up and down. That chain does not get that much movement so I left it alone.
I got the machine reassembled and it seemed to run fine. The new knives were installed. After I got the old ones out I looked at them and they have double sided knives. So only one side was worn. Because I had already put the new ones in I just put the old ones back in their plastic case and marked them. Those knives have went up $15.00 in the last couple of years. The new knives are about $65.00 at Lowes. The price of fun just keeps going up.
Sometimes if it were not for bad luck I would not have any at all. As reported earlier I had a piece of the inlay pop out during a planning of the table top. I have fixed that issue and it looks ok but I think I will abandon that top and make a new one. I slabbed another piece of mesquite but it has substantial cracks and I ordered some deep pour epoxy. I went over to Hobby Lobby and bought some pigment and mold release agent. I also stopped at Lowes and got some Tyvek take to seal up a mold for the deep pour. I wanted a sheet of melamine but they did not have any. I need to go to Lufkin to see if Home Depot has some and drop off an Amazon return.
I was aboe to remove most of the broken part but the very tip was solidly glued in. This is the junction between the new part and the old part. It is acceptable but I think I will just start over.
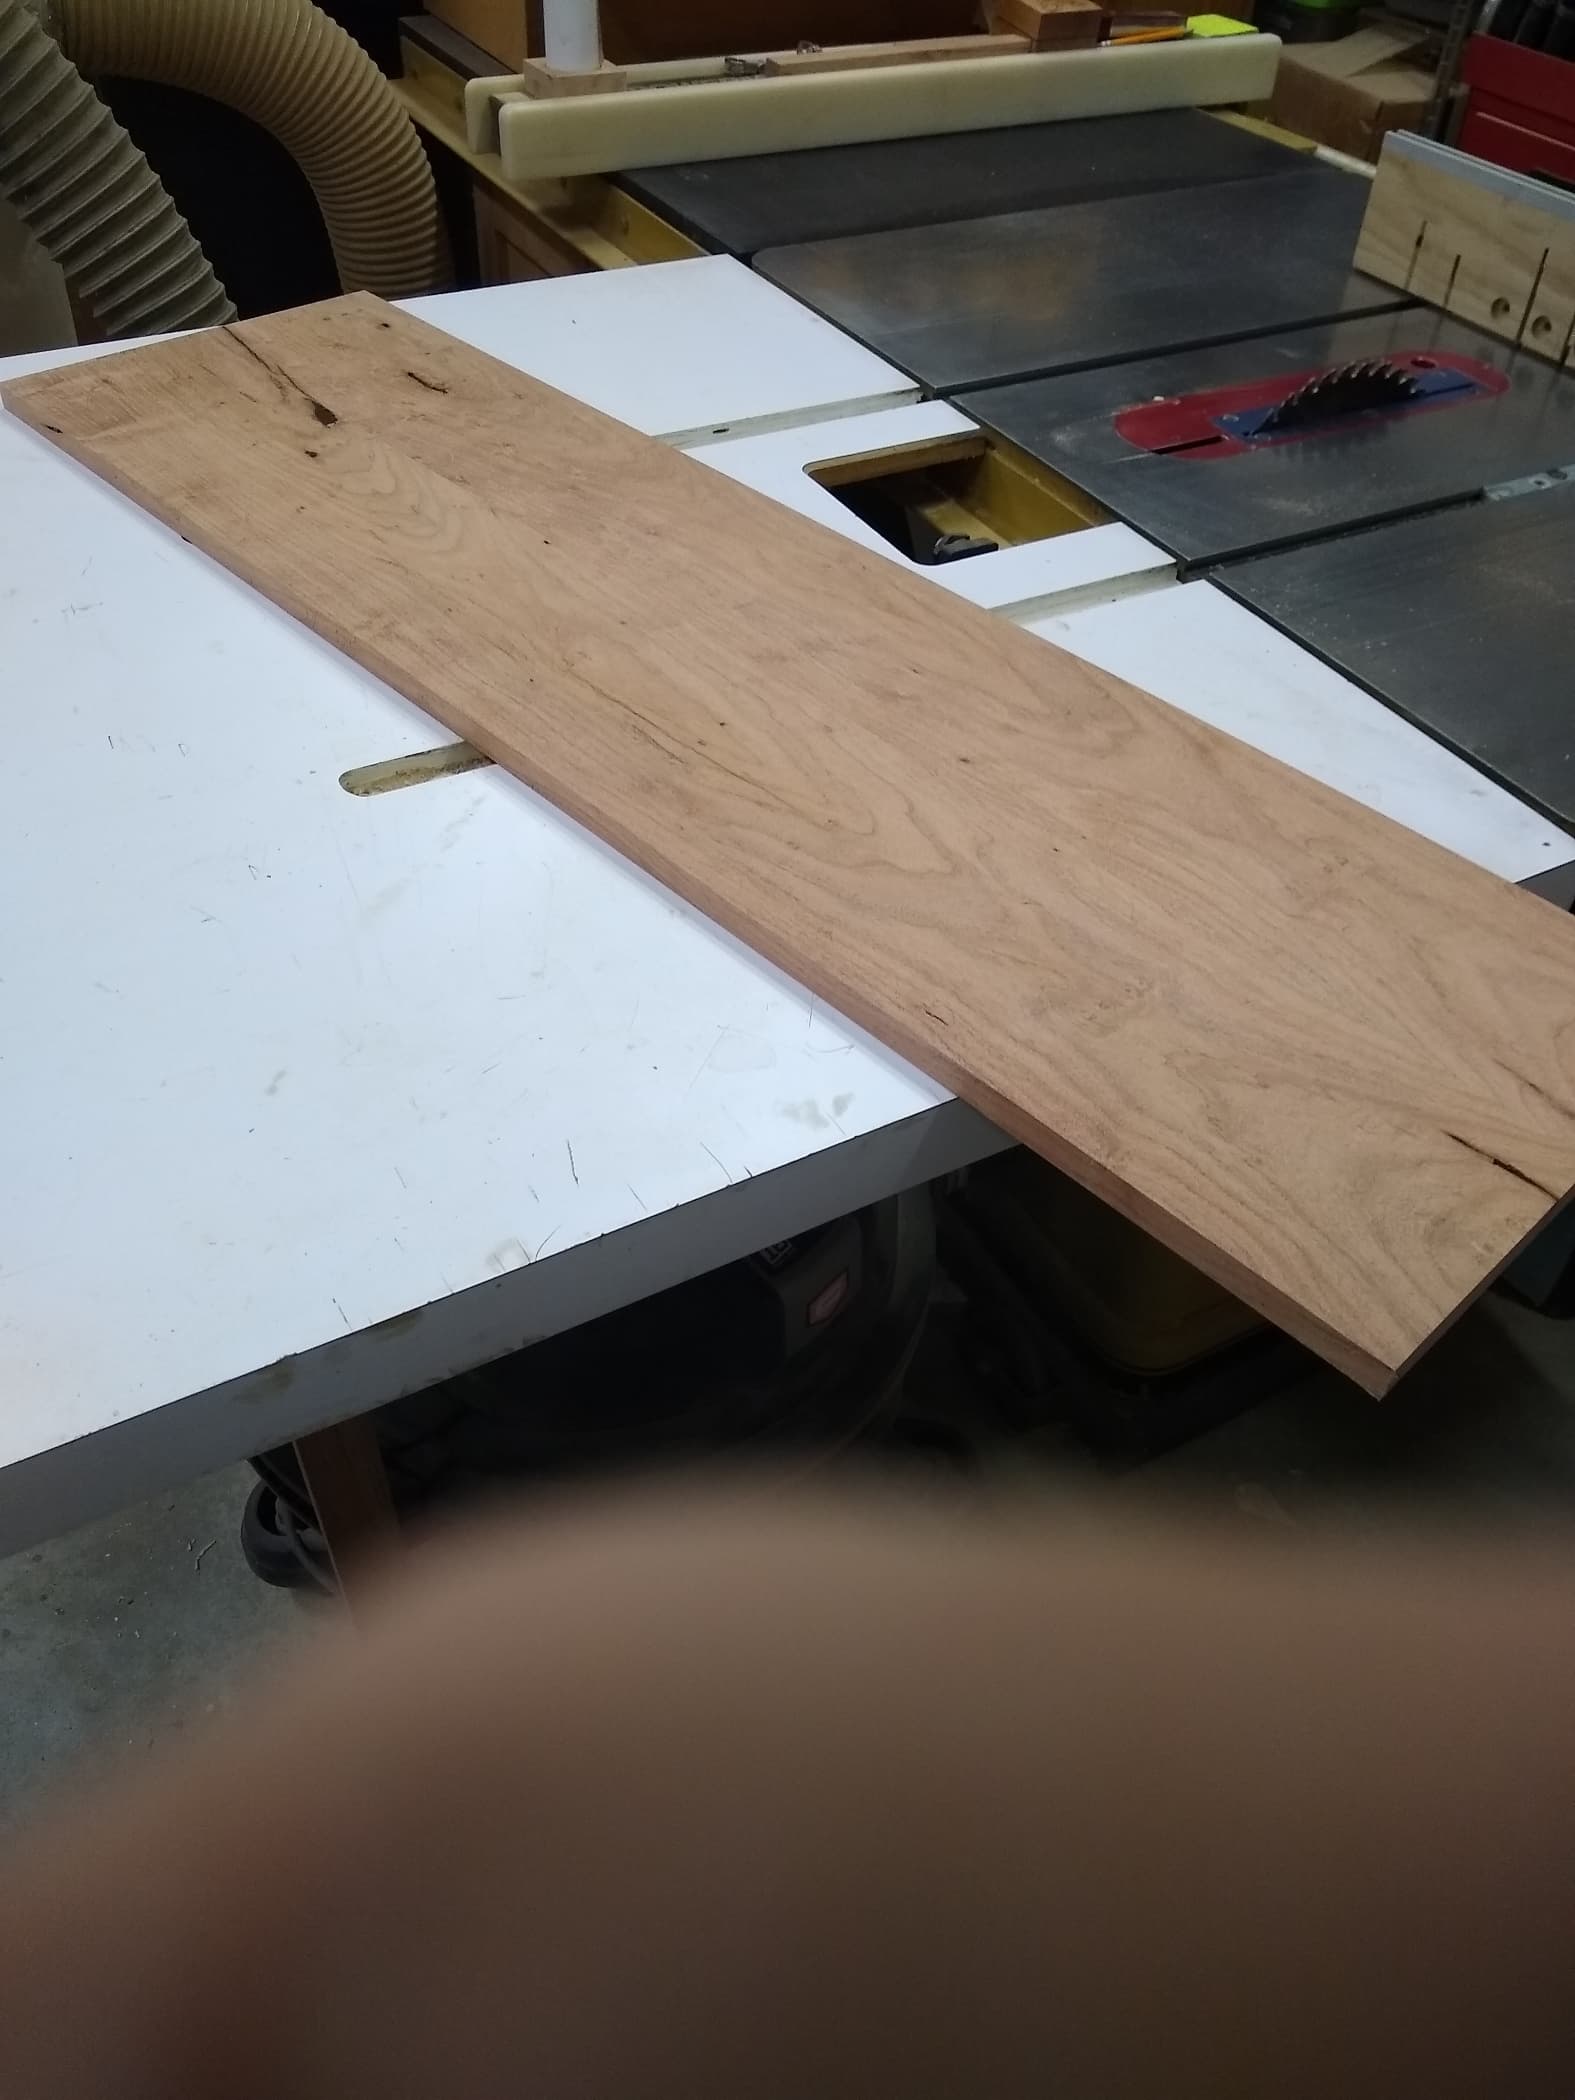
Here is the new slab I was preparing to restart the top but I think the cracks are too much. I could put it in the bandsaw and make the area bigger but I only ordered 1.5 Gallons of epoxy and that might not be enough. Luckily I have plenty of mesquite to start over again, again.
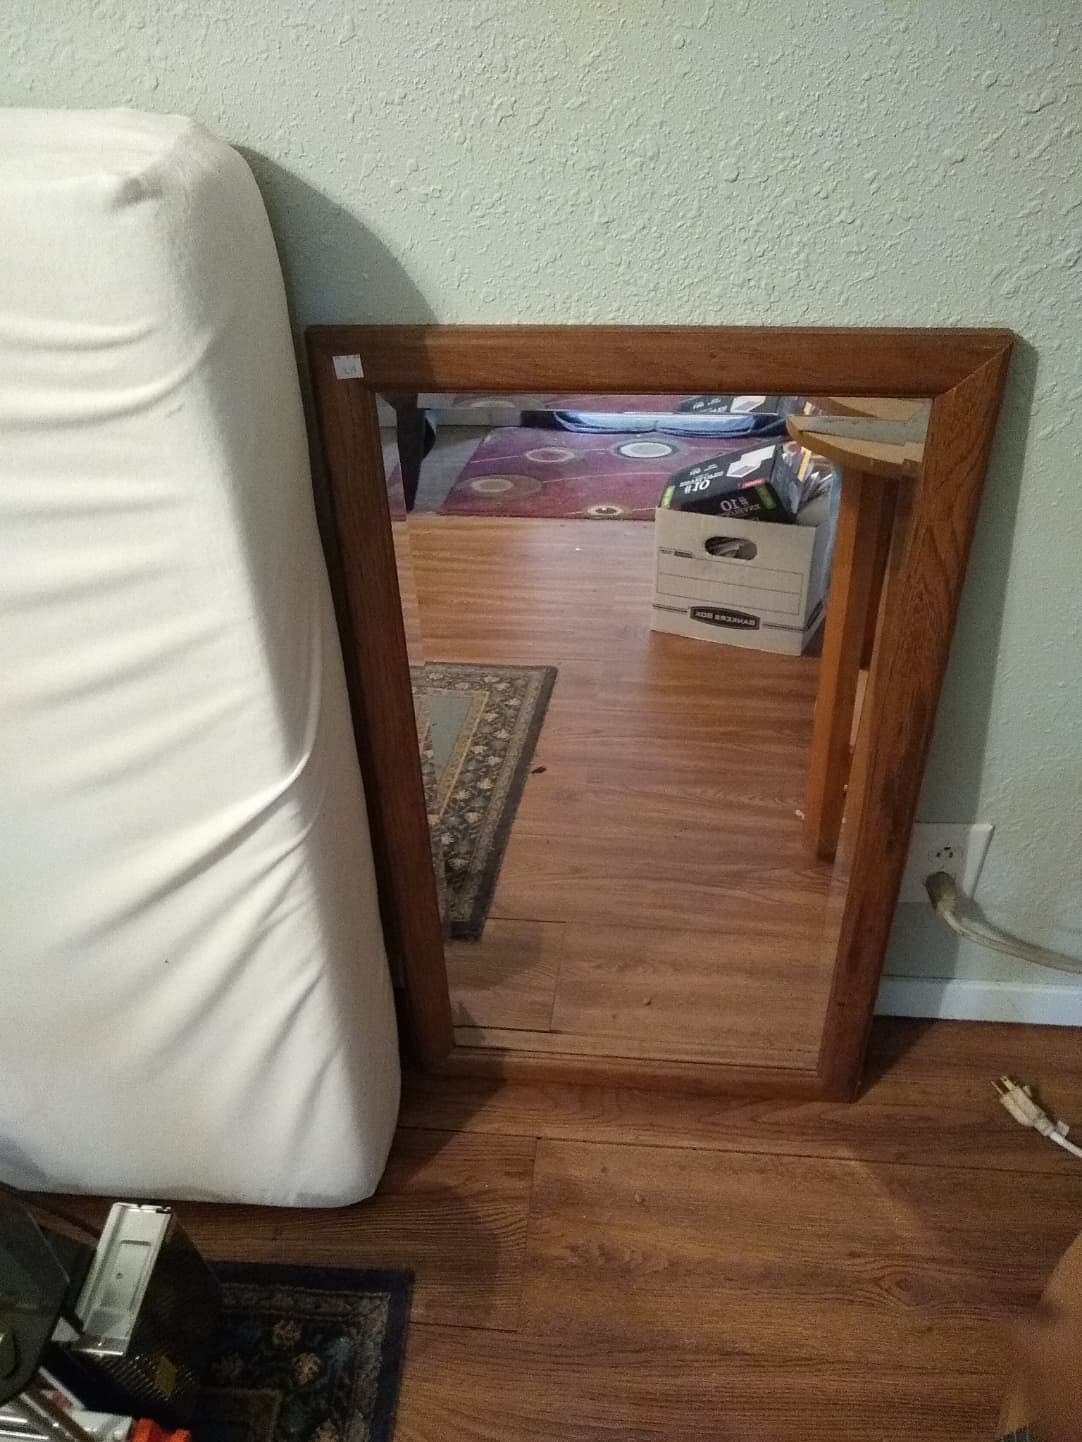
On my trip to Hobby Lobby I picked up some hangers. Part of this project is to make a mirror frame and some pieces to hang coats on at the front door. I bought the mirror at a resale shop and it is a beveled glass. I already have enough mesquite to mill up the new frame and the plaques to put the hangers on.
I will likely paint the hooks a different color from the brass colored paint Hobby Lobby has them painted with. A little time on the grinding/polishing wheel will clean up the cast iron and make them more finished looking.