I’m wanting to make some garden markers similar to ones here:
In order to do this, I have to make a separate text object for each letter and align it manually to the same center point. If we had vertical text, it could make this much easier.
I’m wanting to make some garden markers similar to ones here:
In order to do this, I have to make a separate text object for each letter and align it manually to the same center point. If we had vertical text, it could make this much easier.
Multi-line even text would provide for proper vertical spacing but you can select your text and use the existing align function to center on your workpiece or to the last letter/item you selected. Having the distribute function would also be nice where the items selected get spaced evenly between the outside objects or in the workpiece.
I’m pretty new to CNC(and cad/cam), just had it for a few days now. carbide create is really the only tool I ‘get’ at this point. It’s been fantastic for just getting it up and running, I plan to expand my software toolbox as I need, and it sounds like this is a good place to start.
Here is something you might try. Using Inkscape I think this would work. Use the Text tool, select the type of Text, then do one letter, enter for a new line, type, enter, type, enter, etc. You may want to align=middle for looks then SAVE. as a standard file - then Save As an SVG file. You should be able to OPEN the SVG file into Carbide Create and then proceed from there. This MAY give you what you want.
How about adding something low down on the sign that will still be above ground and allow for inserting smaller wood or card stock with the Planting Date and the expected Harvest Date as reminders to the gardener?
It’s definitely still possible in carbide create. It’s just a bit tedious, you have to use a new text object for each letter and align it manually. So there is an existing workaround but I figured other people might be trying to do the same thing, so a feature request made sense.
It can be done. It isn’t easy, but it isn’t rocket science. (This file took about 5 minutes of casual work)
"Rotate" and Horizontal alignment are your friends here.
Garden markers.c2d (181.2 KB)
P.S. If you want the lettering to go through, I’m sure that you could leave Tabs to hold them in place. Just make sure to make the tabs the same thickness as your workpiece.
Interesting, I had missed the rotate functionality completely. How did you create the text for the one on the left? the one on the right is still editable, and the left one selects each letter as a single object, but i can’t edit the text.
As for the lettering, i typically use a stencil font for this sort of thing. makes it easier and more consistent than trying to add tabs.
Thanks for the input, I appreciate you helping me learn.
Applying a Boolean operation on text will change it from text as text to geometry which may be individually dragged around.
The one on the left is editable. Simply use “ungroup” and each letter can be edited. This was accomplished by creating each letter, one at a time, sized and rotated. I adjusted the spacing by eye and then used the align vertically function. Once aligned, I grouped them together so they could be moved into position.
The text on the right one was rotated 90° as simple text, and therefor can be easily edited.
Maybe @WillAdams could demonstrate it and do a short didactic on the process. <HINT> He does well on the demo posts.
Okay, I can take a hint.
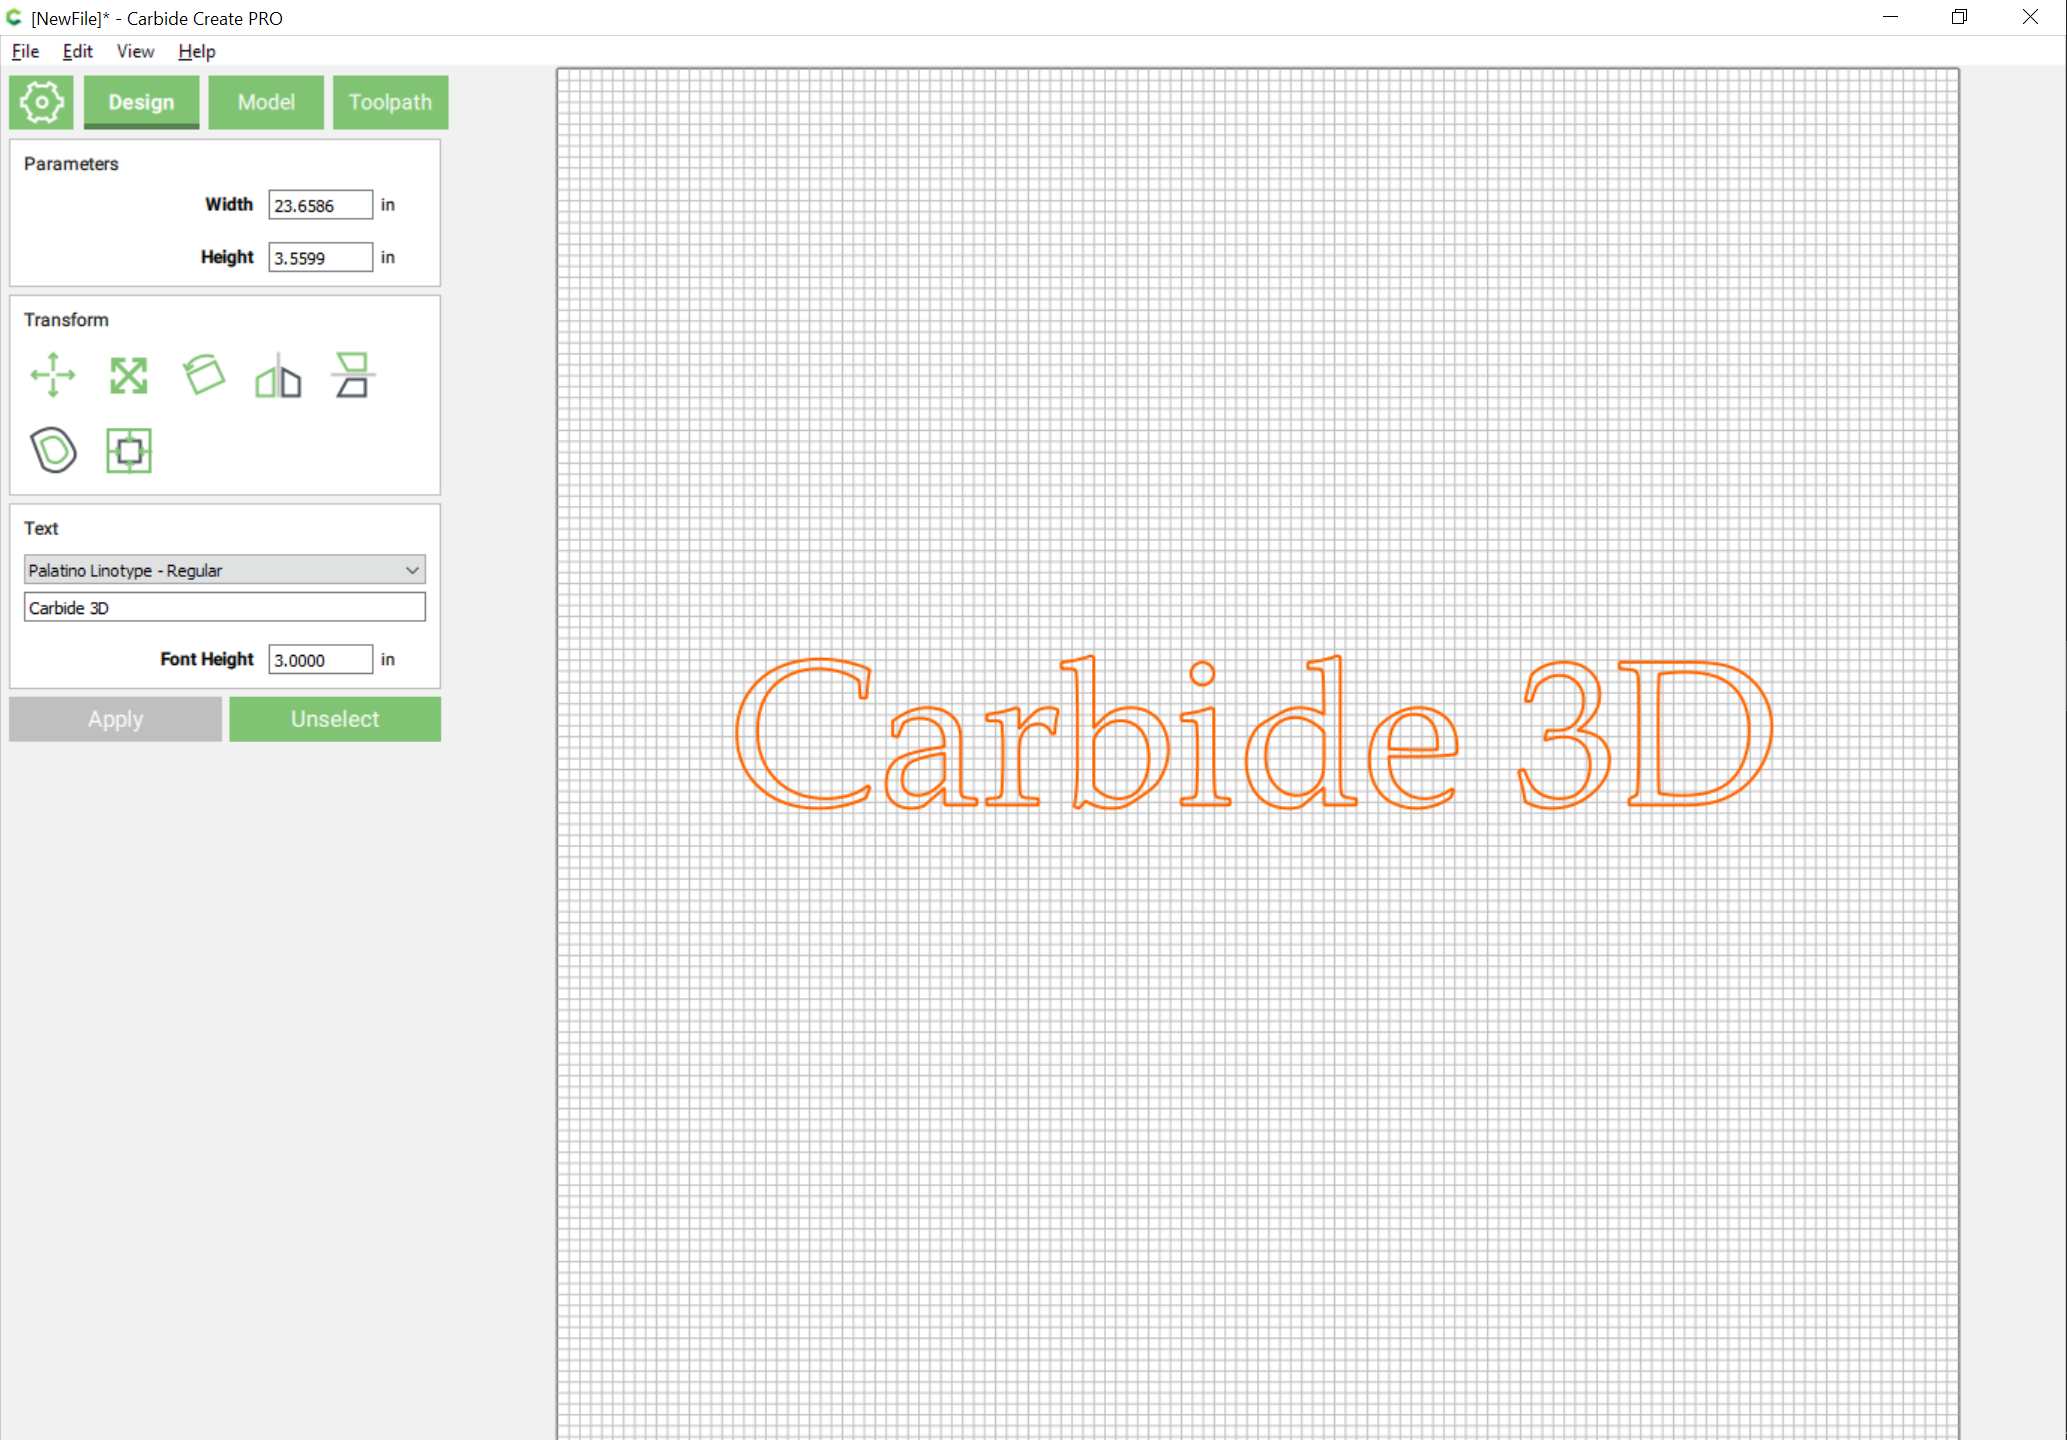
Start by setting the text which you want to use for the sign — we will use a caps/lc setting to emphasize some aspects of text setting:
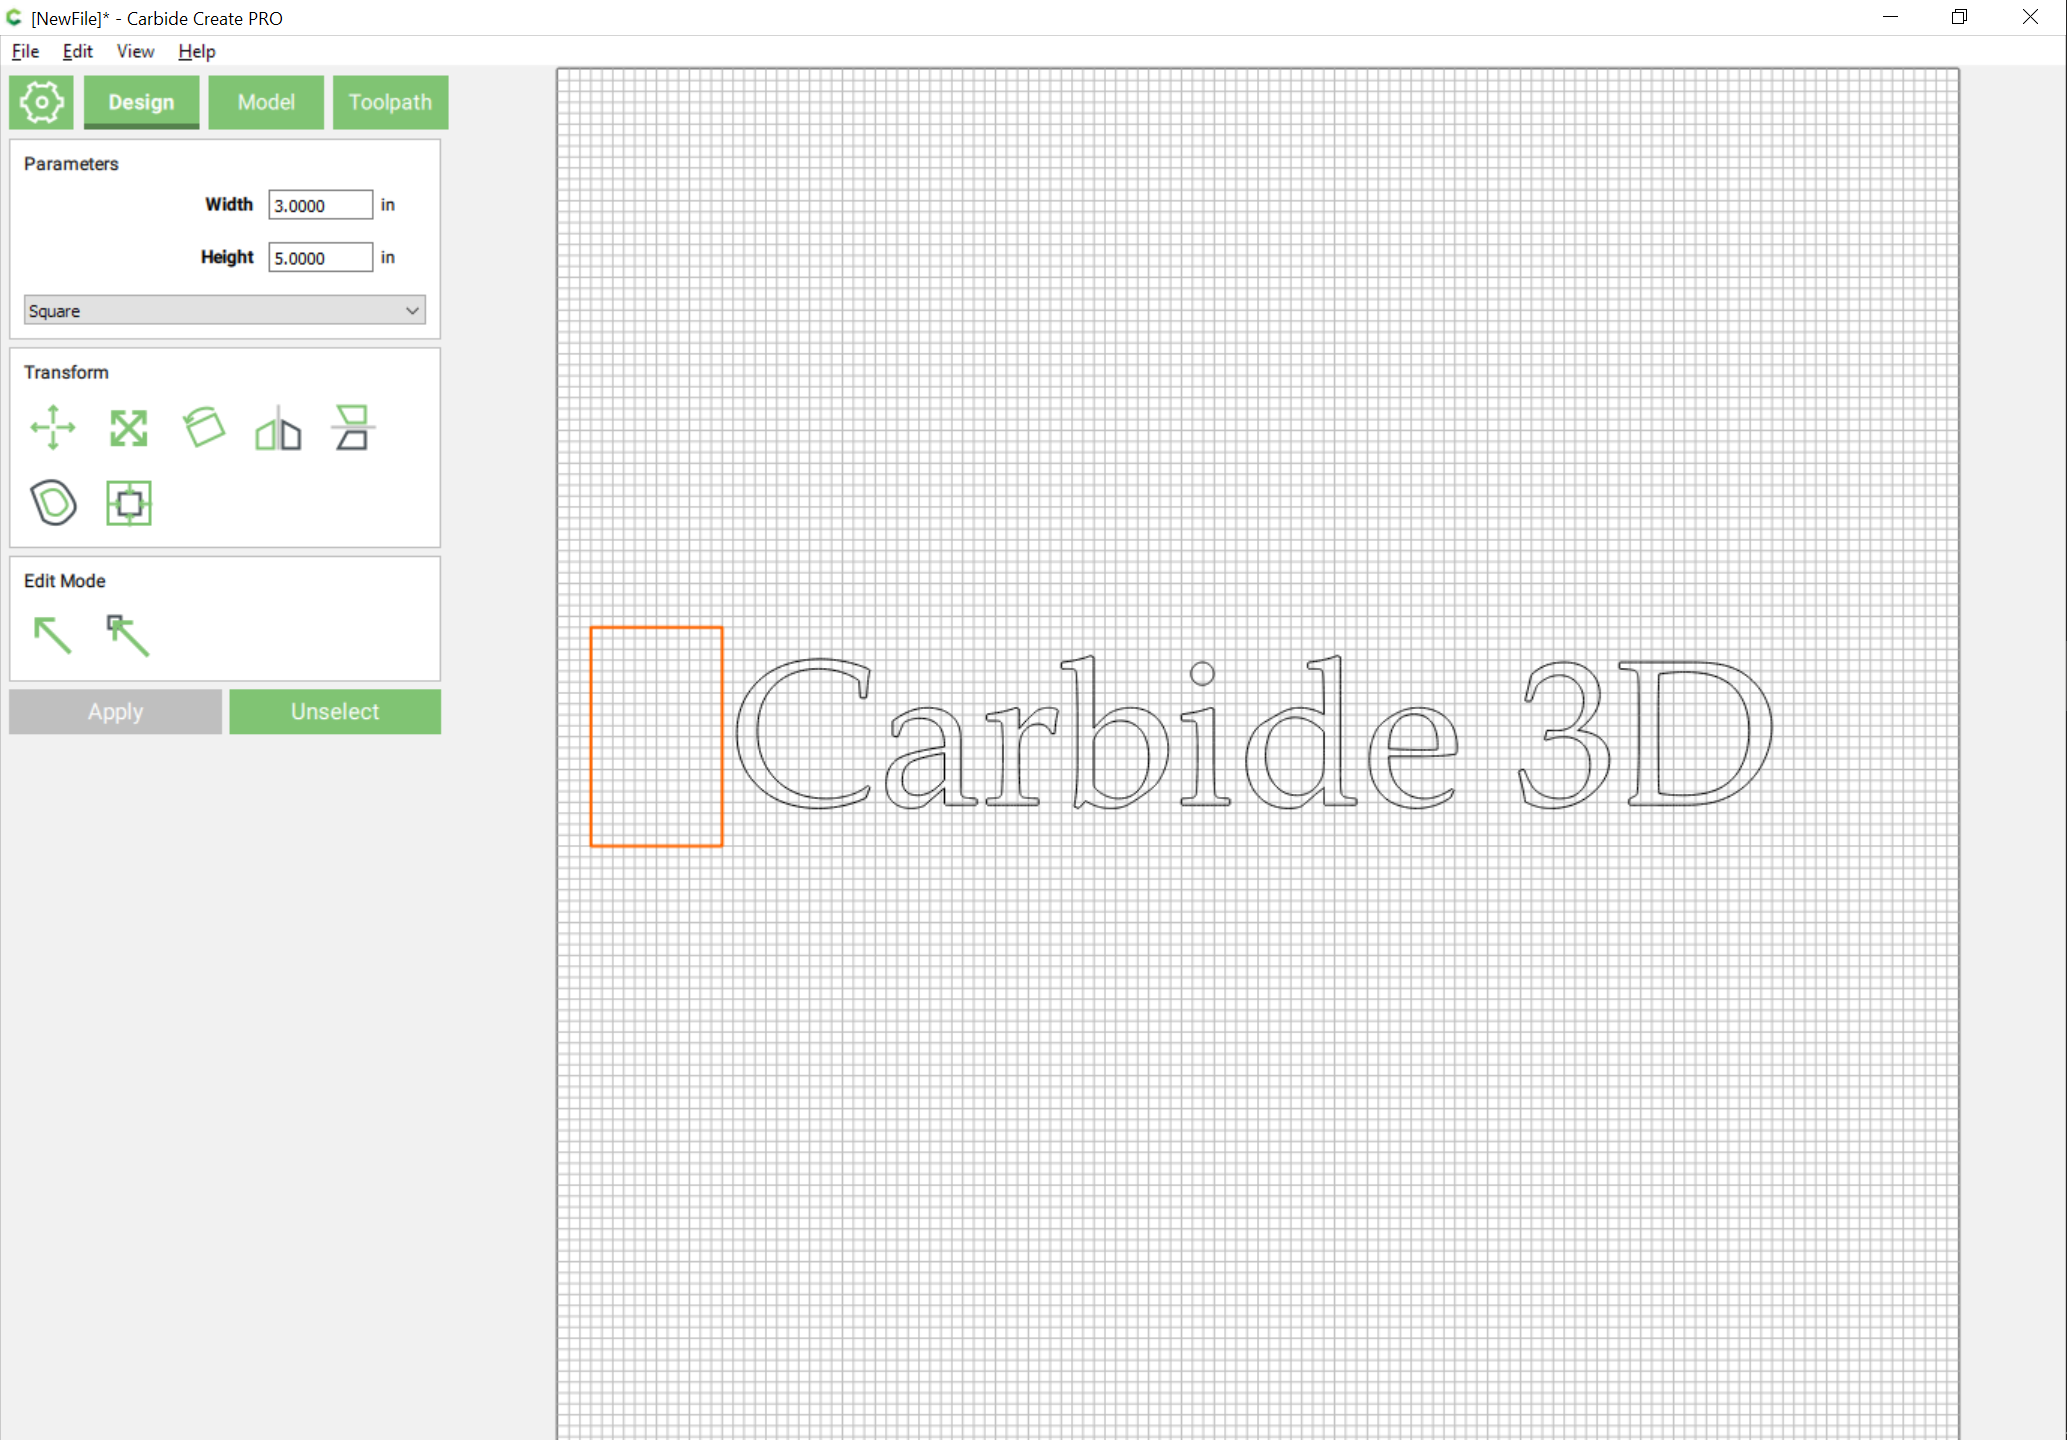
Draw a rectangle which is as tall as the text and descends below the baseline:
Note the height of the rectangle and compare it to the height divided by the number of letters (9 plus a space plus some space above/below) — do the math to determine the scaling needed, or defer that until after everything is drawn (we will defer).
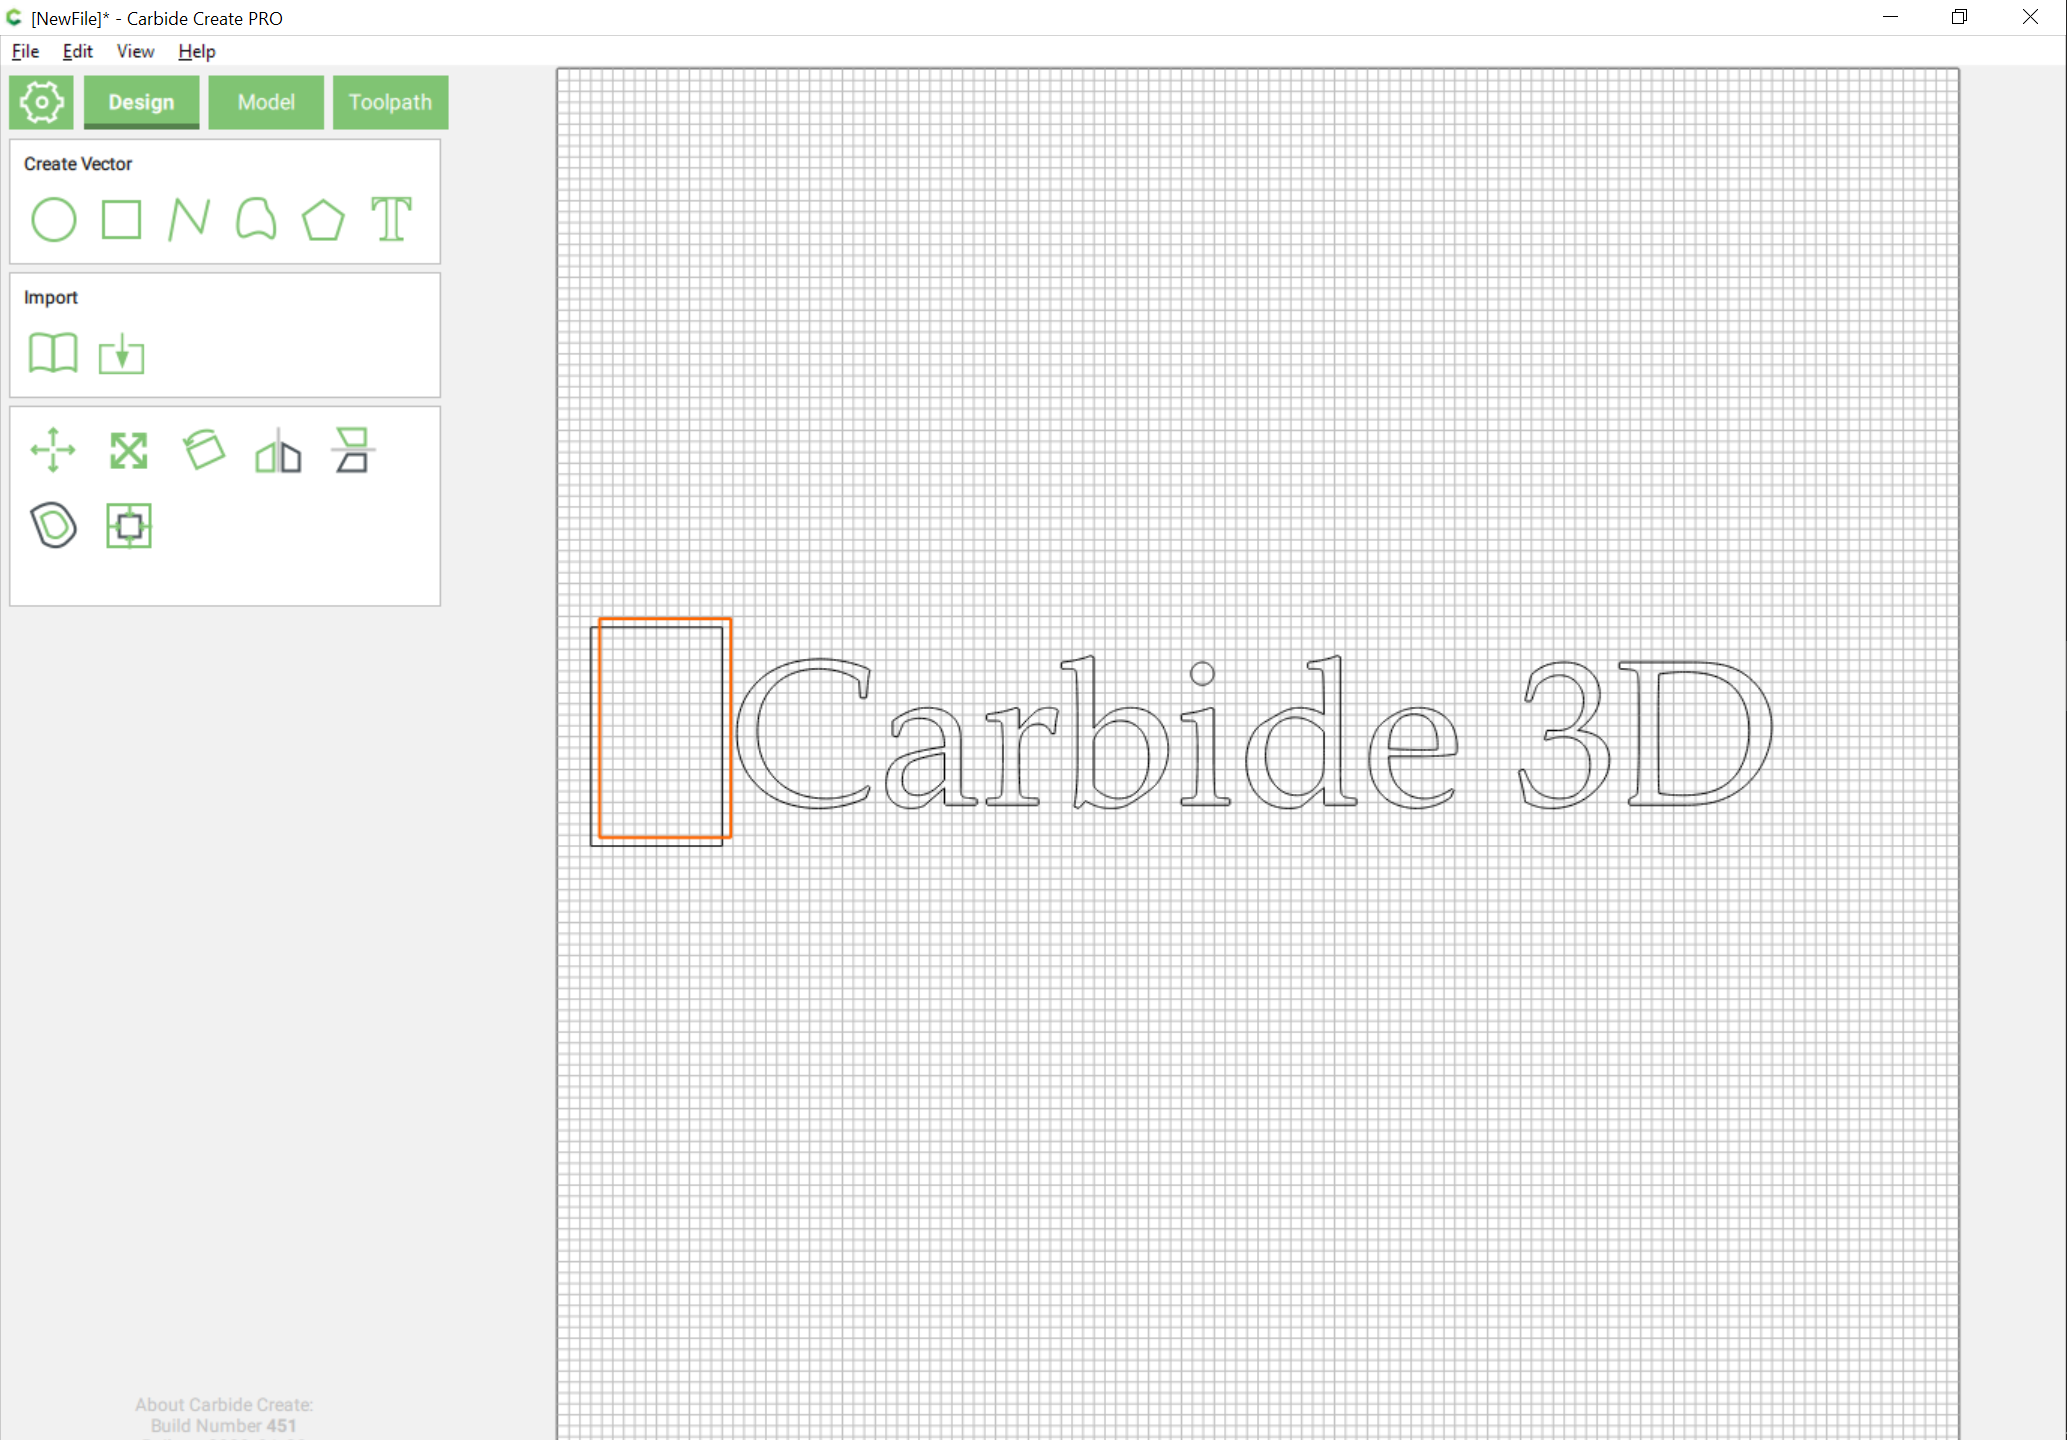
Select the rectangle and the text and do a Boolean union:
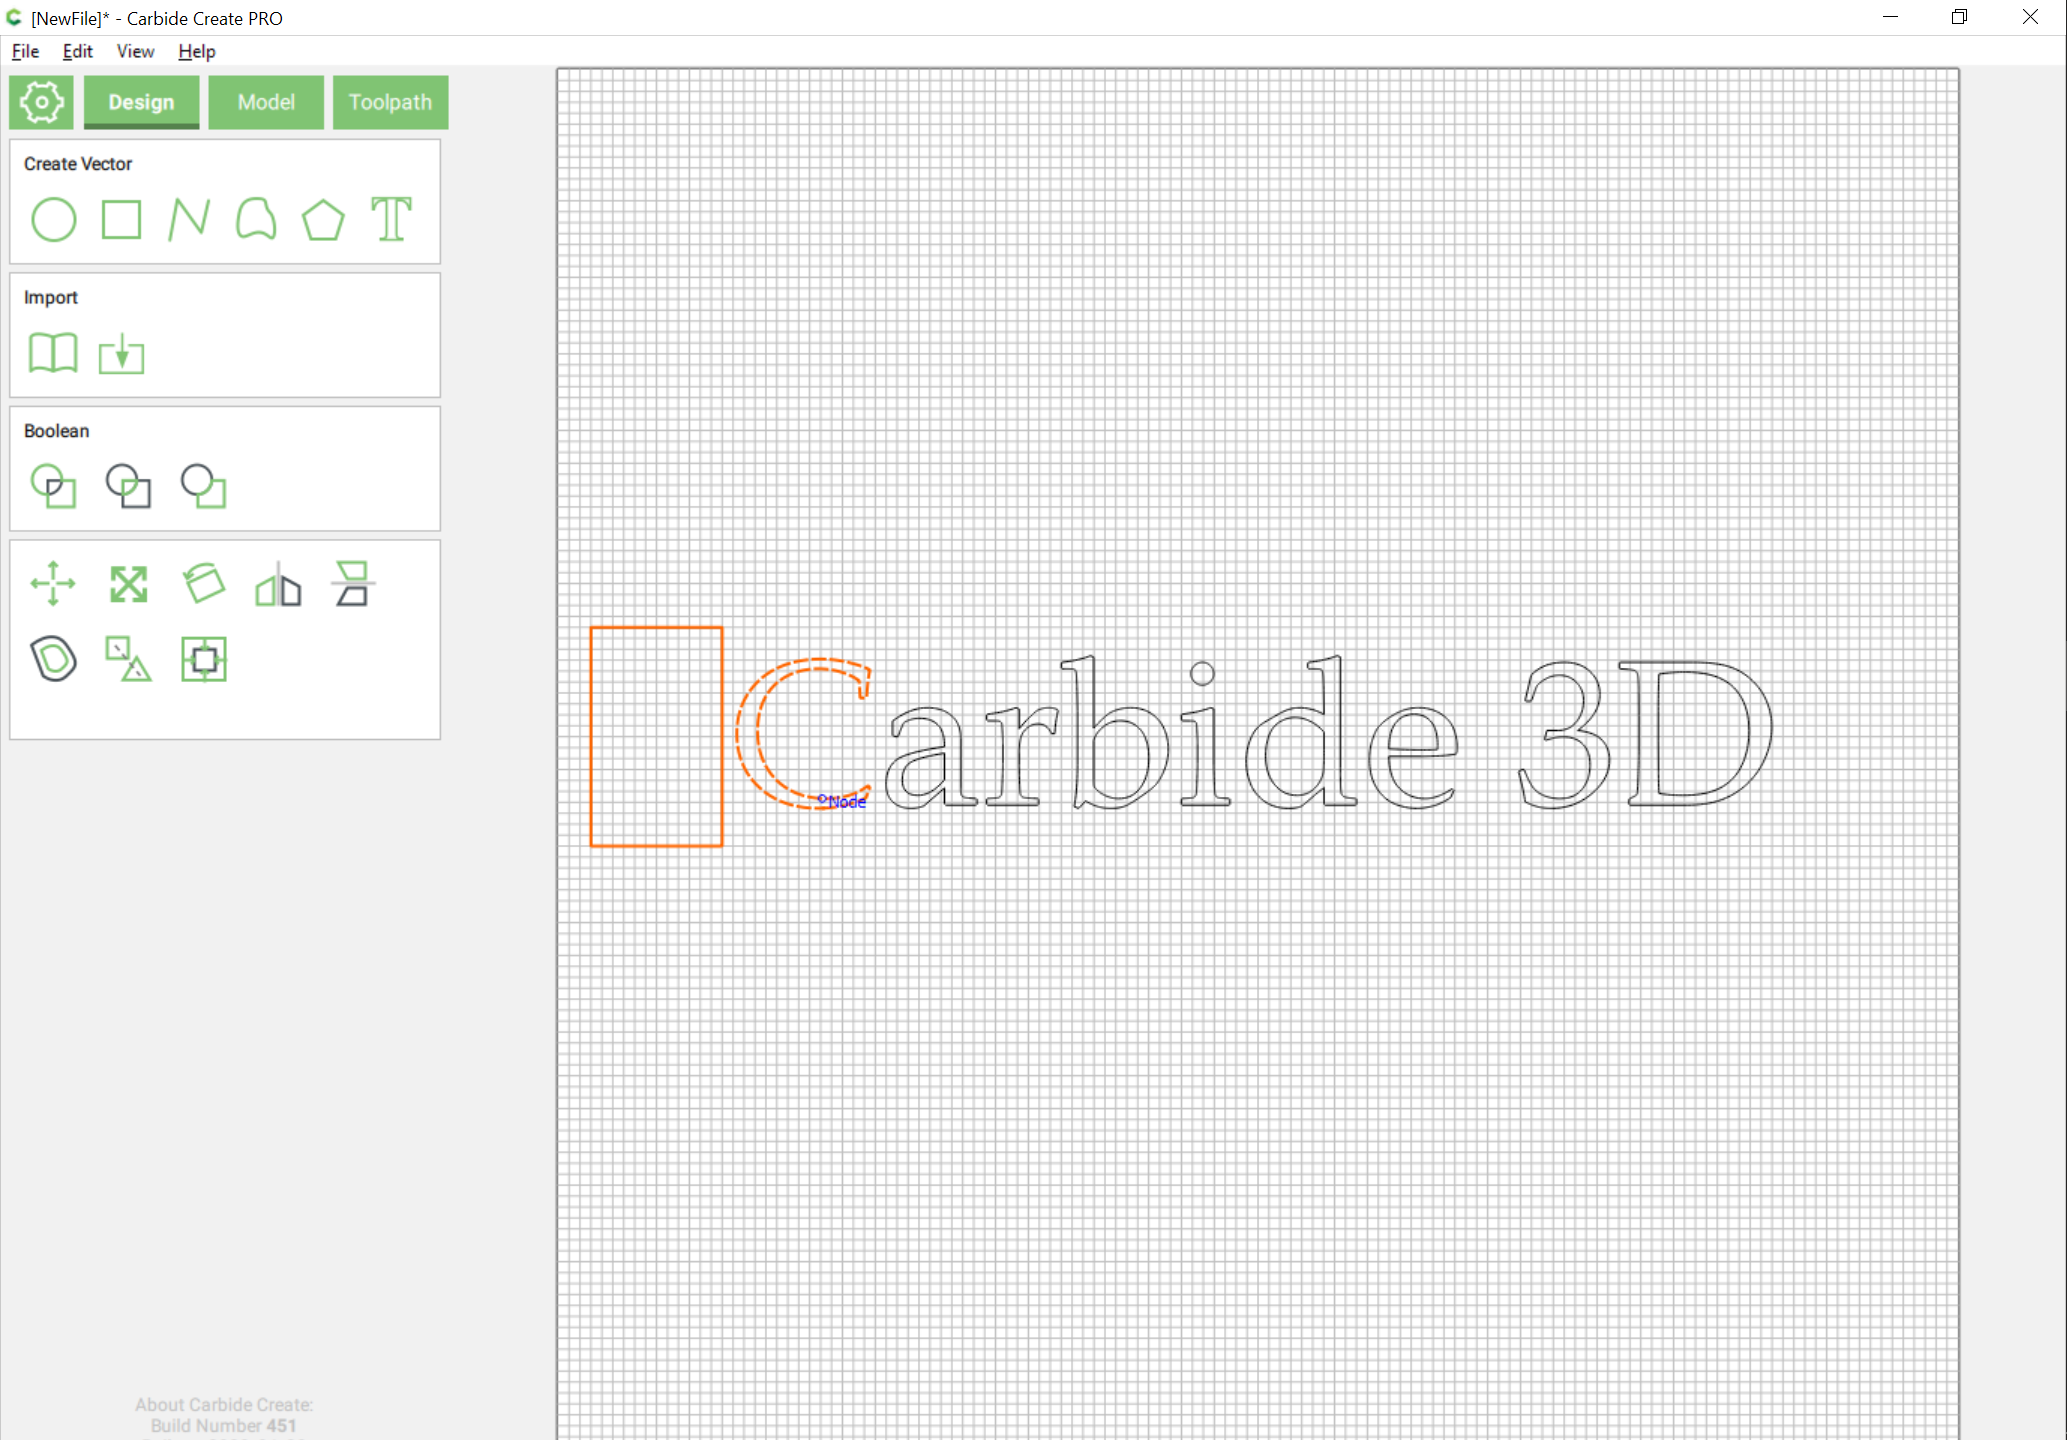
Duplicate the rectangle:
and drag the duplicate into registration with the original and then shift select a letter:
then drag that up to the top out of the way:
Repeat with each letter, grouping it if necessary — note that it may help to play “leapfrog” with the rectangles to bring them closer to the text:
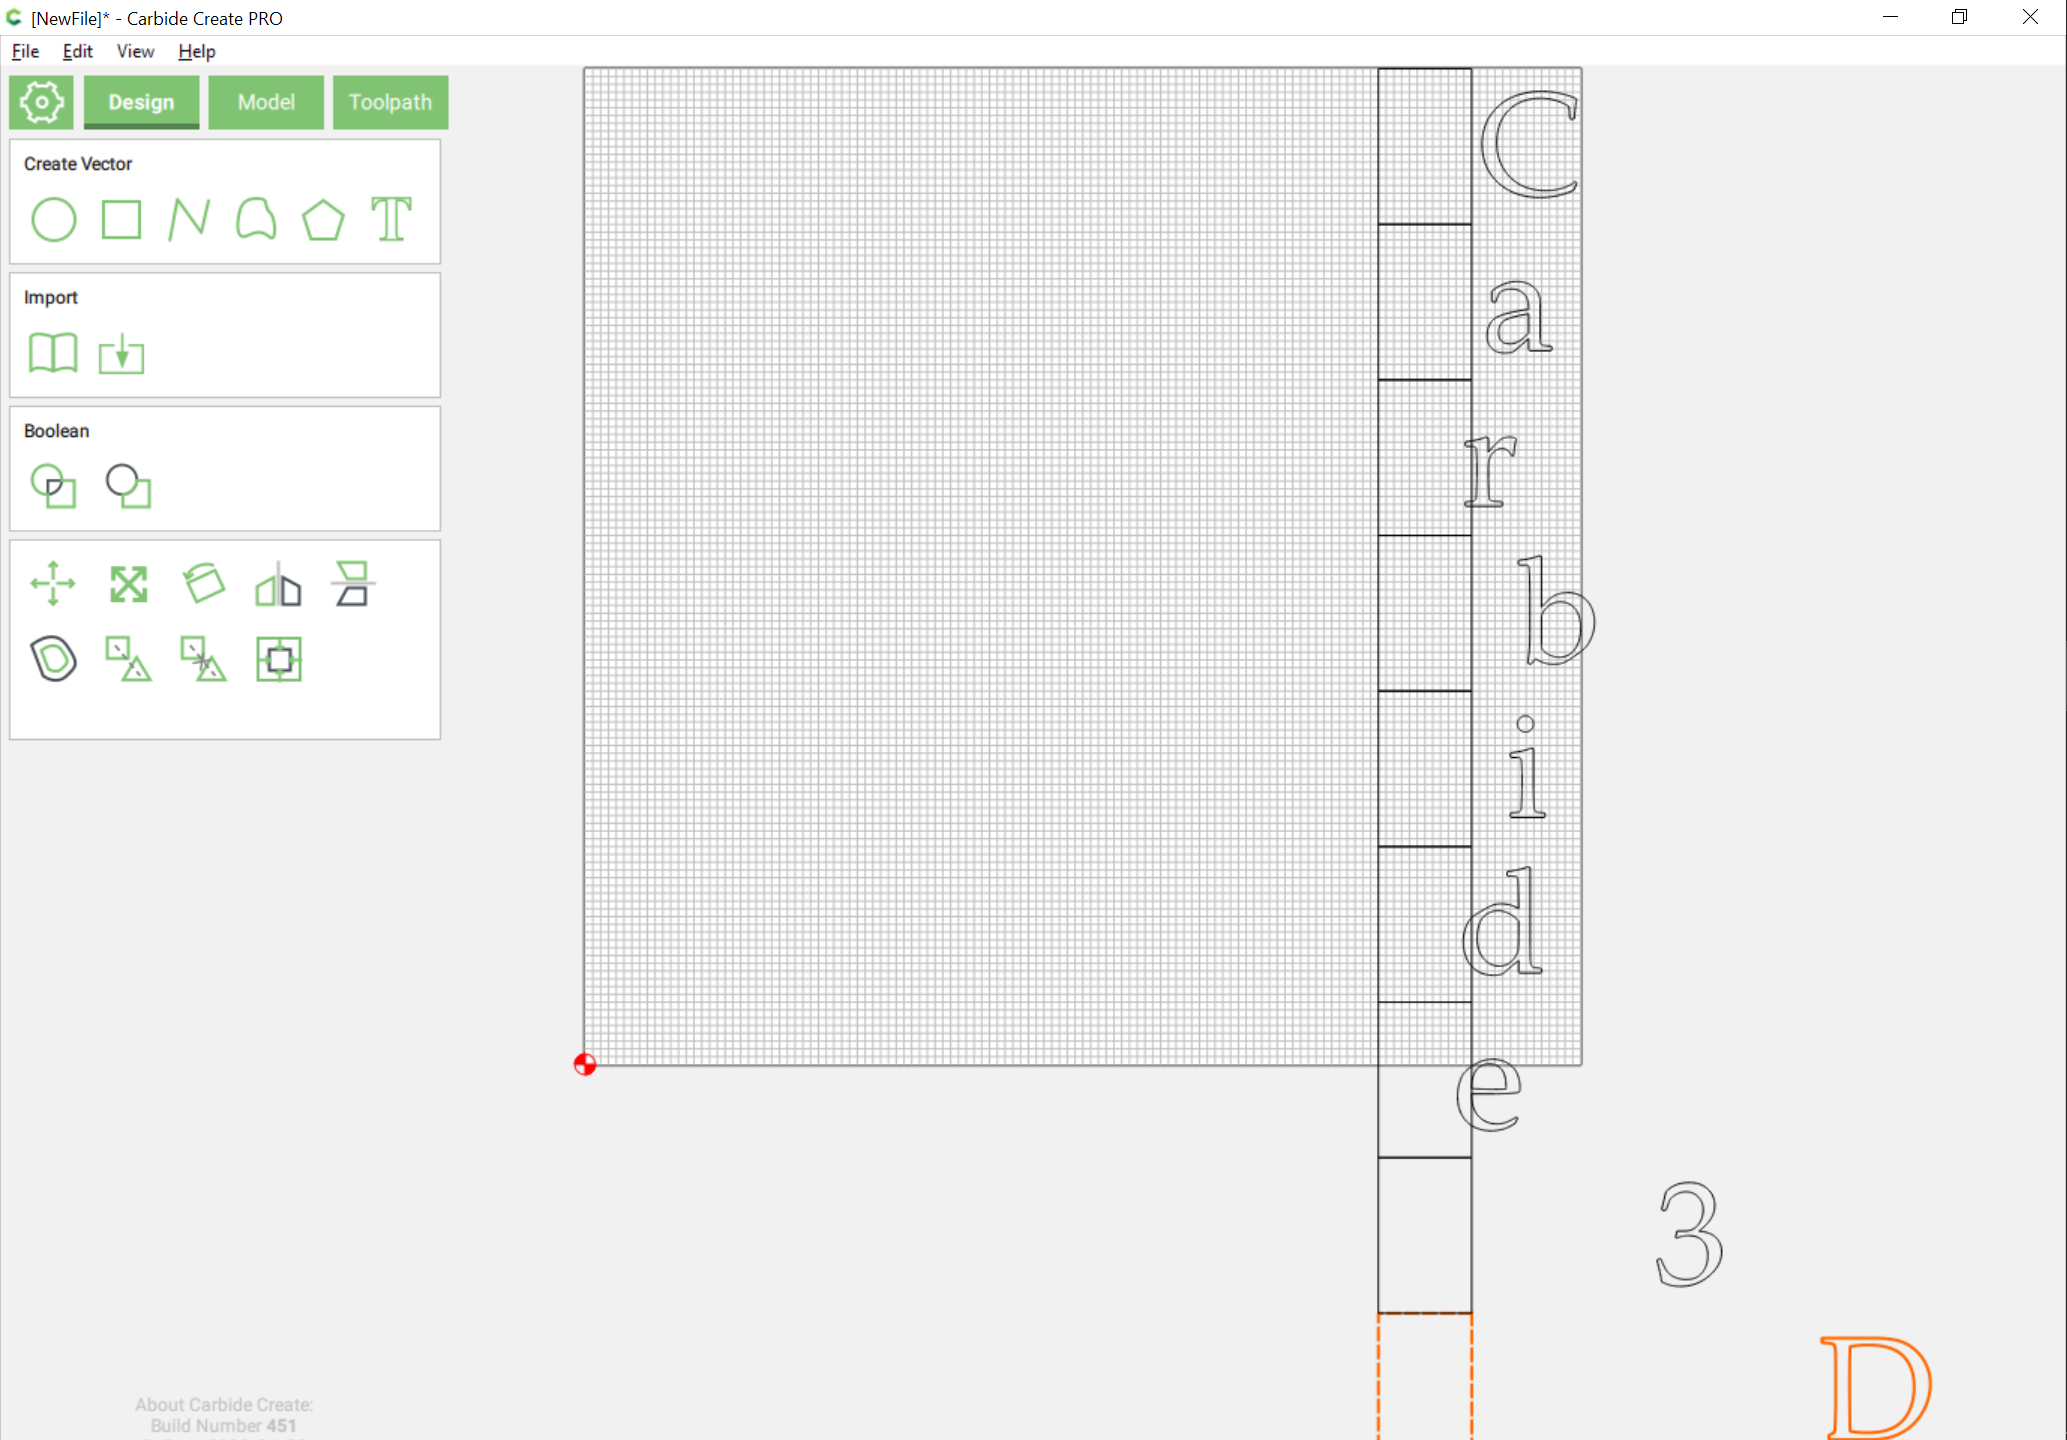
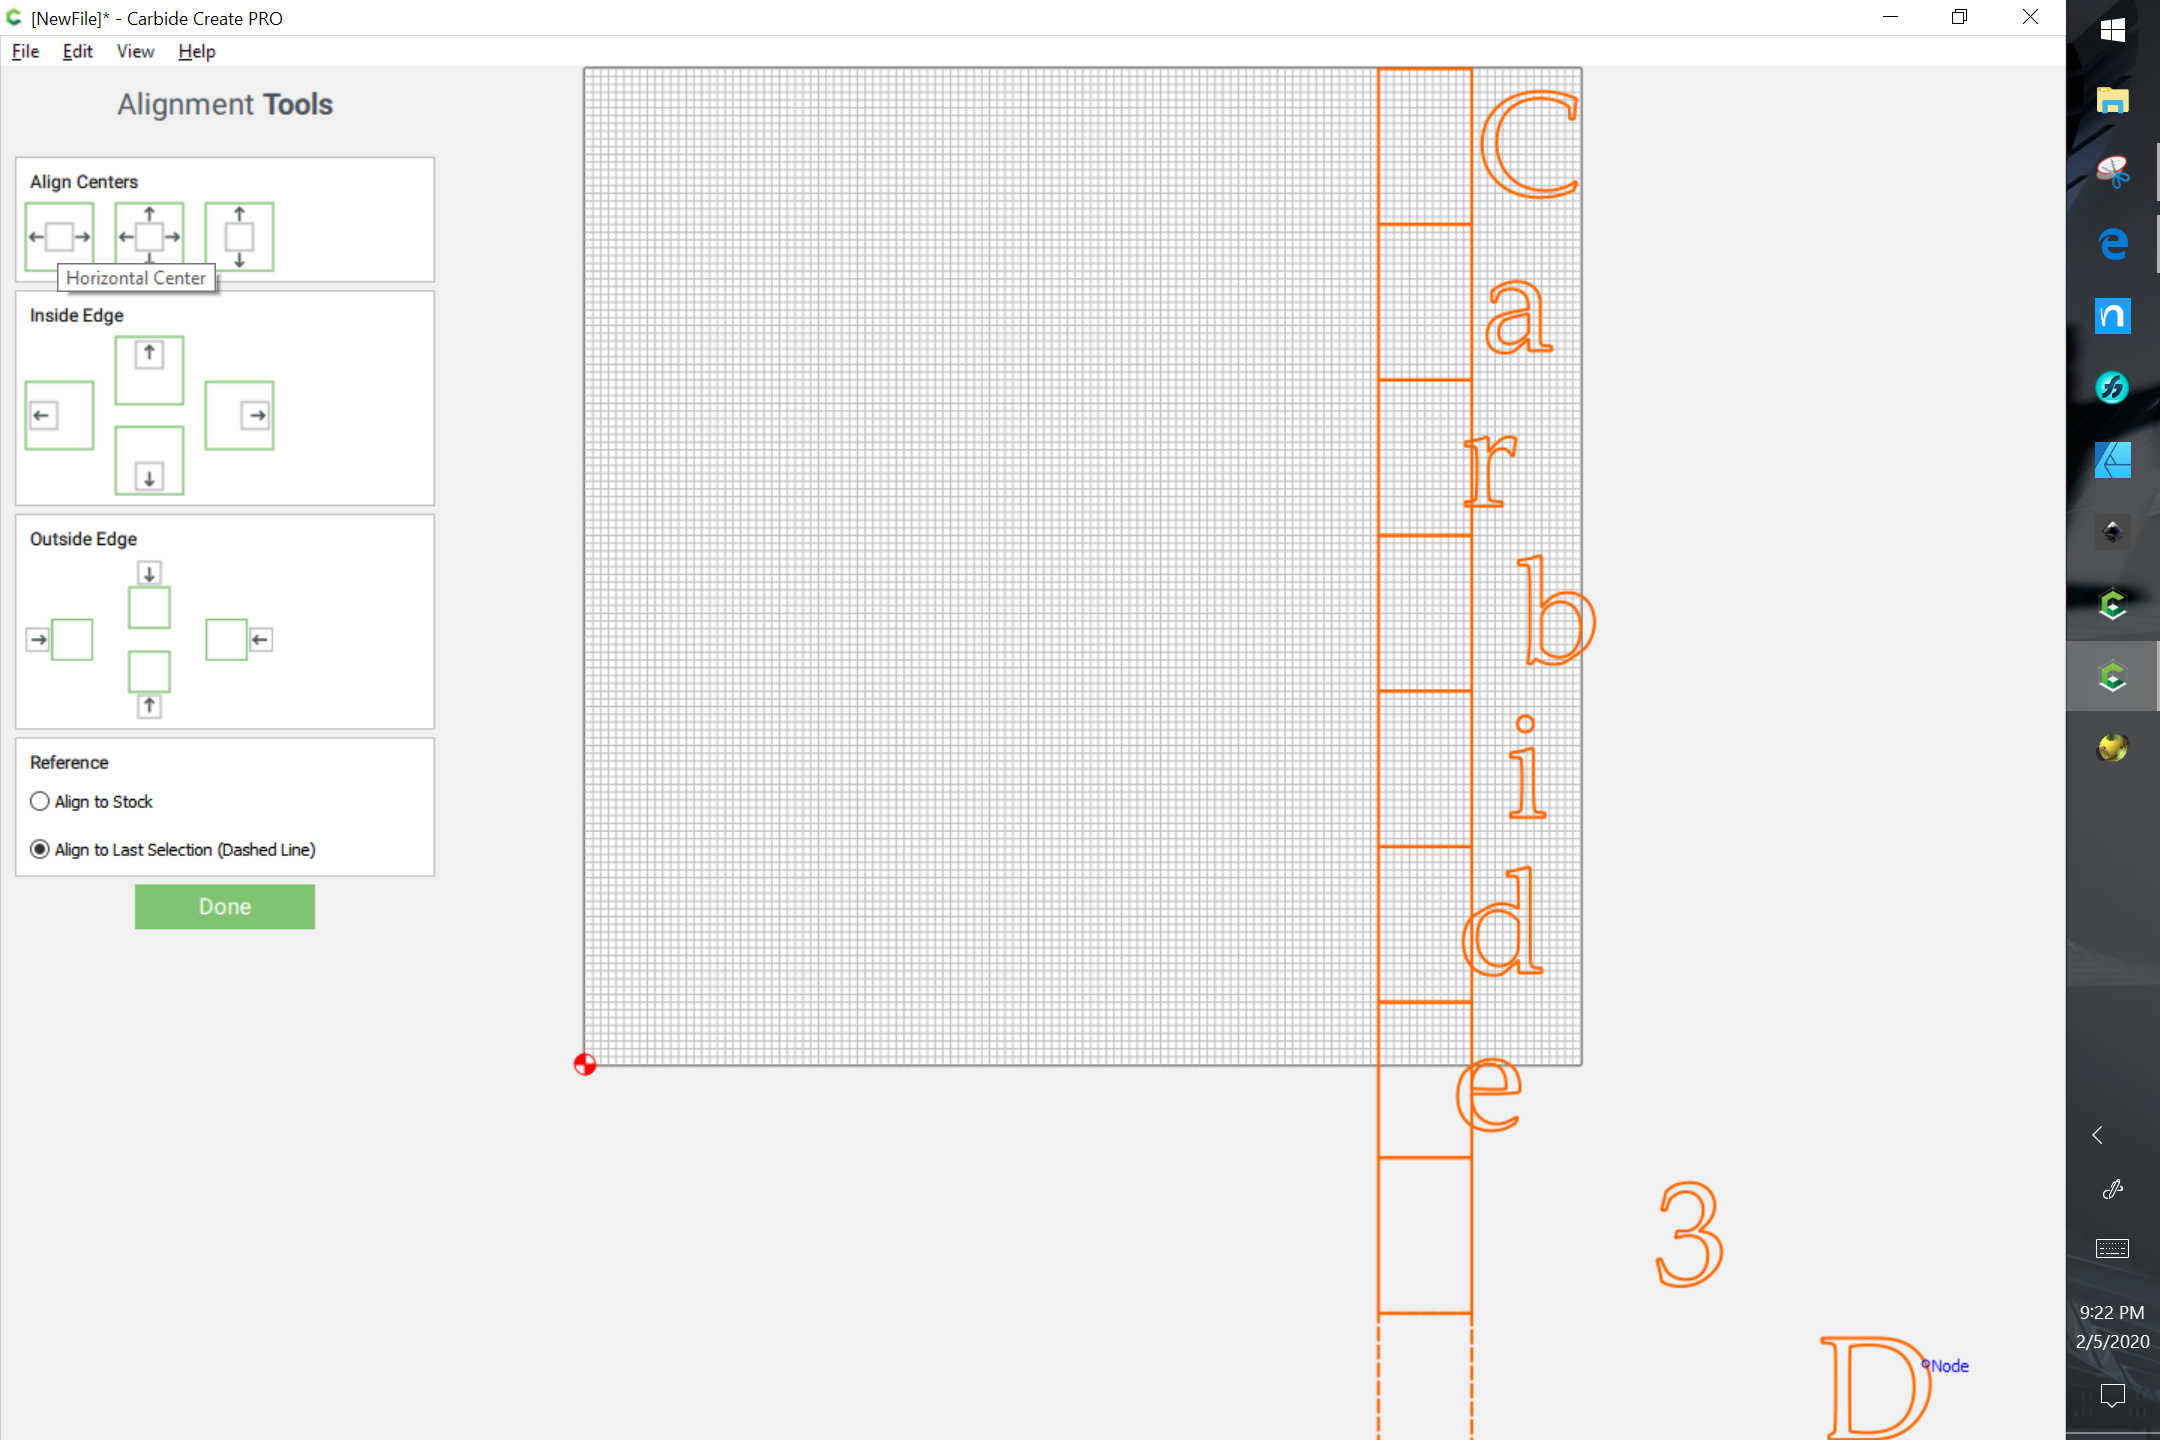
Select everything and align to the horizontal center of the stock:
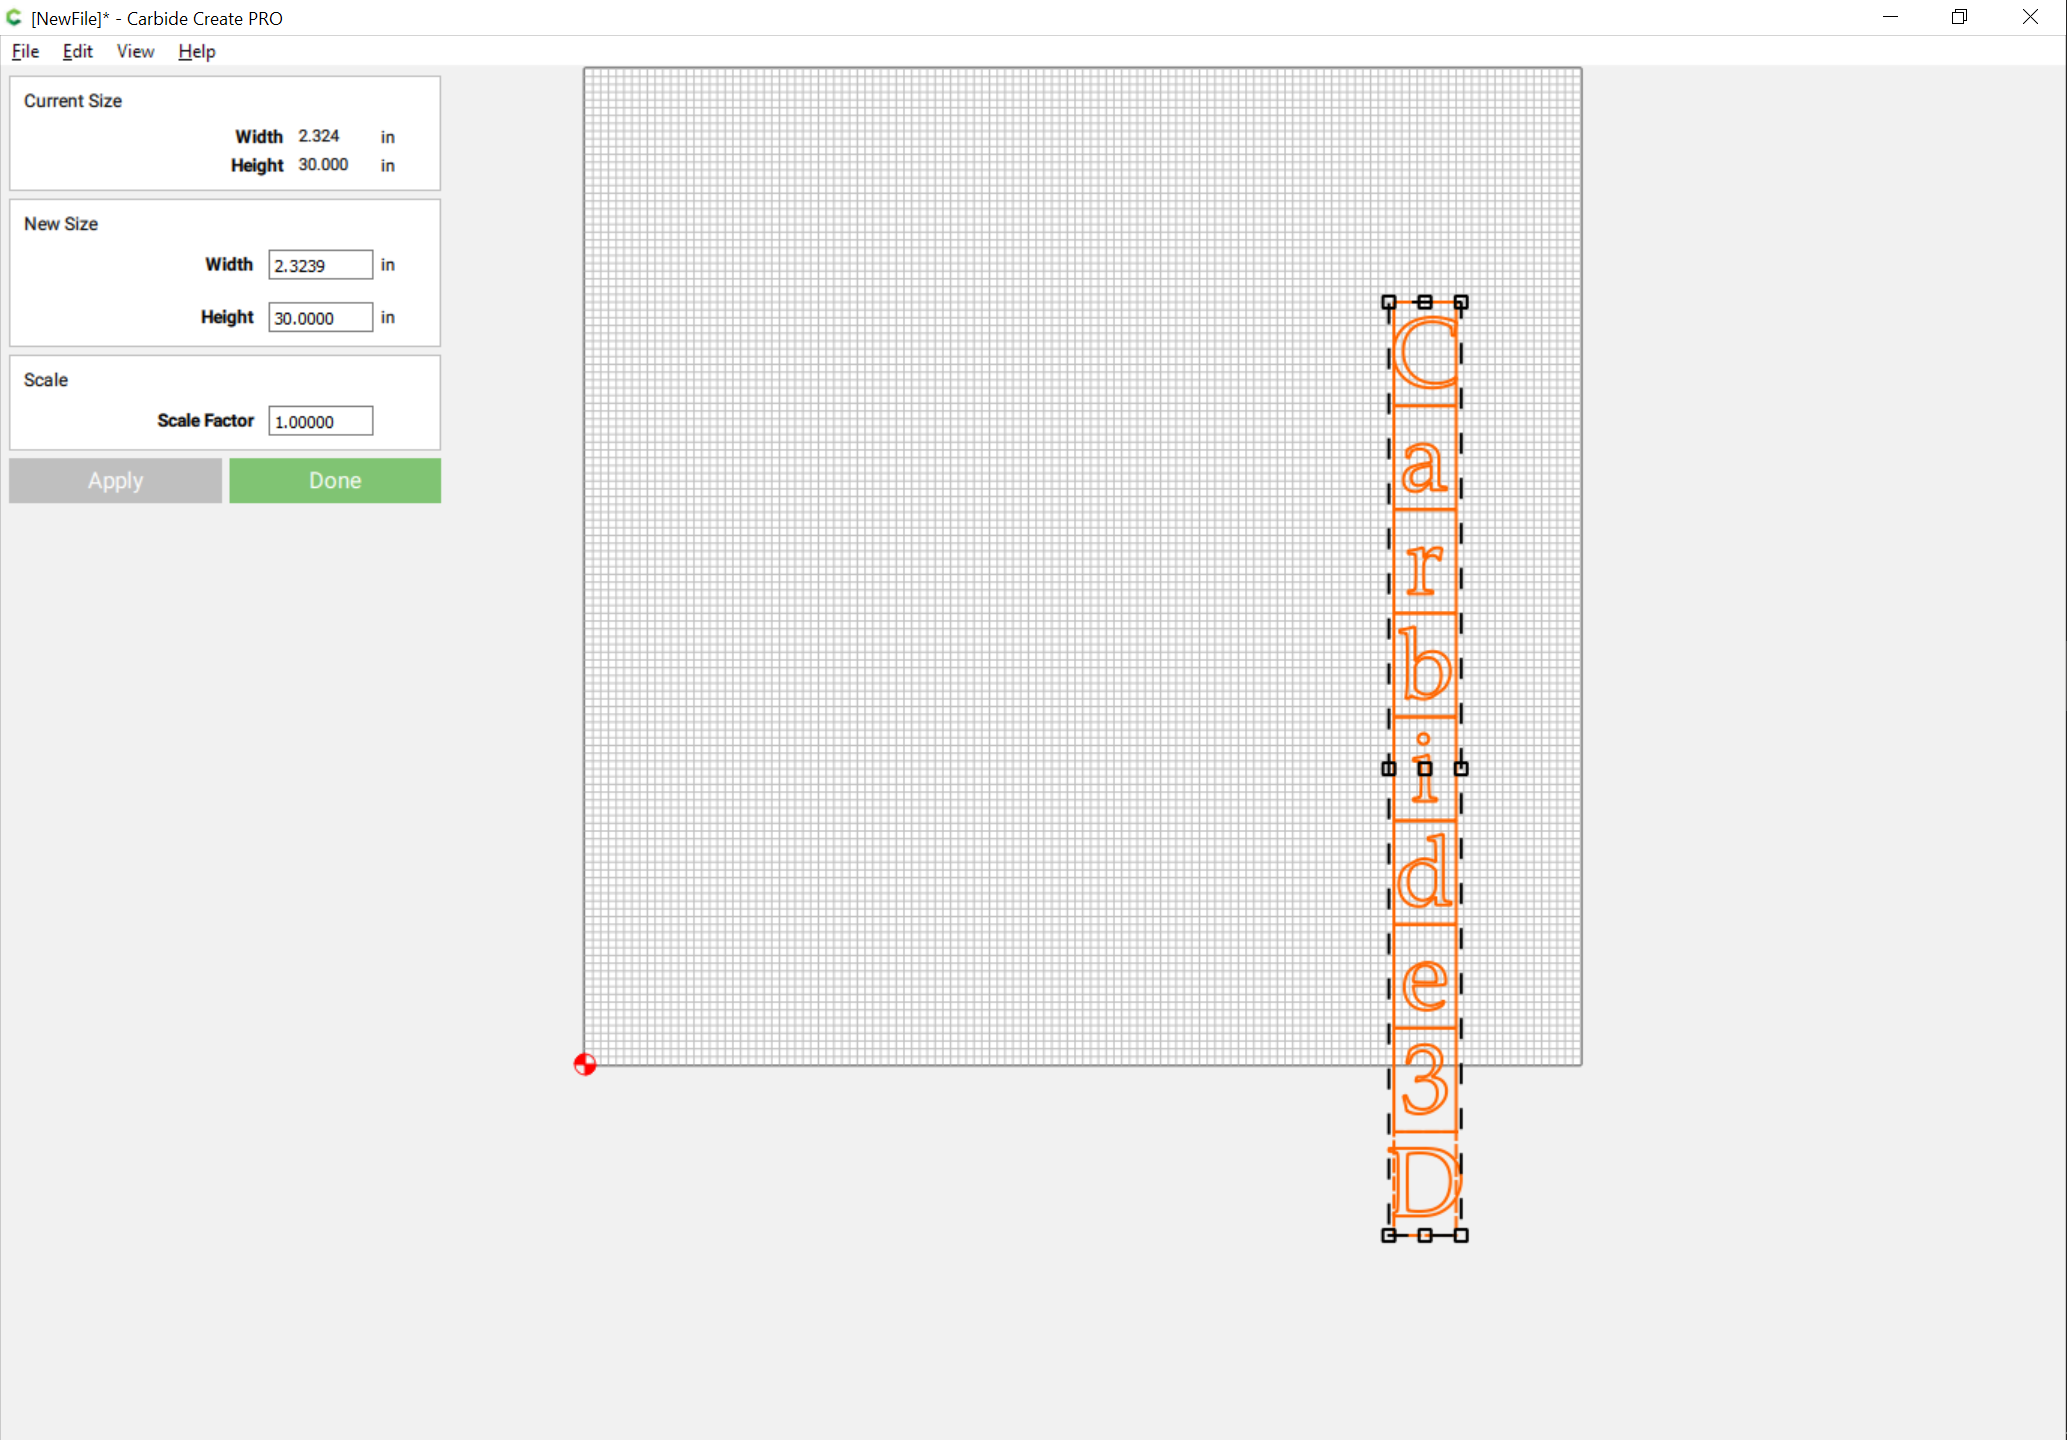
Select everything and scale to fit the desired sign size:
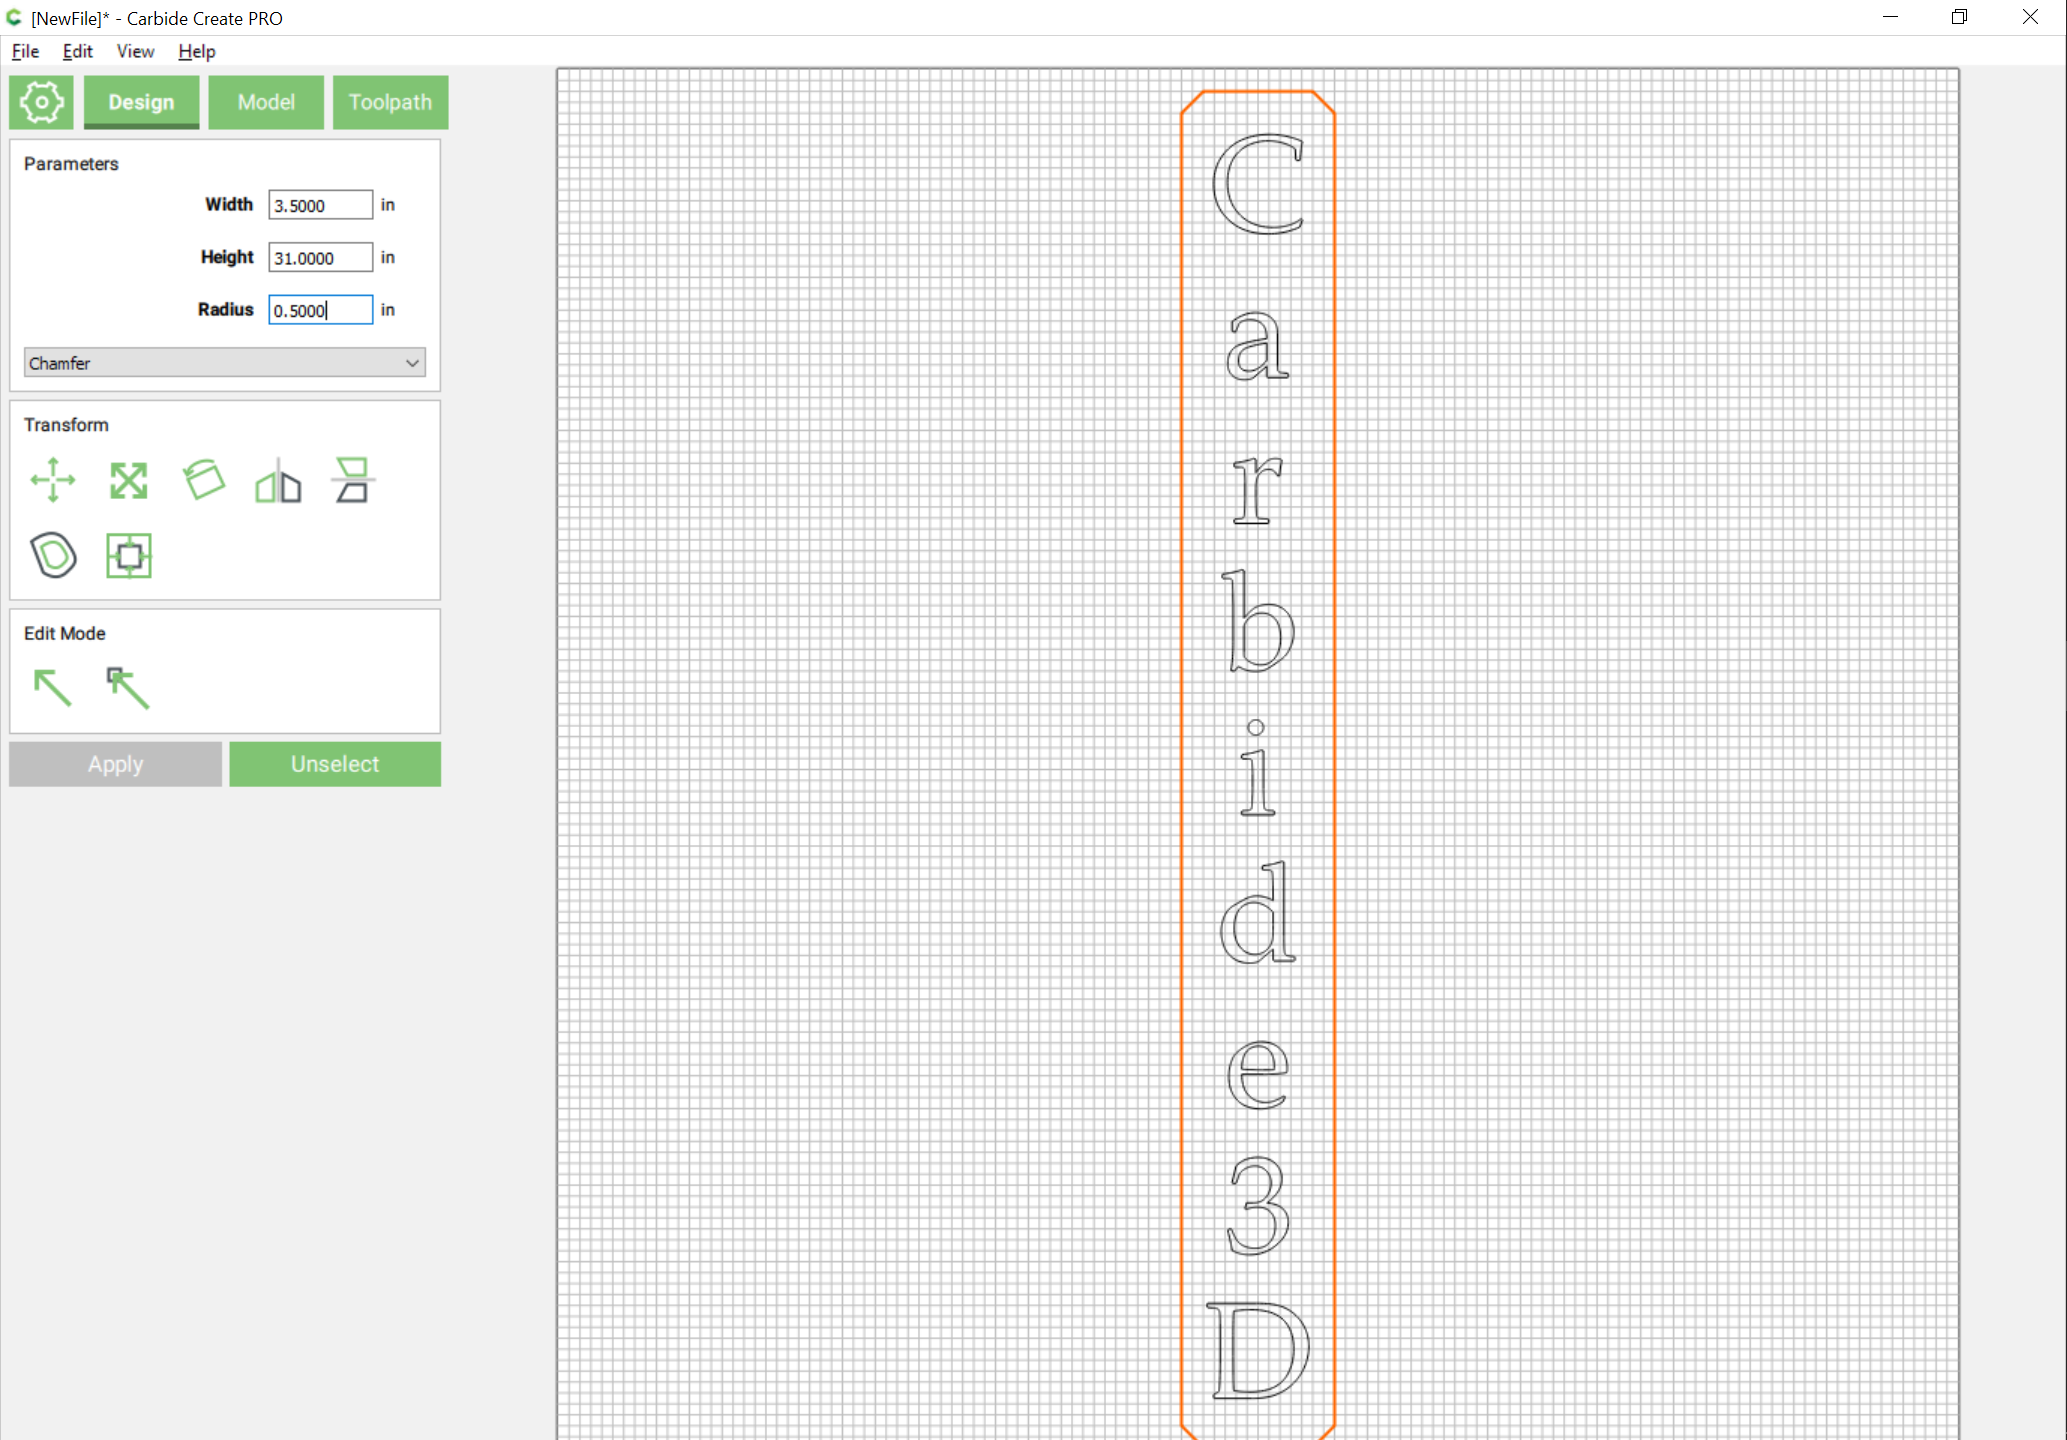
If desired delete the rectangles and add appropriate additional geometry for a nice sign:
Perhaps explain what this union is doing?
The Boolean union operation changes the text from text to geometric/path object.
This topic was automatically closed after 30 days. New replies are no longer allowed.