Looking for some inspiration from what others have done for a ‘control panel’ of sorts when it comes to their emergency stop/feed hold/lighting buttons on their machines. I’ve just got mine completely set up and feel like I need to get those complete. I’d like to incorporate my lighting controls as well (which will be nothing special, just some strip LEDs that will downfire onto the SO4 from above). I feel so over my head, which is a good thing! But would love to see what others have cooked up enclosure wise that have been at this for a while.
I don’t have anything worthy of a show-off, but I figured I would still say the following.
You will find all sorts of incredibly slick control panels if you browse the forum, some of them rivalling professional setups. But I have learned something while rebuilding my enclosure 3 or 4 times (and the control panels that go along with it): don’t make a nice polished version of the controls until you have had a chance to actually use the setup for a (long) while. Prototype it first, see if it works for you. I must have built a dozen prototypes of various control boxes and jog pendants of all kinds by now, but almost all of them ended up collecting dust/being replaced because as fancy as they were, they were just not convenient enough. The best control box is the one your forget about because everything is right under your hand and you don’t even look when using it anymore. Of course, the “perfect” one is different for everyone.
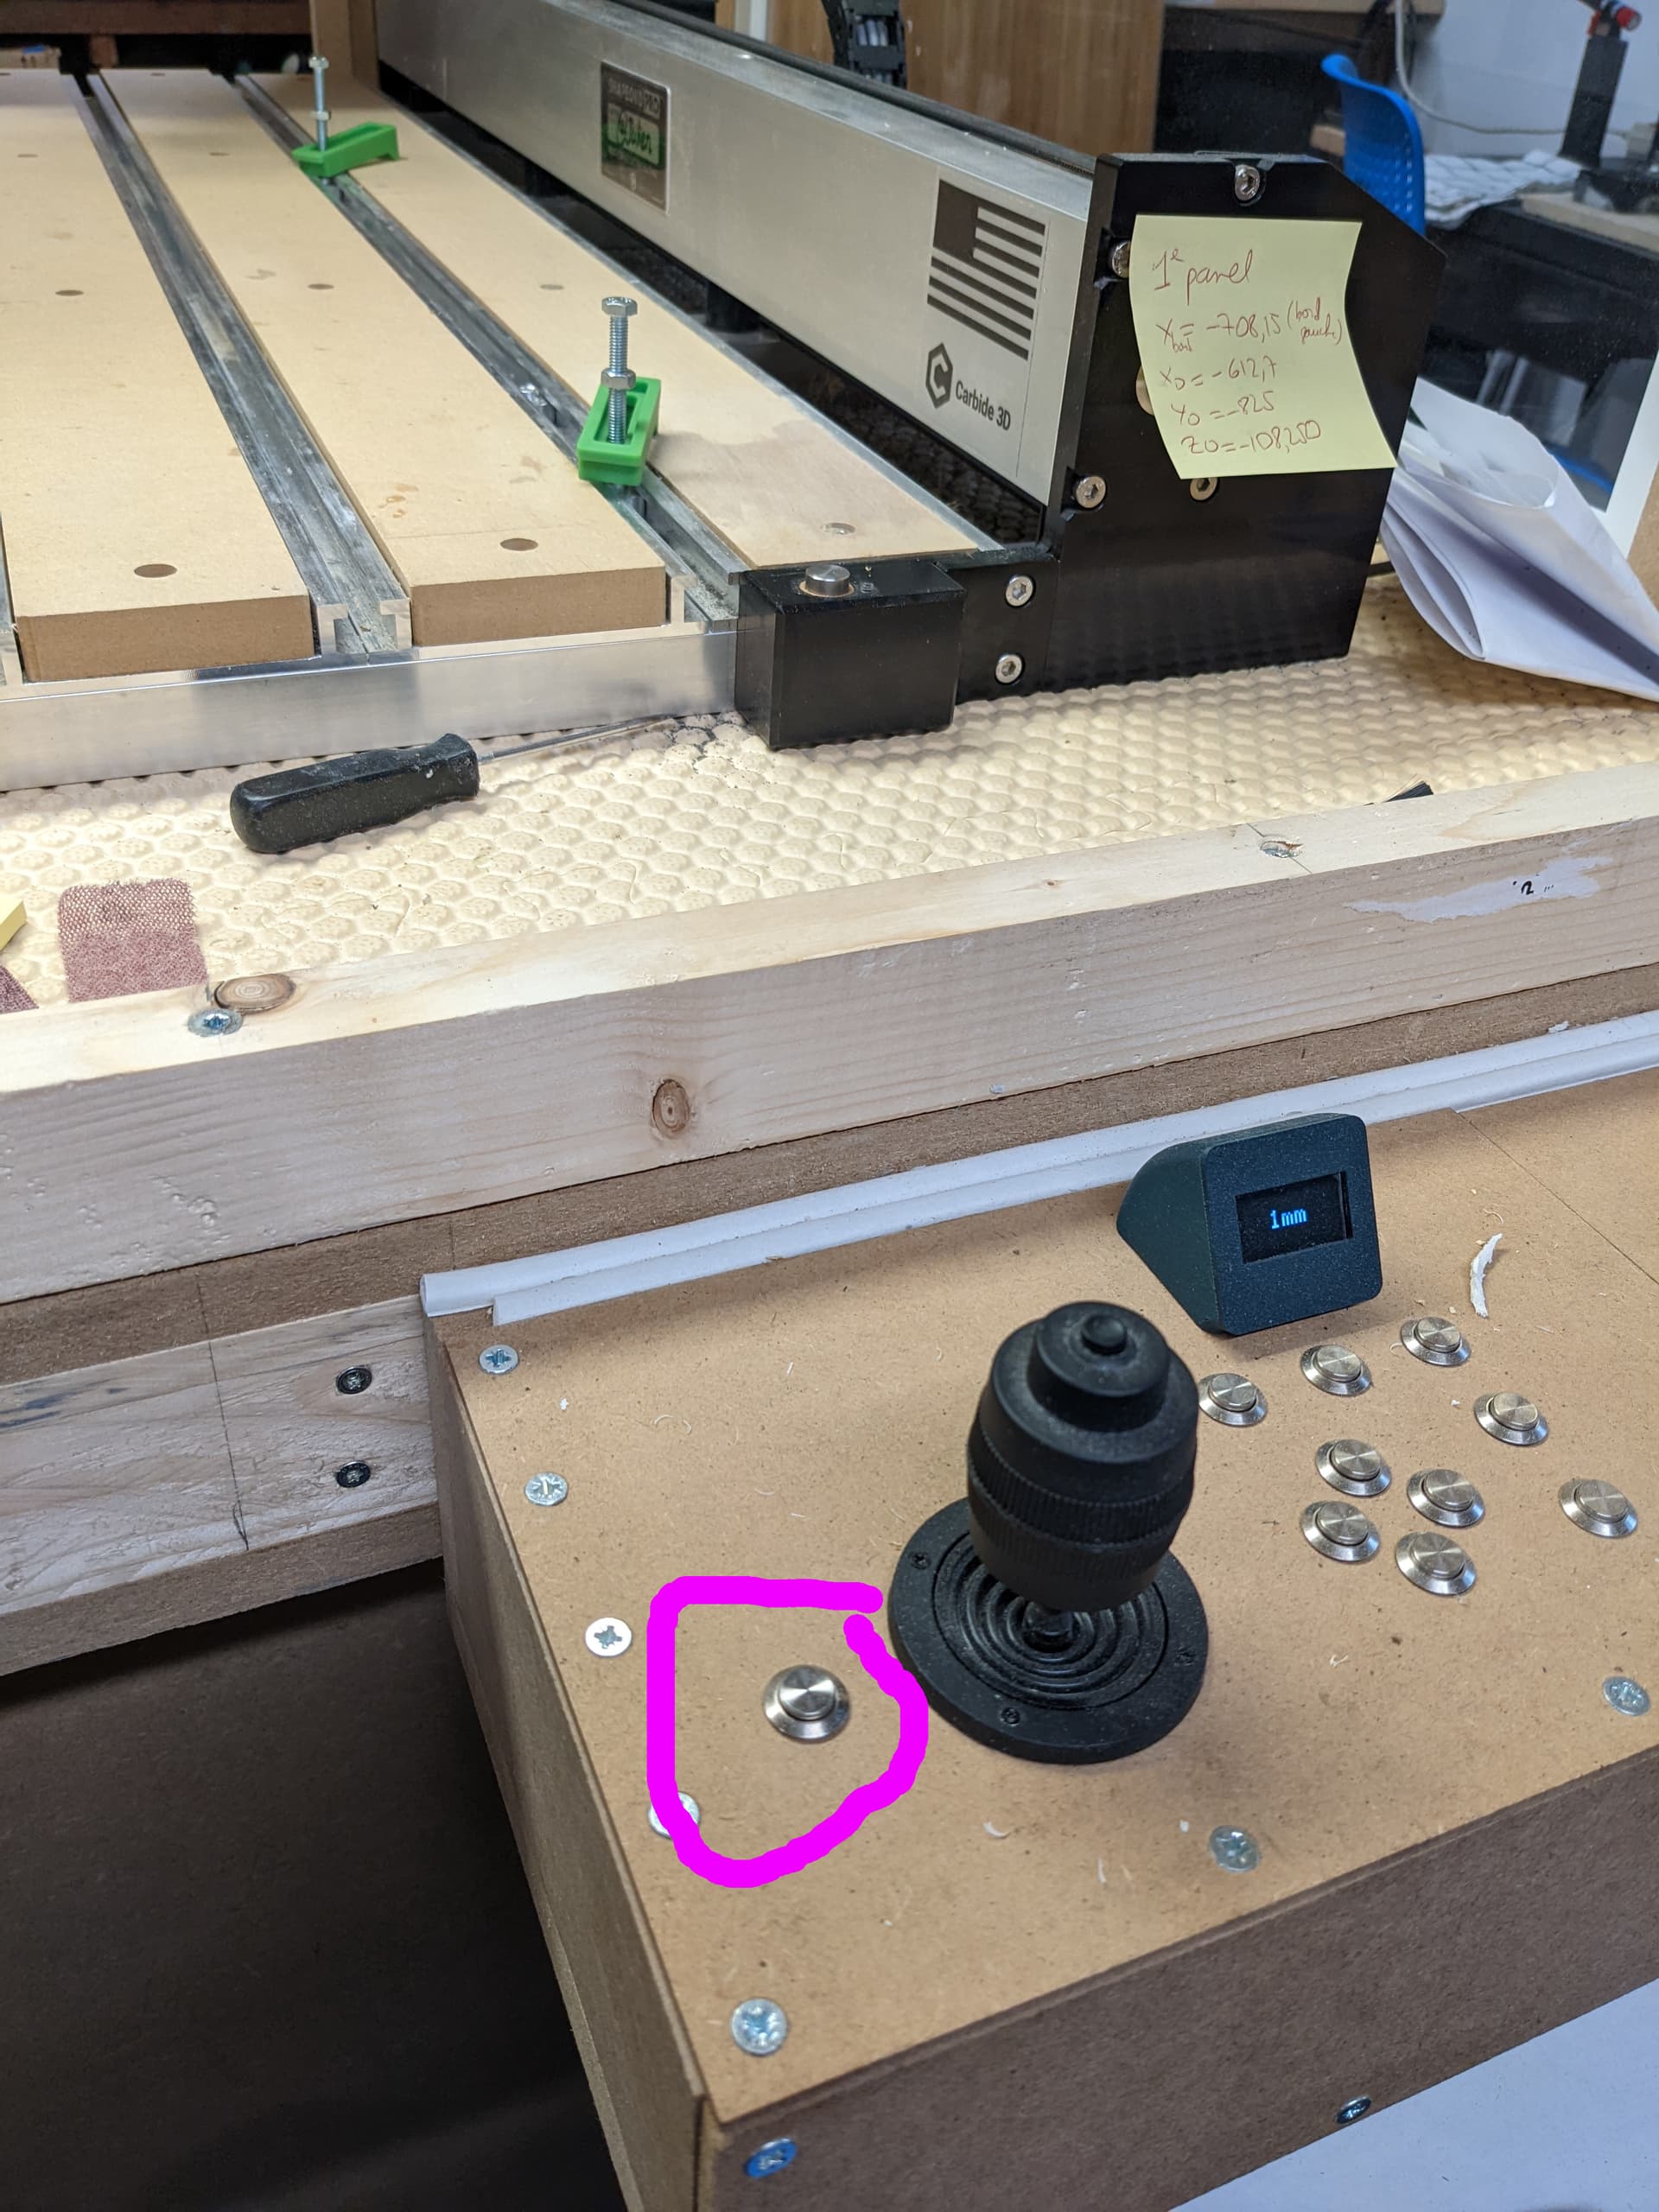
Me, after many experiments I keep falling back to a simple row of power switches (with light indication), and a big fat E-stop button. I don’t care about making it look nice anymore, I did not even care about engraving nice labels, I put quick and dirty blue tape labels initially, and now I just know what each switch does and I don’t read the labels anyway. From left to right:
- air compressor
- dust collection
- router
- shapeoko
- enclosure light
- E-stop

This is located to the left of where I’m sitting when I’m in front of the machine. To the right, I have my Feedhold button (closest to my right hand, circled on the pic) and jogging joystick & buttons
So this is ugly and amateur-looking, but it just works perfectly for me.
For enclosure lighting, I don’t use LED strips anymore, I’ve been there and the problem is, you tend to attach them around the vertical walls of the enclosure, so they end up shooting their light “horizontally” from all sides, which is inefficient and casts shadows everywhere on the work area. I am now using a LED panel that embeds a diffuser, attached to the ceiling of the enclosure, it’s quite bright and I get a nice even light across the whole (XXL) work area. 60 bucks or something on Amazon

(notice the quick and dirty hose arm and zip ties. It’s not stupid if it works  )
)
11 Likes
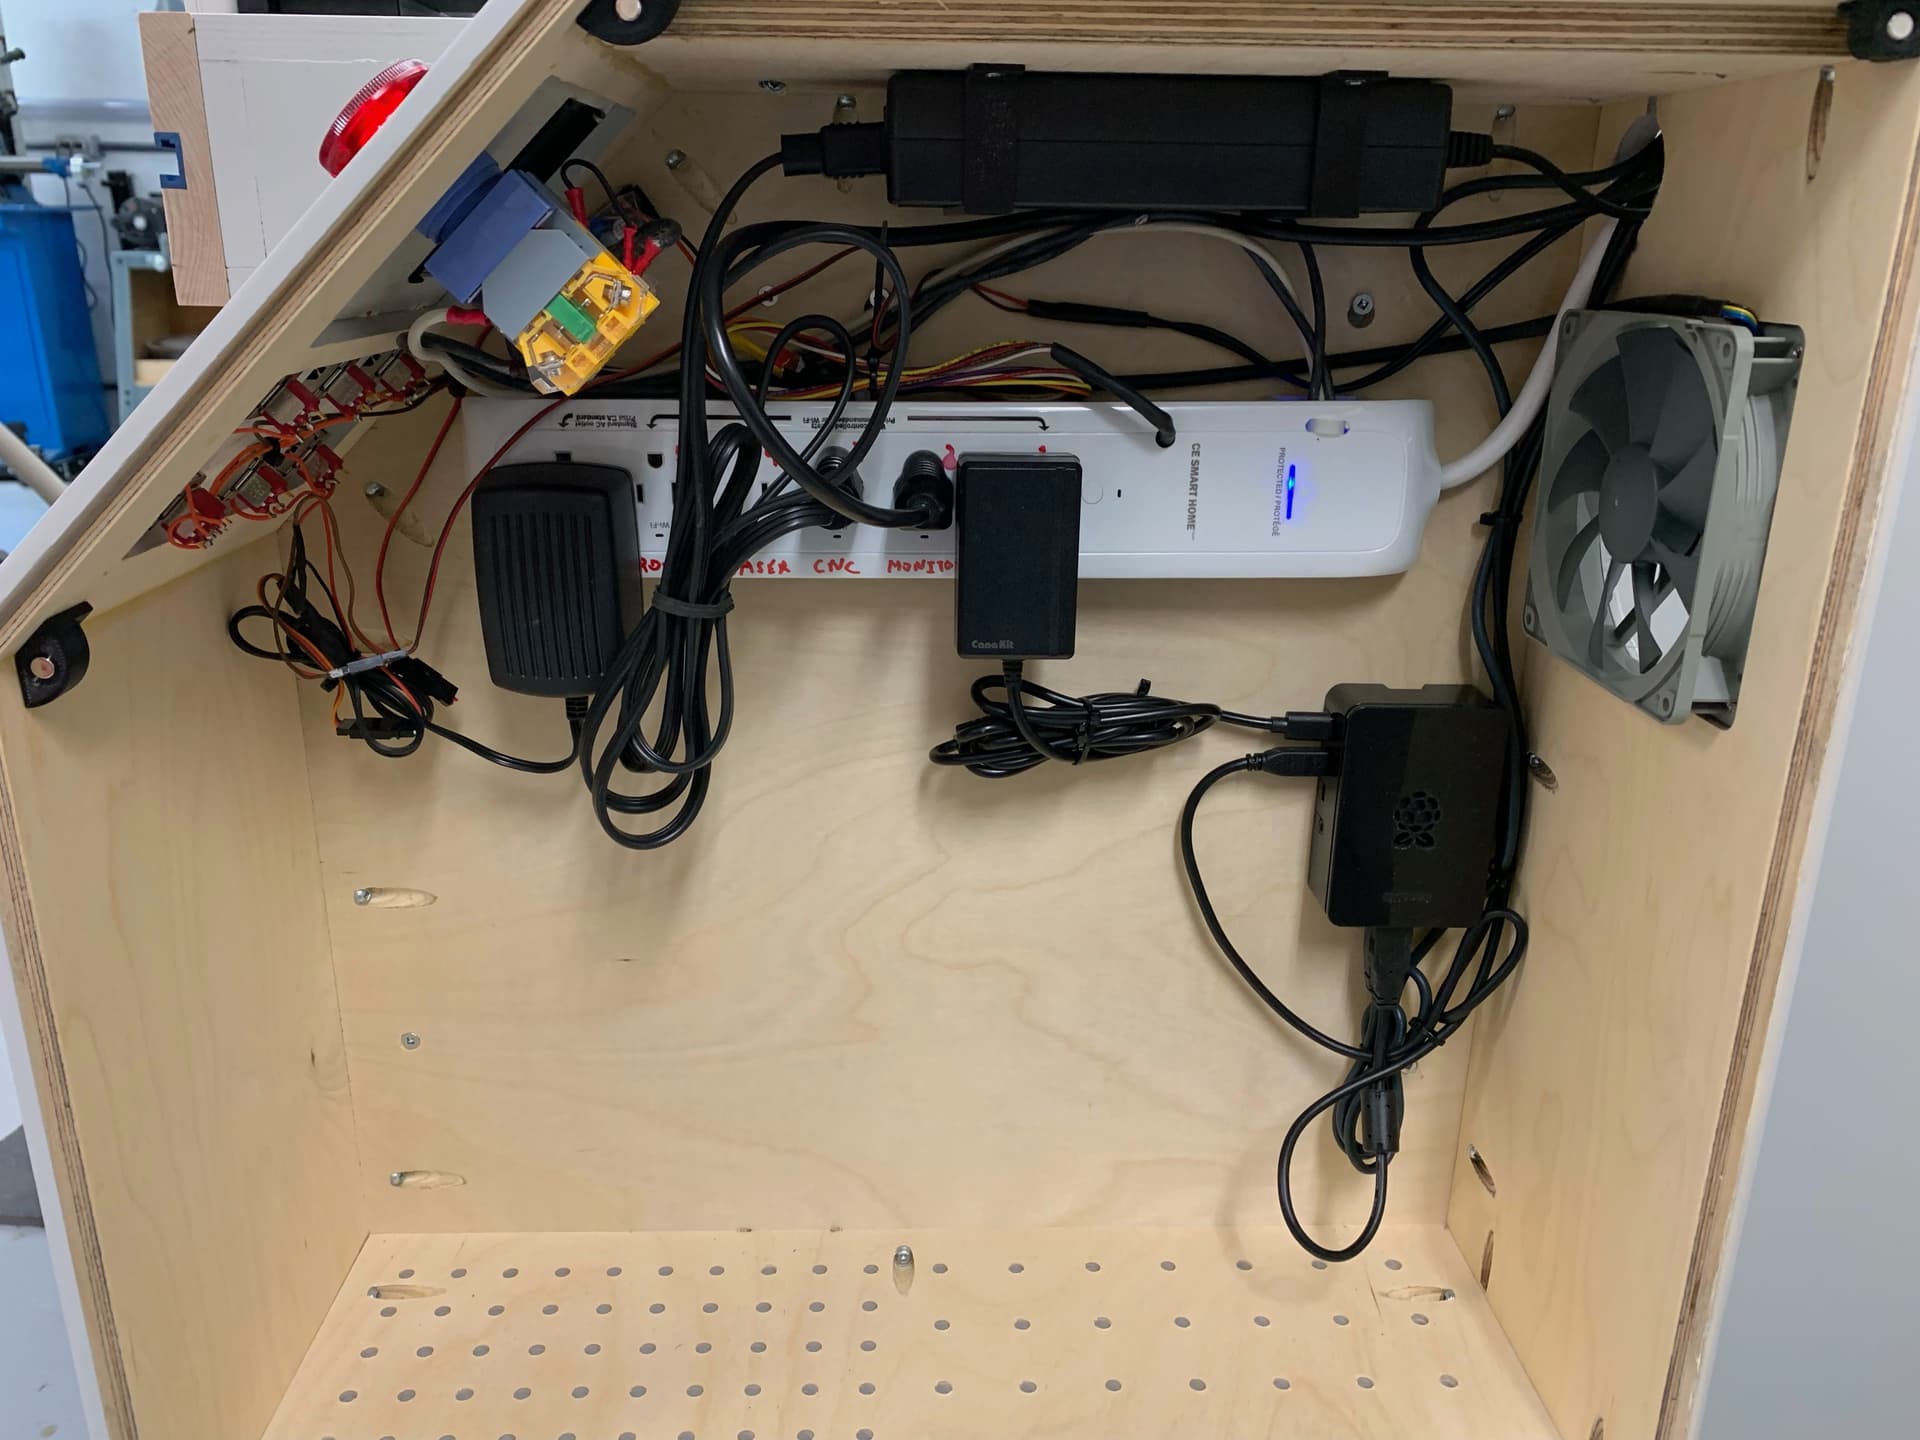
I had some leftover Gravoply sheets from more than 20 years used as front panels from electronics boxes that I was building for a client. I removed the white screen printing easily with alcool and used them for my CNC consol. Of course I used my new tool, my CNC to engraved them and to cut the opening for the switches and the contour. The small switches were also some leftovers from old projects. The switches are on 3.3VDC from a power control bar from CE Smart Home that I bought on clearance at Costco for around $15. This bar is web control and finally I didn’t used it because my home automation system is not web by preferences. So I recuperated the bar for this project in another way. I unsoldered the wifi processor in the power bar and wired the switches to control the internal relays.
The plastic plugin (3d printed) in the picture front panel is to install the remote keyboard for my incoming VFD. I most probably will modify some switches fonctions when adding my VFD to have some kind of spindle lock-out switch. Not sure also that I am going to add a laser, I may buy and independent laser engraver. I have a few more spare panels to engrave and cut. In the middle right is the Pi 4 controller. I think I will be able to install the VFD in the box. Here are some pictures and you can find more in my posted subject:
10 Likes
I don’t know about your control panel, but I like your offcut management system!
5 Likes
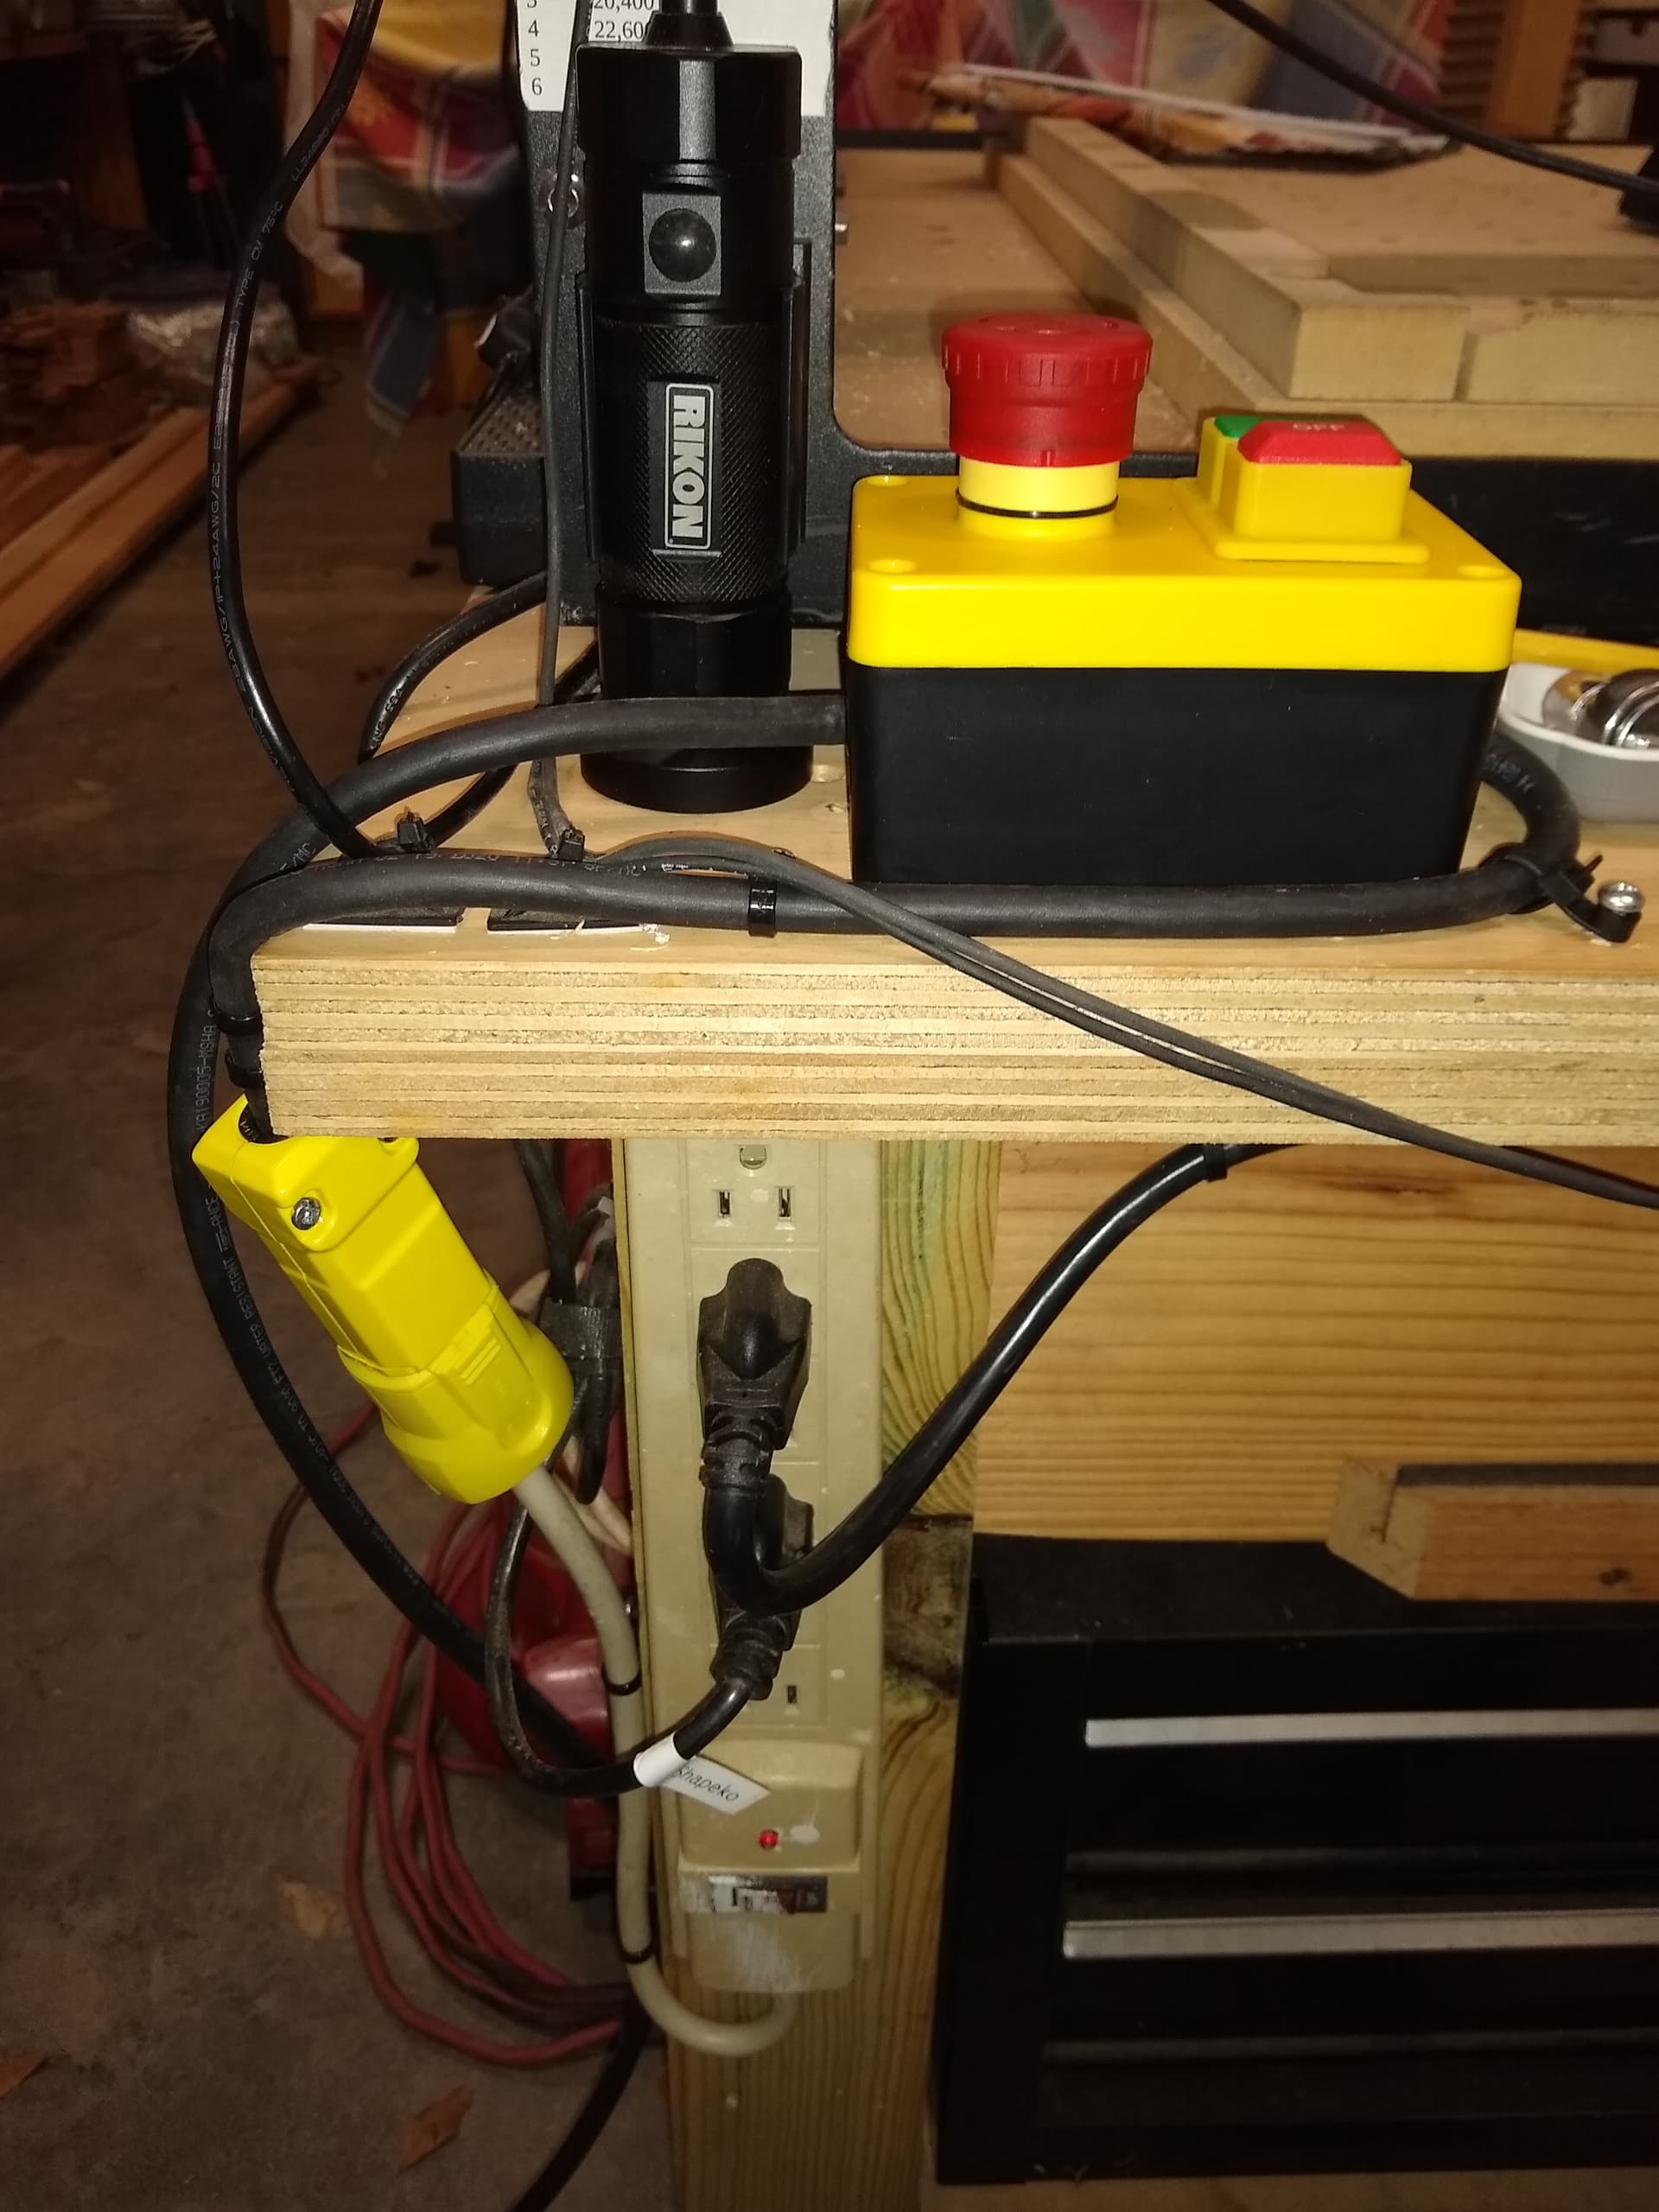
I would not call my setup really a control panel but I like to keep things simple. My dust collector is a central one that has a separate remote that I have on the table next to the Shapeoko. My power strip has the Shapeoko and the router attached to it. The Emergency switch and on/off button is from Amazon and is a magnetic switch. The magnetic switch holds on as long as there is electricity. If there is a power failure the switch goes off and stays off when the lights come back on. If you just have a mechanical switch for on and off when the power comes back on so does your router.
The Emergency switch just has a male 120vAC for power input to a power plug on the wall. The other is a female 120vAC plug that the power strip plugs in to. So the Emergency off button kills power to Shapeoko and Router. The on/off switch turns off the Shapeoko and router power and provides power to them when in on position. I have a BitRunner so with power applied to the router it is actually controlled by gcode.

Now if you want a more traditional console I would recommend the magnetic on/off/emergency as part of a console set up.
6 Likes
So much good advice here! I agree that it would be prudent to get something ‘good enough’ set up and then see how things go. Your setup is really great with the machine controls and everything, seriously good stuff. As it is right now, my plan is to light the bed with some side/down firing strips due to restrictions to my table. The mounting will be above and to the sides of the unit, but I plan on making some angled mounting strips that will ideally fire the light at a 45 degree angle to help alleviate some of the shadows from a purely horizontal projected setup.
Loving all the others as well. My thought for now is to possibly make a mobile box similar to what @gdon_2003 is using but I can move it to wherever I’m sitting at the front of the machine until I determine what I want for a permanent setup. But keep 'em coming!
1 Like
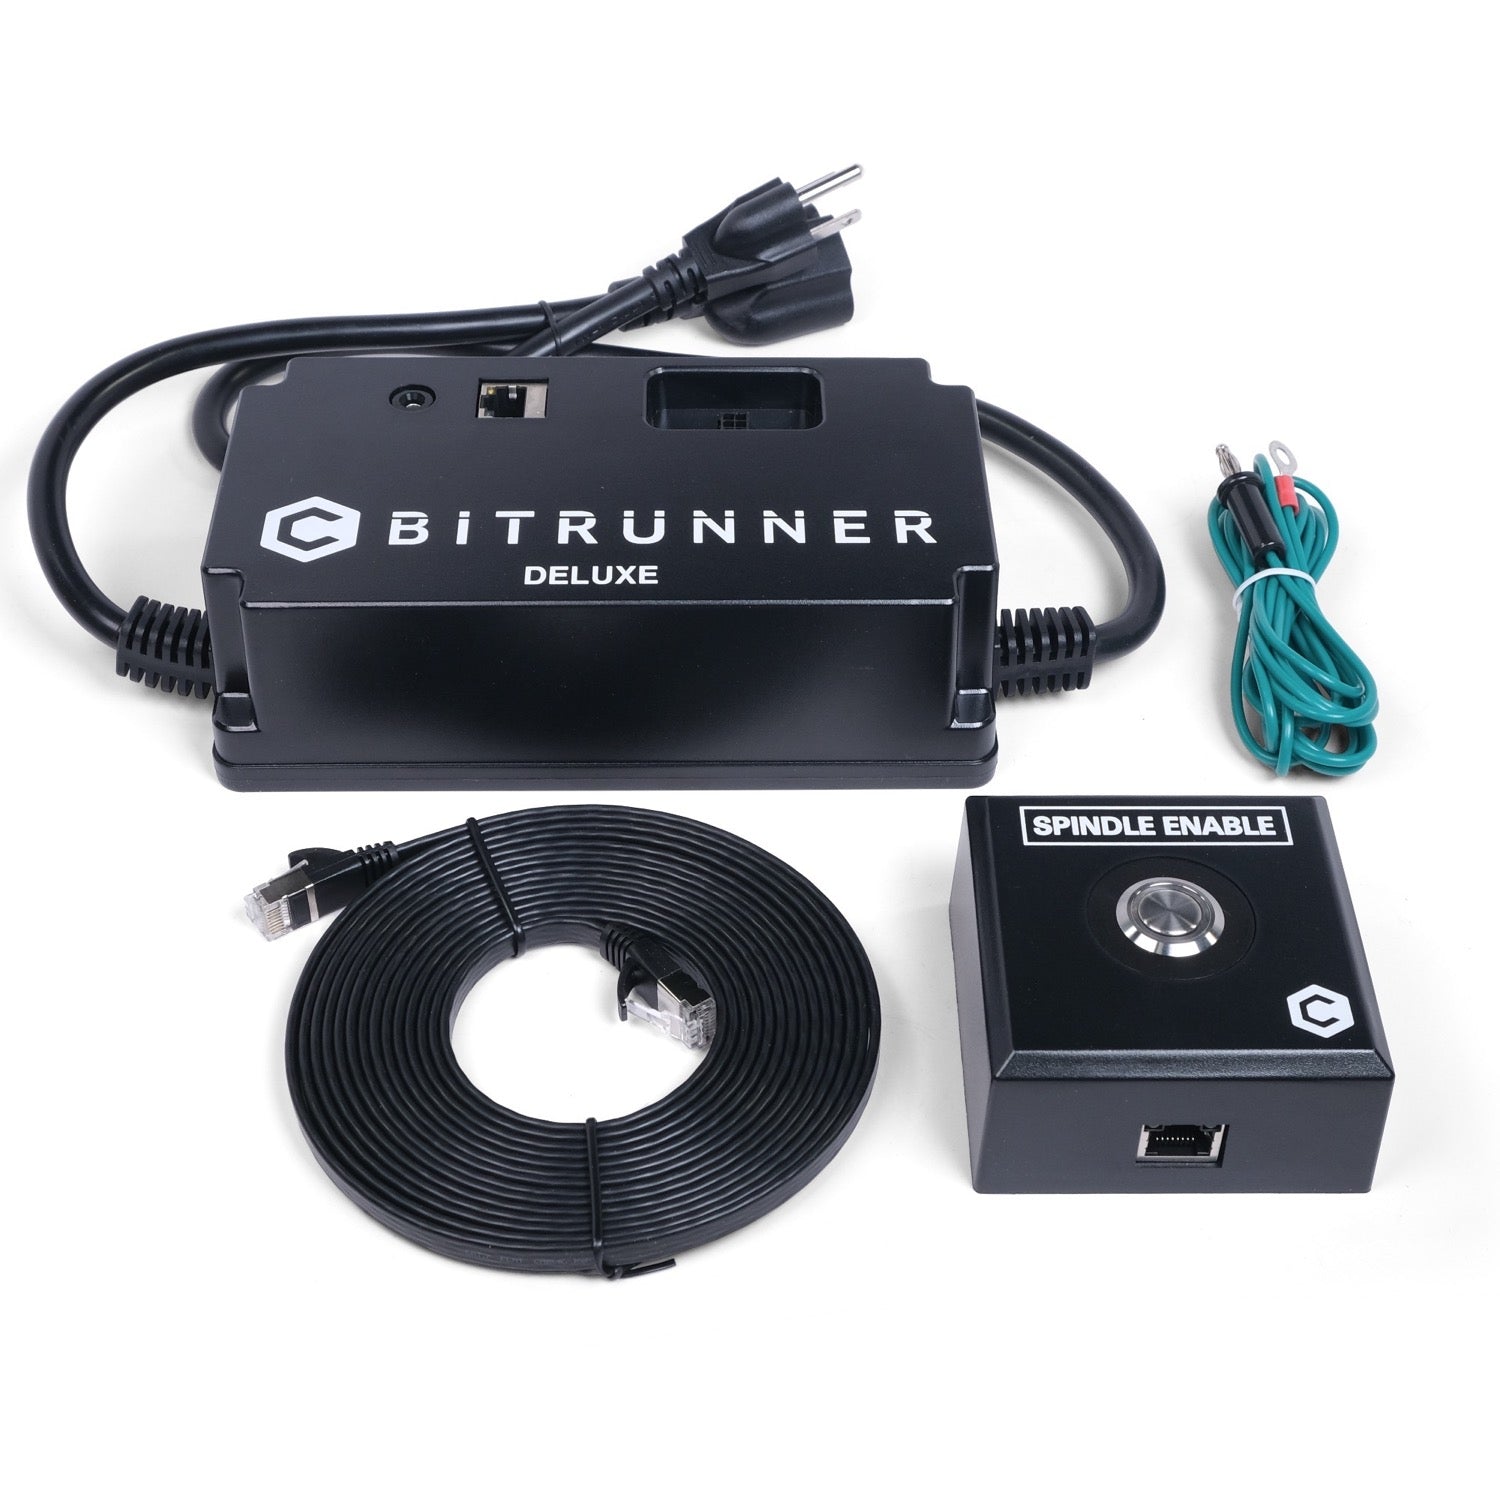
Be aware that the bitrunner v2 has spindle control aka “oh shit!” button built in. But it does not stop the X,Y,Z motion, just the router from spinning.
3 Likes
Great topic! Love seeing all of your setups!
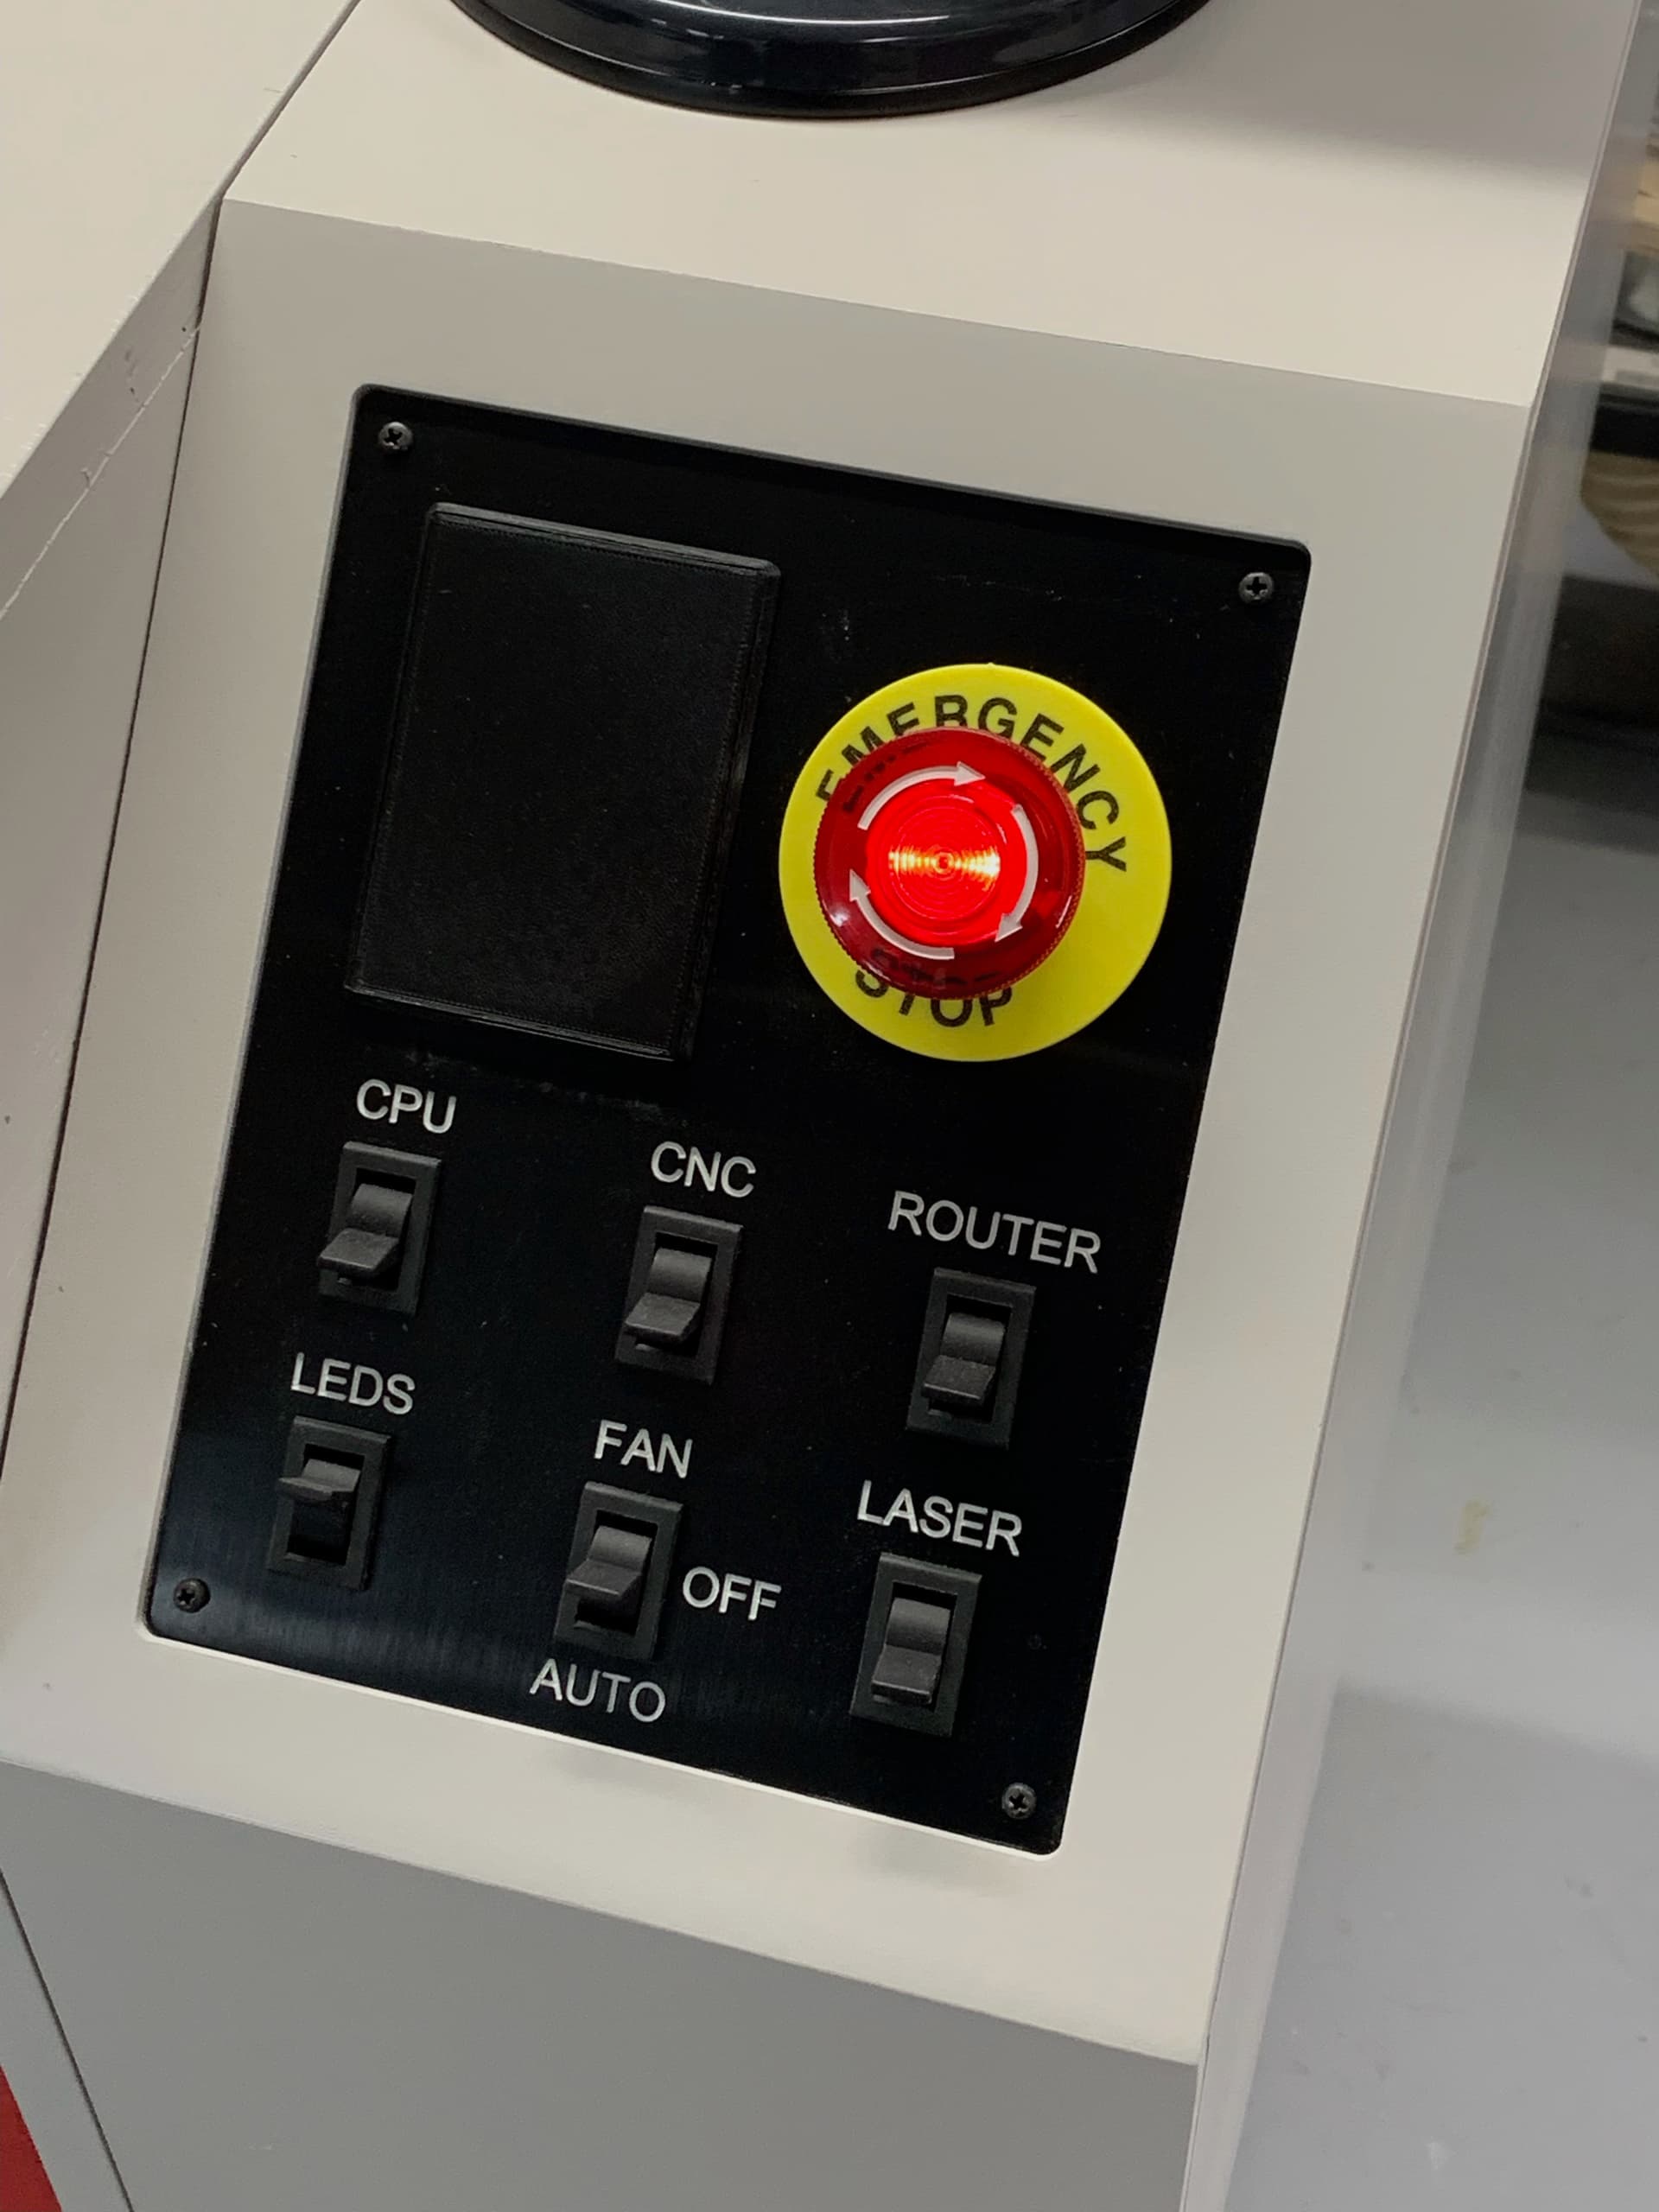
I have an E-Stop that shuts down everything (knee height, easy access, and luckily
only used it once or twice in the past six months), as well as four individual switches - one for each of the Router, the CNC itself, the LED lights and the PC (although its a Fusion Tablet and switches to battery in any case).
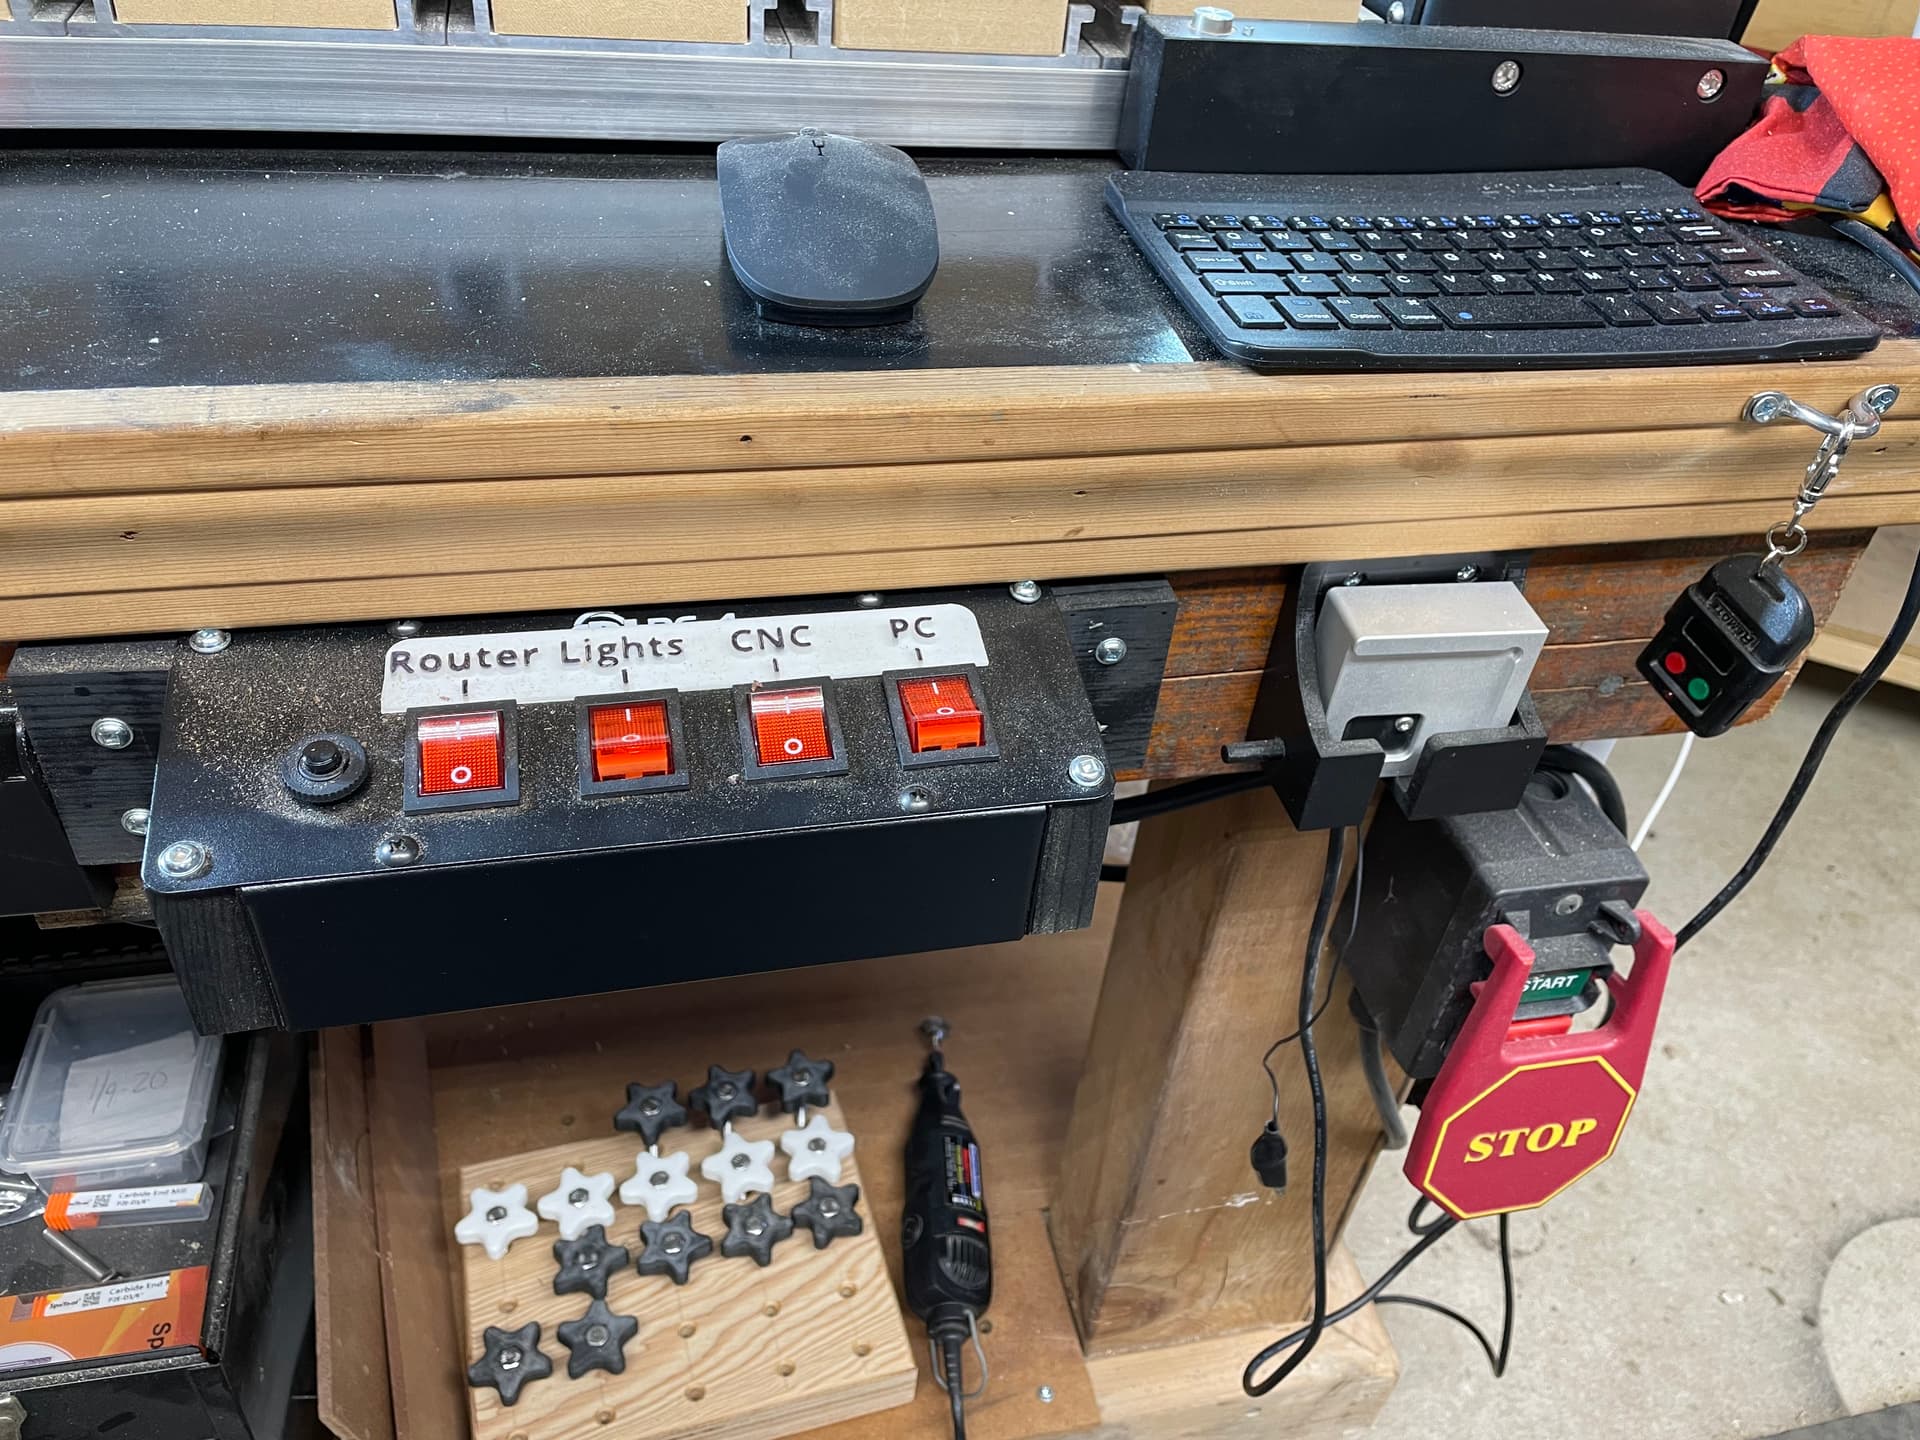

My knock-off Bit Zero and wireless keyboard sit in 3d printer holders right there.
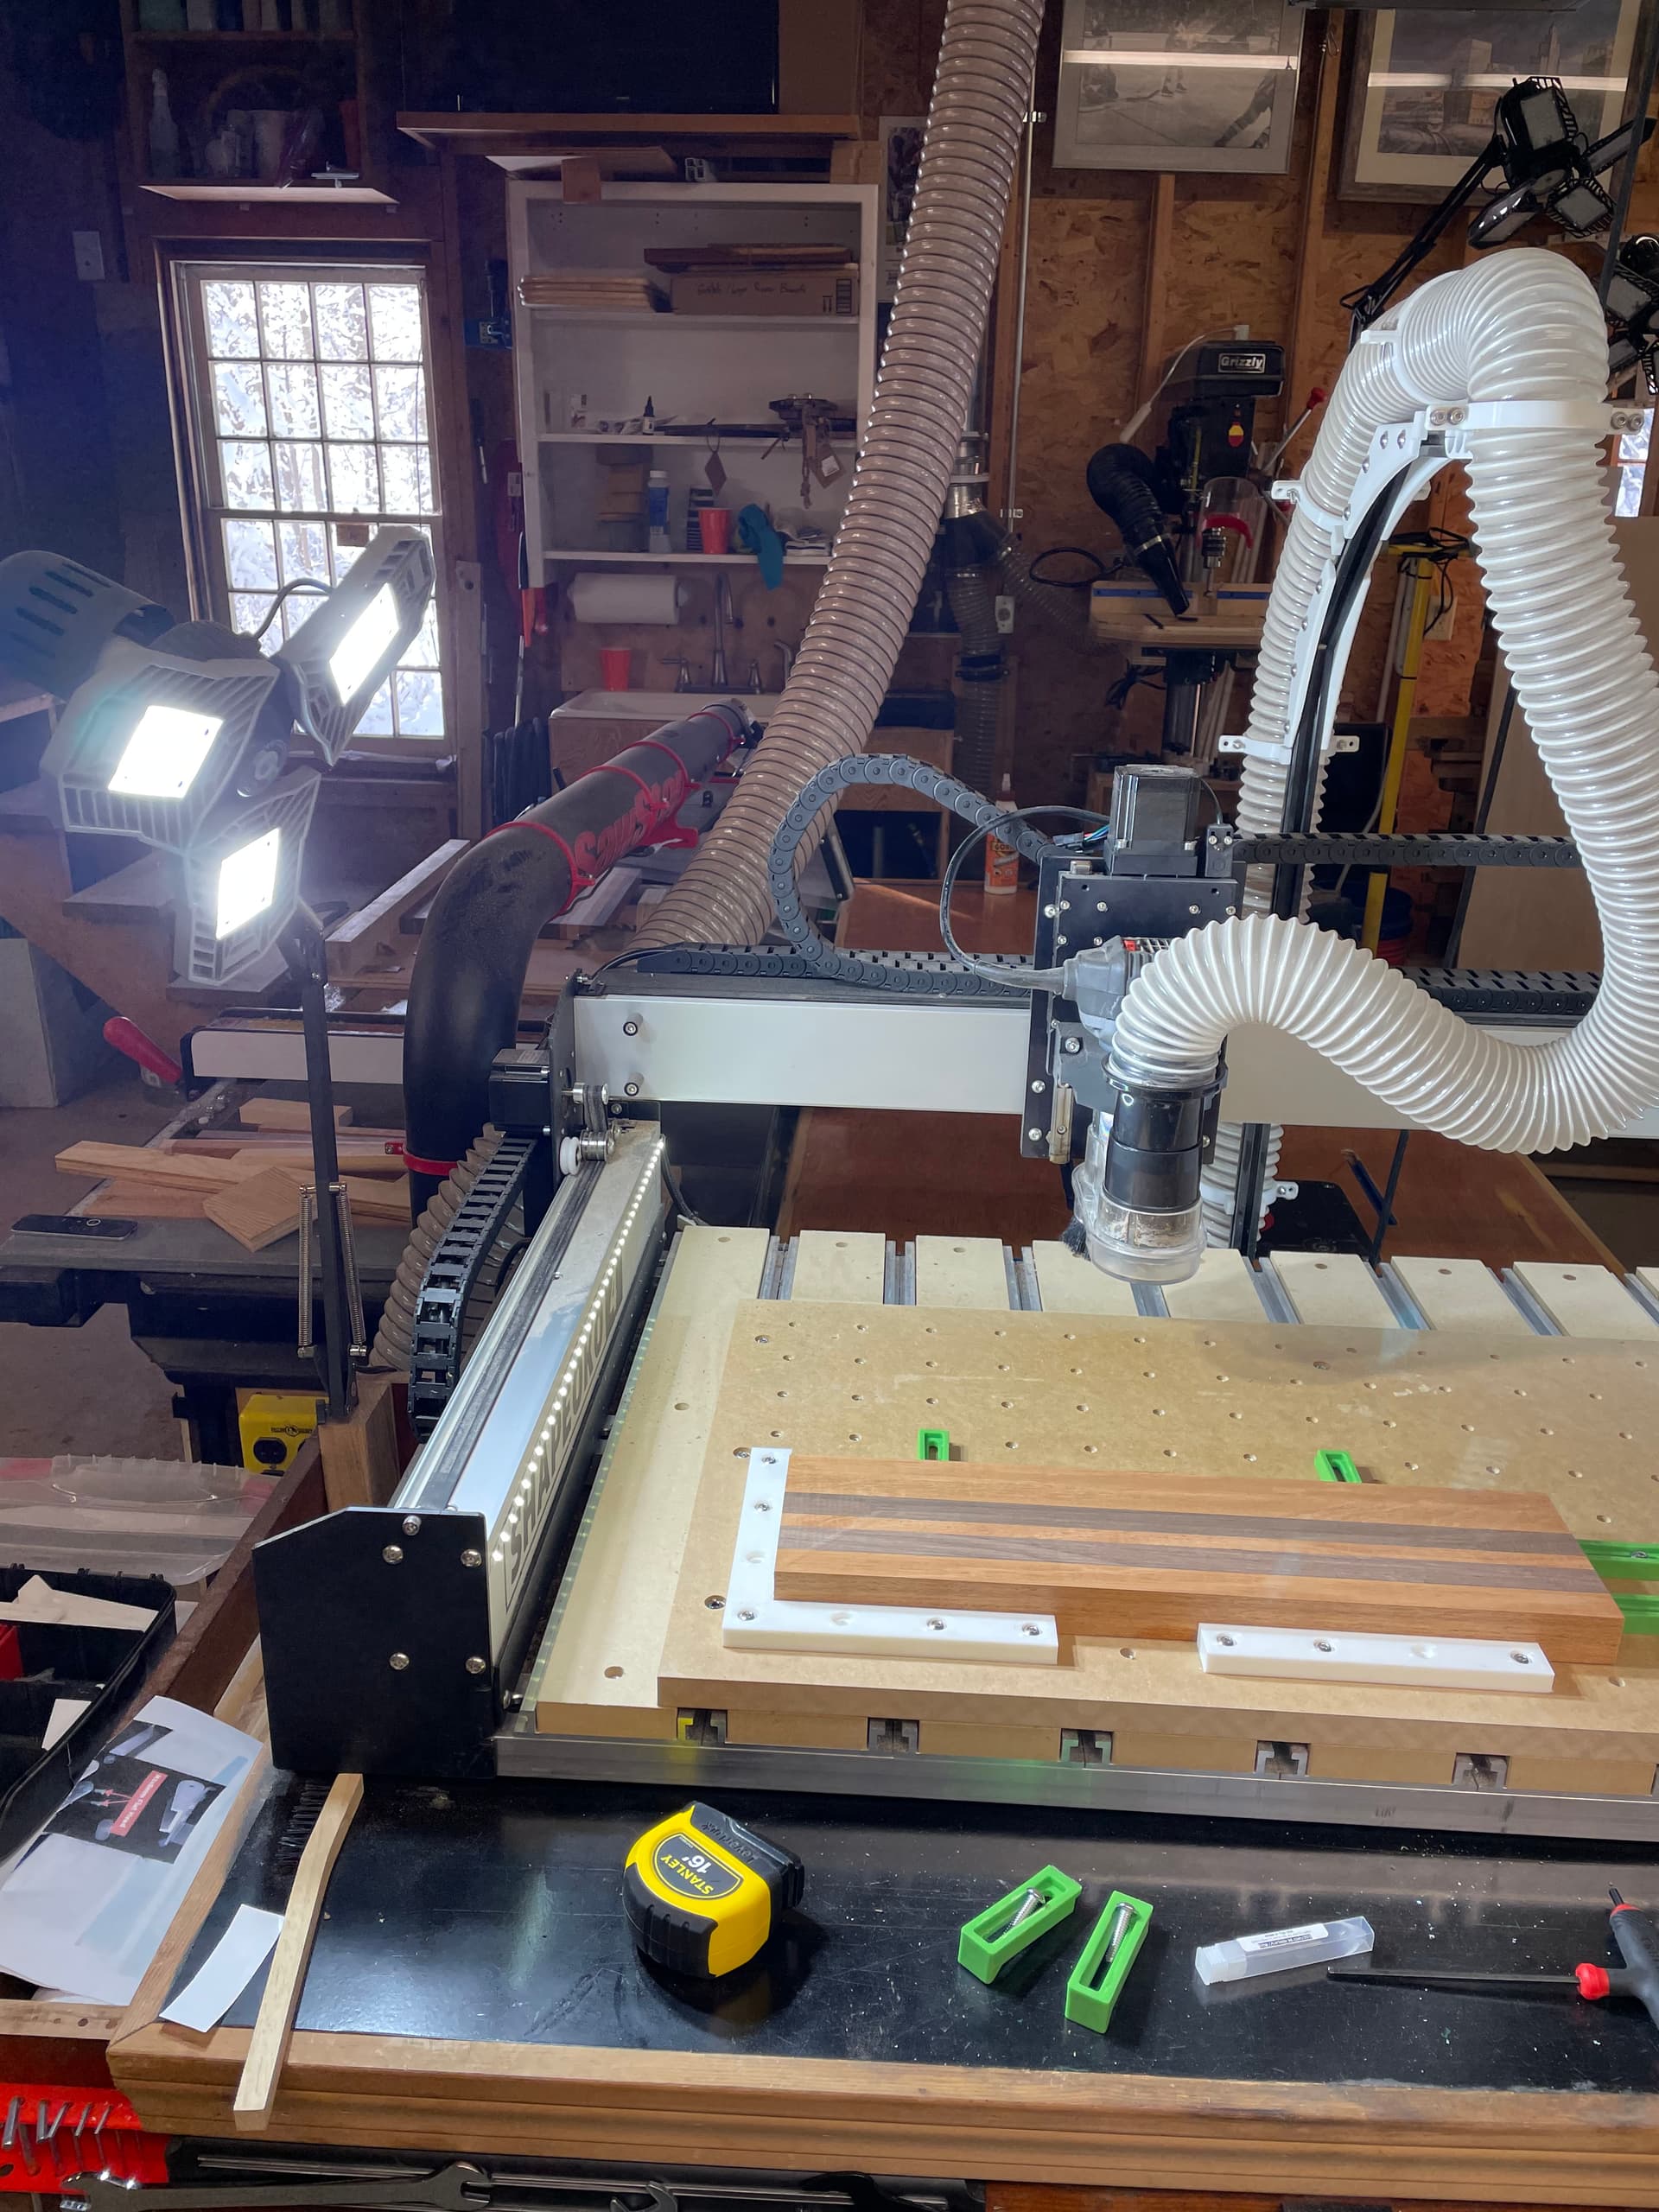
Also, on the Shapeoko table I have mounted a hook for the remote that controls dust collection, which is overhead (20x20 extruded aluminum and 3d printed brackets/clamps) and then drops to the back of the table to the main pipe, which I swap occasionally with my table saw and route table.
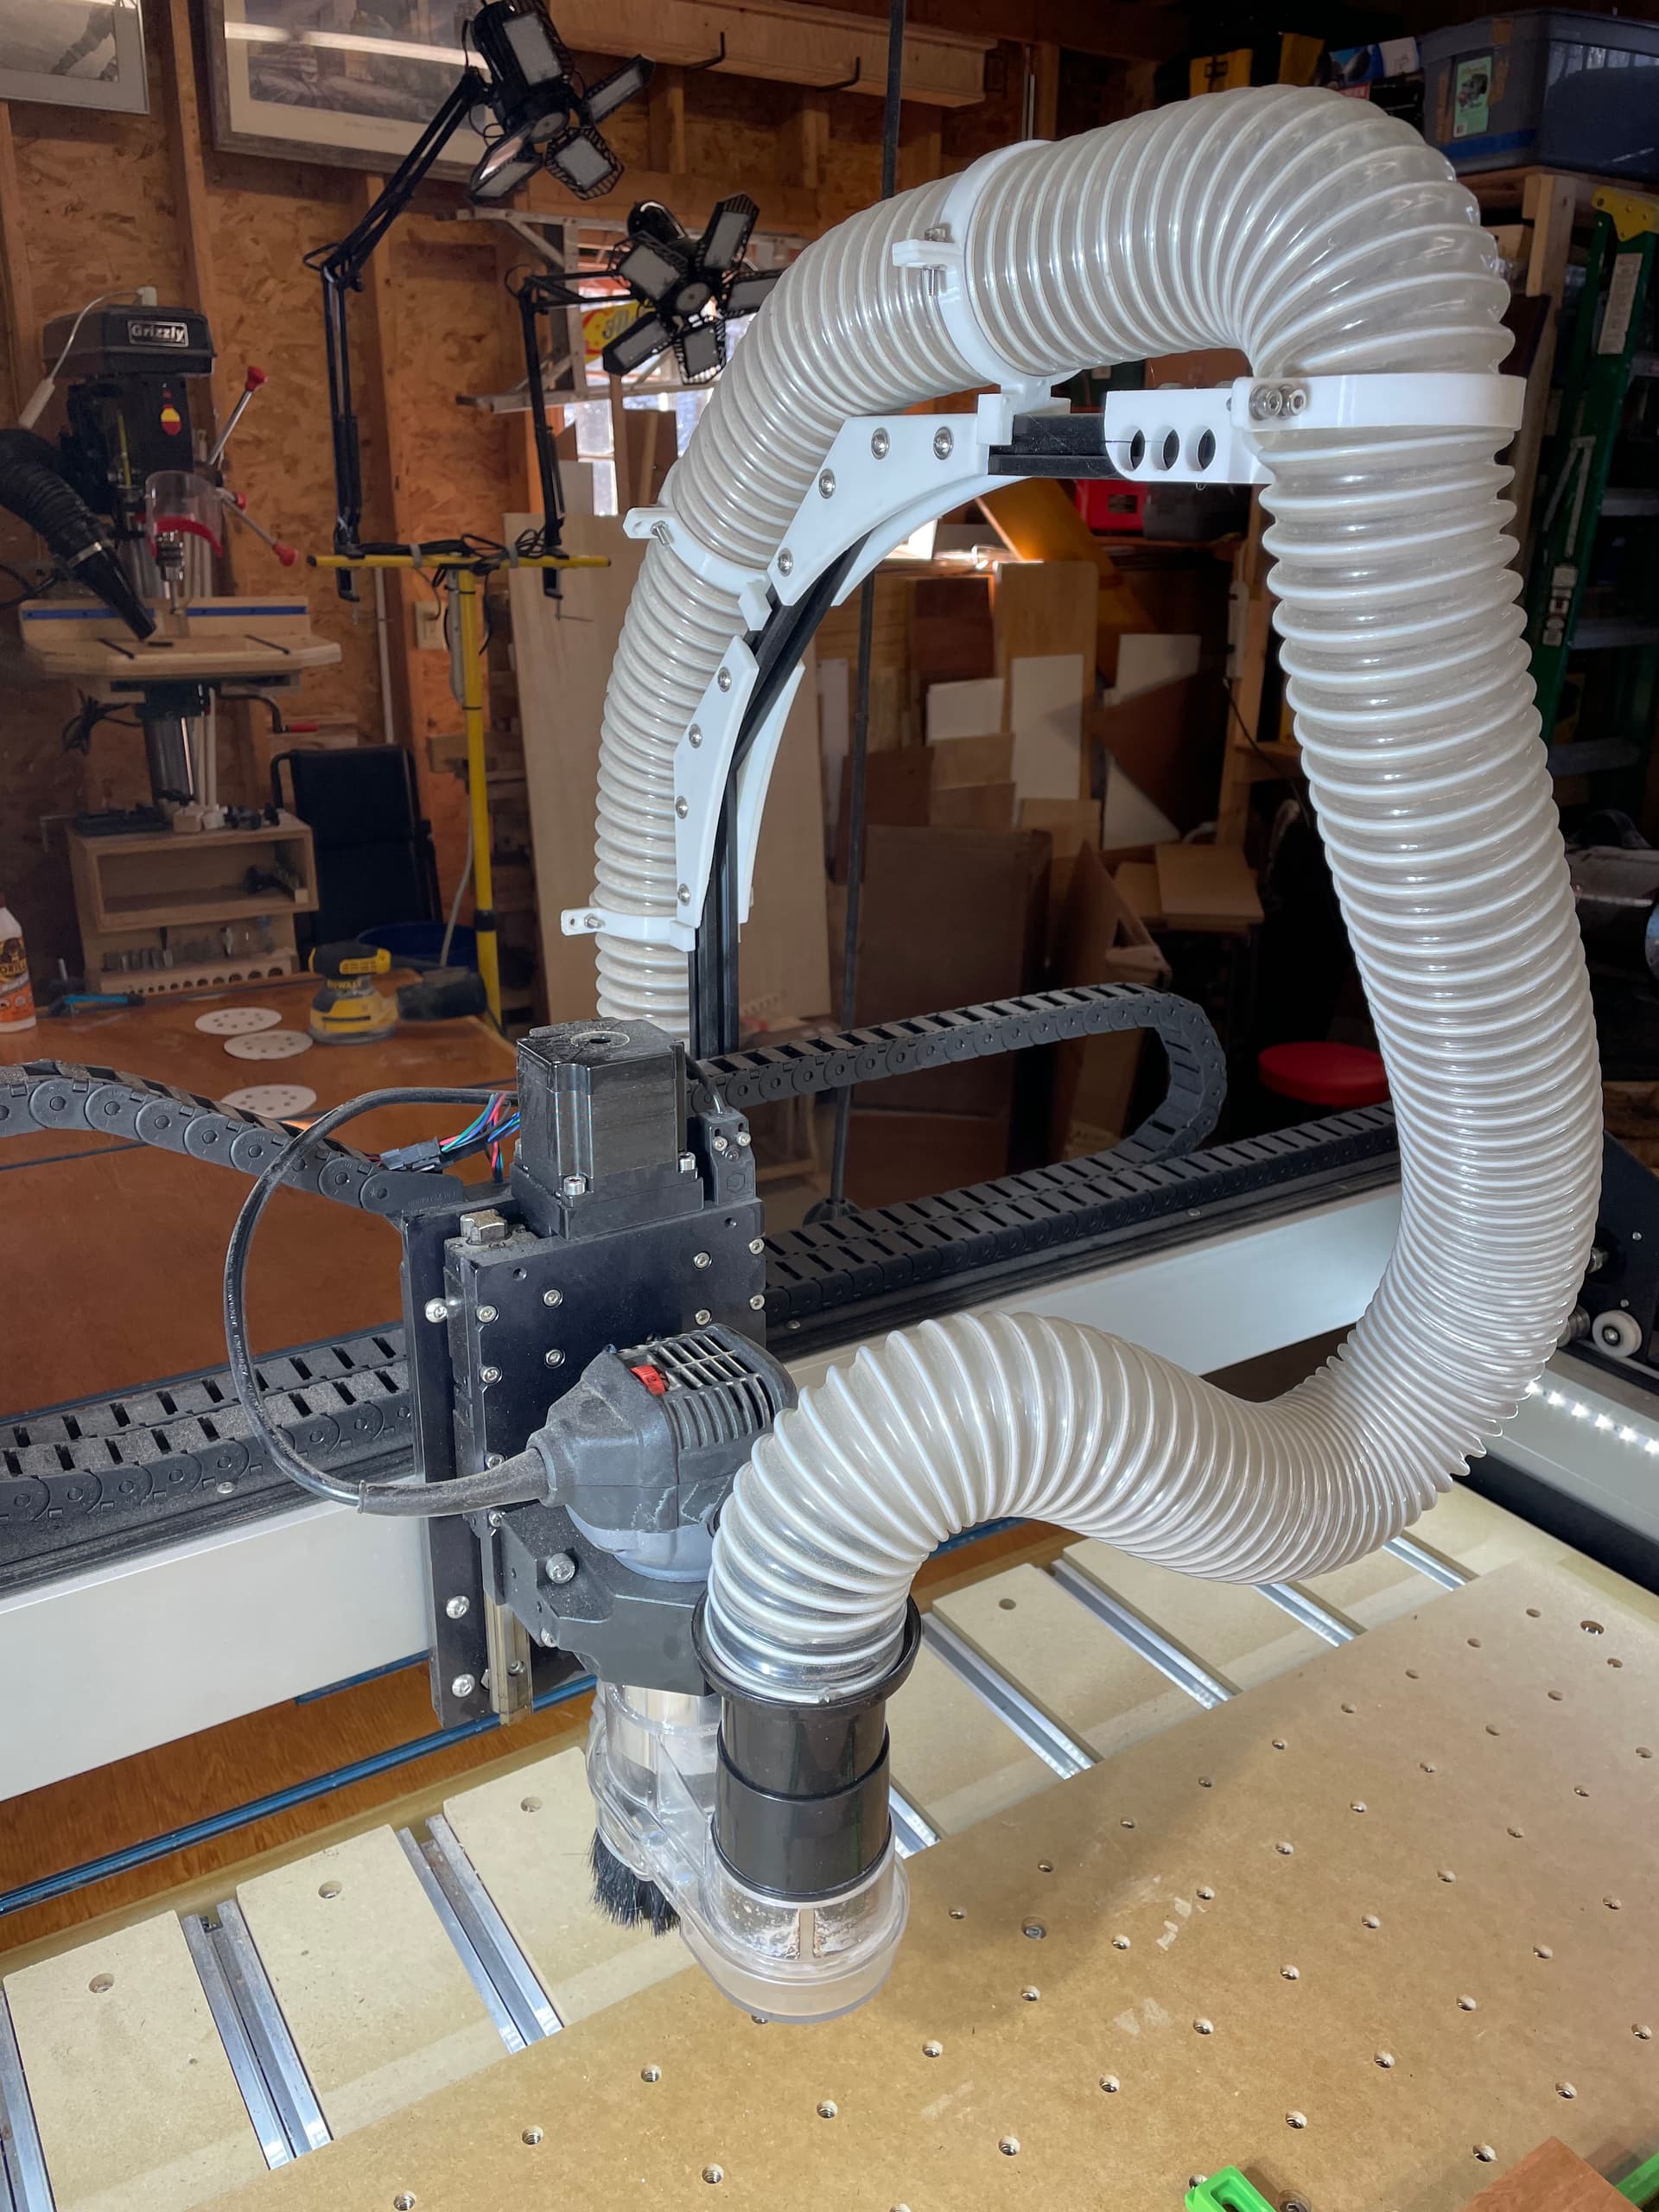
Also have a desk lamp rigged with super bright led panels, as well as LED strips along both sides of the machine, and the bottom of the gantry. Can never have too much light in a shop!

5 Likes
Awesome! I really like how you did the dust collection, your 3D printed brackets and clamps! Looks great!
Hi Andy,
Love that monitor you have there. I have several larger monitors I have been considering for use attached to my laptop but they may be a bit large. Can you provide info(*Brand/model) on the white one you have.
Alan
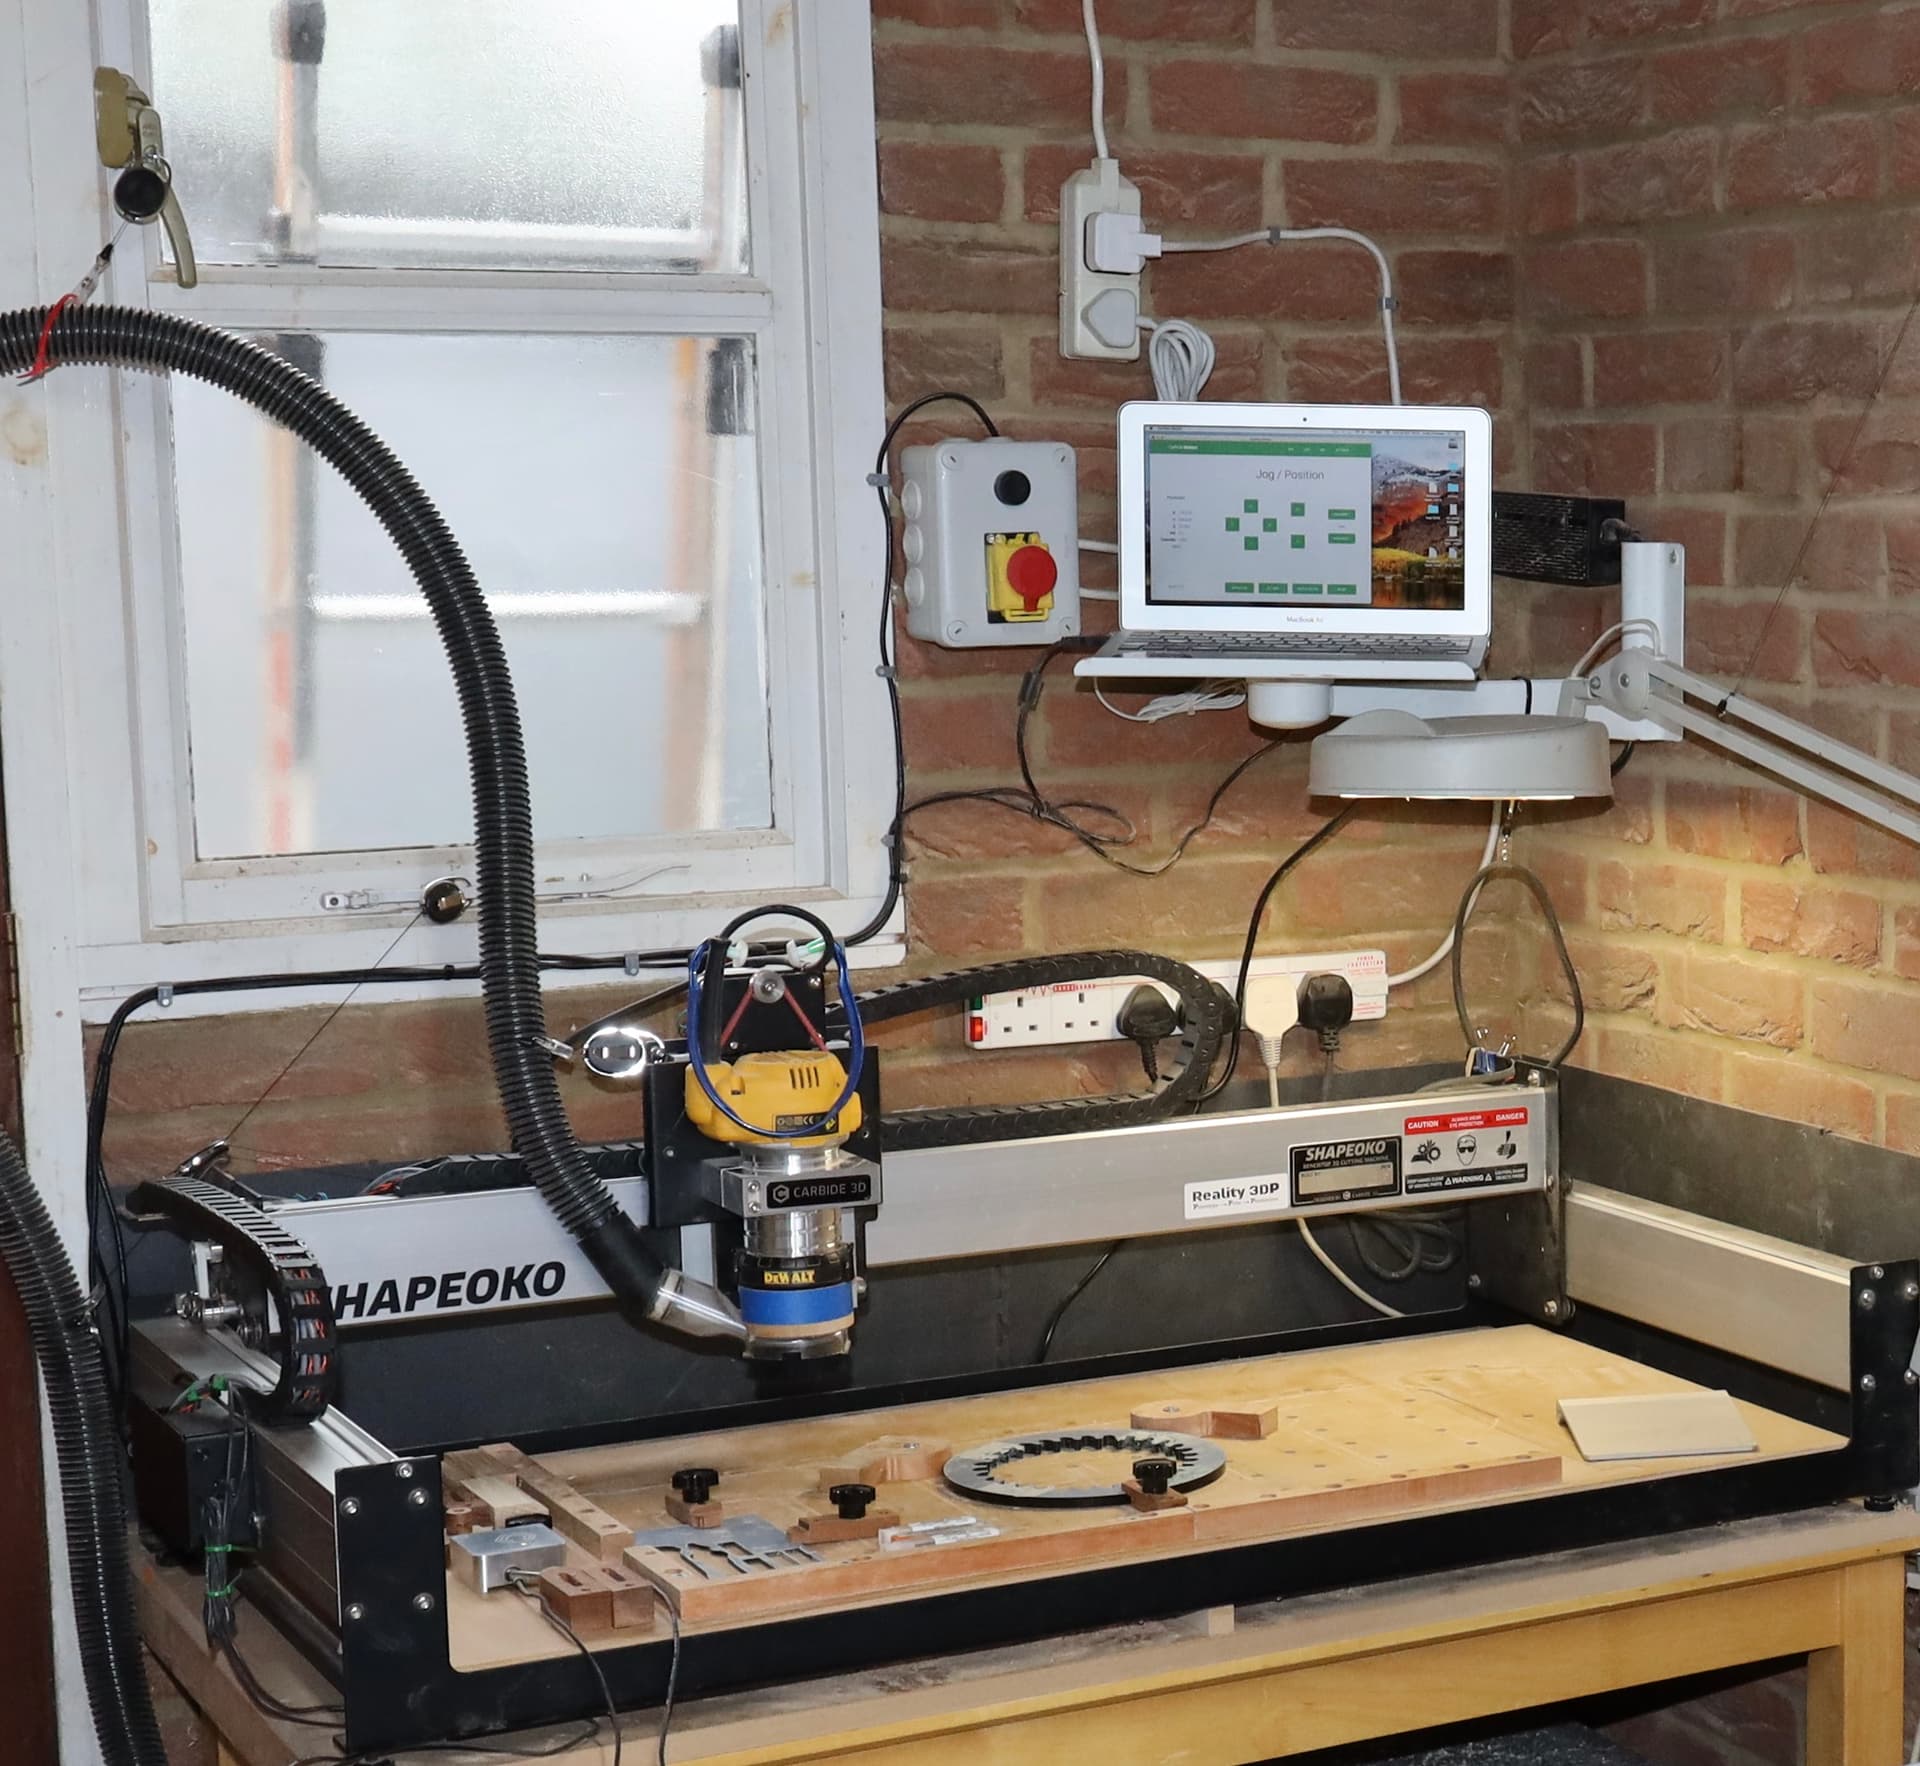
@Gerryattrick In the picture is actually a MacBook Air laptop, you can just about see the keyboard below the screen. However, I have added a very similar screen to my setup, same physical size and resolution, so I can see the screen no matter where the Z-Axis is. There are various available, but the following link is the one I bought and am very pleased with it.
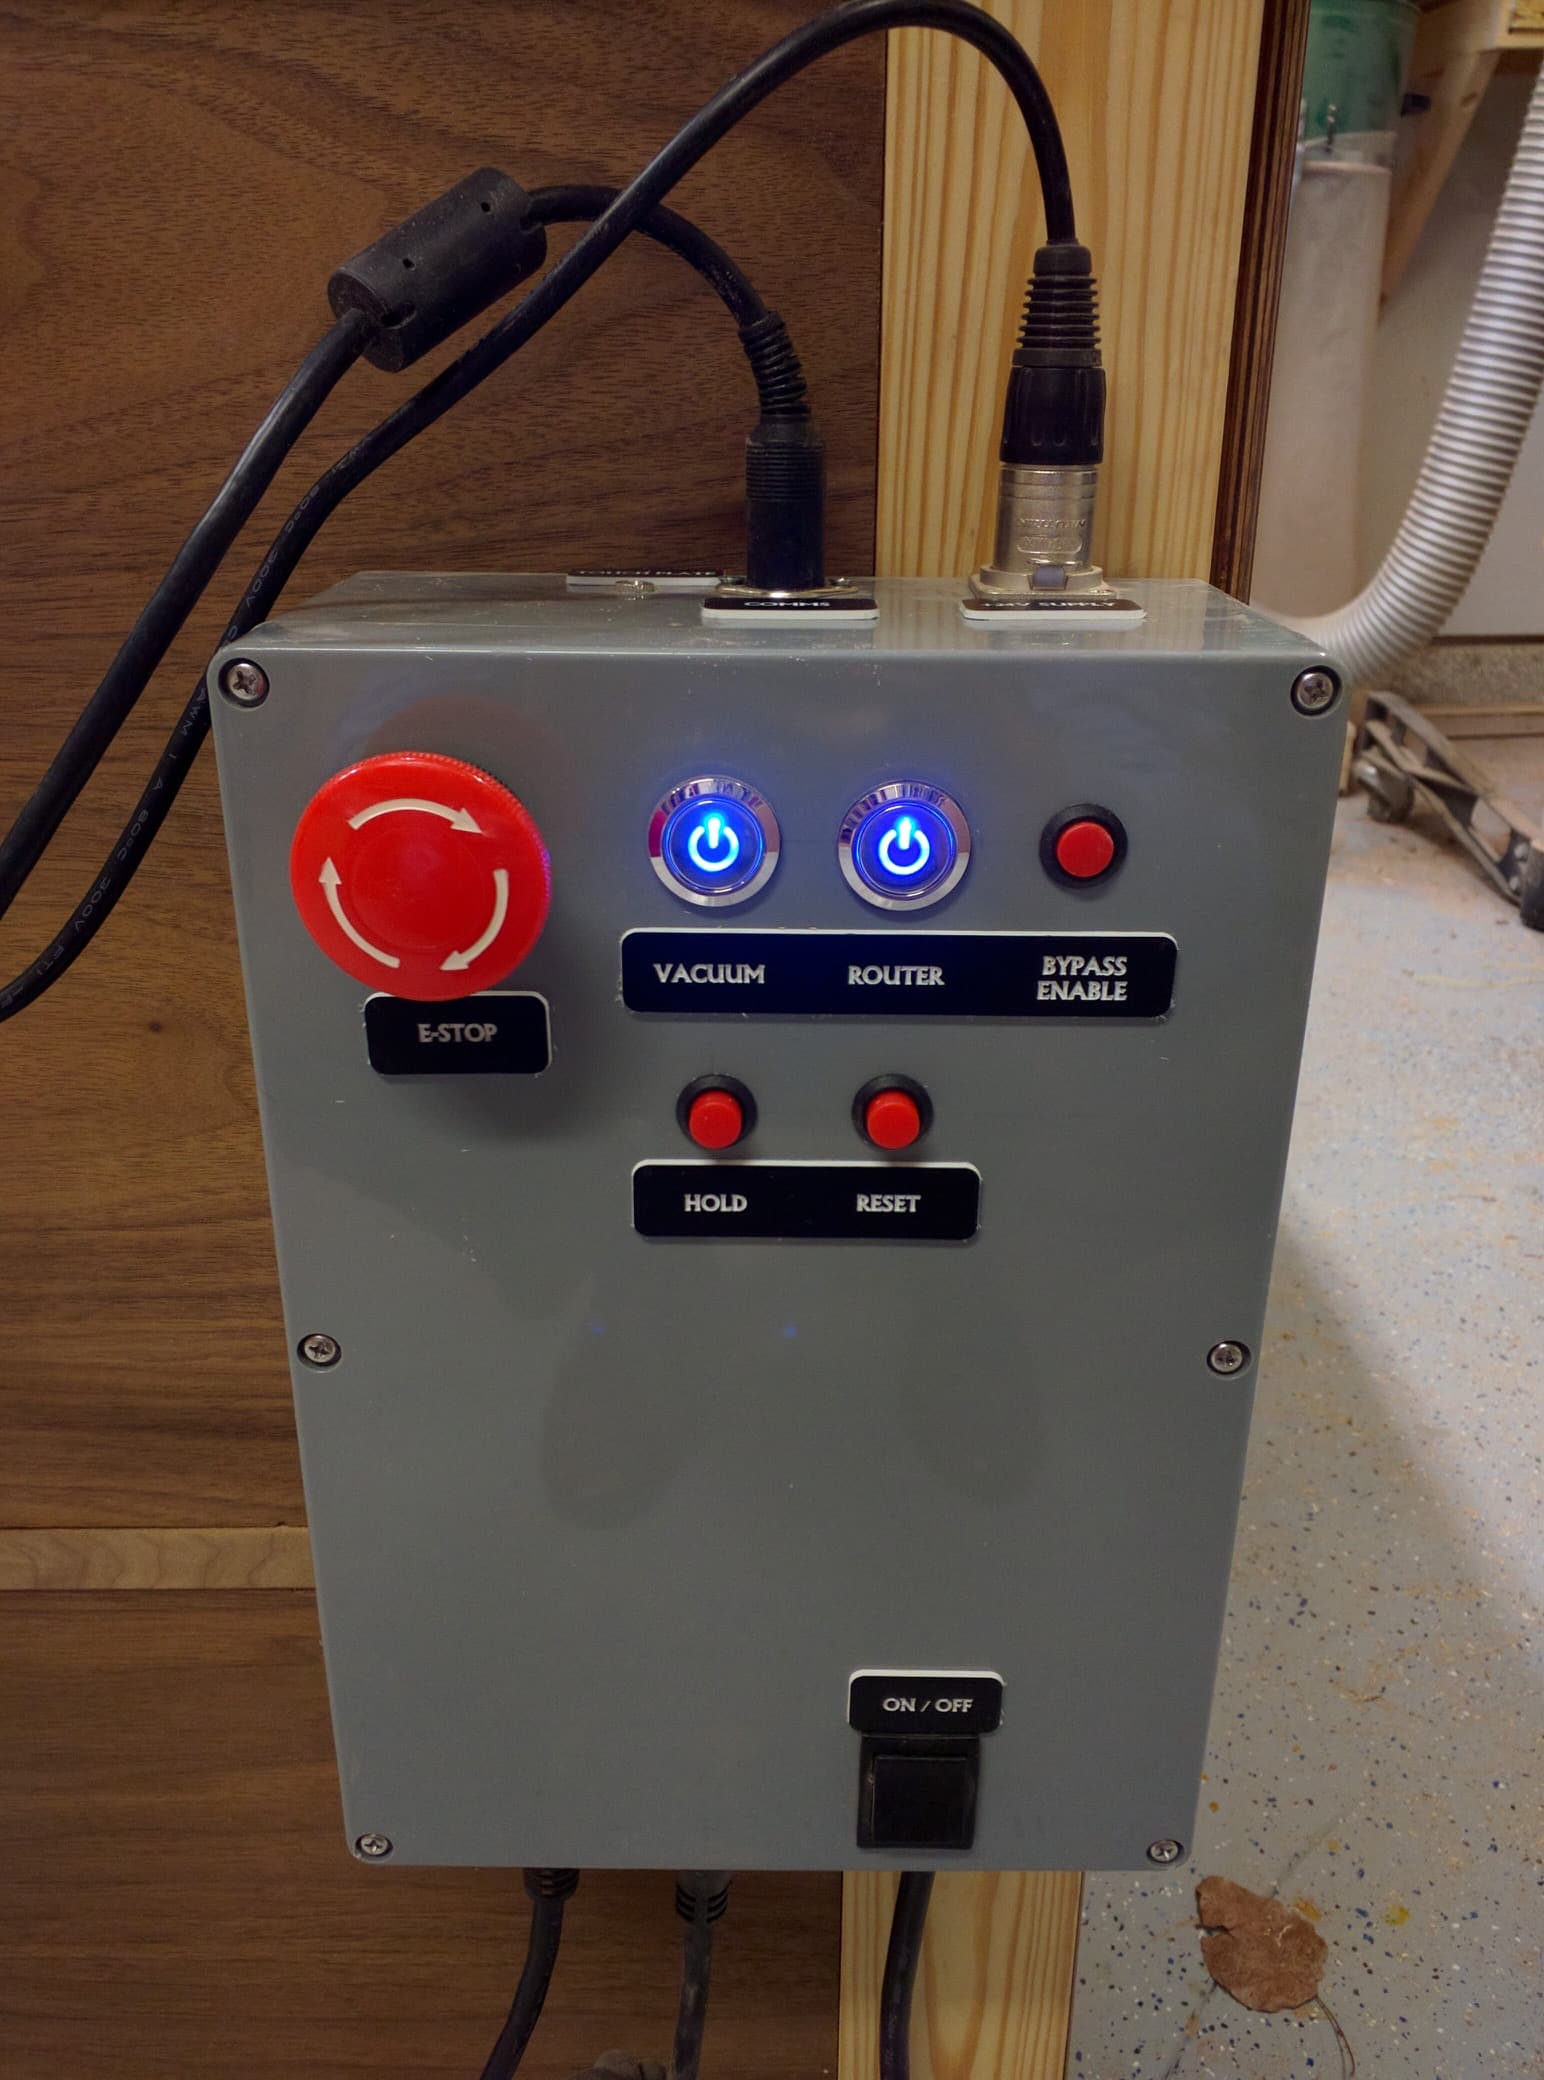
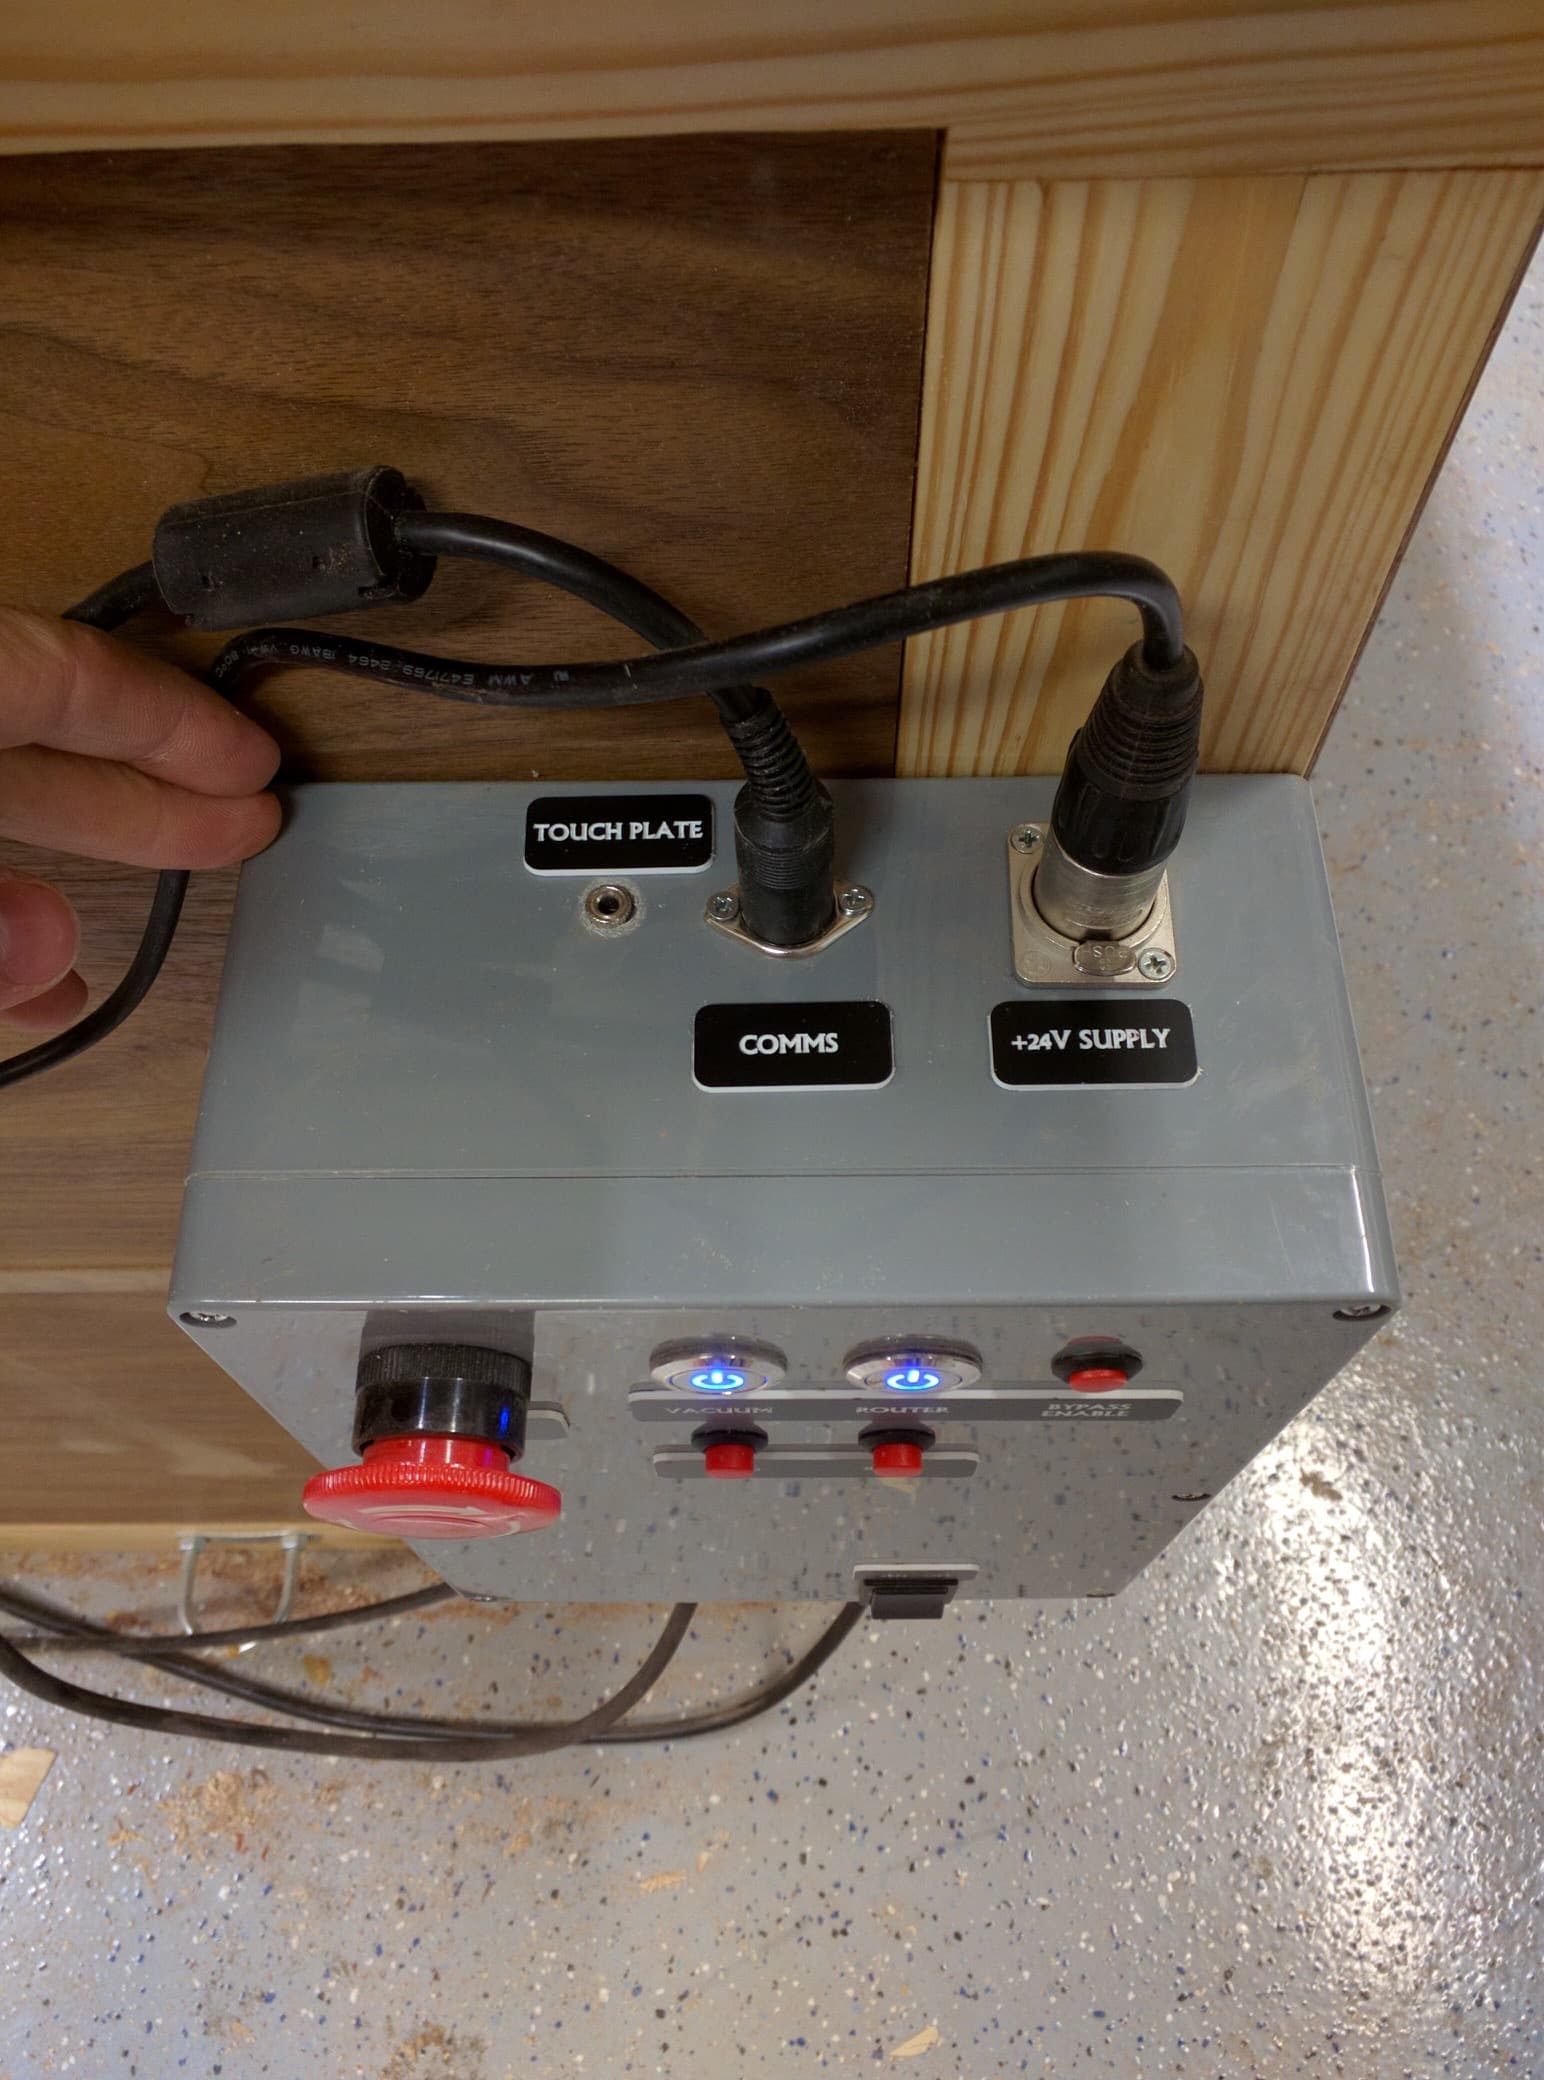
I’ve been through a couple of different versions. I have a 2015 machine and it was immediately apparent that I’d need a controller to clean things up. The first version did the trick. Later, I added a permanent laser and decided I’d make a new electronics enclosure. New enclosure has supplies for 24V for the controller, 12V for the laser and lighting and 5V for ancillaries and a little relay board. I also relocated the entire C3D controller board to the new enclosure. I made the most recent iteration so that all wires can be plugged in, nothing hanging off of it… All stop signals and some other misc stuff is routed through ethernet cables and terminated at the both ends with some breakout boards. Also have an hour counter for tracking brush life.
The entire CNC has an enclosure with gas shock lid and a monitor that sits on top.
New
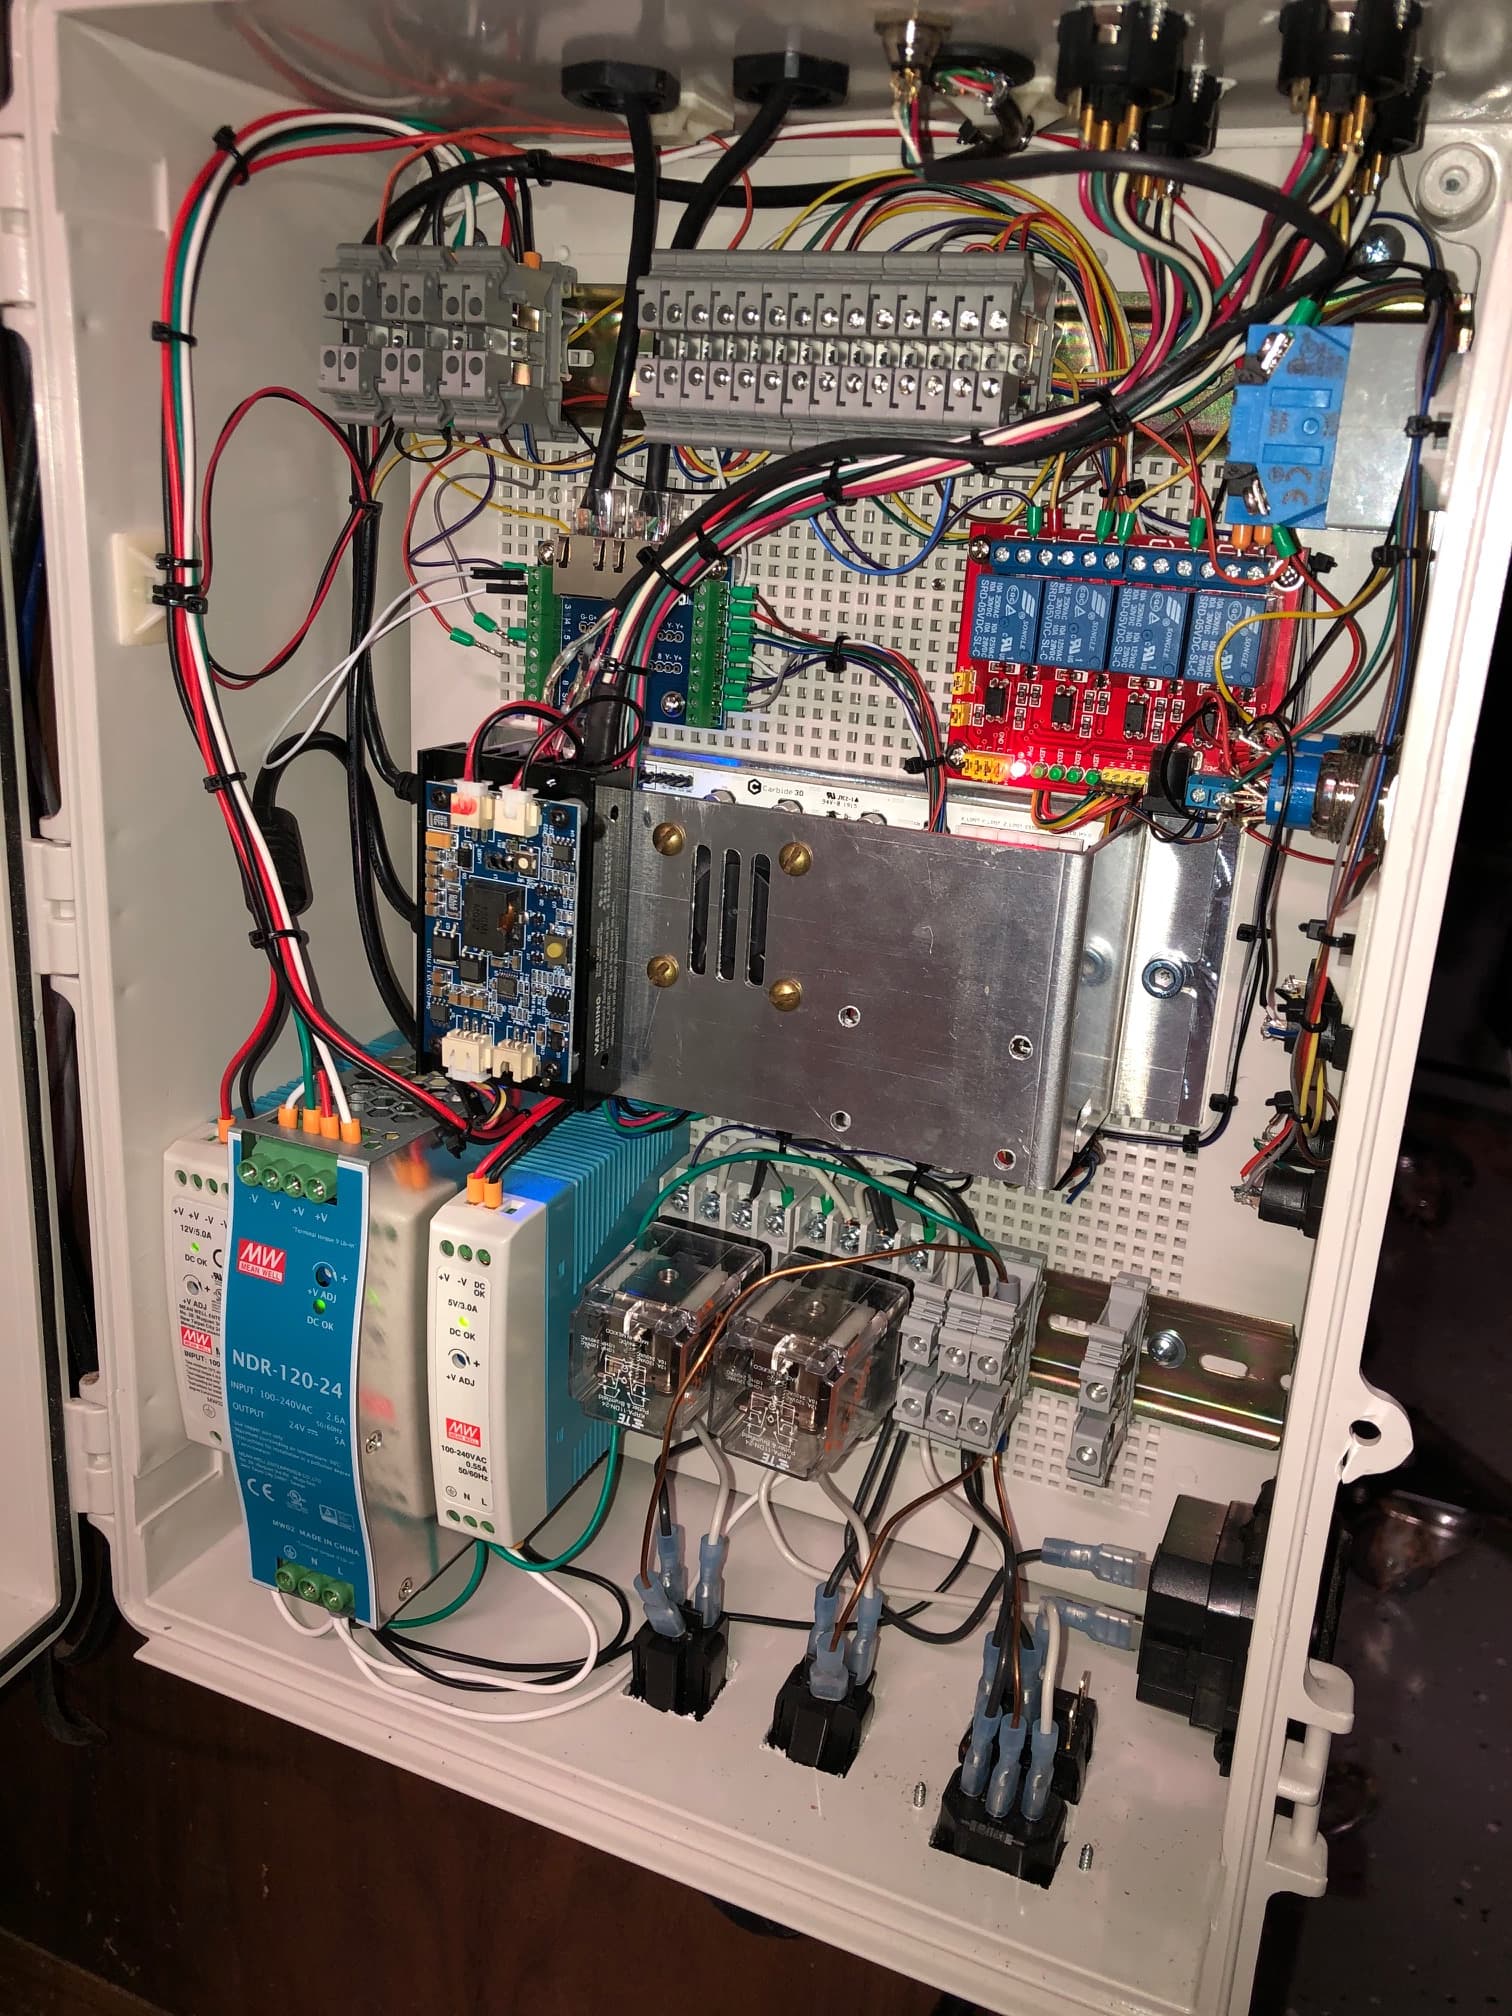
New
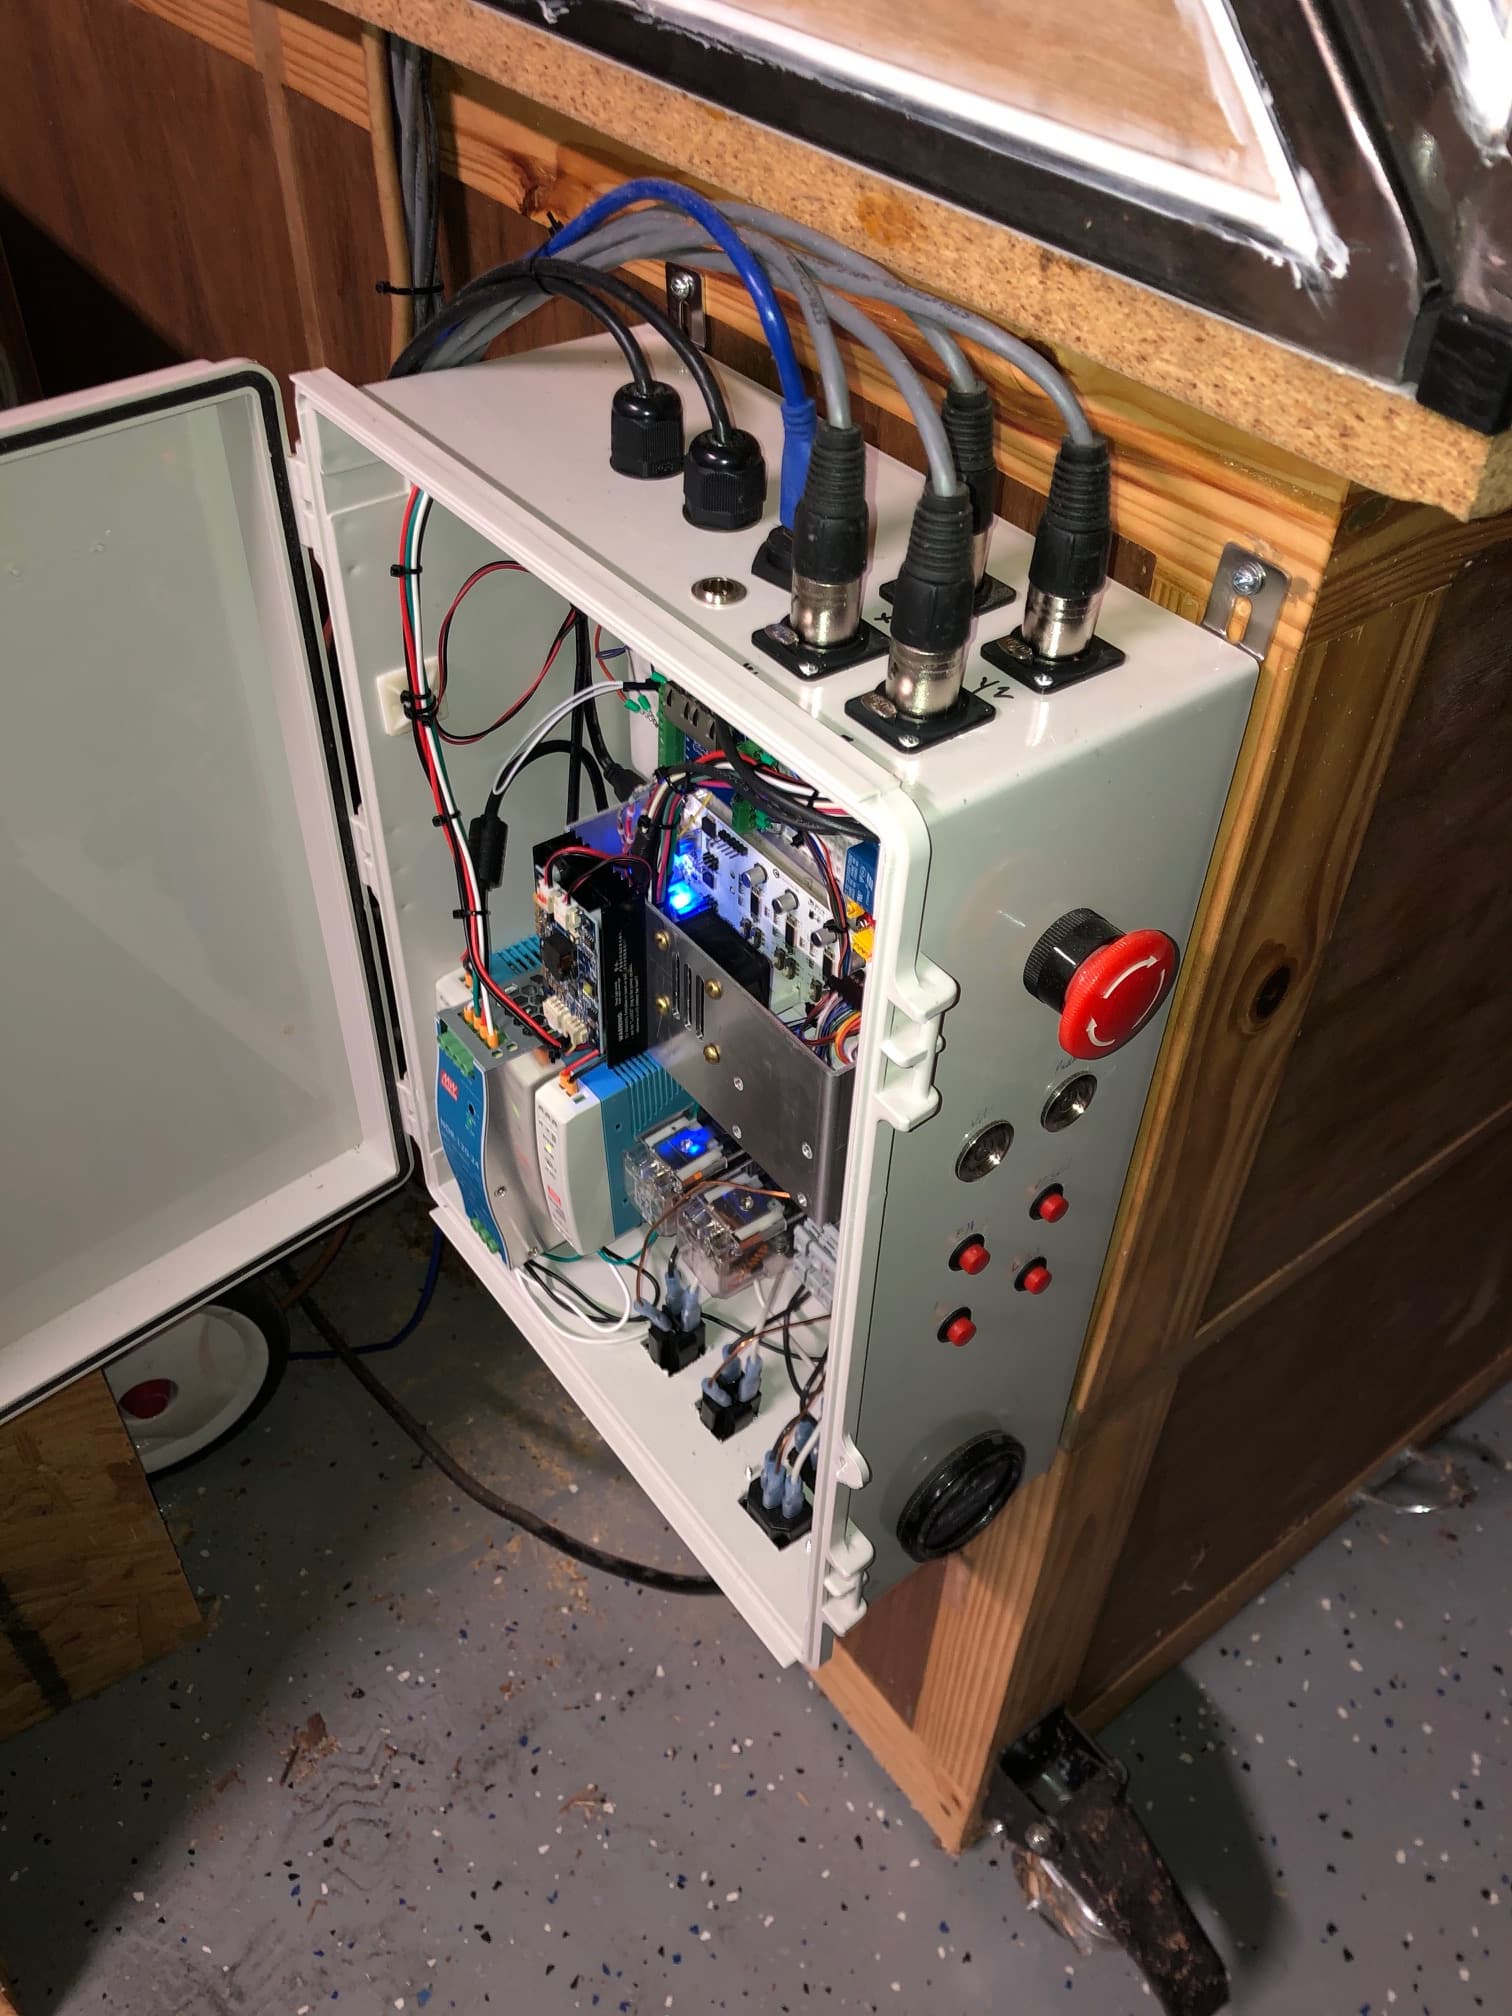
Old
Old
5 Likes
This is my very no 1st post as I await my very 1st CNC
I went with the Shapeoko HDM and I’m concerned with all of the power distribution
From the circuit breakers to each dedicated receptacle
Distance wire gauge sizes limitations for a 110V option
I’ve noticed some videos where there seemed to be a power strip
Also enclosures?
Sounds as though this is recommended in most cases? True?
Which spindle did you get? That’s the big draw.
Please contact support@carbide3d.com to check on whether or no extension cords are okay, and if so, what gauge they should be.
I had a dedicated 20 amp 110V outlet put in on its own breaker and it wasn’t that expensive.
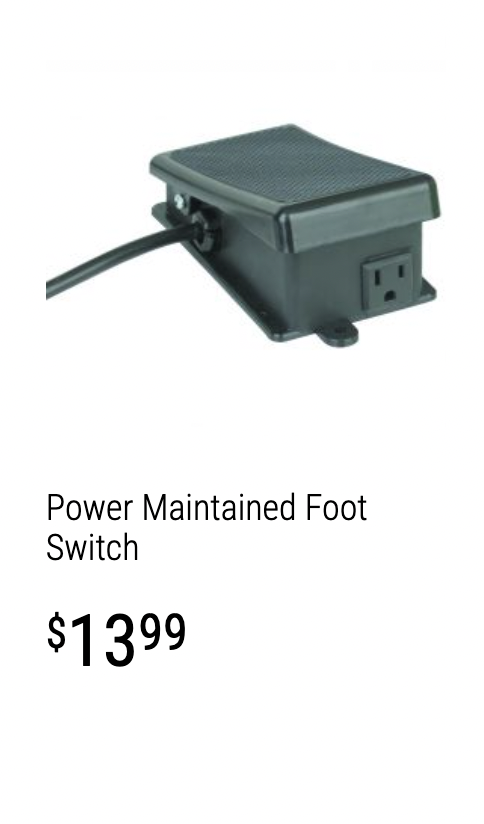
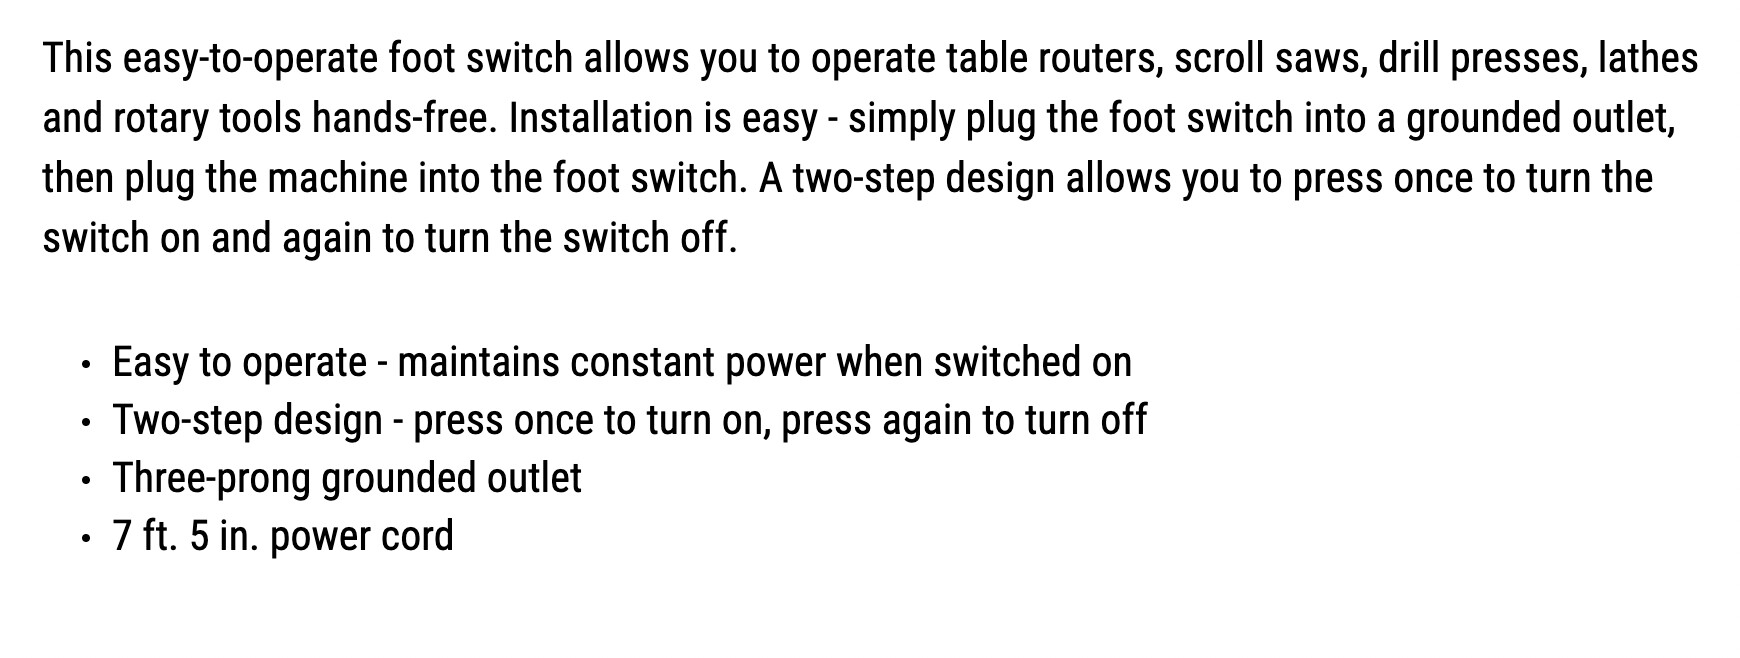
I don’t have any of the elaborate consoles as our Shapeoko fraternity brothers. I use a foot pedal I bought from Harbor Freight for around $15 and have it mounted right next to my work area. I even designed my own STOP sign and mounted it. I’ve used it many, many times and it works great.


4 Likes
Wow. Some really awesome panels. Is there a different thread that discusses the connections to the Shapeoko board? I’ve been wanting to add a big red stop button and this has finally motivated me to action. Thanks
The big red stop button should remove all power from both the shapeoko and the router, so there shouldn’t be any interfacing with the Shapeoko controller. The usecase that does require connecting something to the controller is using the “feedhold” function (example here)
2 Likes
Julien,
Regarding the FH connection to the board, is Carbide ever going to consider selling a jumper connection to allow people to add their own FH buttons or perhaps a physical one distributed by Carbide?
I’m not in the know, but it would make sense indeed. They are halfway there with the nice BitSetter enabled button, so something similar would be cool.