I plan to make my first wall clock for my uncle who is a big car guy. I’m going to try and incorporate a carving of a 69’ dodge daytona which is his favorite car. I’m not sure of the specifics of my design yet, but it will likely be roughly 12" round from .75 wood stock. The one aspect I’m not exactly sure about is the clock mechanism part and what to look out for when purchasing a kit. I’m assuming a pocket needs to be made in the back center of the clock for the motor to sit in but I assume the depth of the pocket is important to ensure the motor shaft doesn’t end up sticking too far out or not far enough. Any tips that can be shared would be greatly appreciated . Thanks!
Ages ago, I worked for a company which printed the catalogs for:
I can share my first experience and its the mistake i made that youll appreciate.
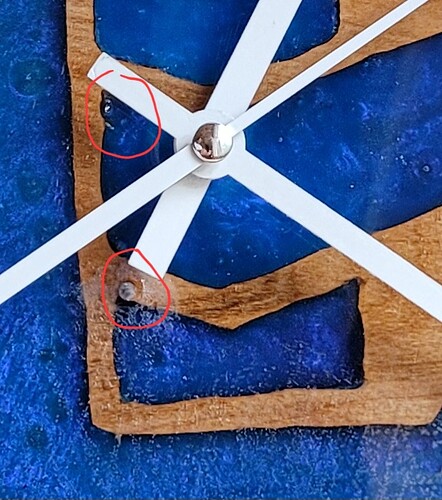
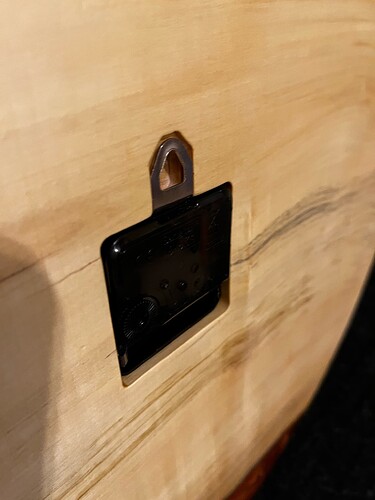
I hadnt bought my cnc yet so i was super proud to router the pocket for the clock as well as i did. However, i stopped thinking after that. As you will see in the attached pictures without seeing the back of the clock you can tell how i fastened the mechanism.
Screws you say huh, hahaha snap!
Hours and time wasted or hours of fun learning and when it really matters i will know better ![]()
Stay safe, enjoy your time!
this will entirely depend on the mechanism (movement) you get. Most of them look close to the same, but each manufacturer will make them with slightly different dimensions. Best to get the movement first & design the clock to fit it. Or at least find one that lists dimensions so you can get started with the design before the movement(s) arrive.
Since you are using 3/4" material you cut a pocket in the back the depth of your clock. I like to get the 1/4" long stem so you calculate .75" (Material Thickness) - .1875" depth for hole leaving .5" for the clock mechanism.
So order your clock with the stem length you need. Then measure your clock dimensions for width and height and depth and cut your pocket for the clock and the hole for the stem.
I like pendulum clocks and sometimes they are longer than just a little battery operated clock. If you ge the pendulum then you machine the pocket for the clock all the way to the bottom to give the pendulum room to swing.
To install the clock insert it in the pocket and the stem sticks through. They usually come with a brass washer and a 10MM nut. Tighten up the nut. Most battery clocks have the hour hand captured on a round shaft with two parallel sides. The hour hand is usually a press on fit. Install the hour hand and line it up with 12:00. Then press on the hour hand at exactly 12:00 to synchronize the hands. If you have a second hand press that on at 12:00. If you do not want the second hand they usually have a little screw with a head that you screw on. The synchronization is important. Insert your battery and set the time. I always run my clocks a few days to make sure they keep accurate time. Most of the battery clocks run very precisely but if it stops or does not keep time properly return it and get another one.
Lastly turn the clock dial for all 12 hours. You want to make sure you hands do not bind up on each other.
There are sites that you can order the clocks and hands from that recommend the length of hands for the dial size. Klockit.com is one good site but there are many others.
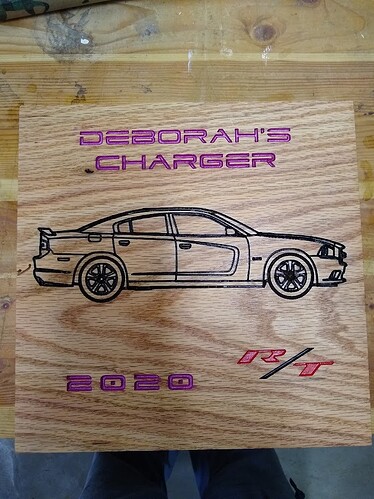
Lastly I carved a plaque for my cousin for her Charger. I used 60 degree bit for the lettering and a 15 degree bit for the car. The fine lines of the car will not show up very well with a 90 or 60 degree bit.
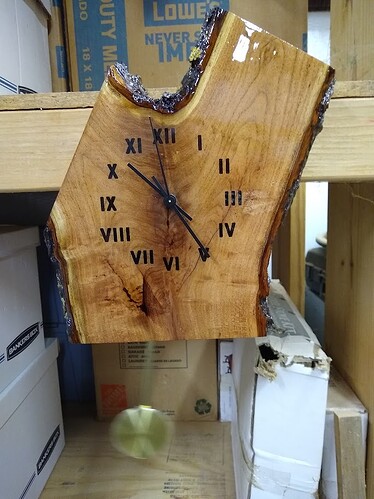
Here is a clock I made notice the hands positions.
Edit: The most important thing about a clock is the ability to read it from across the room. So you need contrast between the base wood, numbers and clock hands. So a black face with black numbers and block hands would hard to read in any light but in a dim room impossible. So pick good contrast so the most important function of a clock is to see what time it is. Some people like Arabic numbers and others like Roman Numerals. If you use Roman Numerals the 4 is IIII and IV. Traditionally clocks use the IIII and not IV. That is personal preference but tradition of clock makers is the IIII. My clock above was IV but that was for the simplicity of cutting.
Here is an example of high contrast dials. These dials were printed on my ink jet printer and are just little battery 1.5V clocks.
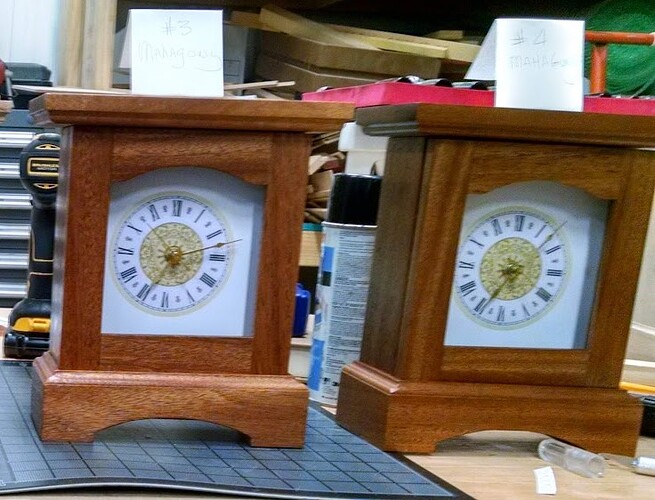
Guy,those 2 mantel clocks look great, were they from wordsmith?
I made those a long time ago. Seems right about Woodsmith. However I modified the plan. I made door attach to front and eliminated the hinge and glass. I put a fixed panel on back with 2.5" hole to set clock and replace battery without taking clock apart. Plus glued in blocks to keep clock mechanism from rotating.
I have subscribed to Woodsmith mag for many years. Got lots of good plans over the years. They offer electronic subscriptions but Ilike the paper version.
Also subbed to Shop Notes and that had great plans as well. Too bad they went away.
Hi Guy,the wood you used to make the plaque out of is the red American oak,It looks incredible
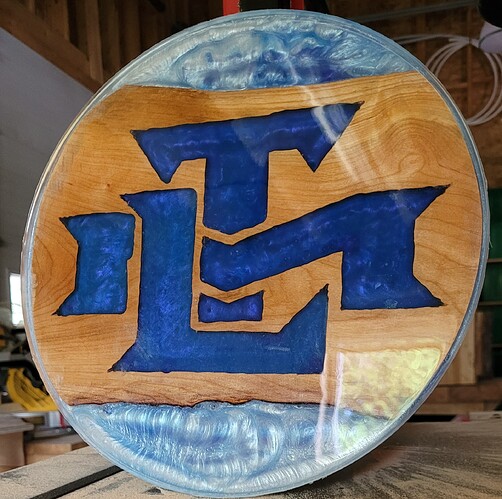
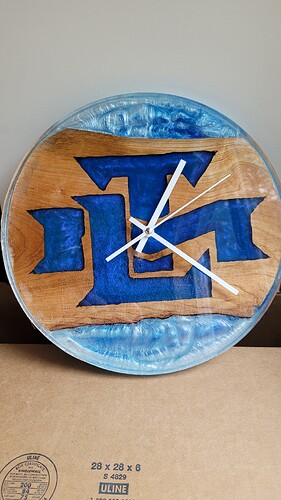
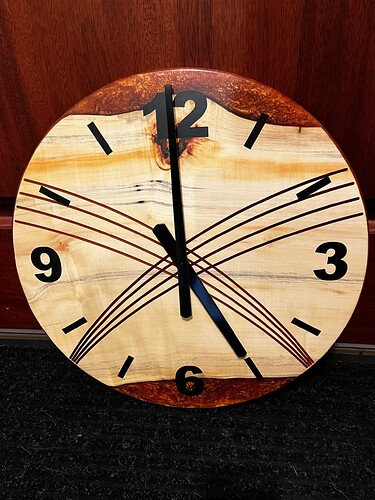
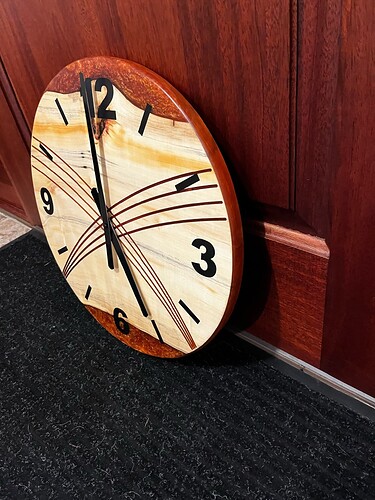
I made this clock a little while back with Manitoba Maple and epoxy. I pocketed the back mechanism so that it sits flush in the wood and allows for hanging on the wall. I will post the file shortly for the pocket. I just need to upload it from my CNC computer.
The pendulum one is mesquite. The mantle clocks are mahagoney.
The mesquite one was an off cut from a furniture project. It was stacked up with a bunch of off cuts. I saw it and made a clock for the land owner where the 100 year old tree had blown over. The whole tree was cut into 2 inch slabs and air dried for 3 years. Still got some I am working on.
I went on a clock movement hunt yesterday and discovered there’s something called ‘high torque’ movments. Now I want to make a giant clock. ![]()
Clock - Curves.c2d (160 KB)
Here’s my file for the clock mechanism pocket. My clock is 1" thick and gives just enough length for the arms and nut. I wouldn’t want to go much thicker than that.
Don’t beat yourself up, I imagine doing the exact same thing myself. Still looks amazing, your epoxy work in fantastic. Thanks for sharing!
Thanks for all the great info Guy, much appreciated. I think the safe bet will be to buy the clock kit first then build to that. I like the Charger image a lot., that’s the same thing i’m envisioning.
Thanks so much for sharing that, it’s definitely going to help. Absolutely beautiful finished product.
Going to have to show him that video ![]() I think he owned the car in black with a white wing so I’m thinking of trying to have a black and white color scheme for my clock. Still working out the design.
I think he owned the car in black with a white wing so I’m thinking of trying to have a black and white color scheme for my clock. Still working out the design.
I did build a few clocks on my youtube channel too but not simple clocks to build
