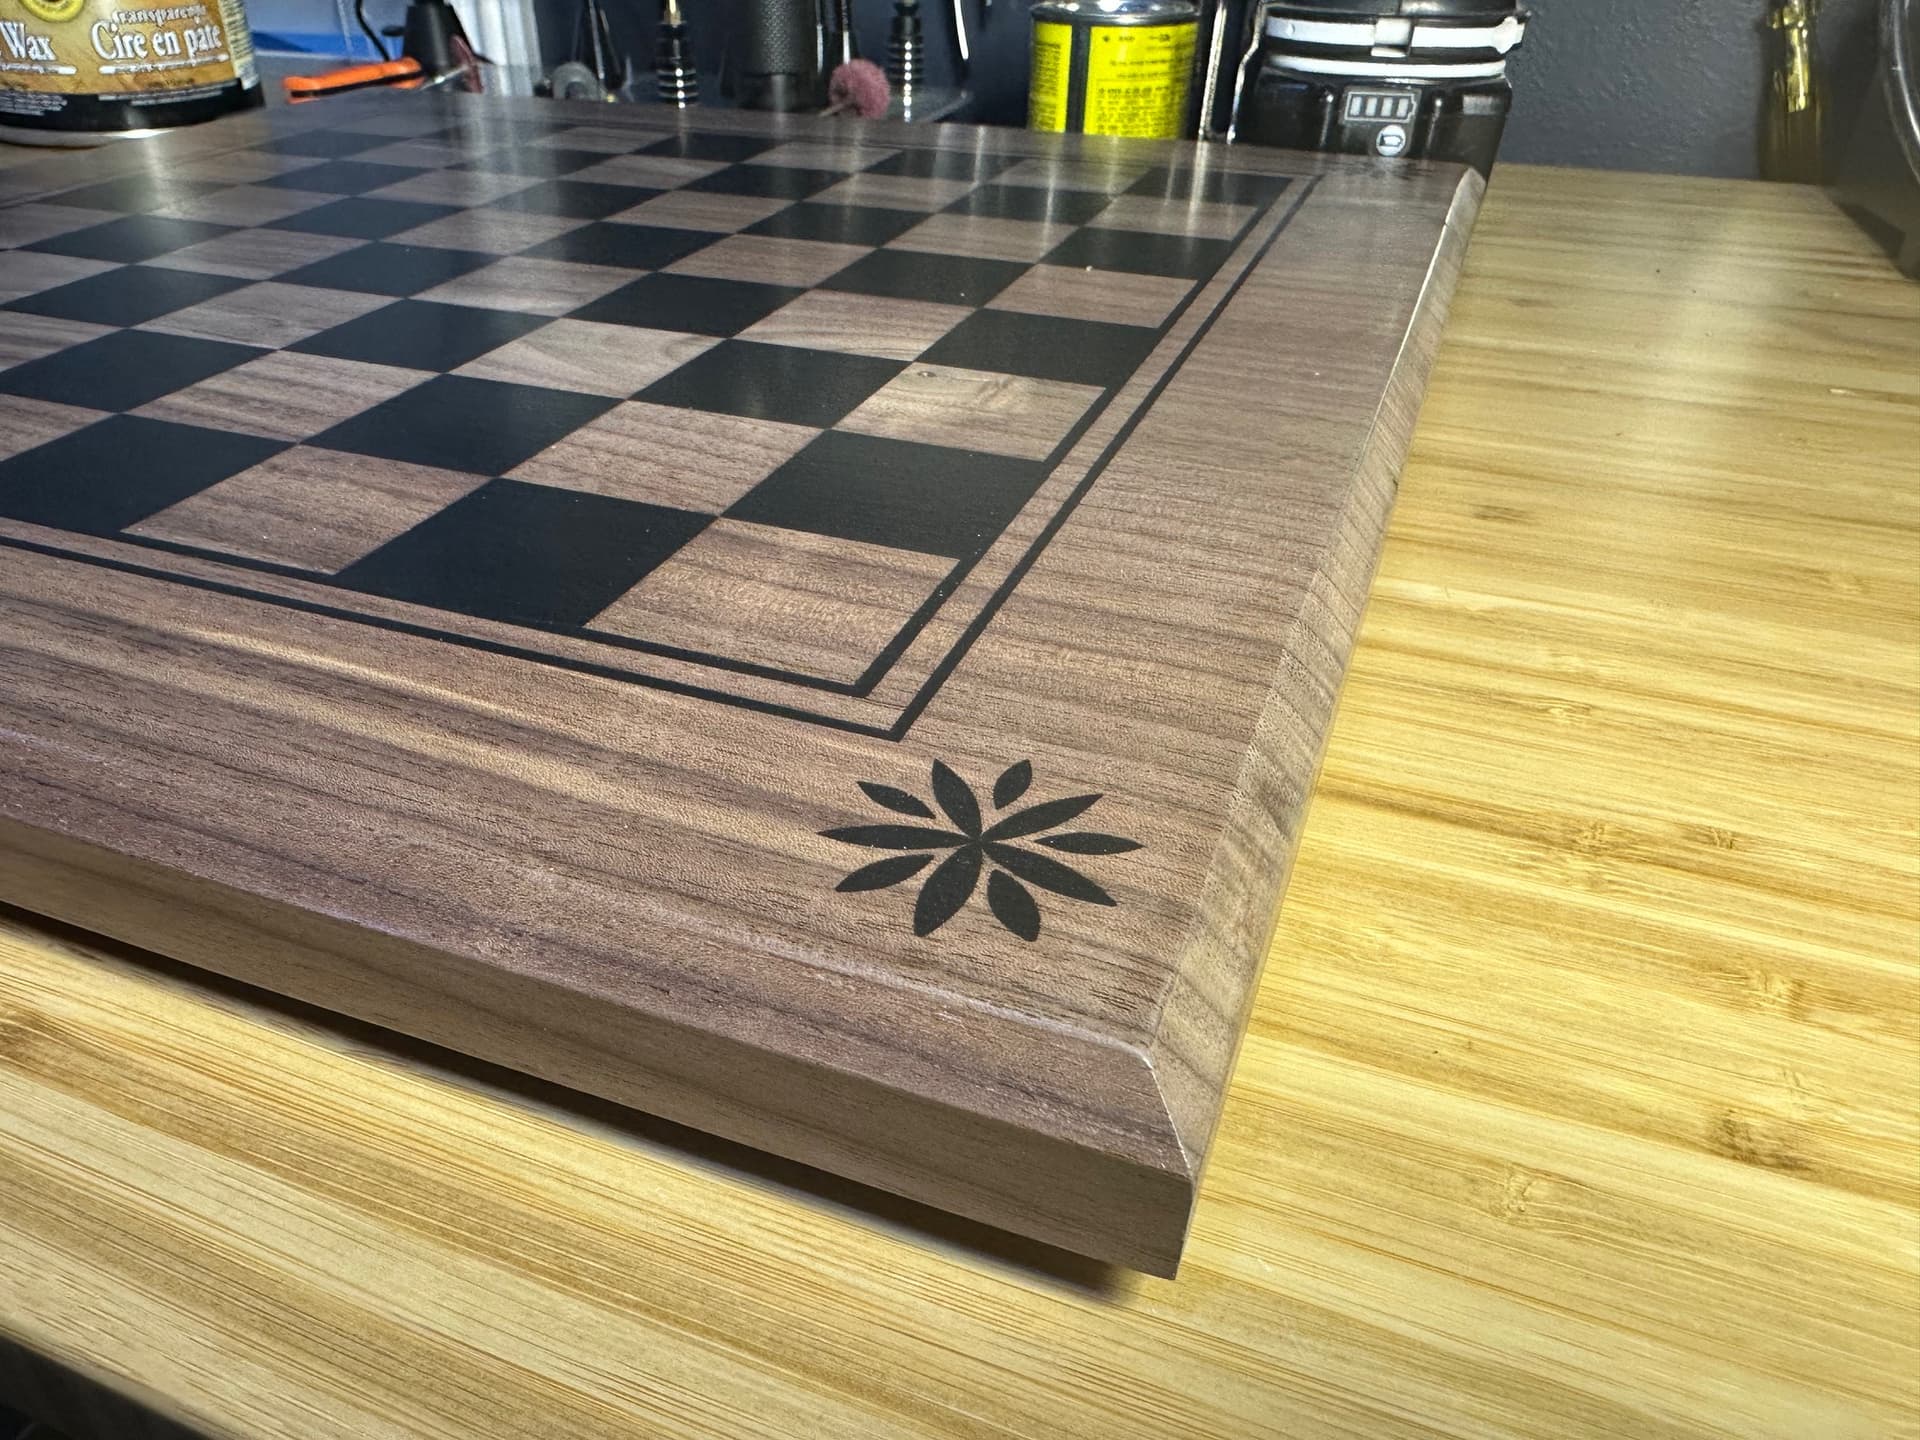
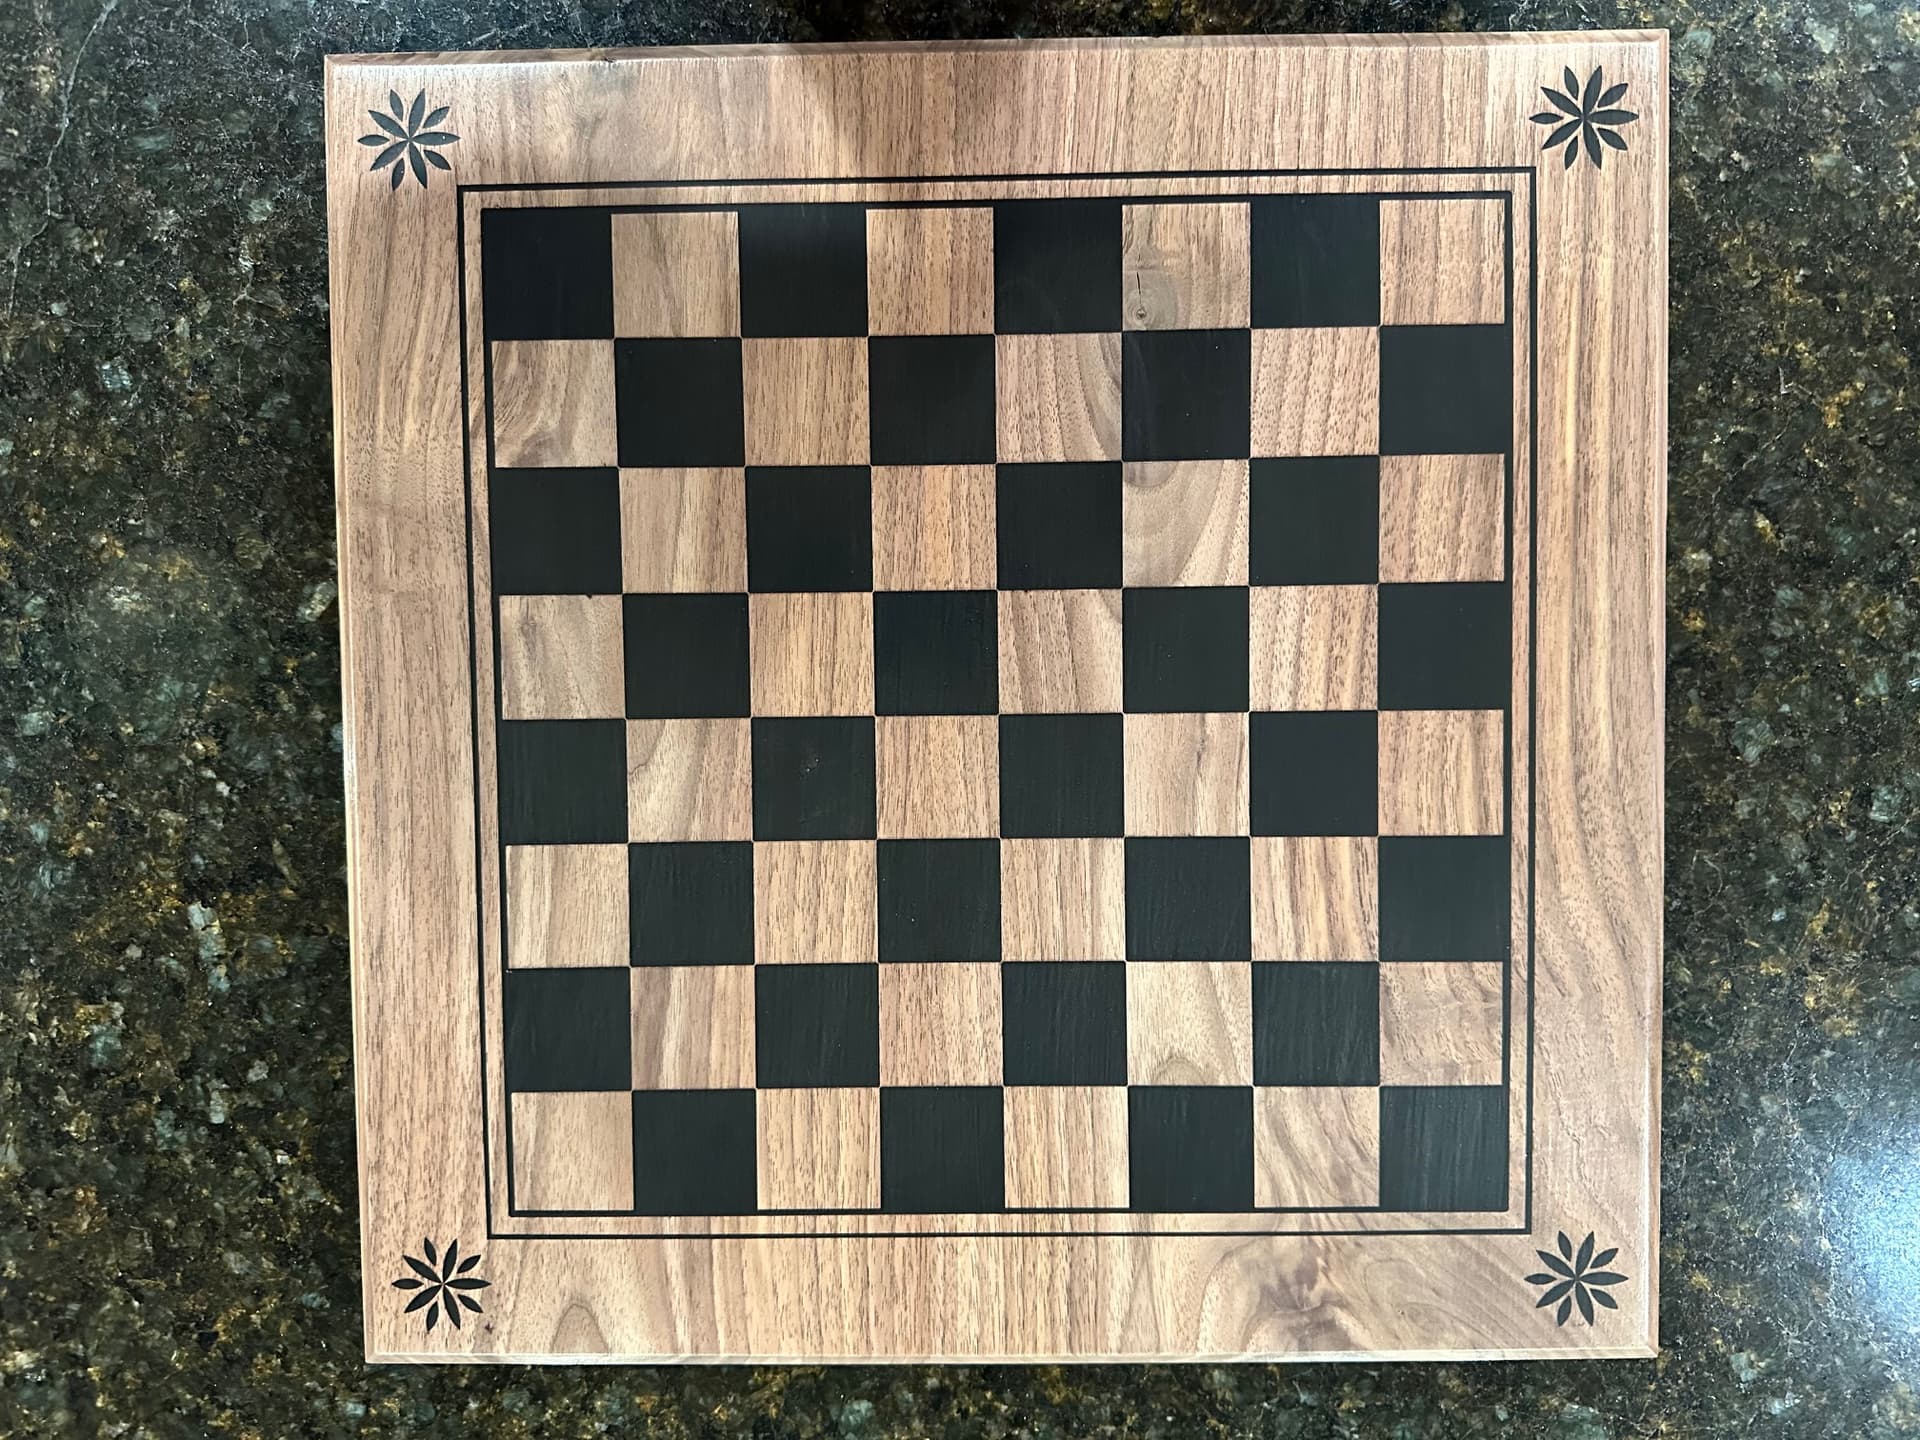
I made my first chess board and was pleased with the results so I thought I would pass it along. It is 16x16 inch made from rough cut 4/4 walnut. This was done on an HDM.
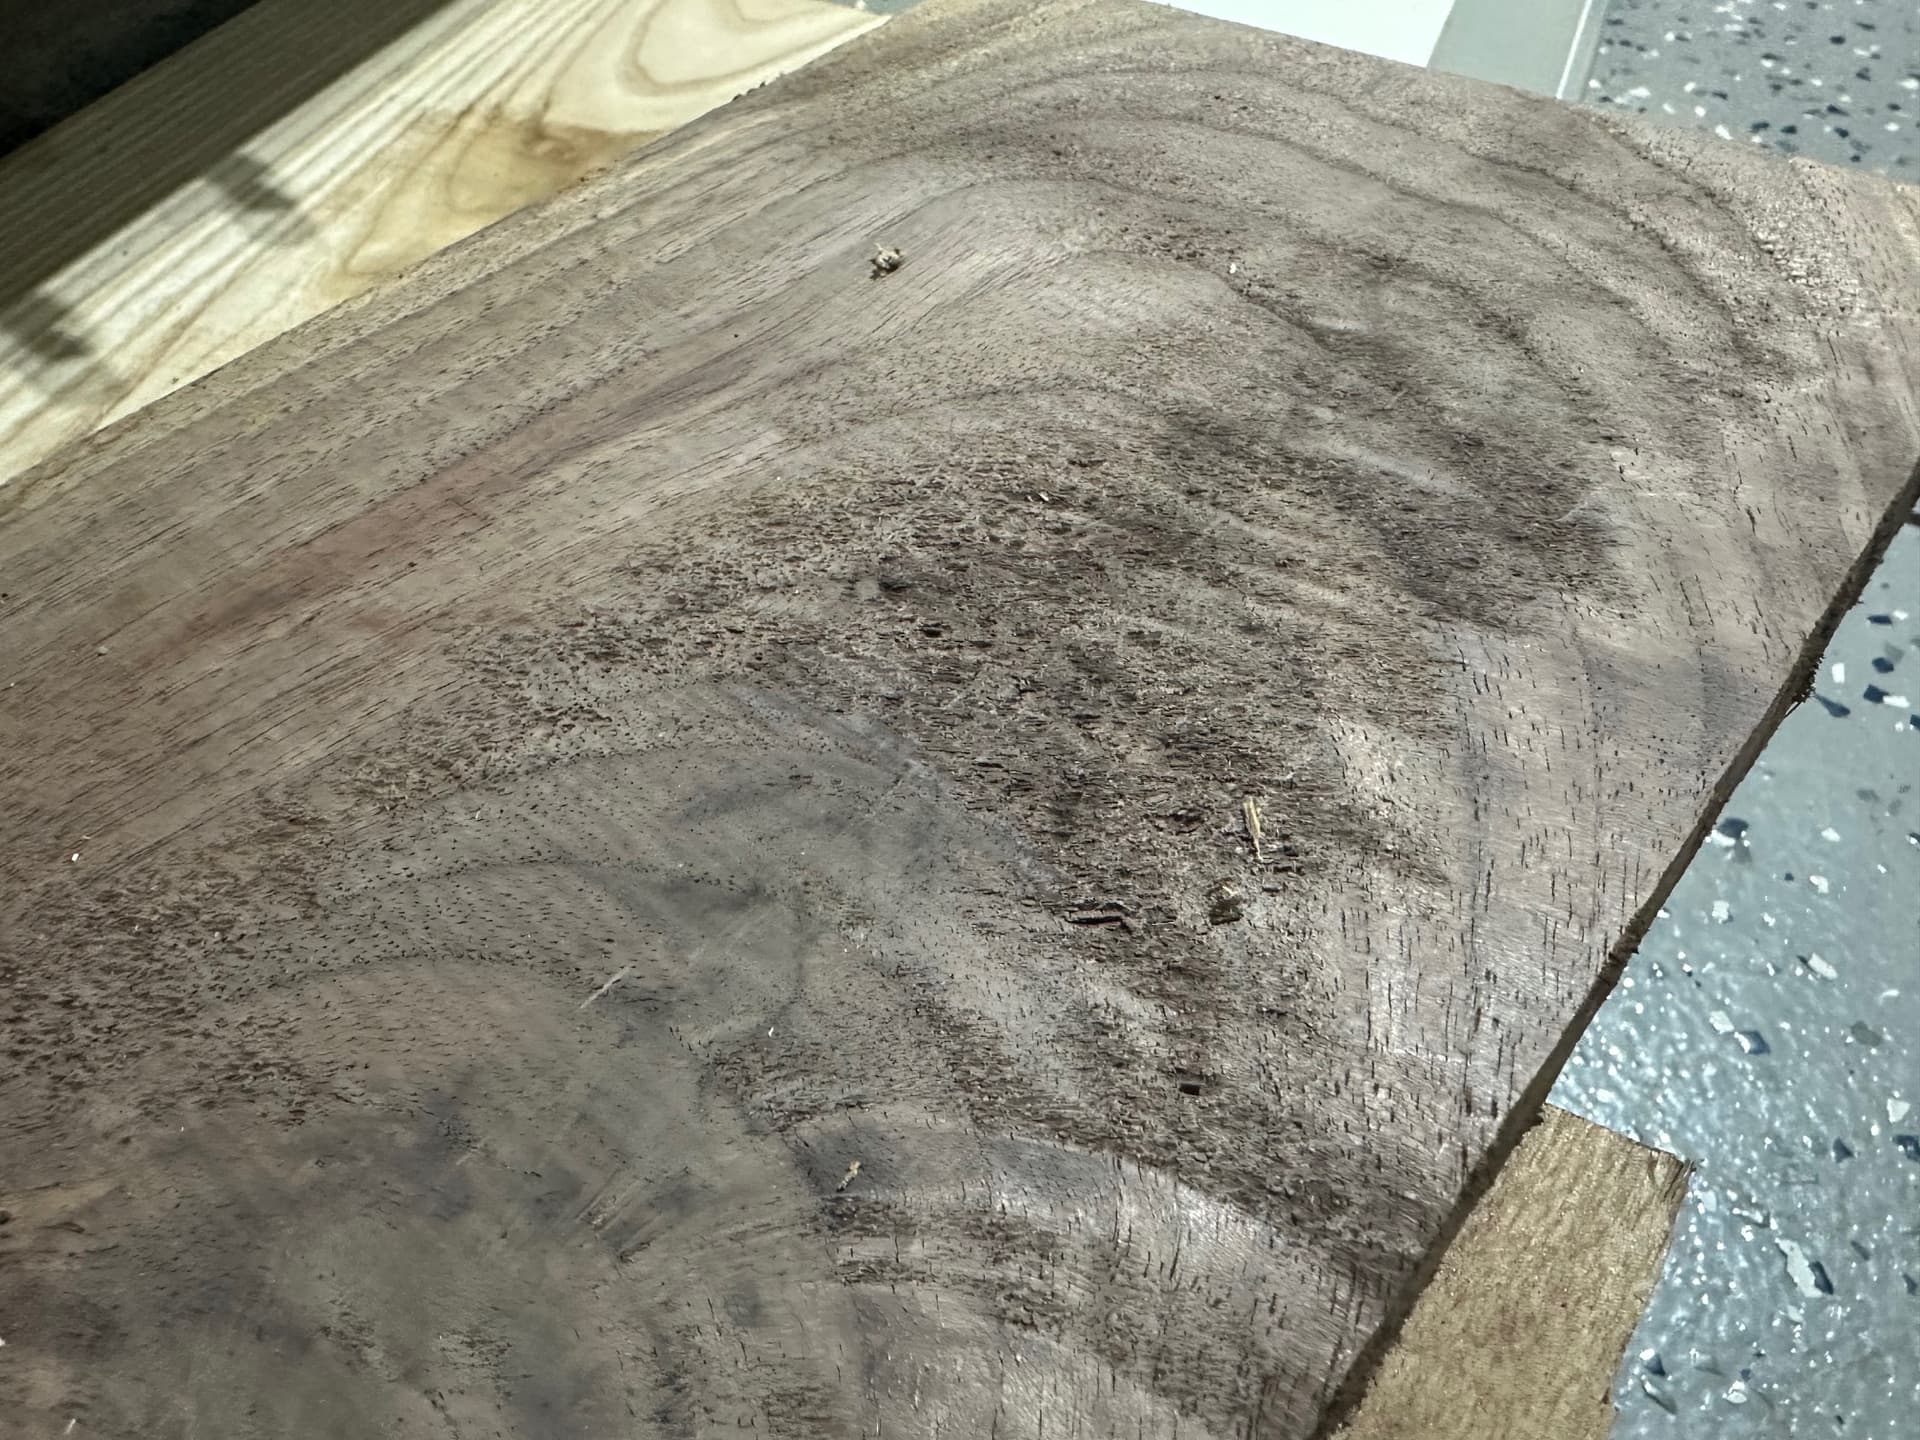
This is the cheap rough walnut that I started with. Ran it through the planer and joined two pieces to get the width. The planer is not as precise as I would like so ended up needing to surface both sides of the board which flattened things out nicely. I used the McFly cutter, which works well but tends to leave burn marks parallel to the tool path no matter what feed/speed I try. The wood is smooth after Mr. McFly is done so a little sanding takes care of most of the marks. If you are doing vcarve epoxy inlays things your project needs to be dead flat or things will not be the same size. The epoxy makes this very obvious.
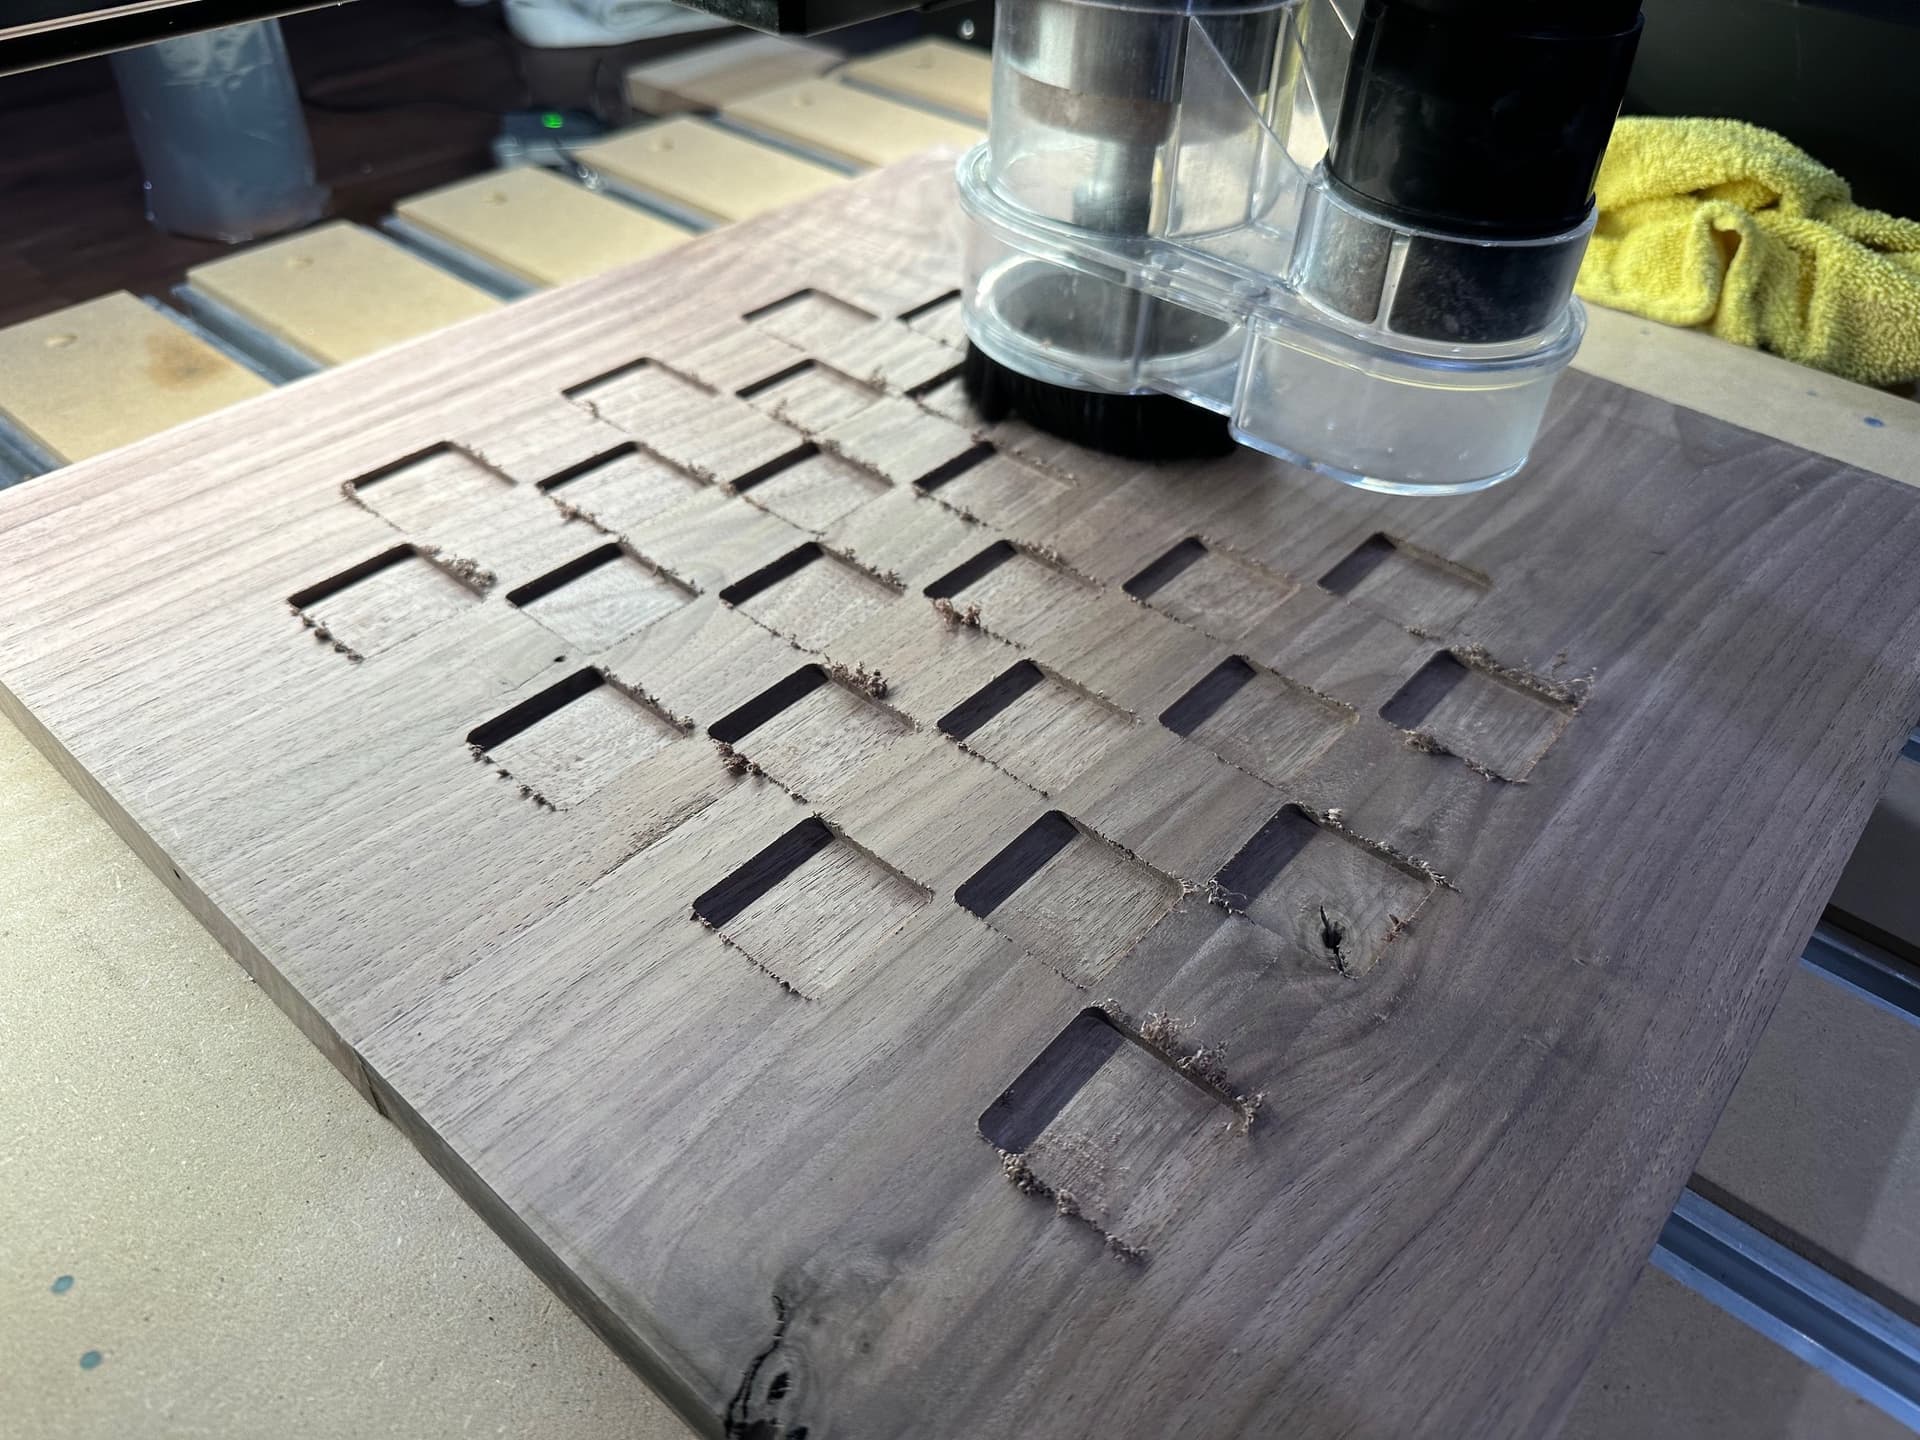
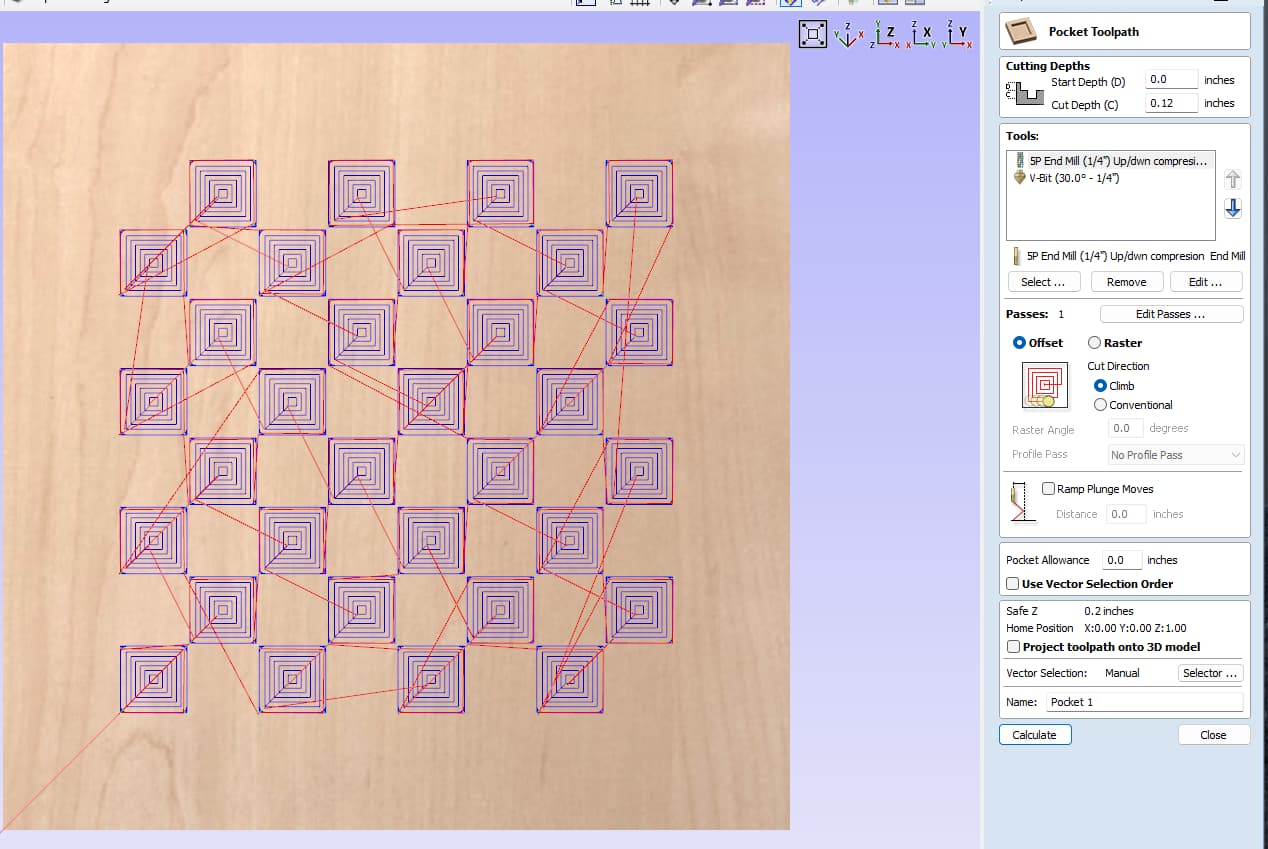
I Cut the perimeter and then the pockets for the black epoxy. I used 1/4 compression bit as the clearance tool and then a 30° V-bit to finish. This allows you to end up with a nice square.
Did a little v-carving to add some accents and then it was time for epoxy. I used Total Boat High Performance with the medium hardener. Be forewarned, you can only do 1/8" pours or it gets hot and bubbles. I found this out the hard way on some 3/8" coasters which are now in the scrap bin. After 24 hours I skimmed the epoxy off with a surfacing bit and did some sanding.
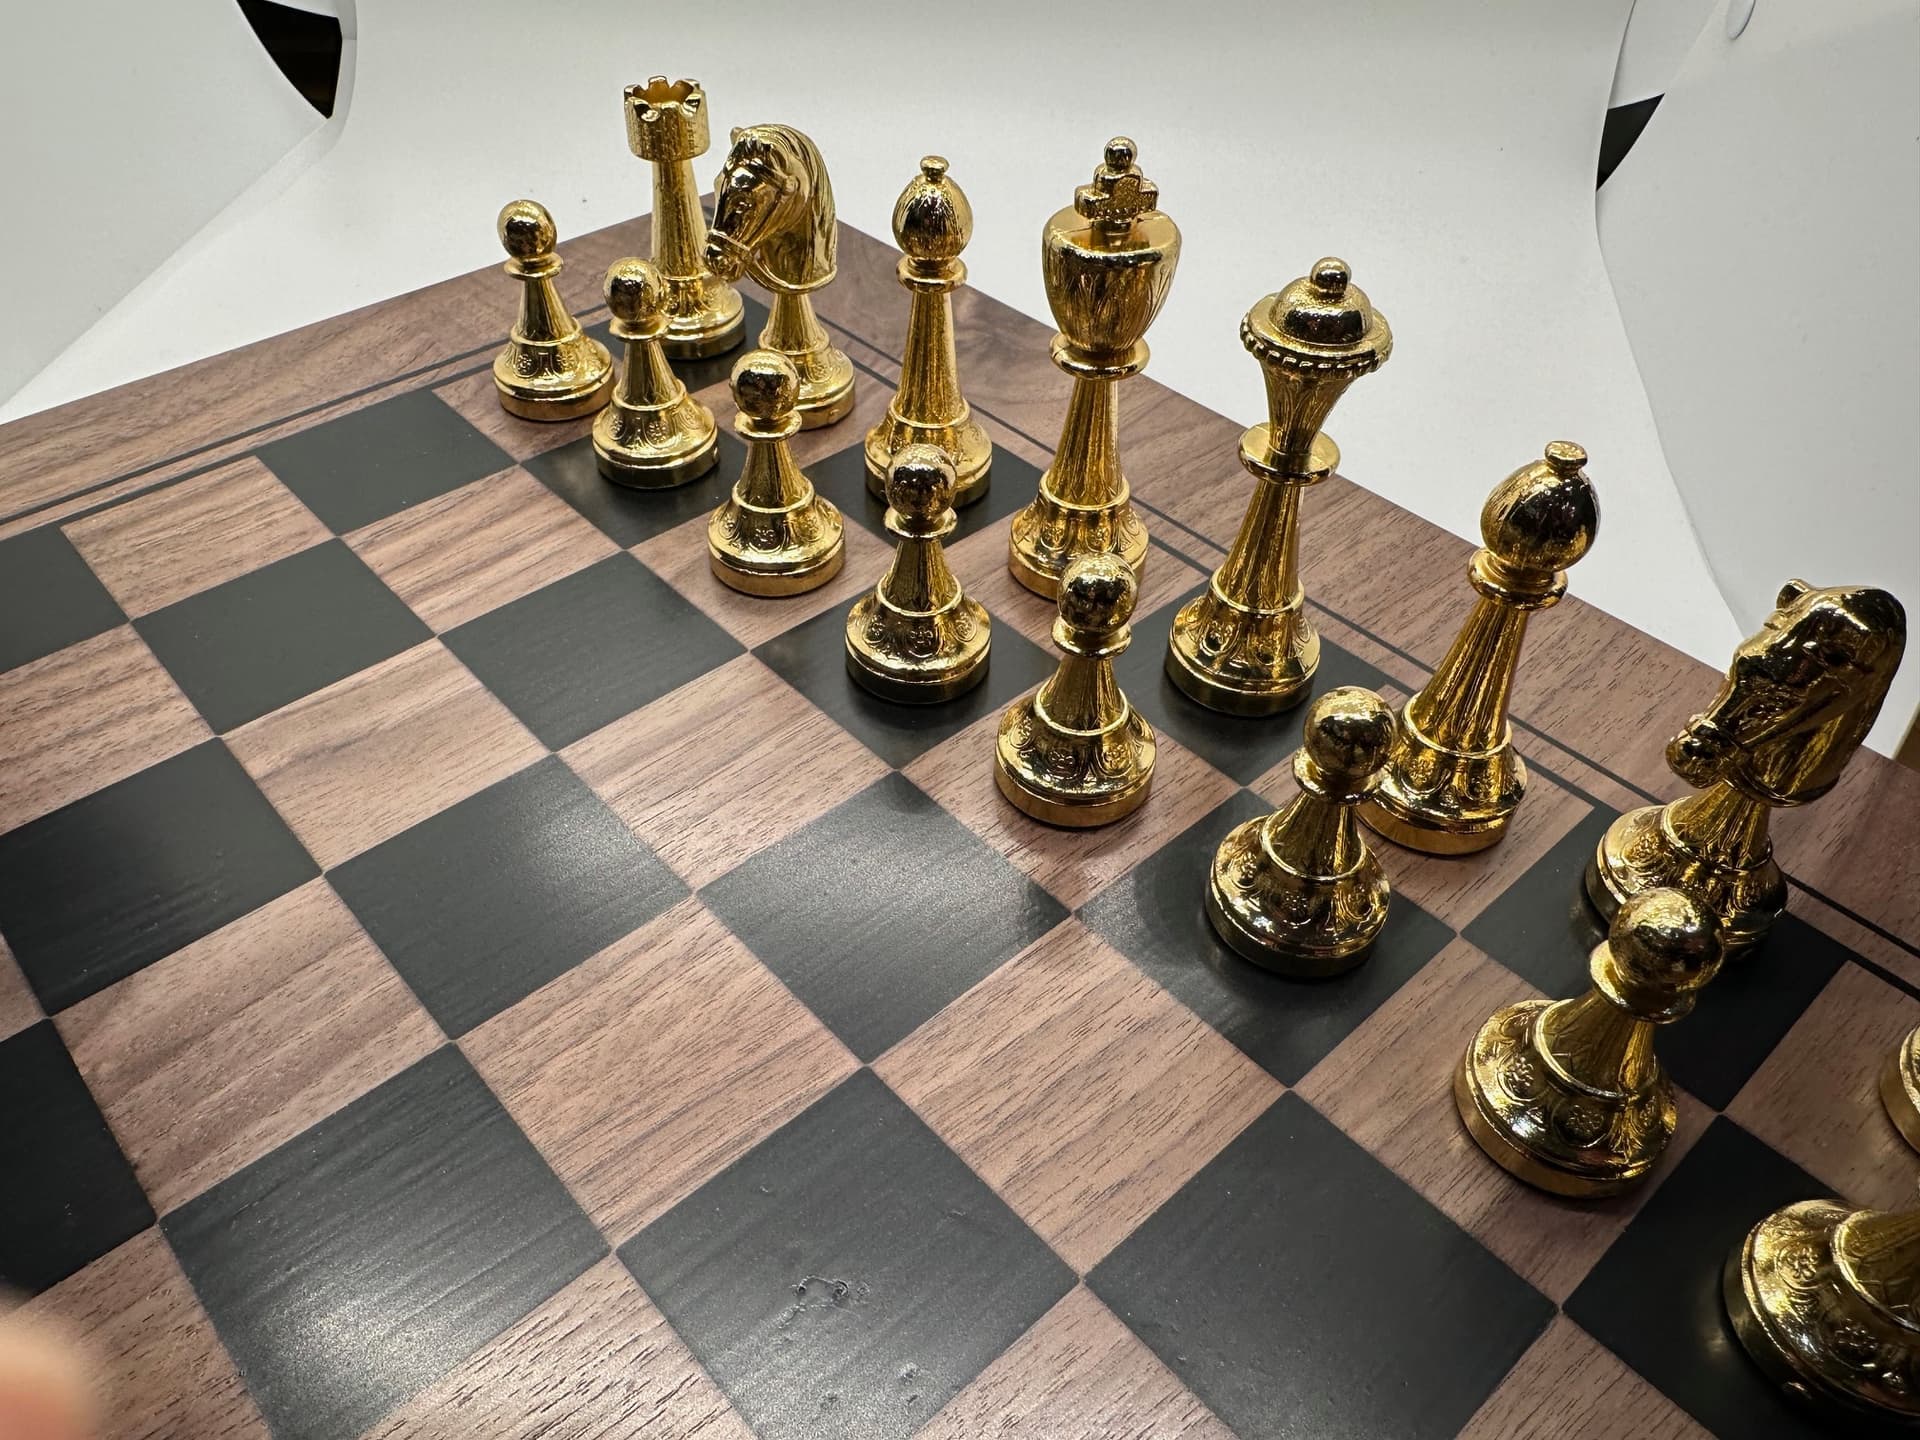
It pops of old world. Had a relative with one that looked like that. He had gotten it from his Grand Father, which would put it from the late 1800 - early 1900
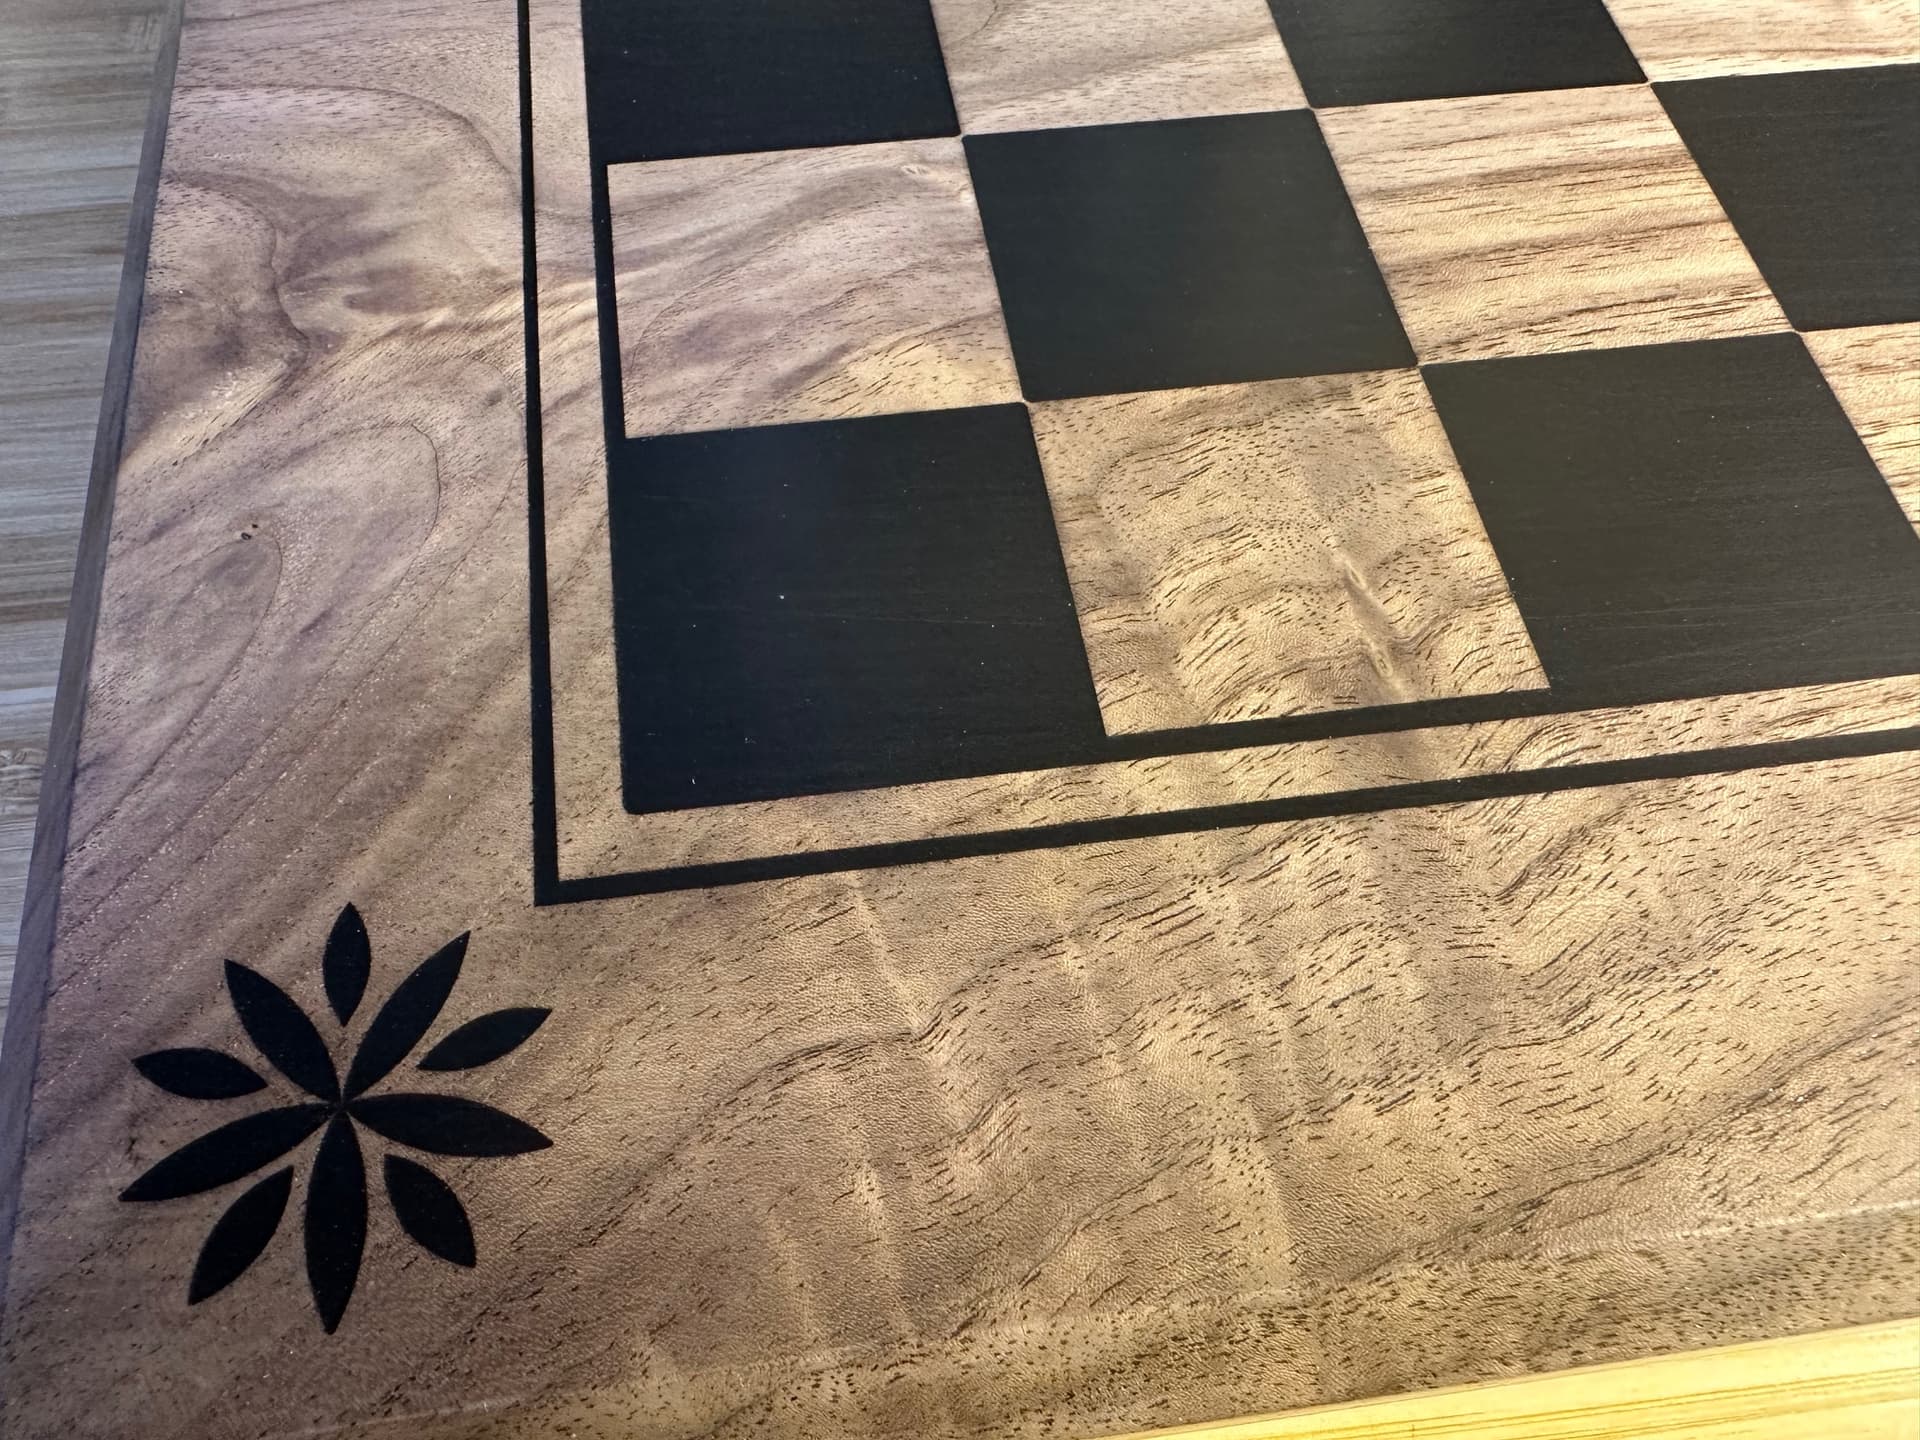
The epoxy on the black squares 0.12 inches. The other line work is much thinner. The lines you are seeing I think are the brush lines from the polyurethane. They readily show up on the epoxy as compared to the wood.
That makes sense. It’s really not a bad look at all. Probably the only time in history that a layer of poly made something like less plastic-y. It’s beautiful.
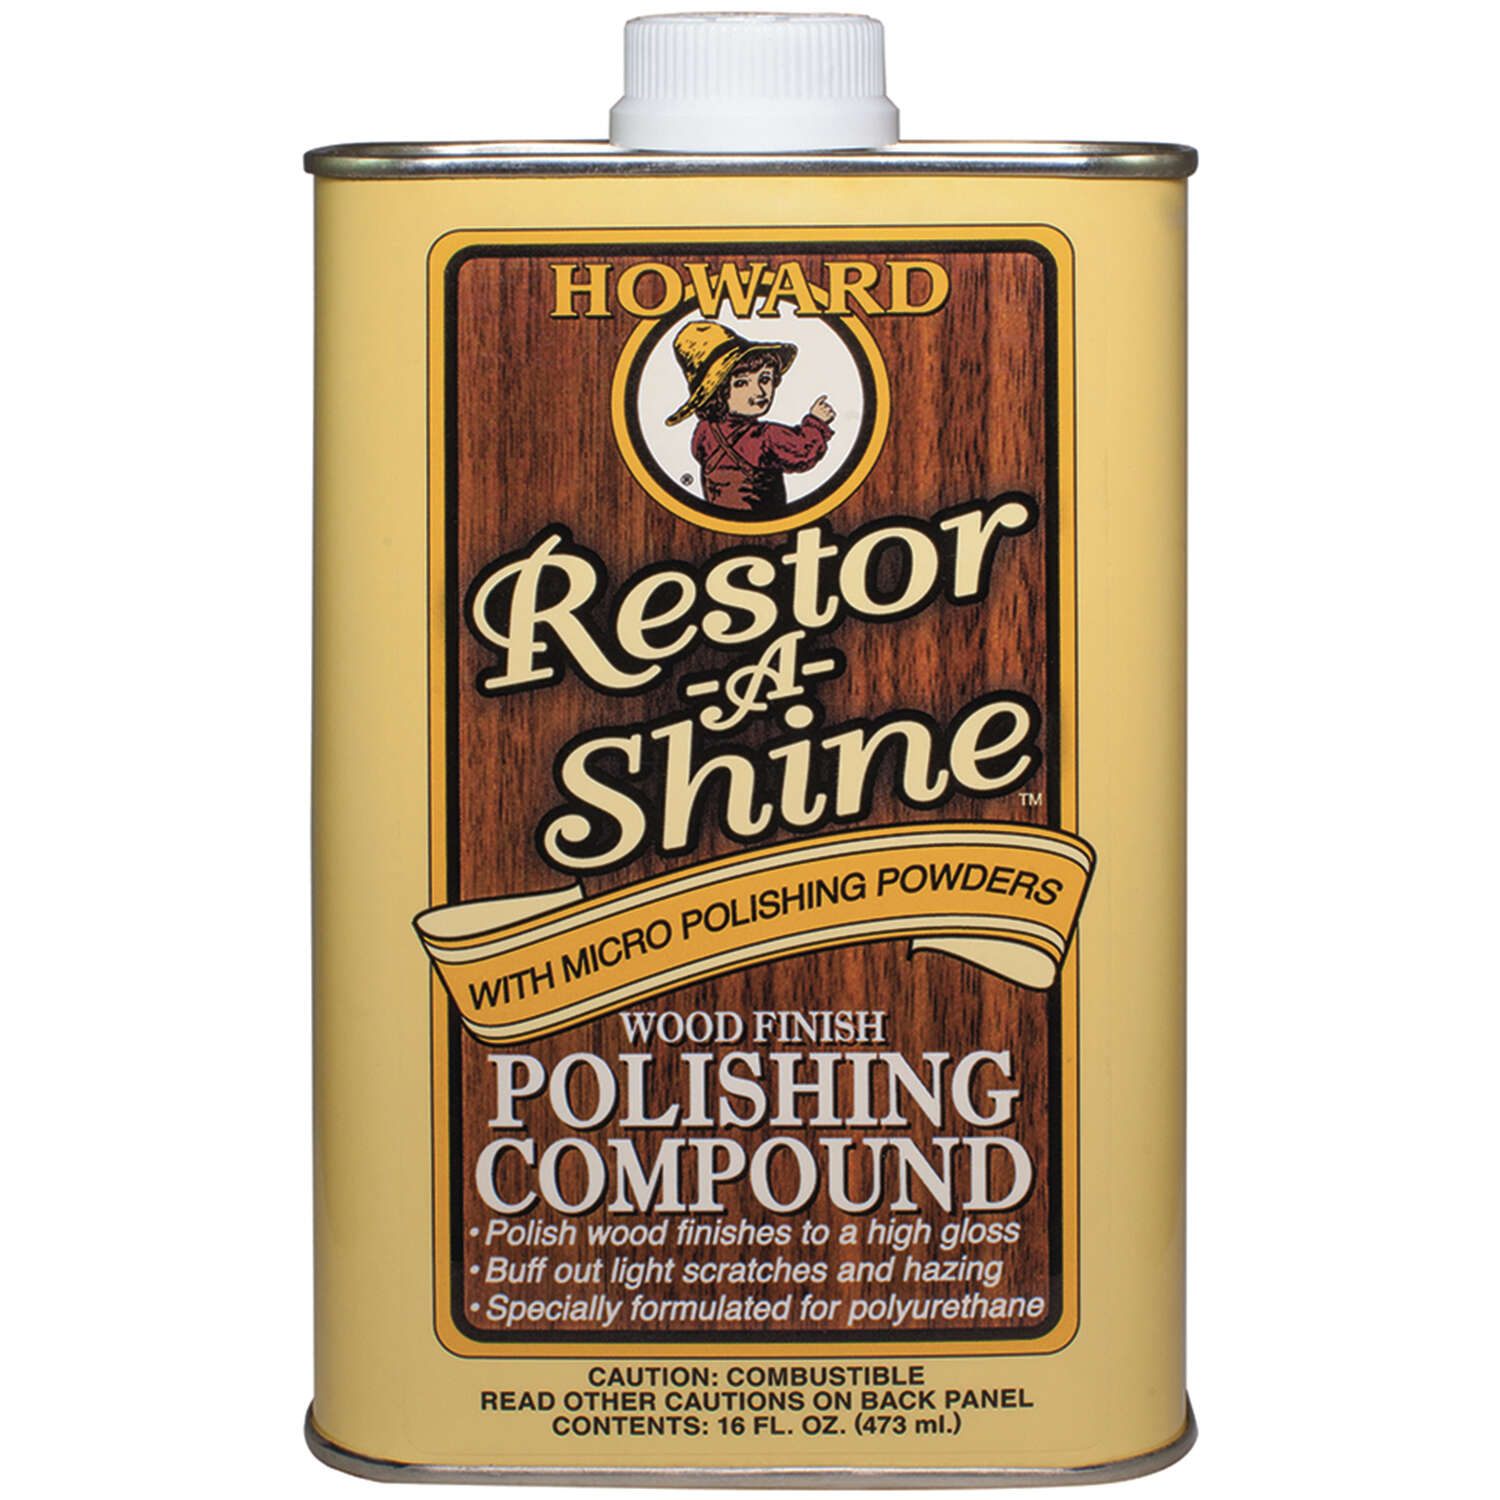
FYI Polyurethane does not fully harden for about a month. After it has fully hardened you can polish it to get any brush marks out. I use the Howards Restor a Shine.
Last year I made a murphy bed and finished it with polyurethane and use a natural bristle brush. I also thinned the regular poly to make it wiping polyurethane. The natural bristle brush had brush marks at first but they disappeared after a few minutes.
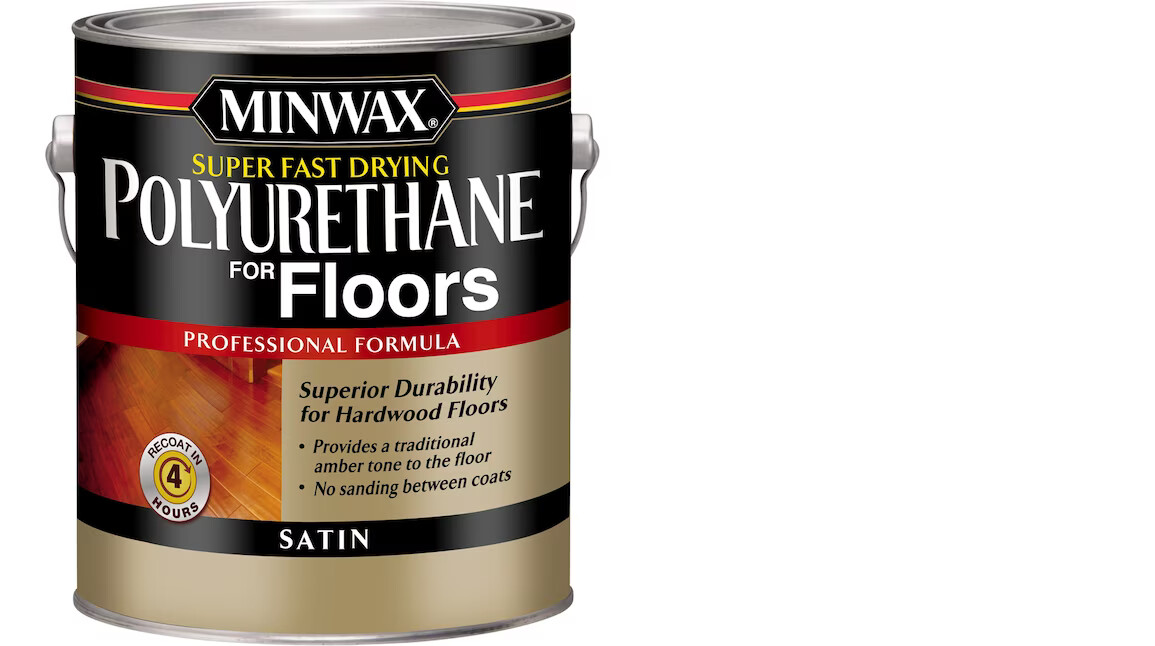
For me I use almost exclusively wipe on poly. I use a rag that is tee shirt scraps. You can buy the wiping poly or more cost efficient buy regular poly and thin it 25-50% to make your own wiping poly. The wipe on poly is just poly with mineral spirits. So you can get a lot more wiping poly by just using the regular poly like Minwax floor poly and mixing your own.
Thanks for the information. I normally use a foam brush and it ends up really smooth on wood. The epoxy is more difficult. Thanks for your suggestions.
Hi Brian love the chess board.
My next project I think.
Did you have any issues with the resin bleeding into the grain of the wood or did you have to use a clear resin first to seal the grain?
With walnut I have not sealed it and normally don’t have any bleeding problem, even with white resin. I did some Computer lap desk/TV trays with names and logos made out of $130/sheet baltic birch plywood and had some bleeding problems even after trying to seal the cut area with polyurethane. Good luck on the chess board.
Can you expand what u mean by using the 30 degree v bit for squaring off? Did u do 1/4 pocket then perimeter 30degree cut? Very cool design! When I did mine i didnt do epoxy but I did inlay of separate woods (sycamore and walnut) but rounded the corners of the pieces for the fit, I would rather keep squares!
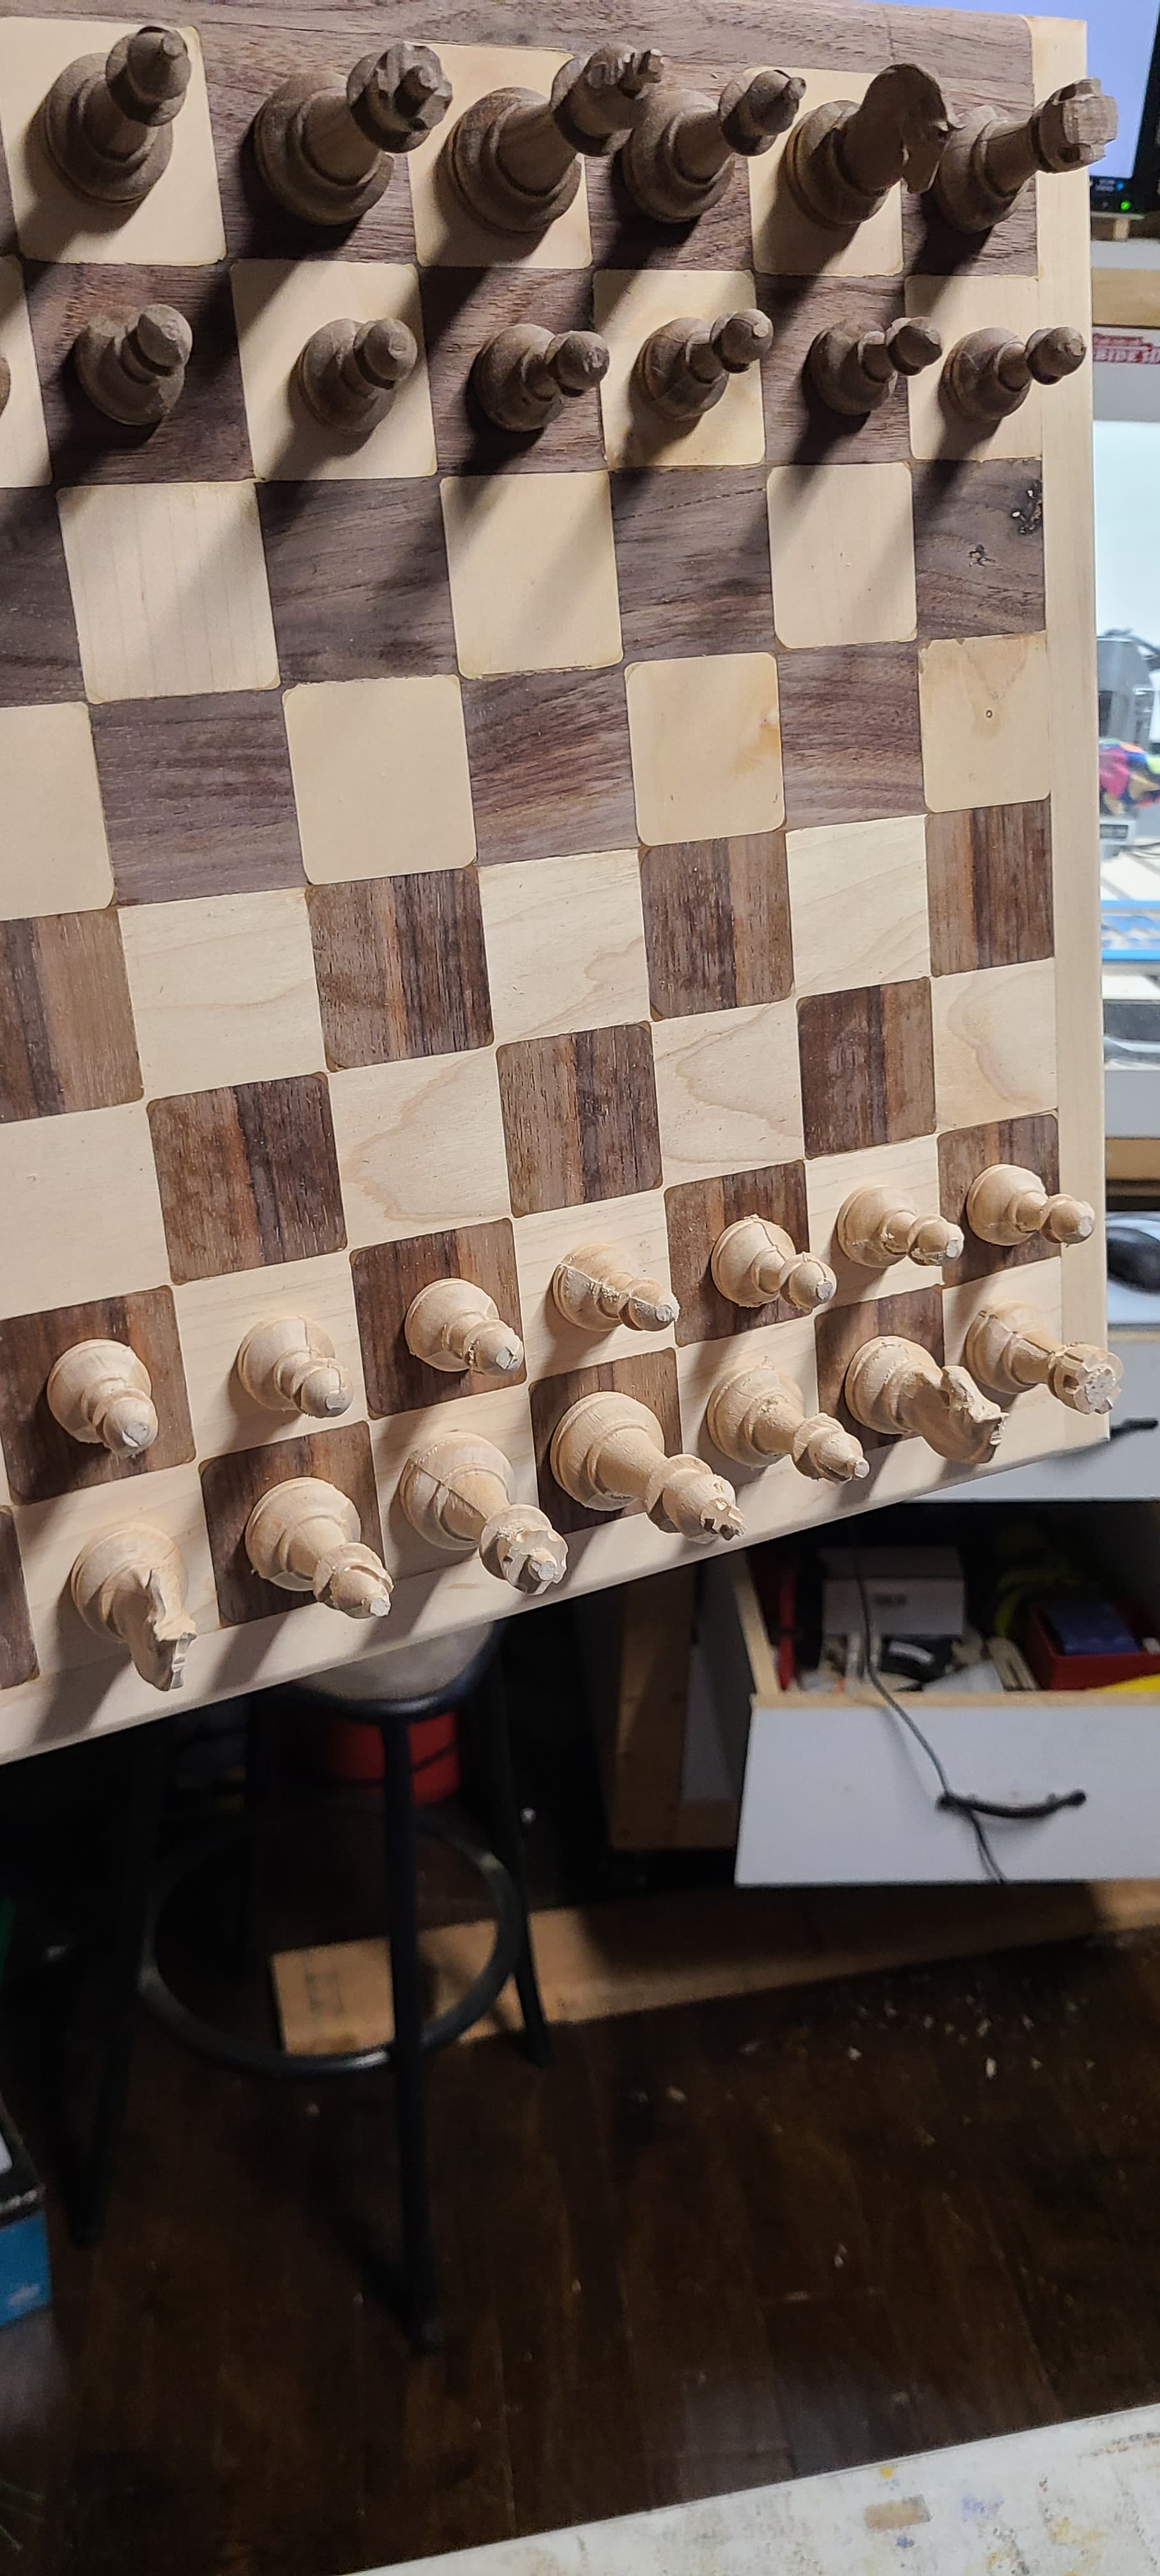
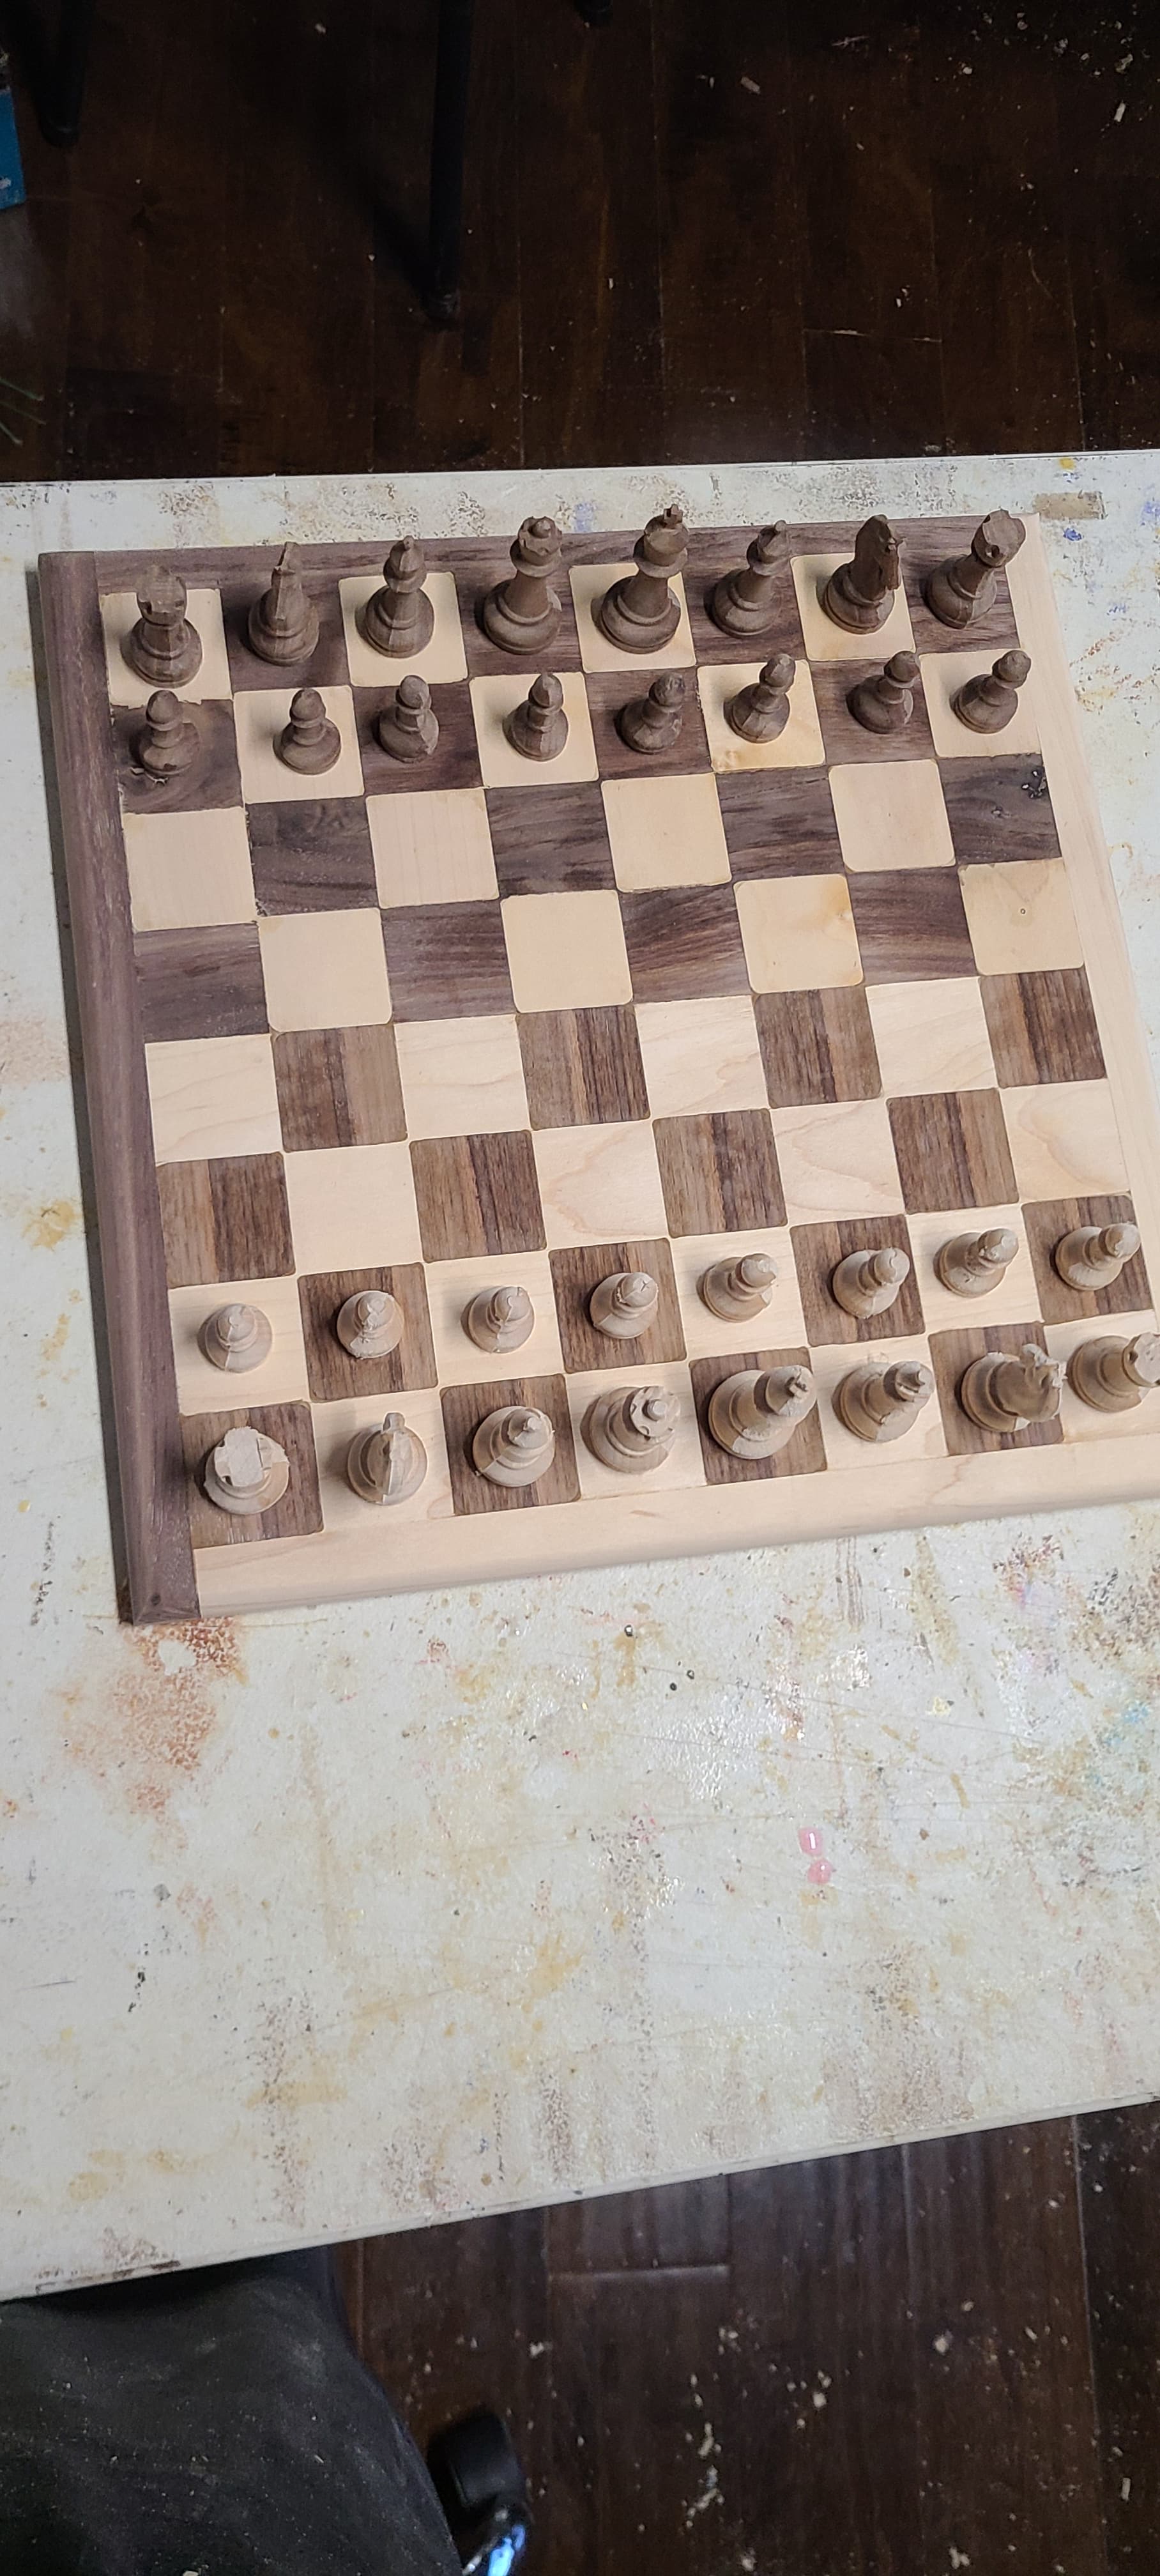
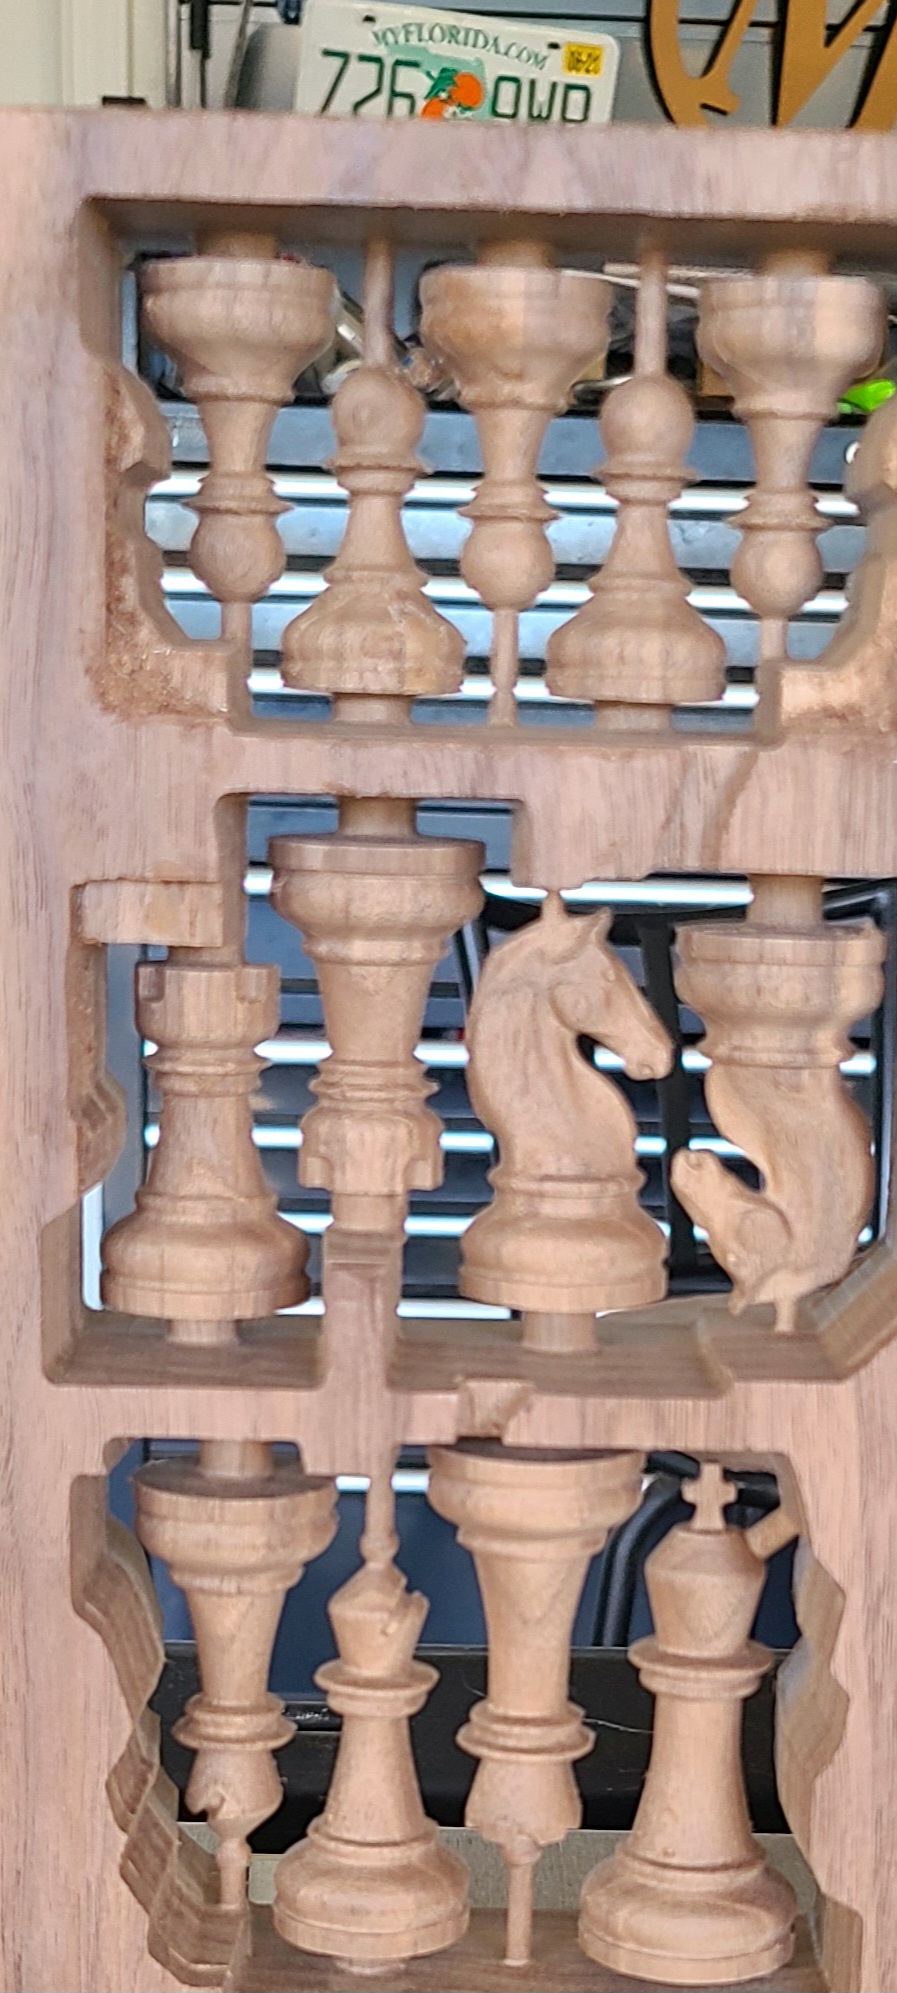
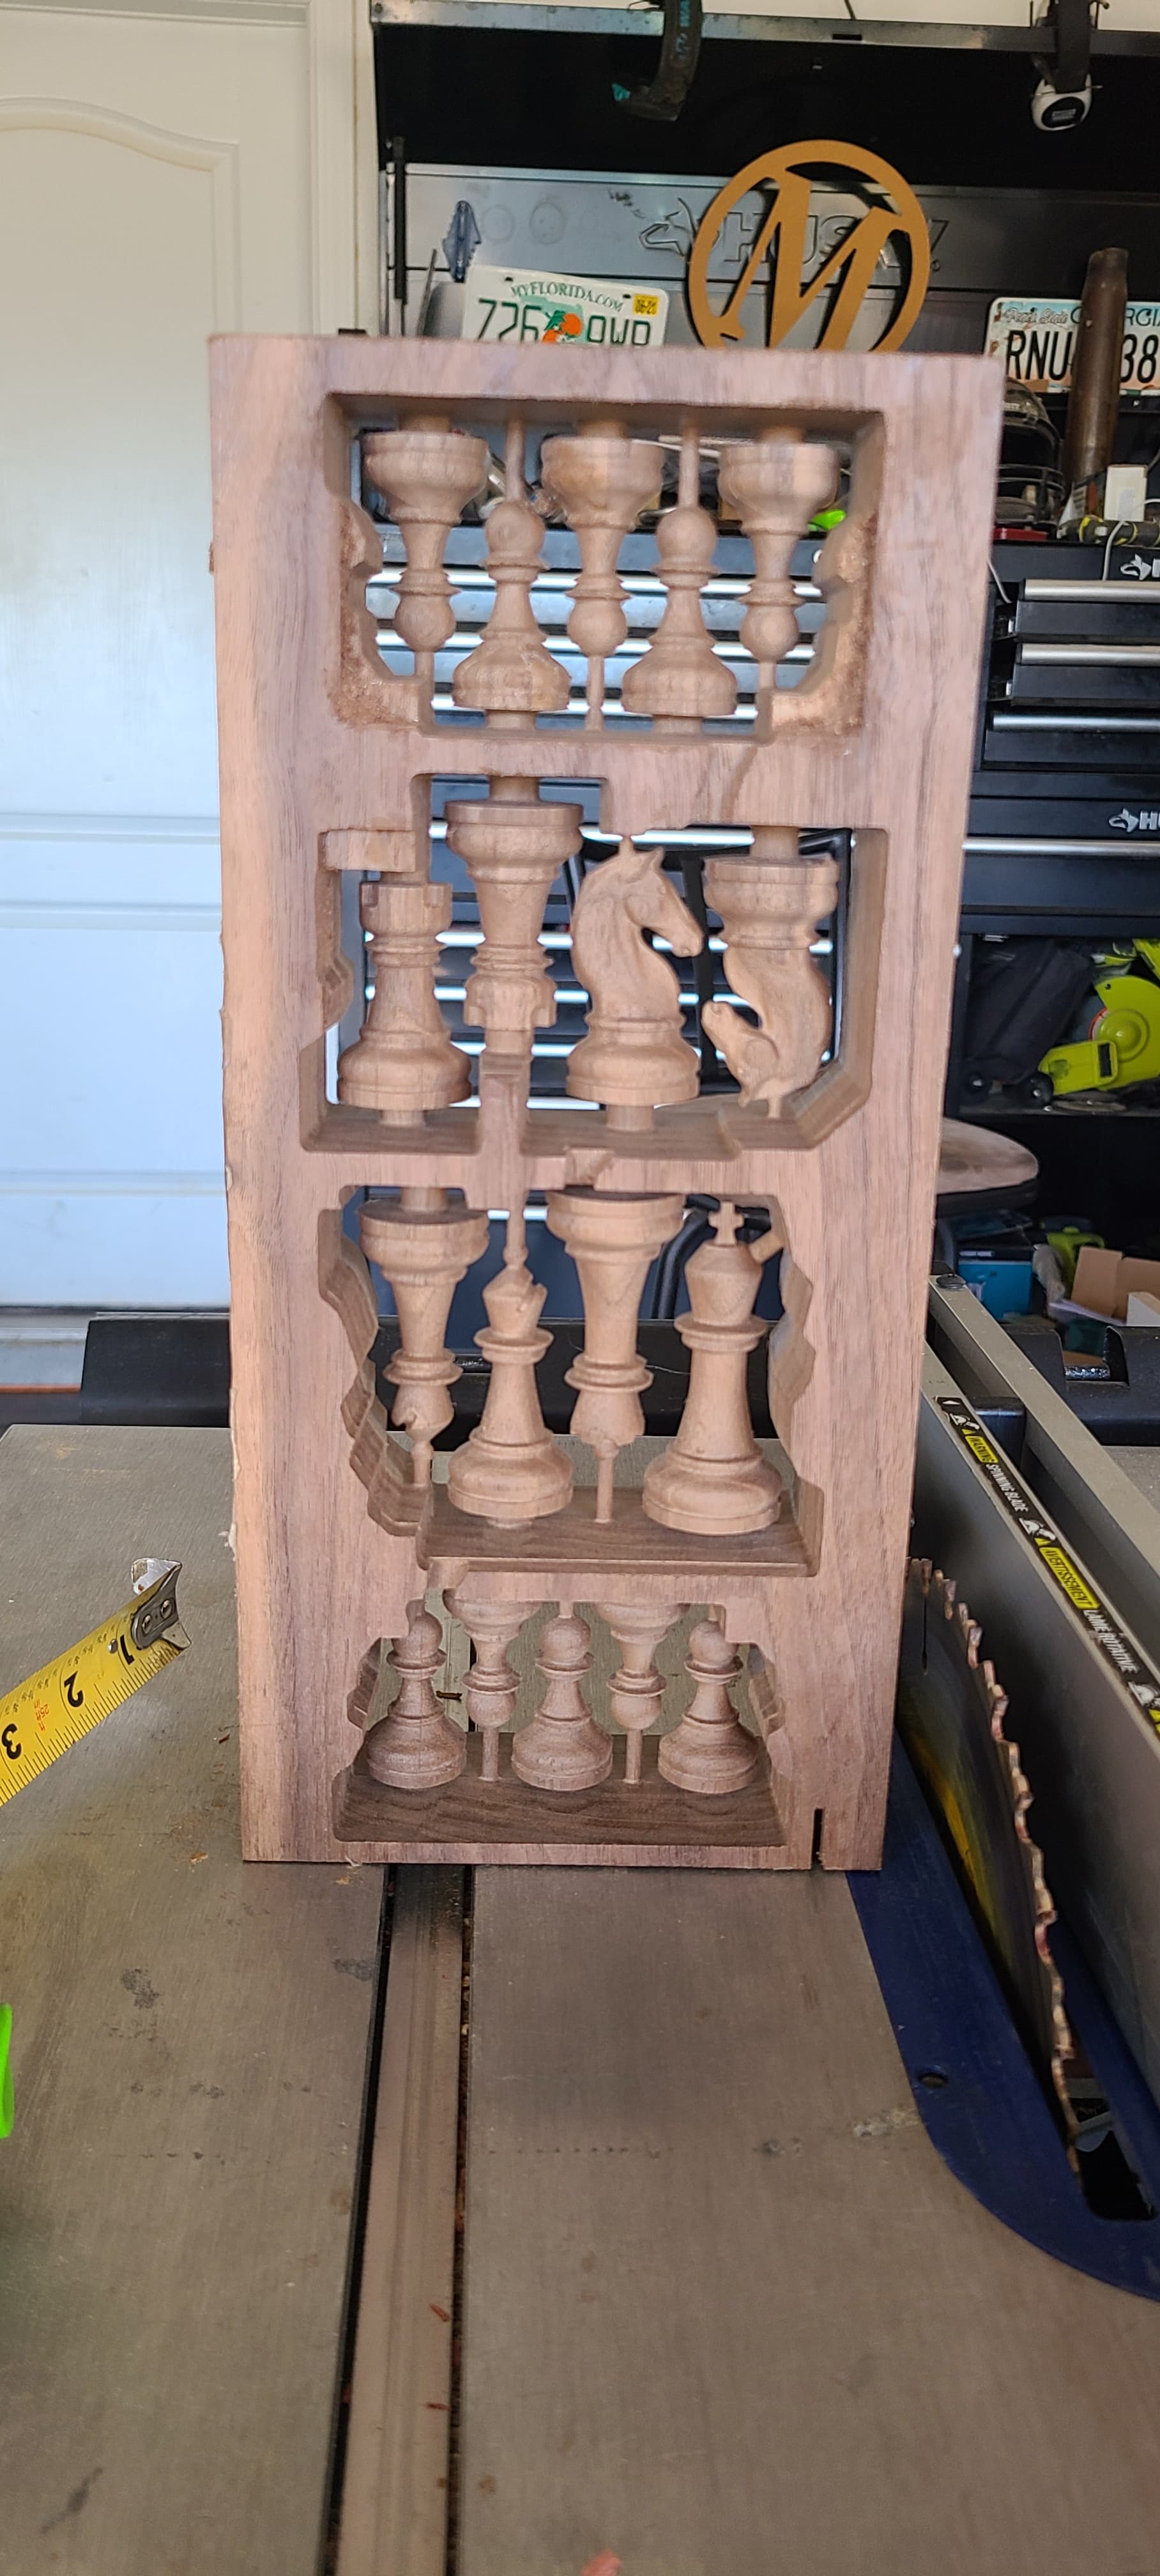
Here on the forum someone posted a Stanton Chess set they bought on etsy. The file is a 2 sided job and I bought it. I really need to make that chess set. I have made several chess sets over the years but not on the cnc. I have a PSI lathe duplicator with the steel templates to make chess sets. You have to manually finish the knight. I have also made a modern set on the table saw. Both were nice but I really want to get to this 3d set.
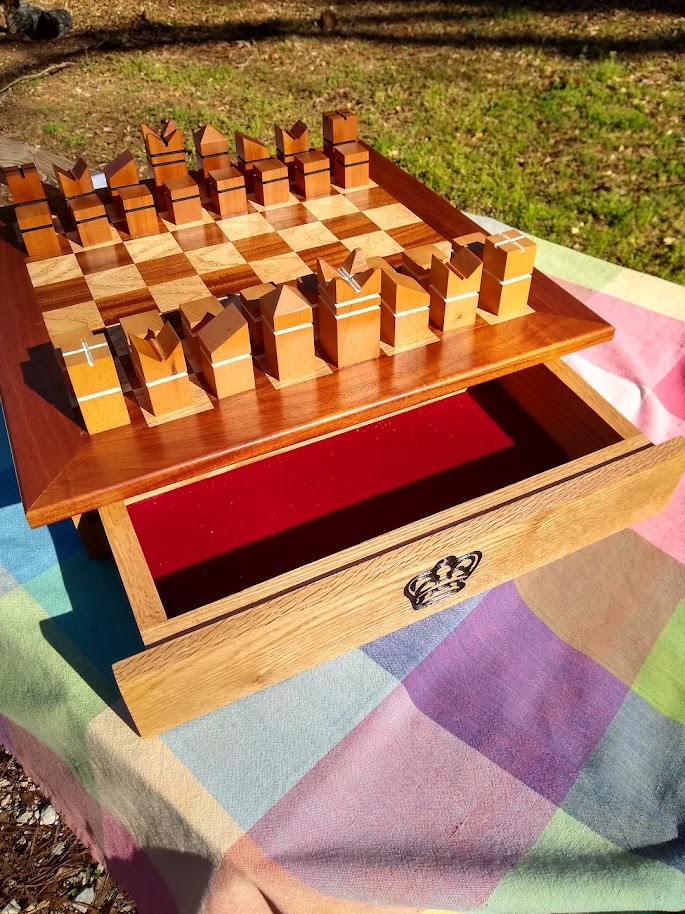
Here is my tablesaw modern chess set. I did use the Shapeoko to put the crown on the drawer front
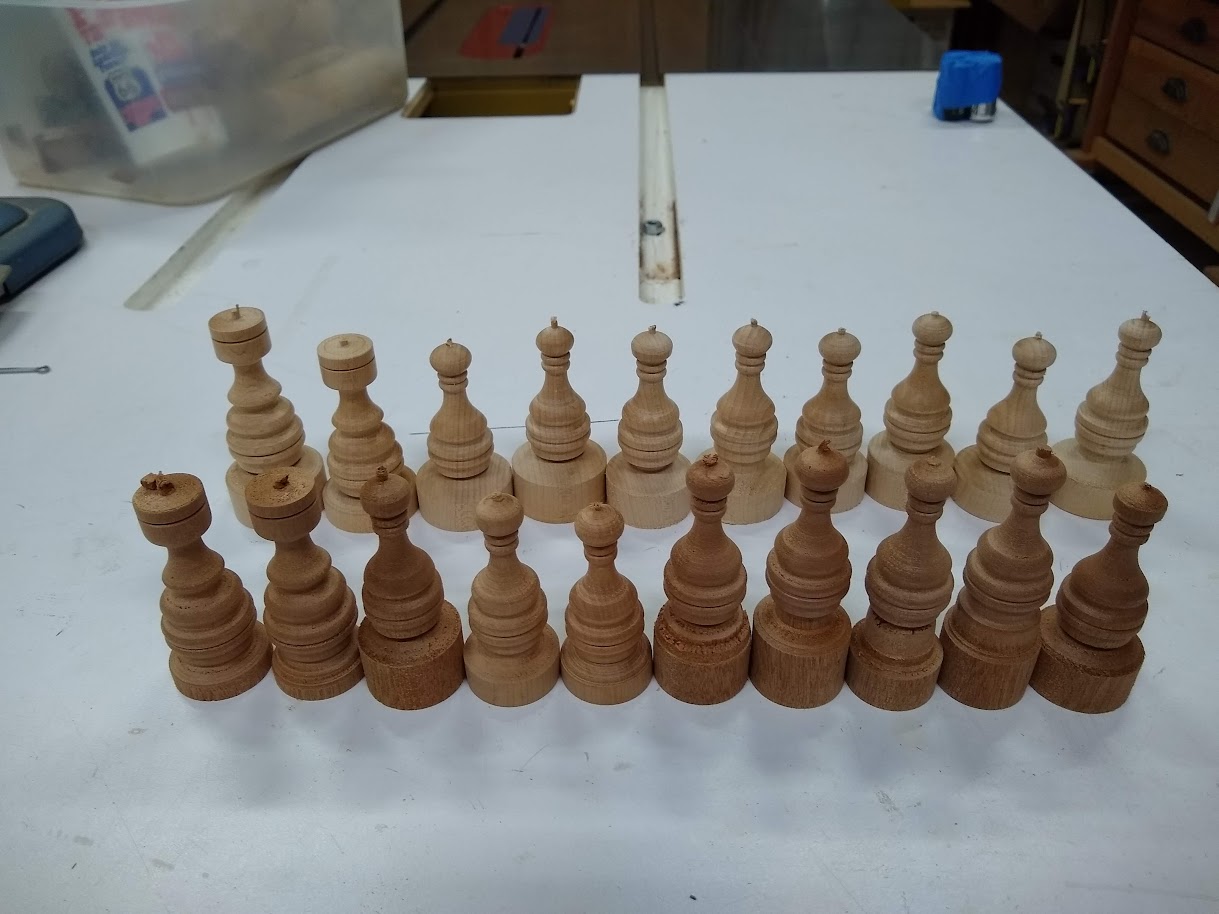
Here are the PSI duplicator chess set. I guess I did not take a picture of the finished set. The set was not finished in this picture. You can see the large bases used to grip the pieces as I turned them on the duplicator