I have a Shapeoko 3 XL with a Shapeoko purchased waste board. The problem is the large space in between the t-tracks always seems to be just a touch too far for my clamps so I want to make the waste board more like the 4 or 5. I would like to redo the waste board but have a few questions.
One issue I have now is that the t-tracks are significantly below the front and back frame. This means I can only insert a t-nut from the backside (as it the only side with enough room). Can I elevate the "bottom of the waste board so the t-track is even with the top of the frame. This would allow me to add the t-nut from anywhere.
Second issue is flattening the waste board. Obviously if I make the waste board the full size of the frame and I try to flatten it, only the middle gets flattened. Any piece of wood bigger than the cutting area will not be held in the flat area. If I add another piece of wood as a secondary waste board the size of just the cutting area, clamping outside the cutting area will bow the wood. I’ve haven’t worried about flatness for the two years I’ve owned the machine but I noticed some variation in letters when v-carving.
Just to make sure I understand. You get a 31" x 17" (at least) MDF board and mount it to the regular waste board. Carve it flat and with holes (if wanted). Now you have an area that is flat and exactly the size of the cutting area.
What happens if you use a piece of wood that is larger than the cutting area. For example it is a 24" x 24" piece of wood? Clamping at the front is OK, but if you try to clamp somewhere off of the cutting waste board the wood will bow.
I added additional tracks in-between the stock T-track setup, which helped a lot.
You can either cut the T-tracks shorter, or shift them front–back to make inserting nuts easier (square M6 nuts seem the most workable to me, and didn’t require cutting mine when they were centered so that it is possible to load from front or back).
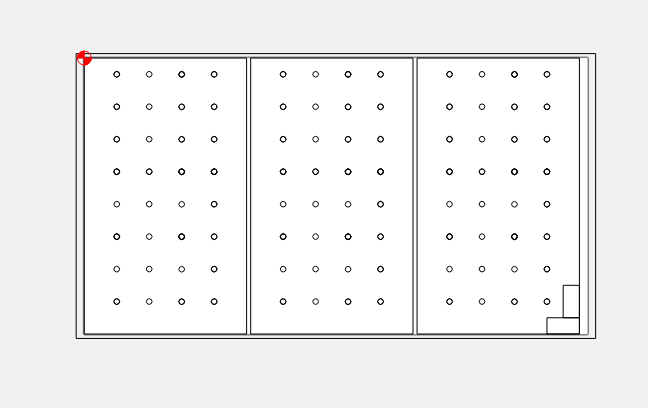
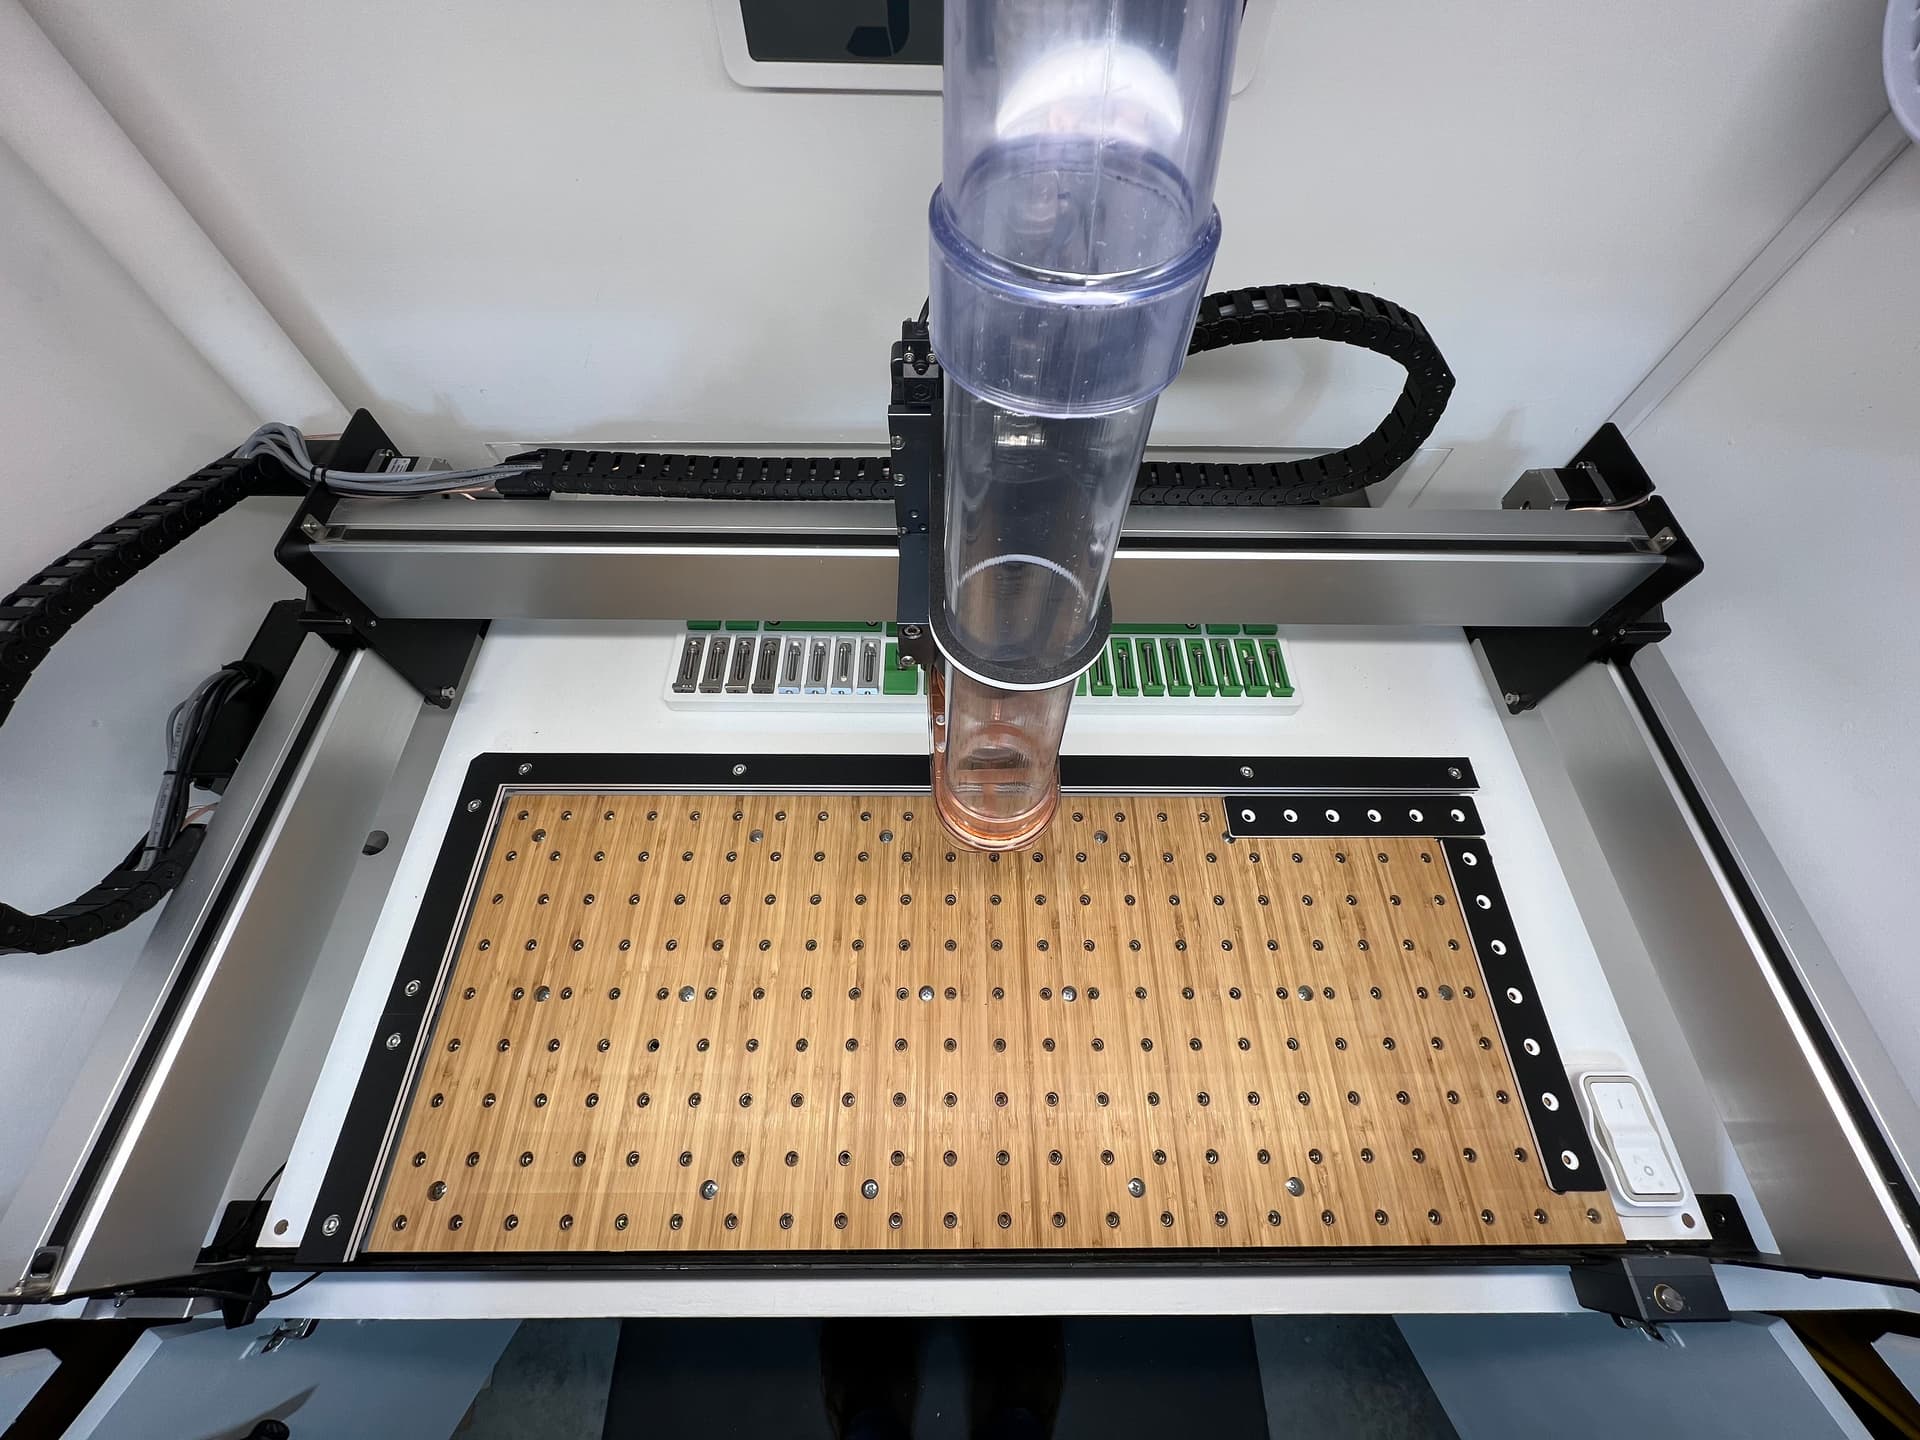
Using my own terms here, but I prefer to call the MDF board that came with your CNC the “base board”. In the photo below (Shapeoko 3 XL) it is the white surface. I added roughly a dozen threaded inserts into this base board so I could mount a “waste board” on top of it, in the photo below the waste board is the bamboo board that matches my cutting area (slightly undersized).
My theory was that the (white) base board is not something I wanted to replace as it is vital to the squareness of my Shapeoko 3. I also painted it in an attempt to protect the MDF (and it looks nice).
I added tracks to the base board outside of the cutting area. Have not used those as much as I thought I would. The threaded inserts in my waste board handle nearly all my work holding needs. I use double sided tape only for really thin or small parts like wood inlays.
The stock T-track and waste board design is a great starting point and you can certainly use it alone for most projects. You will develop a work method for the projects that find you as time goes on. At that point it is a simple matter to make a waste board that best suits those projects. For instance, some guys like using back right for ZERO, some prefer the center, others do repeatable production tasks while others make small thin detailed carvings. In short, no one solution. The stock board’s flexibility is unlimited.
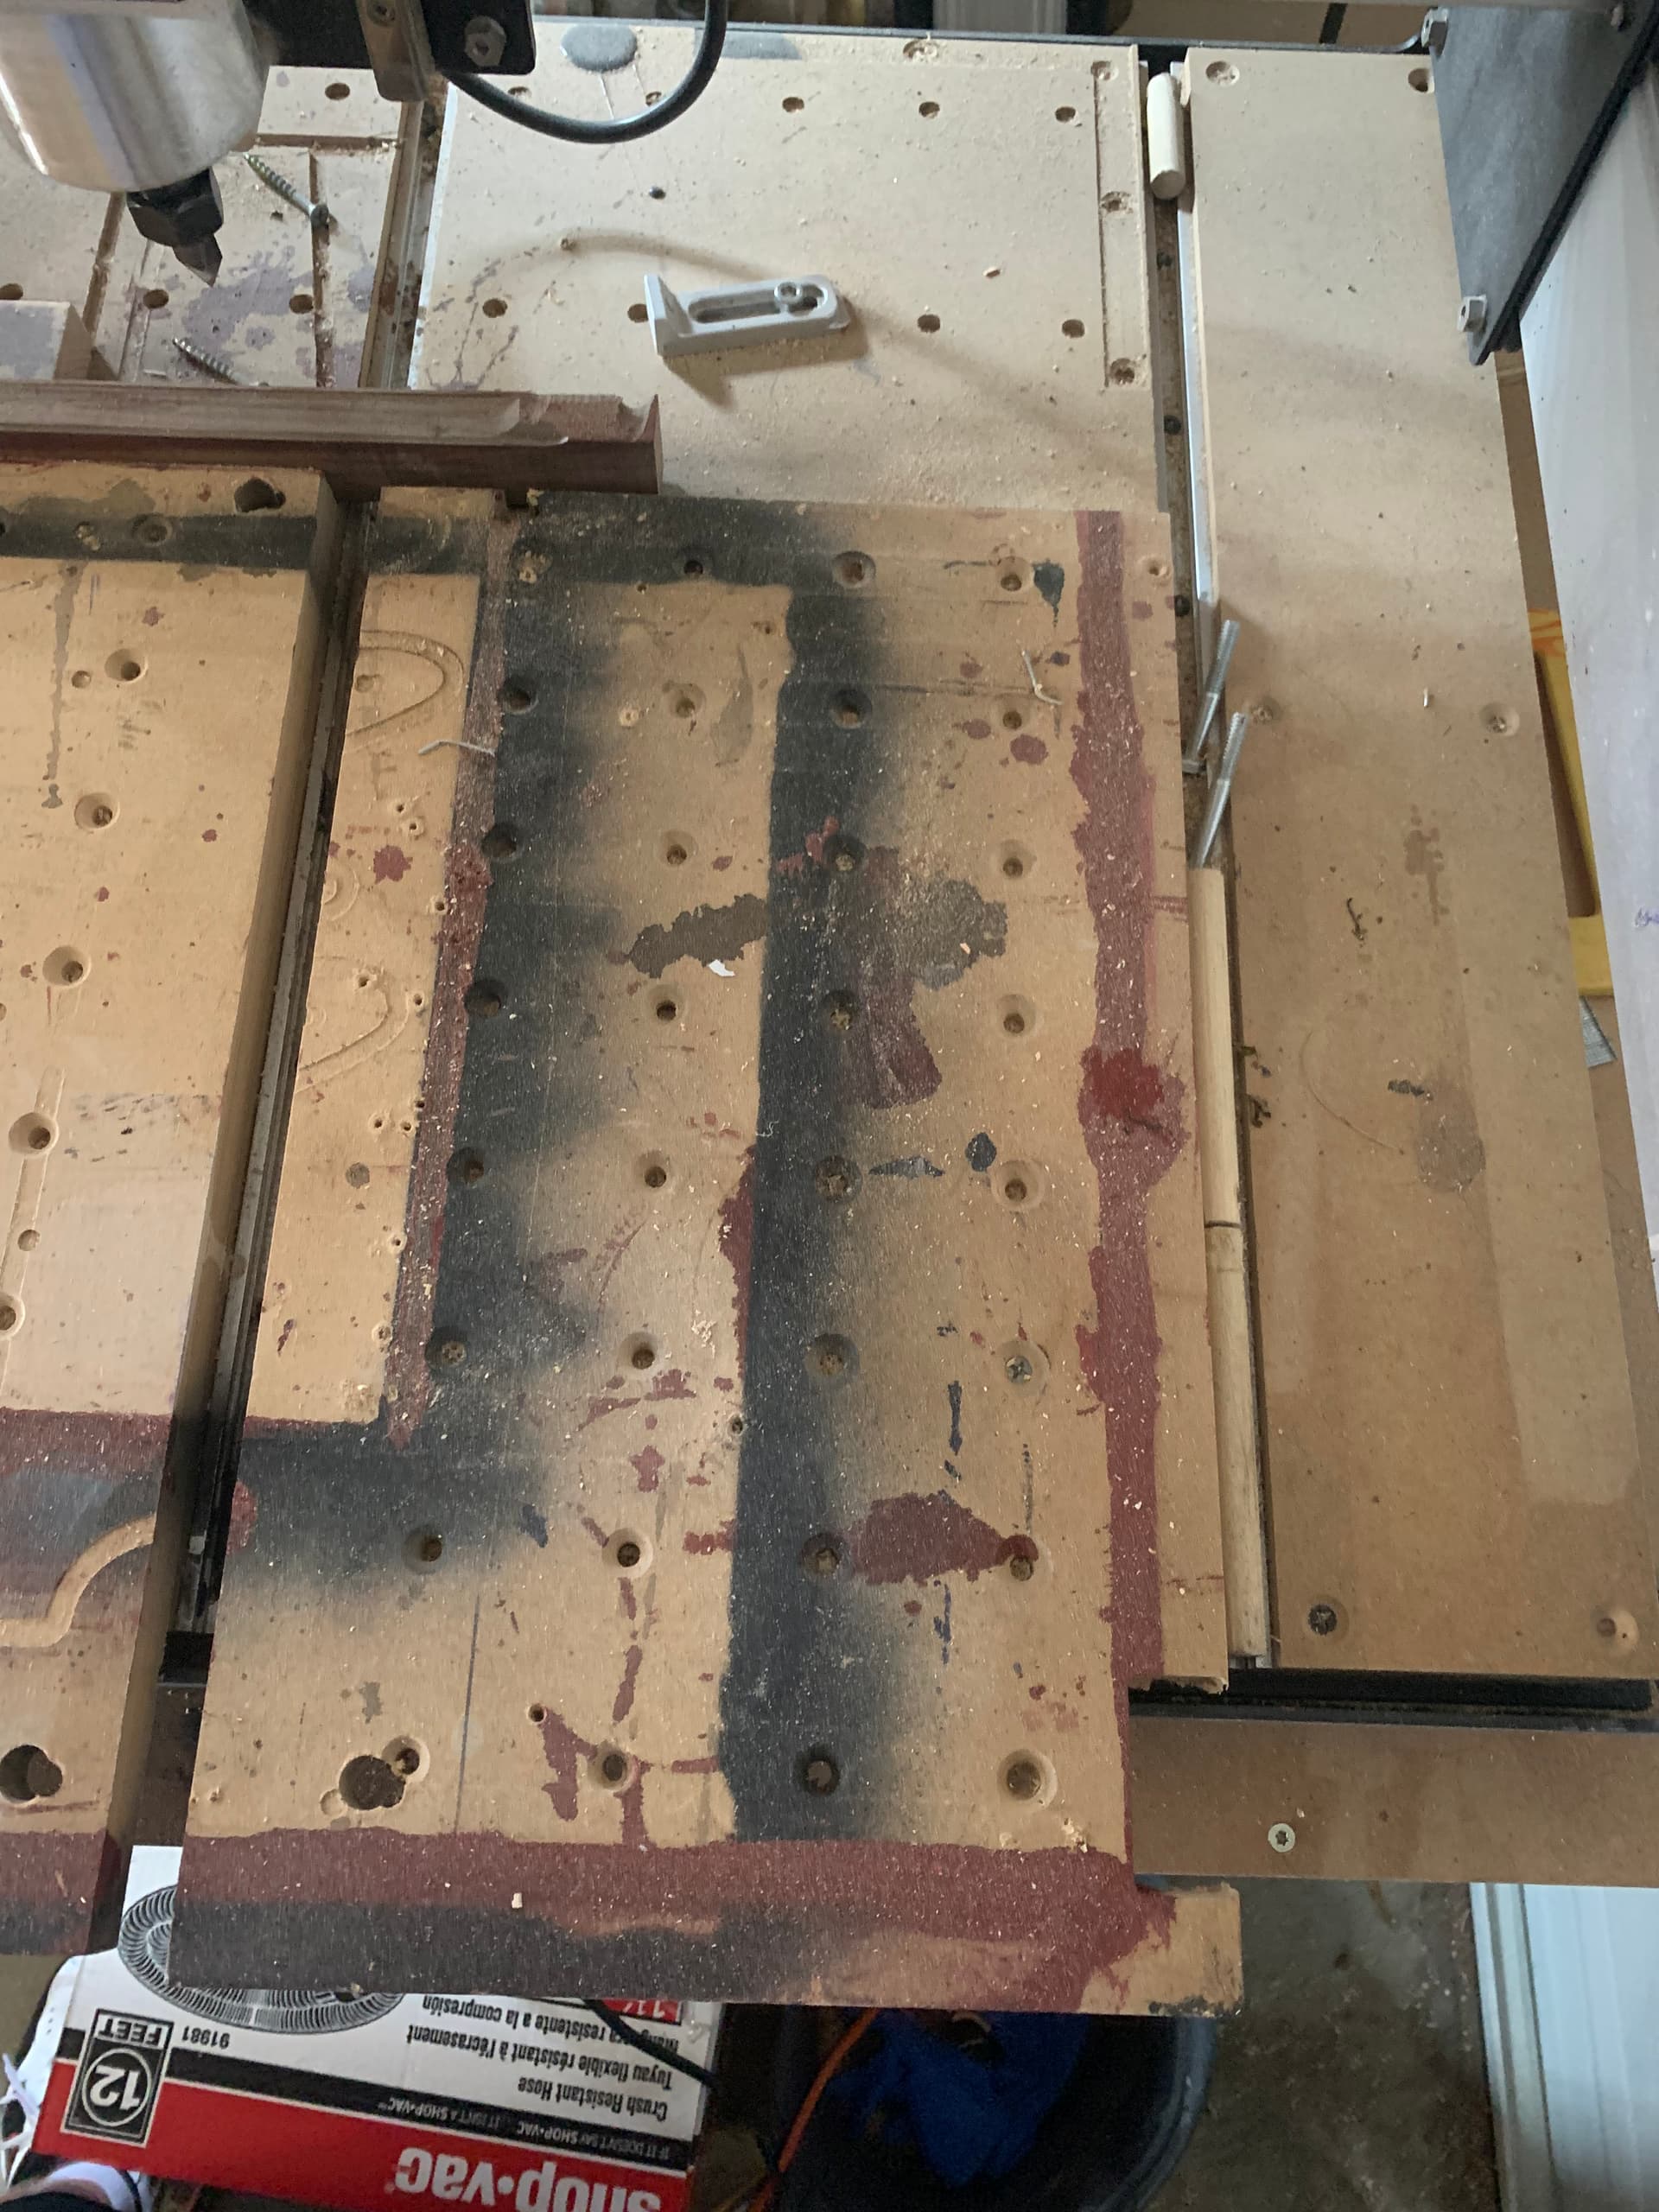
I hope you understand what I mean now. The Secondary Wasteboard is 16.5 x 31 (approx). I installed it over the factory-provided wasteboard. I then surfaced it perfectly flat to my machine.