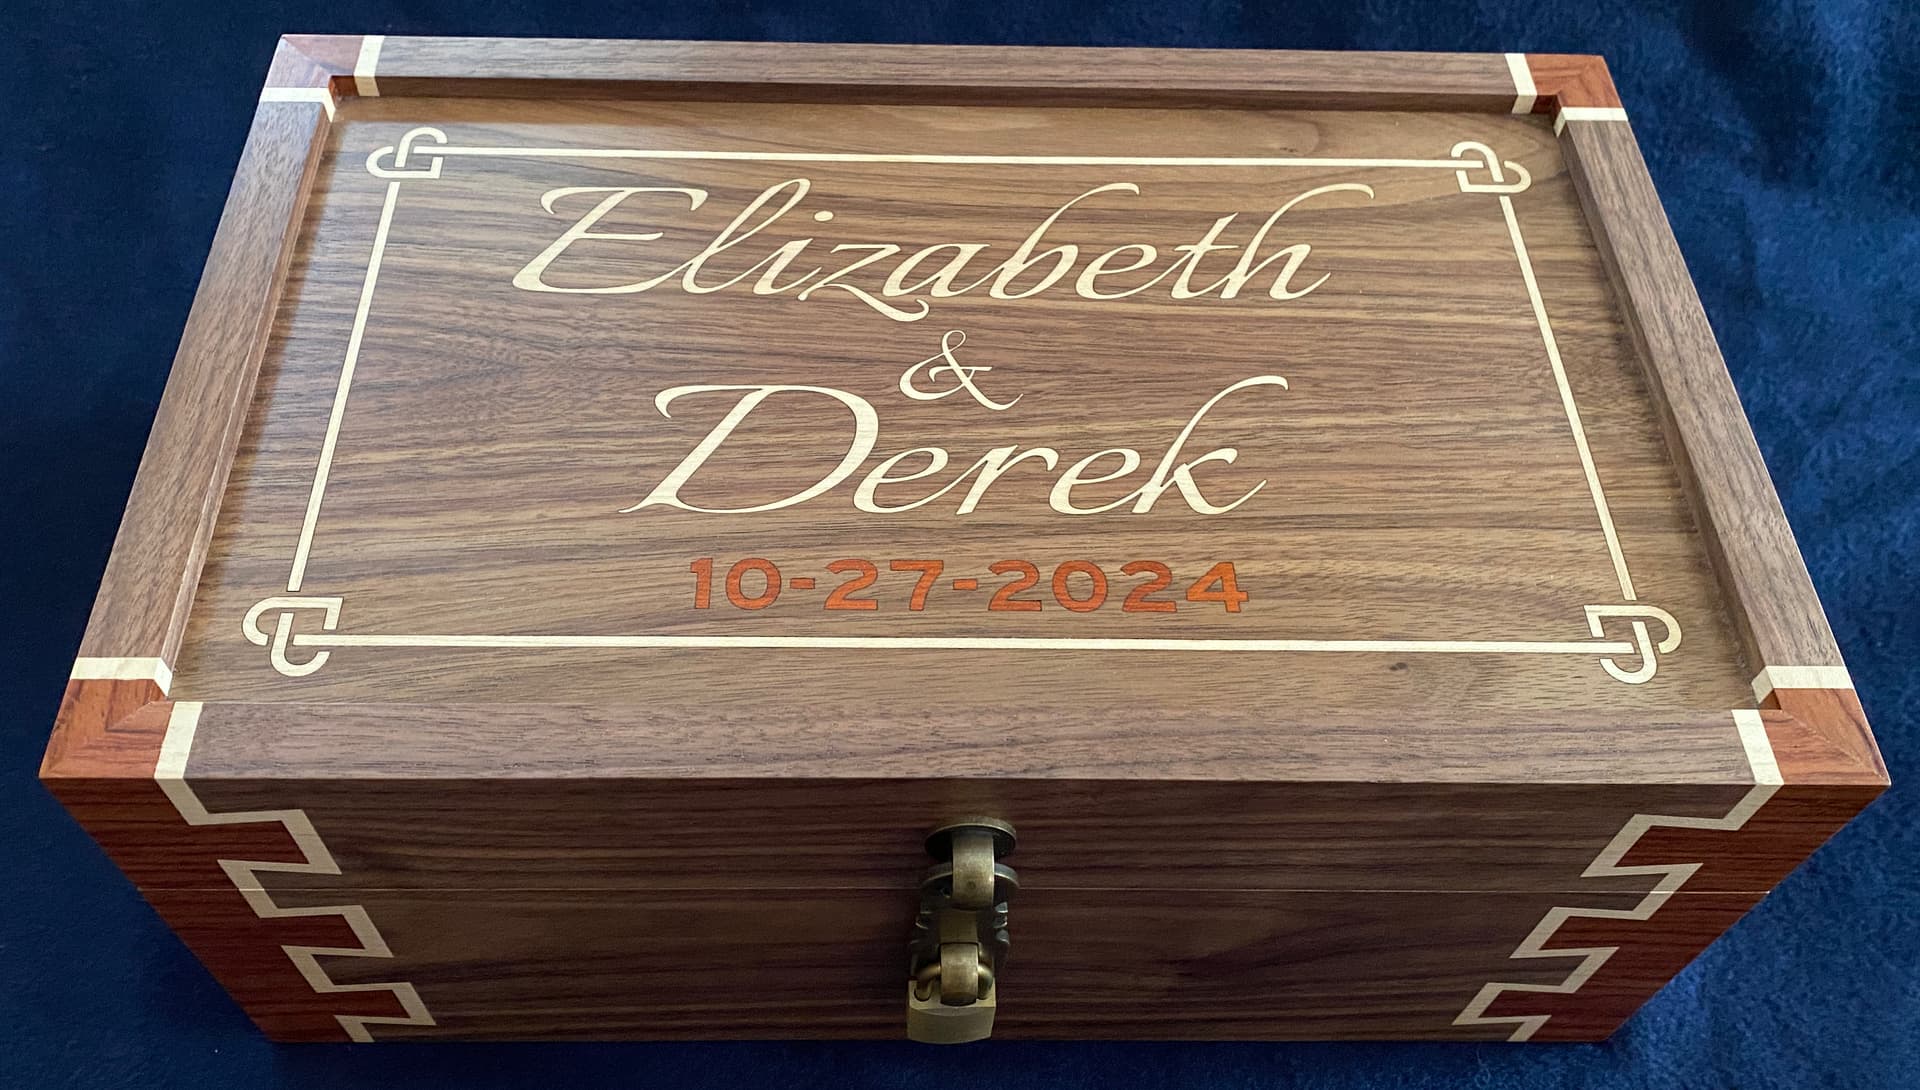
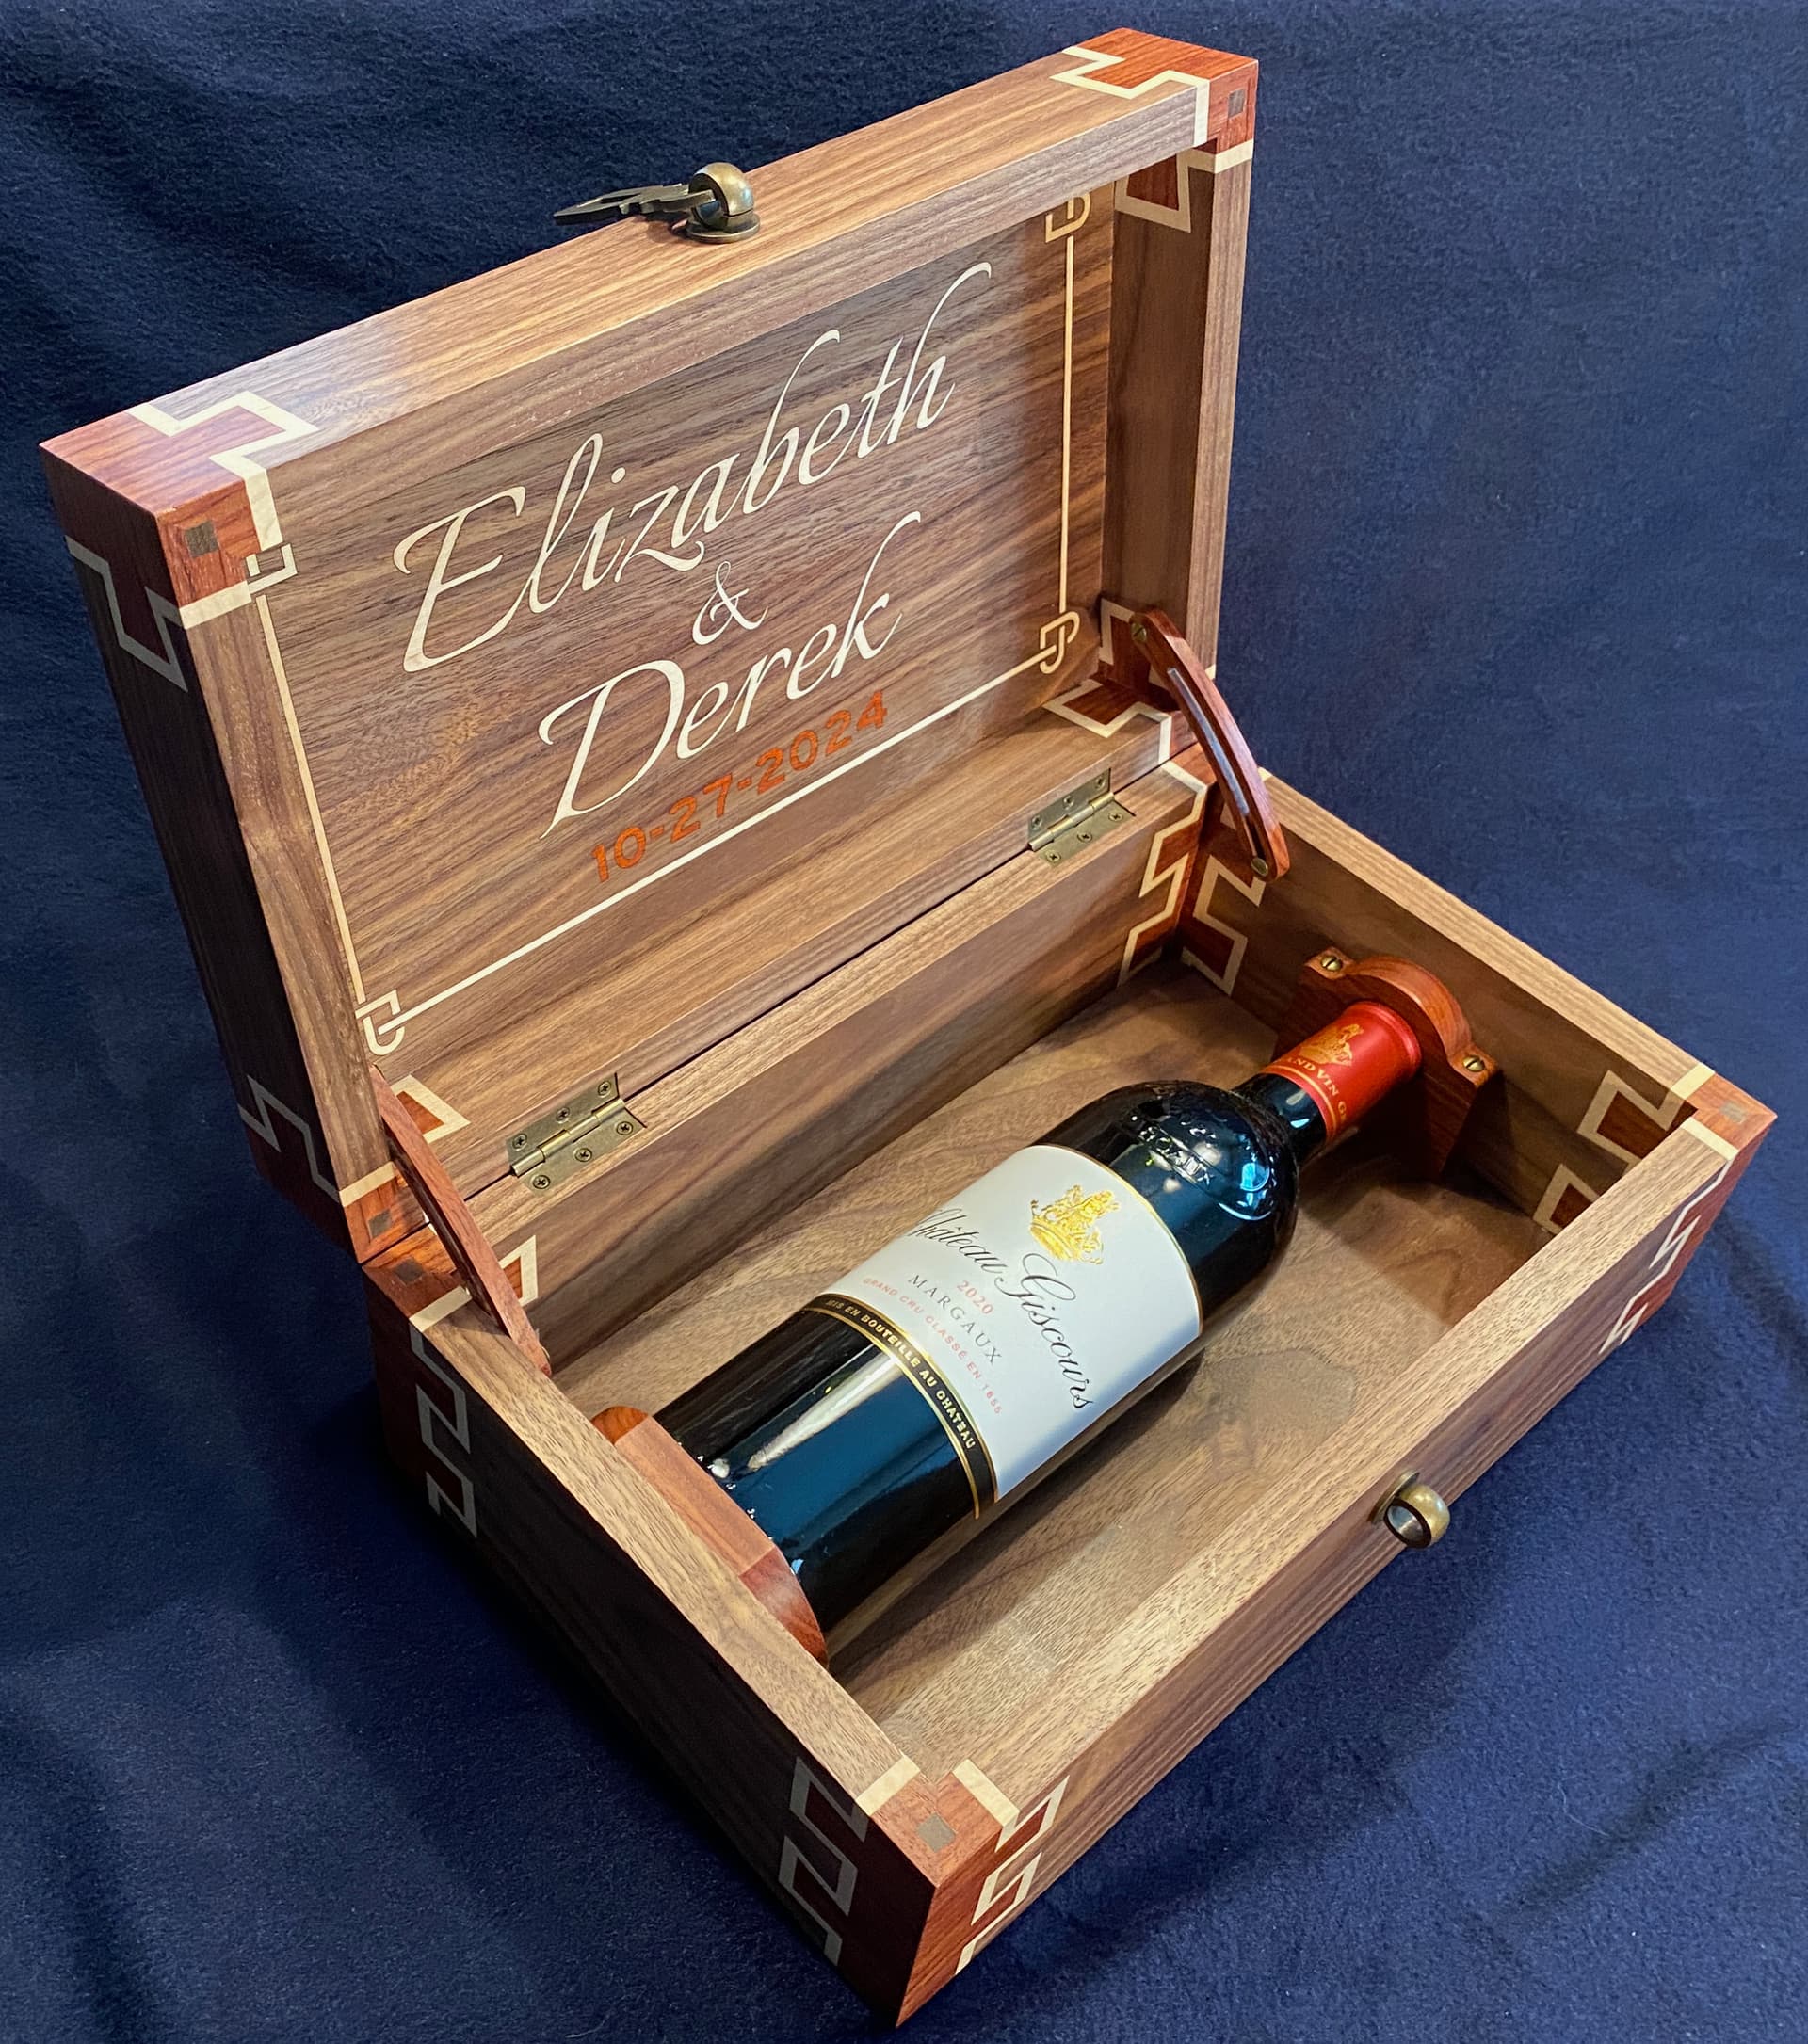
I’m working on a wedding box time capsule for my daughter - a box that locks, containing a bottle of wine and notes from the wedding guests. It is to be opened on their 10th anniversary, when they will enjoy the wine and read the notes.
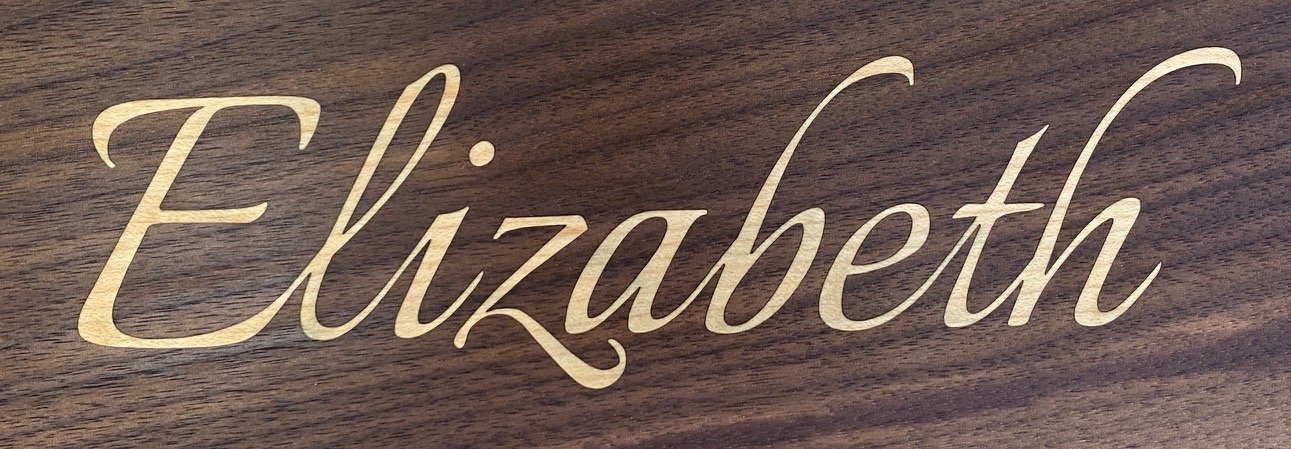
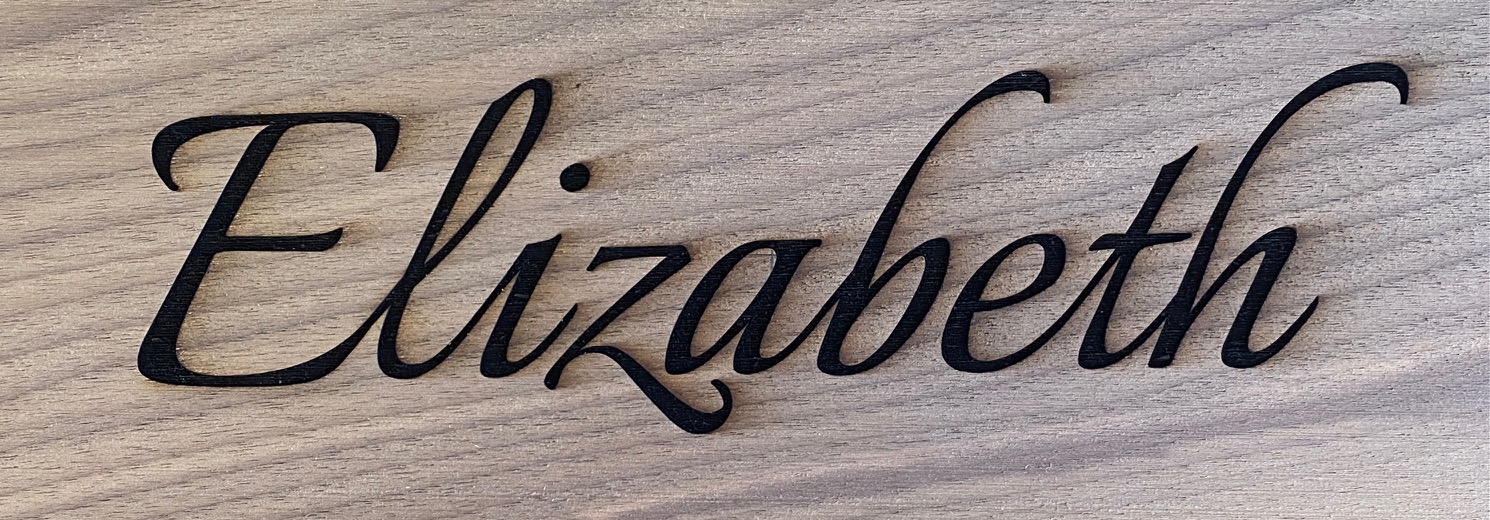
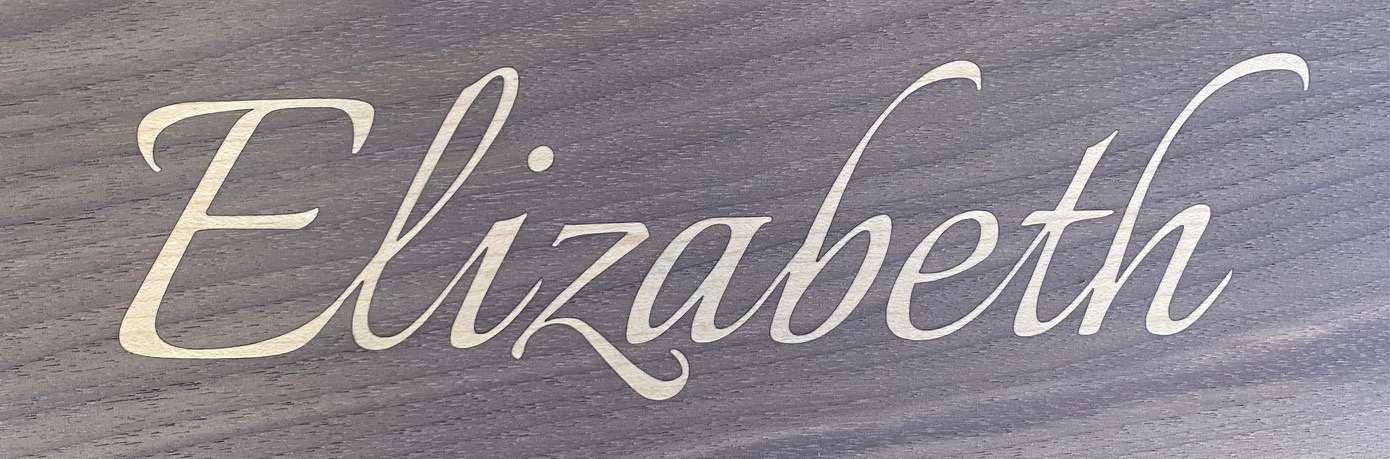
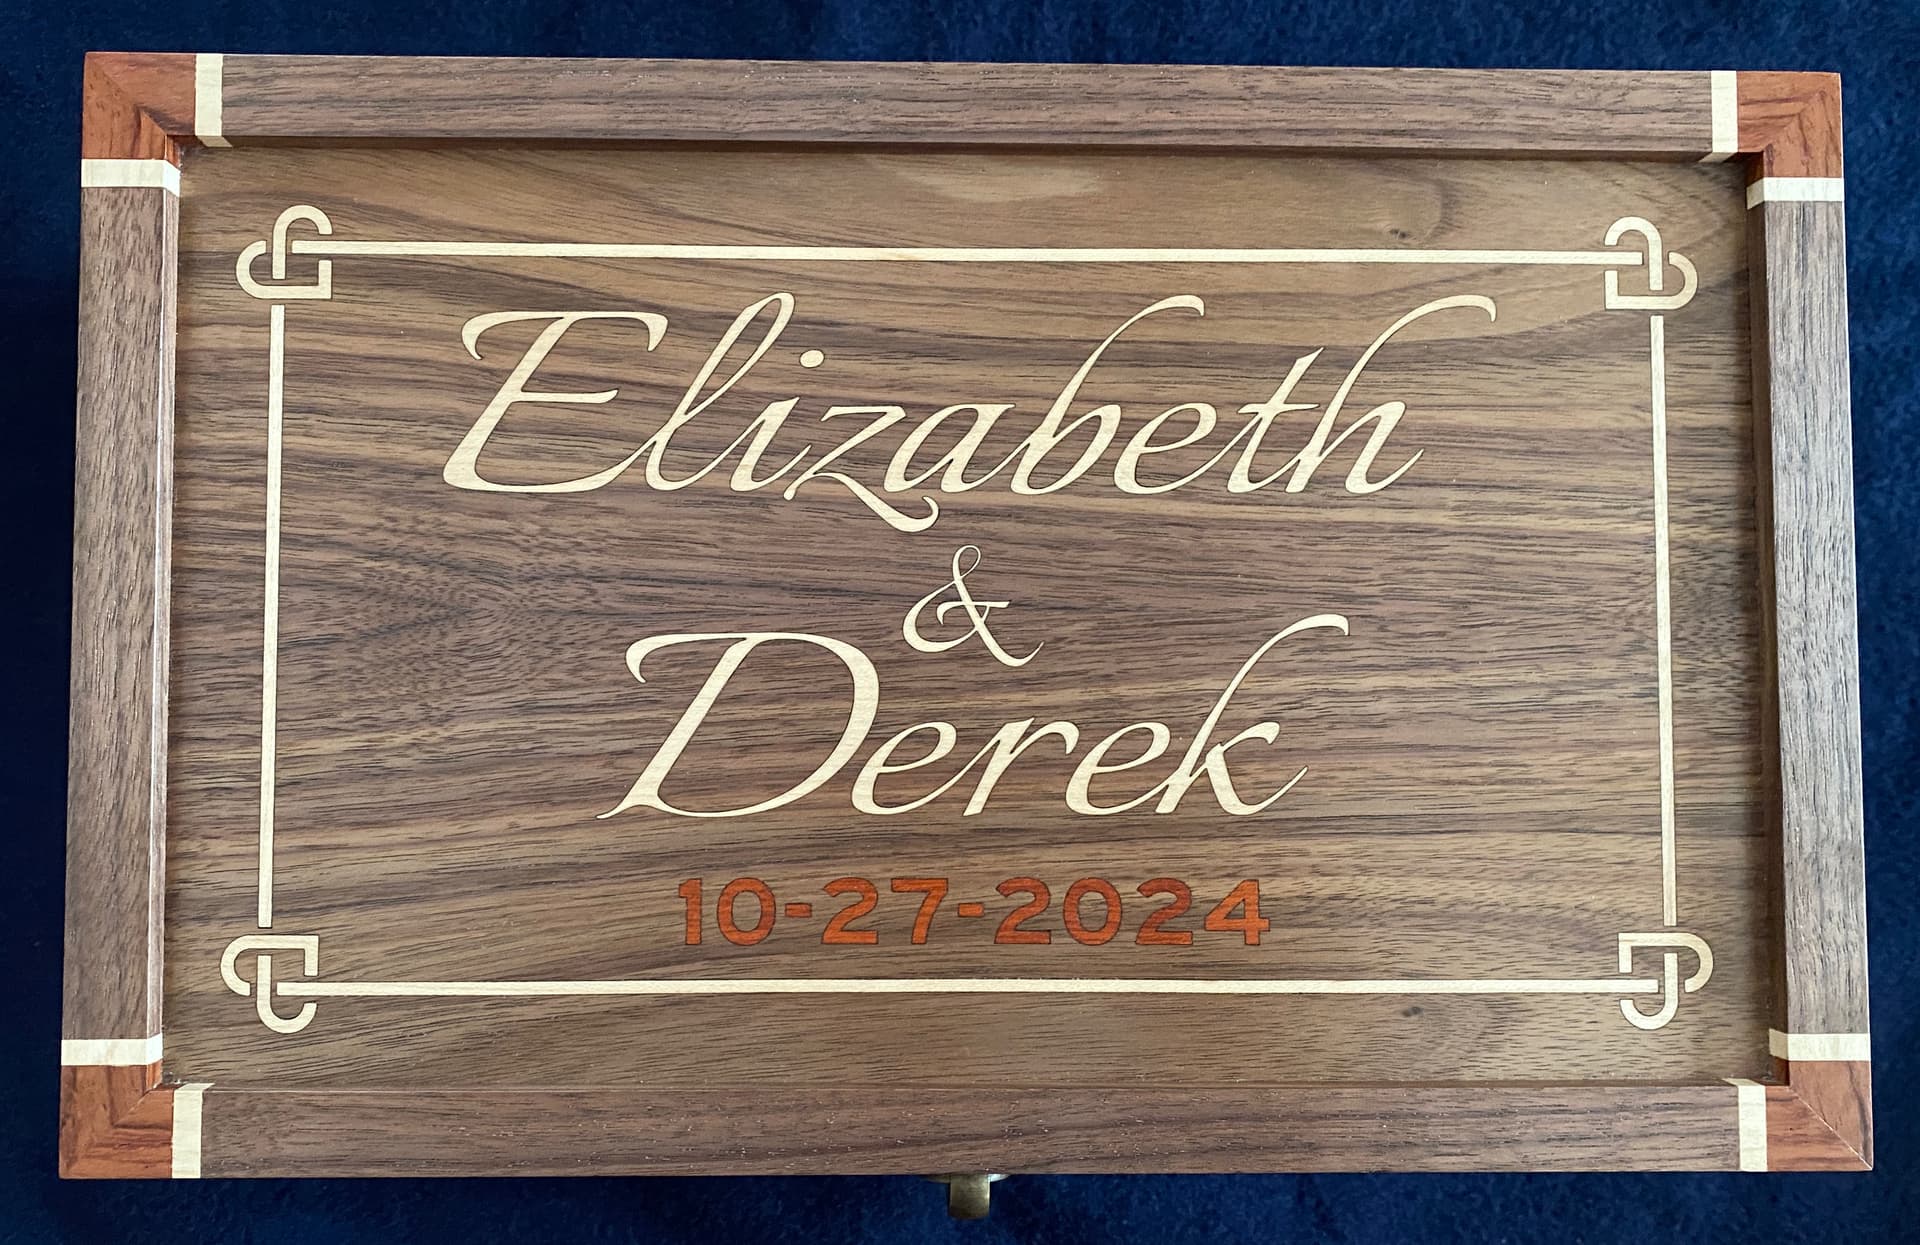
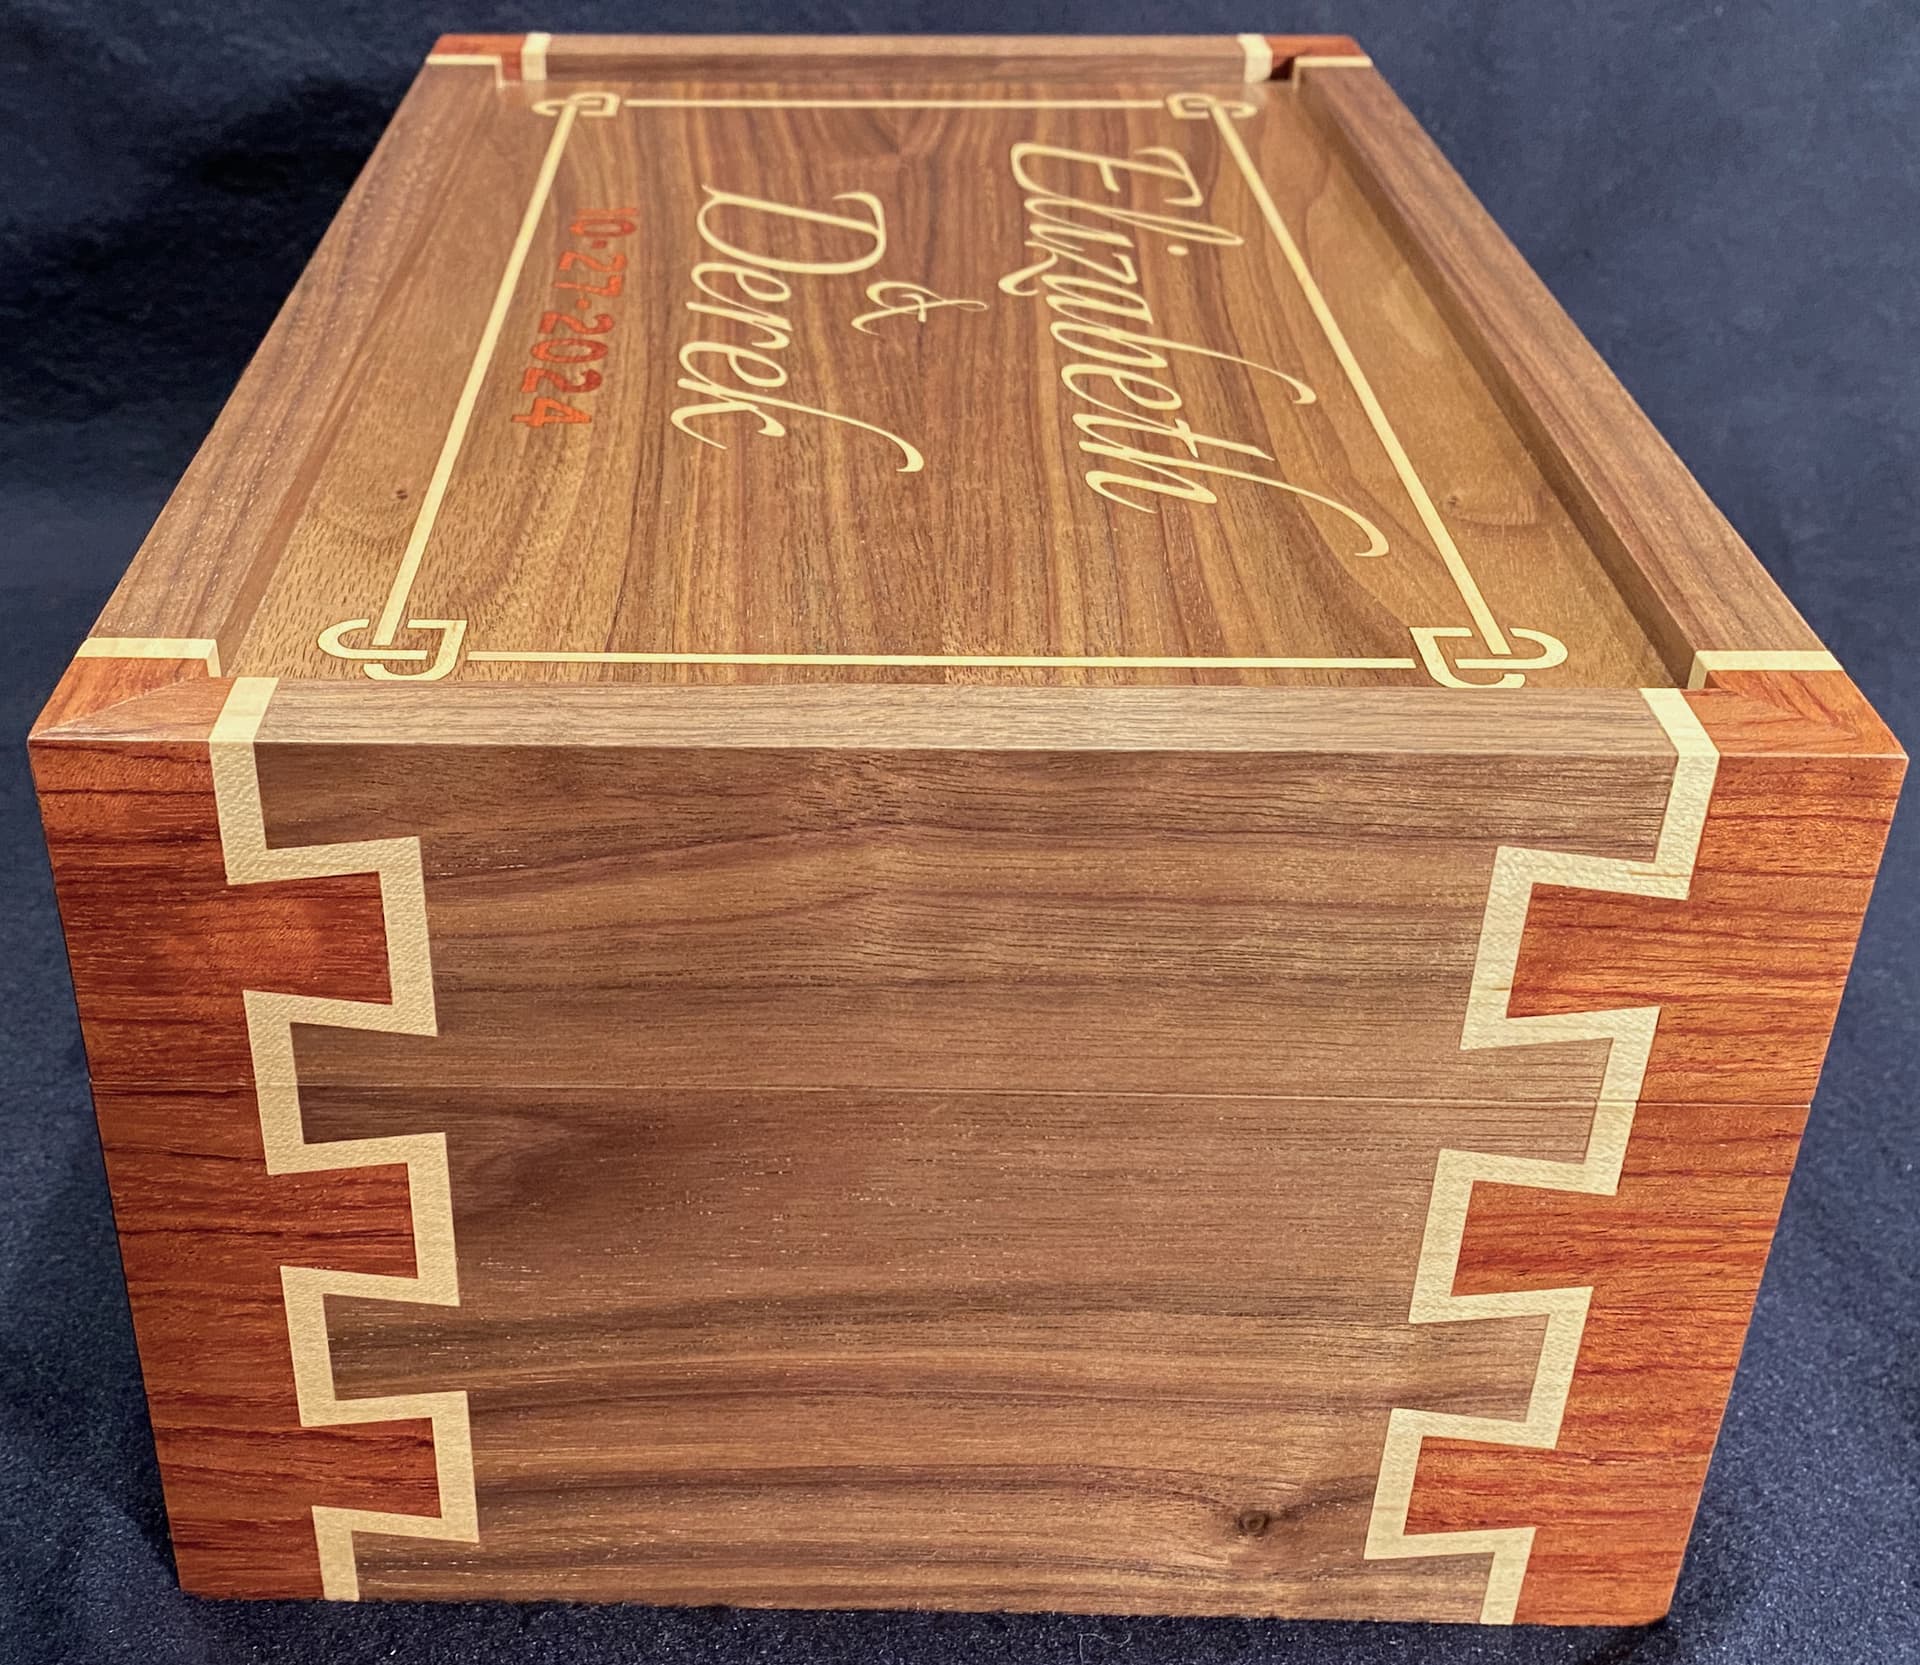
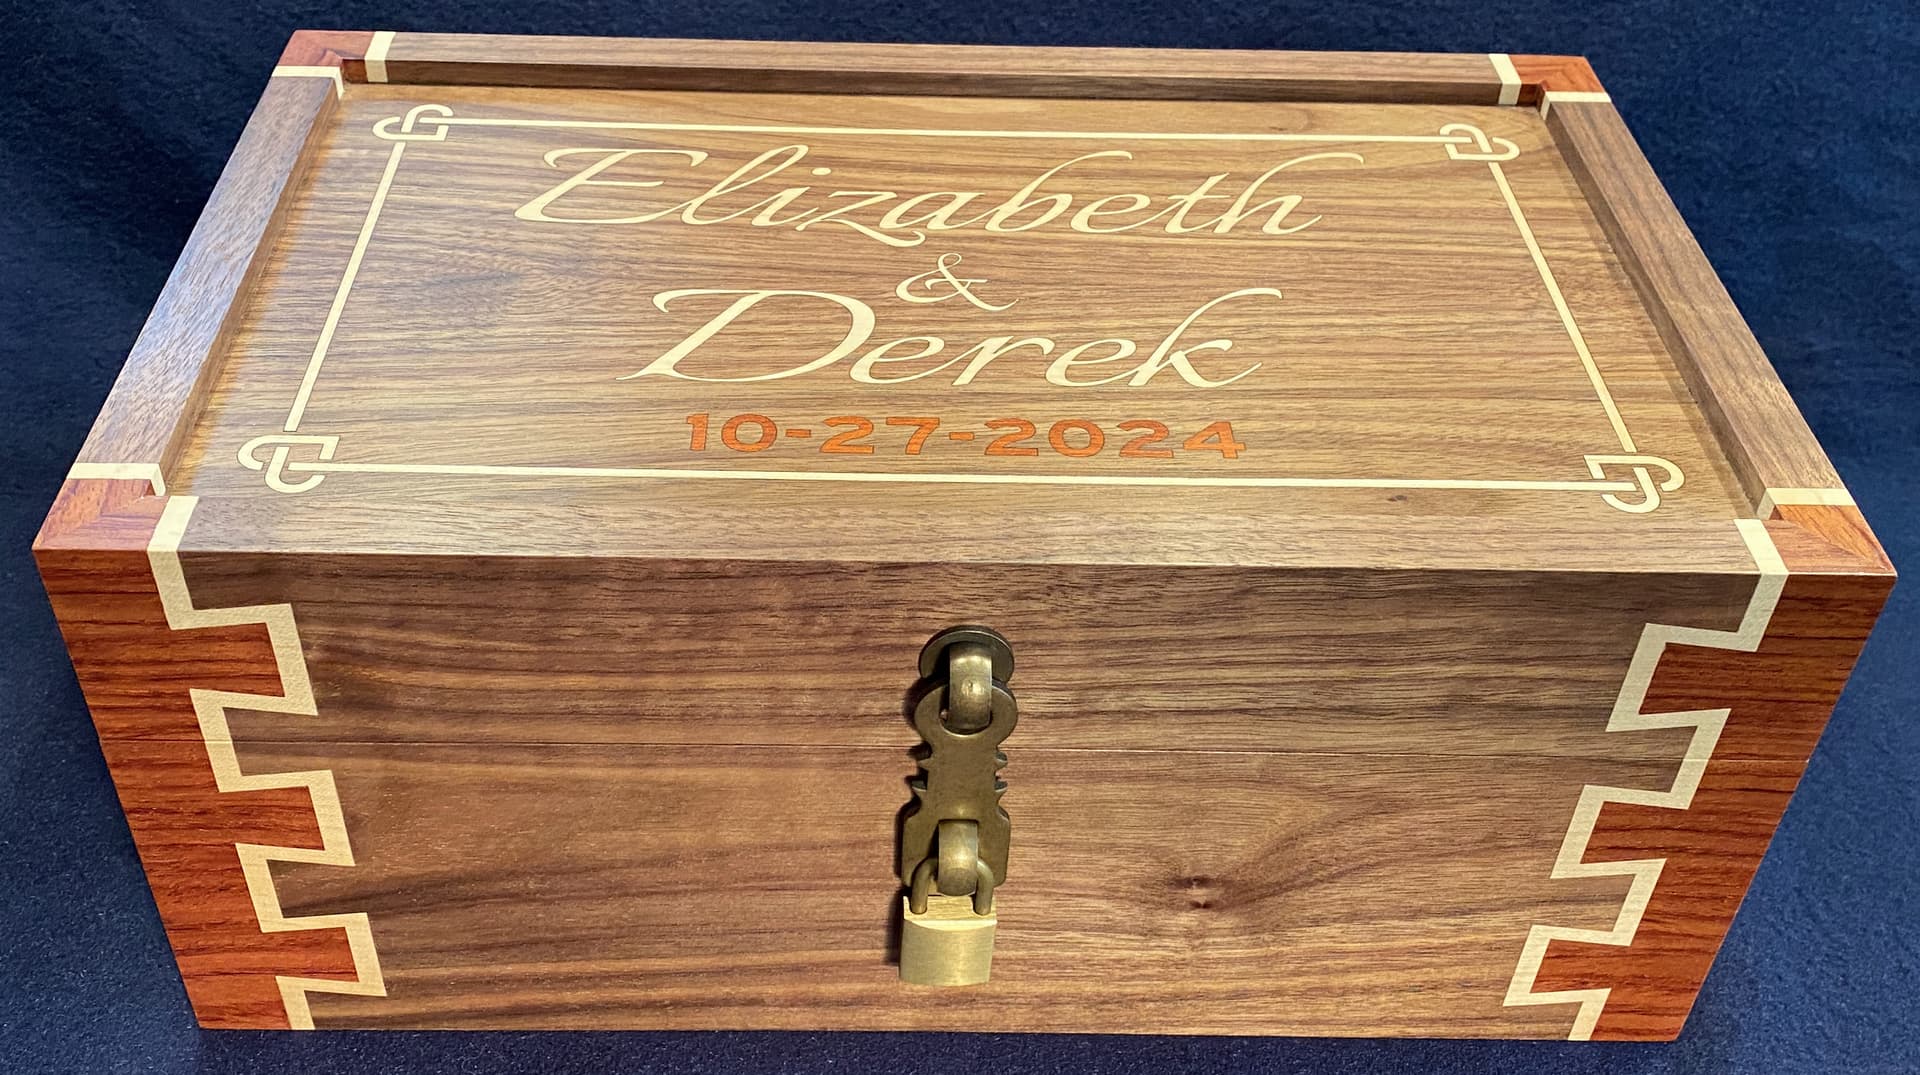
I want inlayed names and the wedding date on the lid. And perhaps some flourishes in the corners. I couldn’t achieve the fine detail I wanted using spinny bits (too much chip-out on the very narrow inlays). Epoxy pour is a fallback, but I really want to use wood. I thought I’d try my 7 Watt JTech Laser on my Shapeoko 3XL. The precision of this combination is extraordinary - I couldn’t be happier with the results.
For the pocket, the trick is to dial in the speed and power to get the desired depth. Early attempts proved that I needed air-assist to clear the smoke and prevent charring (much like air-blast for clearing chips when cutting aluminum).
For the inlay, the trick is to offset the cut to the outside by the width of your laser kerf (in my case .006"). It’s akin to using an endmill with a .006" diameter.
I’ll add to this thread as this project takes shape.
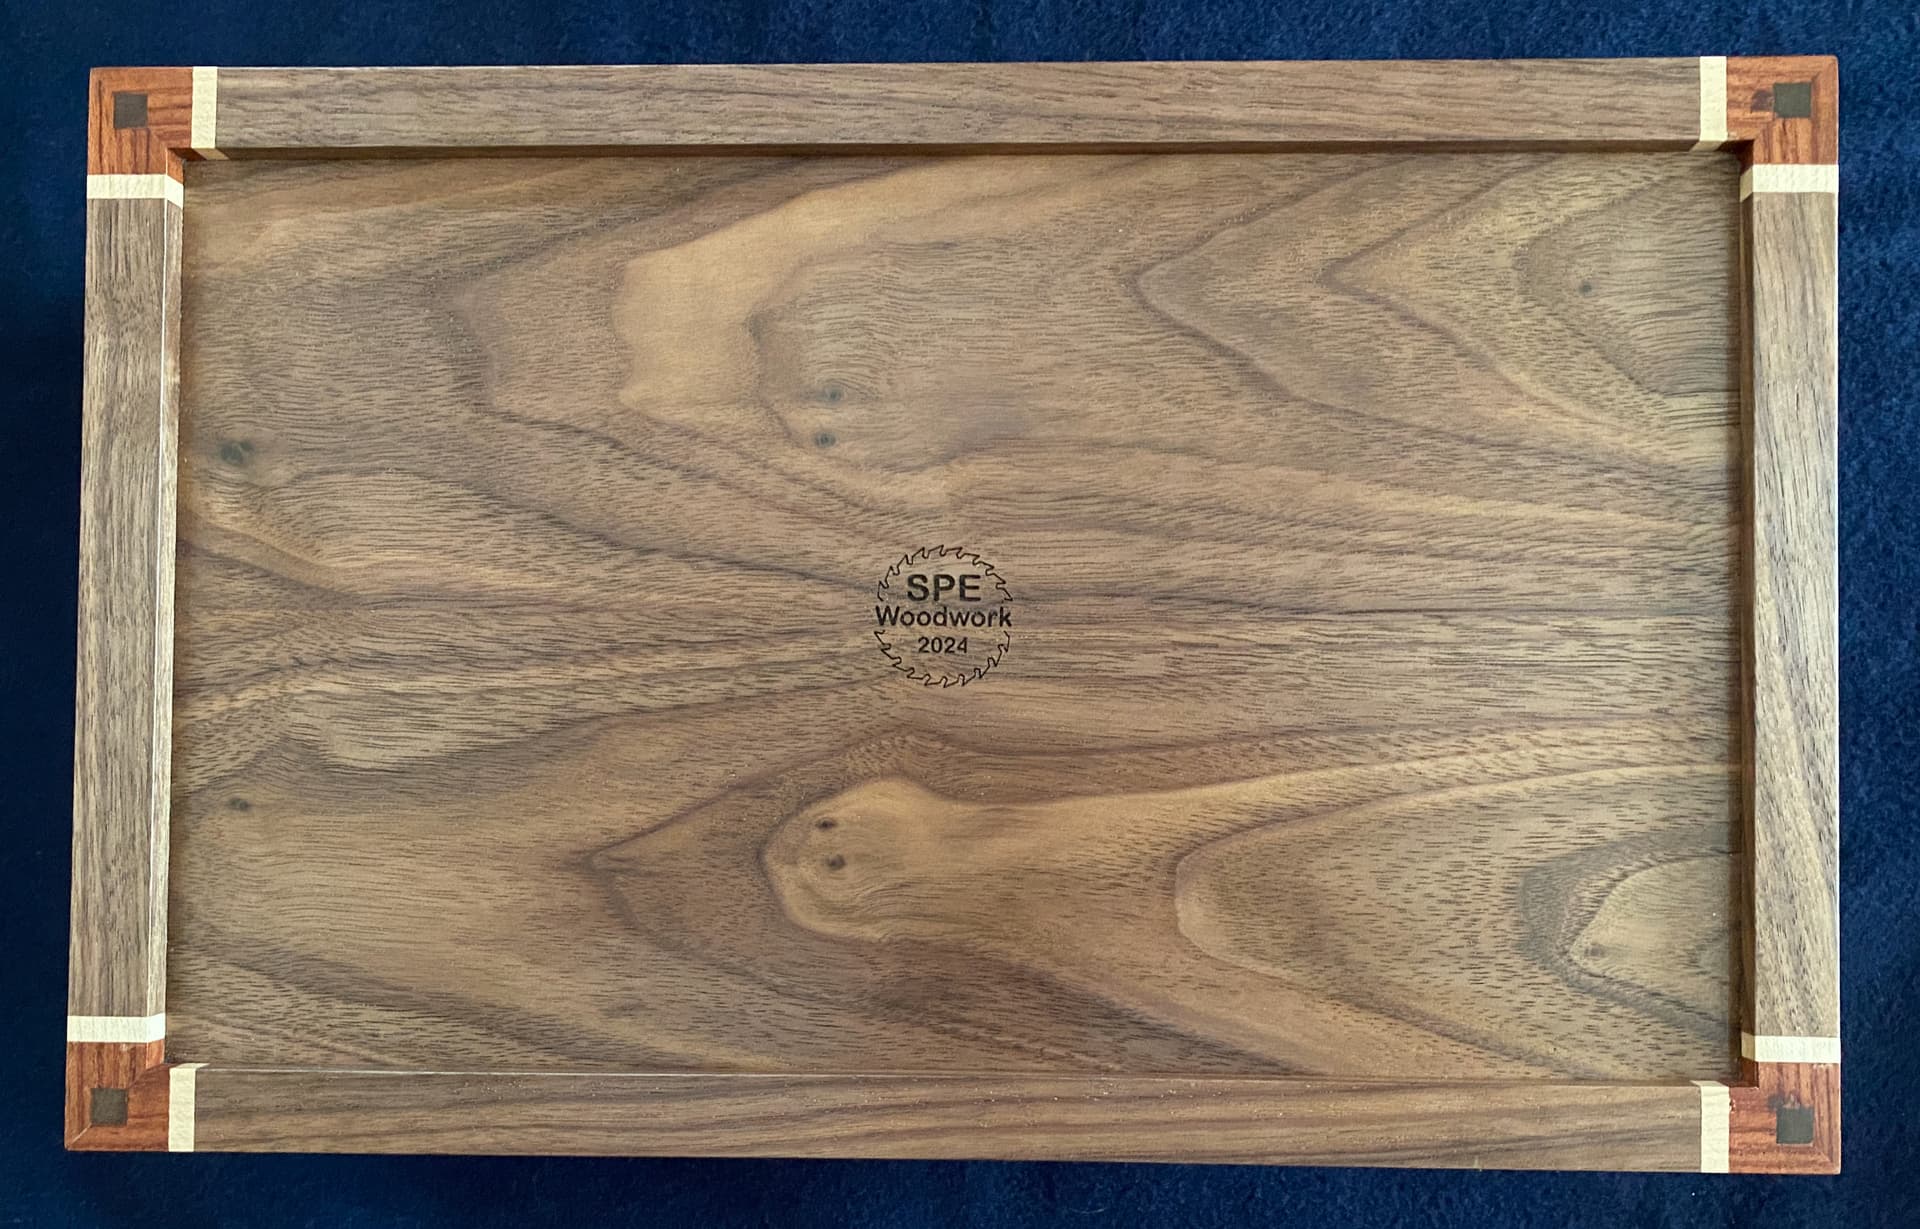
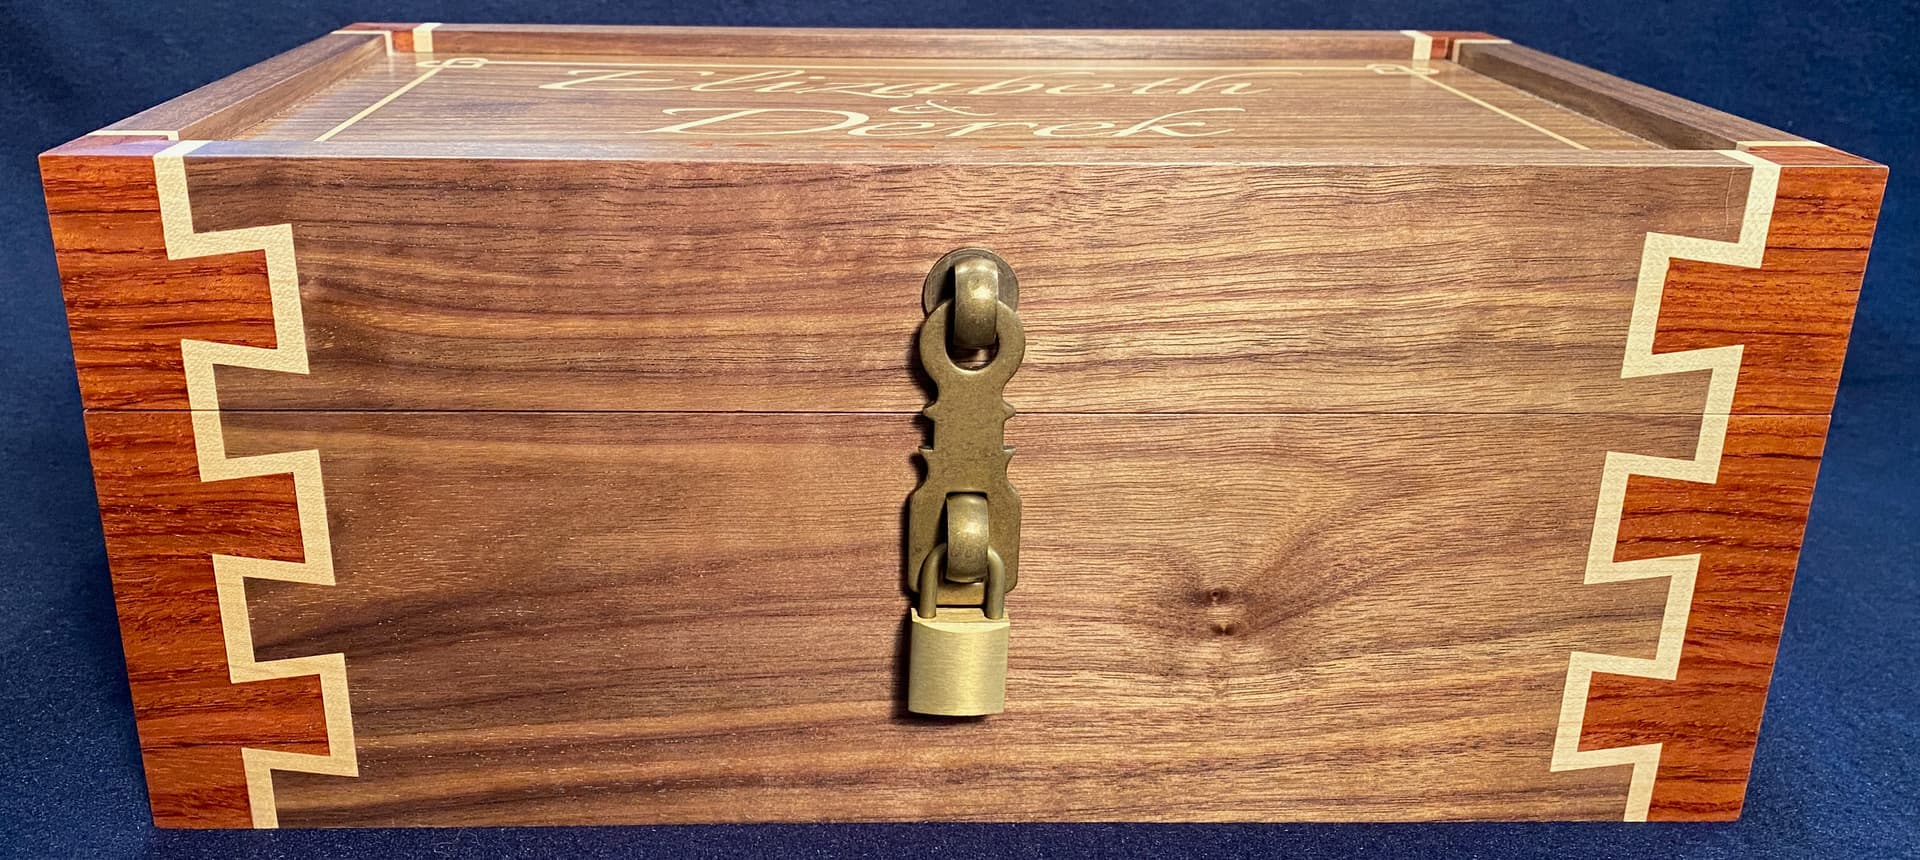
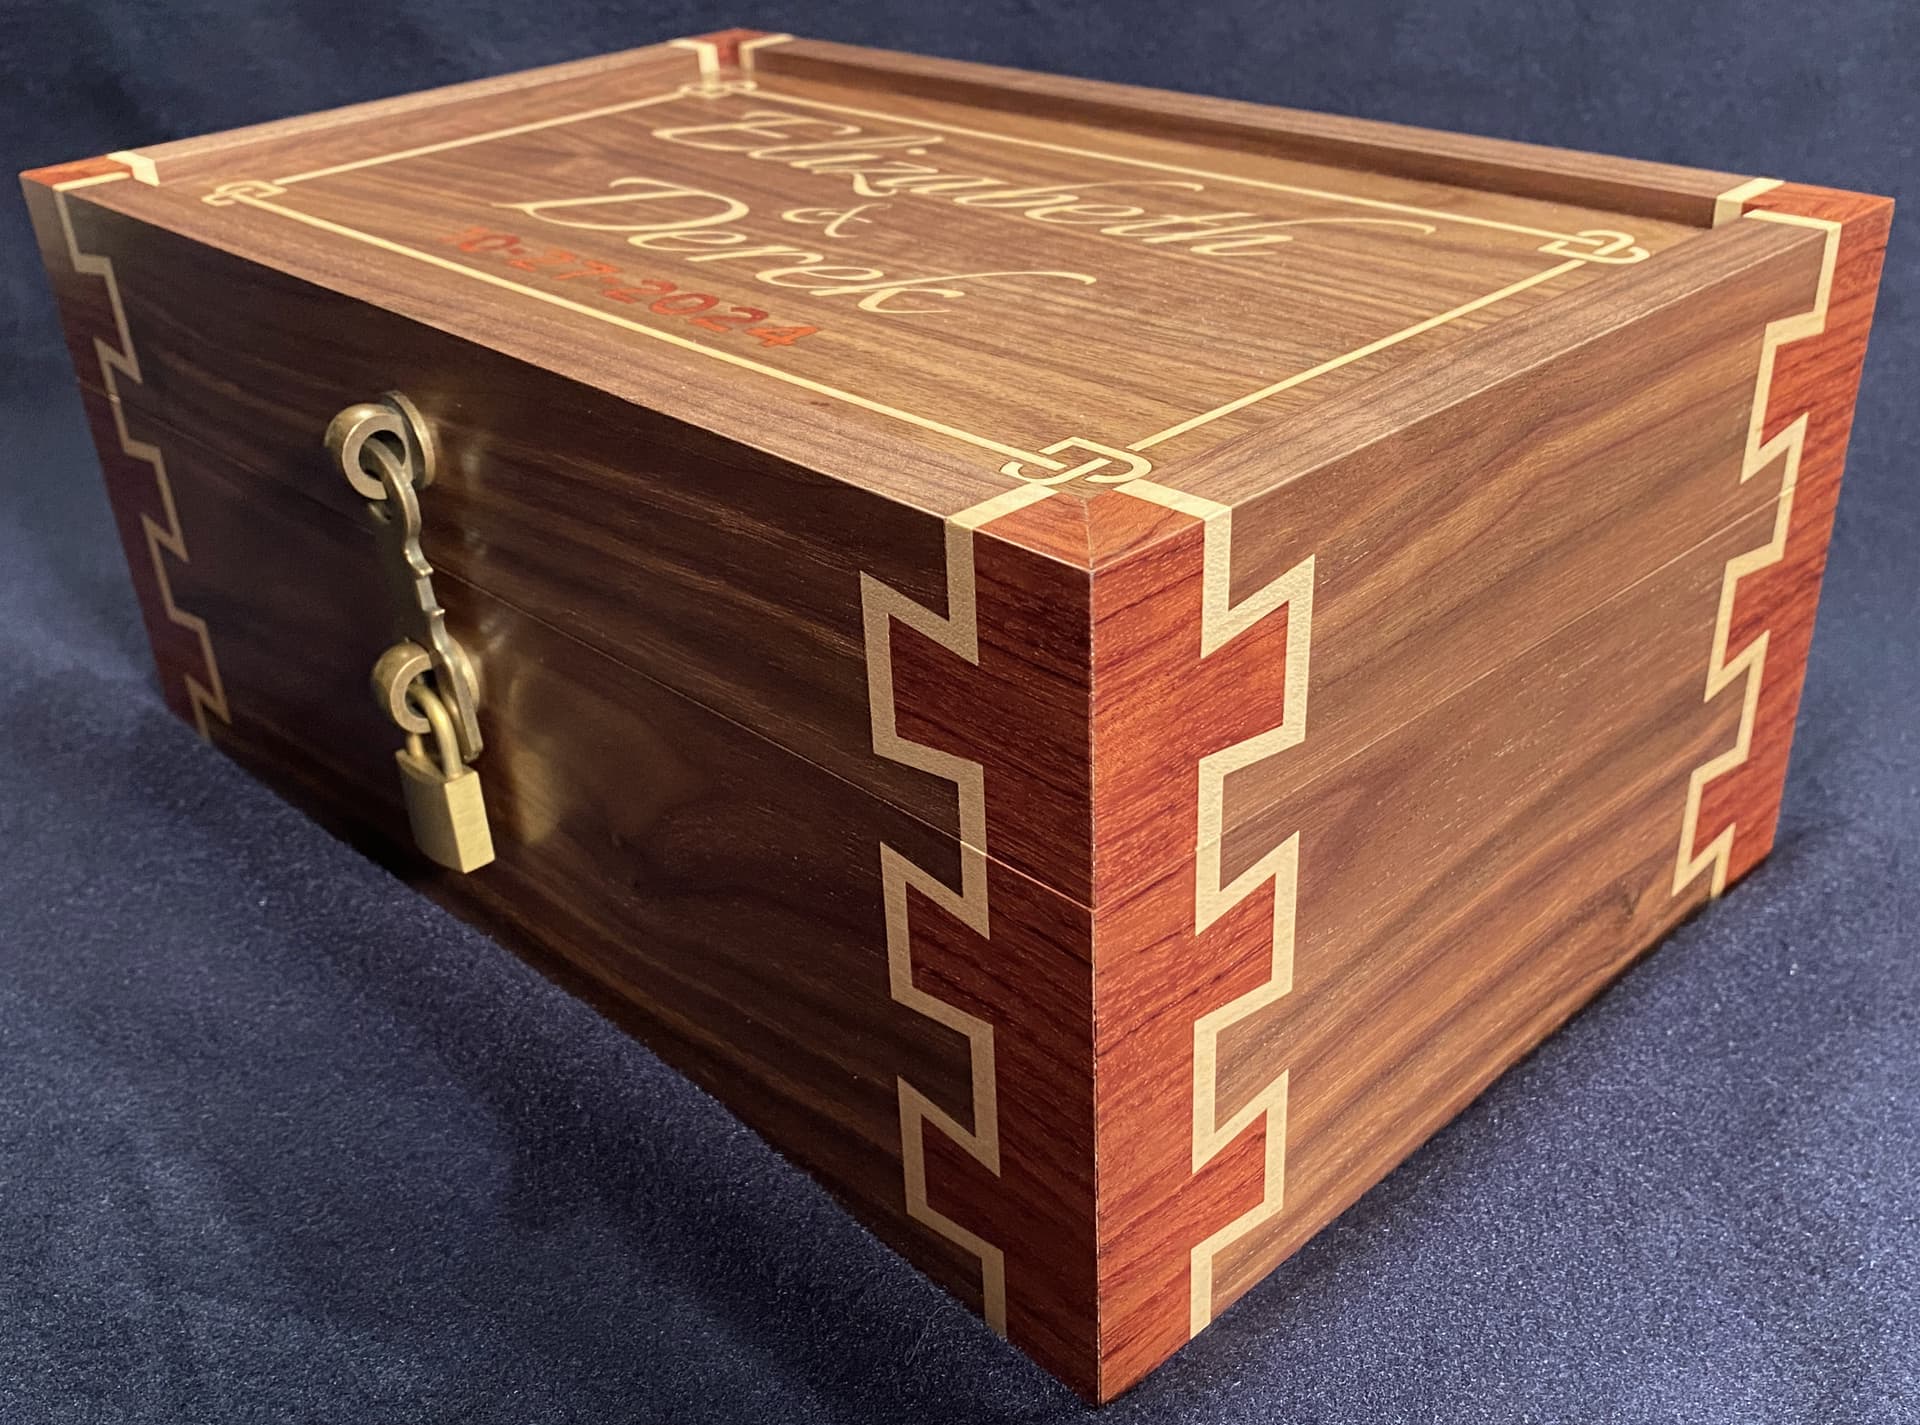
Box is done! Made of walnut, bubinga and maple. The dovetails were cut on a router table with a (discontinued) Jointech system. The inlay is maple into walnut, cut with a 7W JTech laser on my Shapeoko 3XL. The hardware is aged brass (some of it was shiny when new, but fumed with ammonia to darken it). Finish is 4 coats of wiped-on Shellac (1.5# cut) and buffed with paste wax and 0000 steel wool.
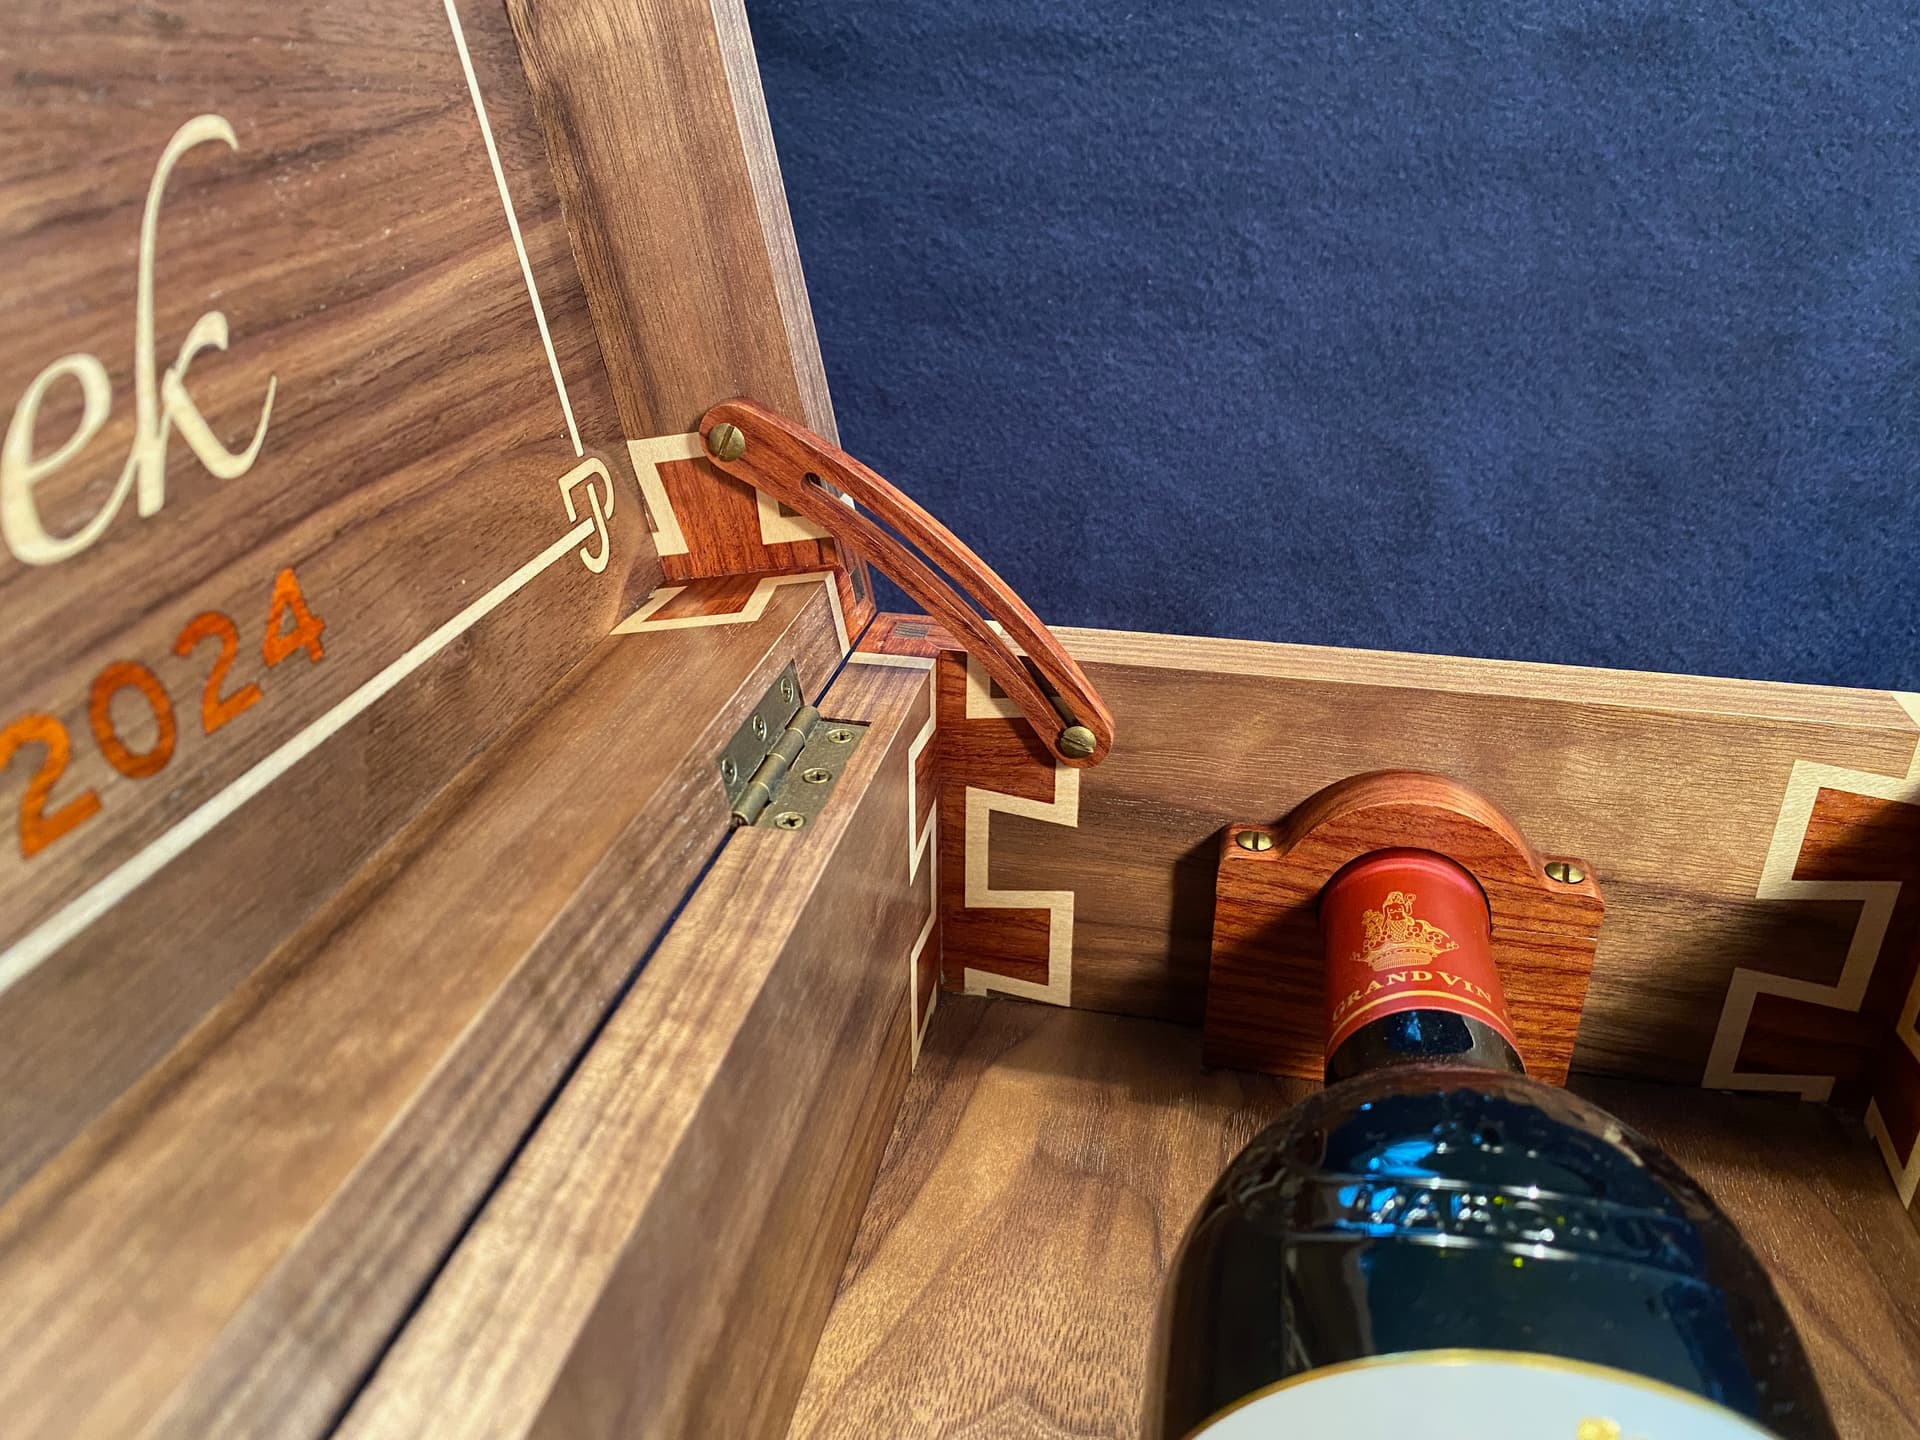
Since the box will be on display, I inlayed both the top and botttom of the lid. I also needed lid-stays so a guest doesn’t accidentally break the hinges. I spent a whole day figuring out the dimensions of the (bubinga) stays and cut them on the CNC.
If you’ve more boxes in your future, check out quadrant hinges, they have a built-in lid stop. Brusso makes the standard, beware of inferior knock-offs. [Looks like I forgot to put the rest of the screws in wife’s box!]
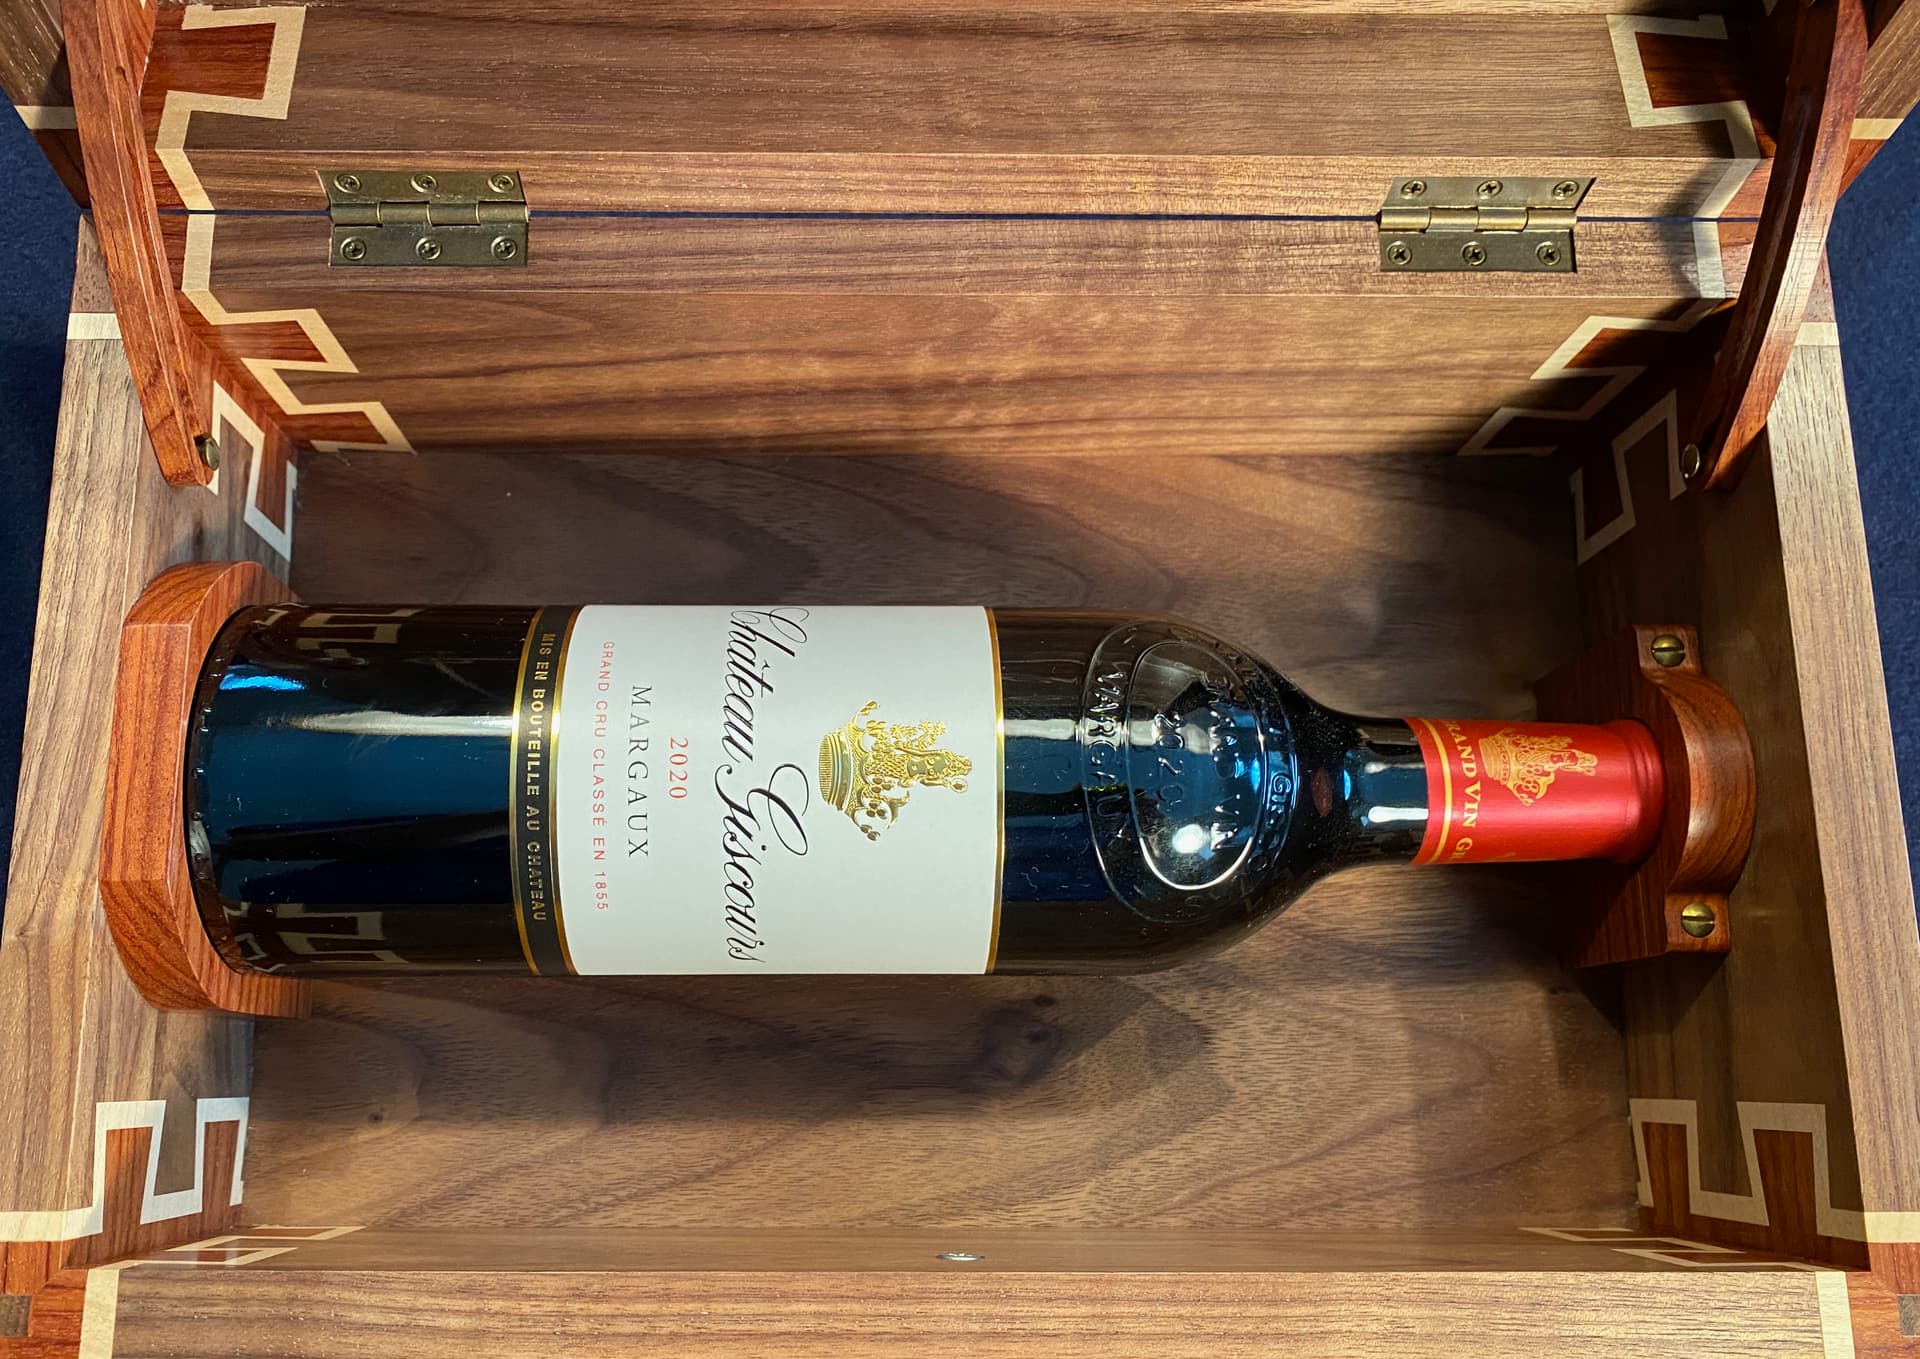
Thanks for the kind words. As for the wine, I was told that a Bordeaux had the best chance of still being good in 10 years, and this one in particular got high marks for expected longevity. Fingers crossed.
I looked at those - very nice. But I was set on hardware with a dark brass finish, and could only find good quadrant hinges in bright brass. Once the box was done, I couldn’t find a suitable padlock in dark brass, so I figured out how to fume brass. One way is vinegar and salt, but it left a blotchy and partially green finish. The trick was household ammonia. First wipe the brass with acetone to remove finger oils. A little bit of ammonia in a pill bottle. Suspend the brass inside (don’t let it get wet) and seal the bottle. Turned it from bright to dark in about an hour. The only downside is it smells like cat pee during the process
Assuming flat-head screwdrivers still exist in 10 years, the brass screws will come out easy - I pre-threaded the holes with a steel screw, so they aren’t in there tight. Just tight enough to keep the wine bottle from flopping around.