Whilst watching a cut today on my Shapeoko I was thinking that like me there are probably a lot of forum members who cut similar things day in and day out, and, like me never think of posting a picture in the gallery as it is “run of the mill” stuff.
Well recently I have been cutting LOTS of wooden patterns for another hobby of mine, metal casting. The advent of Advanced “V” carve with pocketing has hugely increased the complexity of the patterns I can create. The tracing facility will be a big plus also, having previously used “convertio” which limits free use to 10 mins/day.
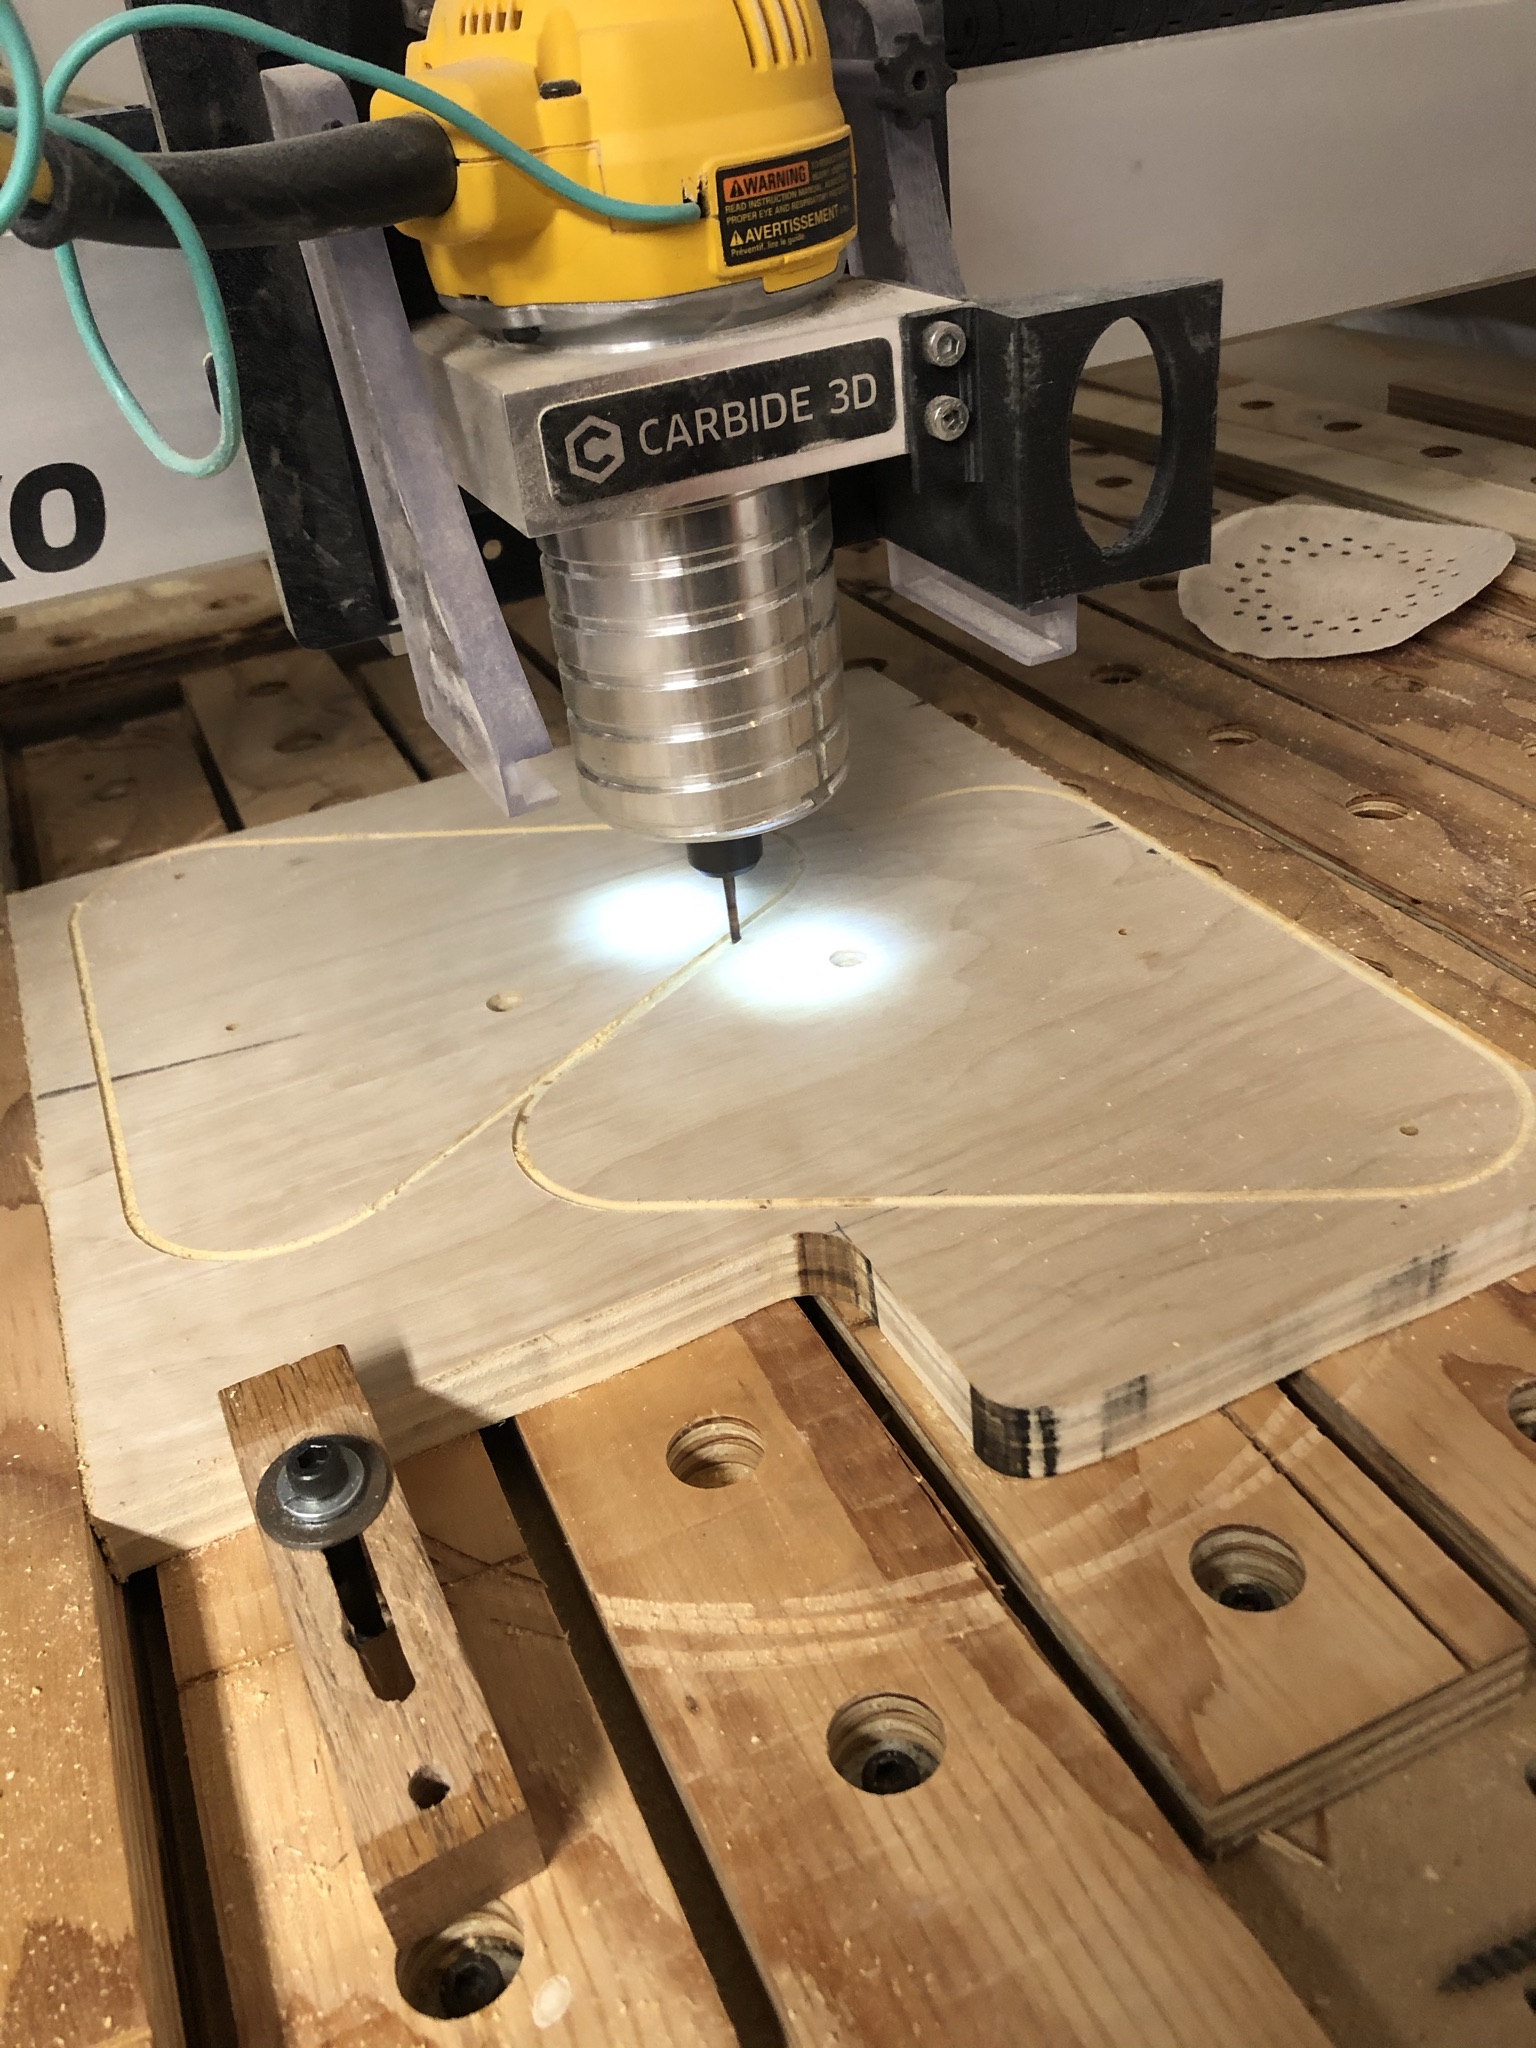
Anyway, todays cut is my take on the United States Space Force logo, which I will attempt to cast in aluminium (or aluminum for our friends in the States!).
I have increased the diameter of the stars as a pin prick will not be visible on the cast version, I have also not been able to recreate the facets on the spaceship. I only have CC and if this is possible I have no idea how.
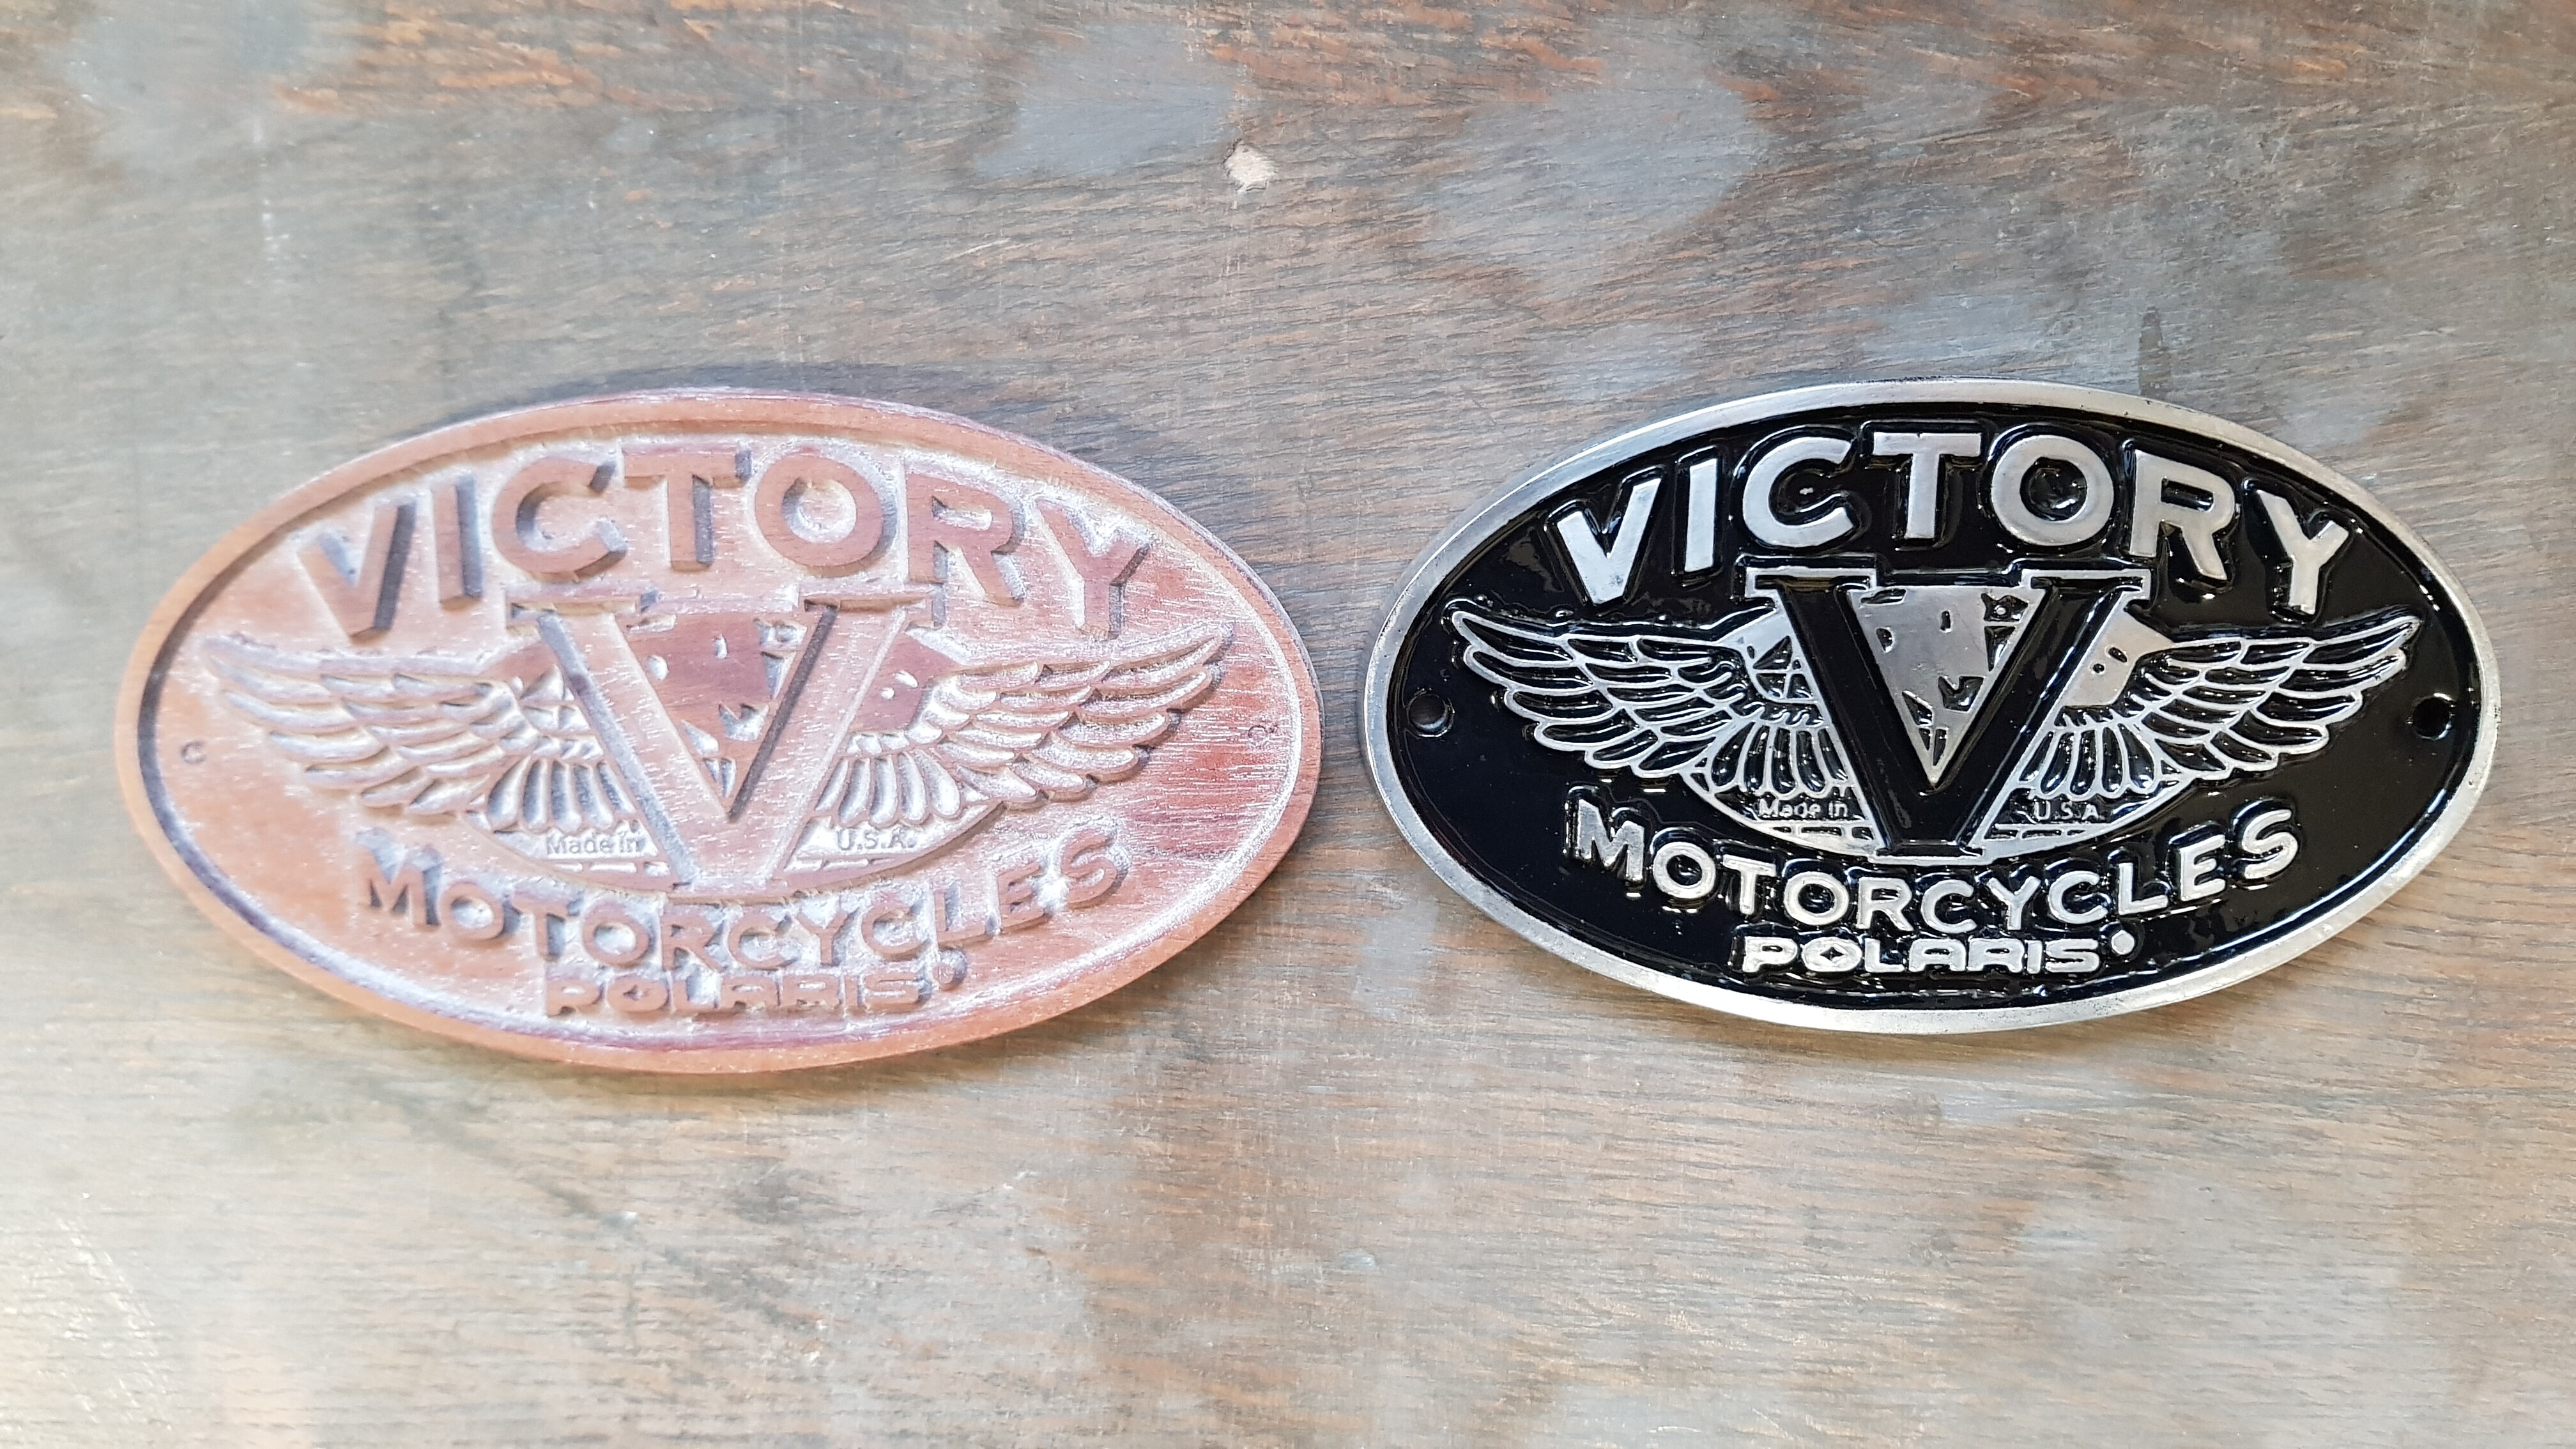
Just to give a better idea of what I am trying to achieve with this the “Victory” sign below was cut and cast, I was amazed at the ability of the Shapeoko to produce such small letters the “Made in USA”, lower case letters are only 1mm tall, and have been reproduced in the sand mould and show up well on the casting, this is about 6" wide.
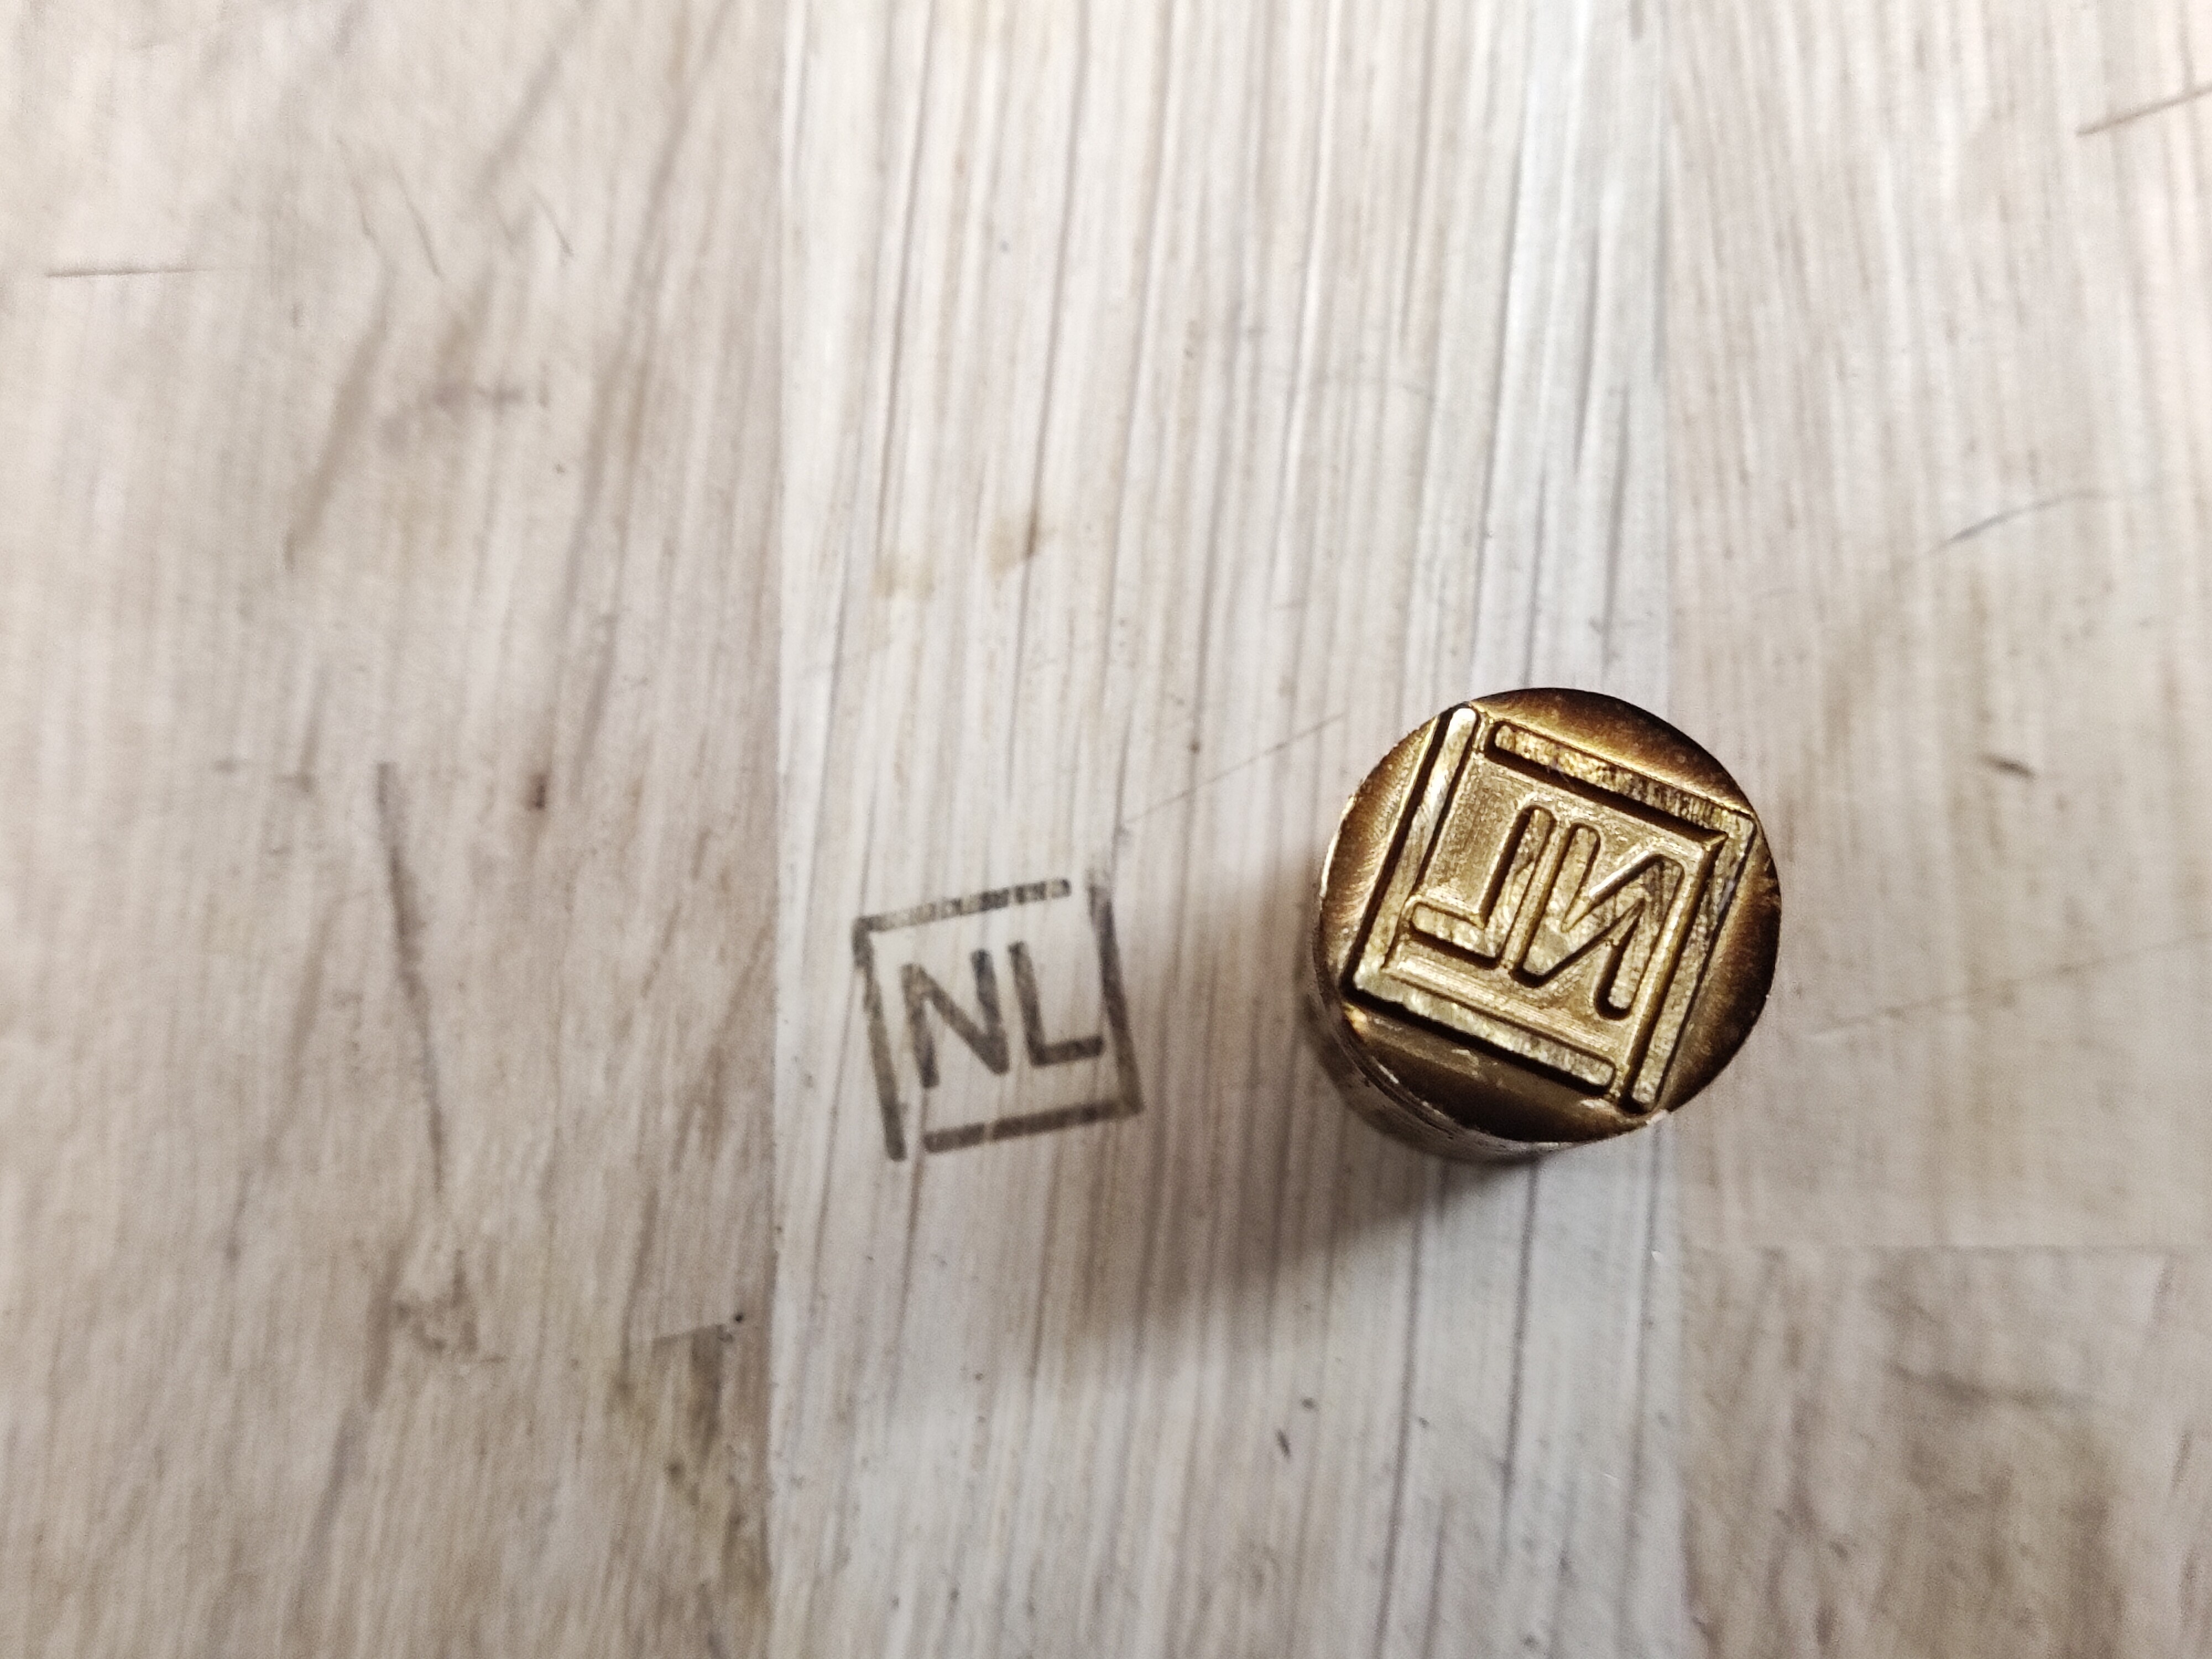
I did my first brass project today: A brandig stamp with my initials. Diameter is 15mm. I think I started very carefully, with a chipload of 0.02mm on a 2mm end mill, for example. Still surpised how well this stuff gets cut!
I didn’t plan anything that way because it was the first try. I heated that one with a propane flame and used a clamp to hold it.
I saw Winston’s video but think I might redo it on a longer brass rod with a wooden handle and heat it by flame. I don’t expect do use it frequently.
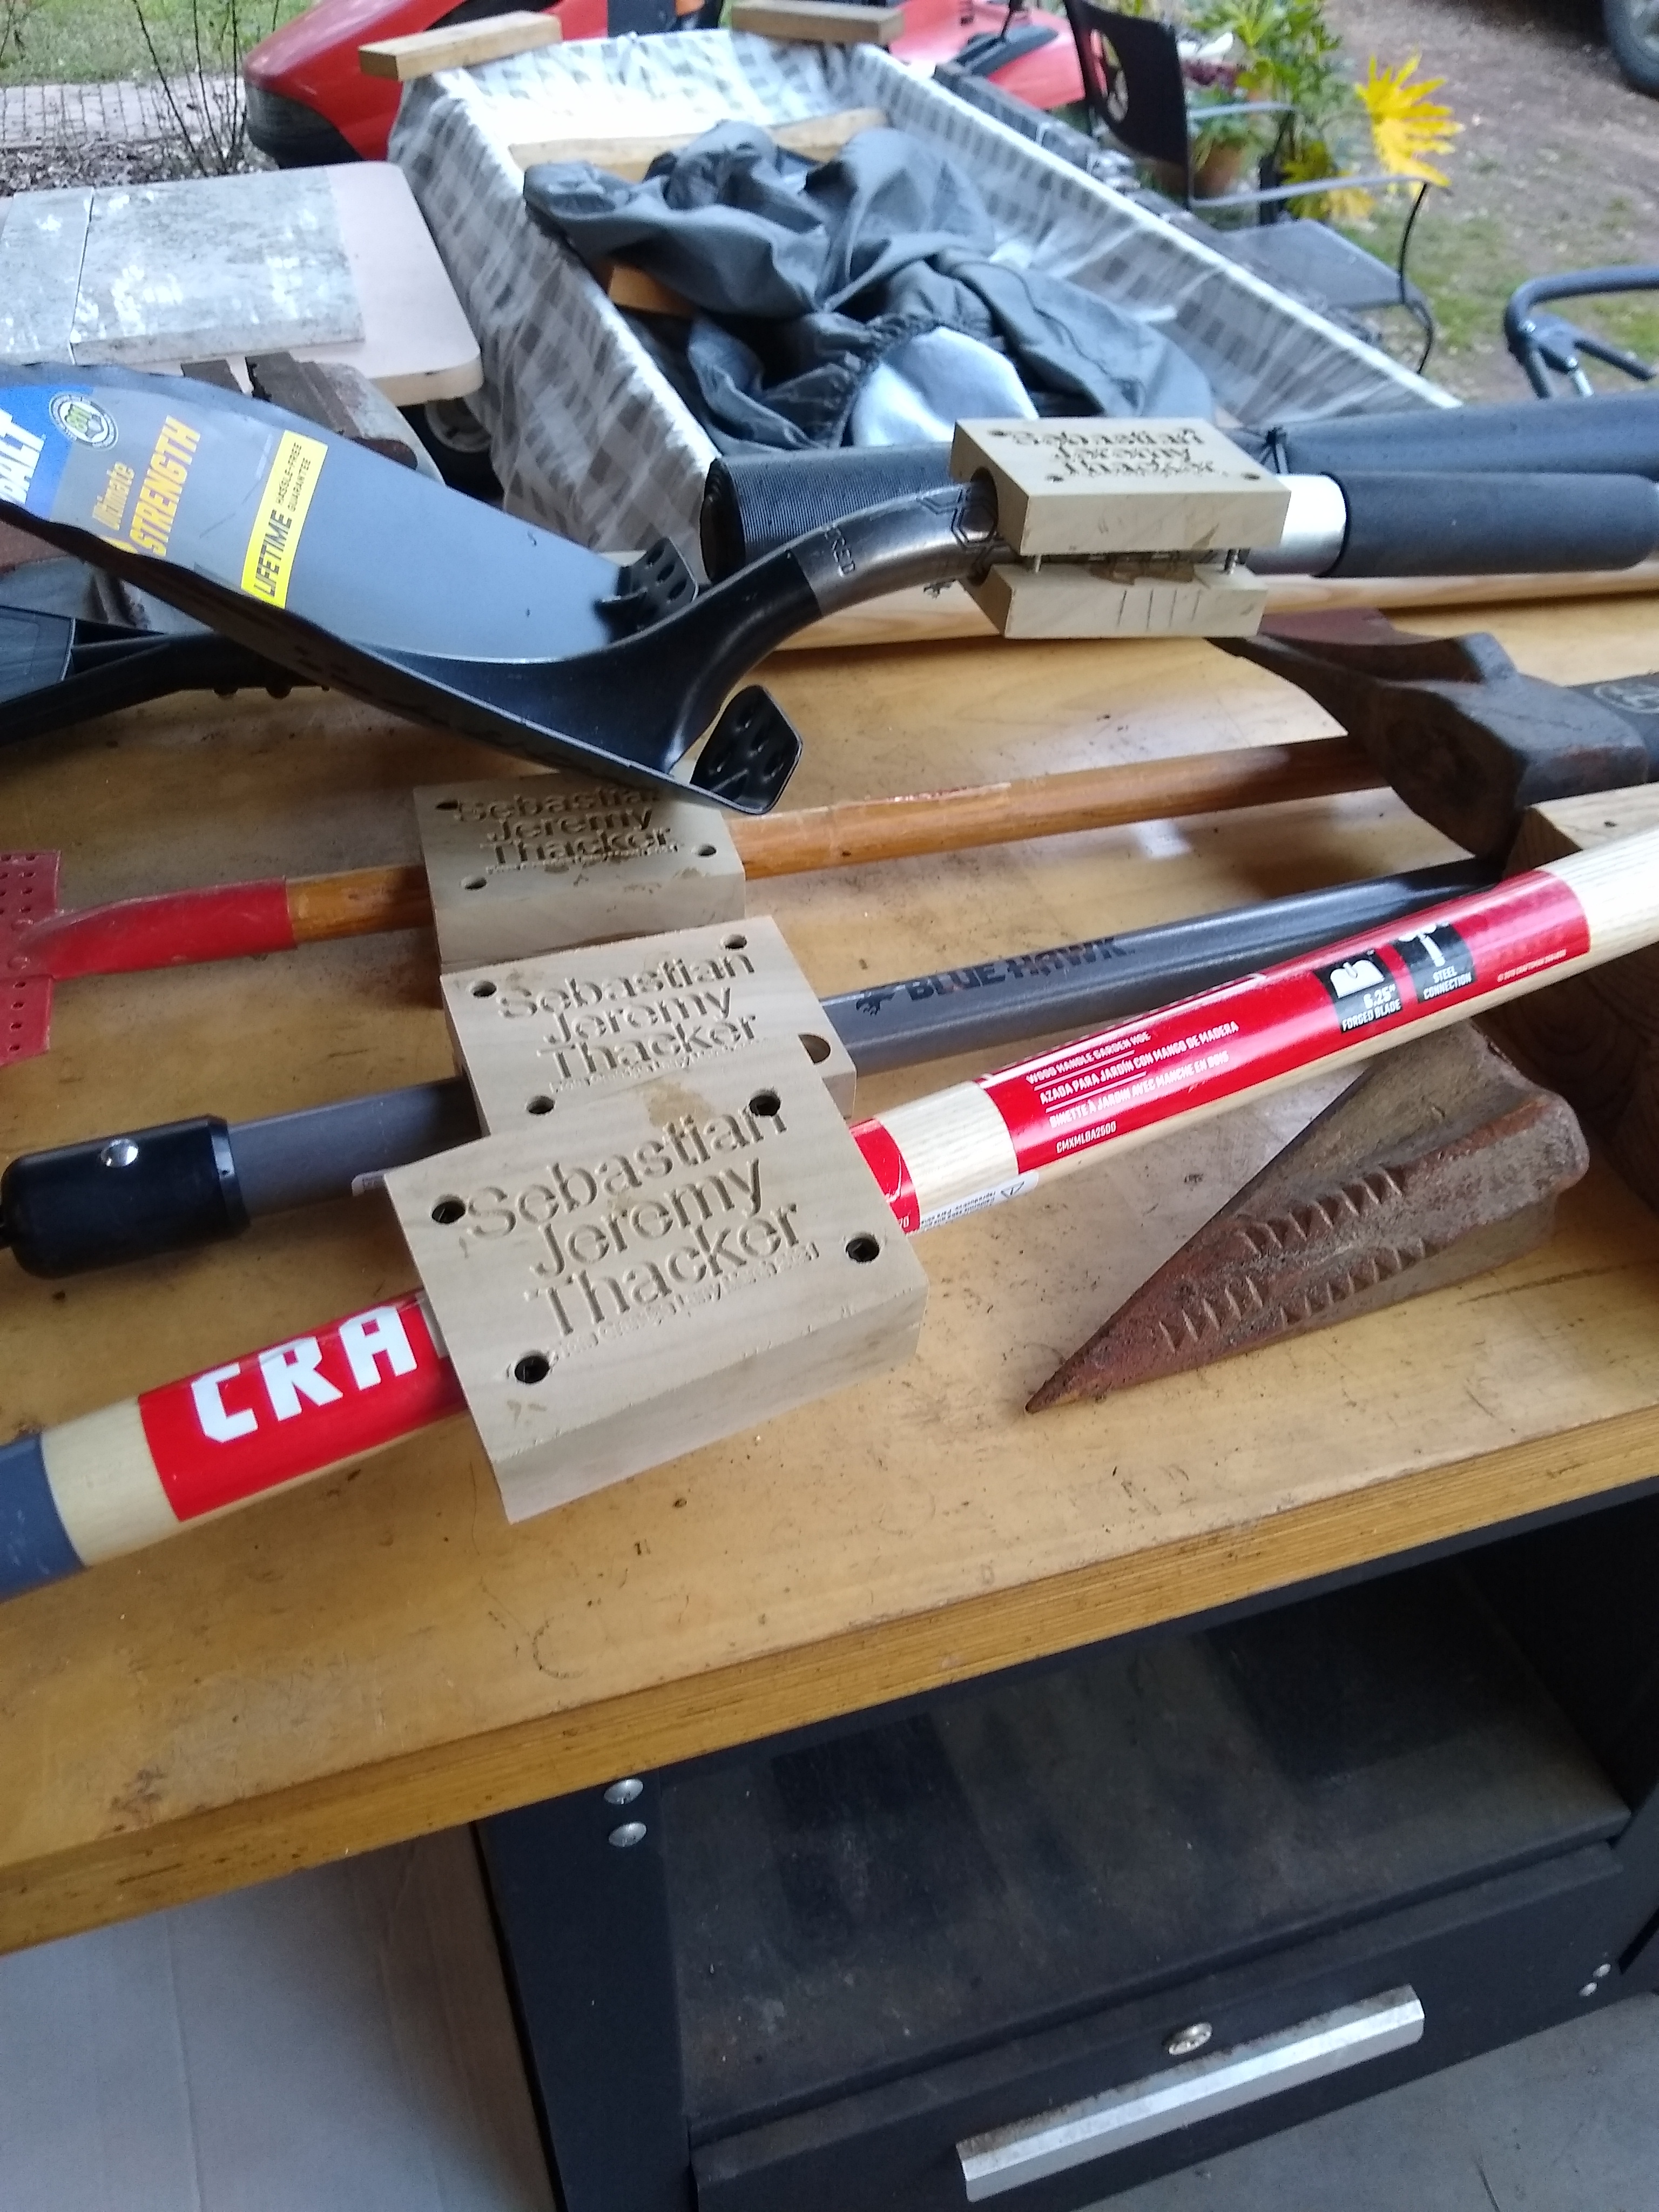
Maybe drill and tap the back and use a steel rod with a wood handle for insulation. You want something to hold on to when branding. Also put a notch or other reference to tell the orientation so your initals are not upside down. Also helpful is a loose guide block to aid in getting the position exactly where you want it. Be sure you practice on scrap because even downward pressure is important for an even brand.
I’ve been looking to add a branding stamp to a soldering iron, but haven’t found “the one” yet that I think has enough wattage at a price point reflecting the limited usage that it will receive. Suggestions welcome…
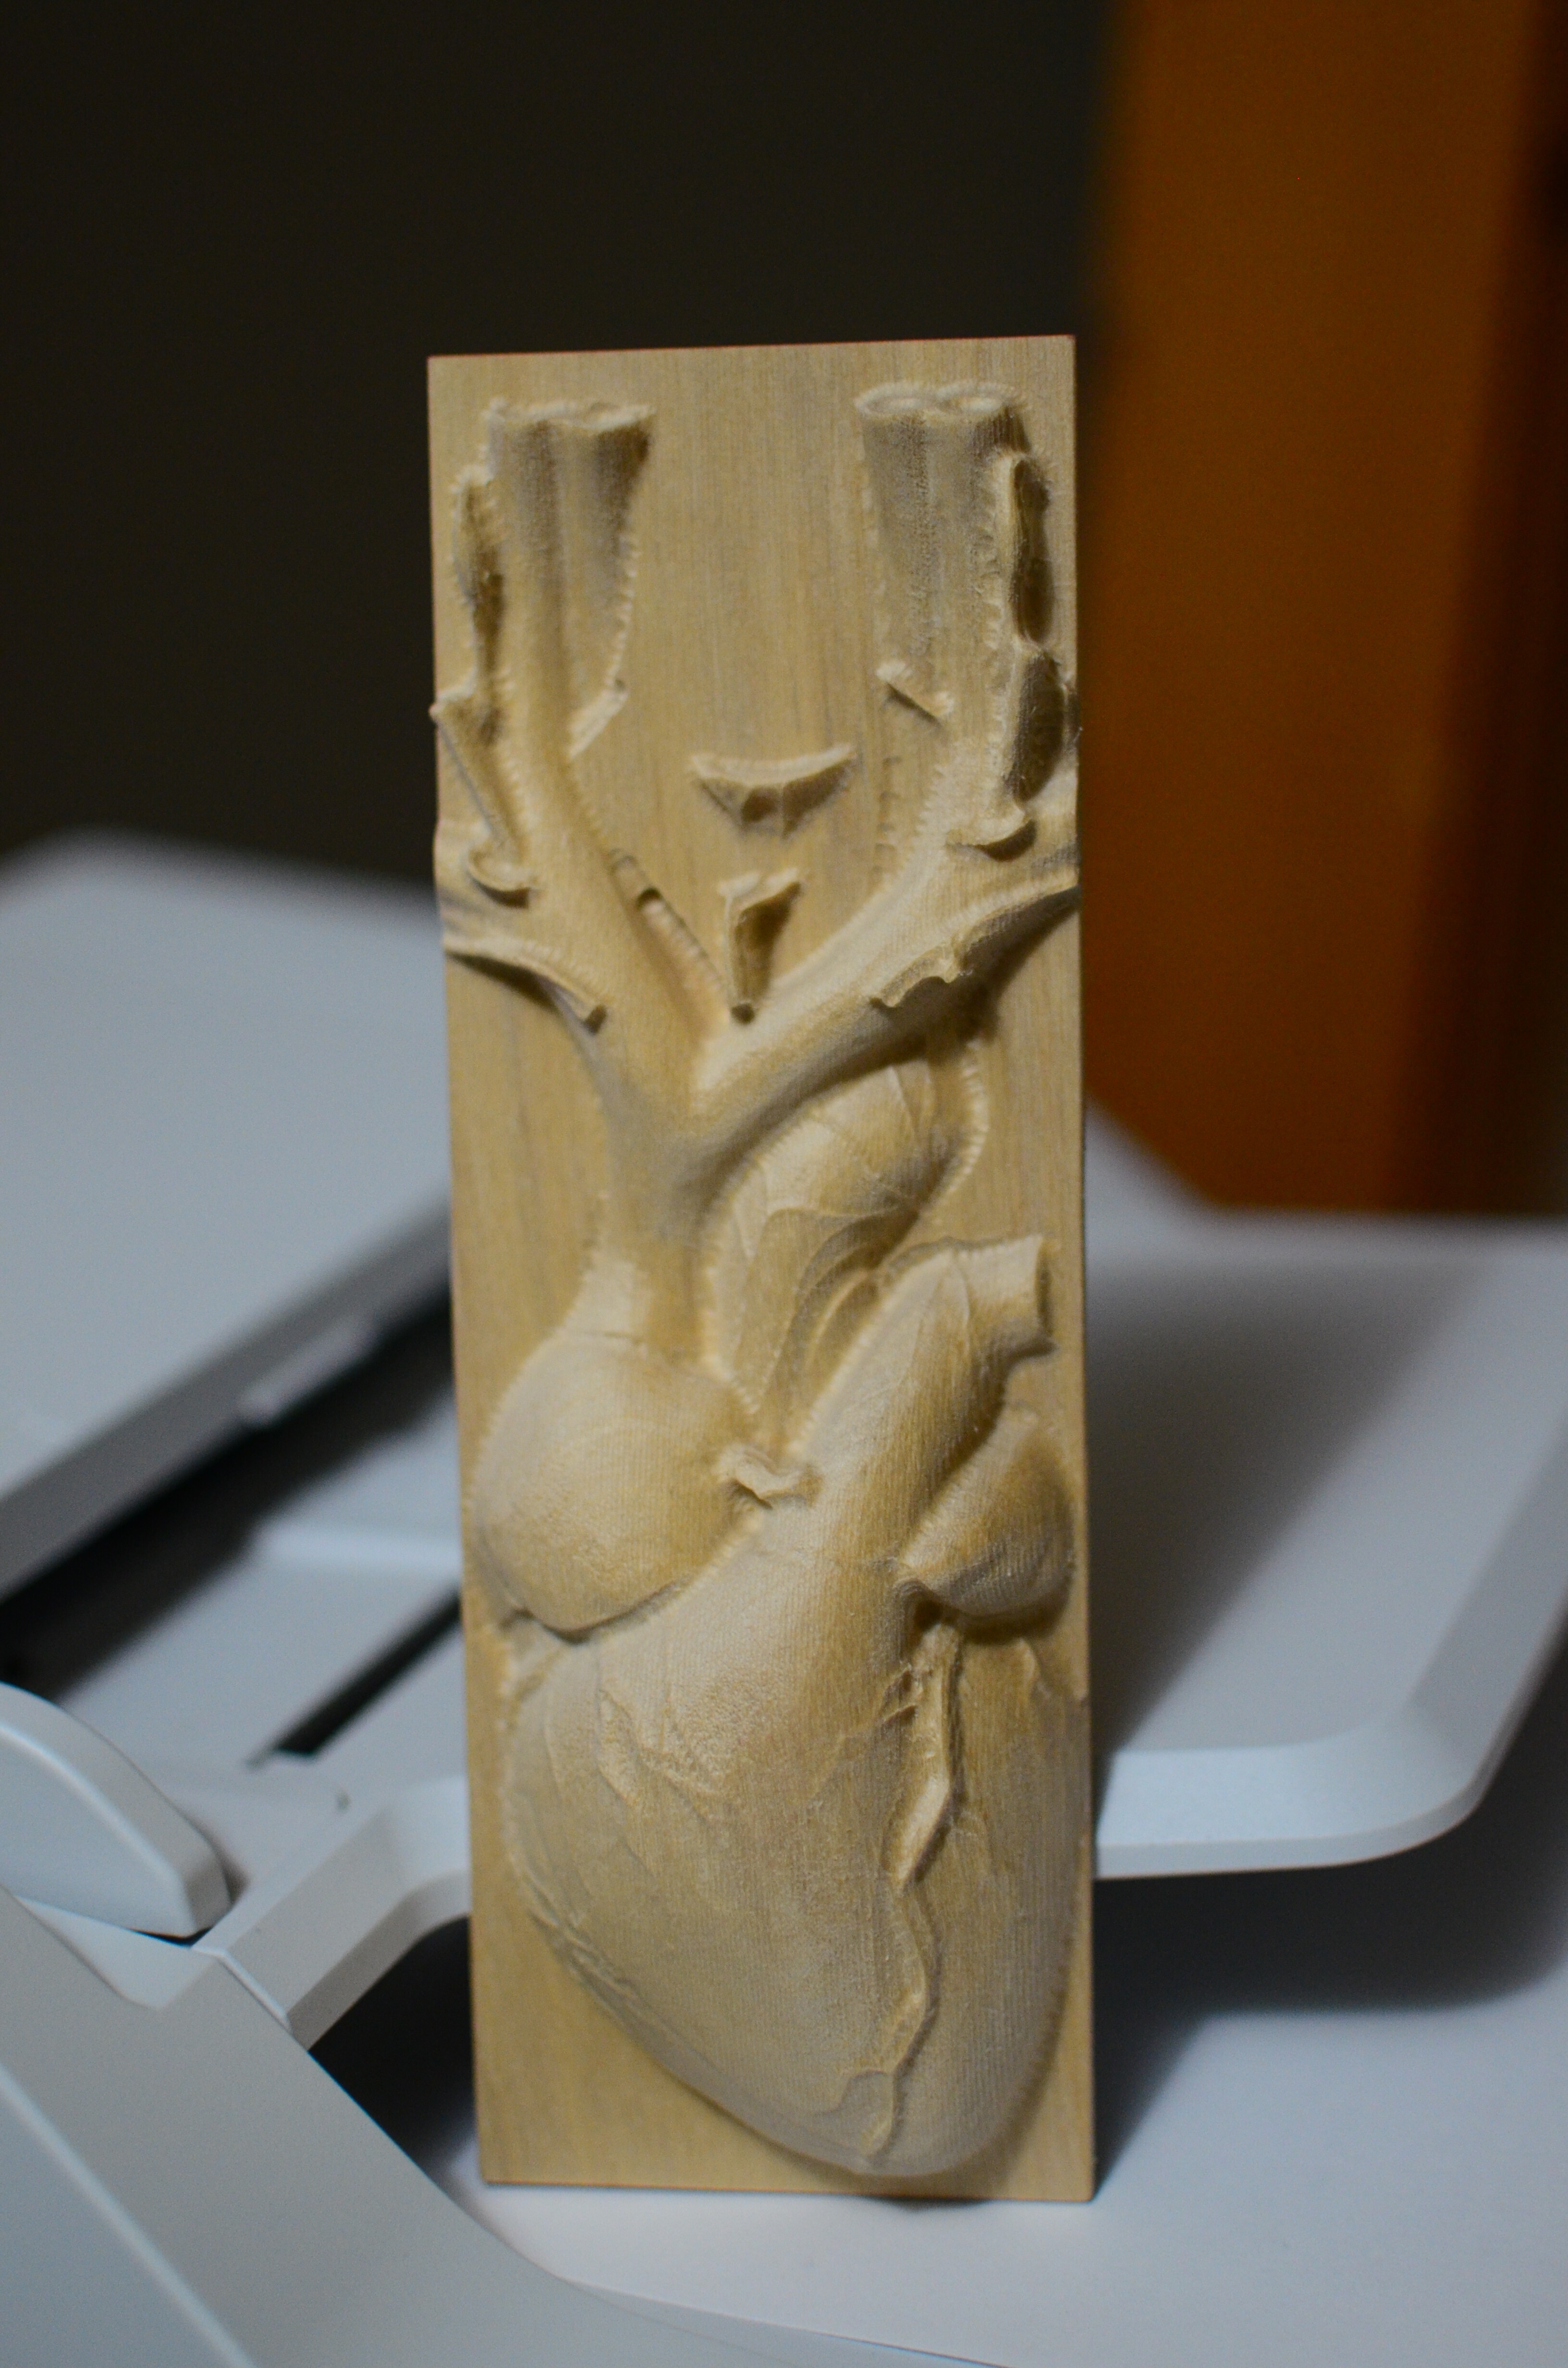
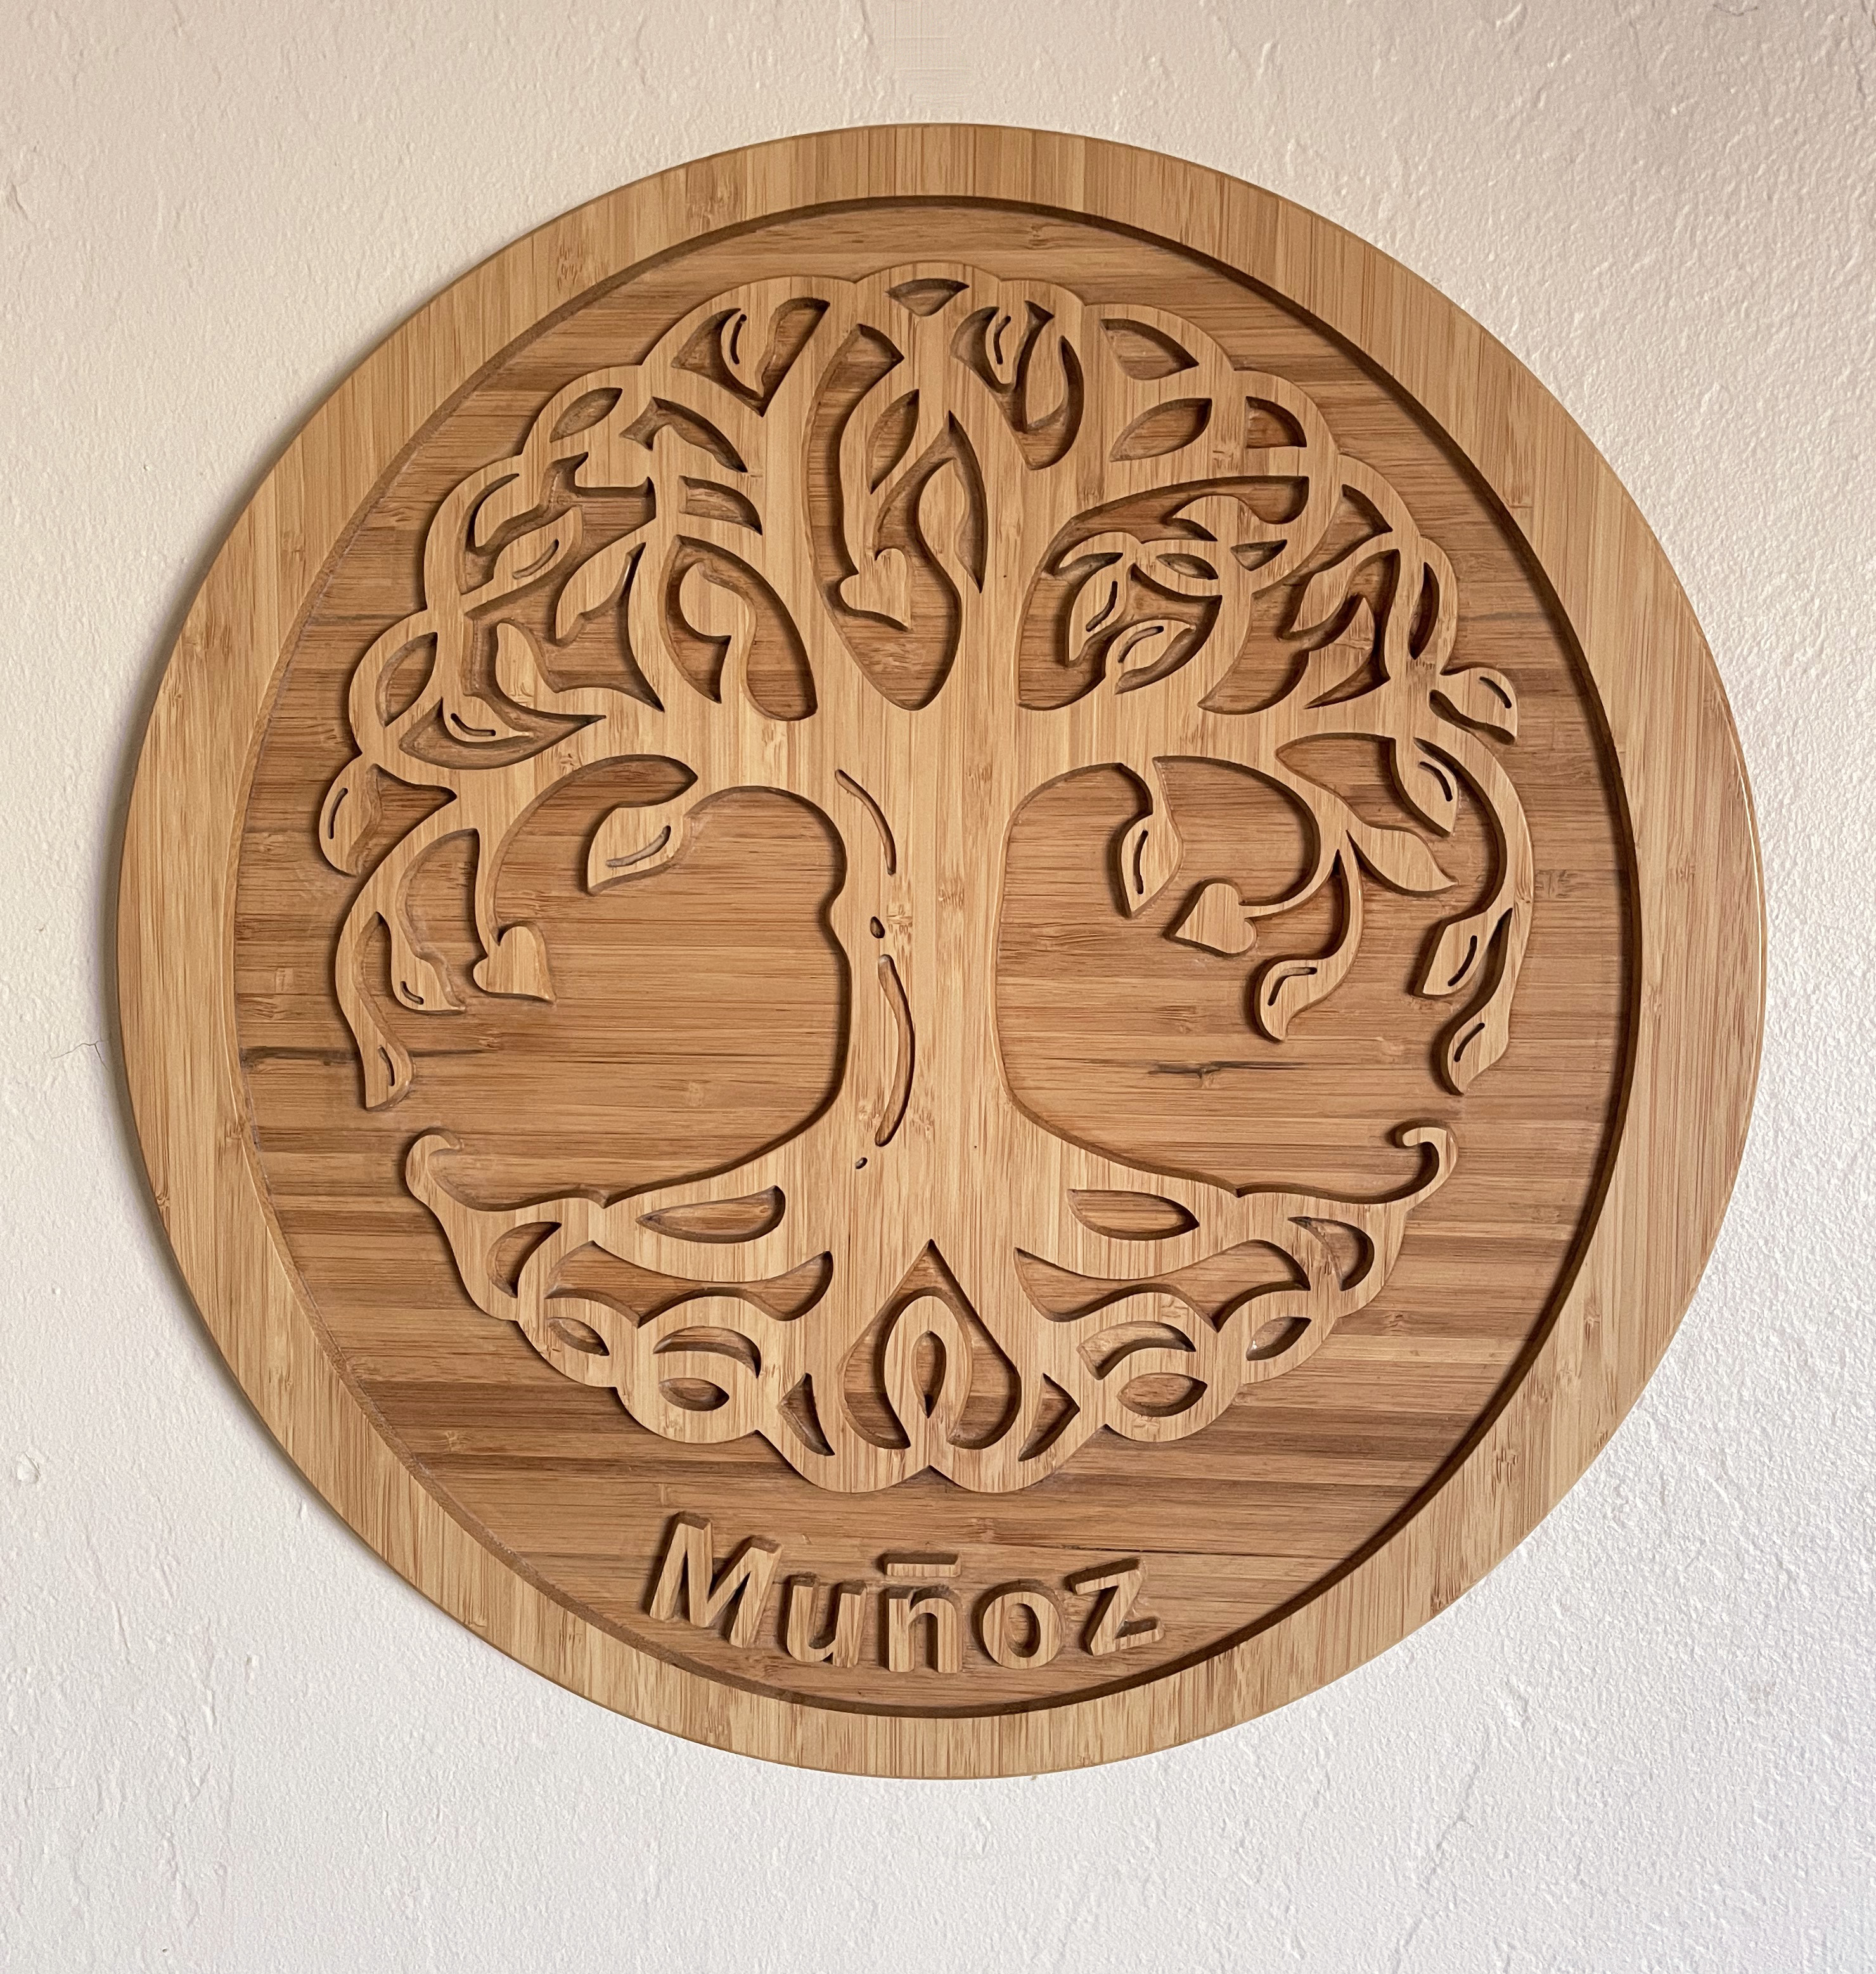
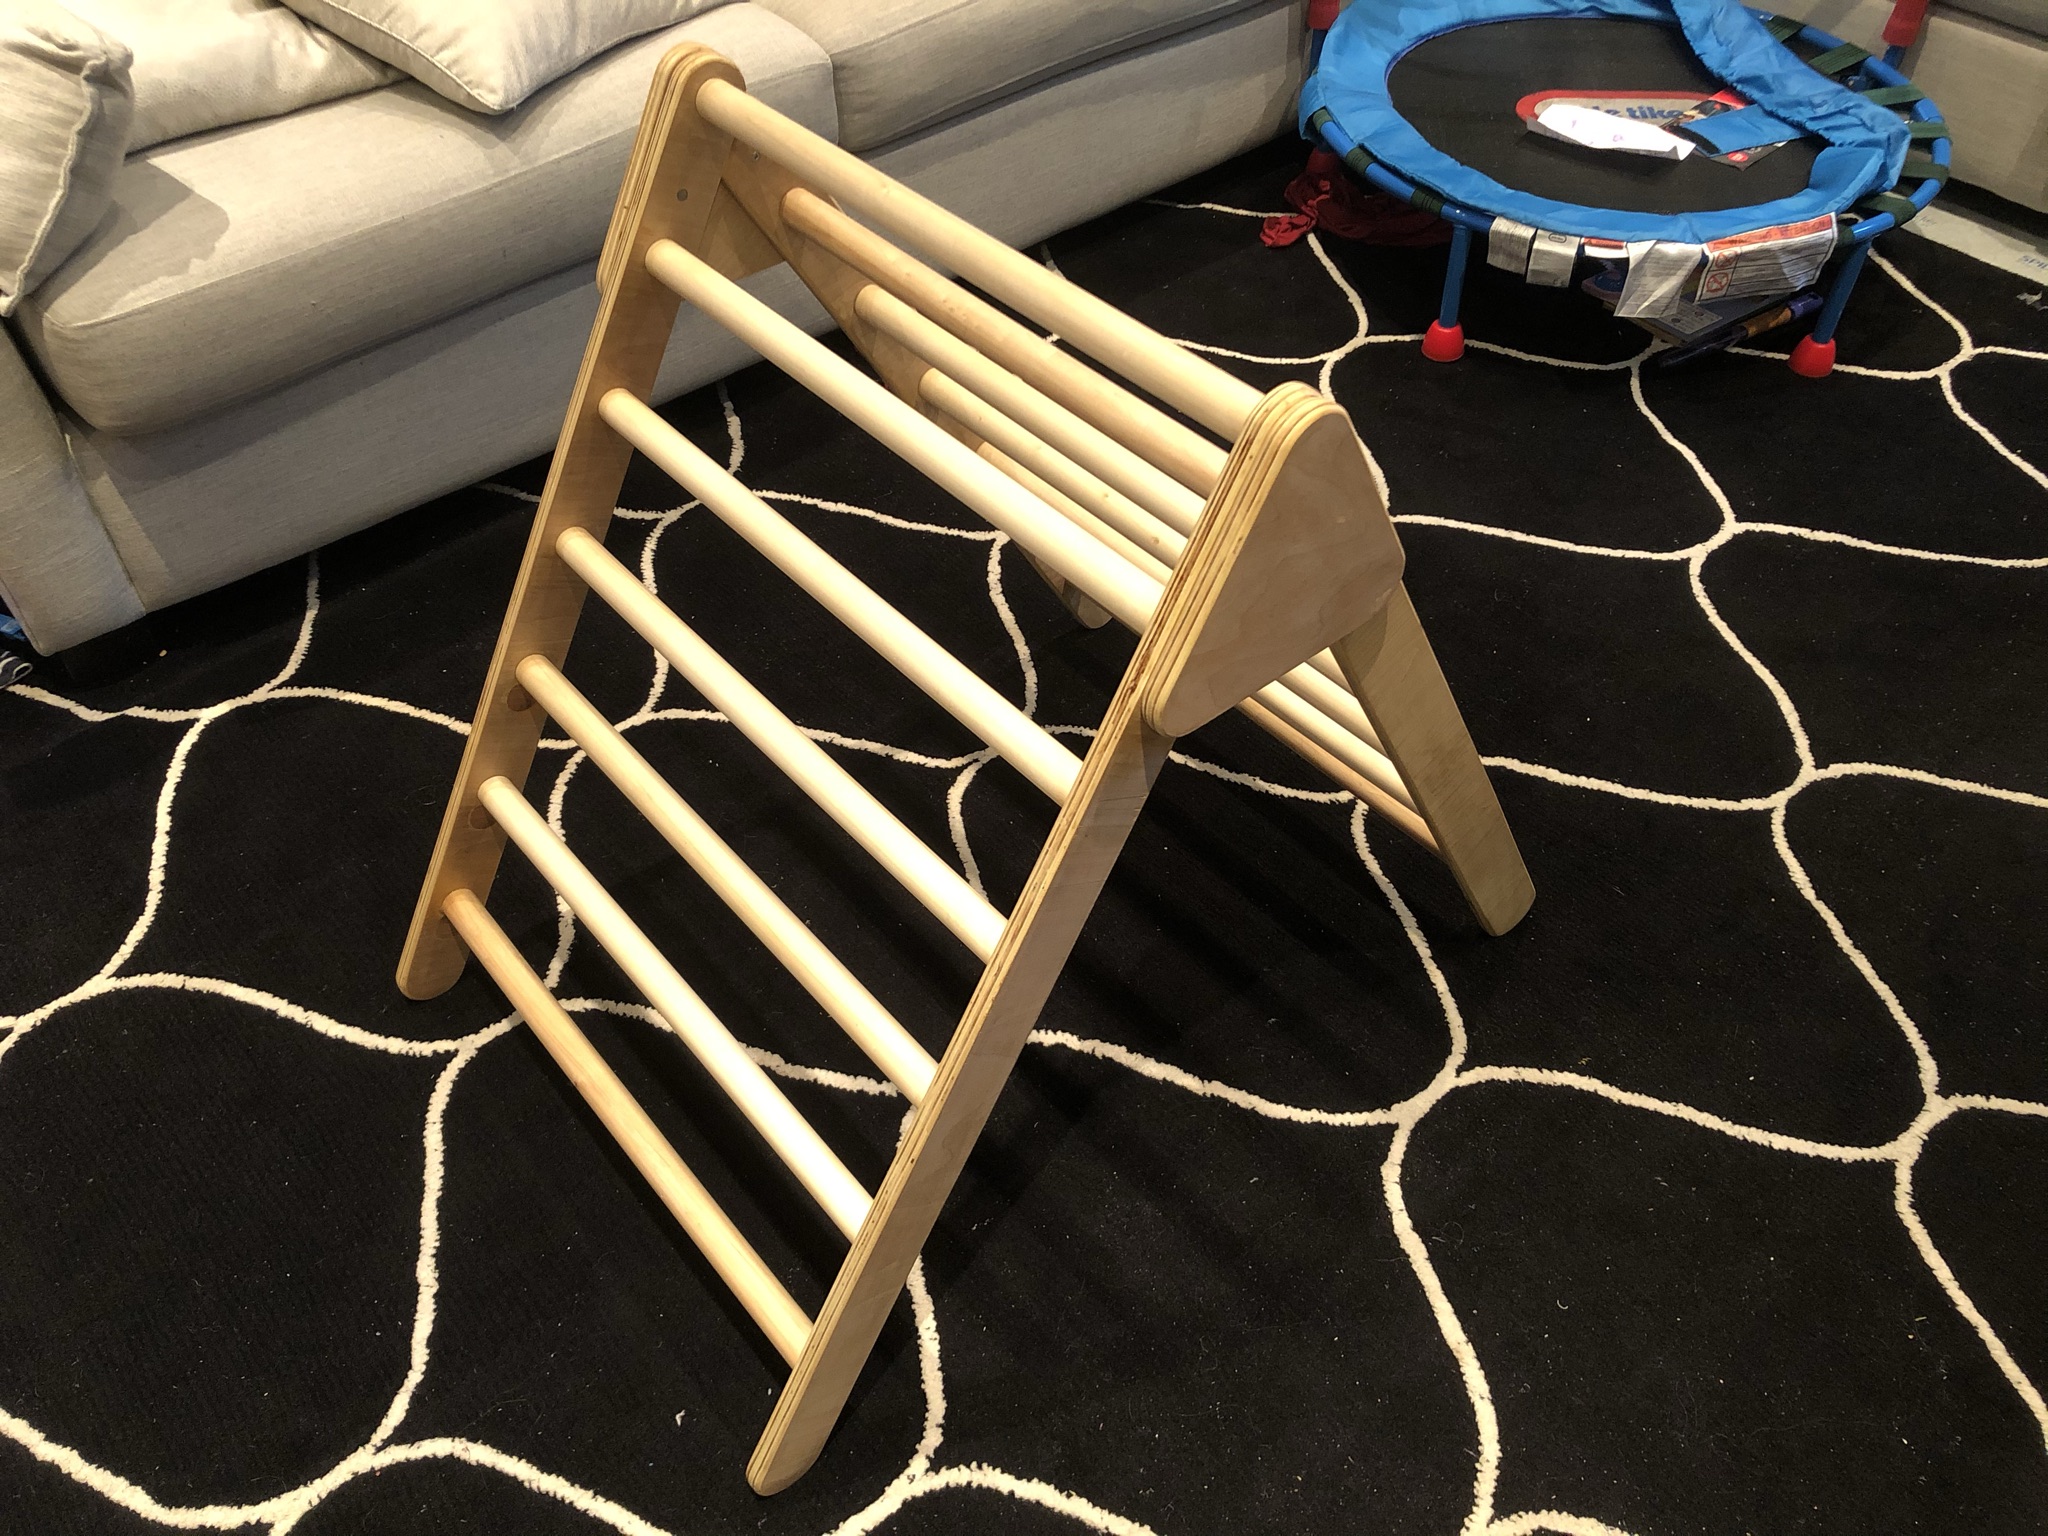
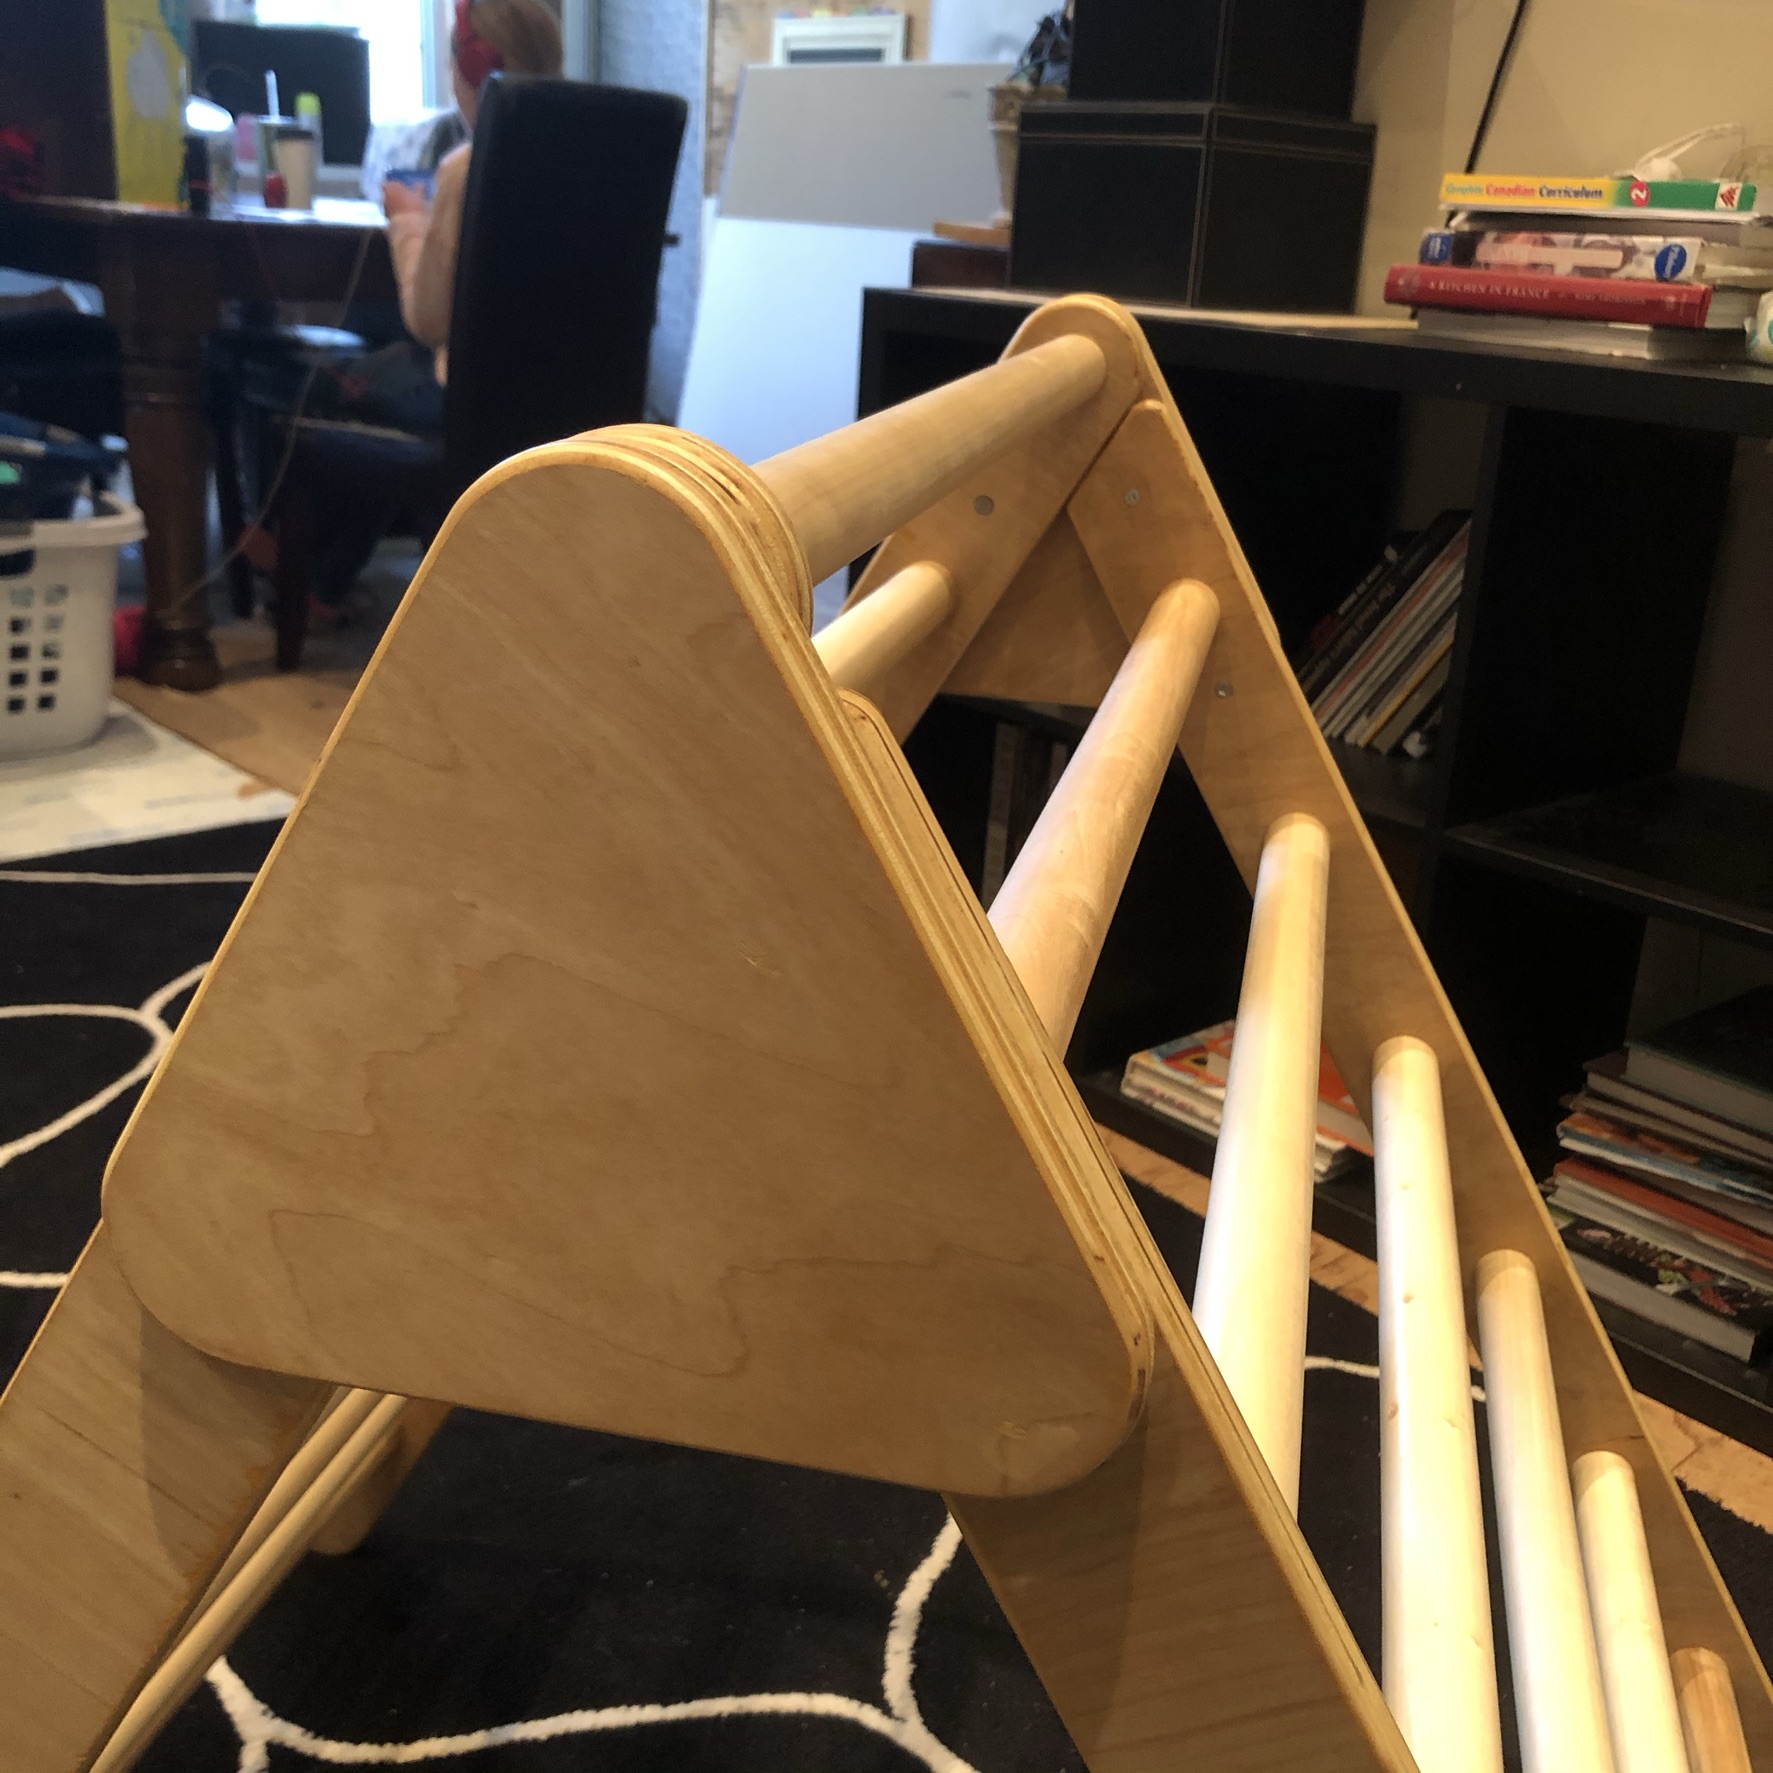
Just delivered two days ago, 17" diam Tree of Life for a 50th anniversary. I dont do this " regularly" but it’s typical of some of the things I make. Finishing the tight areas is as challenging as the machining.
I did think about that but as the plan is to polish the letters and spaceship I thought that it might look a bit “busy” with a line up the center as well as the “v” cut orbit track.
I should also have said that this was cut from a scrap piece of wood as I was expecting problems. The two filled holes are old screw holes, not a cutting issue. They won’t show once it is cast (next week).
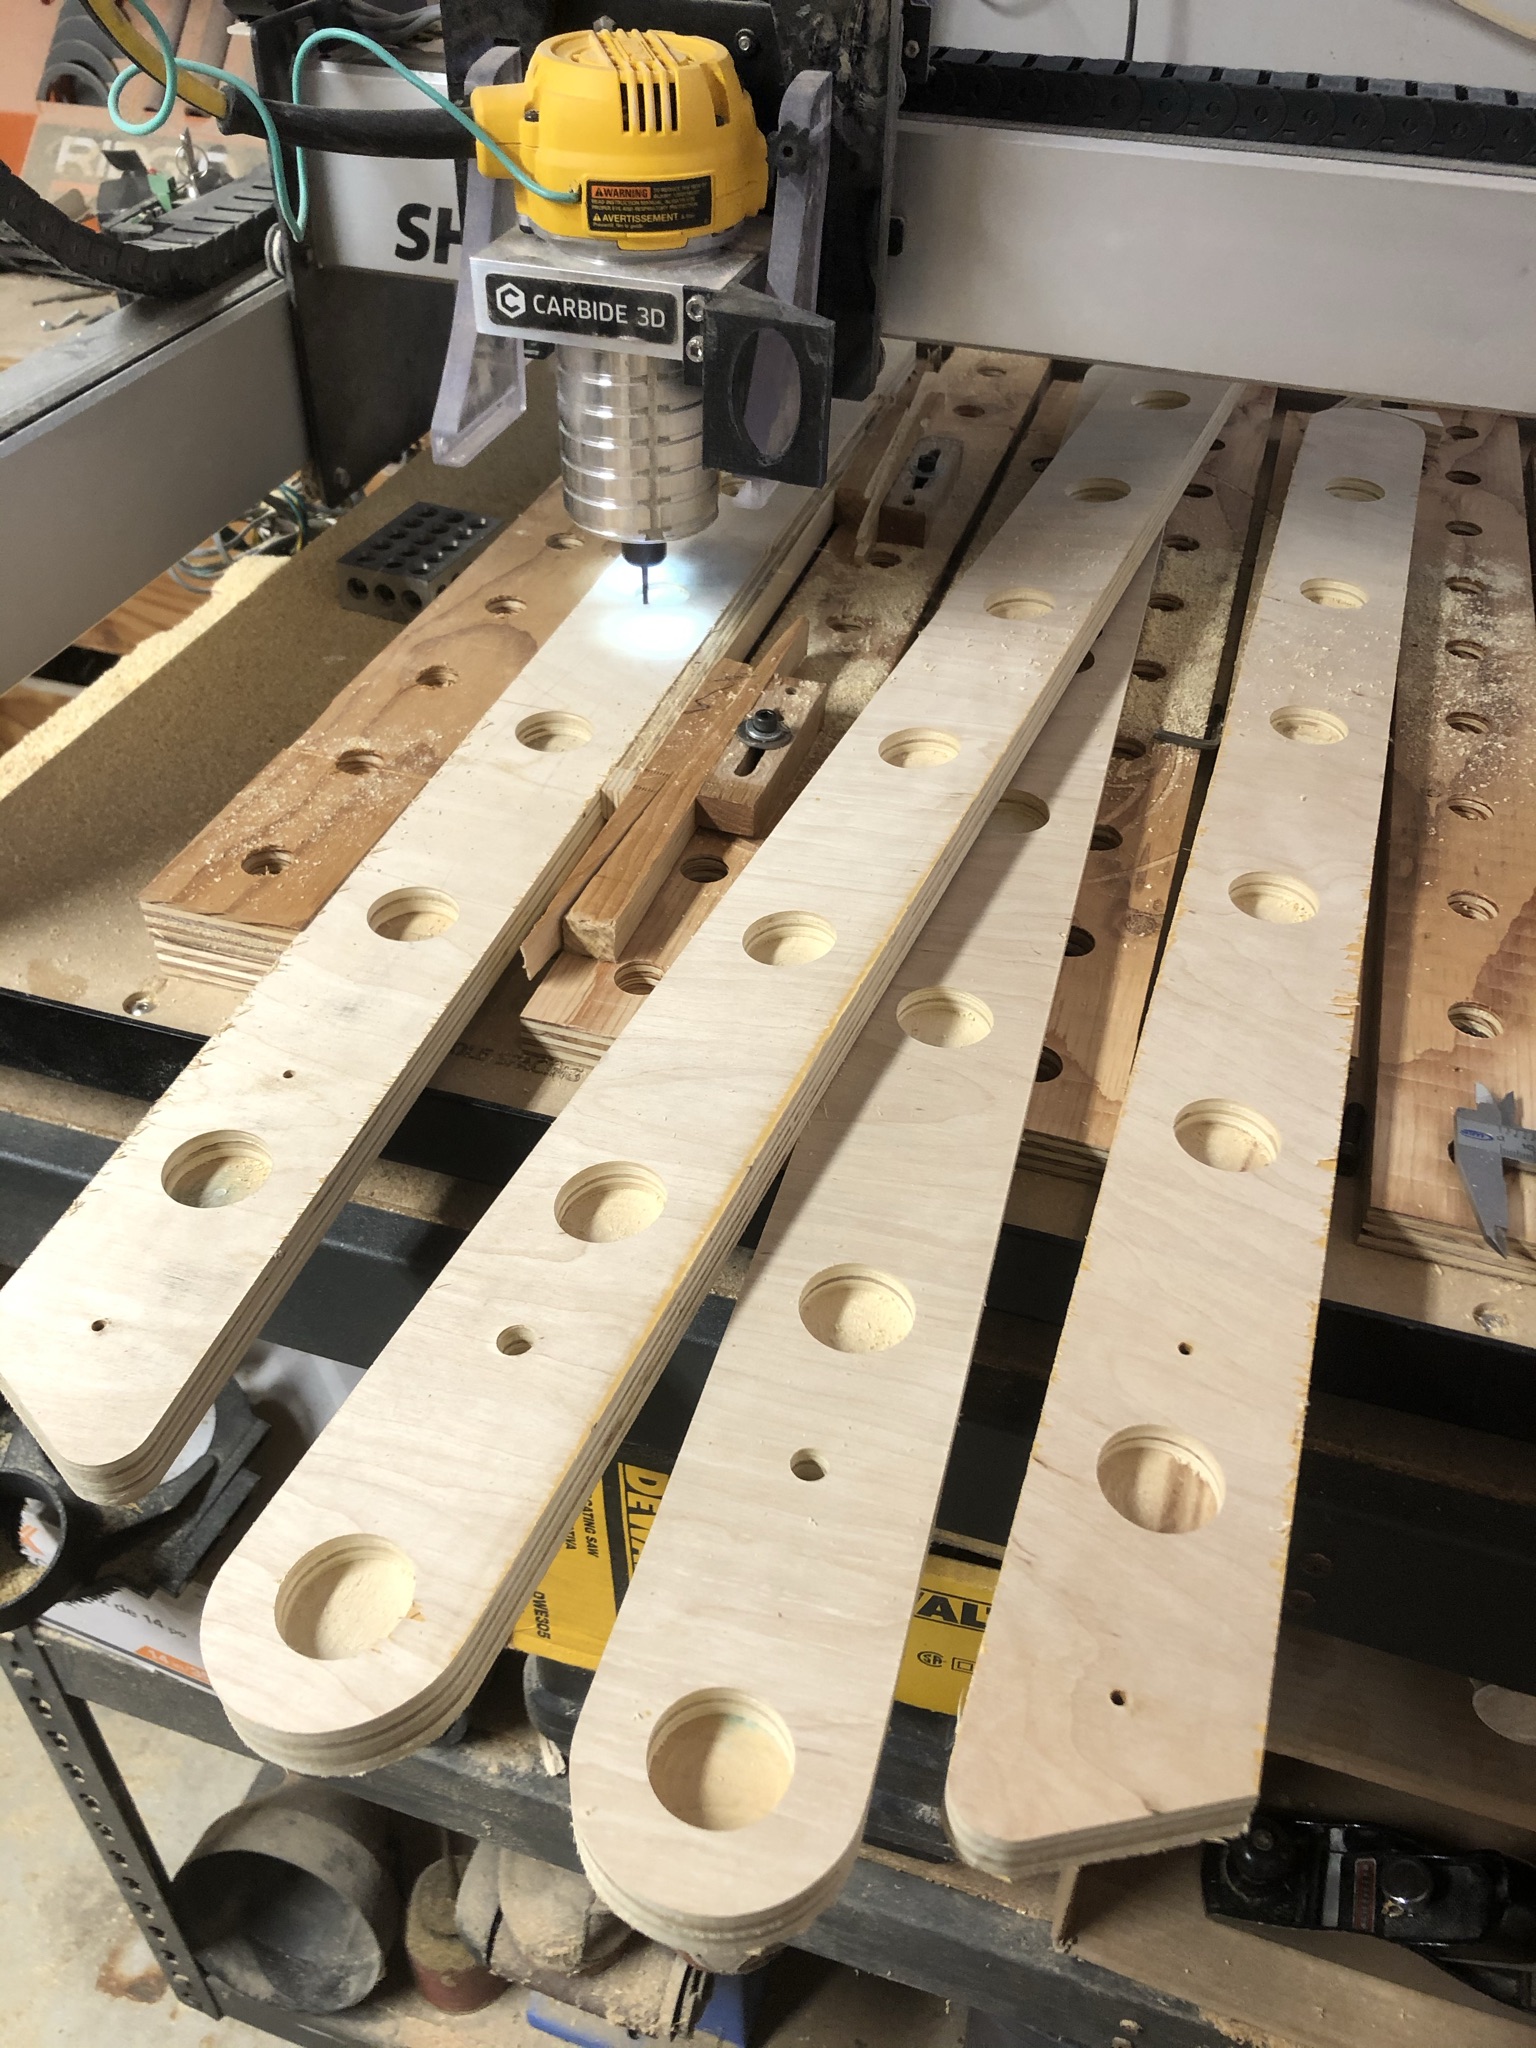
Sorry to ask a dumb question but what is it? It looks like a blanket/quilt rack or maybe it is a toy for a kid to climb on. I discount a toy because most parents are too scared to let their kids have a good time now days. When I was 10 I got a .22 rifle and my safety briefing was “Dont Shoot the Cows”. That was the entire safety briefing. Of course that was a few years ago like 56 so times have changed.
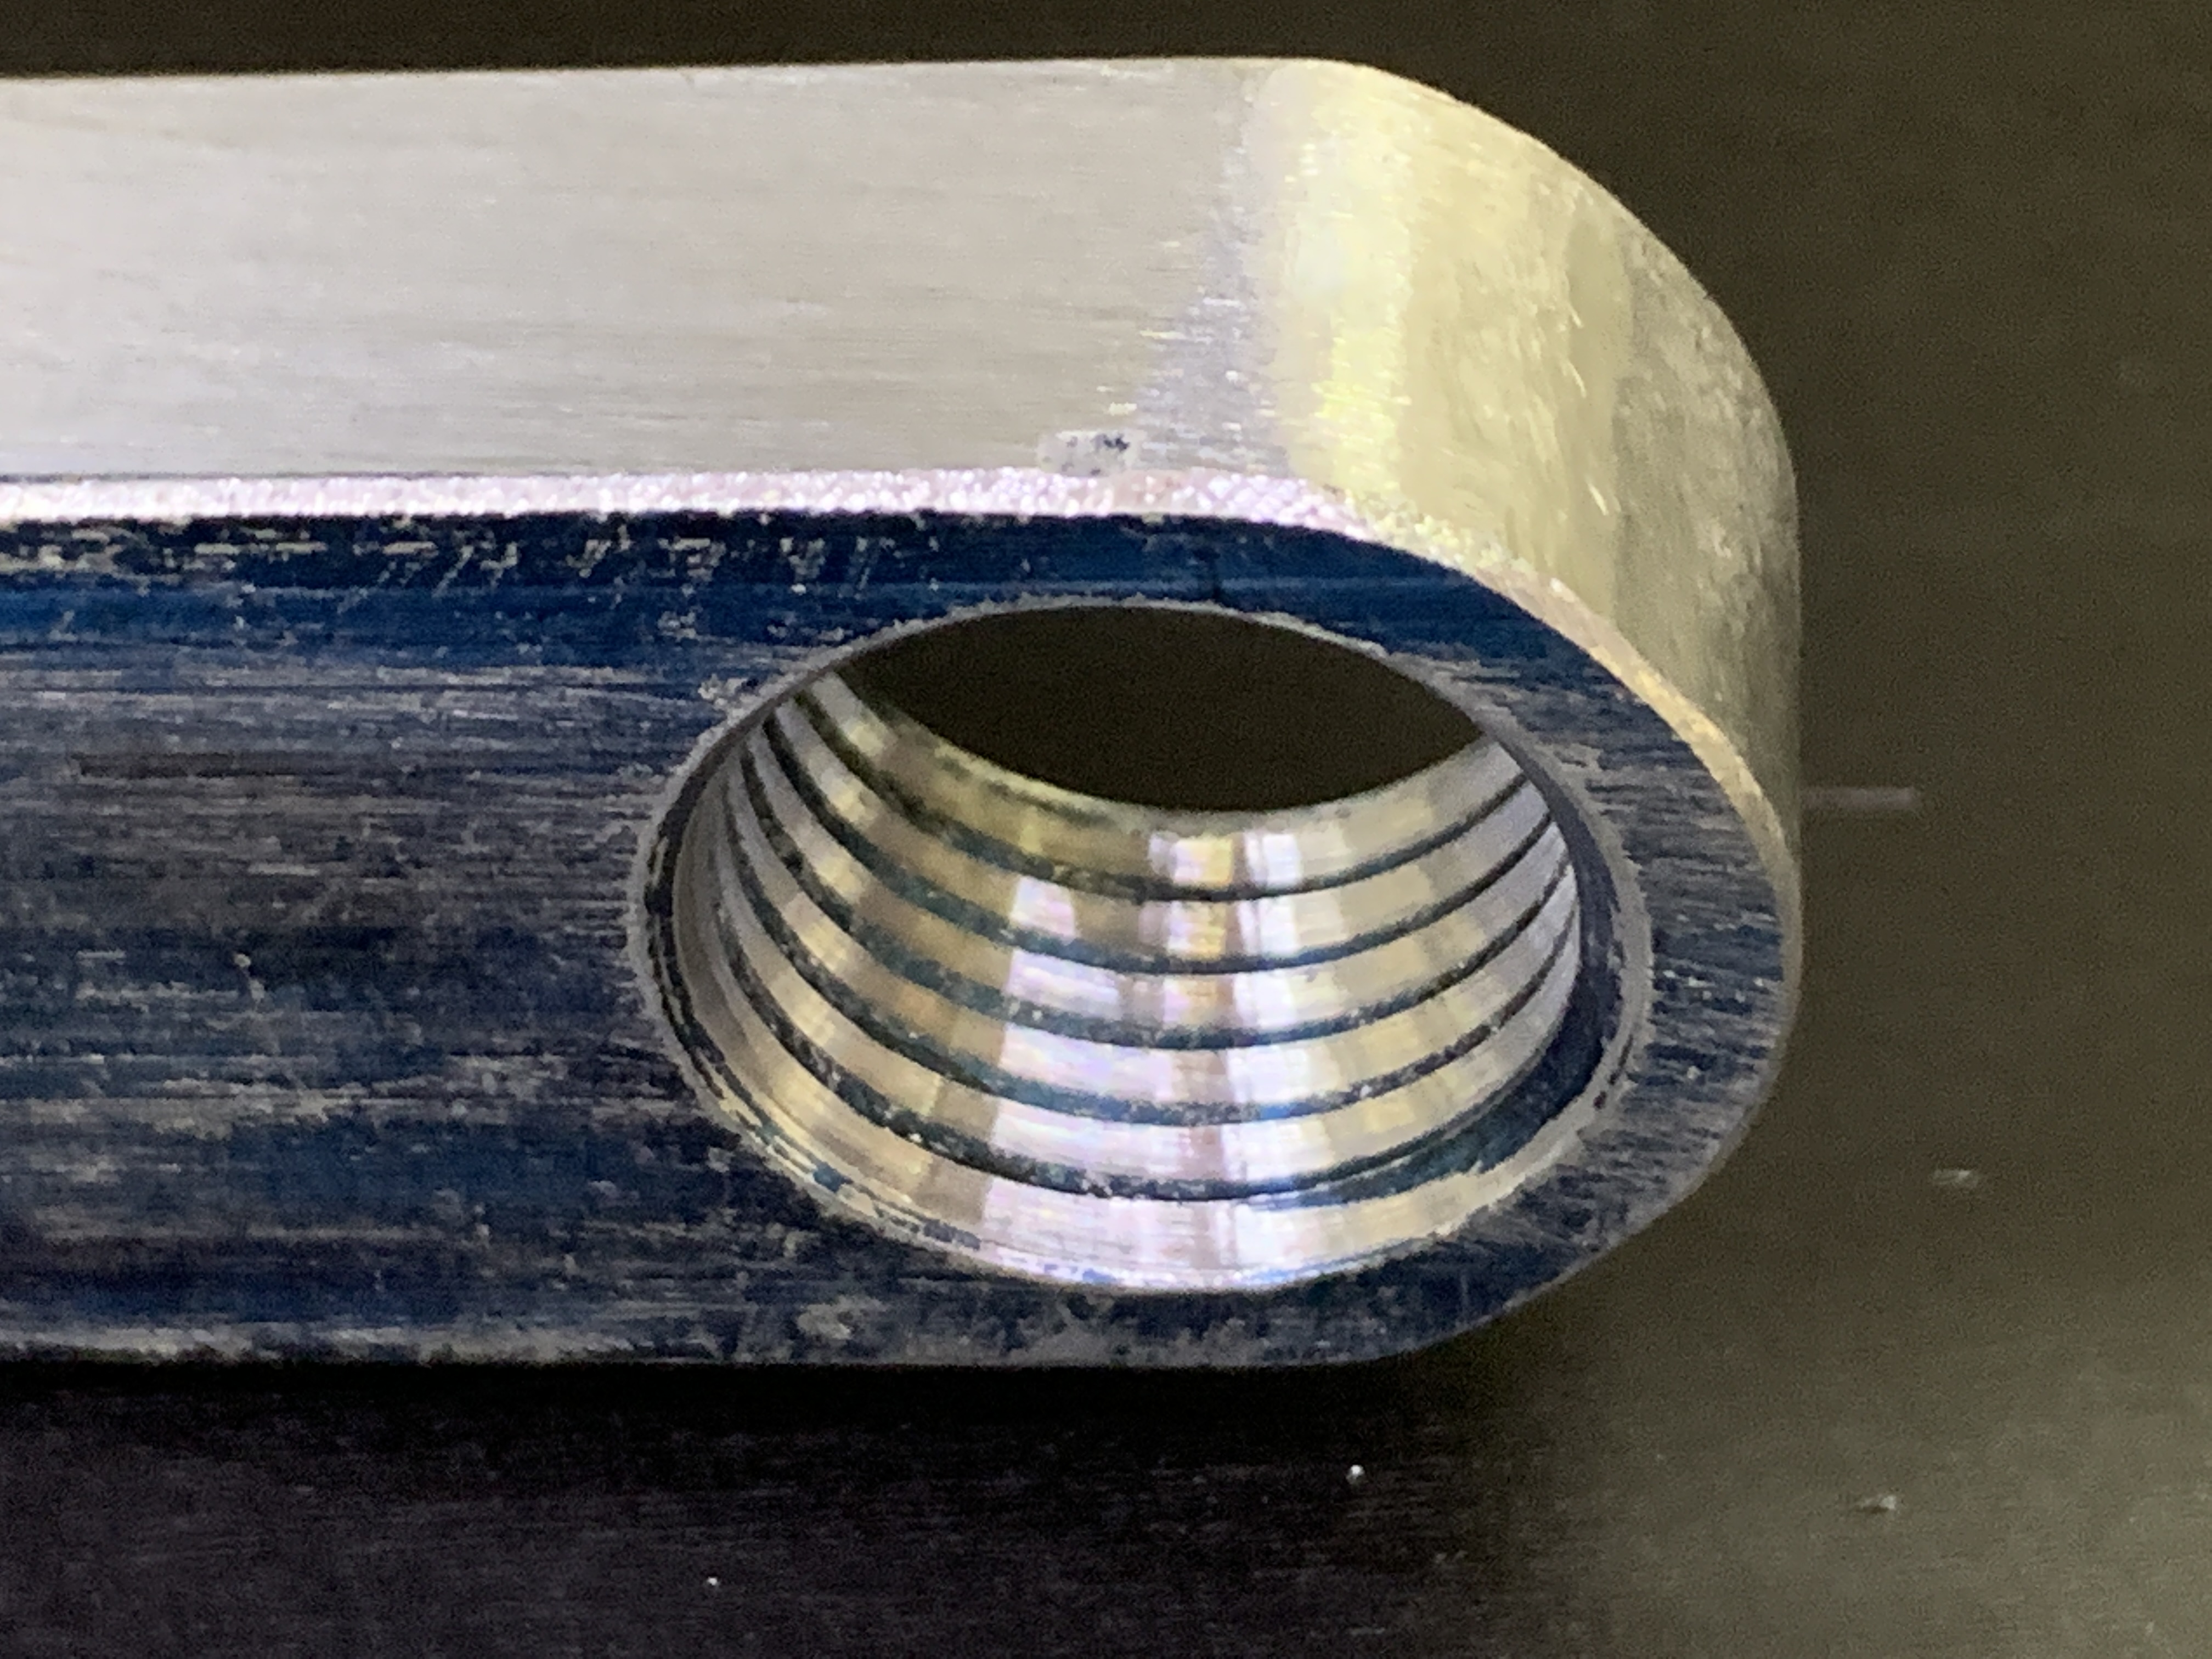
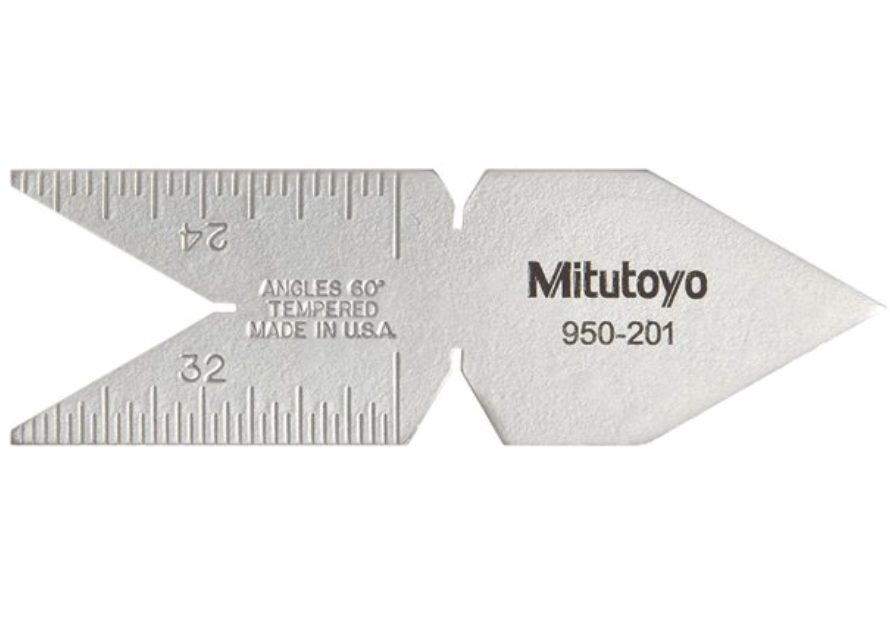
Next I took an Angle grinder and roughed out the shape (5 min), then over to the bench grinder and I rounded the shank (for clearance). Then I took my trusty and 50 year old 60º Guide and ground the back edge first., then the front angle (making sure I was square to the shank (by eye): (about 25 min. total start to finish)
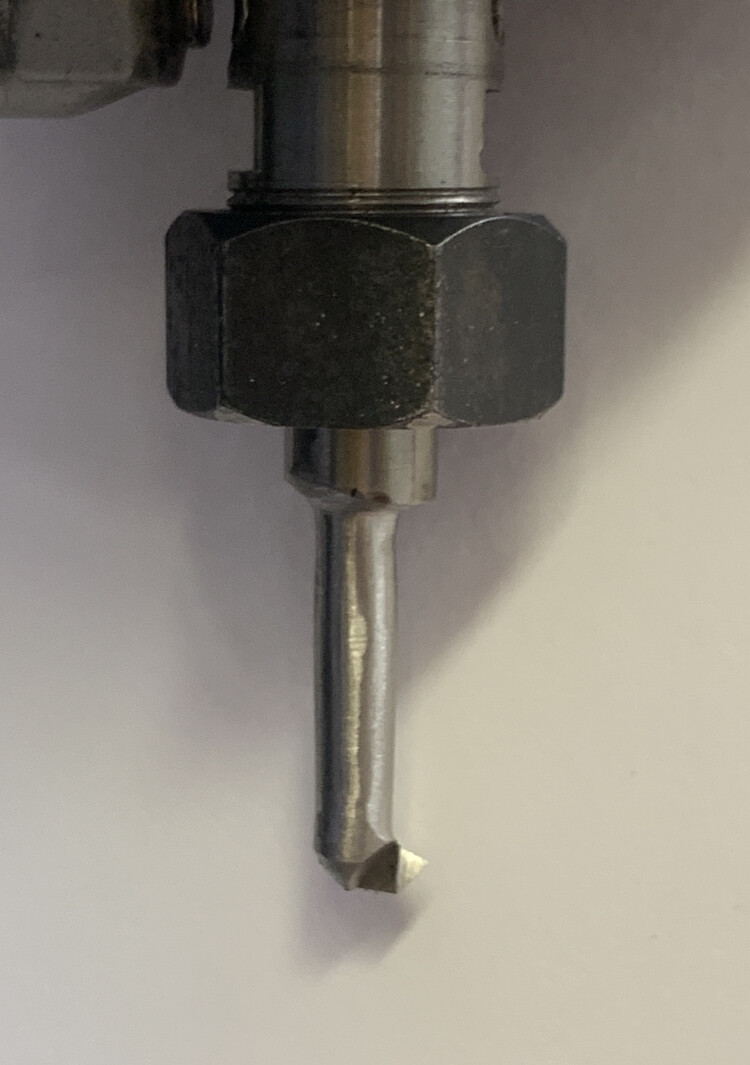
Next I put it in my Makita 3/8 collet, spun it and measured the diameter (0.360") for Fusion. (Yeah she ain’t pretty…but it works awesome…that’s what counts). This tool will cut 20-8 TPI based upon the width and front flat.
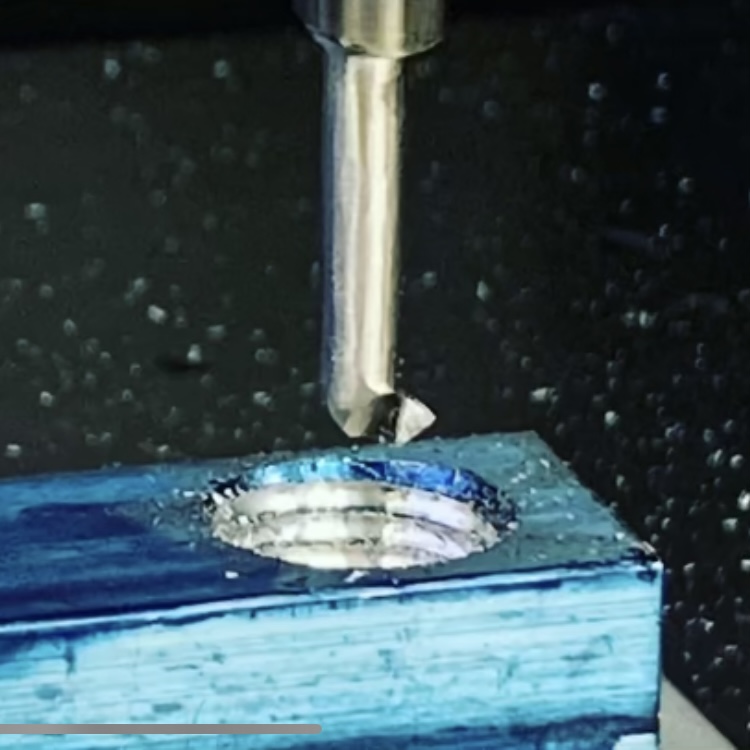
Last, wrote the program, (You only need 4 pieces of info: Cutter Dia check, Pitch (1/12 = 0.083")) Check, the Thread depth (Thread Max- Thread Min= 0.080). The number of passes (this depends on the material, cutter material and how strong the machine is). I chose 0.008 dia (0.004 per side/per cut).
Posted in using the Carbide3D Fusion Post, hit start and 20 min later it was done.
PS Optical illusion here. The TOP angle is NOT curved…you are seeing some of the material behind the cutter…Bad photographer)
Questions: Ask away. I watched a NYC CNC video on thread cutting about 3 years ago…meaning I didn’t figure it out…I learned from John)