What did you cut on your Shapeoko/ Nomad today?

I needed a bracket to mount my anchor light on the boat when the bimini is not on for fishing.

And my son started his own business

15 Likes

Follow-up. I should have started a separate thread for this project, technically speaking I did not cut anything on my Shapeoko today, but I did do a loooot of (manual) cutting so that counts, maybe?

80 acrylic slices ready to have their edges painted.
Blue tape, a roller and an Xacto knife, and lots of patience. I’m sure there are other ways, but let’s say this is my donation to the Church of Blue Tape, for a happy workholding life.

Next: not messing up the final step!

10 Likes

That is a lot of patience with an Xacto knife, reminds me using a dremel tool to carve out 50 stars on a flag :grin:

Another thought, I have a laser engraver that would cut through 2mm thick acrylic.

It’s another tool in the shop that is fun to make stuff with.

Mmh, I do have a laser module on my Shapeoko so I could probably have laid out the blue tape on top of the stock, and lasered contours to cut it along the edge profiles. It would have been very tricky not to melt the acrylic though. Come to think of it, I should have used a masking adhesive and milled through it, just like folks do for their multi-color v-carving. Hindsight 20/20

Another option if you ever decide to do this again (Ha!) is to use the - for lack of a better name - laminated plastic used for name tags and signs. One brand name is Rowmark. I found a distributor near me and bought a 12" x 24" x 1/16" sheet about 8 years ago that I have not used yet, but would have been perfect for this. It is [Black] - [White] - [Black] laminated together.

image

You can take a look at all of the hundreds of colors, finishes, and types of laminations here:

1 Like

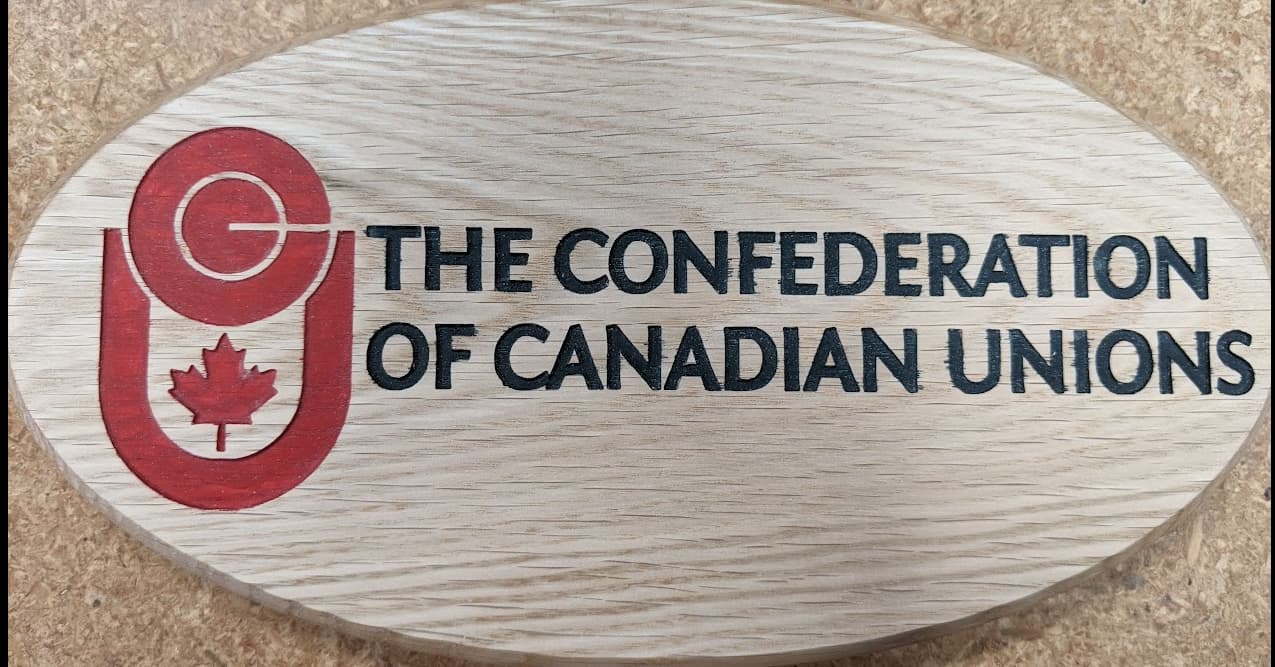
I tried two new things this weekend. The first is my first attempt at painting after carving. I have seen lots of good examples on this forum and in this thread specifically but here is my first attempt. Well, I guess my first two attempts. First I carved the cribbage board topper using red oak. As many of you will expect there was a lot of bleeding in the paint.

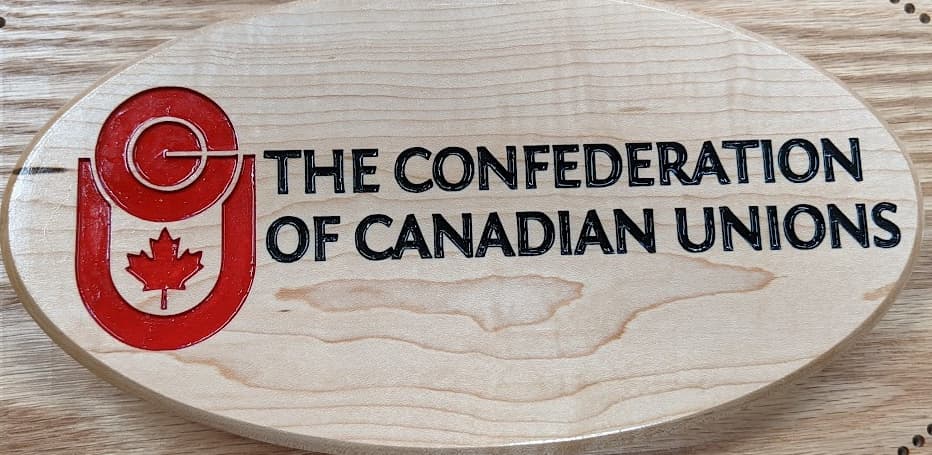
So I redid the piece in maple and had a much better result.

The next thing I carved this weekend was a couple of clocks. I made another post specifically for the clocks so here is a link to that thread if you are interested in checking that out.

8 Likes

It’s been a while since my last post but finally back at it and this time I did a floor transition between a tile floor and SPC flooring. Would have been a lot quicker to use a tablesaw and router table for the bottom but since I do not have that in my small garage I did it all on the CNC. Now since the doorway is 34" wide I had to position my stock at a 45 degree angle in order to get the width required. I also used blue tape and CA glue to secure the piece which allowed me to cutout the project to its outer dimensions and a add a grove on the front/back of the part that will sit over the SPC flooring and use silicone to secure in place. Before flipping the piece I knew I needed to reposition it in the exact same location to mill the top so I used the green workholding clamps and positioned them all around the part to use as a reference. I then proceeded to mill the top profile. (edit: once positioned I had to back off the green clamps not to run the bit through them so CA glue and blued tape again for workholding).

Once that was done I used blue painters tape to cover the top surface and carved out a feature which matches features in the tile floor. This was done in Fusion 360 using the “Emboss” tool.

I then painted the pattern black so it would be darker and visible once final stain is added.

Stained using Saman stain (color: Whole Wheat).

And Finally installed

41 Likes

Did a PhotoVCarve, messed up the x-zero cause I was going too fast and some clamps didn’t make it through. Glad I had the essential clamps to hold down the board which had a small cupping to it.

17 Likes

From the picture I think you need to feed your kitty. He looks hungry.

3 Likes

More stamps

14 Likes

I cannot tell from the pictures, what is the material for the stamps? Backing also?
TIA,
Pete

Speedball 4312 Premium Mounted Linoleum Block

2 Likes

Single piece electric ukulele that one of my students designed in Fusion (about 20" long) and another baby name sign for a friend at work (32" diameter).
I’ll try to get another pic of the ukulele off the machine.

24 Likes

Finished my enclosure. Not too fancy, but it keeps the garage a lot cleaner.

Made a Go-NoGo guage for another project. Hole I’m checking is +0.001, -0.000

Then I made an 1/4" - 0.117" adapter for my 1955 Federal Indicator.
Used my mill as a lathe again, clamping a fly tool bit in the vise & jogging the spindle.

Then I realized that the spindle moves very freely (certainly free enough for drag cutting, Will :wink: )
So I fixed that problem with a very strong rare earth magnet

Now I’m on to replacing some broken brackets in my beer fridge. 1st time cutting nylon, so we’ll see how close FSWizard’s Nylon numbers are.

12 Likes

Beautiful. I need to do that for my doorways too.

1 Like


A nice dragonfly flooded with epoxy - Just for fun.

22 Likes


Texas shape made from a map of Texas rivers in hardrock maple flooded with epoxy.

14 Likes

Any thing with Texas in it is Ok!

3 Likes

I made a clock. well i made a couple designs now and they actually keep accurate time too but mostly i think these are kinetic art. Here is a couple photos and a video of one…


35 Likes

They look great. I had a go with 7mm bamboo but i couldnt get the cogs to turn without having to hanging my body weight from it.

1 Like