What did you cut on your Shapeoko/ Nomad today?

It’s not pretty. I have been working to reduce the runtime from the first. On the small cube I did the whole pocketing operation with a 1/16" bit, but this time I did a rough contour with a 1/8" endmill and then followed up with a 16" to get the crisp corners. I think it’s close to 6 hours for everything.

1 Like

Do you use a Vee bit on the mating edges.

Yes, I have the carbide insert one from SpeTool and it worked very well.

1 Like

Nicely done Ed. Next you may want to use Roadrunners. :wink:

2 Likes

My grandson is fascinated with owls, a special request has been made…

1 Like

I made my first attempt at a box today following the process from @45rpm John Clark’s videos.

I just replaced my router and retrammed the machine and was super happy with the results.

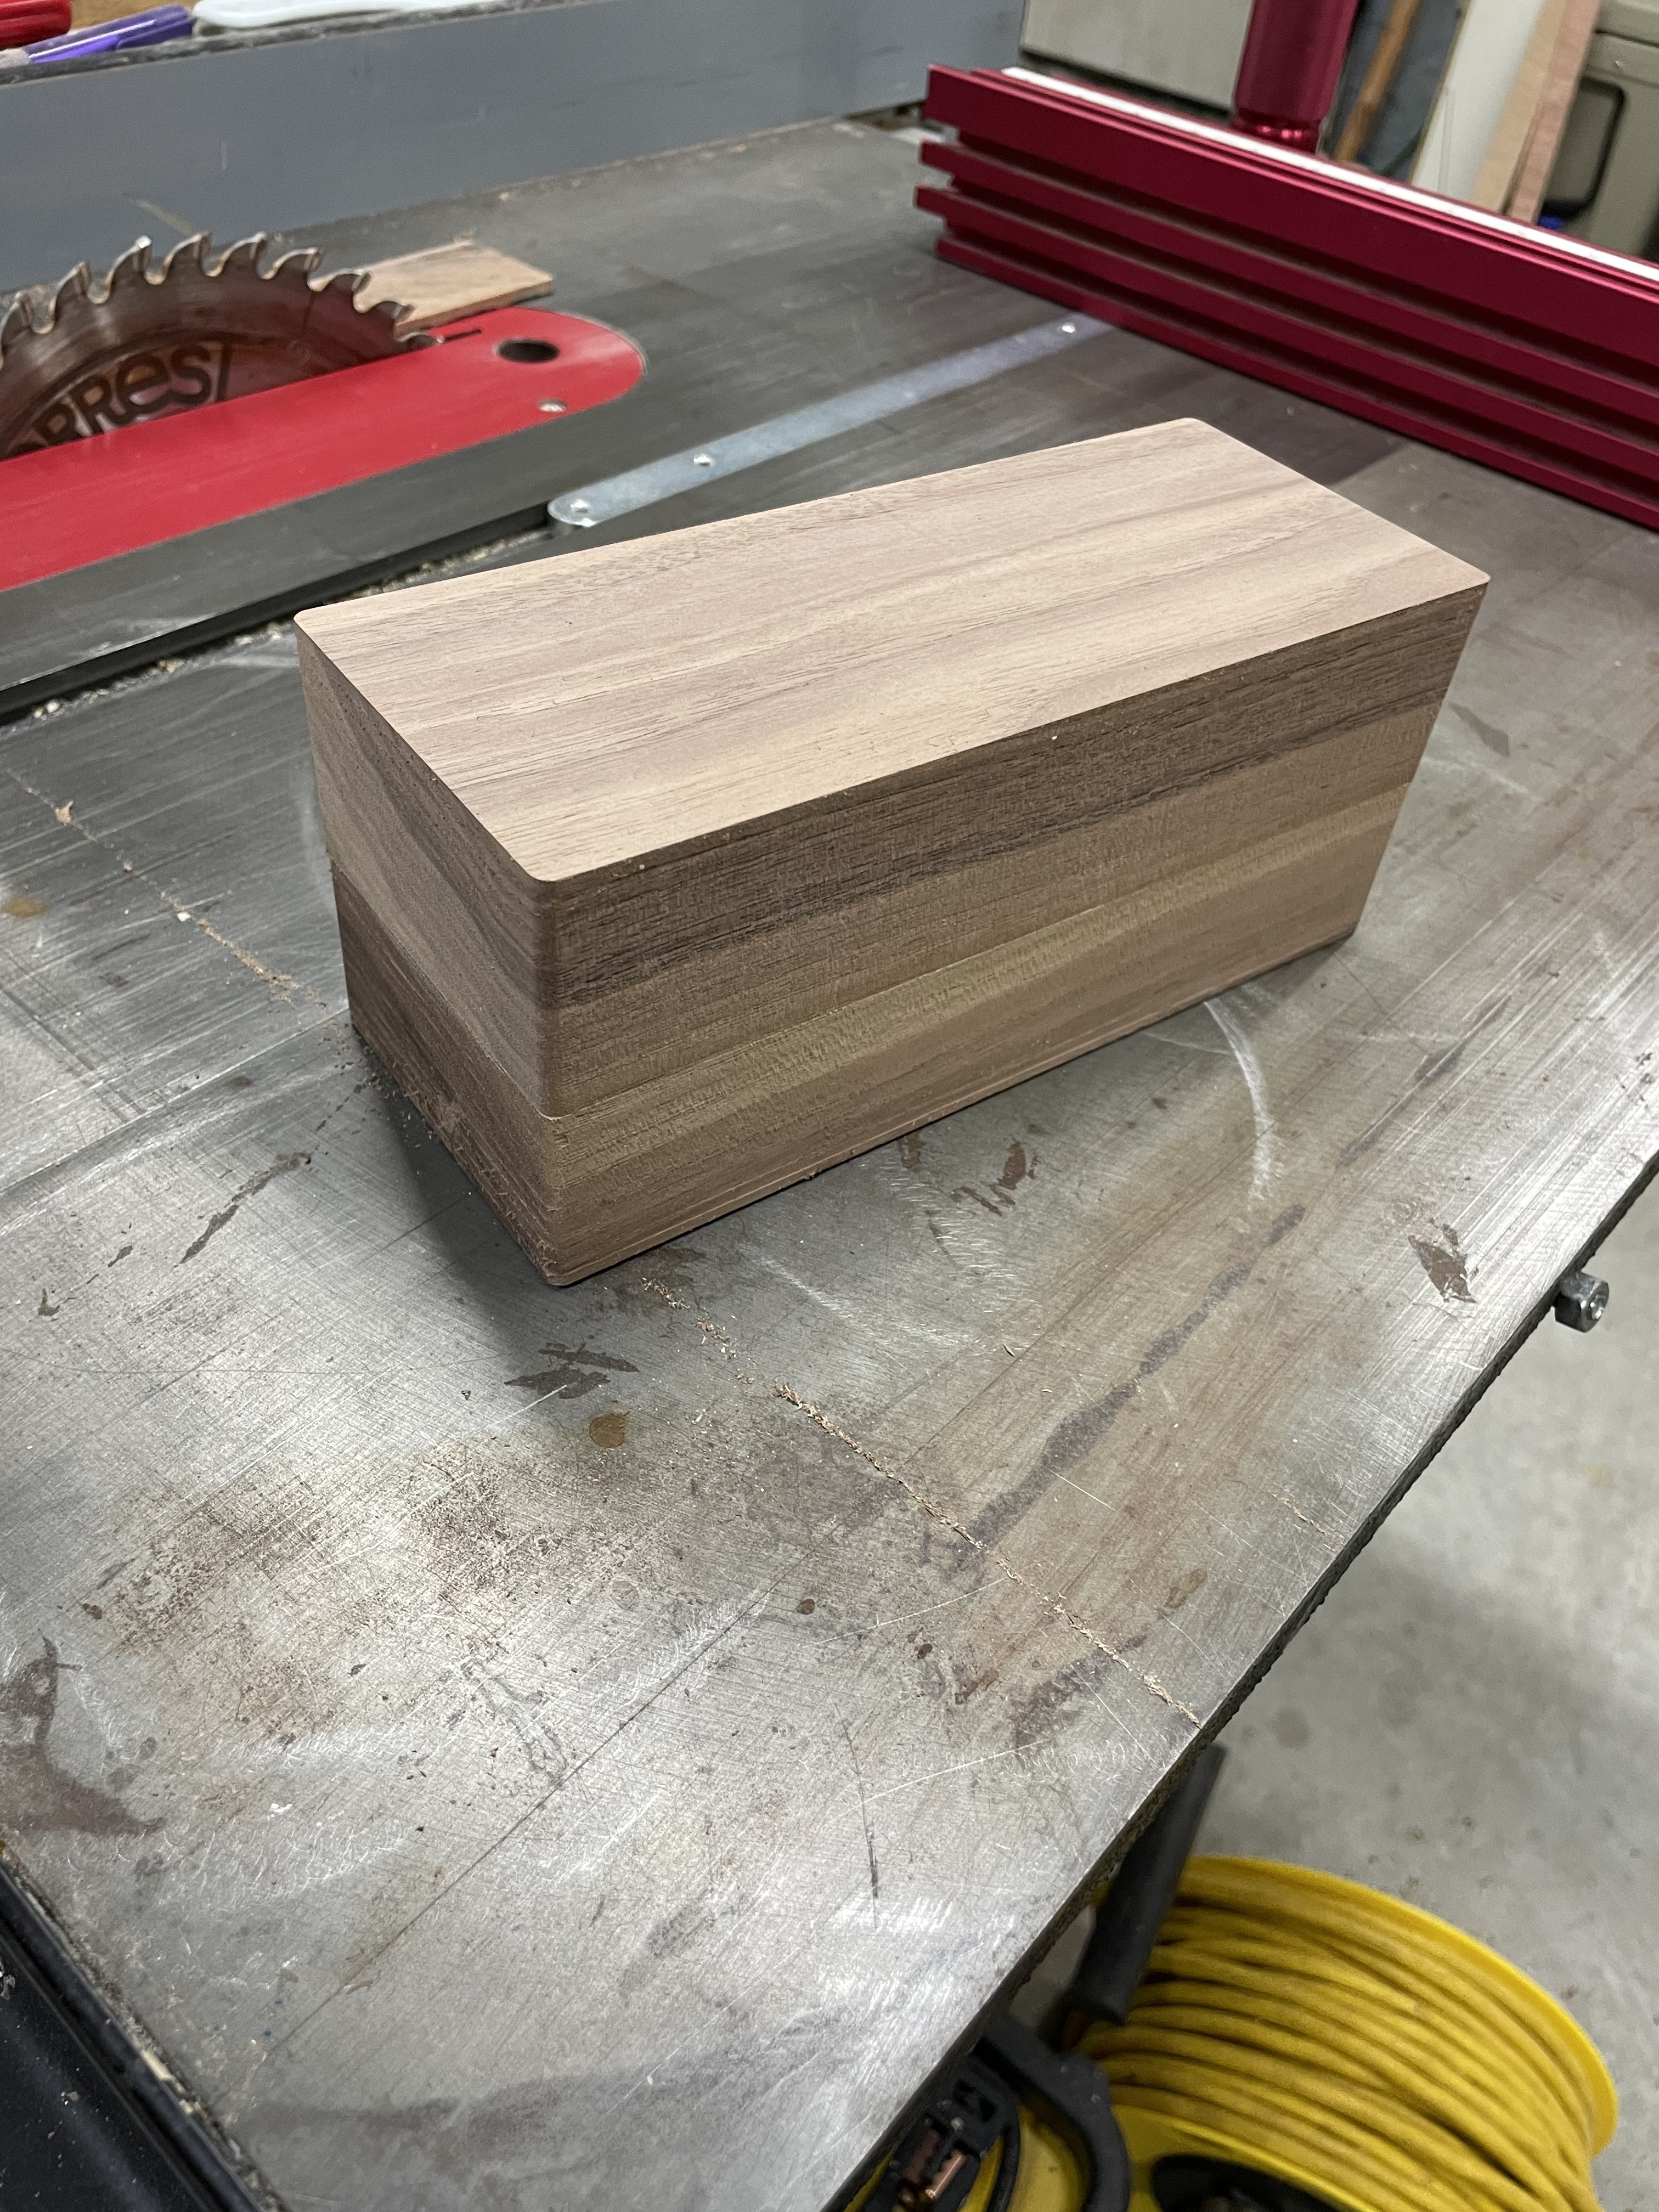
This is 1.75” this walnut and the box is 3.25x8.
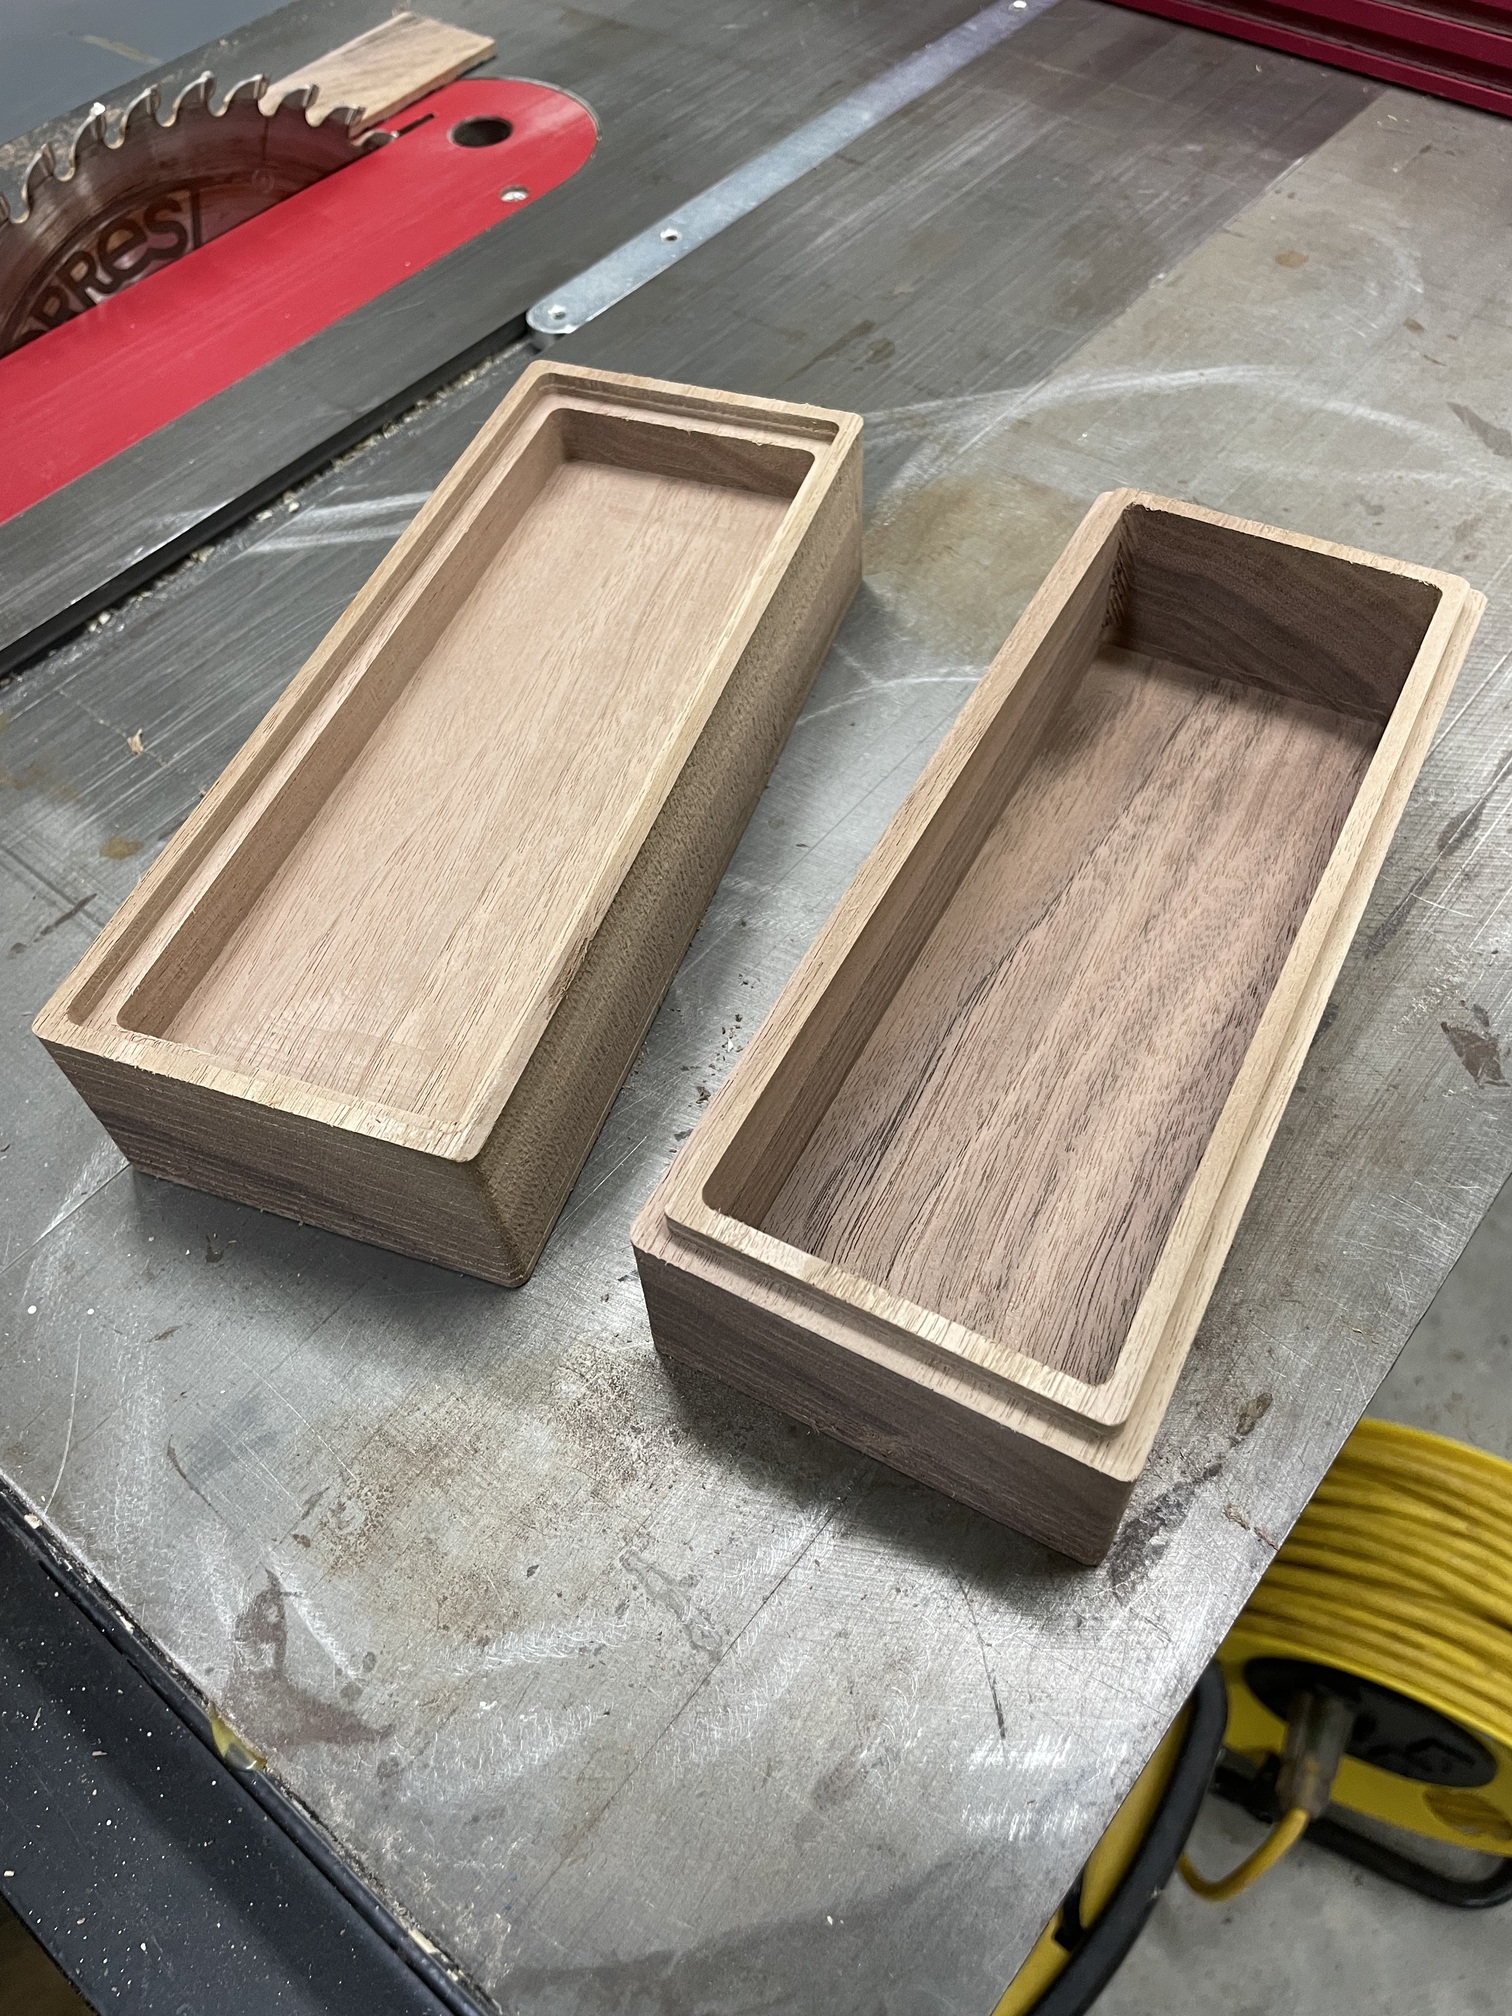
I pocketed out the bottom leaving only .25”. I only had the pocket on the top go to .75 leaving it pretty chunky but I plan to flip it over and do a 3D carving on the top to reduce the overall thickness.

I had to sand the lip ever so slightly to get it to fit but it looks good and is tight.

Once I do the 3D carve I will sand and finish the outside.

Lesson learned: deep sweepy was too tall to be in there for the deeper cuts and the regular sweepy was too high to be useful unless I moved the mount constantly. I decided to just pause it every now and then and cleanup.
I did use a .275” pocket for the outer contour to relieve stress. Once that cut was going I ended up just holding the vac hose to the cut.


EDIT: I did the whole thing with a single bit:

23 Likes

In the light of day this seems a little rougher on the outside edges than I had hoped for. I expected that on the end grain but not the face. I am sure is will sand nicely although I need to be careful to not mess up the nice corners.

I assume that a lighter pass would have helped. I did use bit diameter plus 10% for the pocket but the path took the first ps around next to the box and the relief pass which was lighter was on the outside. I don’t know if there is a way to flip that logic. I used a .125 DOC so it was a
Lot of passes.

Would I have been better to have a full depth pass with a tiny cut once the cutout was complete?

Or maybe divide the cutout in two pieces where one is just the last couple of % depth and do that almost full length pass while there is a little wood holding it down?

I used the Xfasten tape on this. It holds really well, but at full length there may be a tendency to push the piece even though the cut would be minimal.

1
3
4

Made some helical antennas for FPV video on my R/C Plane. Used 1/16" copper faced pcb board material for the antenna reflector.

14 Likes

Another commissioned job.

18 Likes

…or use a bit of sand paper :smiley:

That’s certainly what I am going to do on this one, just wondering if there is a better approach.

I don’t know I want to use the random orbit on this one or hand sand or pass it though the drum sander on its sides which won’t get the ends.

Probably start with running it against a flat sheet of sandpaper to see how that goes.

Work in progress 4” cast iron.
The nomad 3 handles it absolutely beautifully.

Can you believe the bottom of a heavily used cast iron is not flat :stuck_out_tongue_winking_eye: (or maybe the sides aren’t the same height :man_shrugging:)
It’ll be flat when I’m done with it!

The cut is flooded with oil to keep the dust down, I just paused and cleaned it up for this photo.
I’ll do some different engravings and post if they come out interesting.

9 Likes

Cast Iron will warp. Even if it came flat from the factory the repeated heat and cool cycles it will warp. For most people that is not an issue because it sits flat enough to cook in. Good Luck with the flattening. Just dont be disappointed if it warps again.

3 Likes

Yeah I know their propensity to warp, I was just being facetious :slightly_smiling_face:

I’m actually just flattening it to give a nice canvas for engraving. I want to put some shallow 3D elements in the bottom with the mill and do an intricate engraving with a fiber laser. A birthday present for a friend.

Both milling and laser engraving cast iron will be new to me so I’m just crossing my fingers.
Luckily these pans are cheap :grin:

2 Likes

There is something about a bunch of uniform objects lined up perfectly that just gets me. Its a chess board so ill go easy haha. Not much done on the cnc for this but what it did do was broaden my abilities and ideas for the future.
Chain Saw and grinder for the rough edge. Grinder with a metal grinding wheel so that it ‘burns’ through the wood. Resin squares with a resin top coat.
Stain still needed but thought id share now in case someone has ideas :slight_smile:


17 Likes

I’ve never seen a chain saw used this way. Perhaps you’ve smoothed it out too much? :smiley:

+1

1 Like

Three sides smooth up to 100 grit right now; 120 then stain.
The rough edge i was just screwing around. I bought an electirc chainsaw so i can use it indoors over the winter. It surprisingly made some neat effects i think. The grinder really was neat as well.

1 Like

What fiber laser are you using? Most I’ve seen only have a 4" square table size.

I am new…saw this post from you from a while ago…
i would like to know where you buy the DownCut bits.

I just “discovered” down cut bits.
Even though one came with the kit, I was using the 1/4 up cut due to all the posts about chip clearance, etc.

Then I got the Amana “sign bits” and was totally blown away at how smooth my cuts were. No tear out!

Wait! C3D has a 2 flute dc bit that I never opened. Can talk all day about quality and price, but thats not the point. A down cut is great for a smooth surface.

I do a lot of shallow adv. V carves and while the v bit generally took care if rough edges, the results are so much better using a down cut bit! I feel stupid for not figuring this out sooner.

Best news is i found a source for affordable 1/8 dc bits that should really help with smaller designs.

Cheers!

You should also check out the bits at Cadence Manufacturing. The Downtown Jennys are great but their best bits are the GrooVee Jenny V-Bits. They are all down sheer and do a great job on the advanced v carves!

3 Likes