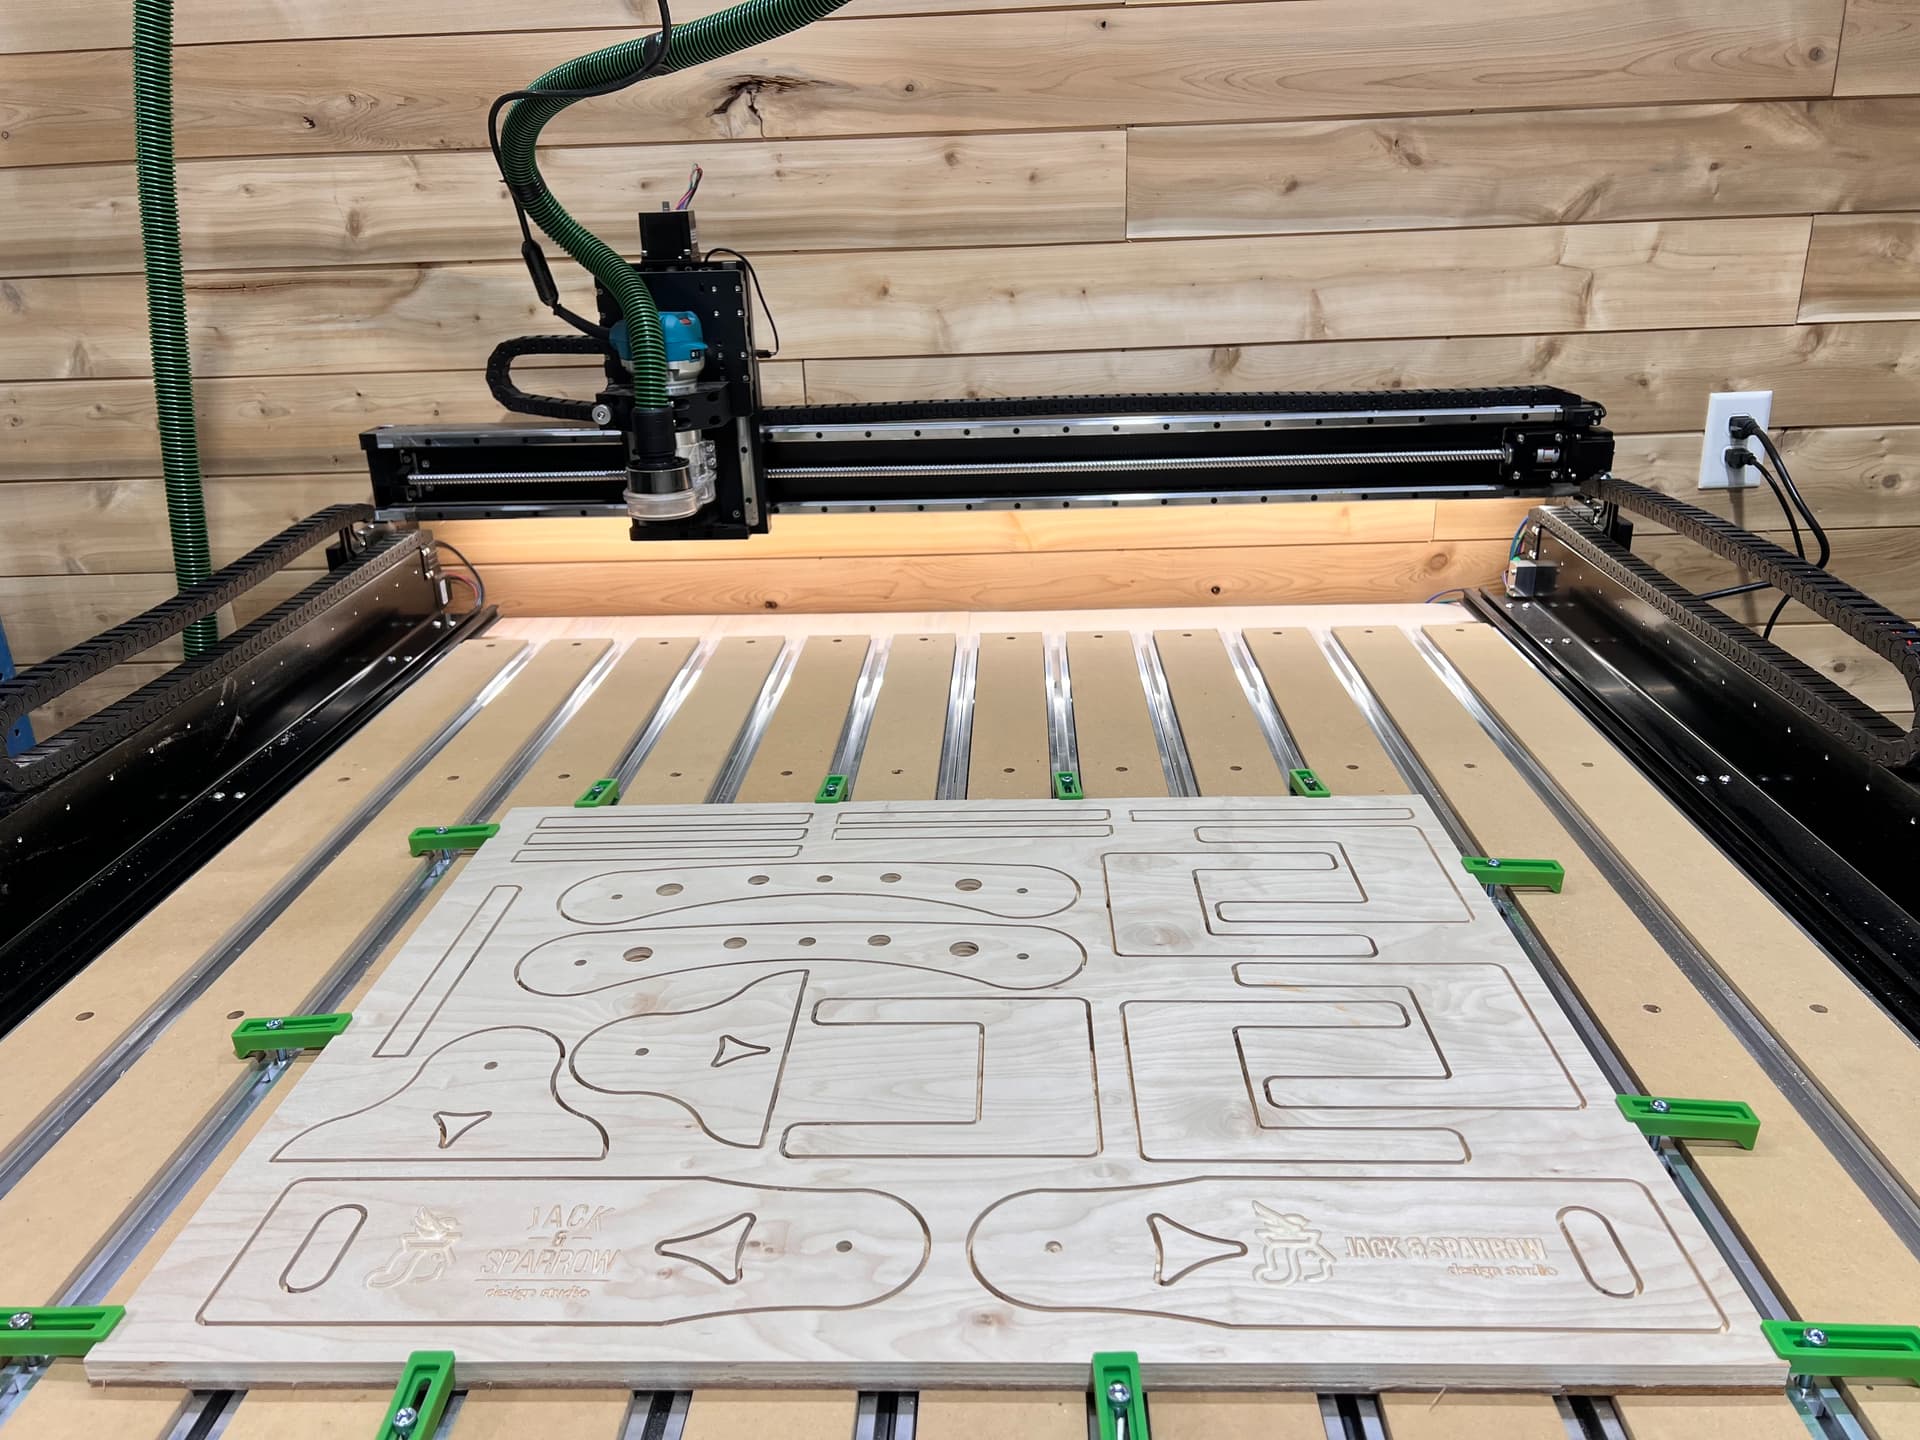
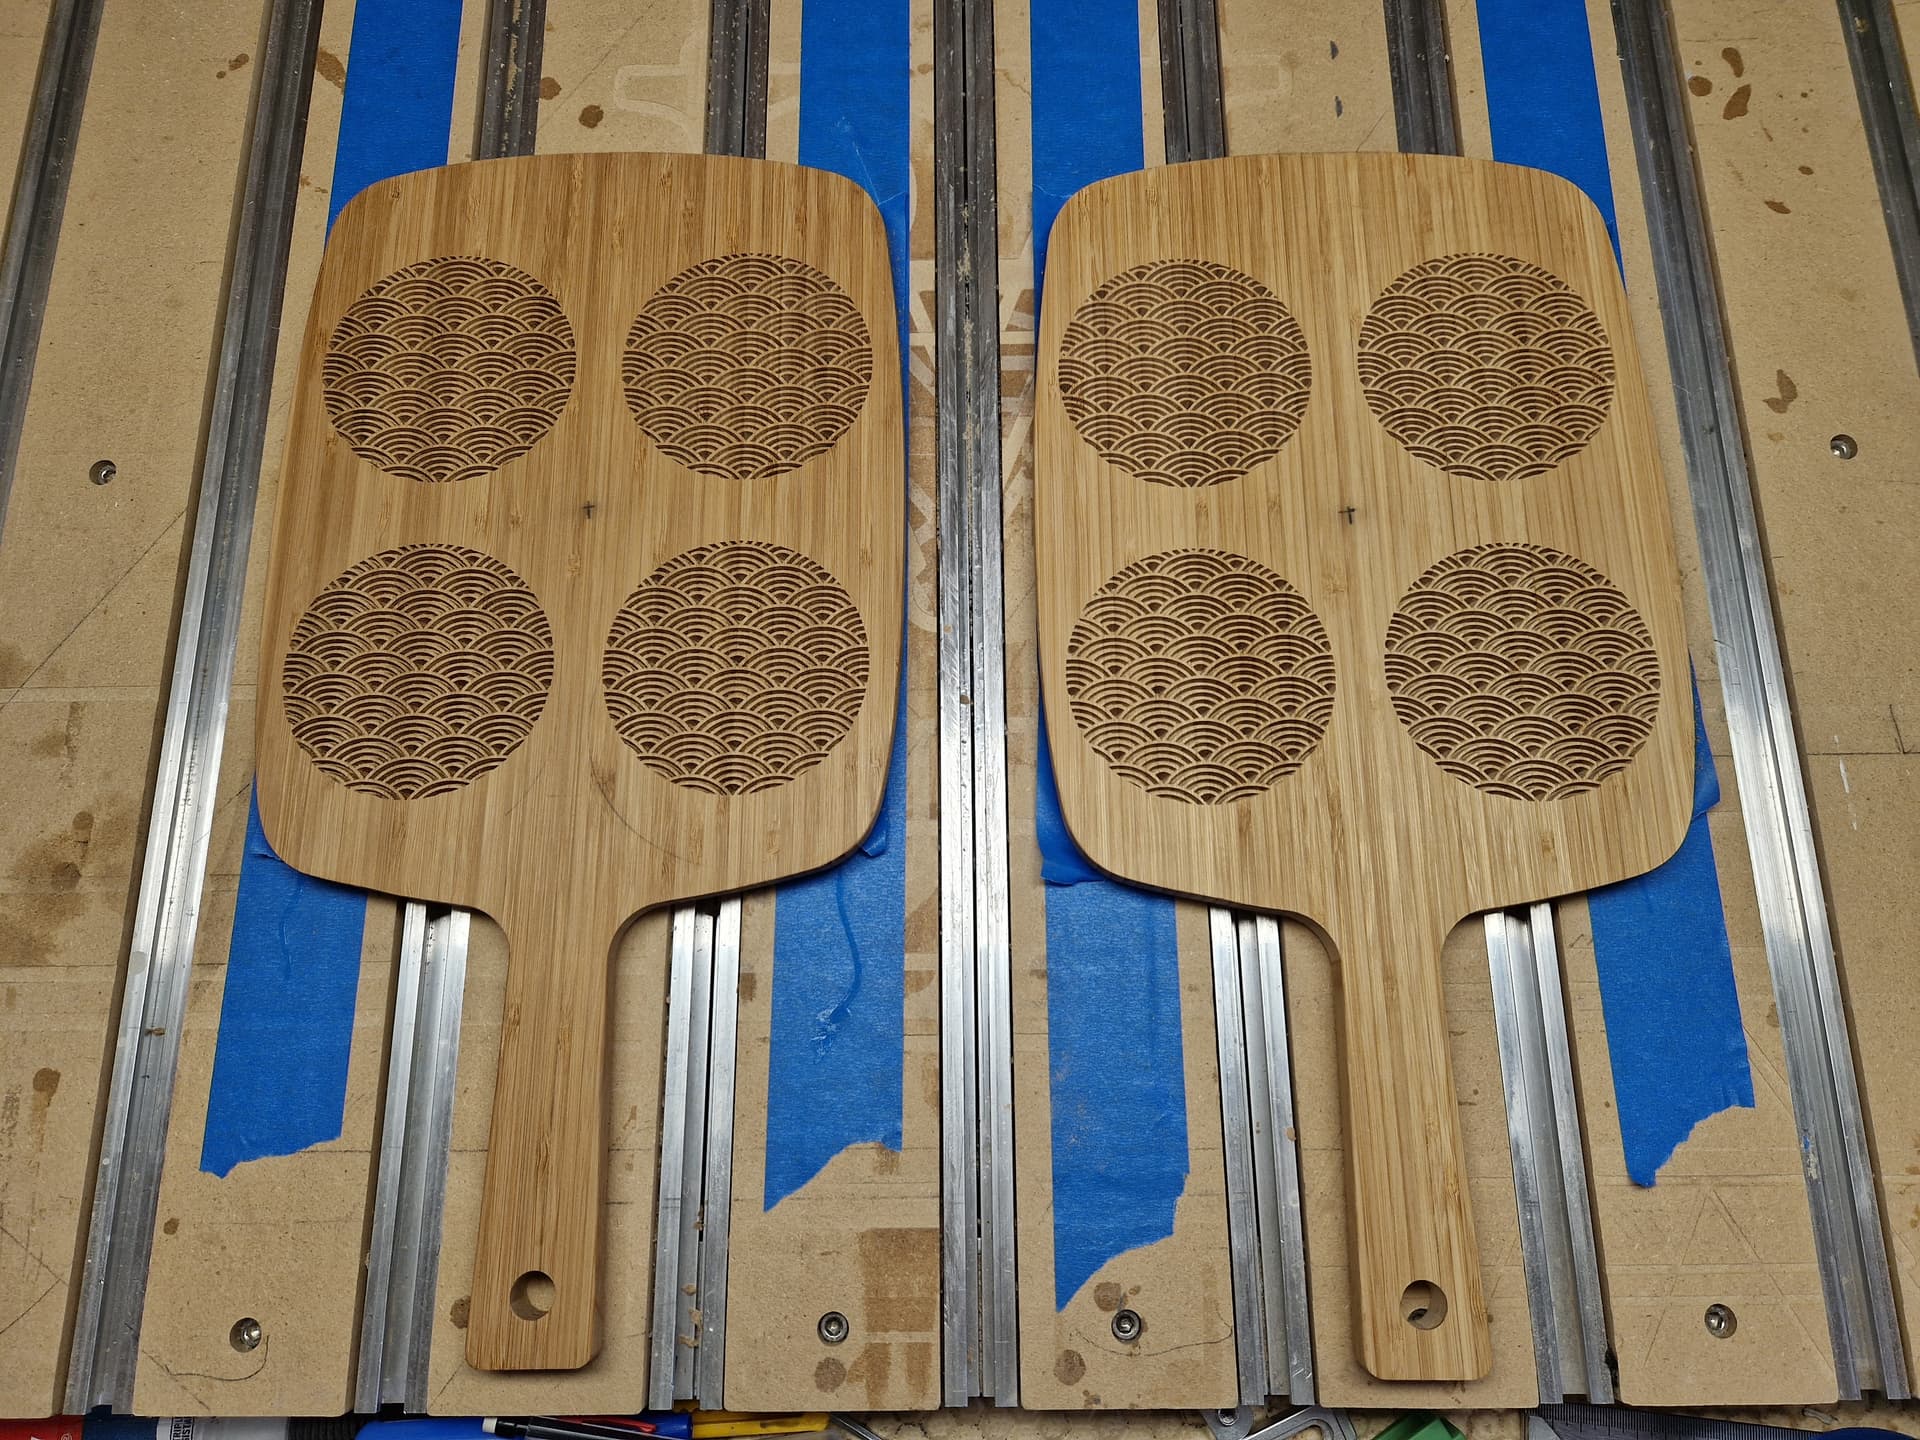
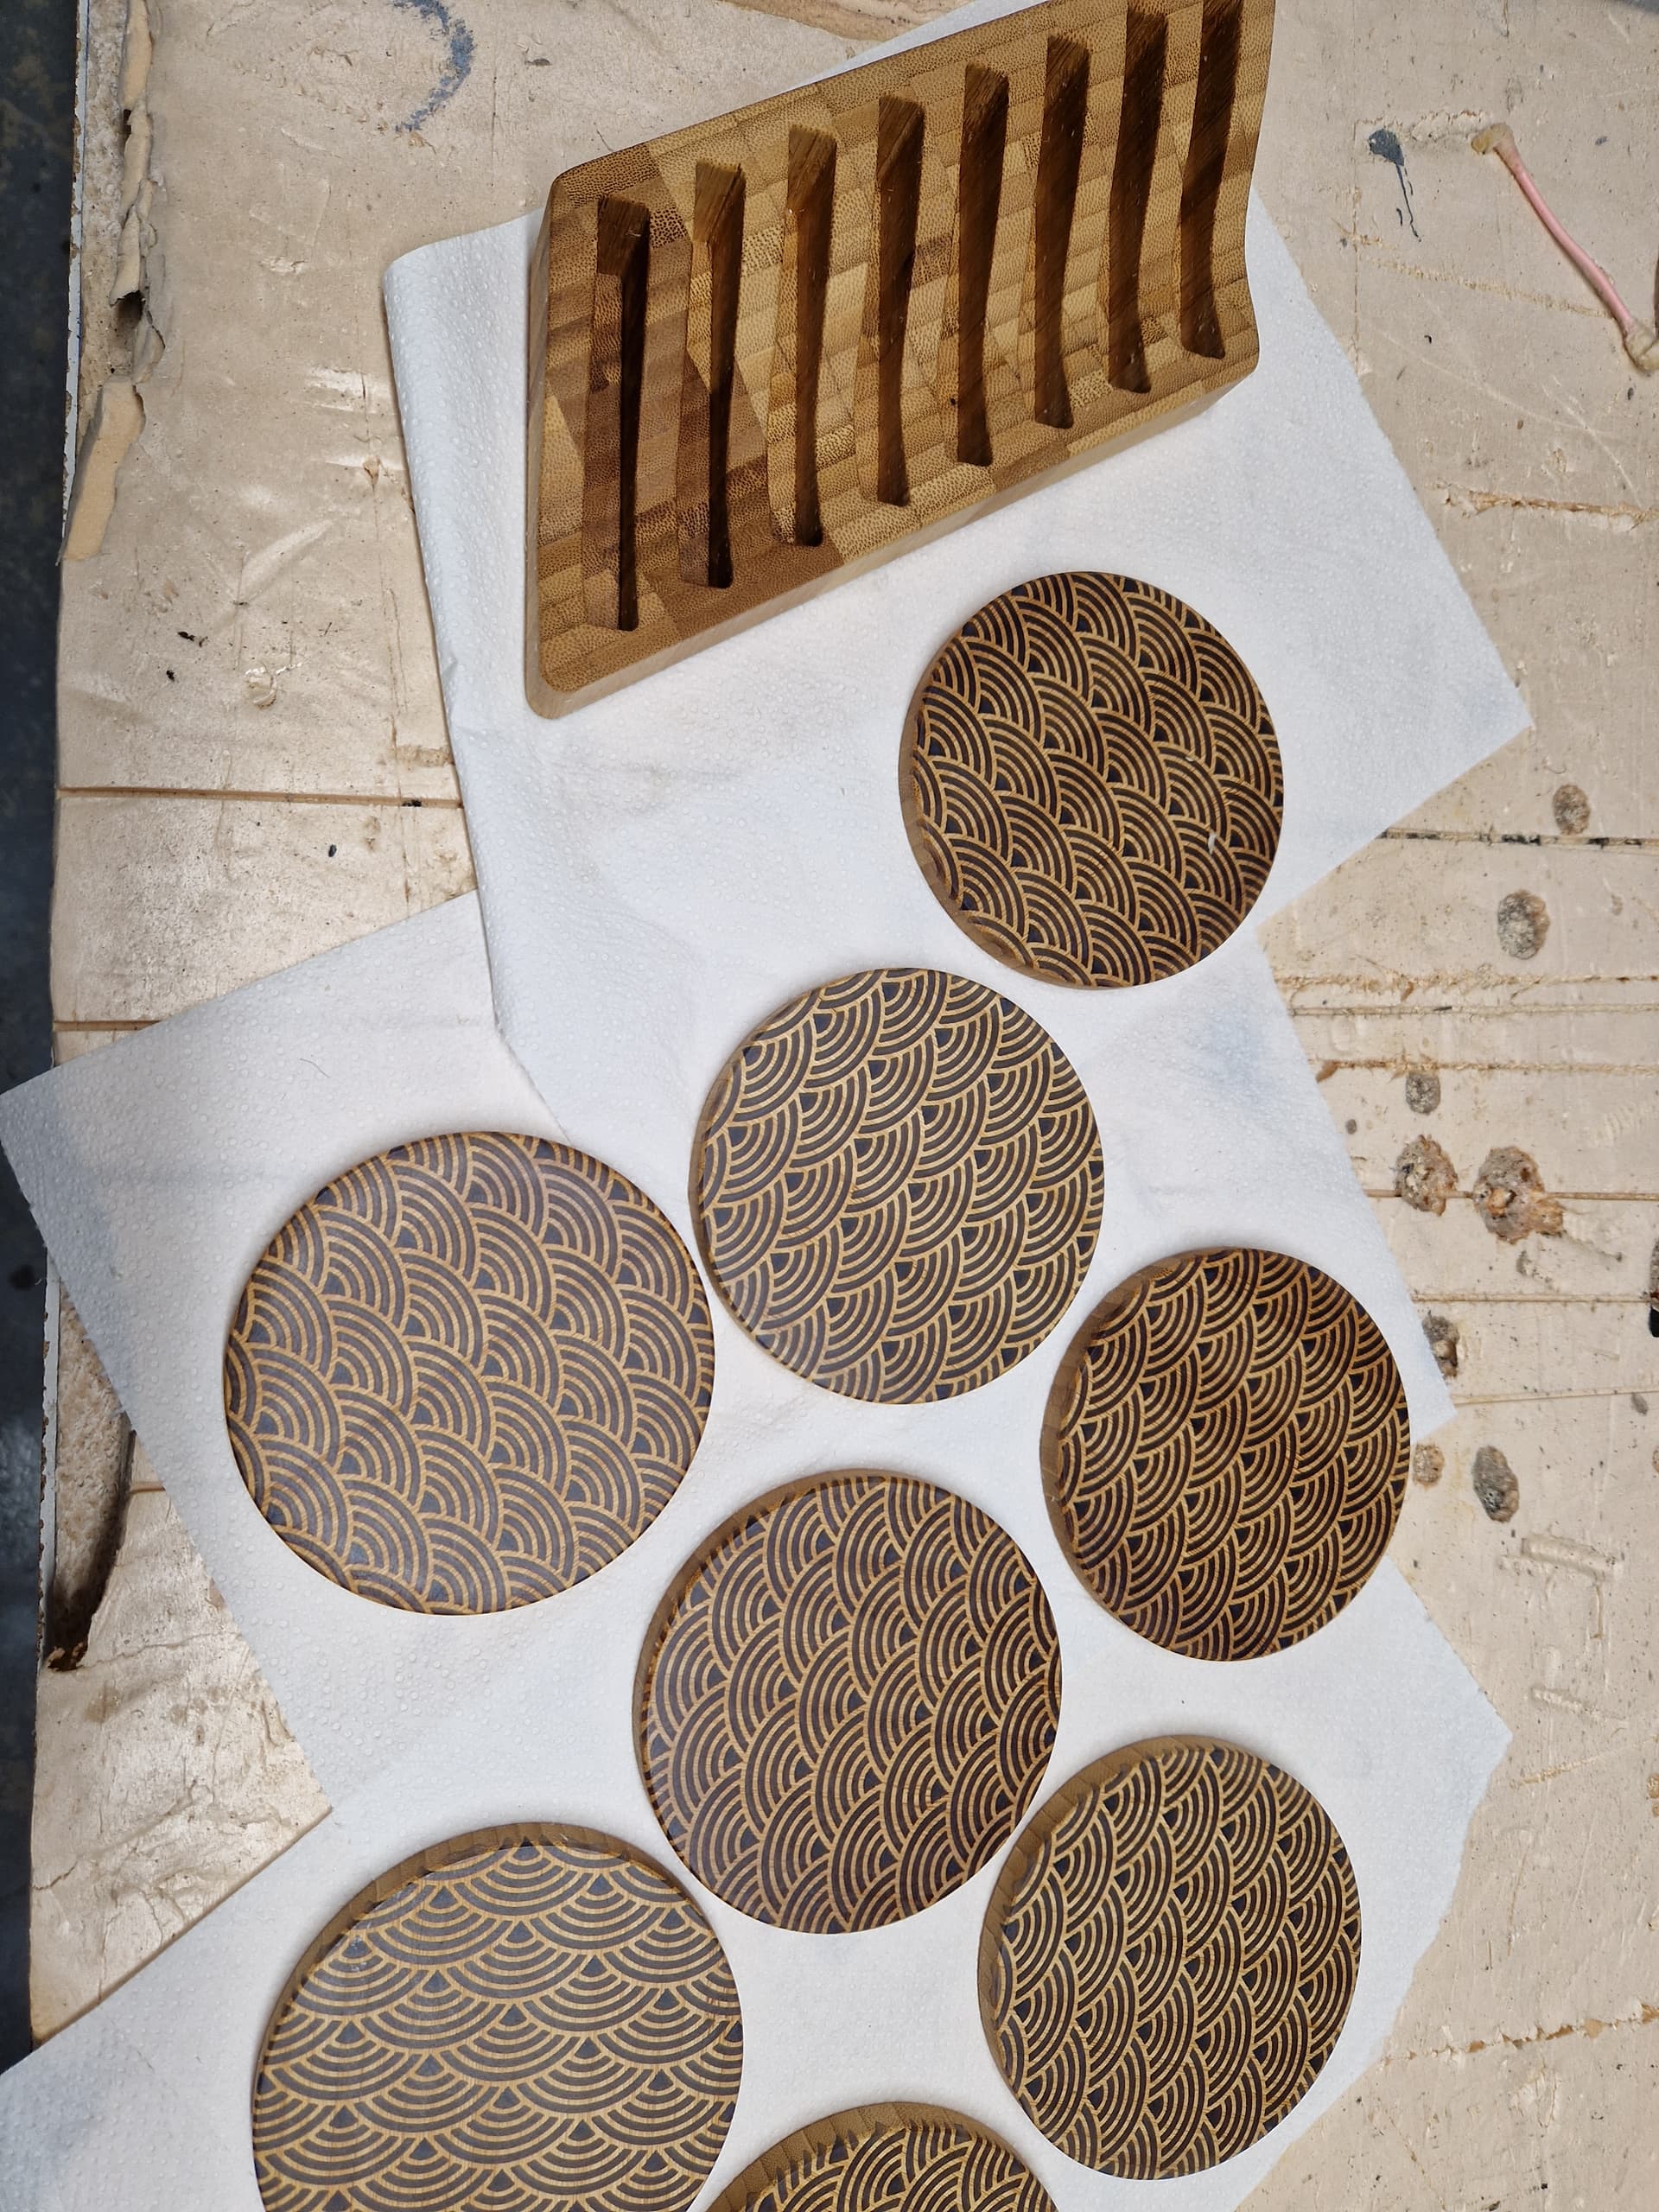
But I still can’t figure out the weld right. I had a text that I tried with once and when I went to the last stage of the text coming together and giving me a toolpath, I couldn’t find the last stages of the process. It’s just so simple but yet so hard. Stacking text, once one figures that out, then leads to being able to stack images the same way, this, creating more of a 3D image. I created the wooden panel that was rustic looking but didn’t use stacked layers. I just went in and made my lines and used the measuring tool to make sure there was enough clearance at the beginning and end of the deeper toolpath to not hit the sides of the upper slats, but to be as close as I could get to make it look like the cut made a slat board that was under the upper board.
I will figure it out. Carbide Create Pro is just a program and the program has capabilities that come to a limit and end, and once dig thru, I know I will have figured out all the capabilities of the program. I have time to figure it out.
Bought a plan today for a laptop stand as computer is perilously dangling off the edge of the work table when cutting, so figure I will need it. All the cuts done, finished gluing and hoping tmw will be assembly day.
For a nice finish you need 2 finishing passes, both at 10% step over. The first is across the grain and the final one with the grain, which helps hide tooling marks.
I need to engrave a wooden tray that’s taller than the gantry bottom, but just under the max tool height, measuring about 5 1/5". Anyone have a workaround for this? Machine is a S5P with VFD. I do have an alternate plan if needed.
This is 3/4" Red Oak. It’s ready for finishing and hope someone has a recommendation for a finish coat that will work with the epoxy. Much appreciated.
Had family coming today. Wife told me Wednesday she wanted me to replicate a door decoration she saw somewhere. Cut the 22" circle with a palm router by hand. White Bunny is ¼" PVC cut on SO3. Text is ⅛" ply cut on SO3. Used a 1/32" endmill for the first time in probably 8 years. Poly on wood, spray paint on text (had to mix some colors I had on hand to get that light purple color).
I cheated on the pink and the eyes. Those are made from glitter eva foam sheets from my kids craft stuff. We’ll see if it lasts.
Ahhh…This is the other last minute experiment. I have 3 strips of nano tape on the back, stuck directly to the glass. She likes the flush look and I like the lack of a flopping plywood on my glass door.
It might be on the ground in the morning, but, in my experience, that tape holds really well. We’ll see about the temperature fluctuations as we see 3 seasons per day this time of year.
EDIT: I’m convinced that nano tape would hold that in place for years. I couldn’t remove the thing! I told my wife we could just swap out doors when she wants to change decorations. That was when it was still a laughing matter. Nearly an hour later, I finally removed the thing. A generous amount of rubbing alcohol finally released the tape from the wood. Next time, I’ll use two SMALL pieces, close to the edge so I can use something to get under the tape. Lesson learned.
Most any finish will go over epoxy. I use polyurethane oil based and it sticks to epoxy. I do not use water based products so not sure about them. I generally apply a coat of dewaxed shellac first (Zinsser Universal sanding sealer). That helps seal the wood and warms it up slightly. I use wipe on polyurethane for 3-4 coats. Be sure to mix the poly thoroughly and I pour it in a plastic paint tray. Use an old tee shirt and dont apply heavy coats. The poly will smooth out and dry over night so you can apply about 2-3 coats every day. Sand with 600 grit sand paper lightly between coats to knock down any dust nibs or grain that raises. If you dont put the dewaxed shellac it takes 1-3 extra coats to get a smooth finish. Oak is very grainy and pour-es so it really soaks up the finish for the first couple of coats. The epoxy will look dull as dishwater until the 2-3 coat of finish and it will be just as shinny as the product you use (satin/gloss).
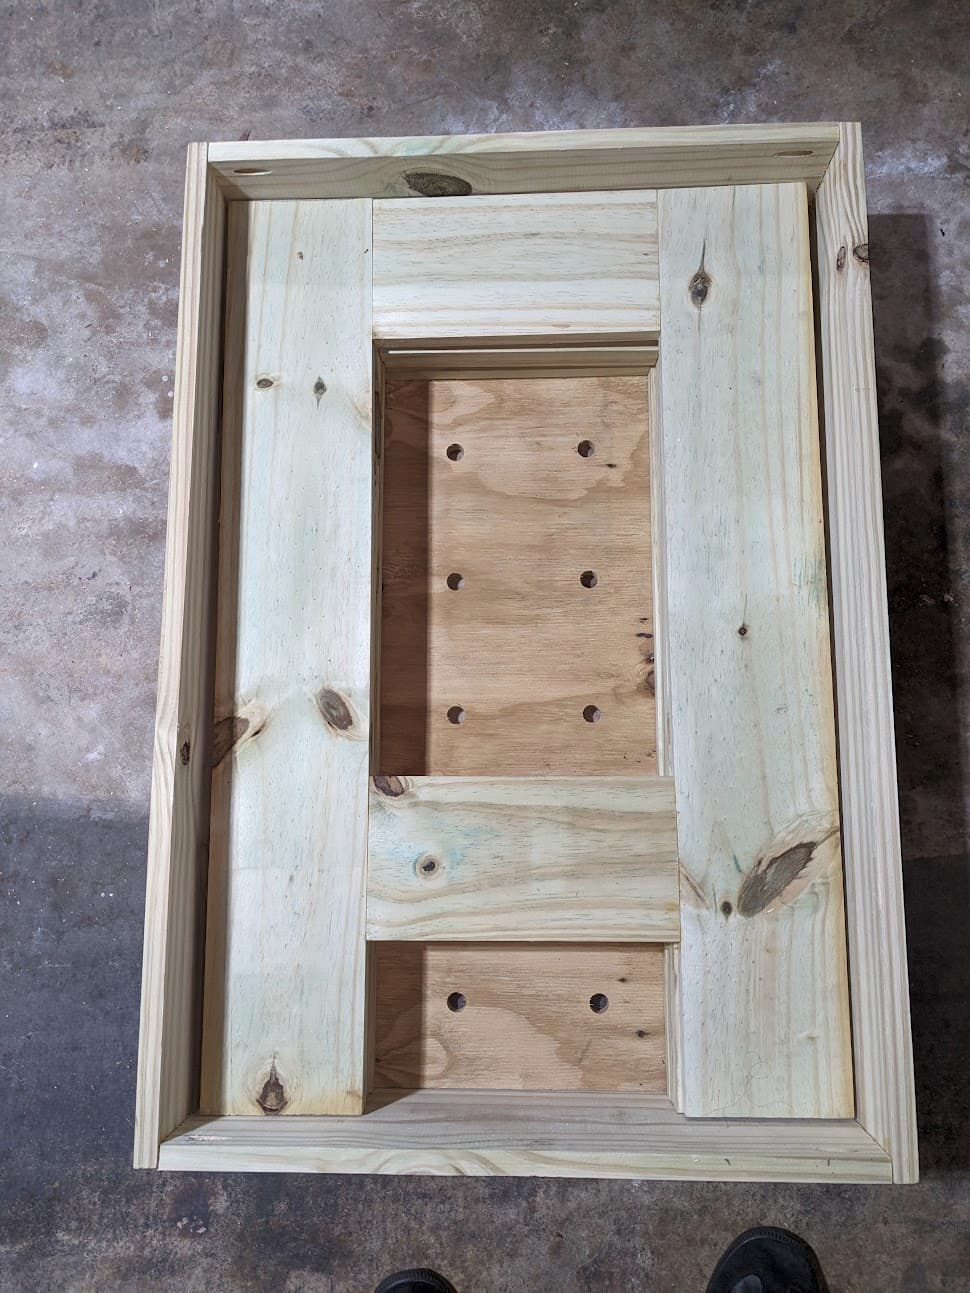
I’m more a programmer than a woodworker but I have been learning as much as I can. I made this portable workbench from https://sawsonskates.com/ and did my best to do a good job. Unfortuately, I went to buy the wood after a rainstorm at the Home Depot and their wood was all fairly wet. I didn’t run into much trouble except for the plywood top. I got it mostly flat.
Being new to woodworking, I learned about dog holes and put those in the plywood top with my Shapeoko 4. Here are few photos. If interested, I logged most of my process here:
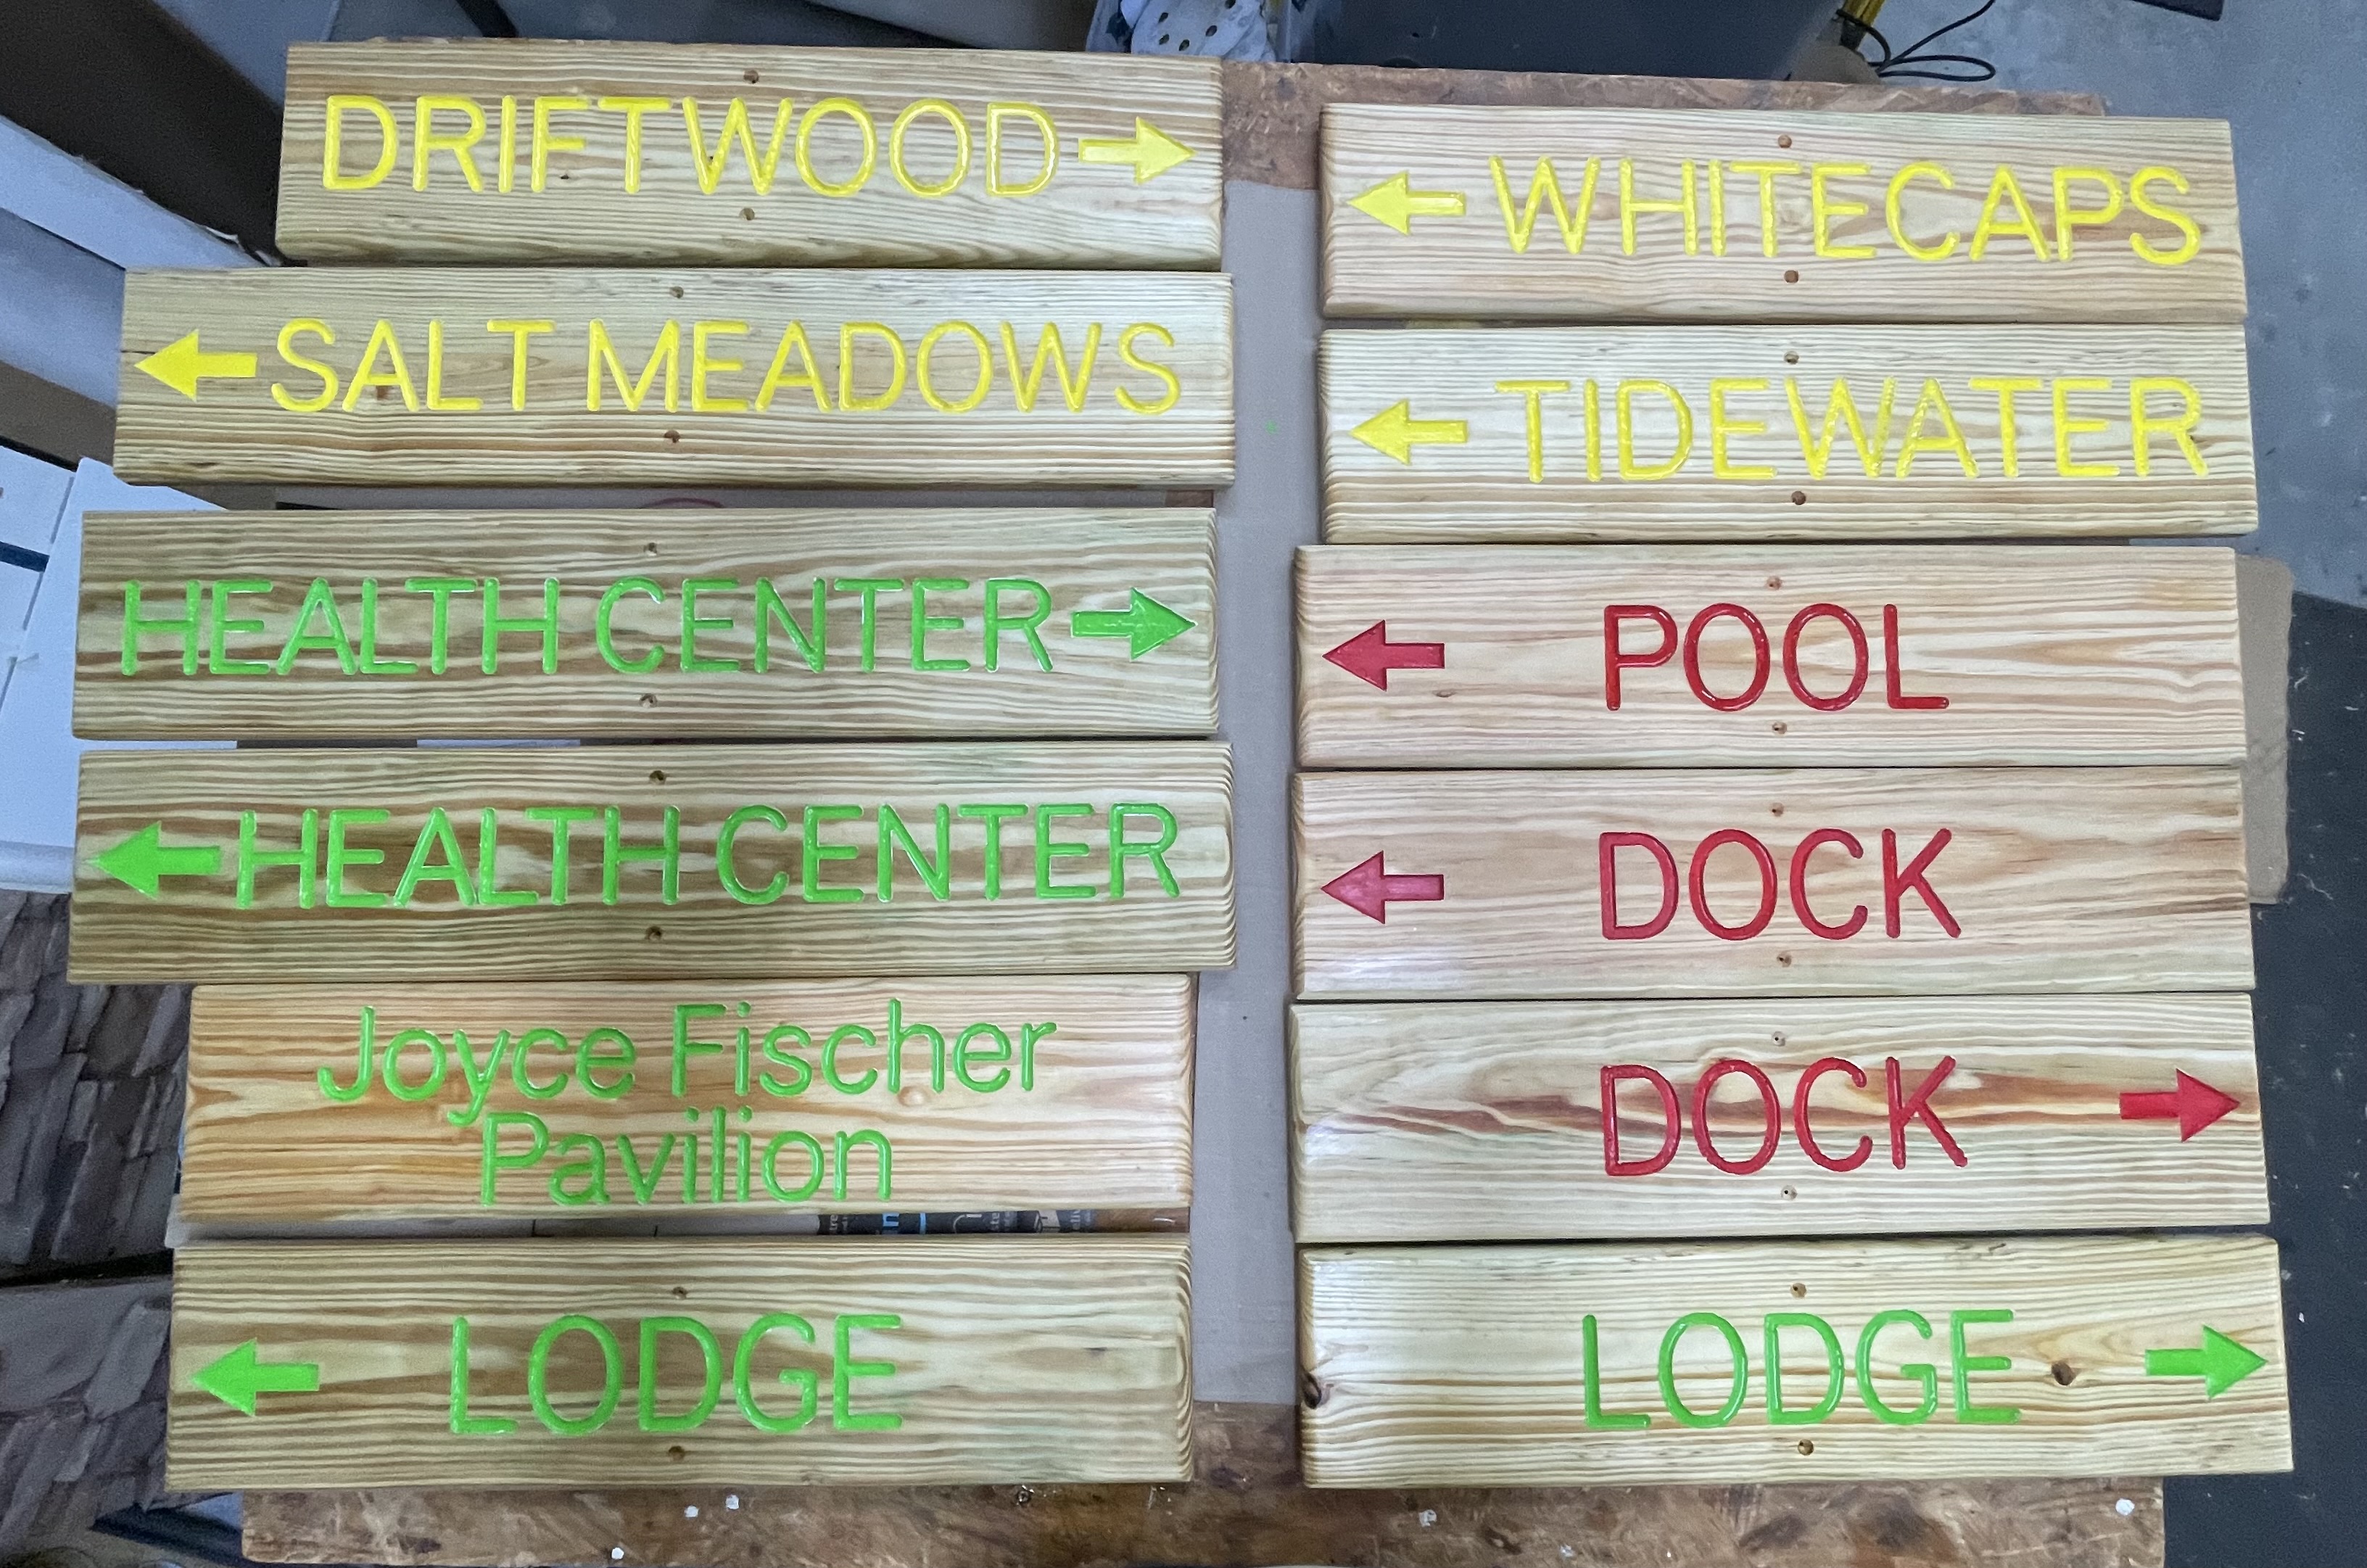
I made the first batch of signs for a local Girl Scout camp. I am doing the work for free and having them pay for materials. There are a lot more to do.
They wanted me to use PT deck boards and I was in such a hurry to get started I ended up getting only 1 dry board and a couple that were really too wet.
Original plan was to use my core box bit to carve the letters with the National Park Font. I didn’t like the way that simulated though, it left ridges in spots that I couldn’t eliminate no matter what I used for a stepover. So, I used a V bit and an endmill for a flat bottom. I also figured this would save me 1 bit change per sign since I needed the V and flat bottom on the arrows.
I put masking on the top and did the carves. It took a lot of cleanup time on the carve afterward. Then I put shellac in the letters and primer and 3 coats of paint with a brush. I bought regular exterior wall paint in quart cans to save them money over the rattle cans. 1 quart was $25 and probably enough paint for 1000 signs vs $12 for a rattle can which might do 4 or 5. Again, anticipating a lot more to come.
So, then a lot more cleanup when I pulled the masking off because in spots the paint came slightly above the surface and if I hit that with the sander it smeared.
In this pic I have 1 coat of poly, I added 2 more and will do another before delivery.
In the end, it would have been less work (and probably less time) to fill the letters with epoxy.
For the next batch I am going to use a single line font and go back to the core box bit idea. I will probably still brush but hopefully it will go cleaner. I may skip the primer, I thought that would make the colors pop more.
Too late since I have a lifetime supply of paint but I want to look into an airbrush as I can do that in the shop when the weather is bad. I can’t do the rattle cans in there.
It should have been a very basic project but consumed a lot of time. I did at least round over the ends of the boards on the router table to make them look nicer.
Are you using oramask, or an alternative? Have you considered shellac under the mask, then again after the carve? Not sure where you’d save more time. The shellac should keep the paint from fading into the wood, so a white primer wouldn’t be necessary as long as you do 2 coats. This project would be a great excuse to buy more tools, specifically an LVLP gun.