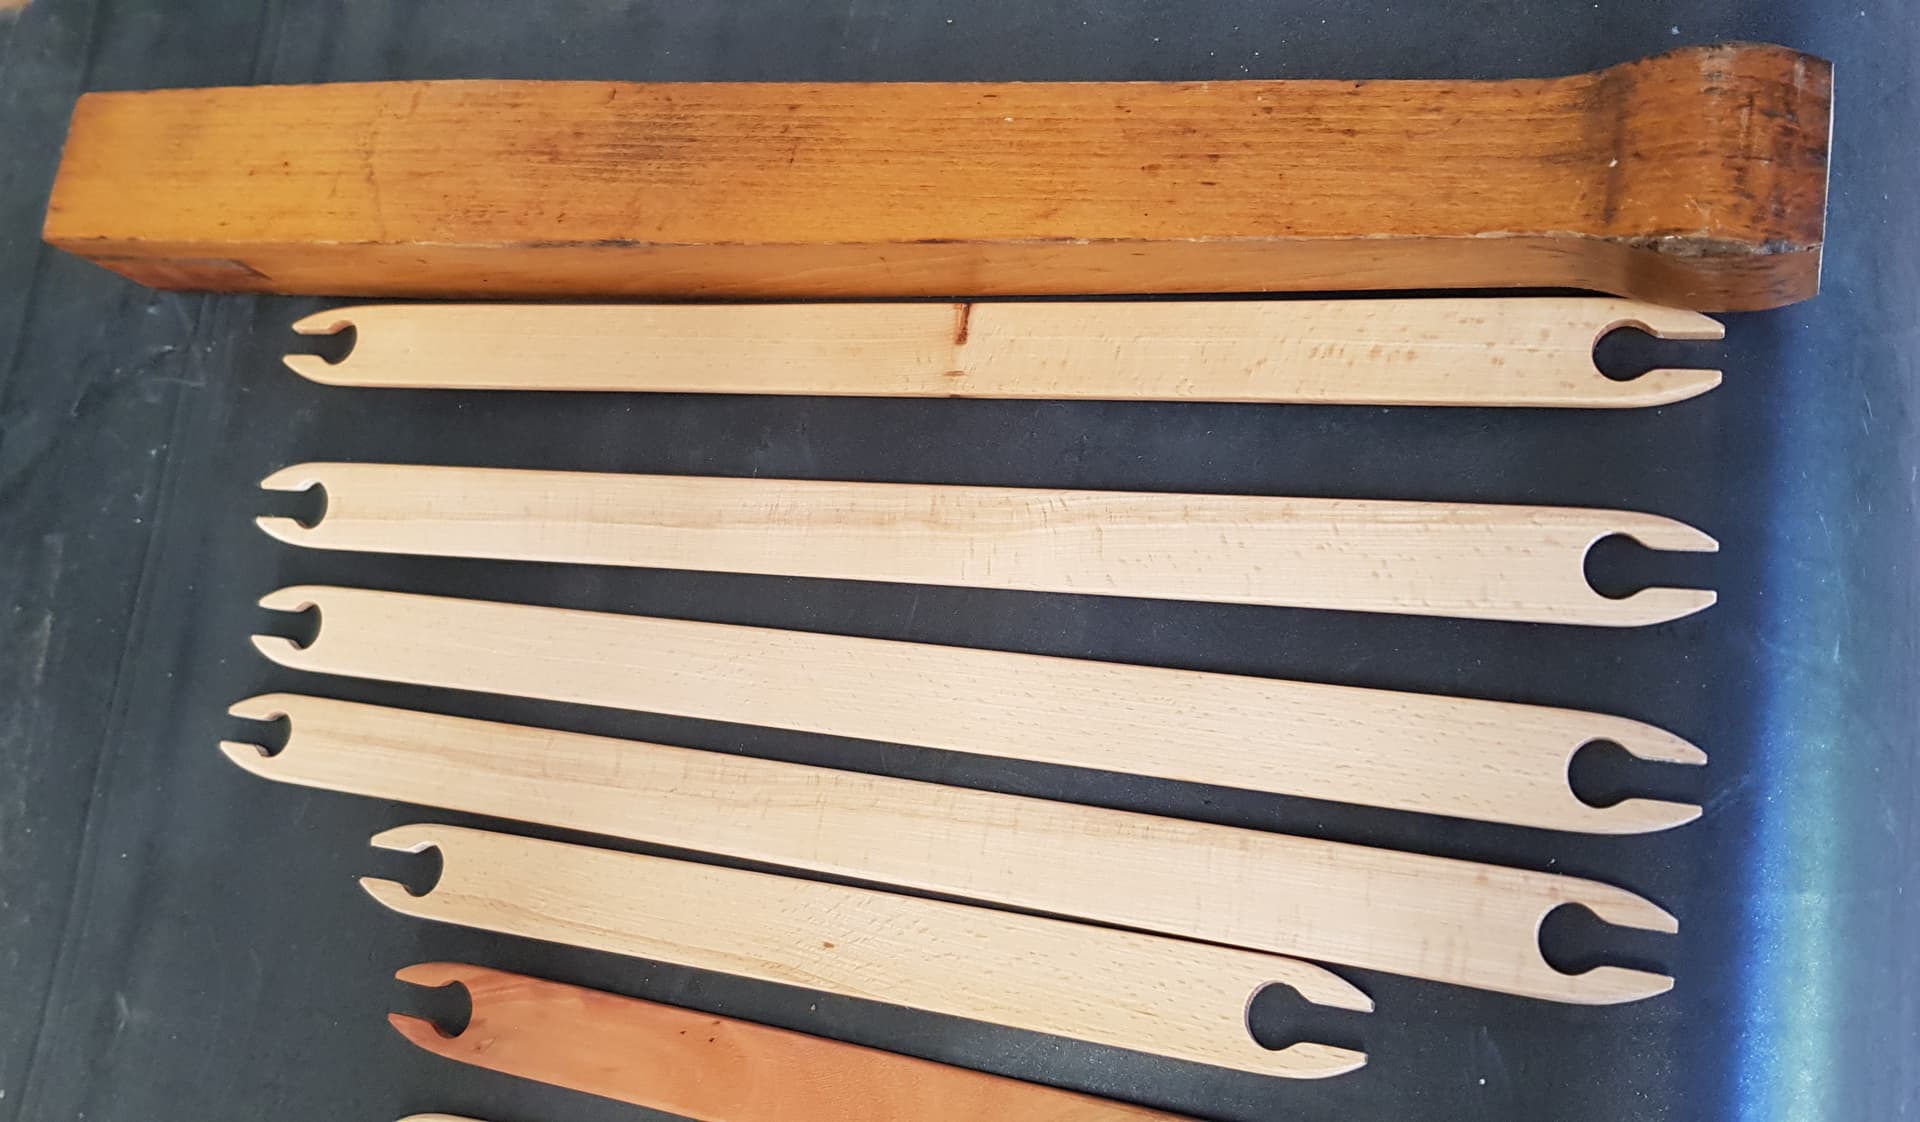
Loom shuttles for a weaver. Made from an old beech table leg.
The Shapeoko made life a lot easier, no marking out, drilling or sawing. Just set up a couple of stops with easily removable (wedge) clamps and flipped them end to end.
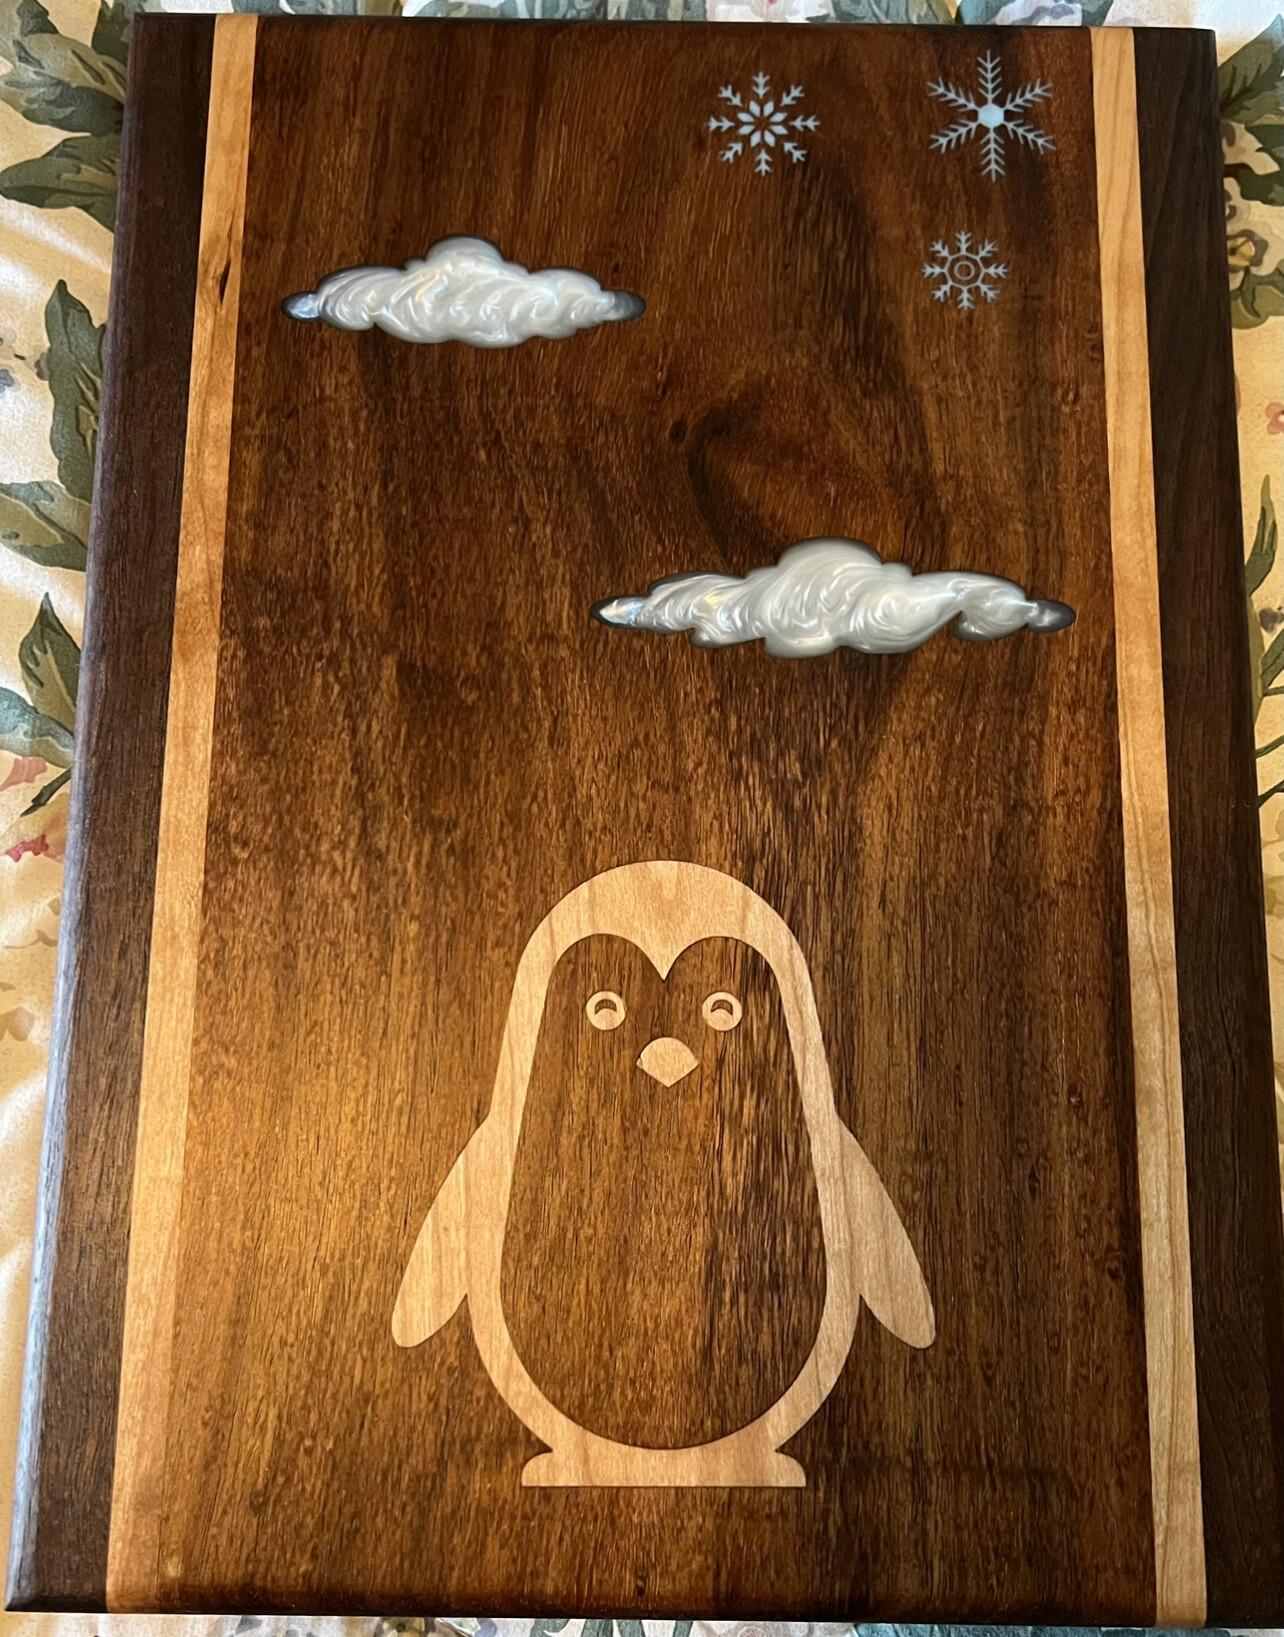
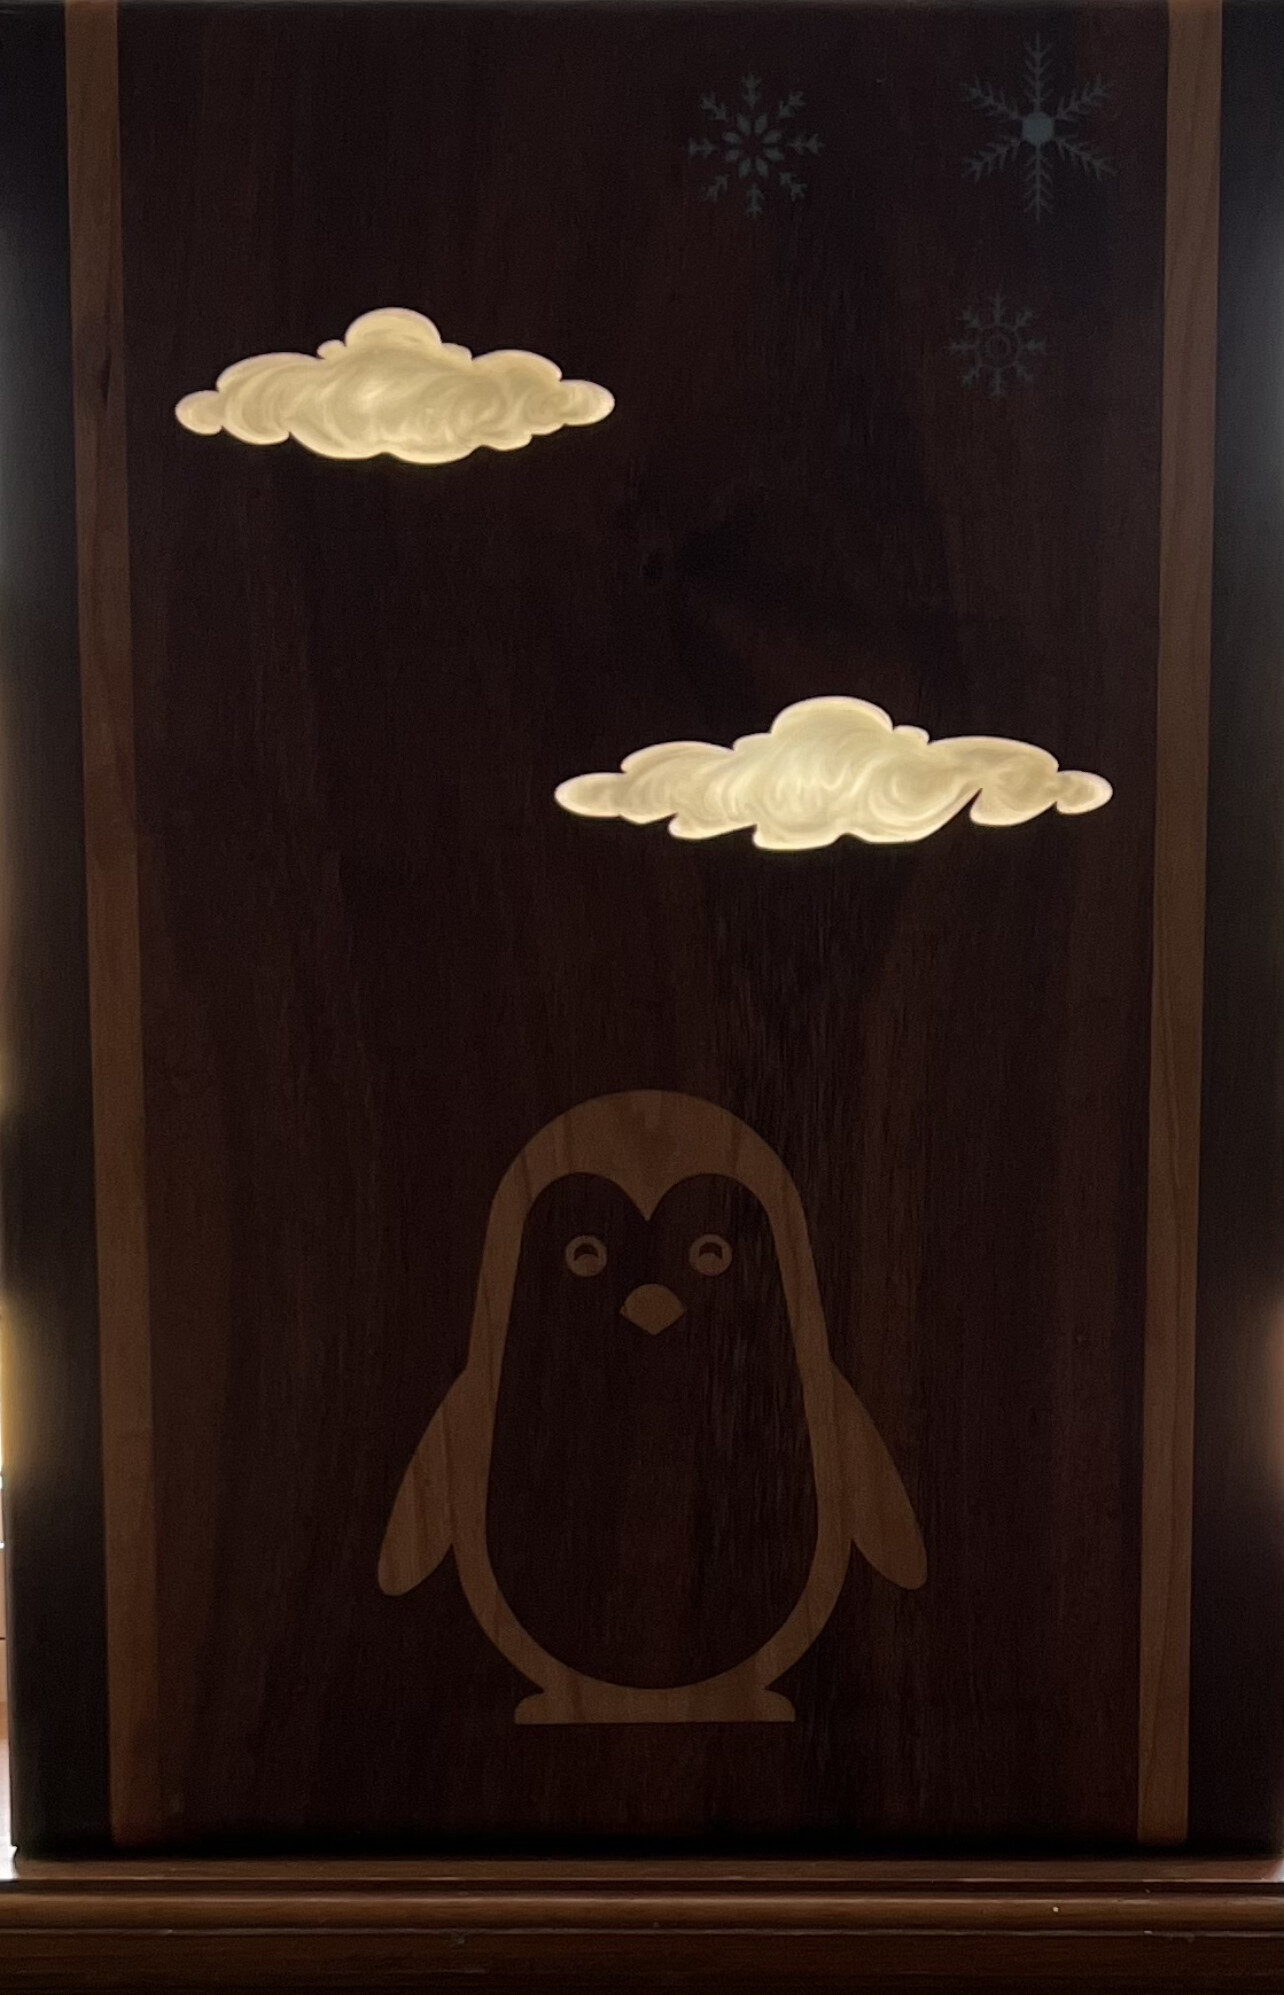
A cutting board for a fan of penguins. Used tzalam, walnut, and cherry with mixing a bit of inlay along with some epoxy all the way through and a small amount of shallow epoxy
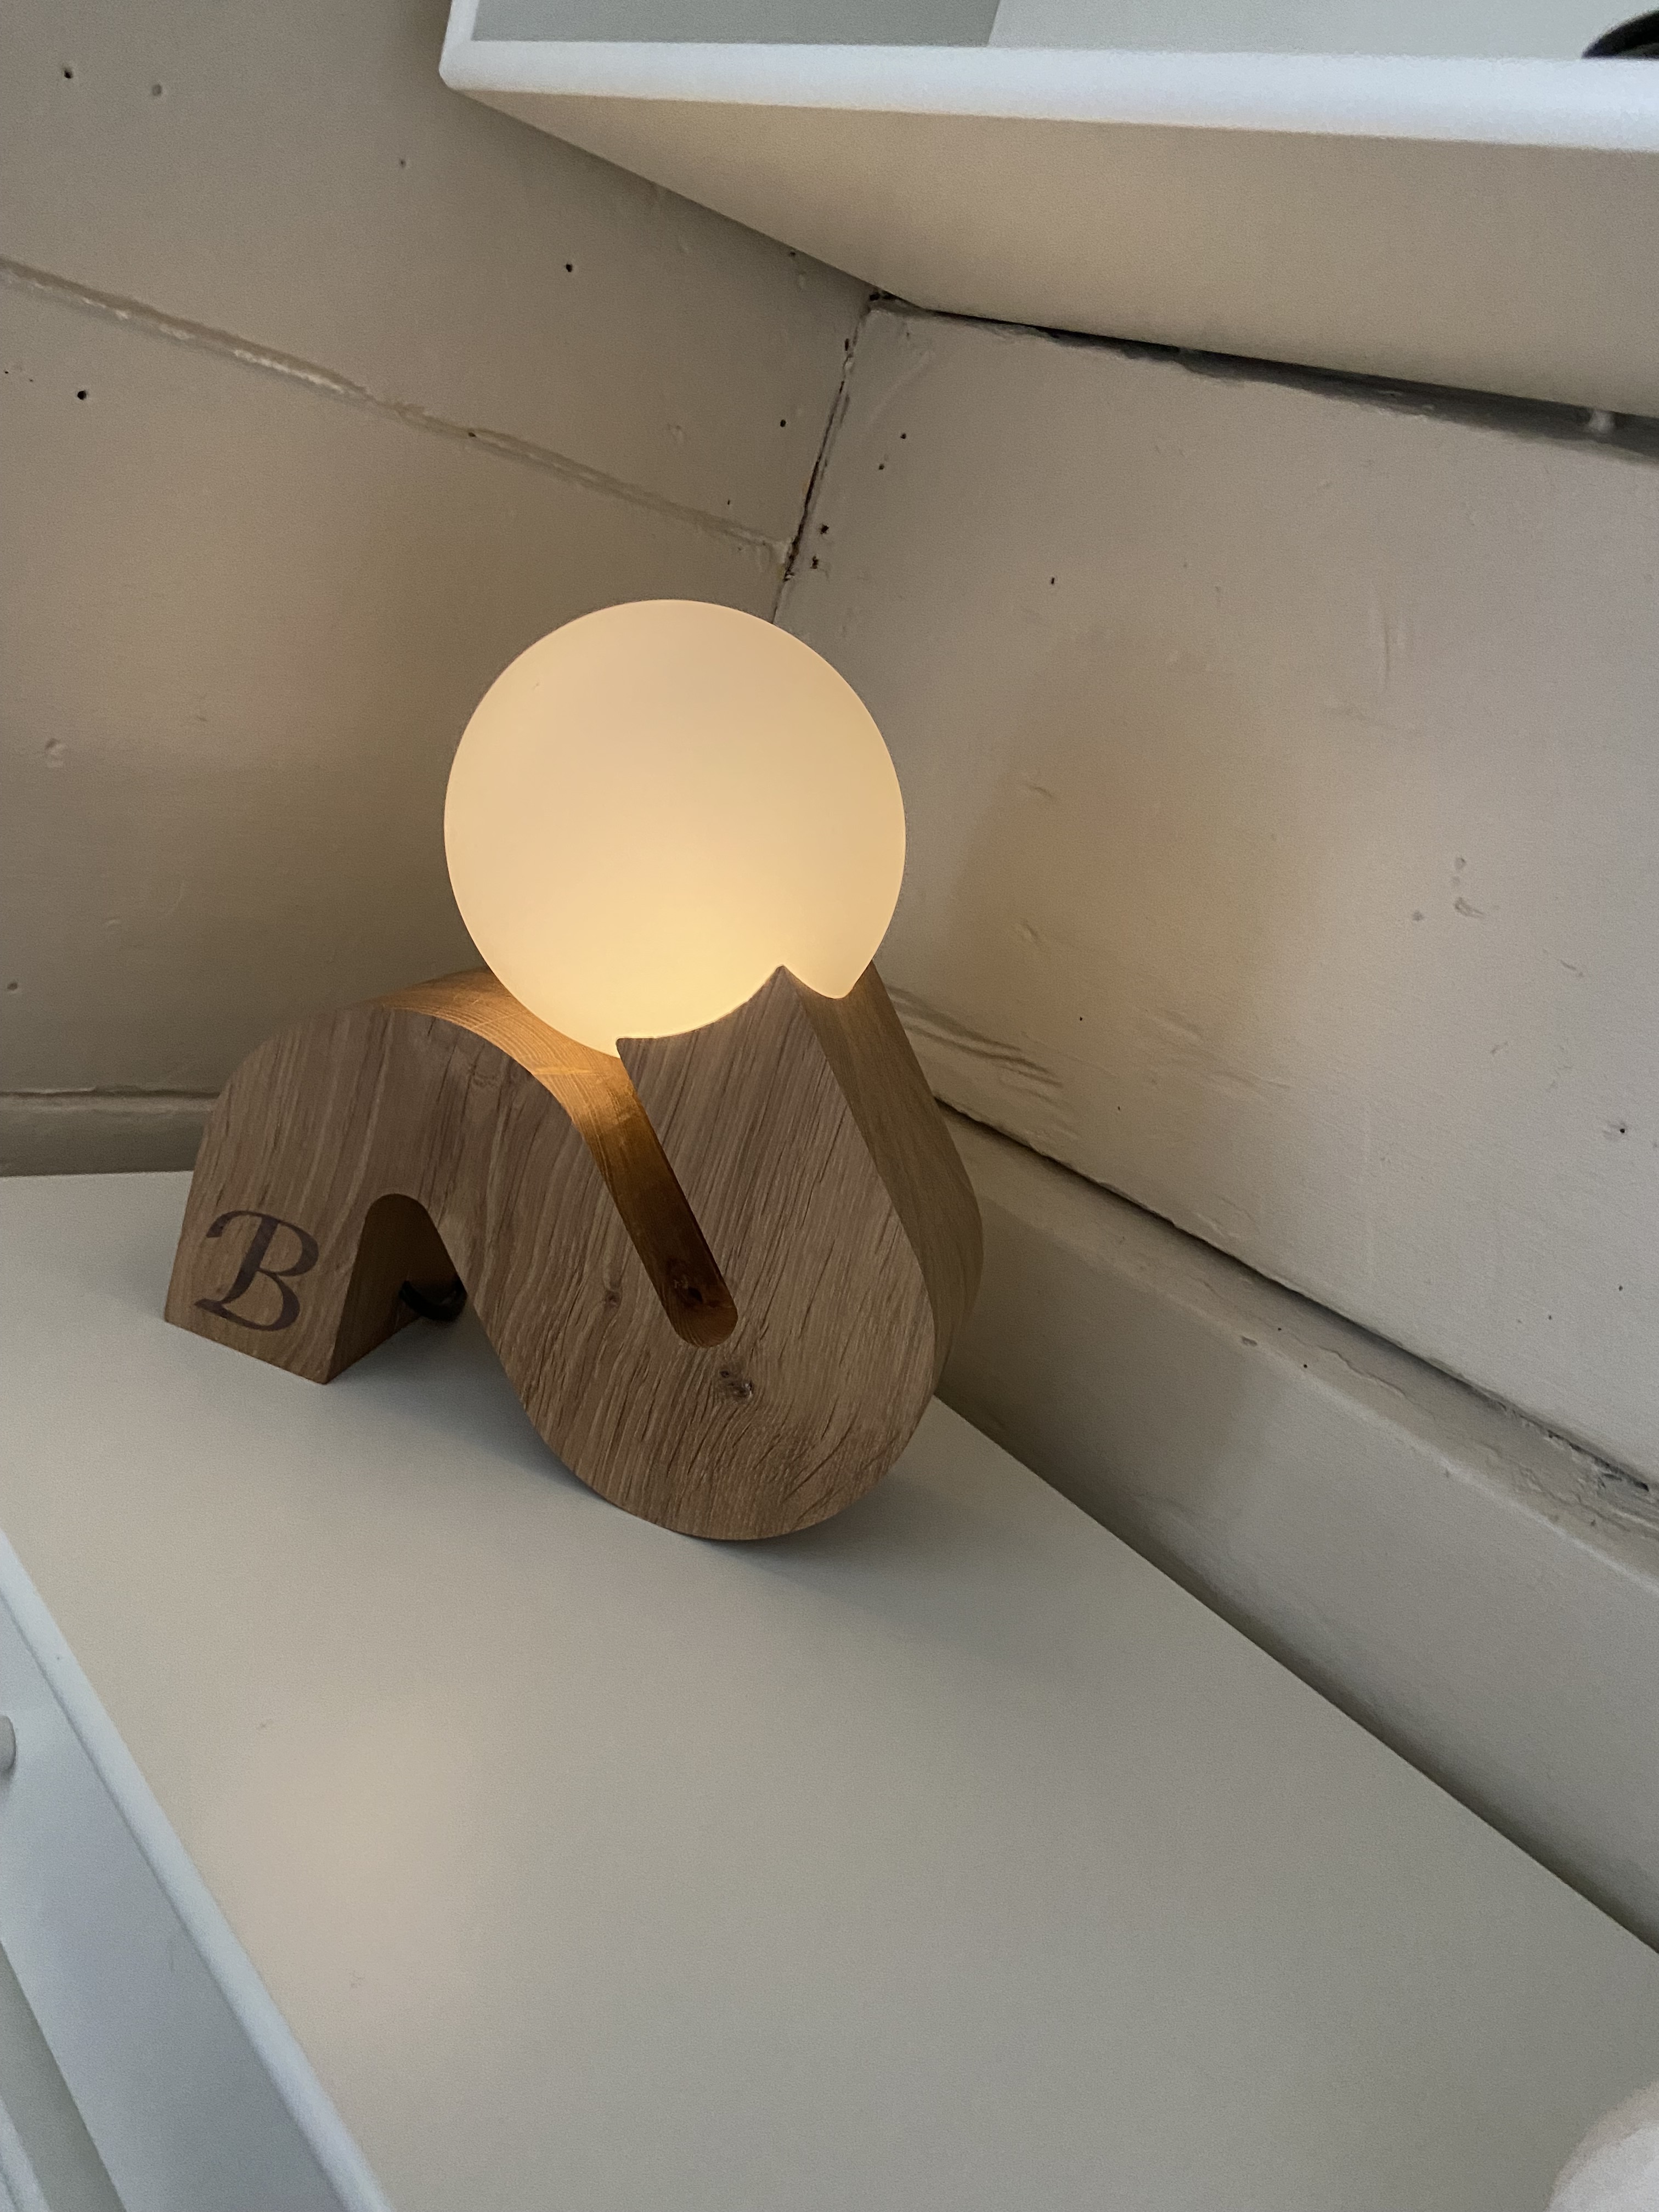
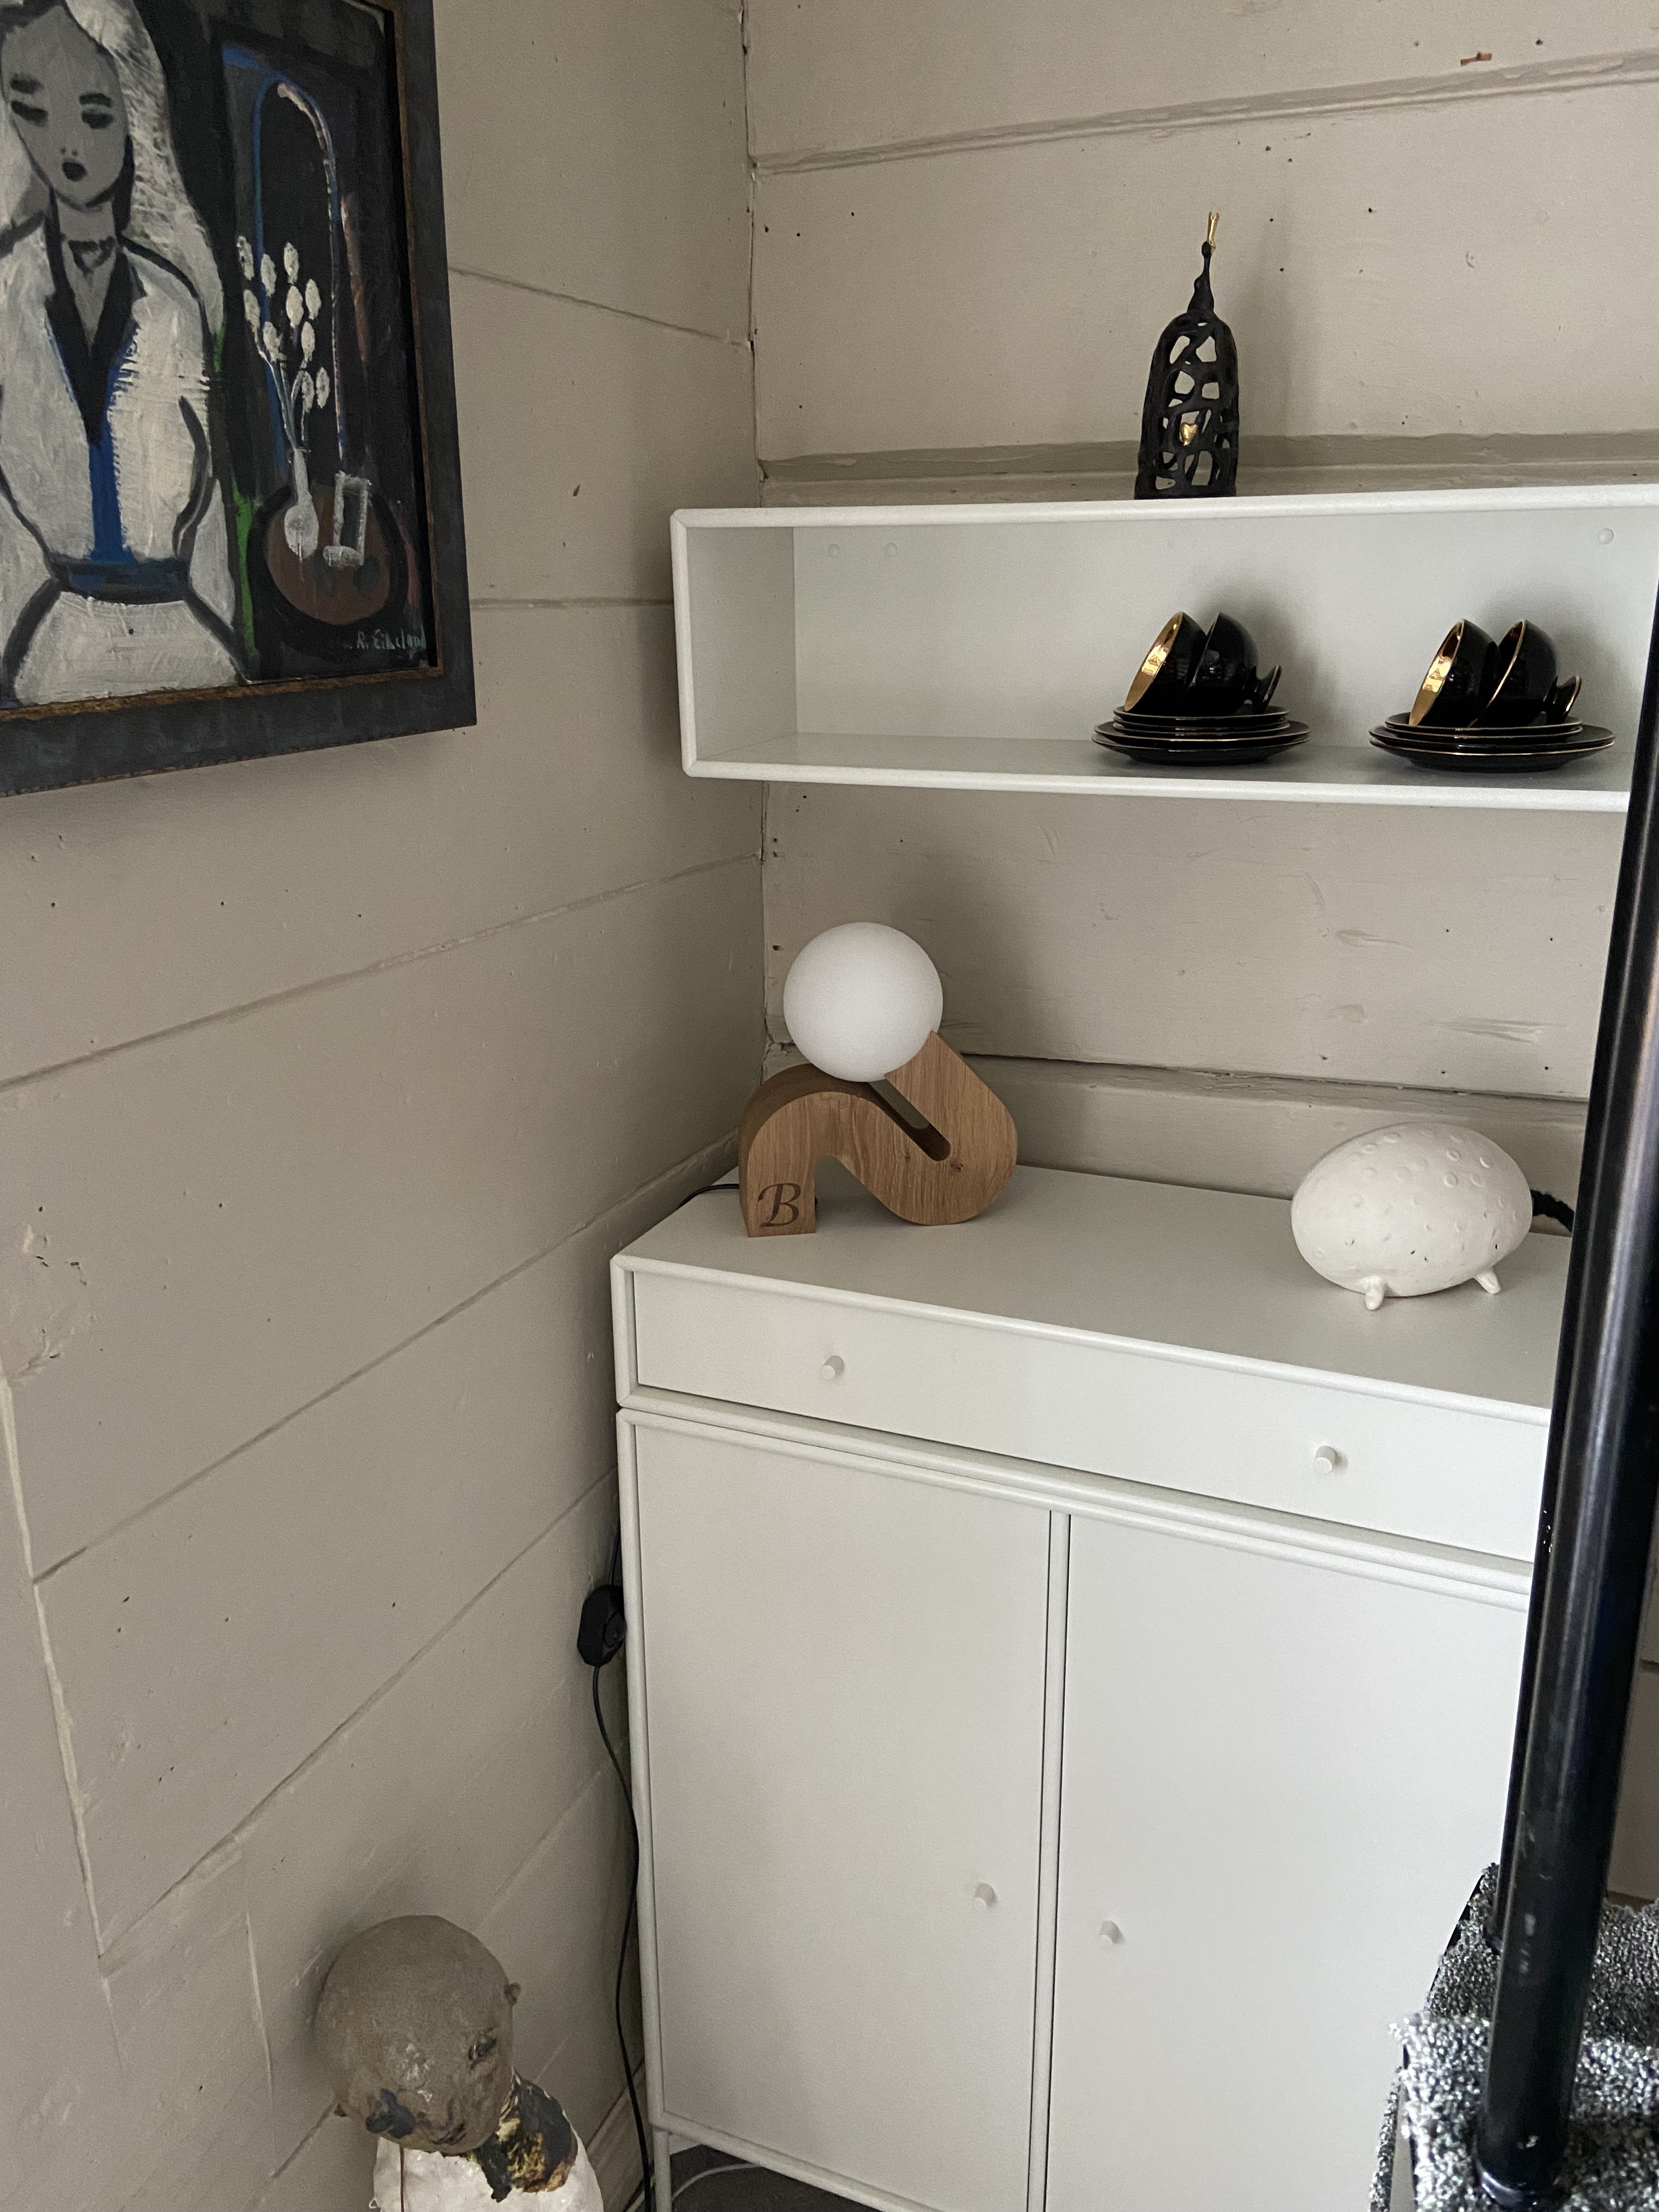
Made a lamp for my mom for her 60th birthday, heavily inspired by another lamp I saw on instagram.
Drawn in fusion, cut as two parts from locally sourced oak, glued together and inlayed a B from walnut.
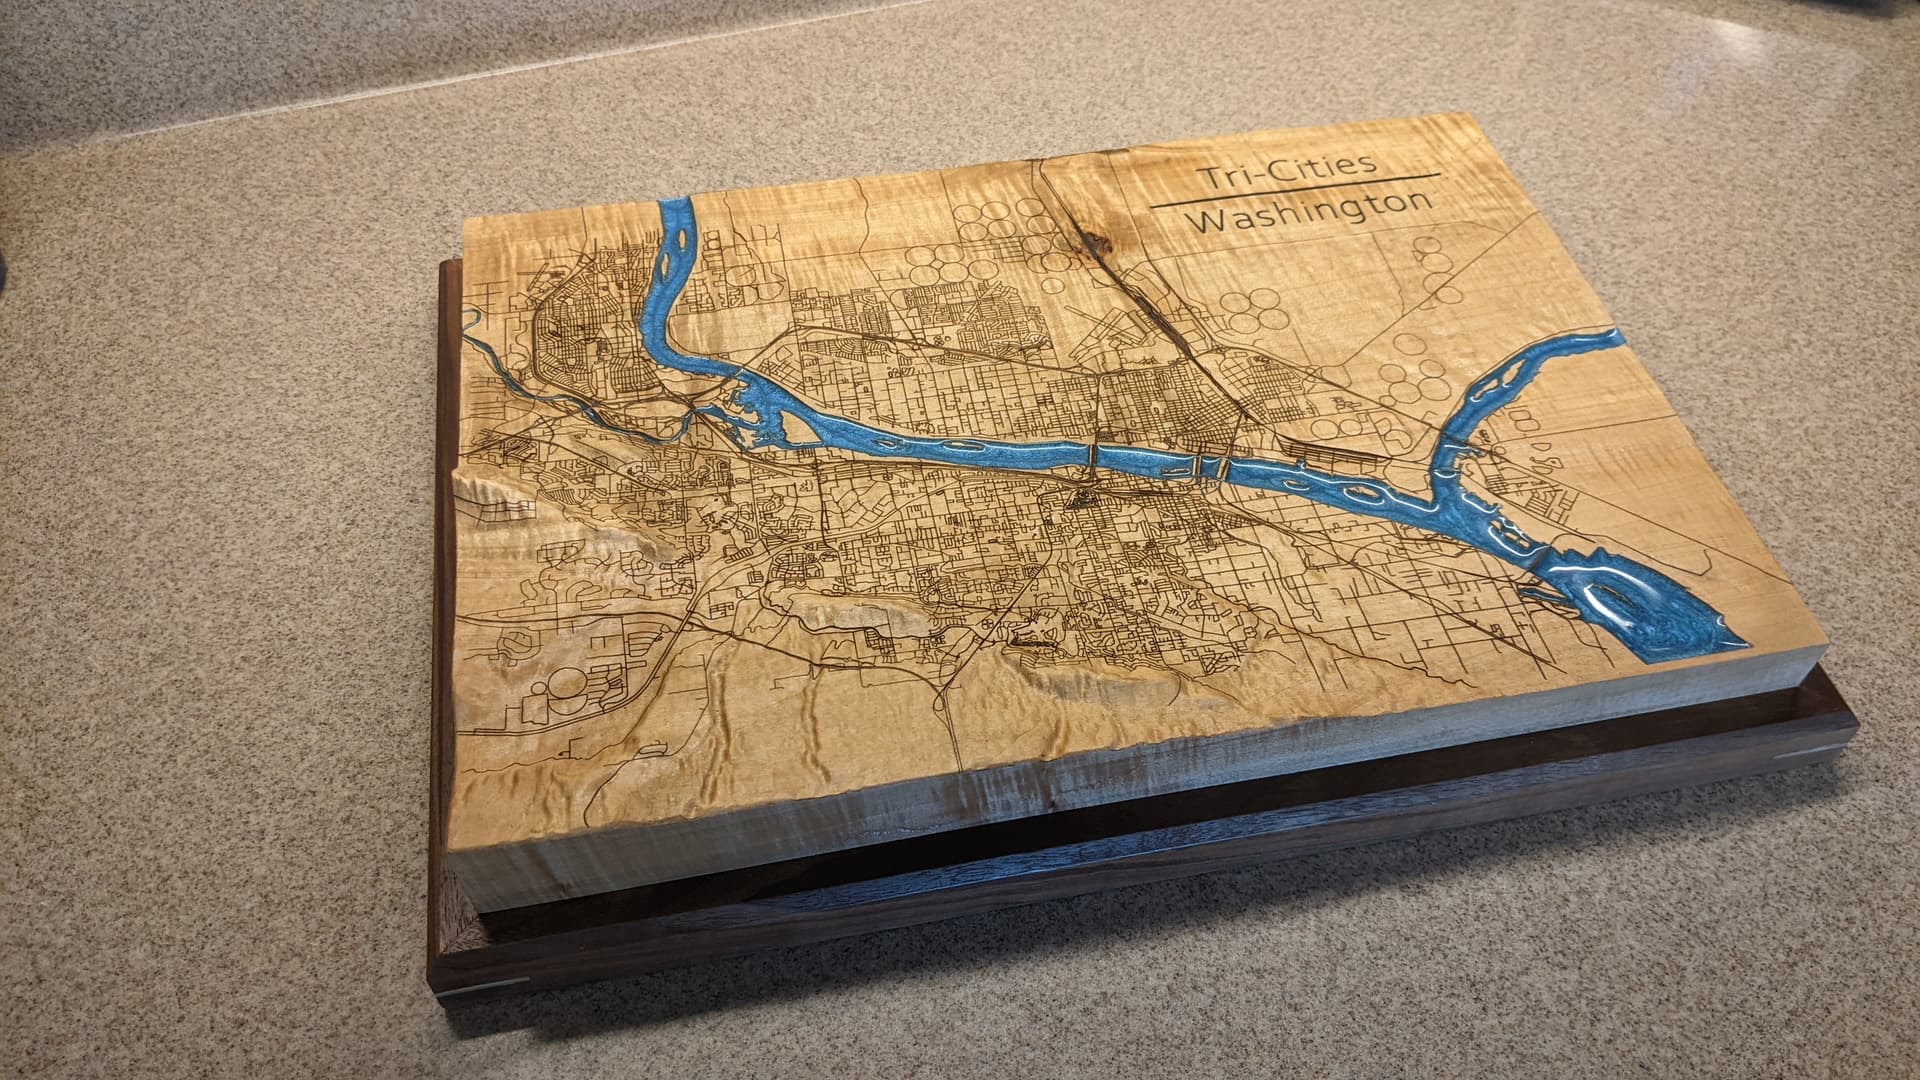
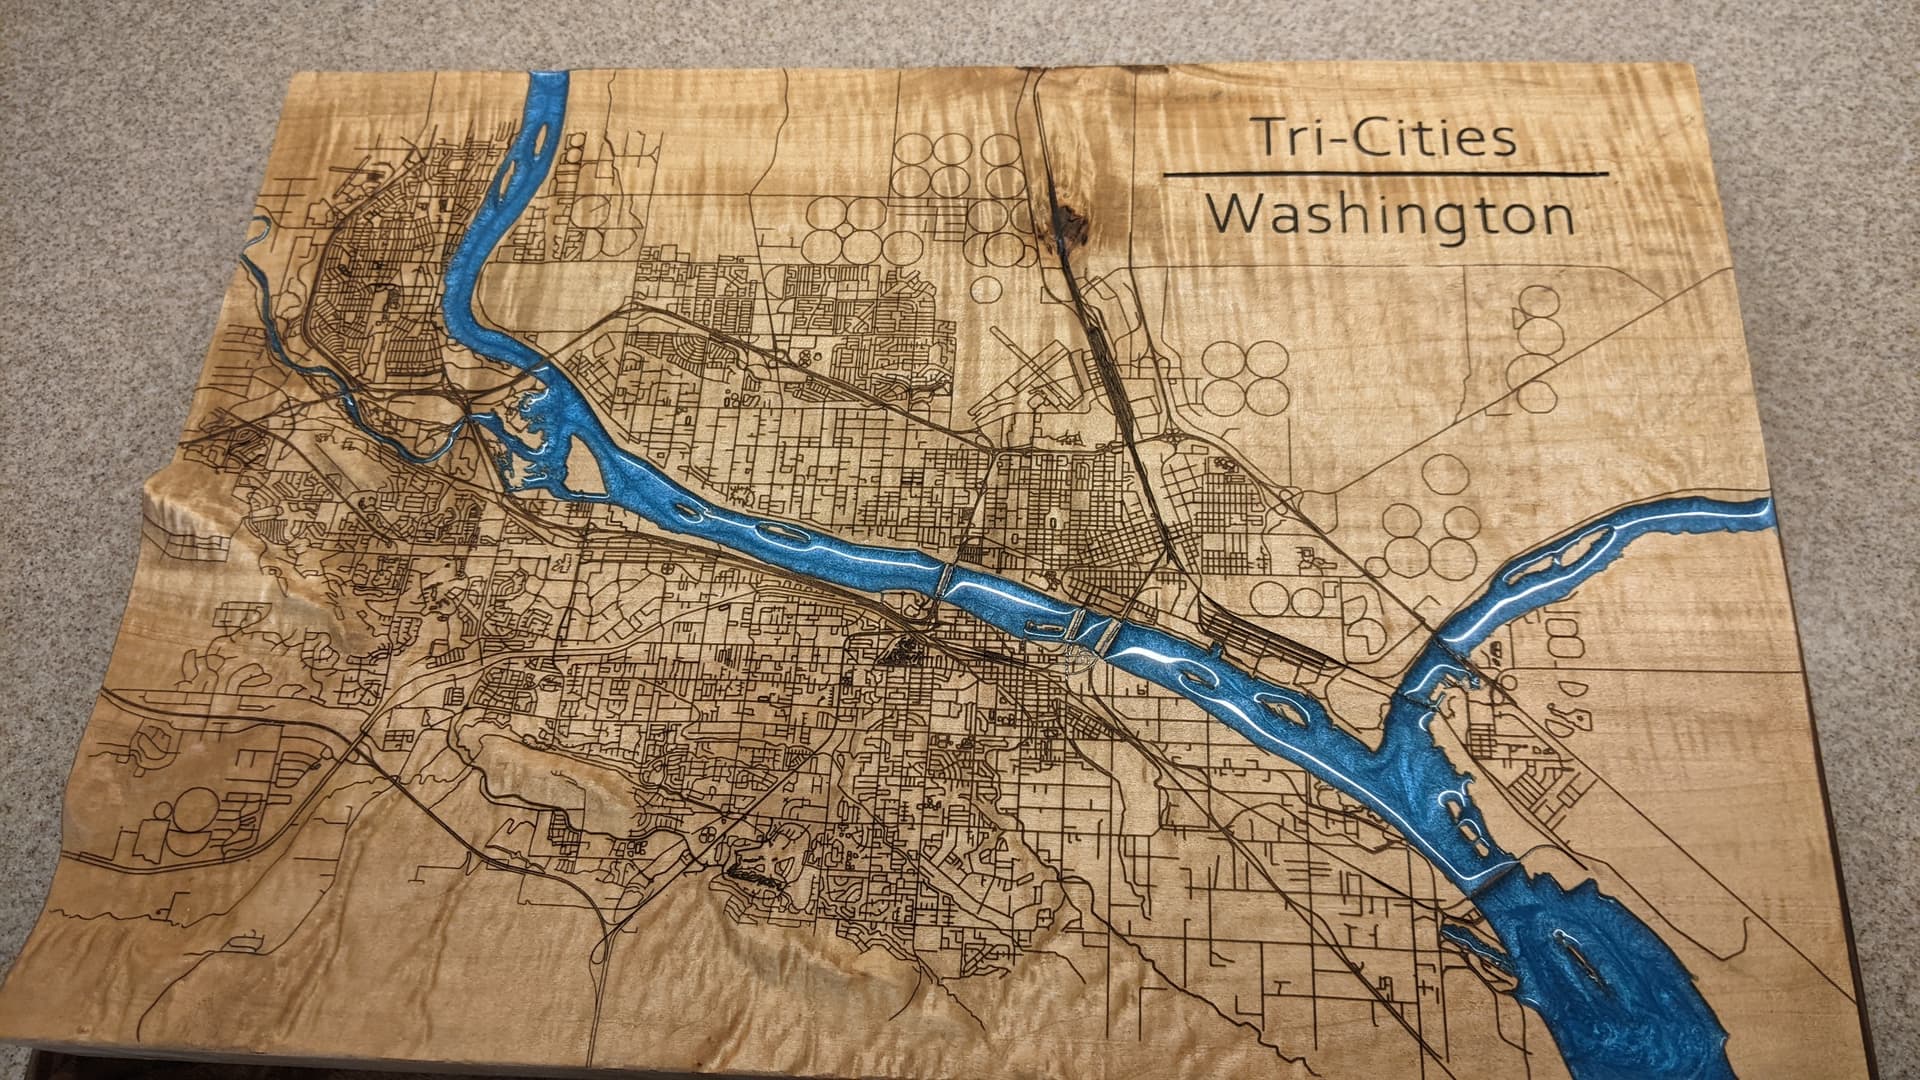
I’ve made one of these before. The terrain was done on maple. I did the streets (OpenStreetMaps.org) using my Jtech laser. This time I factored in putting bridges. The vector file for the streets is about 10 hours of work with cleaning up all the extra vector lines and text that i didn’t want. Base is walnut.
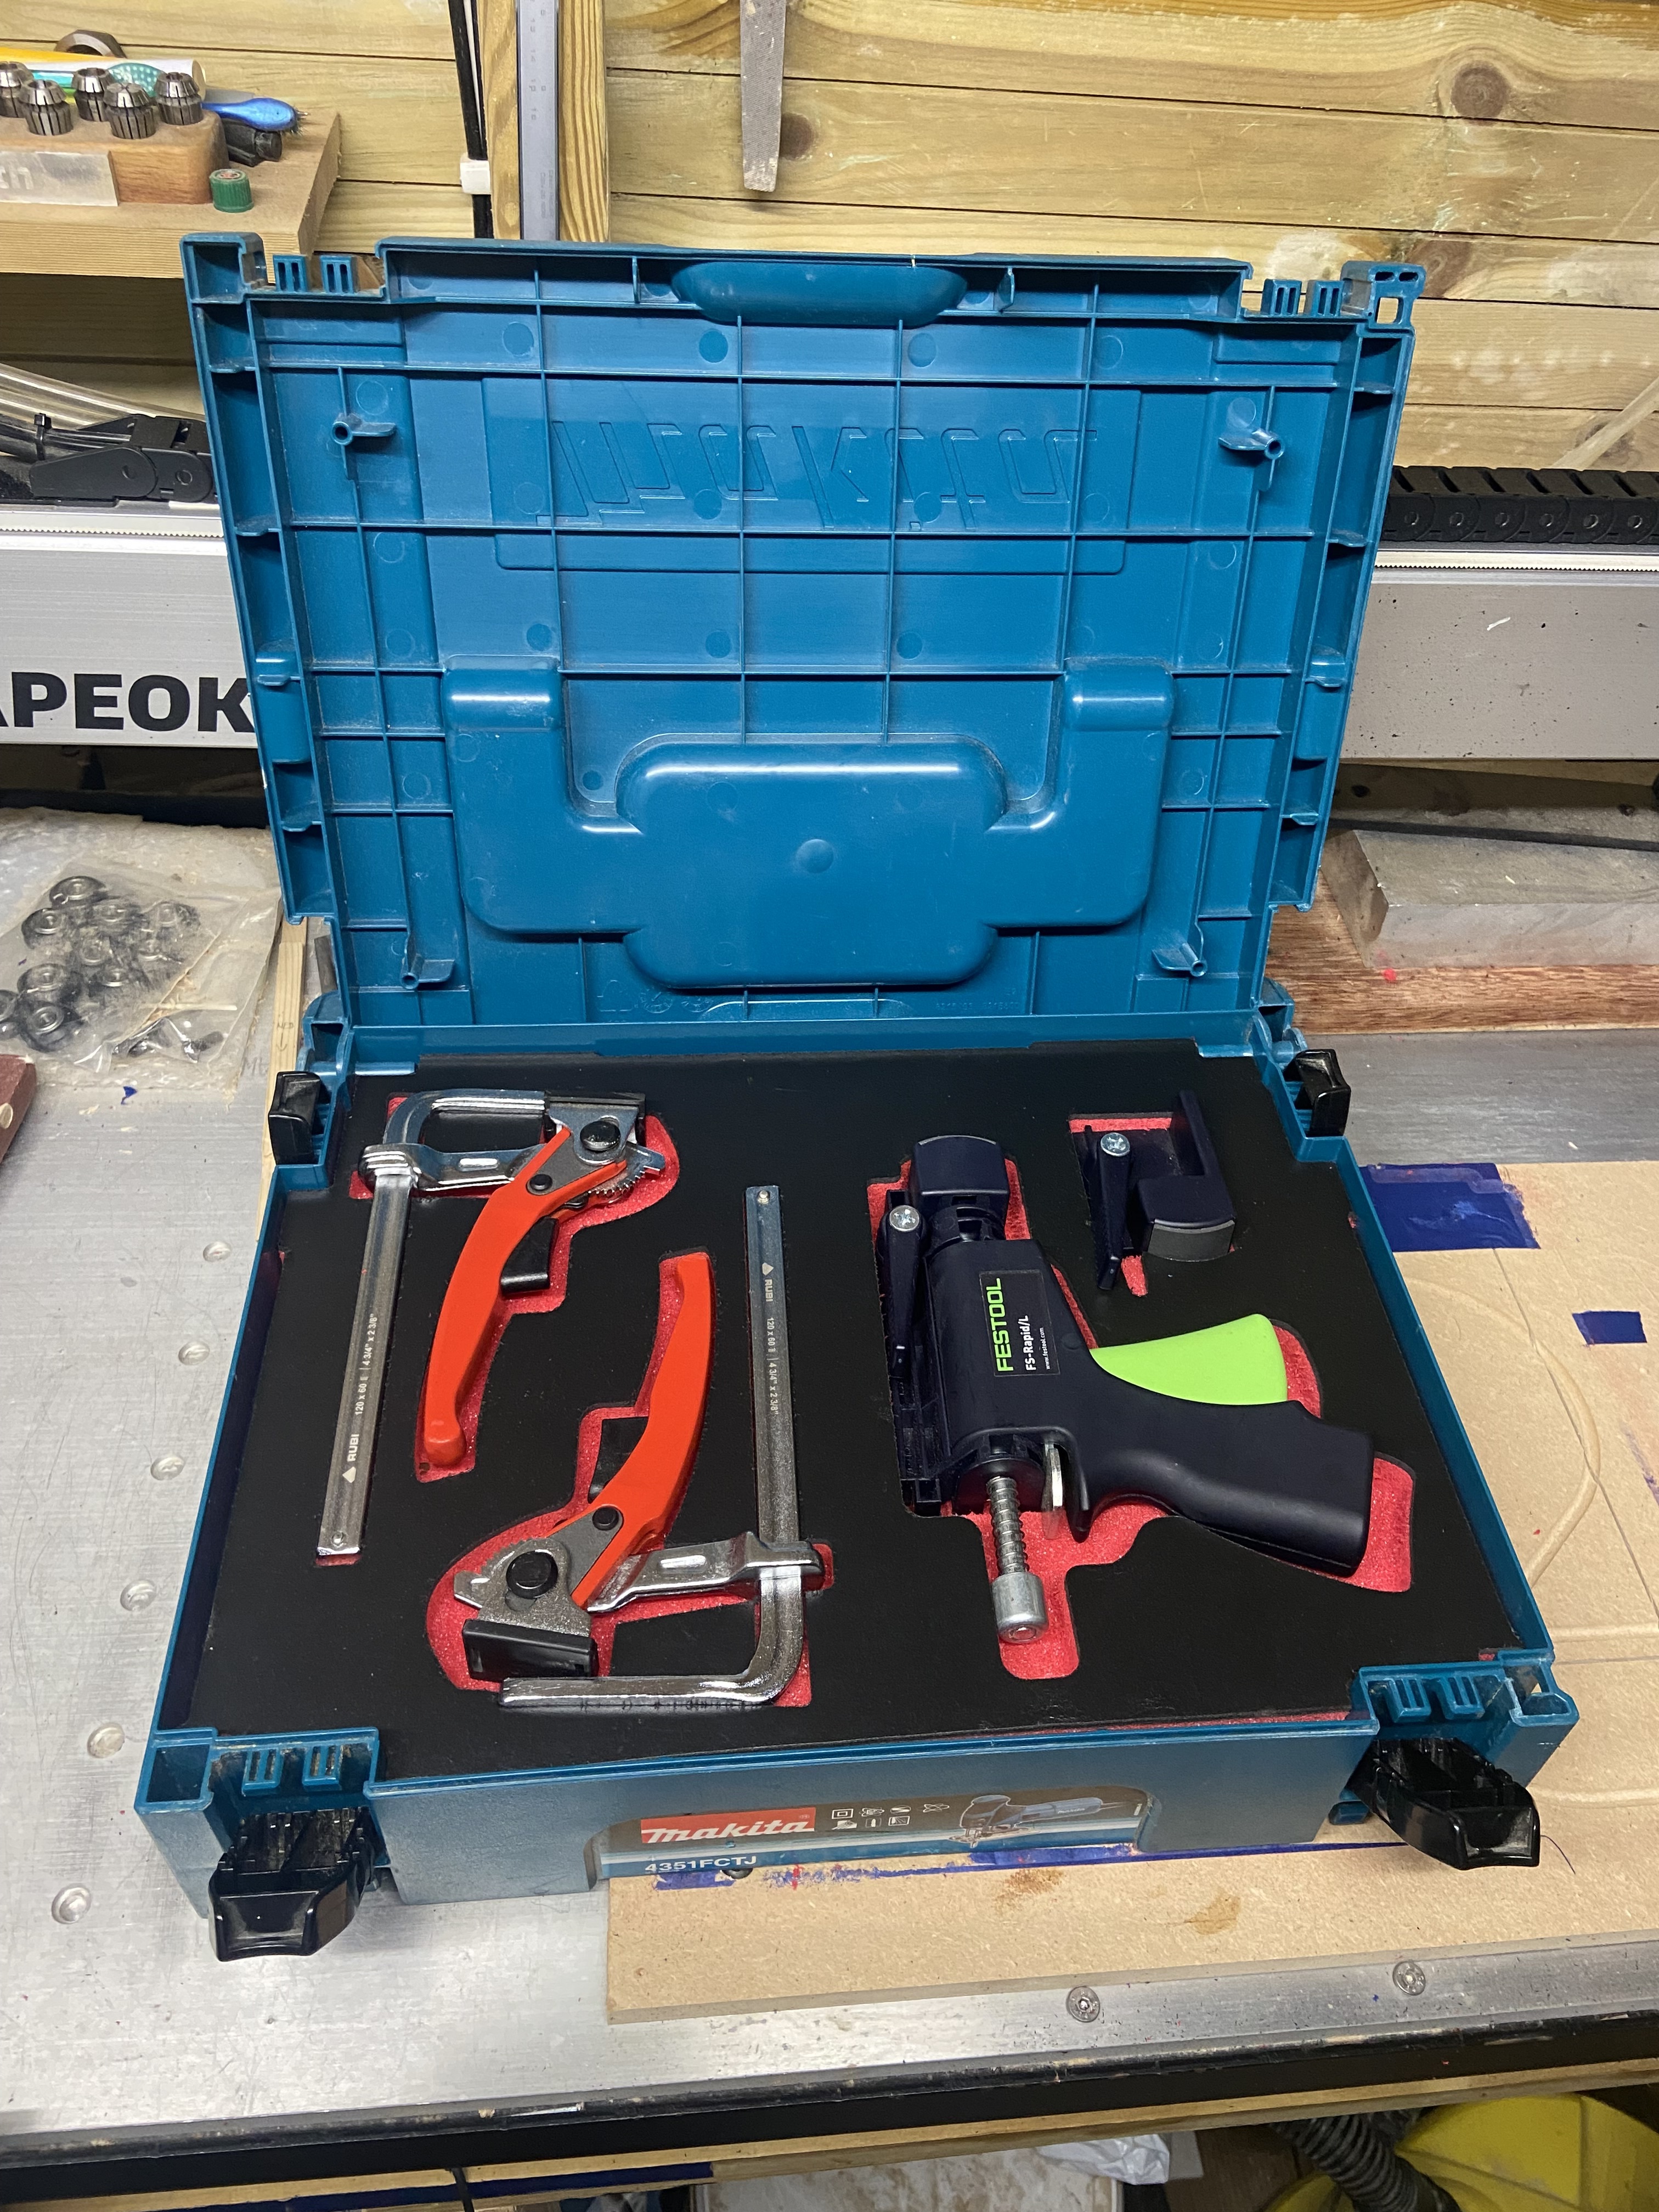
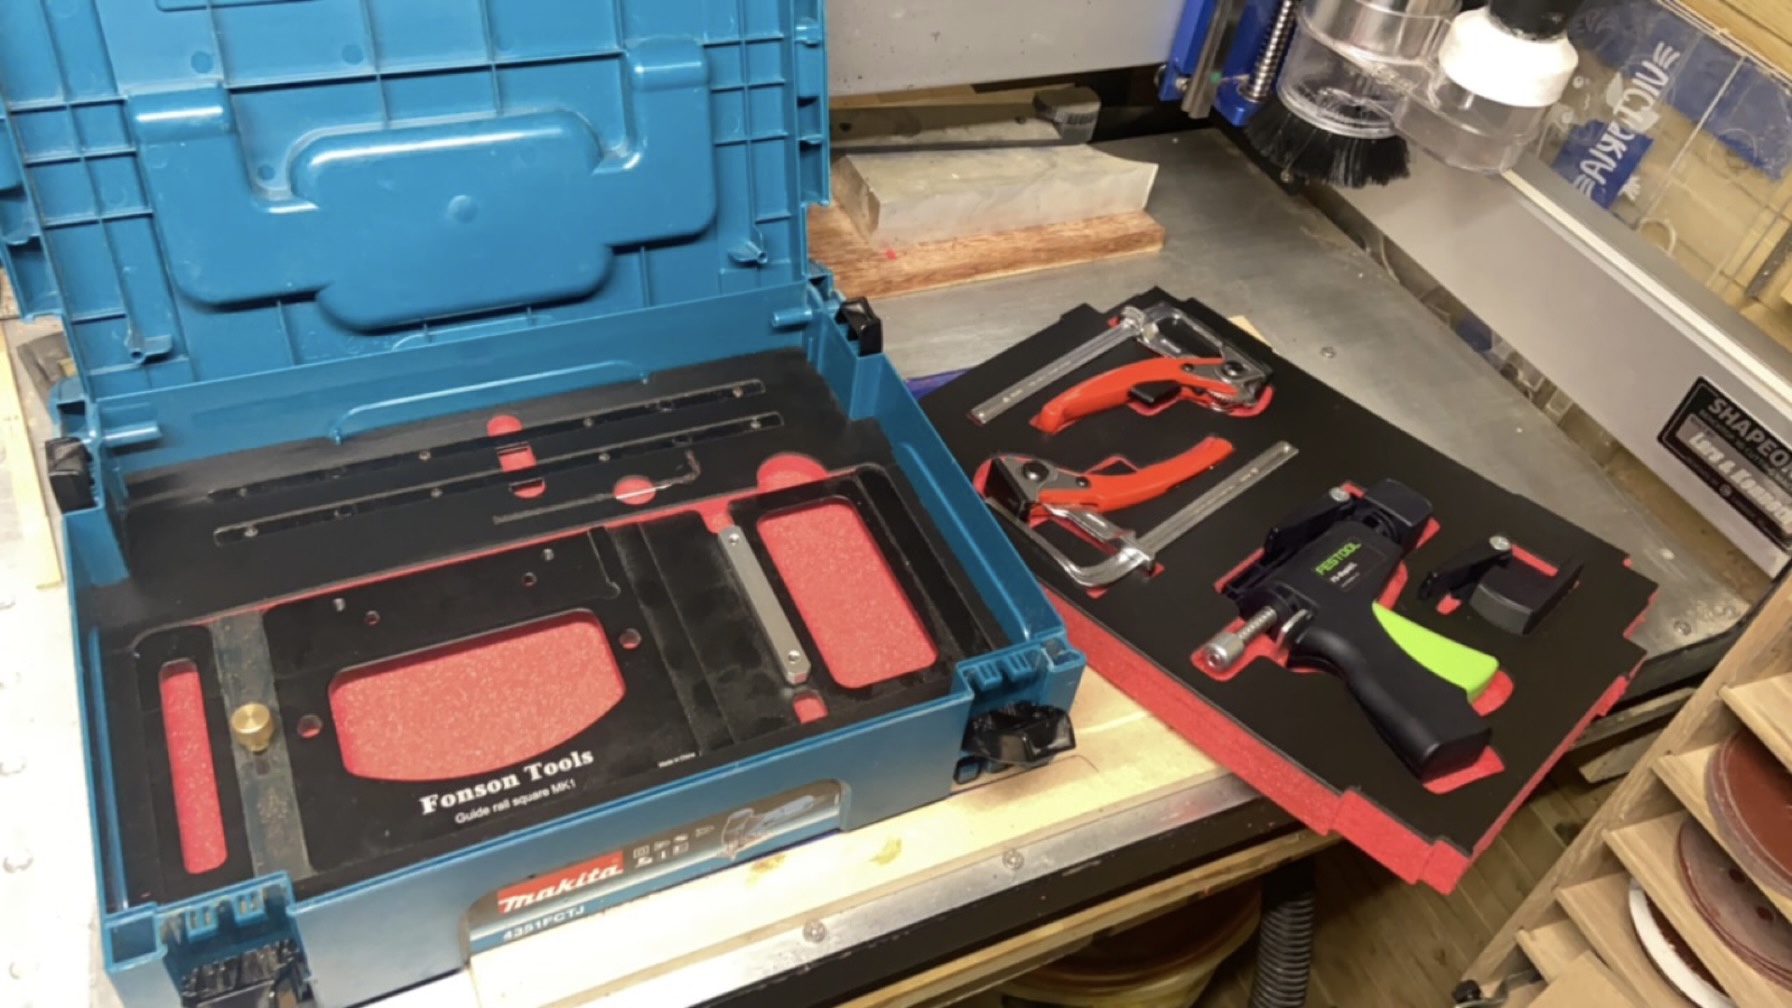
That is a nice setup. I have been wanting a track for a long time but the only thing holding me back is the money. I have watched countless reviews and seems that the Makita is likely the best for me. The squaring rig is quite expensive from Woodpeckers but I understand there are some chinese knockoffs that are just as good.
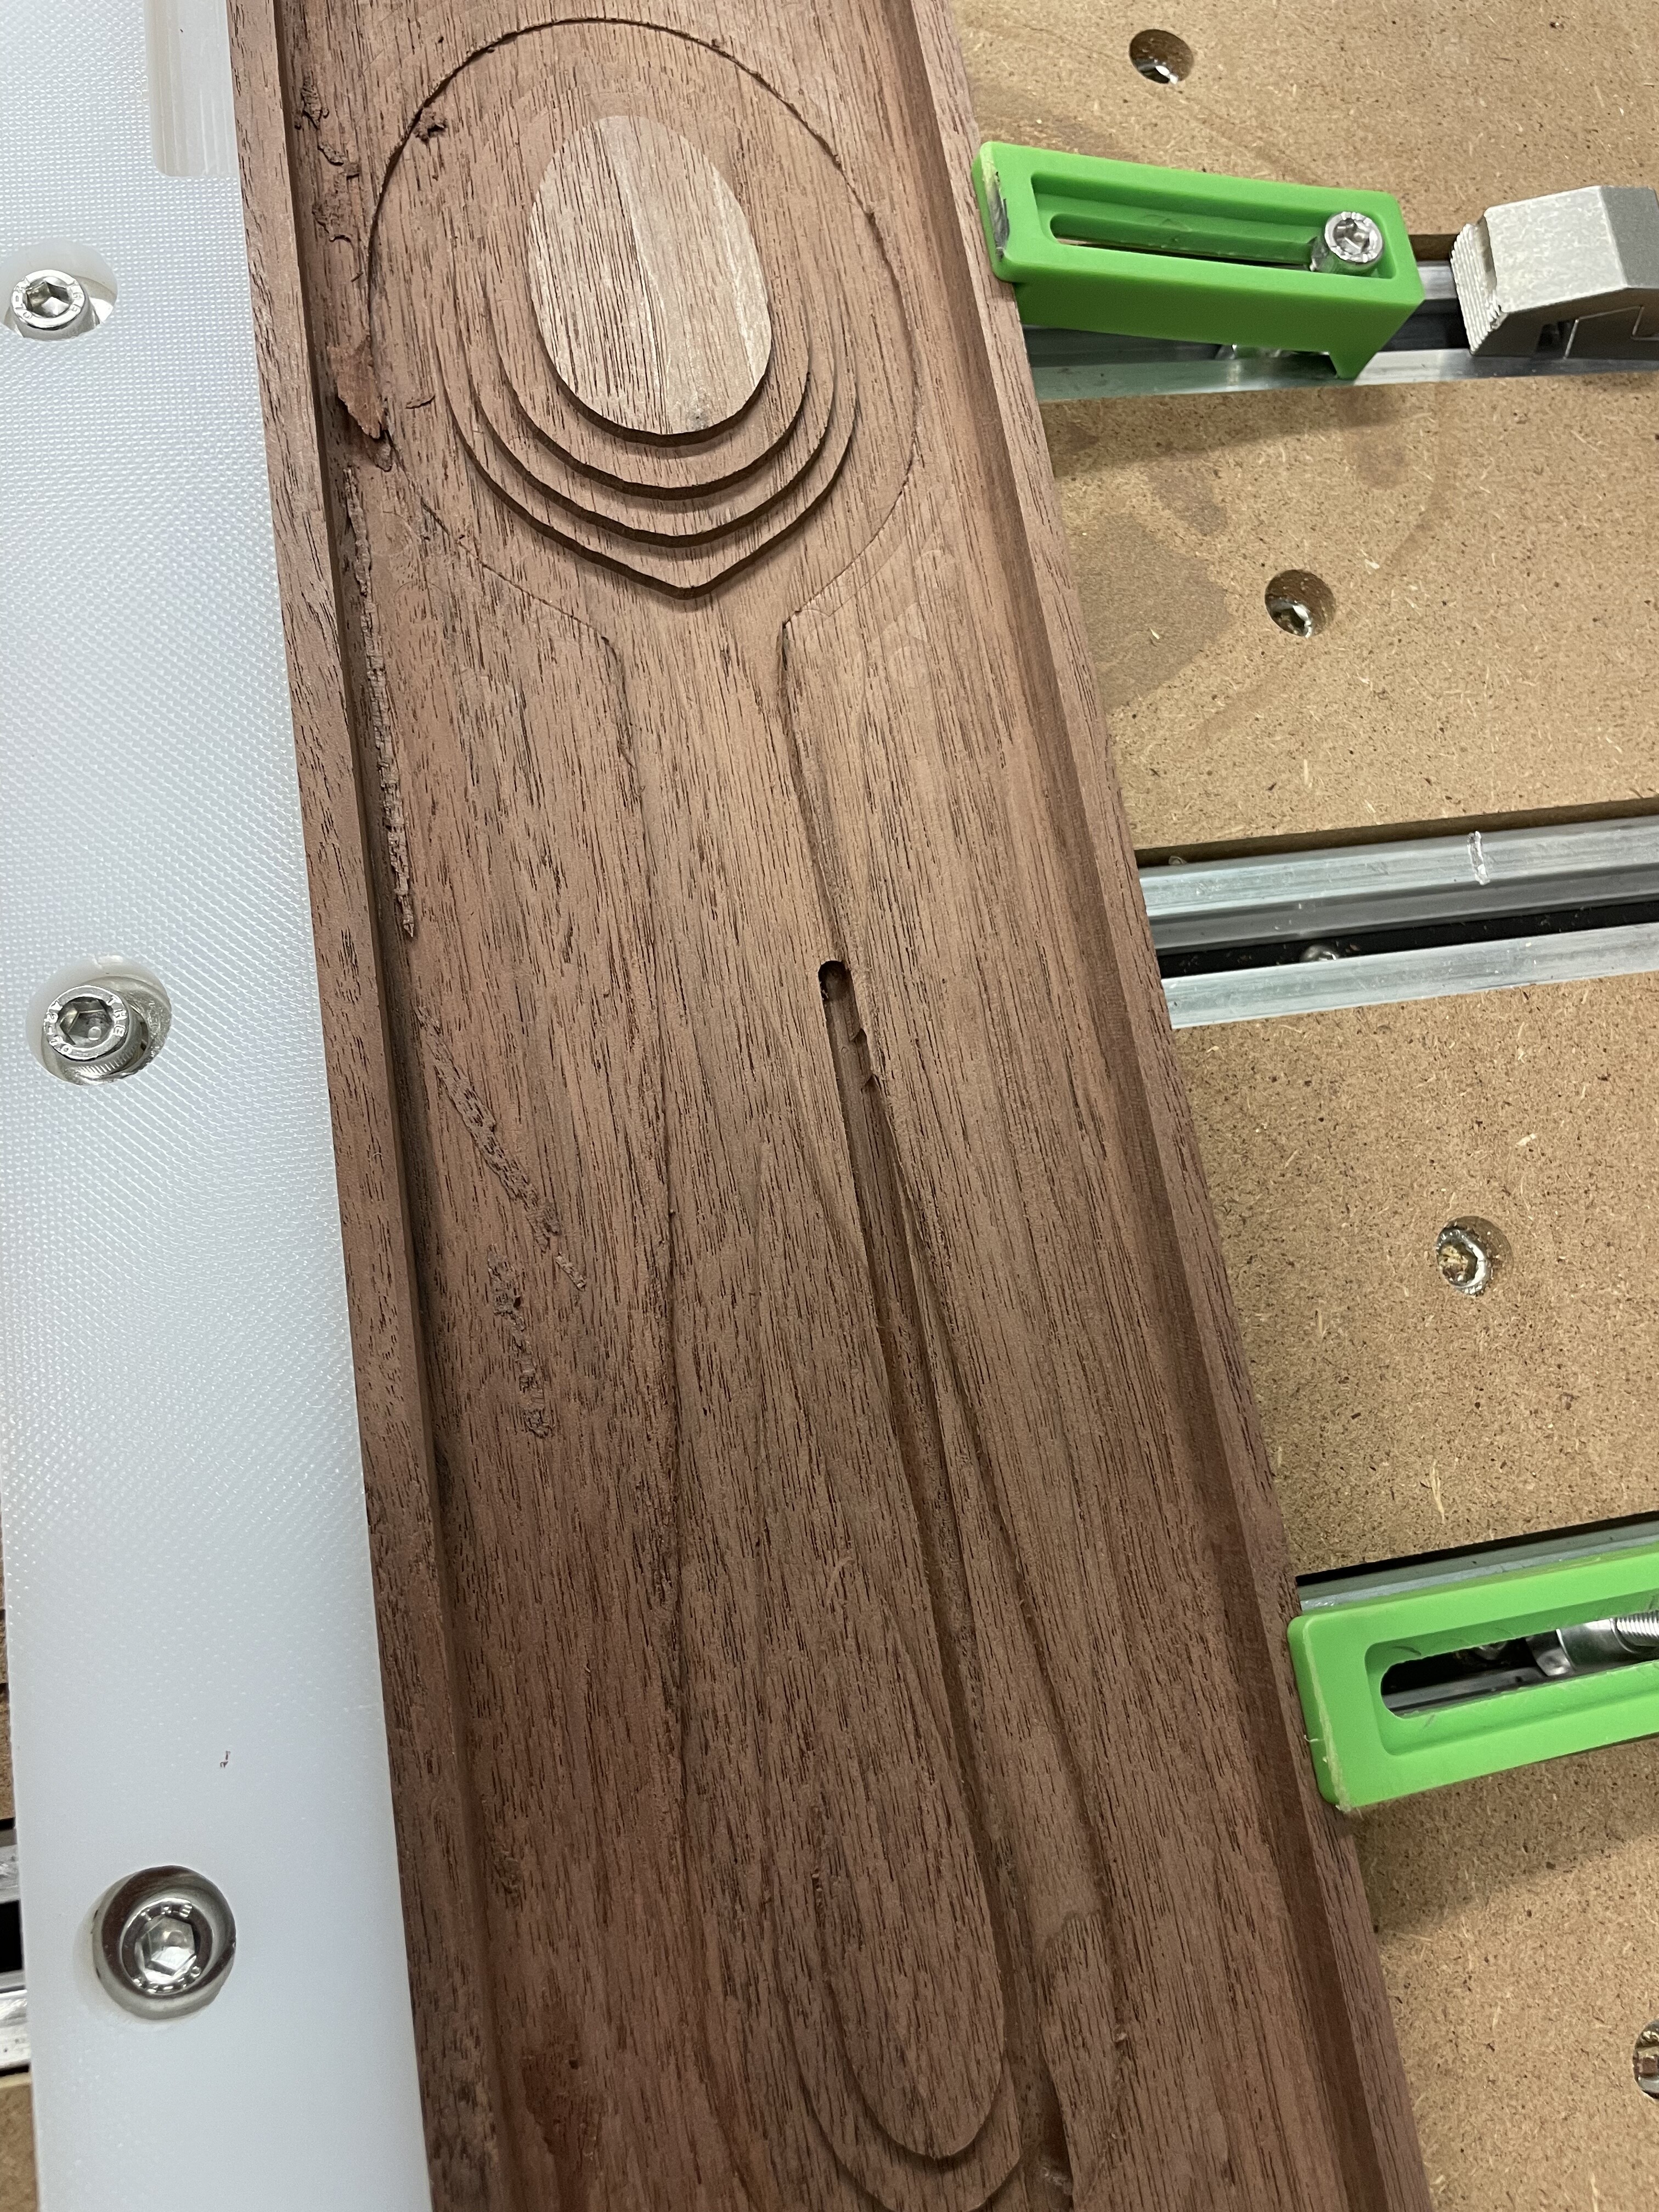
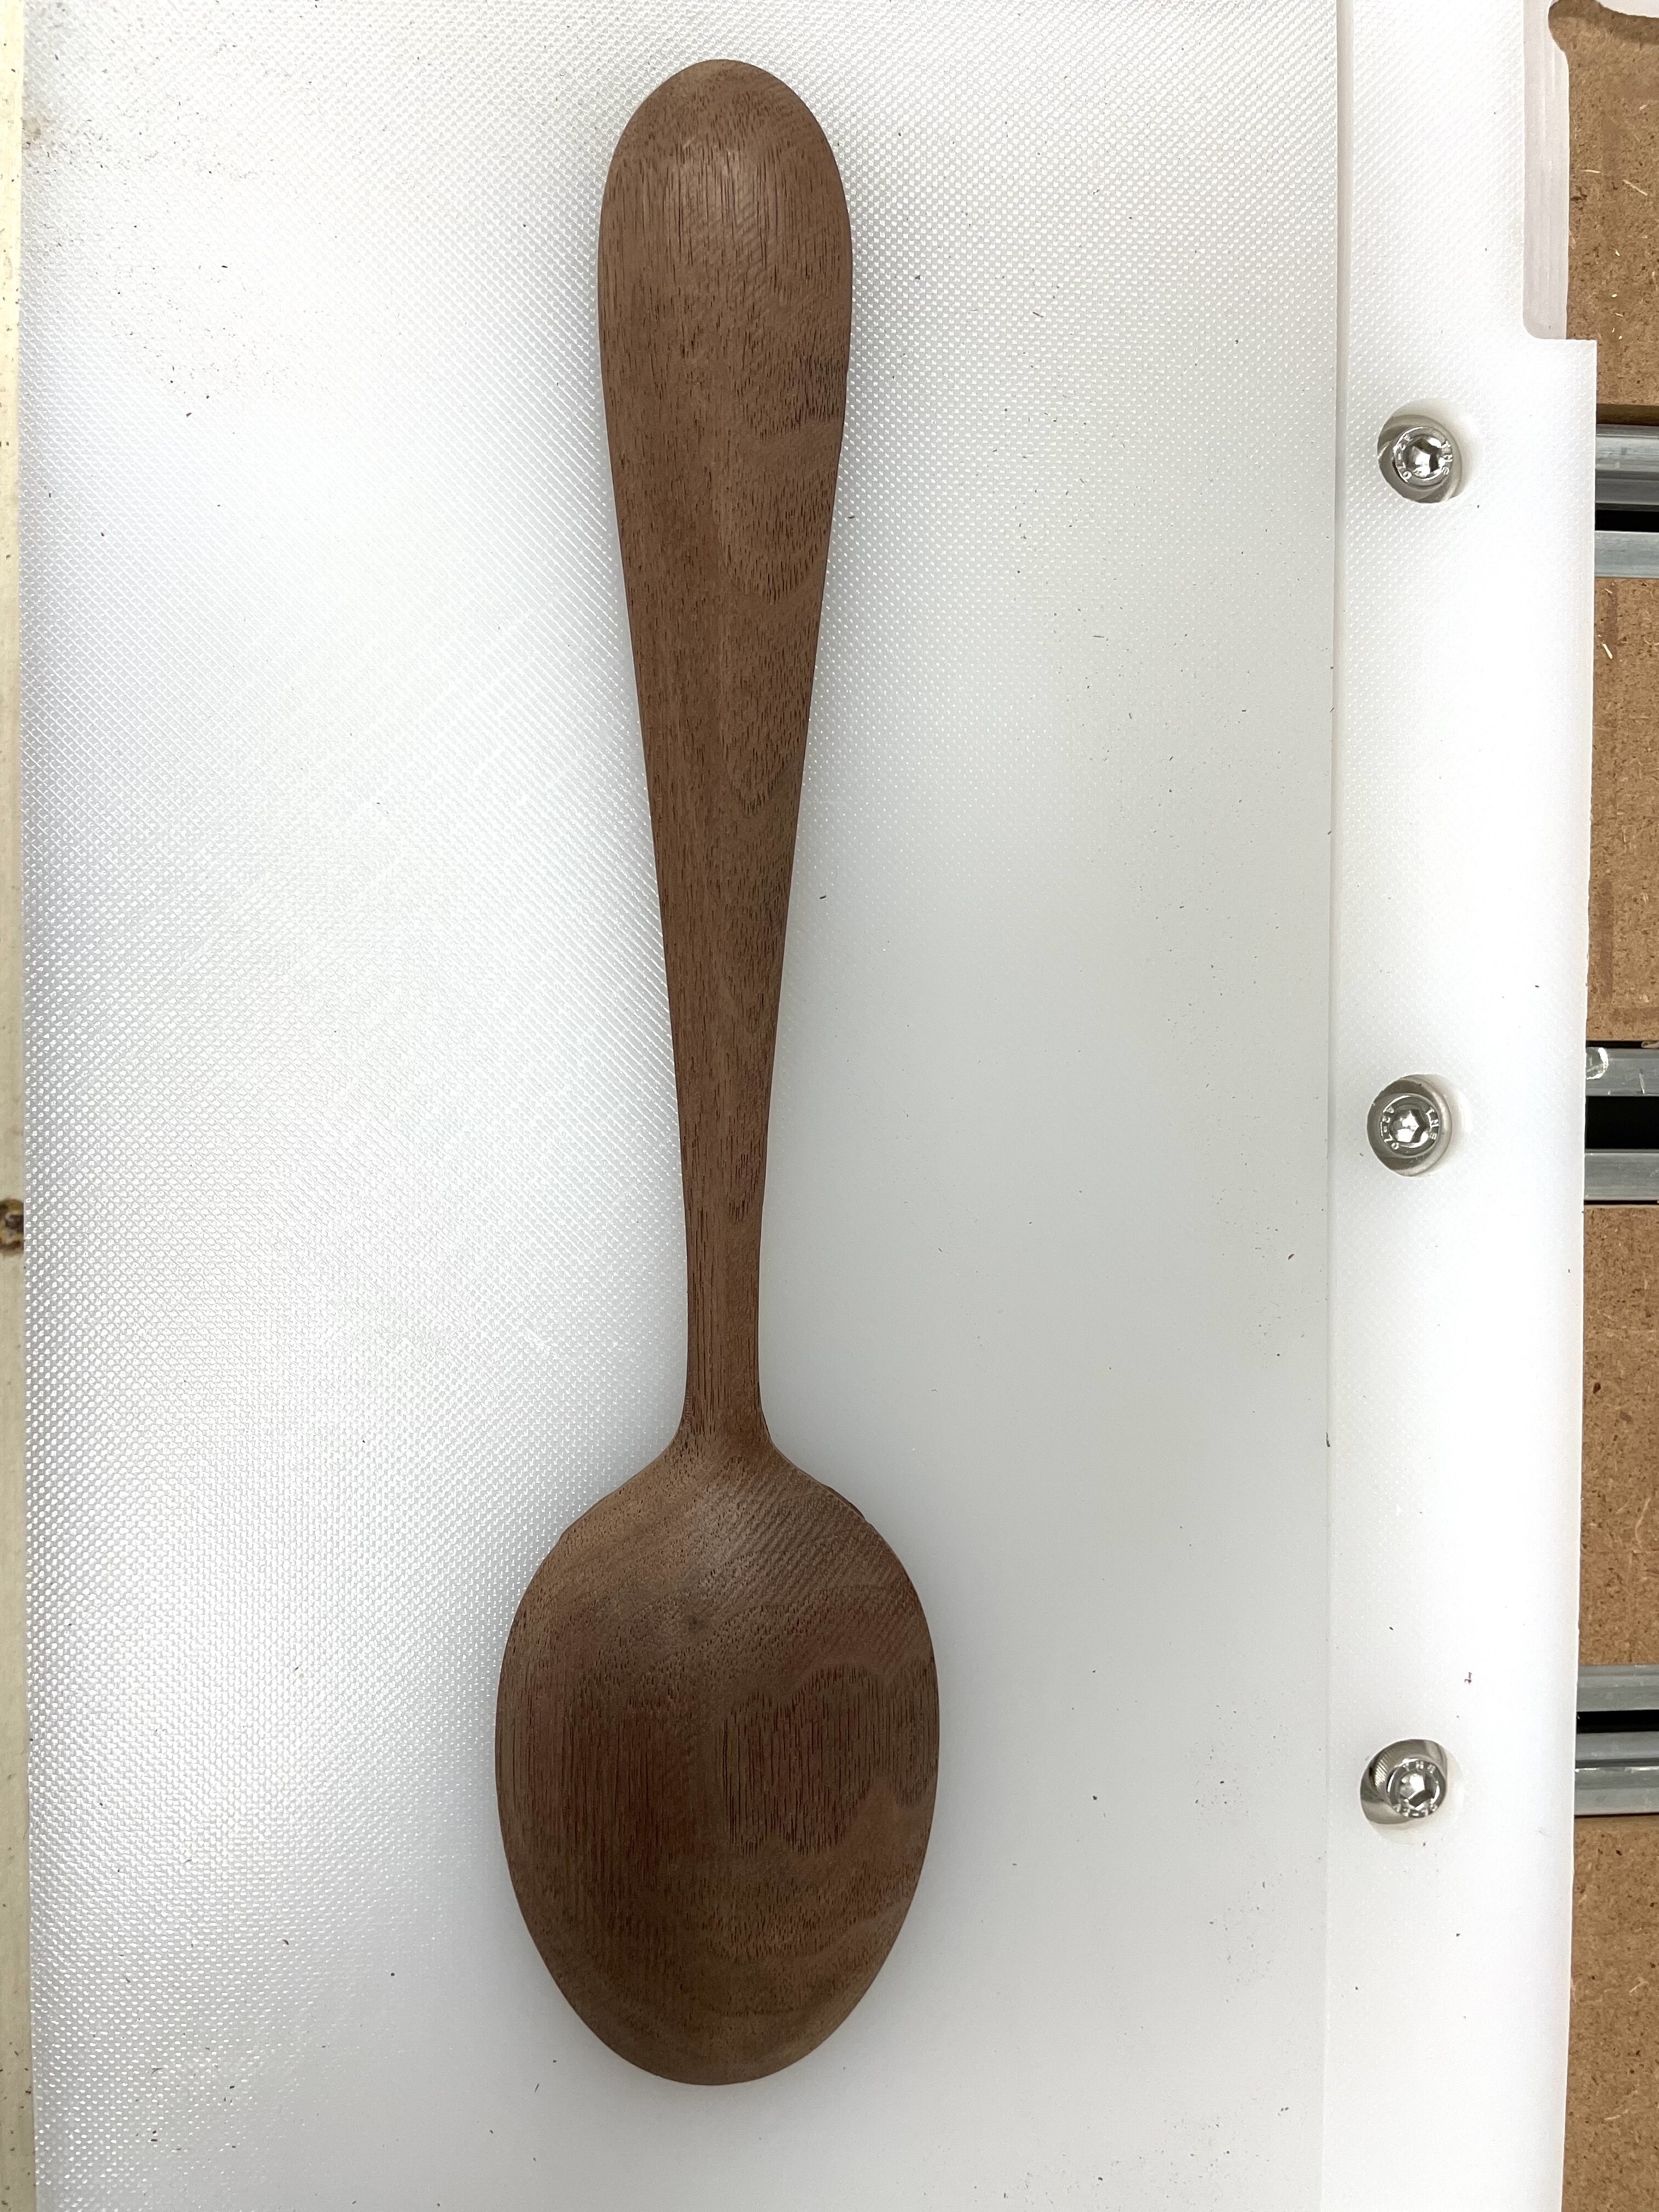
I did my first 2 sided job today. 1 minute into the back side 3D roughing pass I thought it was going wrong so I stopped it. Checked Z and it was Ok so I decided to remove the roughing pass and let it restart.
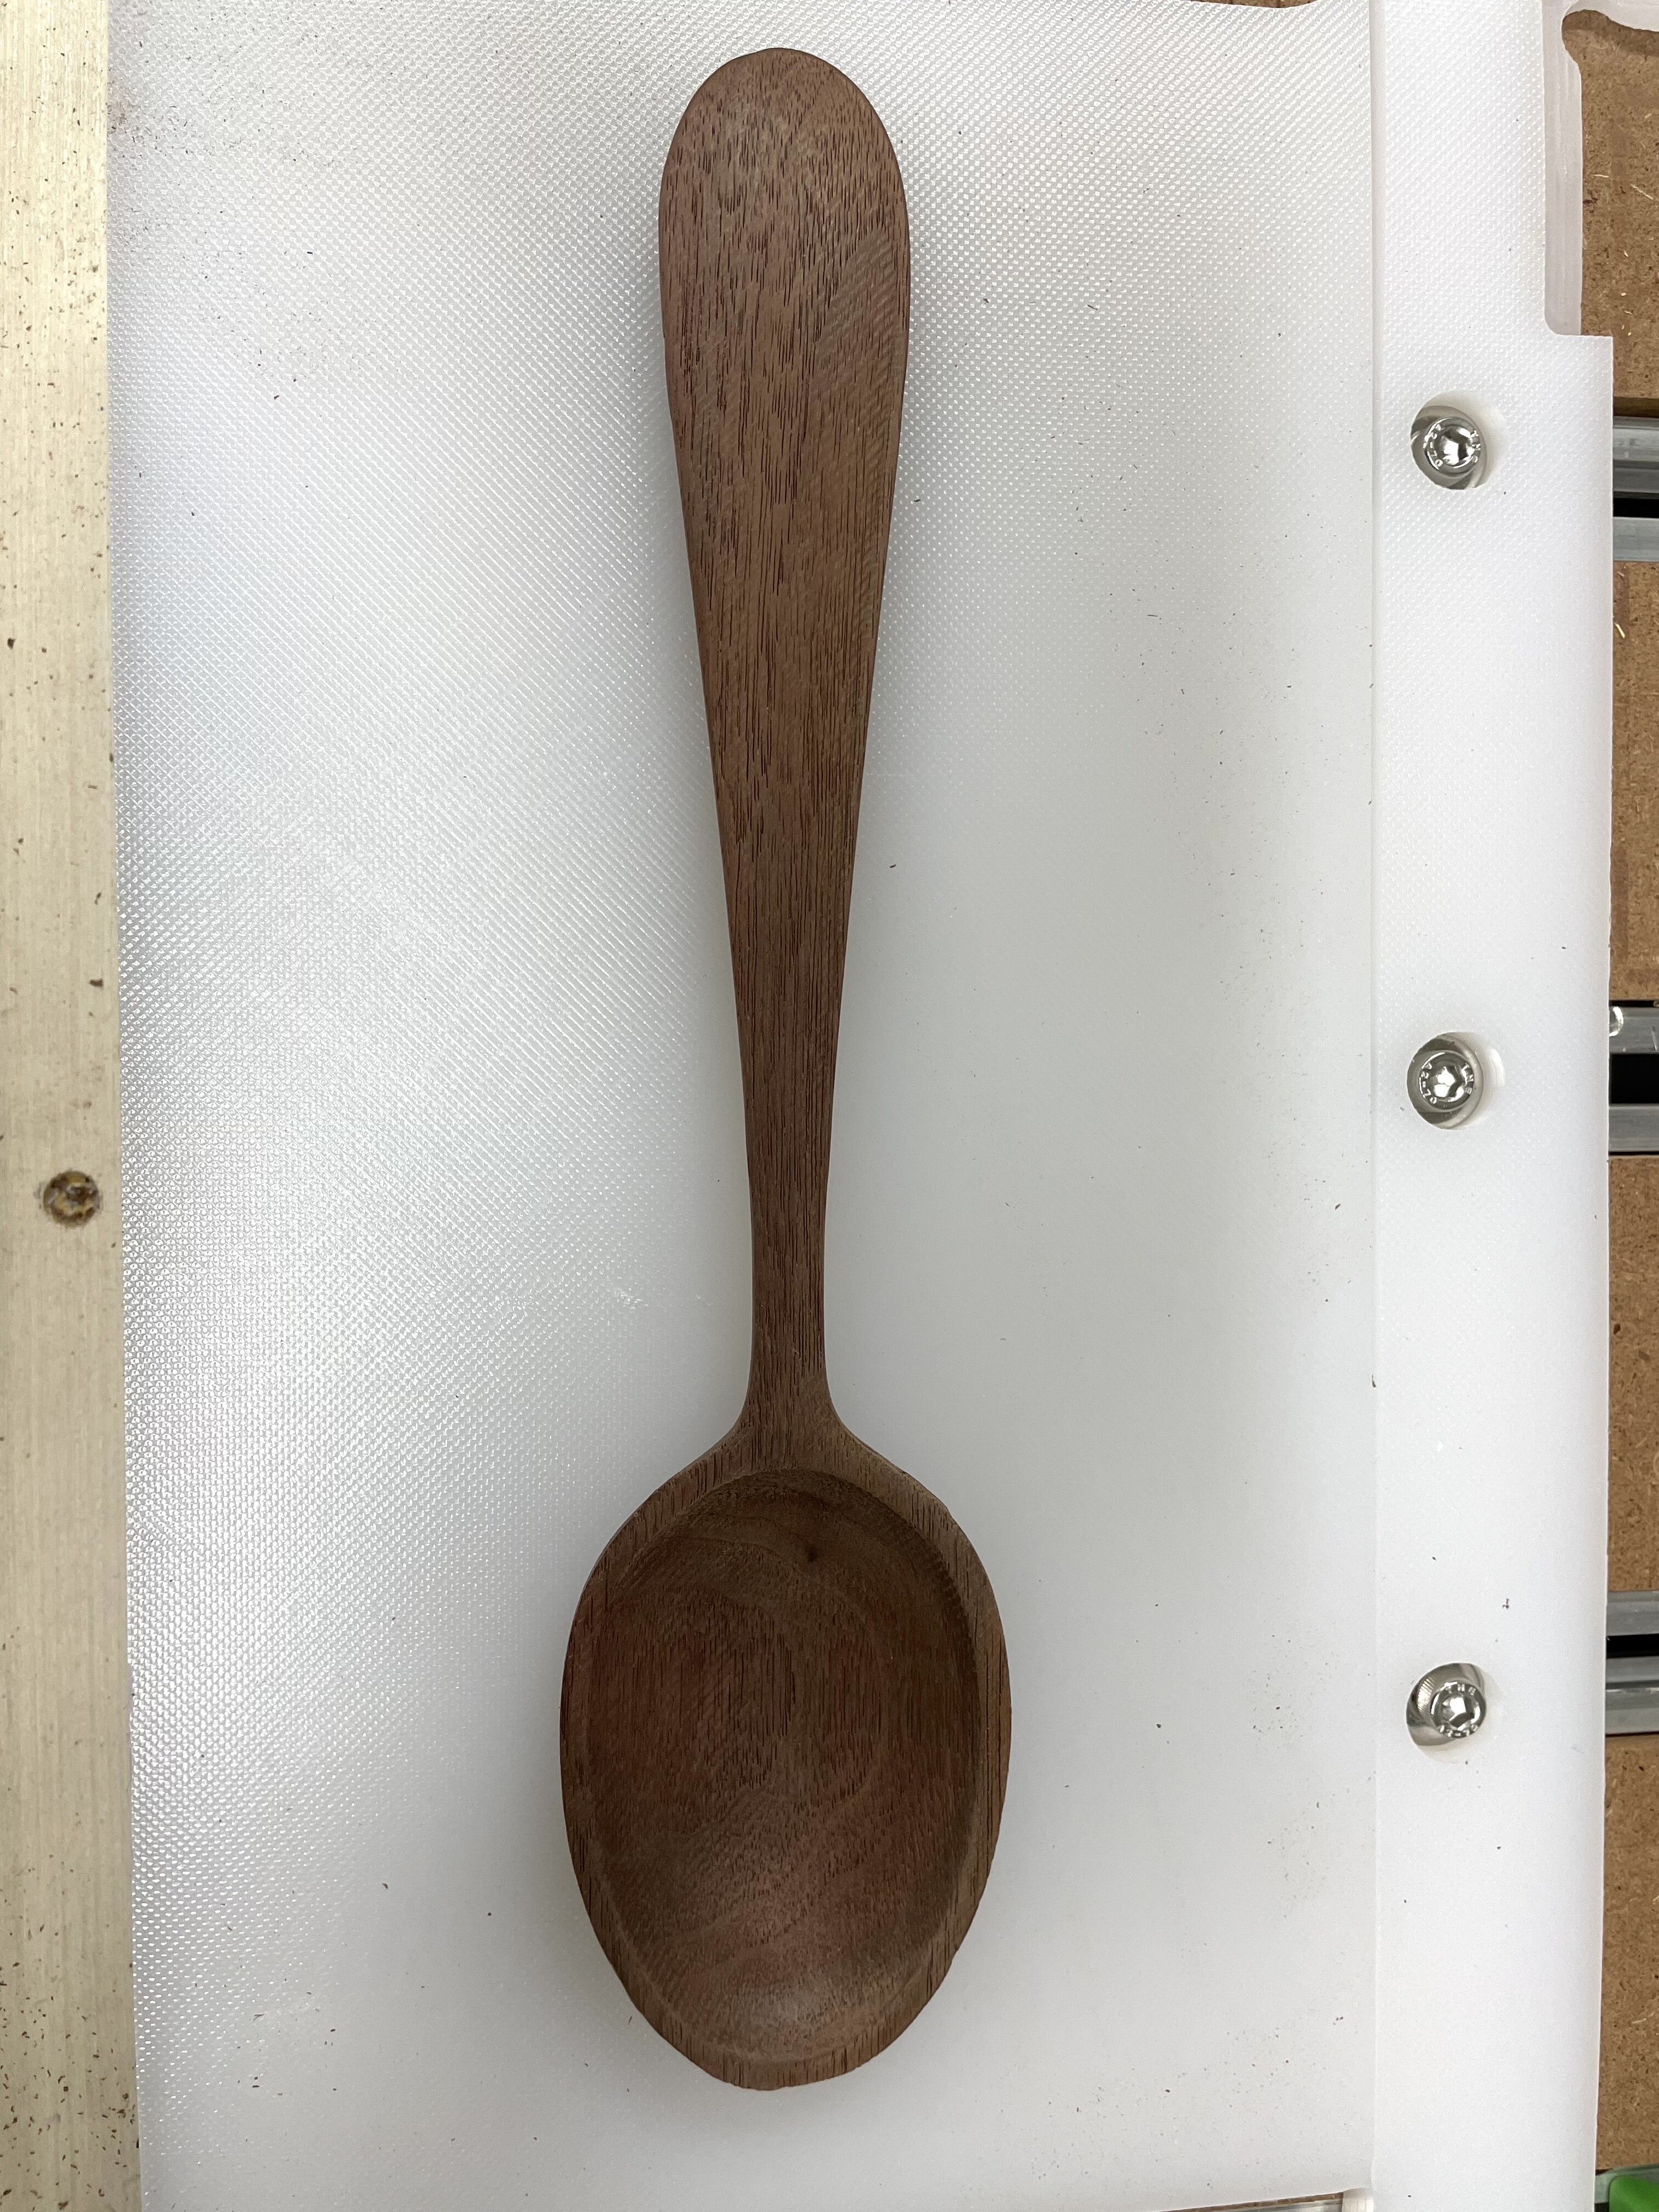
Glad I did. It turned out good. I had a bit of a skin around the handle but a little sanding and it was ok. Should have used a smaller stepover but I was really experimenting with 2 sided not looking for perfection. As it was, the whole job took about 1.5 hours so it’s an expensive spoon. I need sand a little more and coat it in mineral oil.
I used a square to position, I did not use pins for the flip.
I followed the process to design from scratch I saw on YouTube. Hopefully I will retain some of what I learned.