…or use a bit of sand paper ![]()
That’s certainly what I am going to do on this one, just wondering if there is a better approach.
I don’t know I want to use the random orbit on this one or hand sand or pass it though the drum sander on its sides which won’t get the ends.
Probably start with running it against a flat sheet of sandpaper to see how that goes.
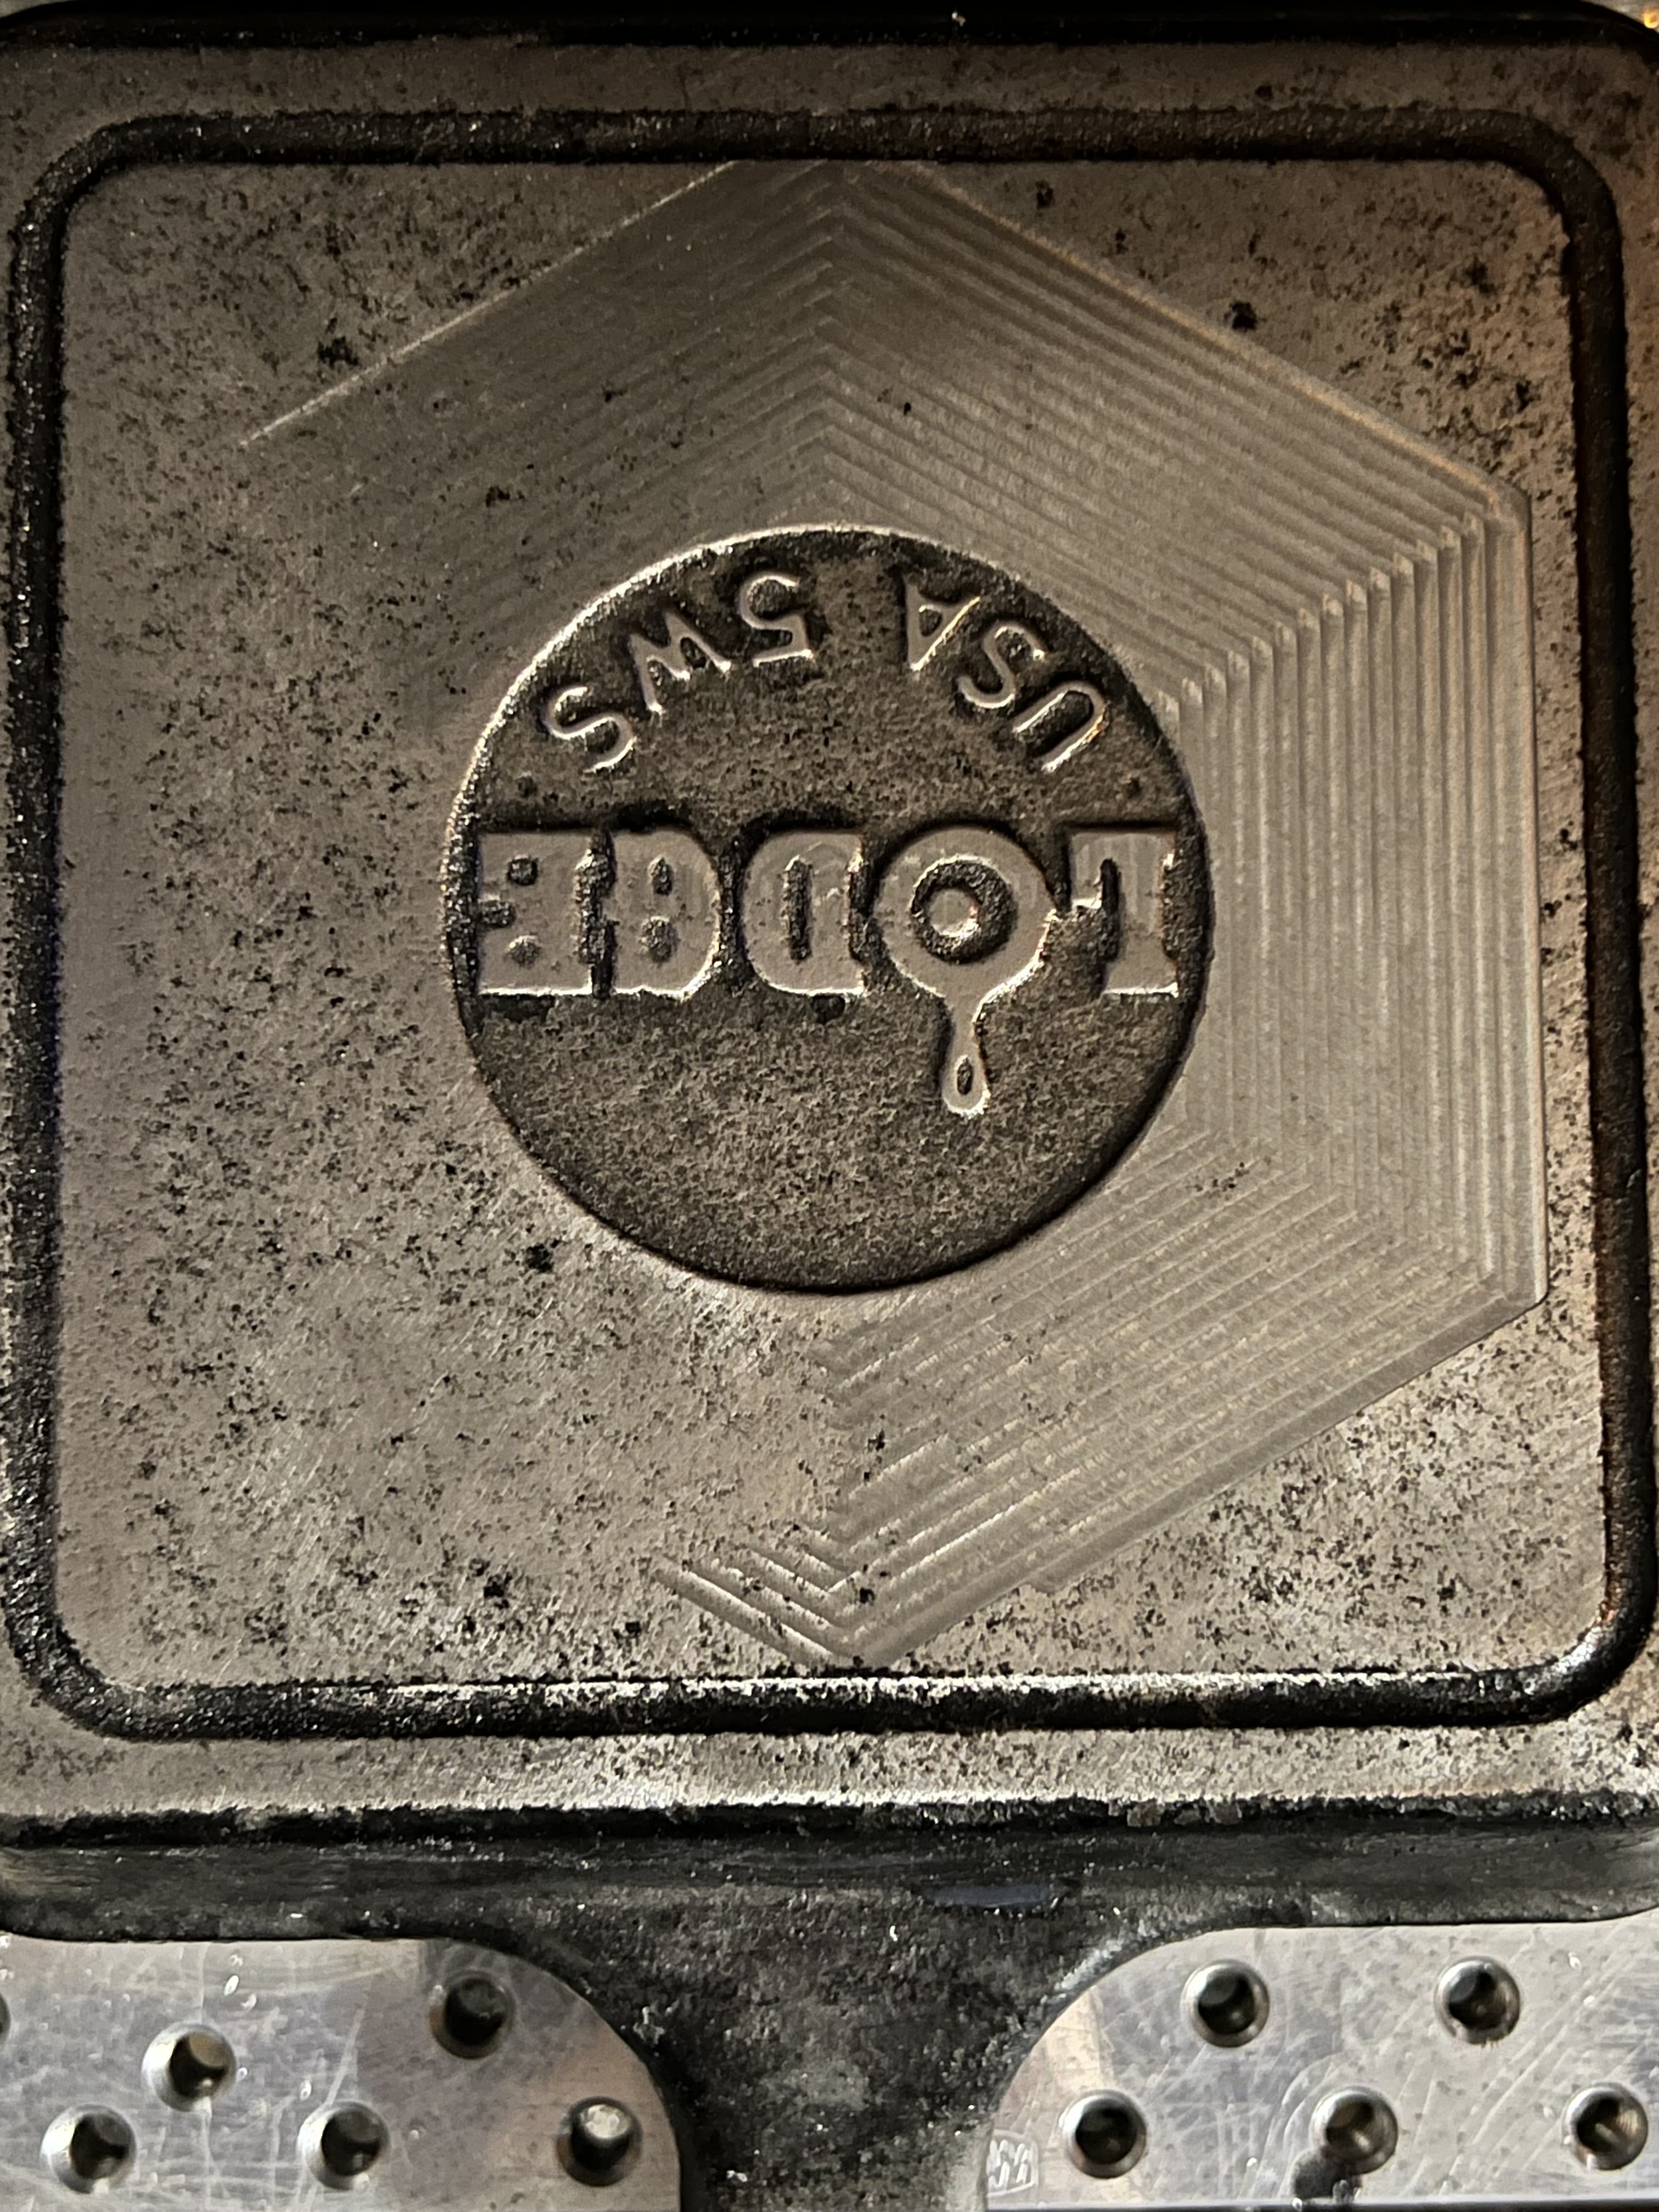
Work in progress 4” cast iron.
The nomad 3 handles it absolutely beautifully.
Can you believe the bottom of a heavily used cast iron is not flat ![]() (or maybe the sides aren’t the same height
(or maybe the sides aren’t the same height ![]() )
)
It’ll be flat when I’m done with it!
The cut is flooded with oil to keep the dust down, I just paused and cleaned it up for this photo.
I’ll do some different engravings and post if they come out interesting.
9 Likes
Cast Iron will warp. Even if it came flat from the factory the repeated heat and cool cycles it will warp. For most people that is not an issue because it sits flat enough to cook in. Good Luck with the flattening. Just dont be disappointed if it warps again.
3 Likes
Yeah I know their propensity to warp, I was just being facetious ![]()
I’m actually just flattening it to give a nice canvas for engraving. I want to put some shallow 3D elements in the bottom with the mill and do an intricate engraving with a fiber laser. A birthday present for a friend.
Both milling and laser engraving cast iron will be new to me so I’m just crossing my fingers.
Luckily these pans are cheap ![]()
2 Likes
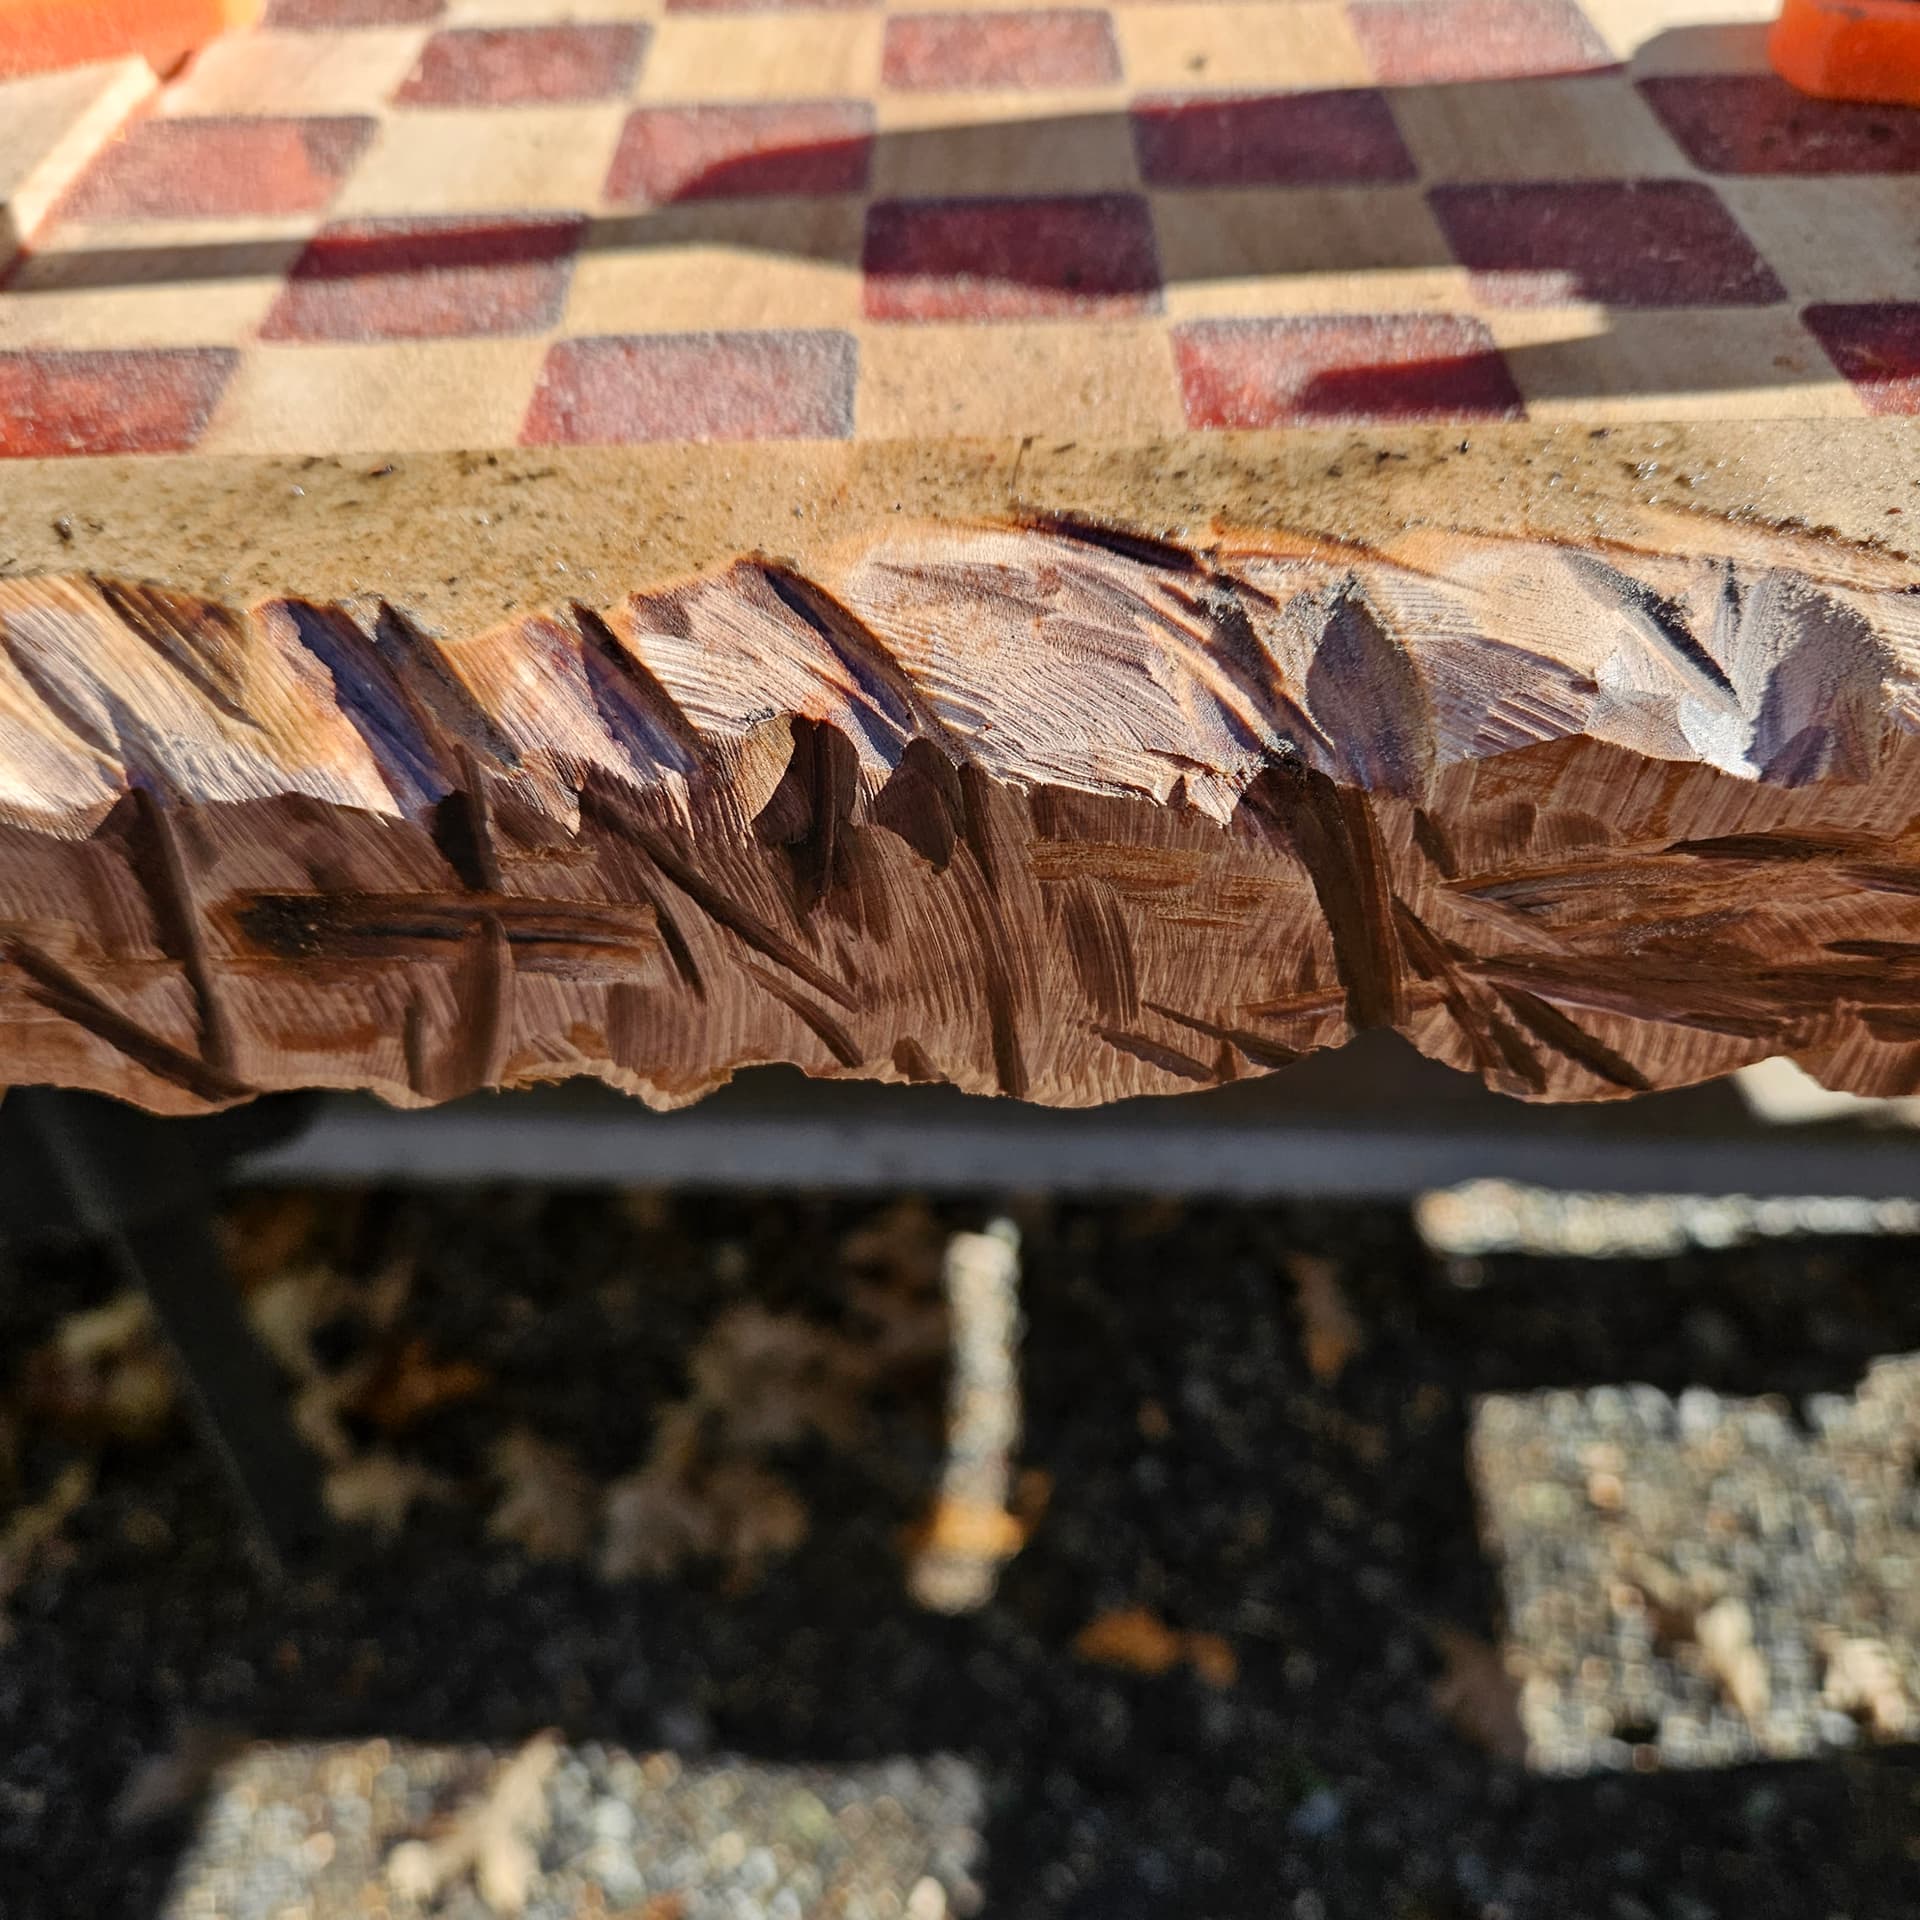
There is something about a bunch of uniform objects lined up perfectly that just gets me. Its a chess board so ill go easy haha. Not much done on the cnc for this but what it did do was broaden my abilities and ideas for the future.
Chain Saw and grinder for the rough edge. Grinder with a metal grinding wheel so that it ‘burns’ through the wood. Resin squares with a resin top coat.
Stain still needed but thought id share now in case someone has ideas ![]()


17 Likes
I’ve never seen a chain saw used this way. Perhaps you’ve smoothed it out too much? ![]()
+1
1 Like
Three sides smooth up to 100 grit right now; 120 then stain.
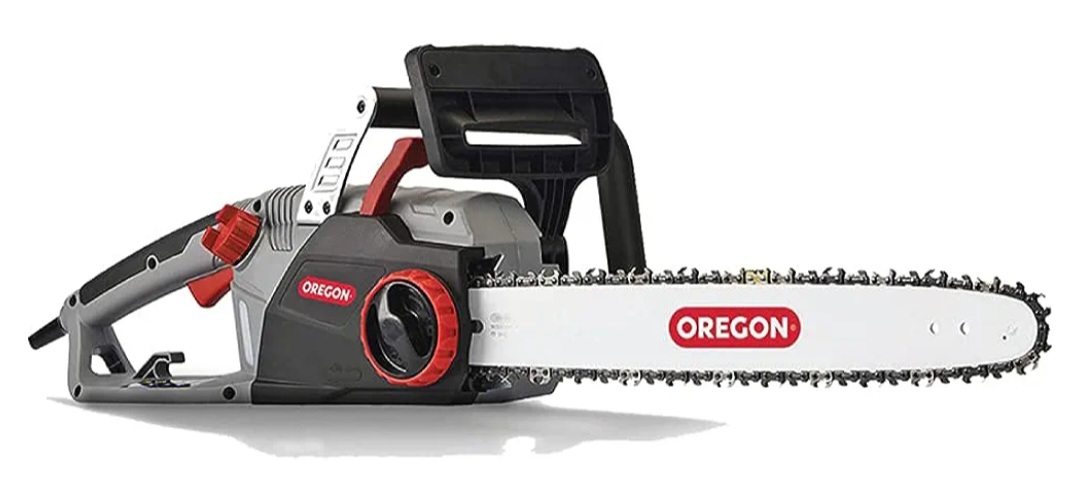
The rough edge i was just screwing around. I bought an electirc chainsaw so i can use it indoors over the winter. It surprisingly made some neat effects i think. The grinder really was neat as well.
1 Like
What fiber laser are you using? Most I’ve seen only have a 4" square table size.
I am new…saw this post from you from a while ago…
i would like to know where you buy the DownCut bits.
I just “discovered” down cut bits.
Even though one came with the kit, I was using the 1/4 up cut due to all the posts about chip clearance, etc.
Then I got the Amana “sign bits” and was totally blown away at how smooth my cuts were. No tear out!
Wait! C3D has a 2 flute dc bit that I never opened. Can talk all day about quality and price, but thats not the point. A down cut is great for a smooth surface.
I do a lot of shallow adv. V carves and while the v bit generally took care if rough edges, the results are so much better using a down cut bit! I feel stupid for not figuring this out sooner.
Best news is i found a source for affordable 1/8 dc bits that should really help with smaller designs.
Cheers!
You should also check out the bits at Cadence Manufacturing. The Downtown Jennys are great but their best bits are the GrooVee Jenny V-Bits. They are all down sheer and do a great job on the advanced v carves!
3 Likes
I’m using a split body 60w fiber. The work area is generally only limited by the height of your tower. Mine does up to ~300mmx300mm without changing to a taller tower.
It is by no means an entry level option and comes with all of the cost (and danger) associated with an industrial tool ![]()
1 Like
Based on their website, I’m not sure Cadence is still in business to sell bits.
I was just on their site and bought the 1/4" extended reach.
Yes Cadence is still selling bits. I bought some just recently. You have to click the Shop link on a full fledged browser or if you are on a phone you have to click the three horizontal lines (aka hamburger) and then shop to get to the bit selection.
I have a gas chainsaw and it takes about 30 minutes of futzing around with it every time I use it to get it started. Been thinking about an electric chainsaw for cutting up logs to turn on the lathe. I would not need gas or have a hard time starting it. Also thought about a Dewalt battery chainsaw with the 60 V battery. The 60 volt battery will work with my 20v tools but the 20v batteries will not fit in the 60V version of the battery chainsaw. Just the same as the gas chainsaw is sharpening.
This particular model only takes chain oil. Not too messy fairly liquid. It also has a self sharpening feature for the chain. You simply run the chain saw and presh a button down for 3-4 seconds to engage the sharpening rock. For a shop chainsaw i definitely recommend. Always starts, no hassle, long bar, full power, automatic break feature. Great for winter time.
I went and looked at this and others and ordered one on Amazon. I got the chainsaw and a spare chain with tax and all it was $125.00. I have been meaning to pull the trigger on an electric chainsaw for a while. The Battery ones are very expensive and with the self sharpening I could not resist. I have a lot of logs laying around the shop and need to split some to turn. With the 18" bar that will work.
A few years ago my farmer neighbor was helping me put in a gravel driveway. I had tree to cut down. I put on my chainsaw chaps, helmet and and gloves and he was laughing at me. I thought to myself better to be laughed at then have my leg cut through. He just holds his chainsaw up and starts it and never wears any protective gear. Each to their own but I would rather be safe than sorry. We are a long way to a hospital and a chainsaw can make you bleed to death.
1 Like
The bit that Cadence is “famous” for, the “GrooVee Jenny”, is always “Out of Stock” when I look, and I haven’t rec’d an email notice on availability. Maybe its just me.
How’d you get the copper look in the epoxy? Powder additive?