Tyler was close… It’s 11"x11".
1 Like
The diagonal finish, works really well on that design
I had a request to put this on Cutrocket so I submitted it yesterday and its pending approval
2 Likes
Approved!
Thanks for sharing!
2 Likes
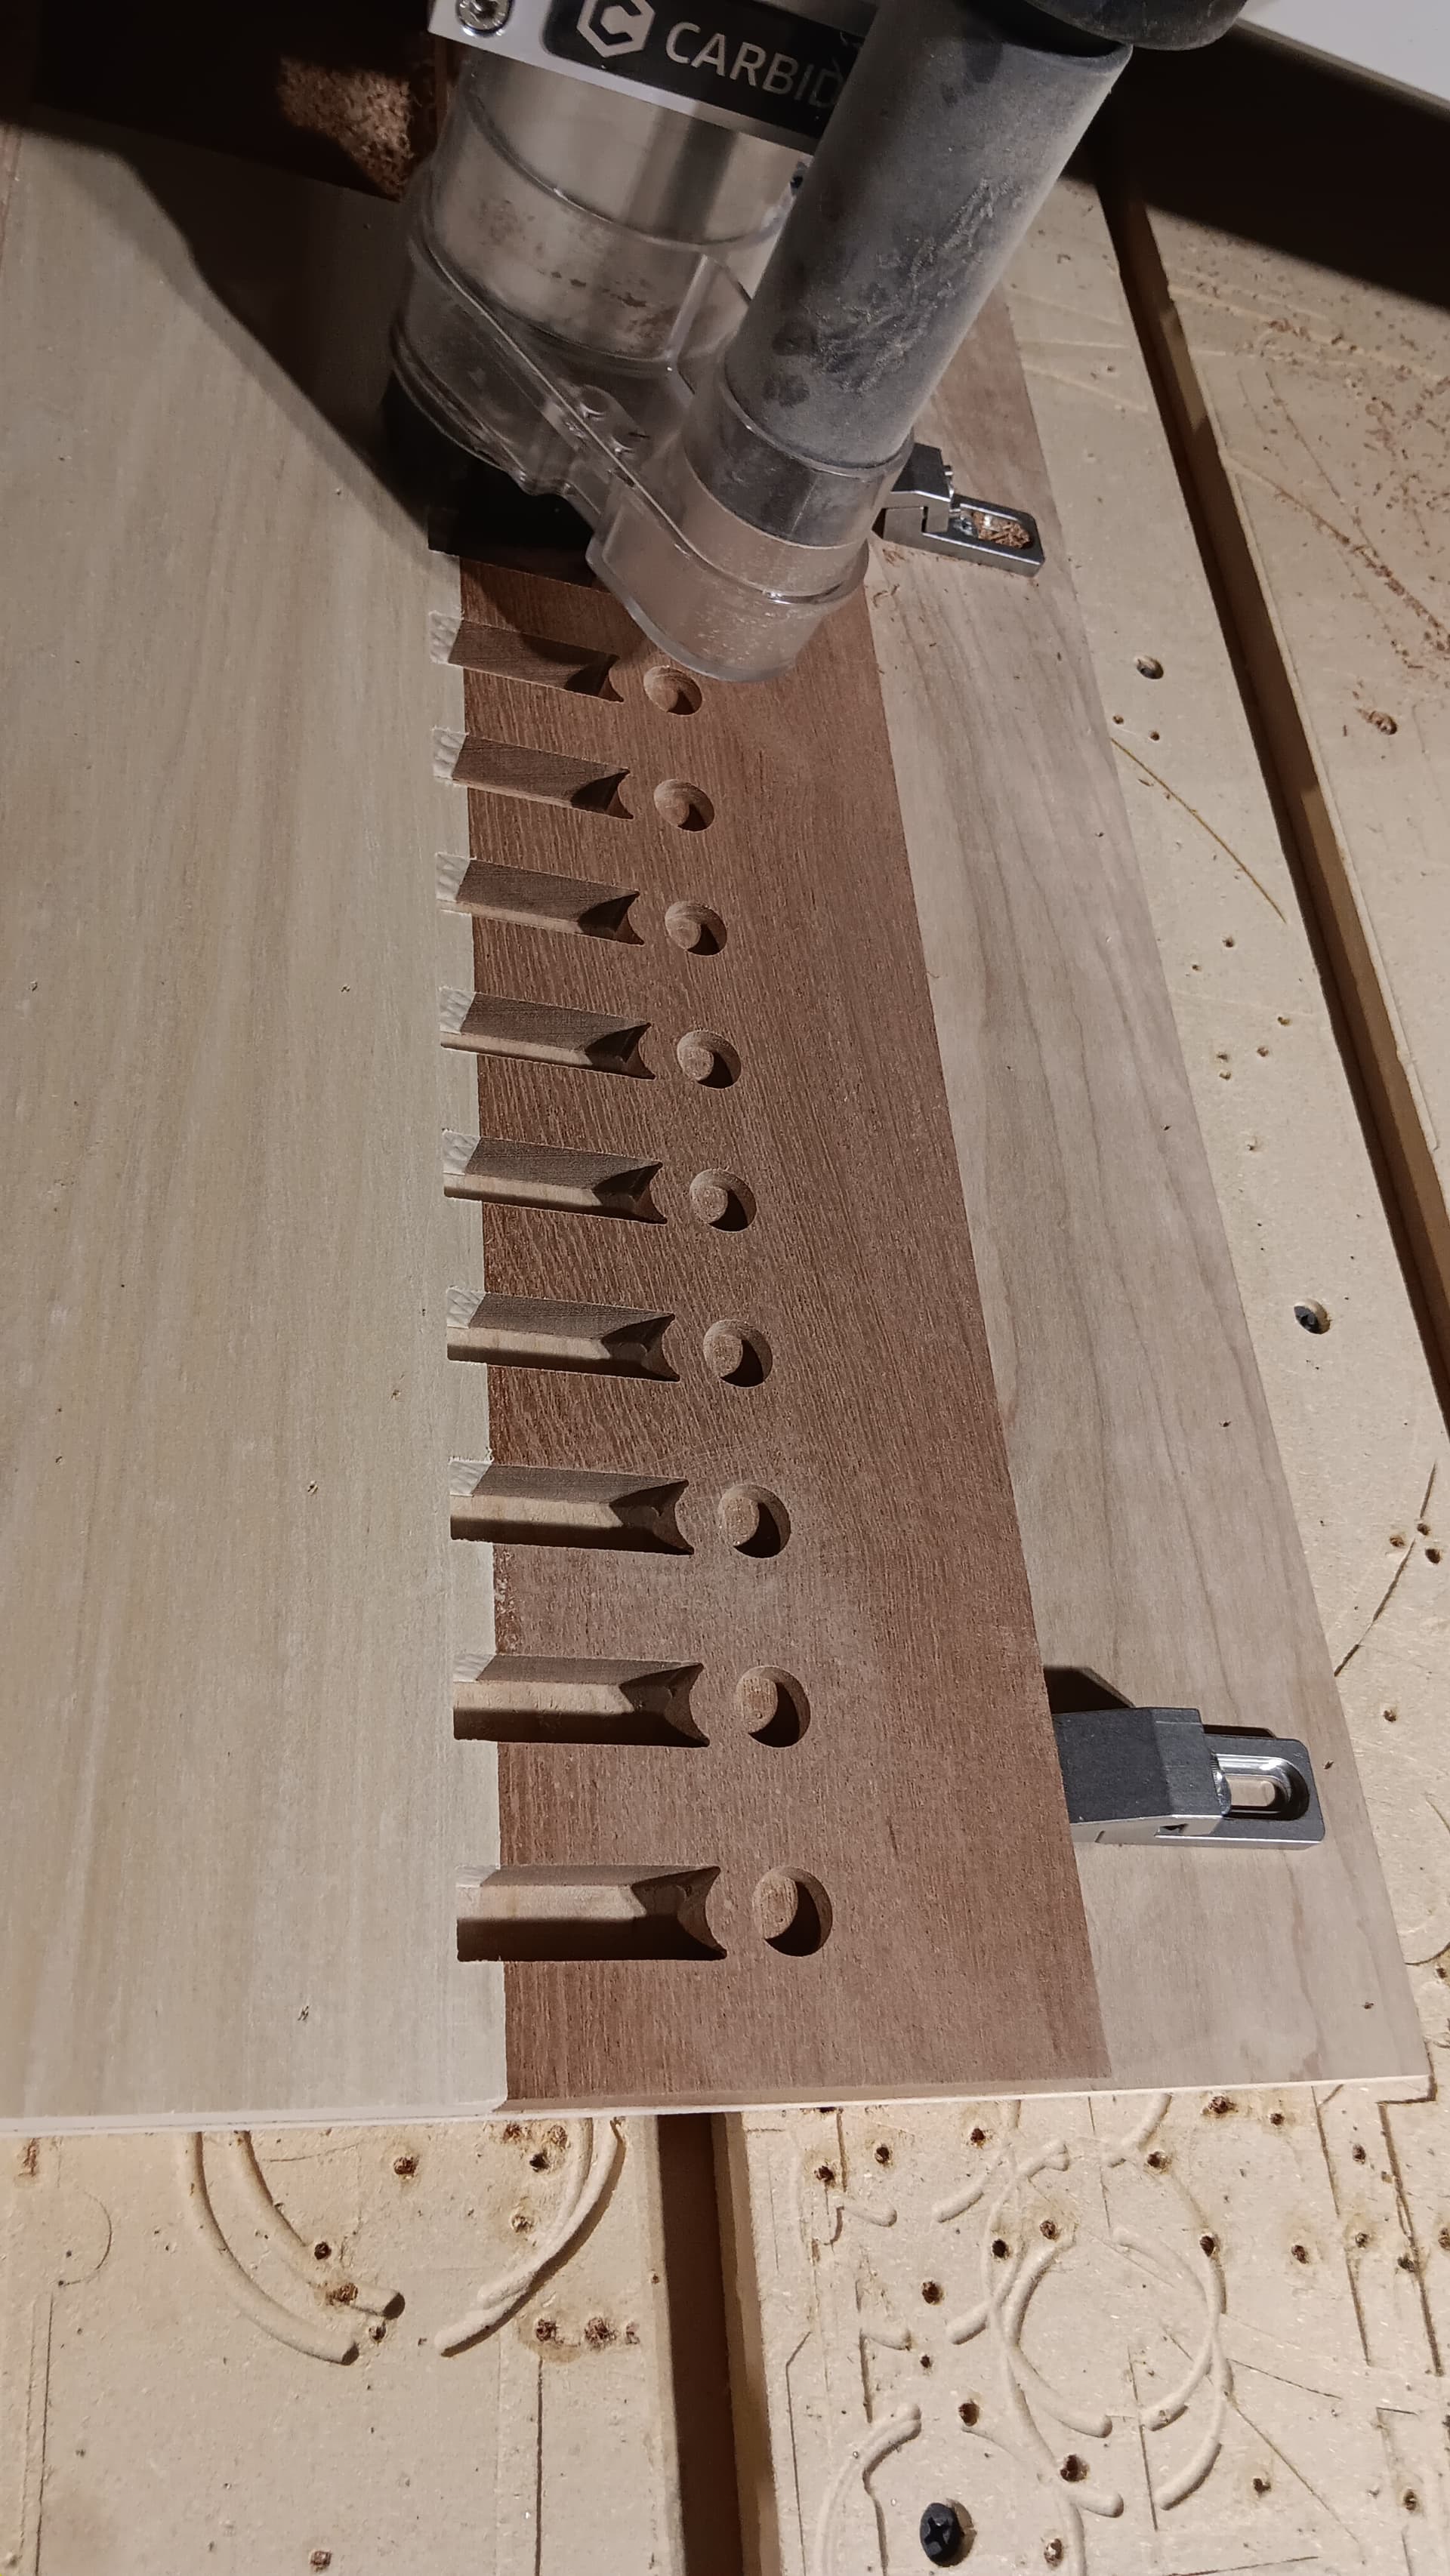
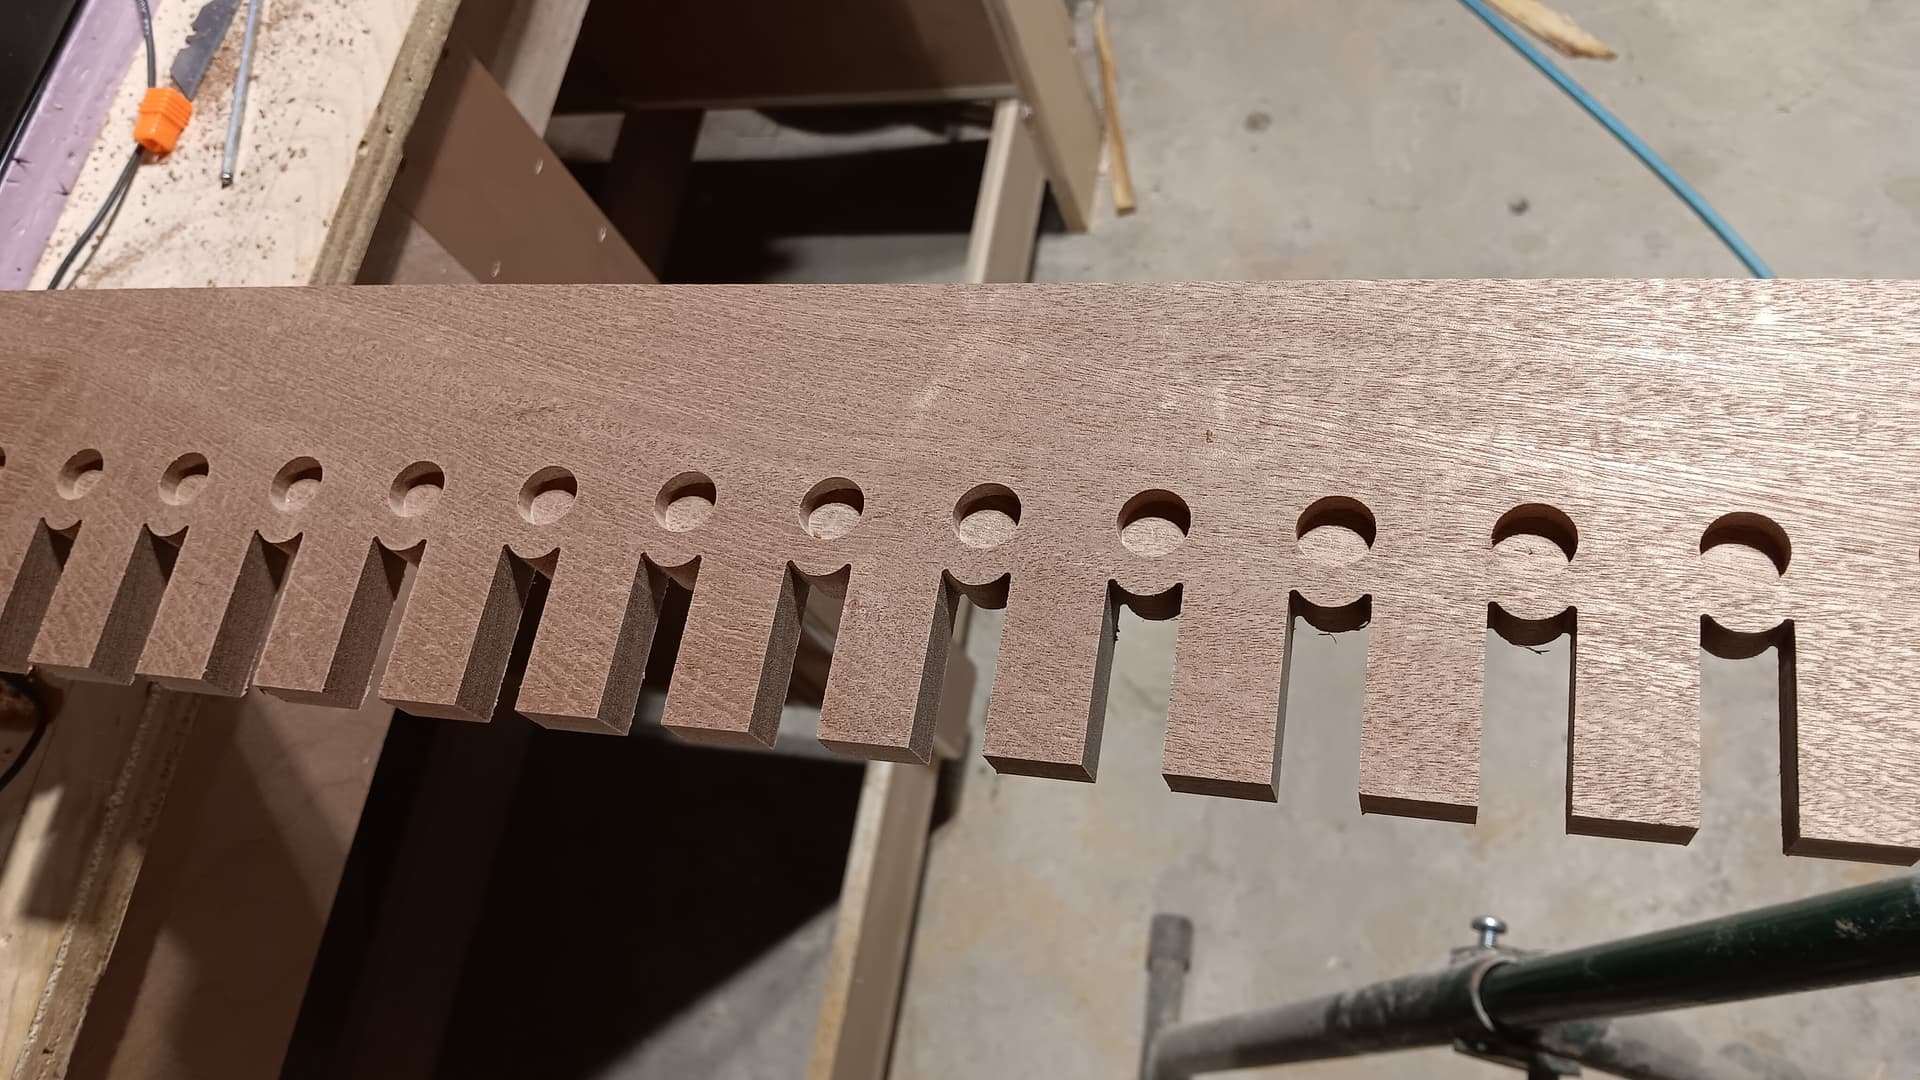
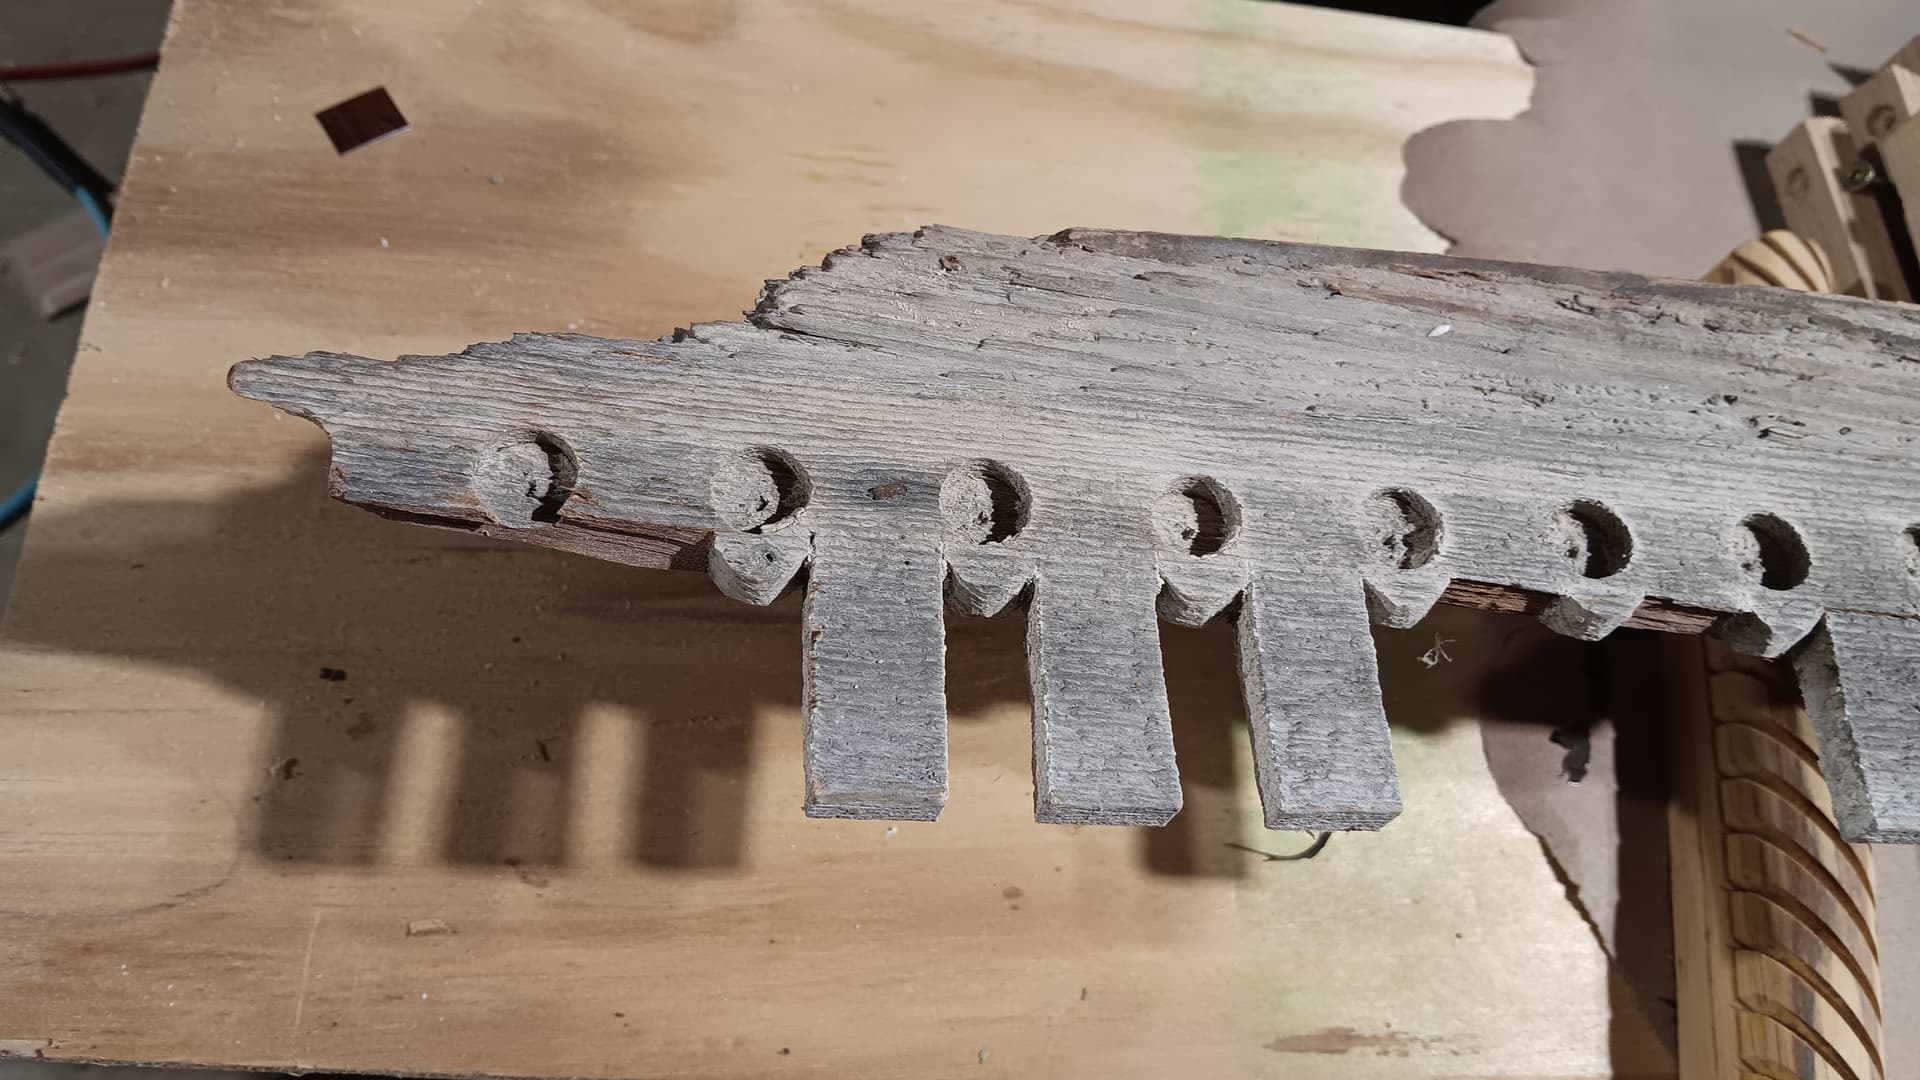
Looks like you’ve either NAILED IT…or getting really close! Good job
Does the “new finish” look remain or will you attempt any ageing process? Just curious, no opinion either way, just wondering what final finish will be.
Gotcha,
“NAILED IT” - LOL!
The final finish will be paint. The material is Sapele for weather resistance. A total of 60 linear feet is required.

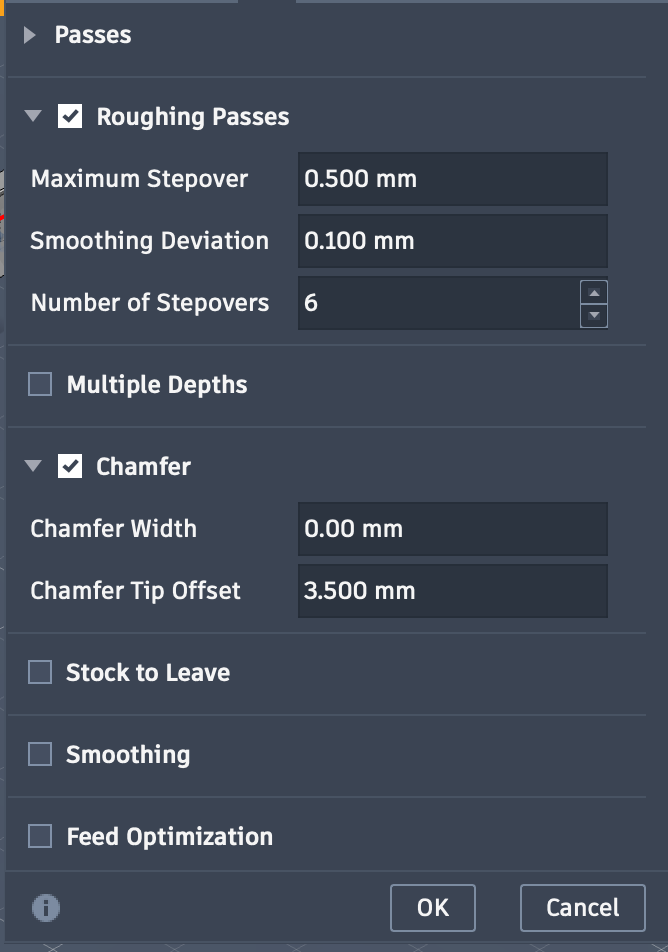
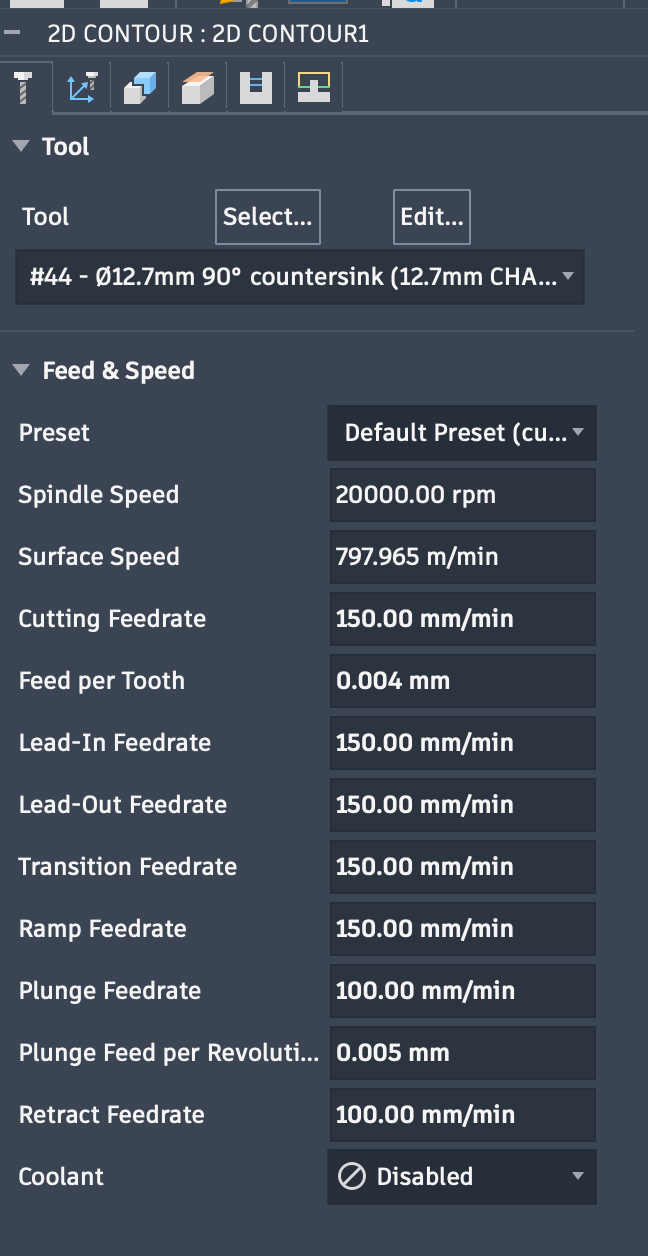
What tool did you use for the chamfer? Can you share speeds and feeds as well?
Thanks
Hey, that’s been a while 
The chamfer cutter I use most, and used there is this one from Trend
It’s meant for wood but I’ve found it to be fine in Aluminium, brass and plastics too.
Here’s the cutter settings from Fusion, the finishing stepover was 0.25mm, on Aluminium I use either WD40 or Isopropanol as a lubricant to keep the cutter clean and the surface finish looking good.
3 Likes
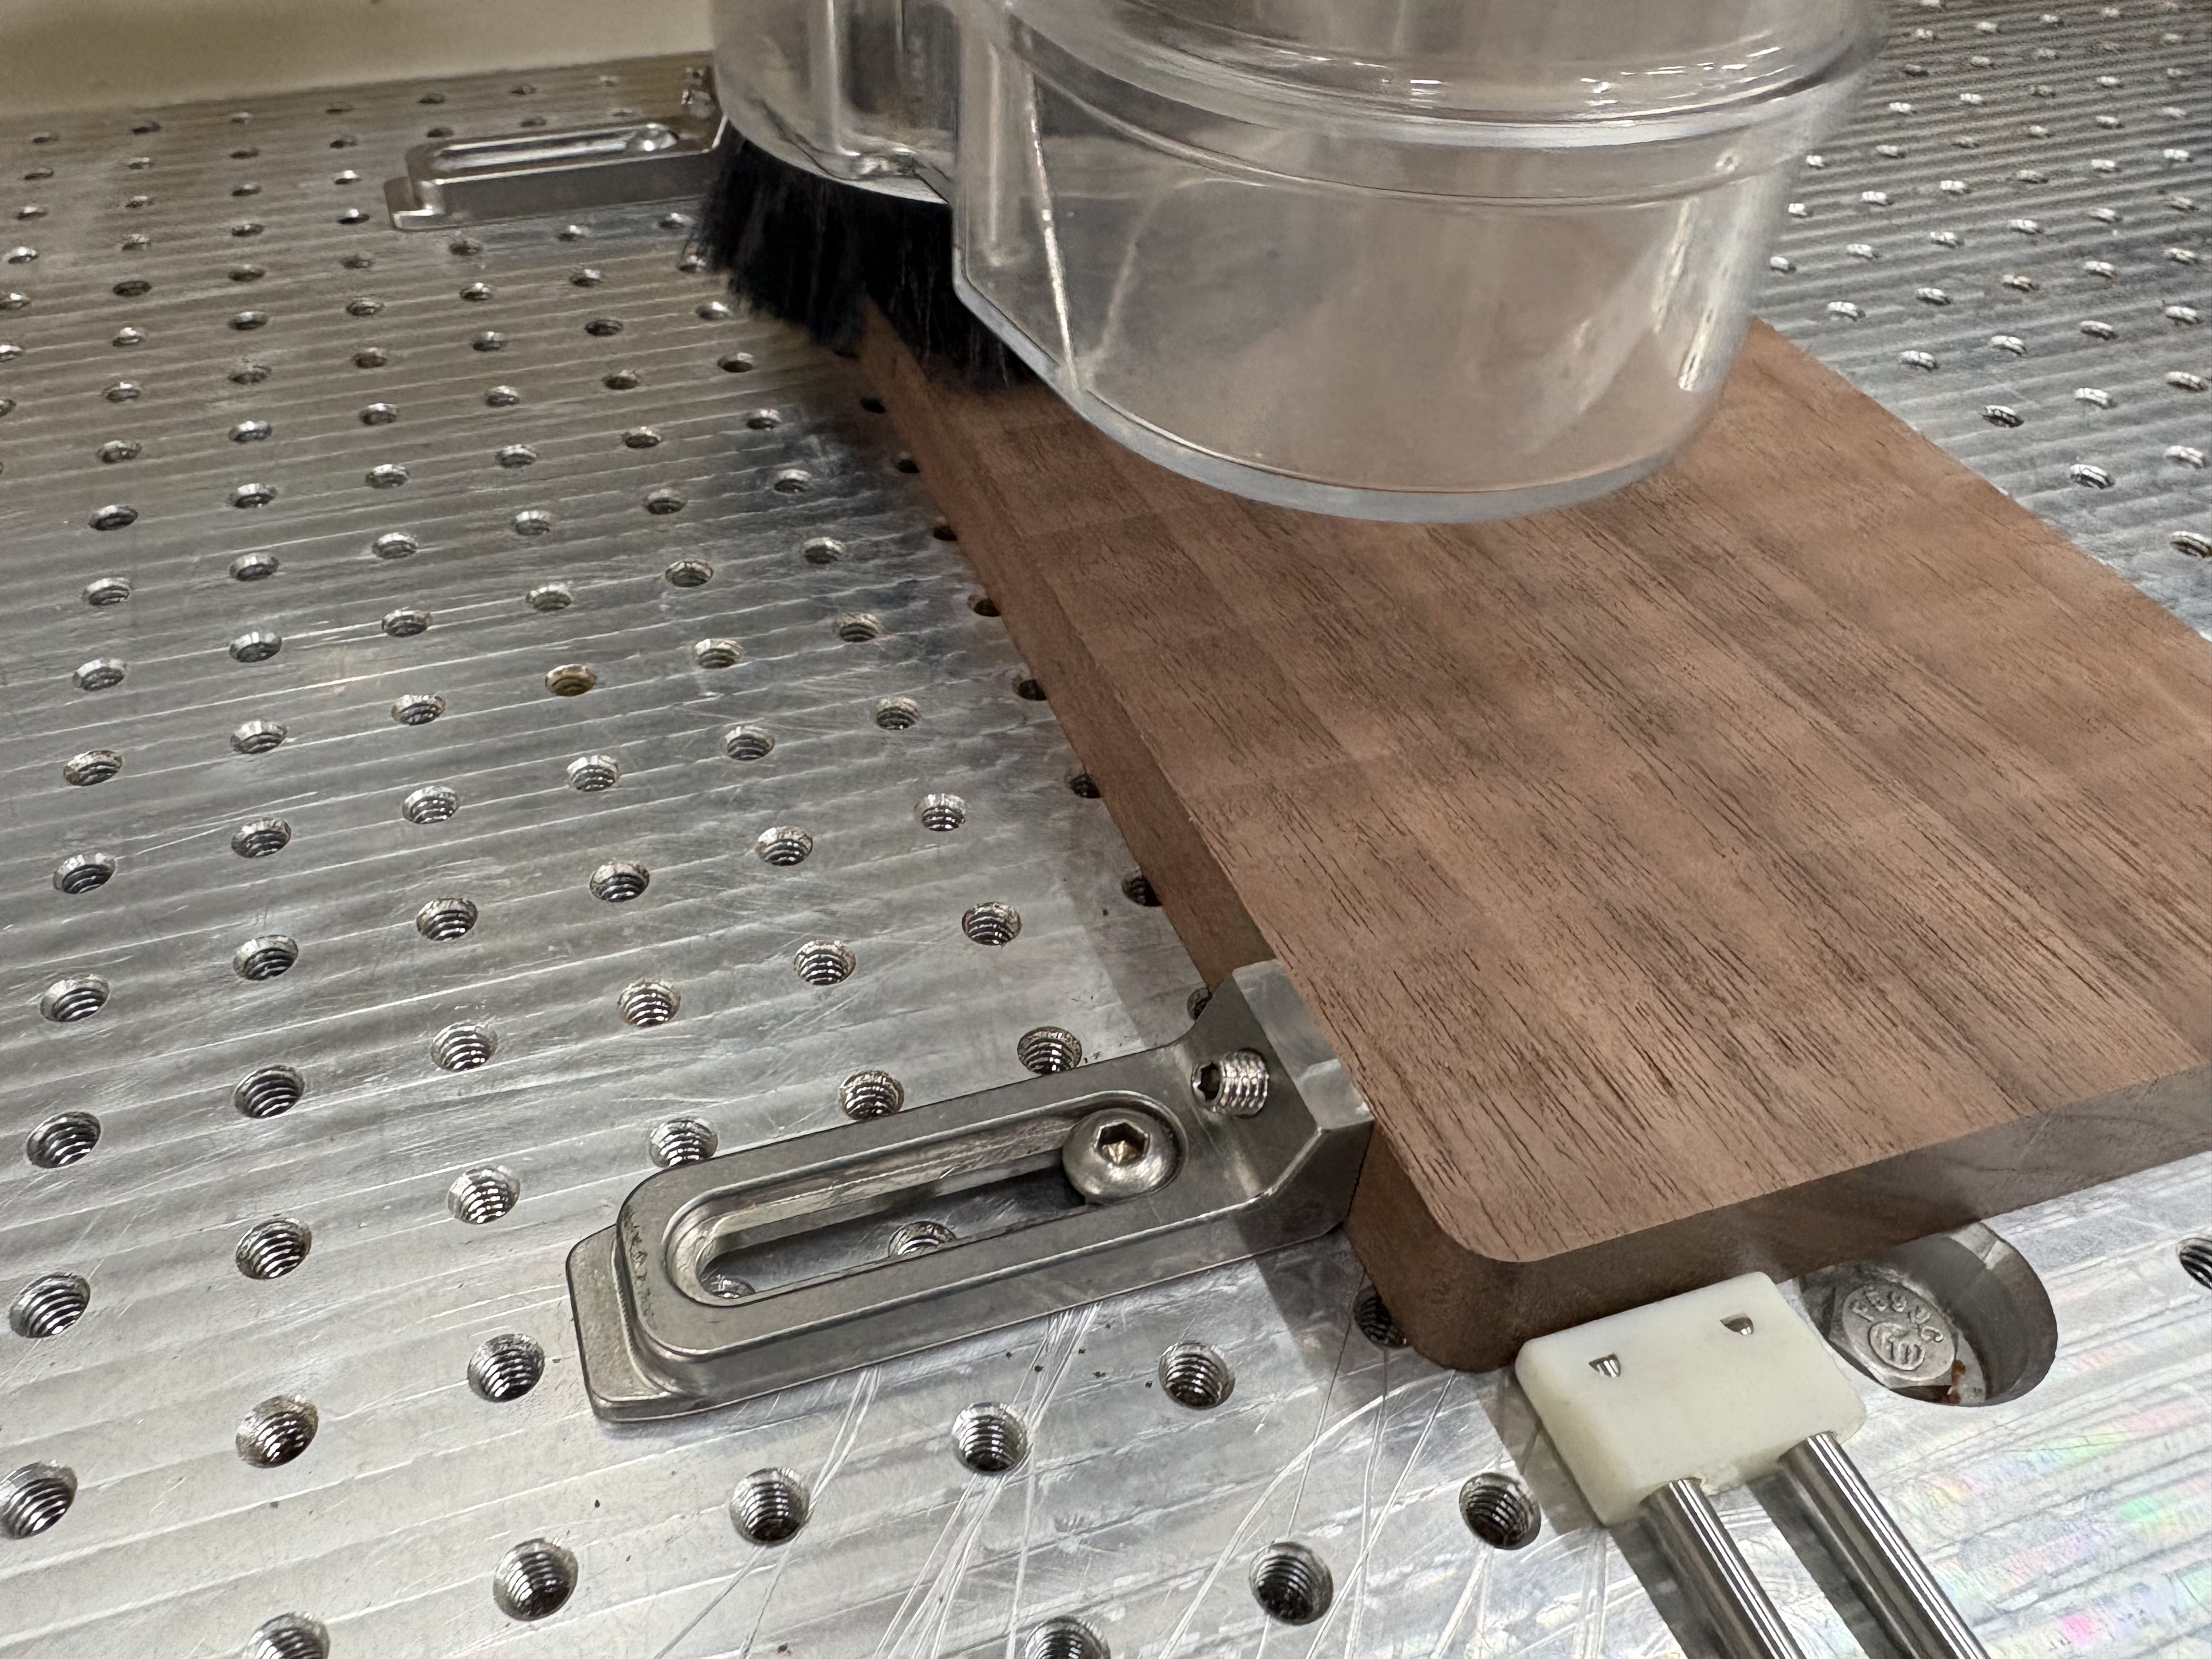
(Inadvertently) decided to face my stainless steel C3D Gator Tooth clamps with MC Etcher.
Accidents happen…
7 Likes
That is the story of my life!
Now it’s even lower profile 
What’s the other workholding item in the photo? Looks like two rods with a non-marring end cap. I’ve never seen one that looks like that 
1 Like
Haha yeah. I would’ve been happier if the grub screw wasn’t sticking up out of the rear clamp and detonated the blades on the McFly when it caught.
Back in the day, before OneFinity, the company sold SuckIt dust boots and these Oops clamps (3D printed components with metal rods) for the Shapeoko too. They still sell the products but don’t support other machines.
1 Like
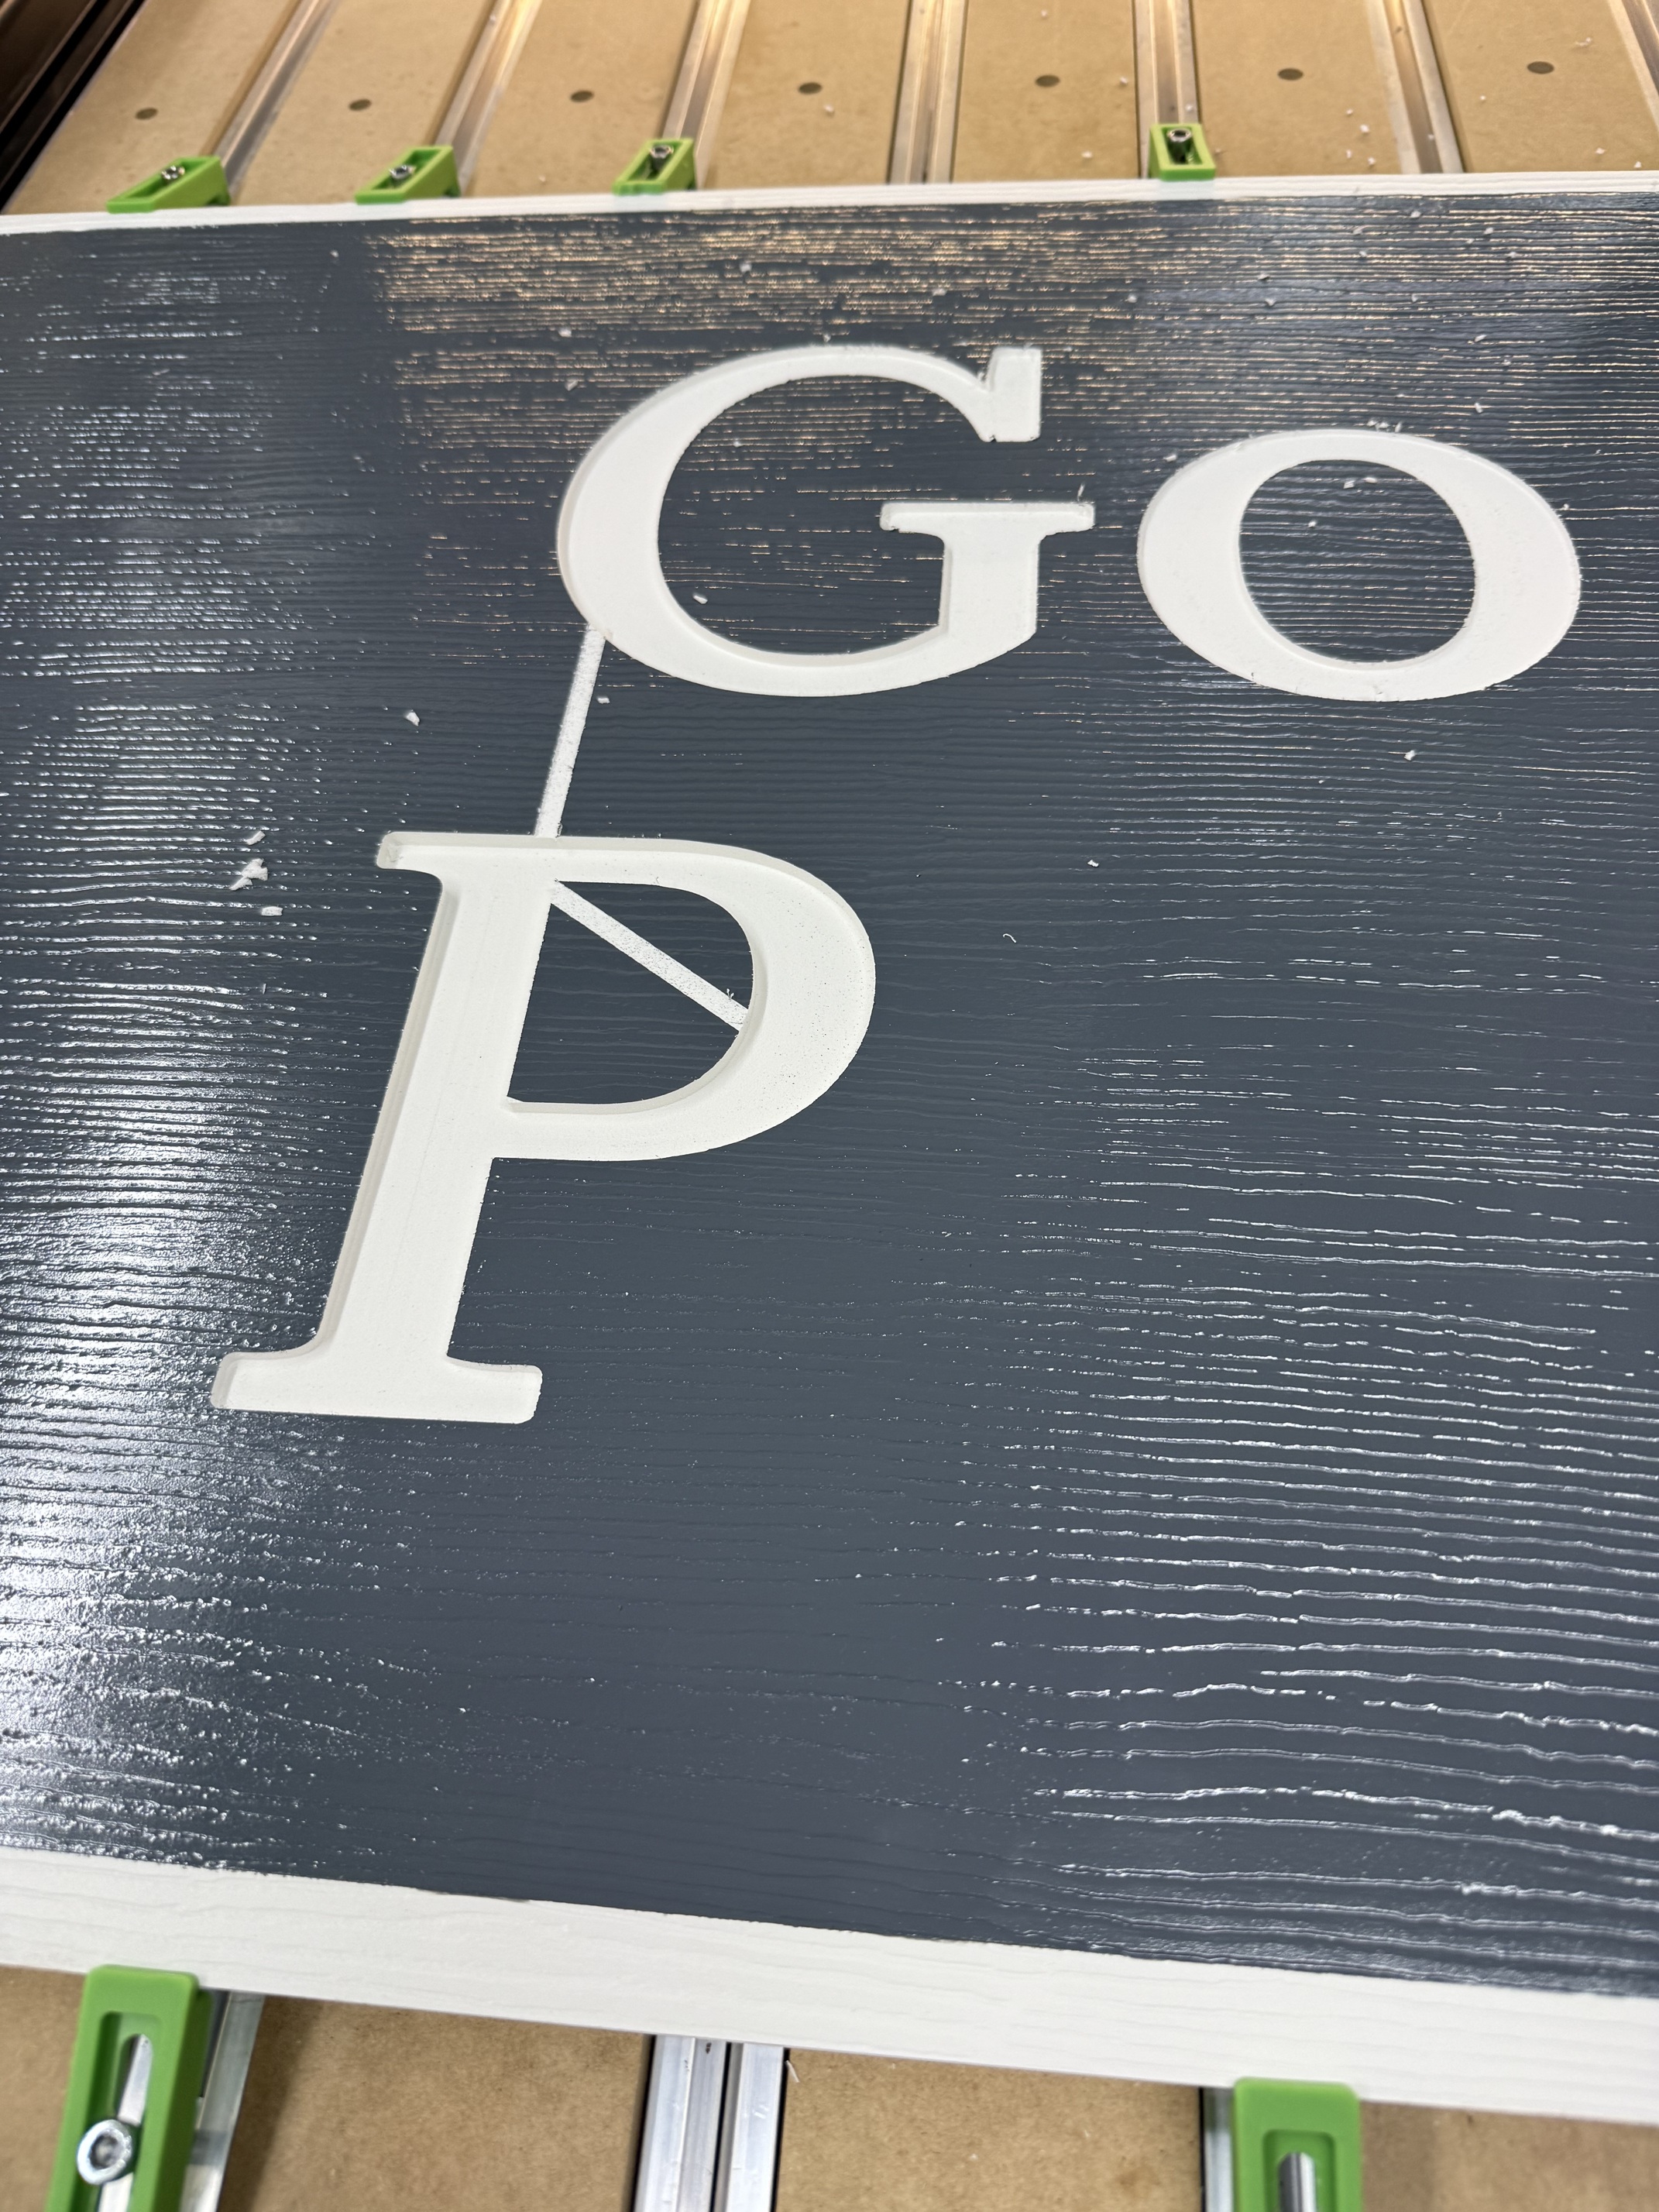
I goofed up.
Glued 2 1/2” pieces of PVC together and painted them outside yesterday. Left them in the shade. Shade moved and I looked out there and the piece was drooping bad in the center. Like probably a 2” drop in the center across the 47”.
Flipped it over and put it in the sun to try and reverse the process. It got close but not quite.
When I put it on the machine I tightened down the edges but apparently it was still high in the center so when the bit traveled from one letter to another it hit the material.
The recess is supposed to be .07 deep and on the letters to the left it’s more like .19.
I knew better than to paint in 95+ degrees but always in a hurry.
2 Likes
This is the reason I only use plastic for clamping. So far so good. Destroyed a few of those clamps though.
Latest project was a gift for my daughter - an LED-backed wall light. This was a lot of fun to design and make!
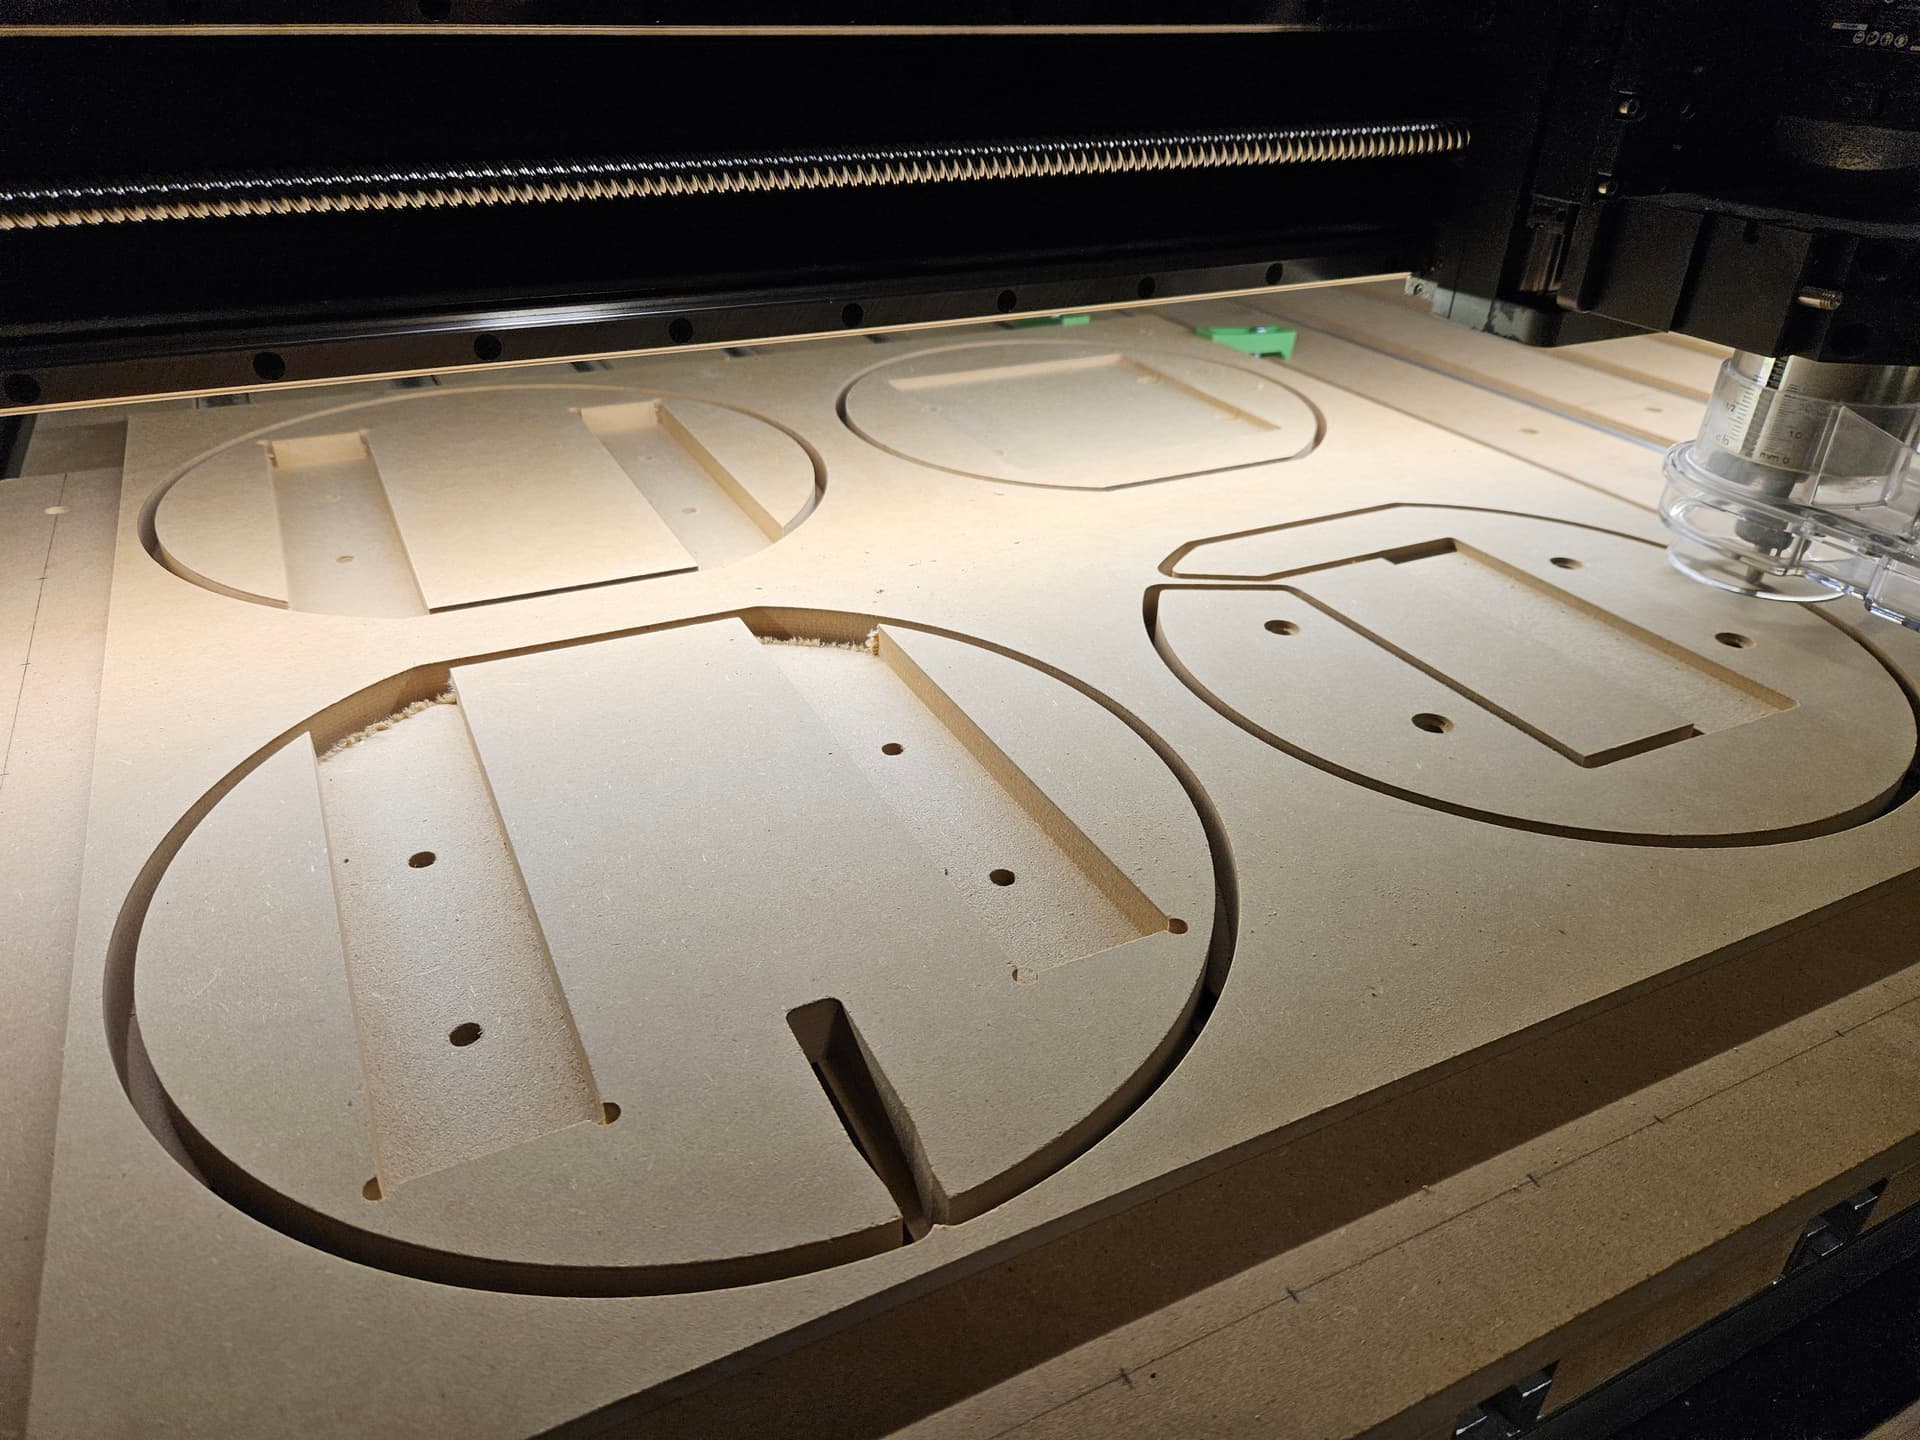
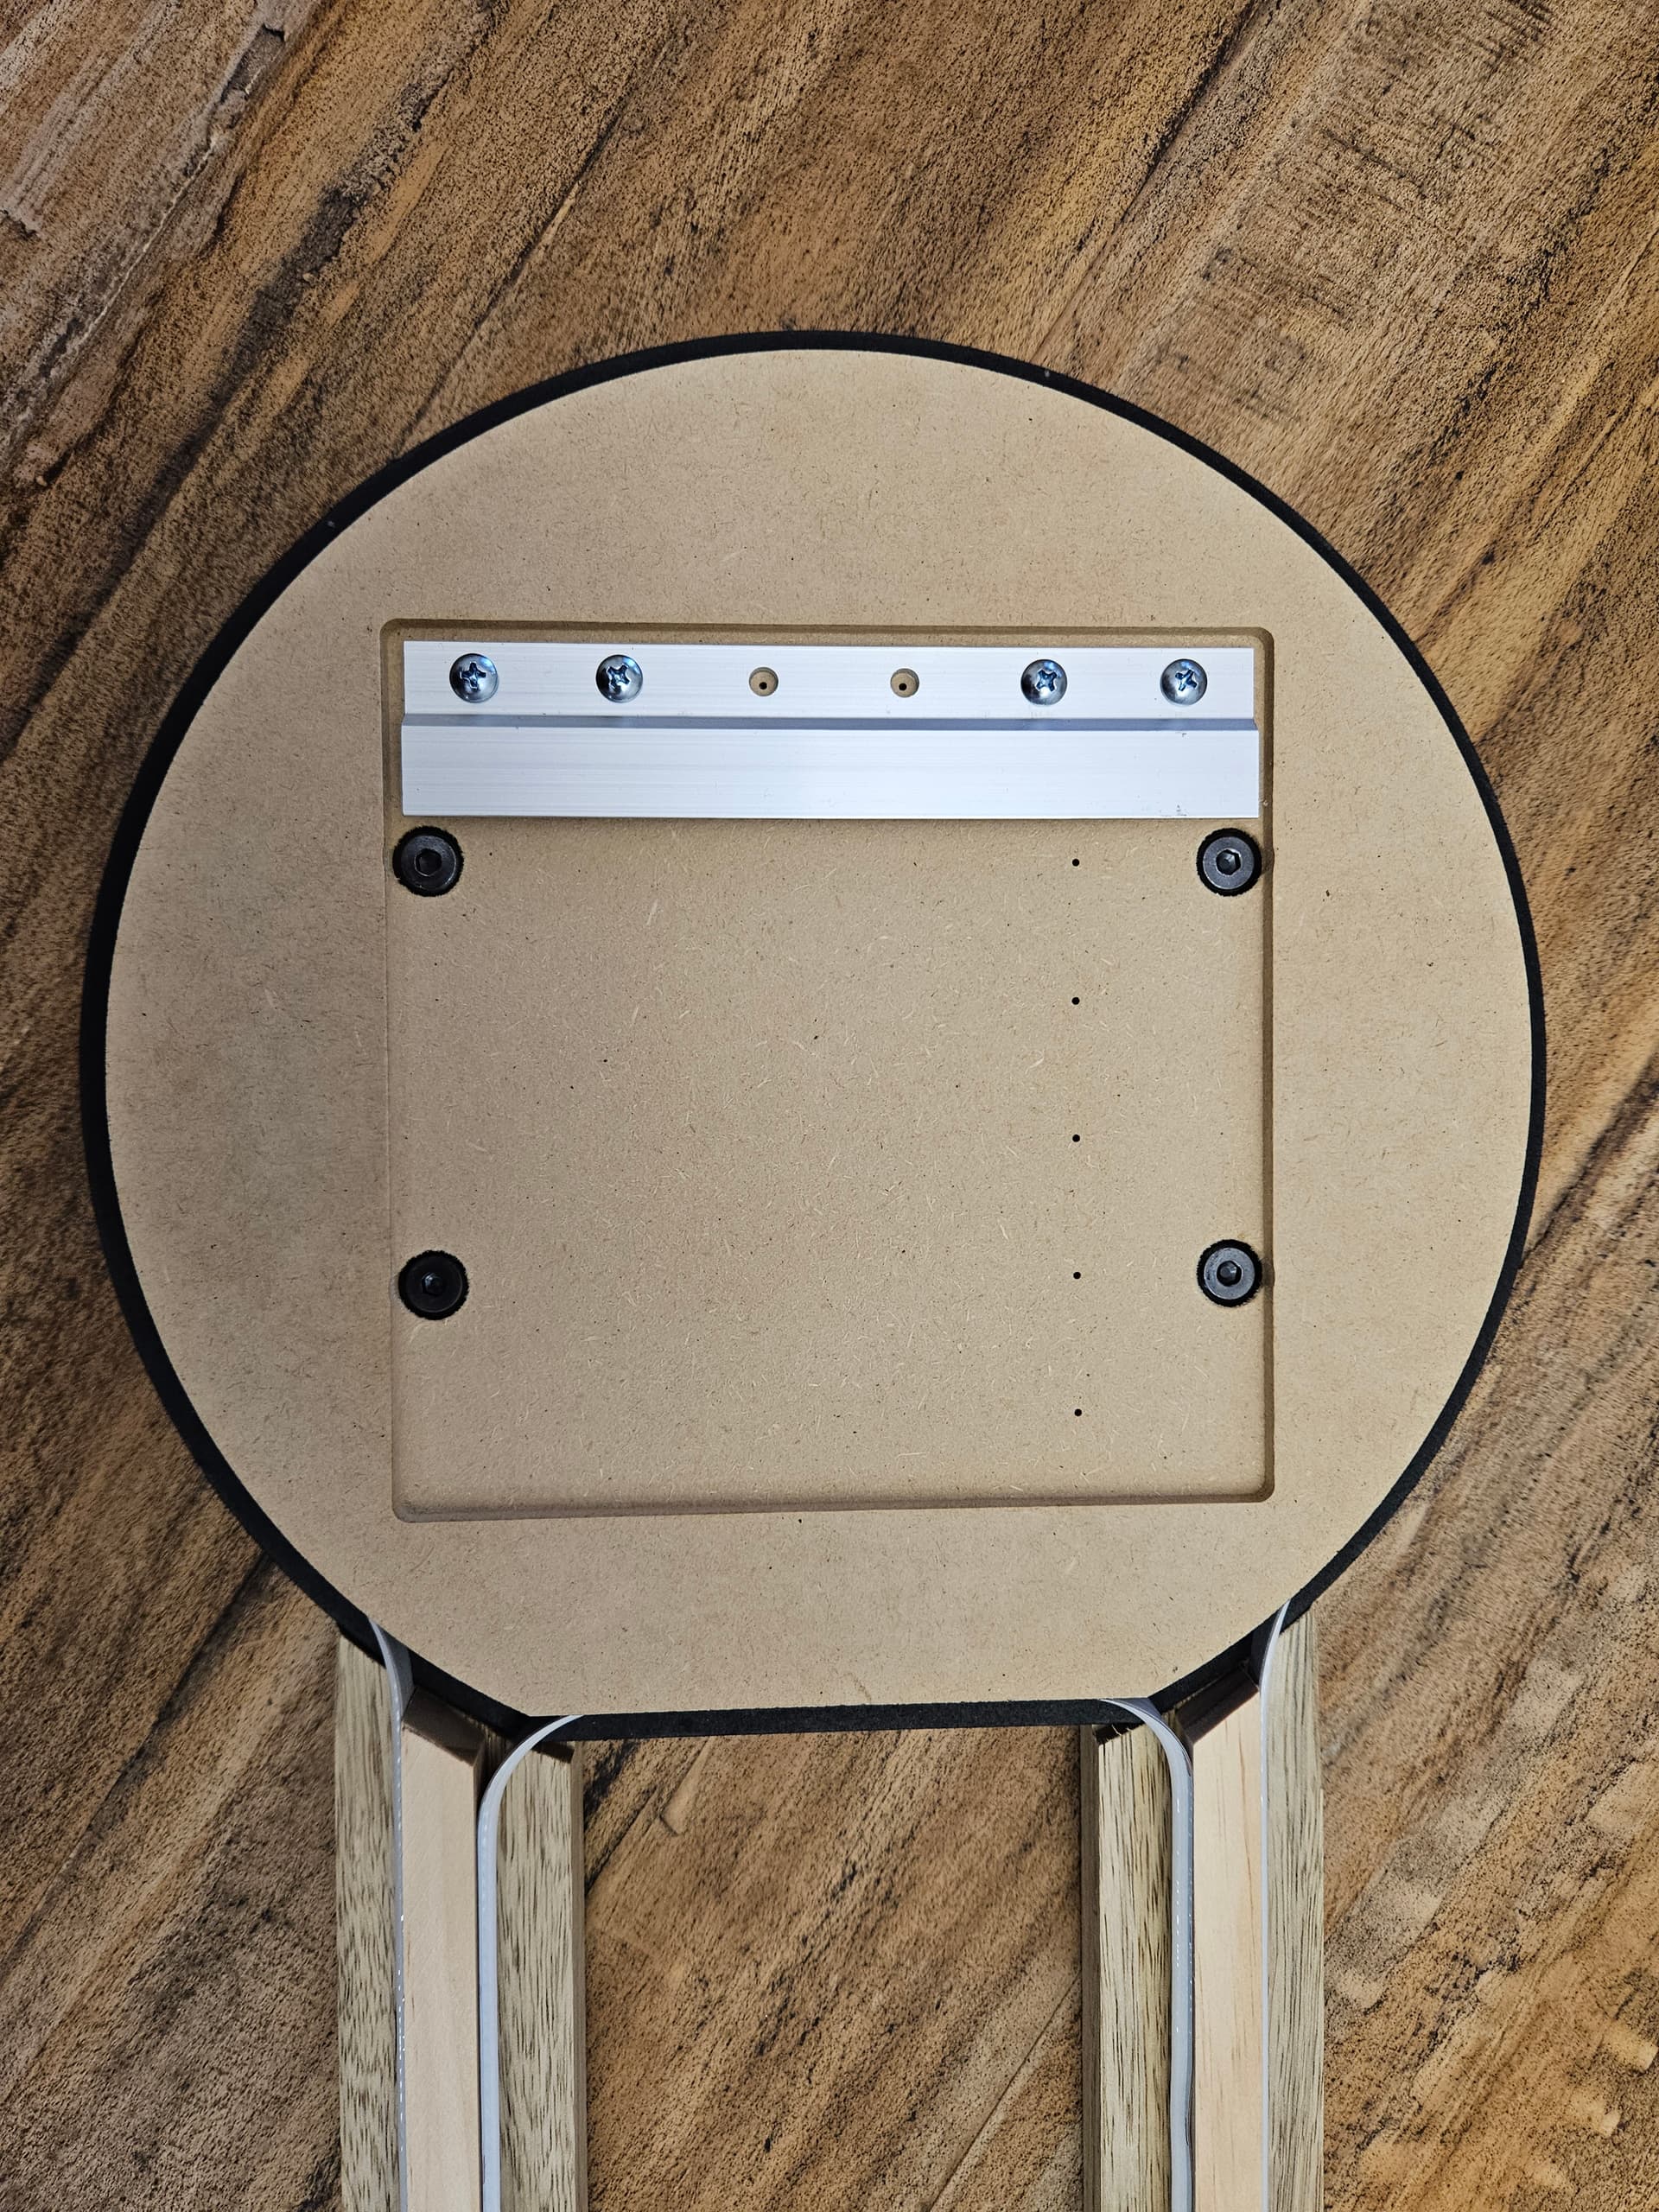
I wanted to be able to easily swap decorative end panels, so added magnets in a square to make it super simple.
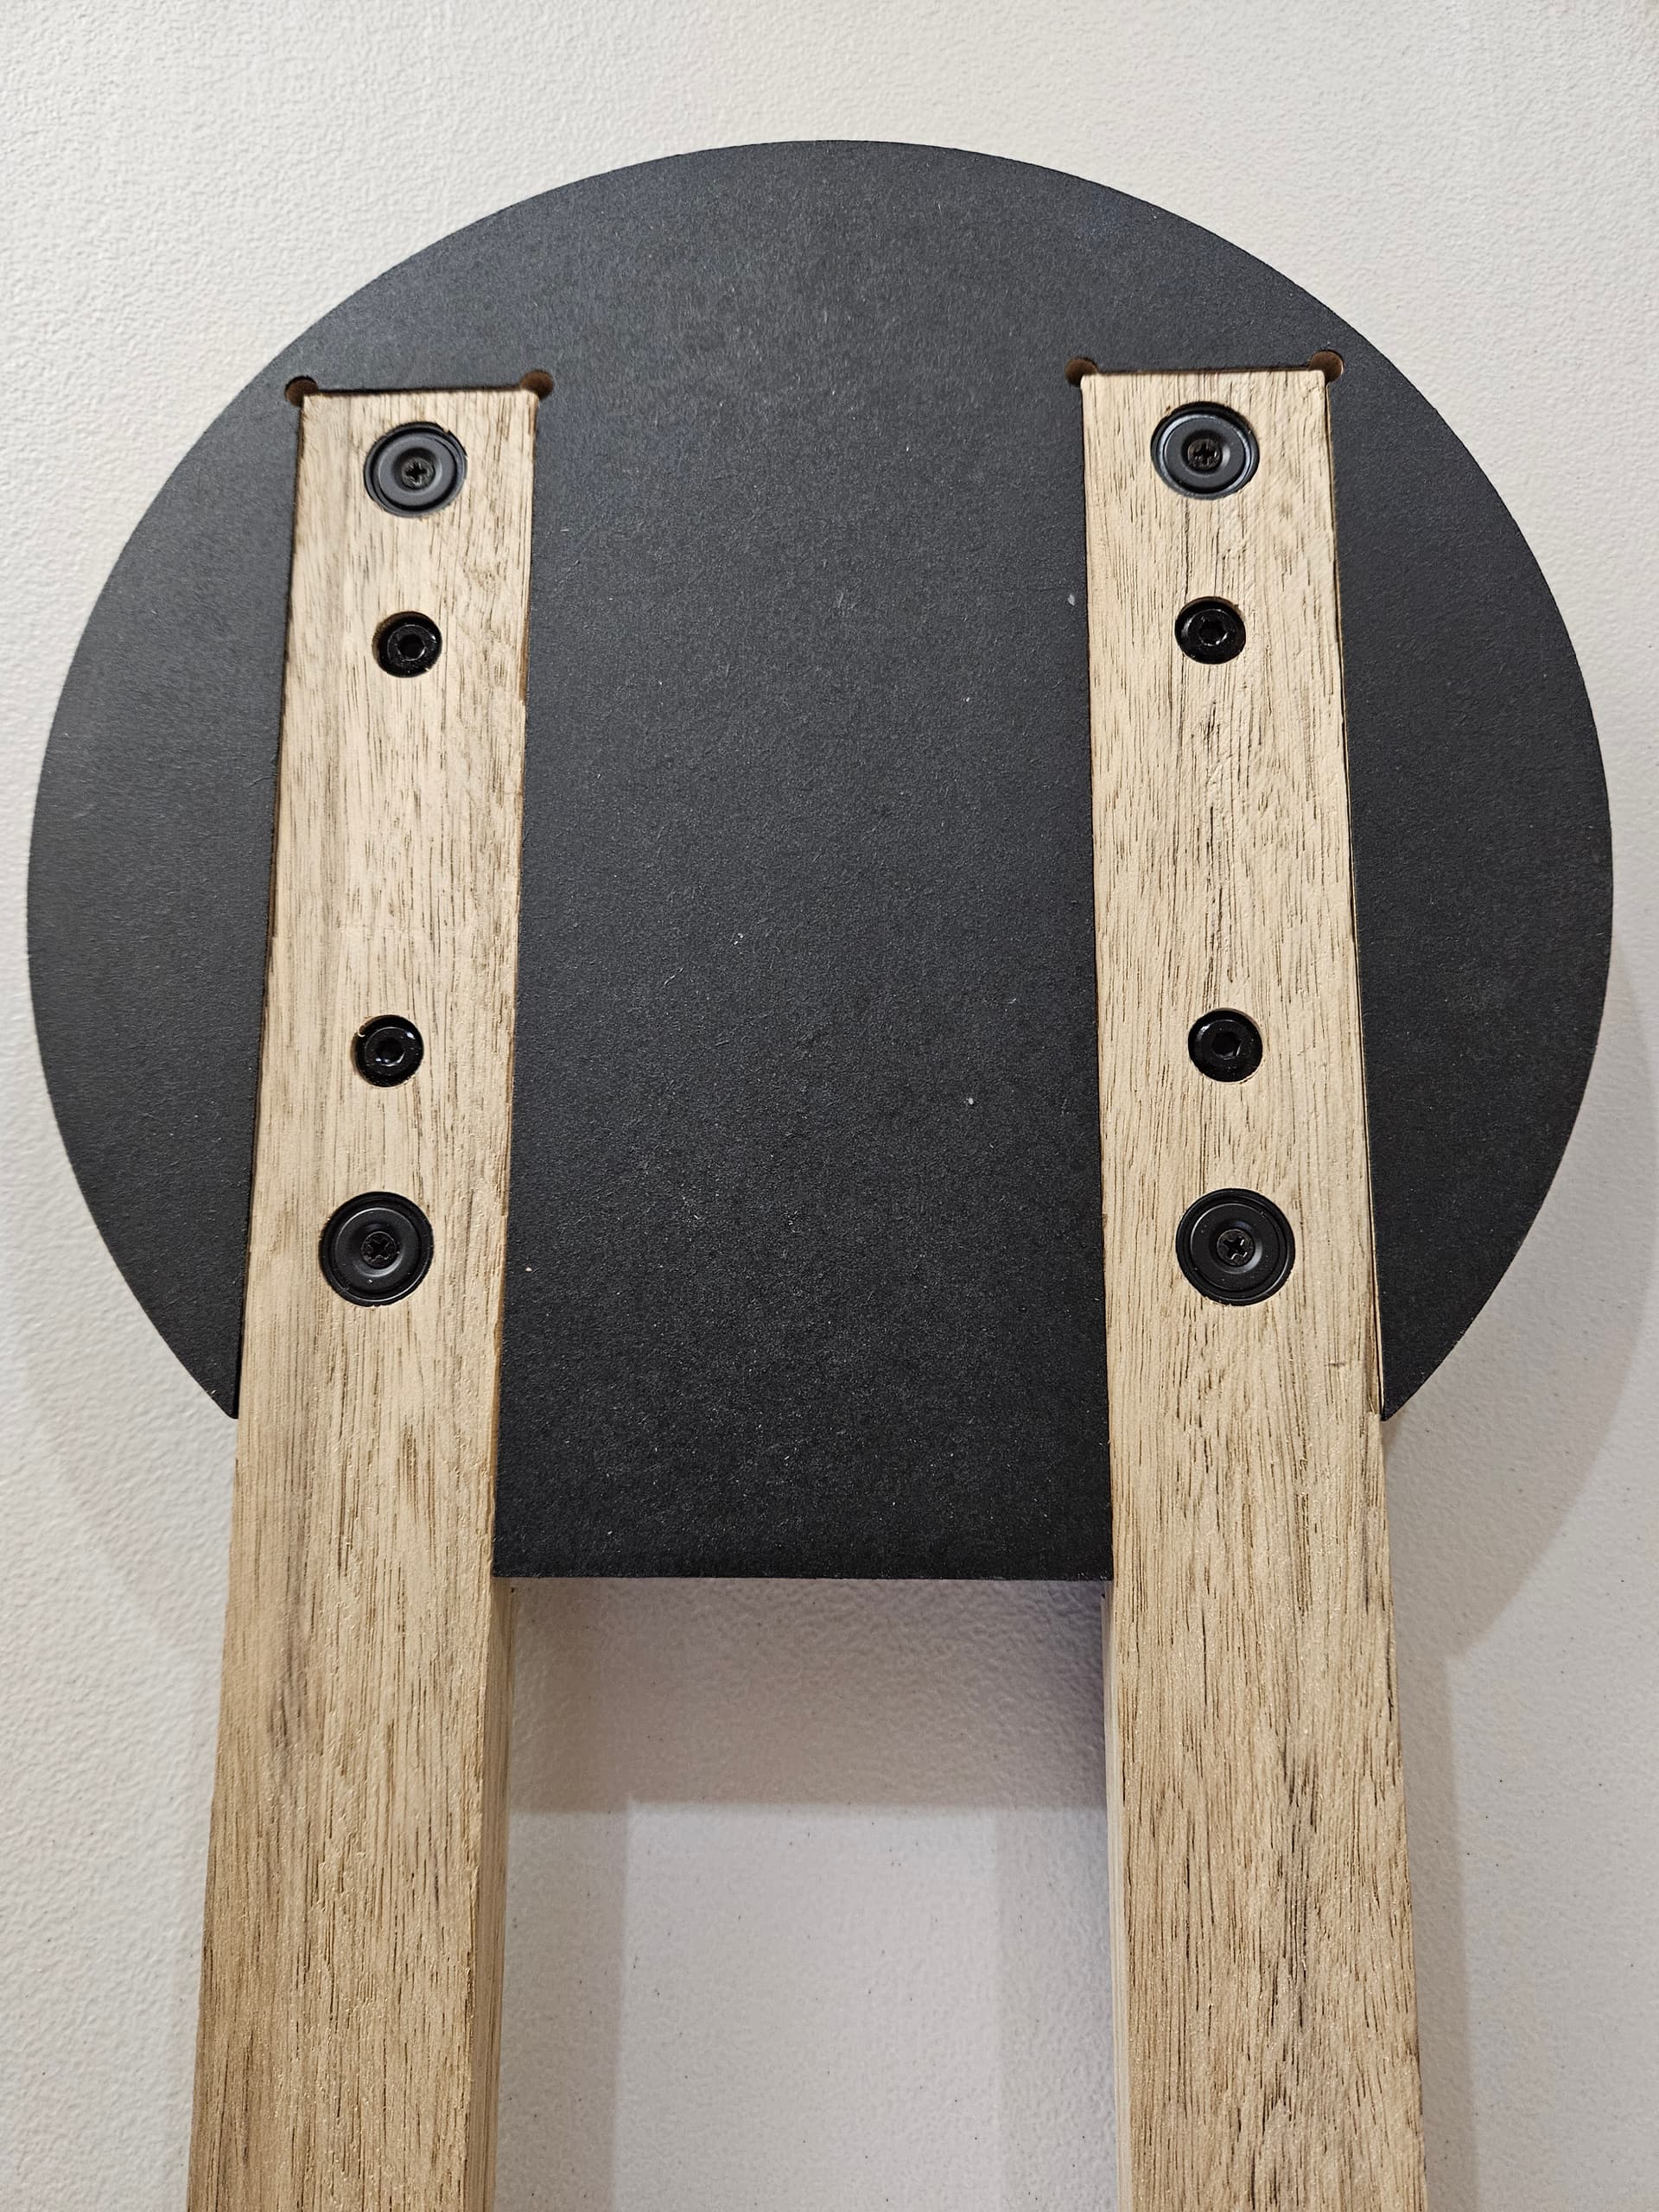
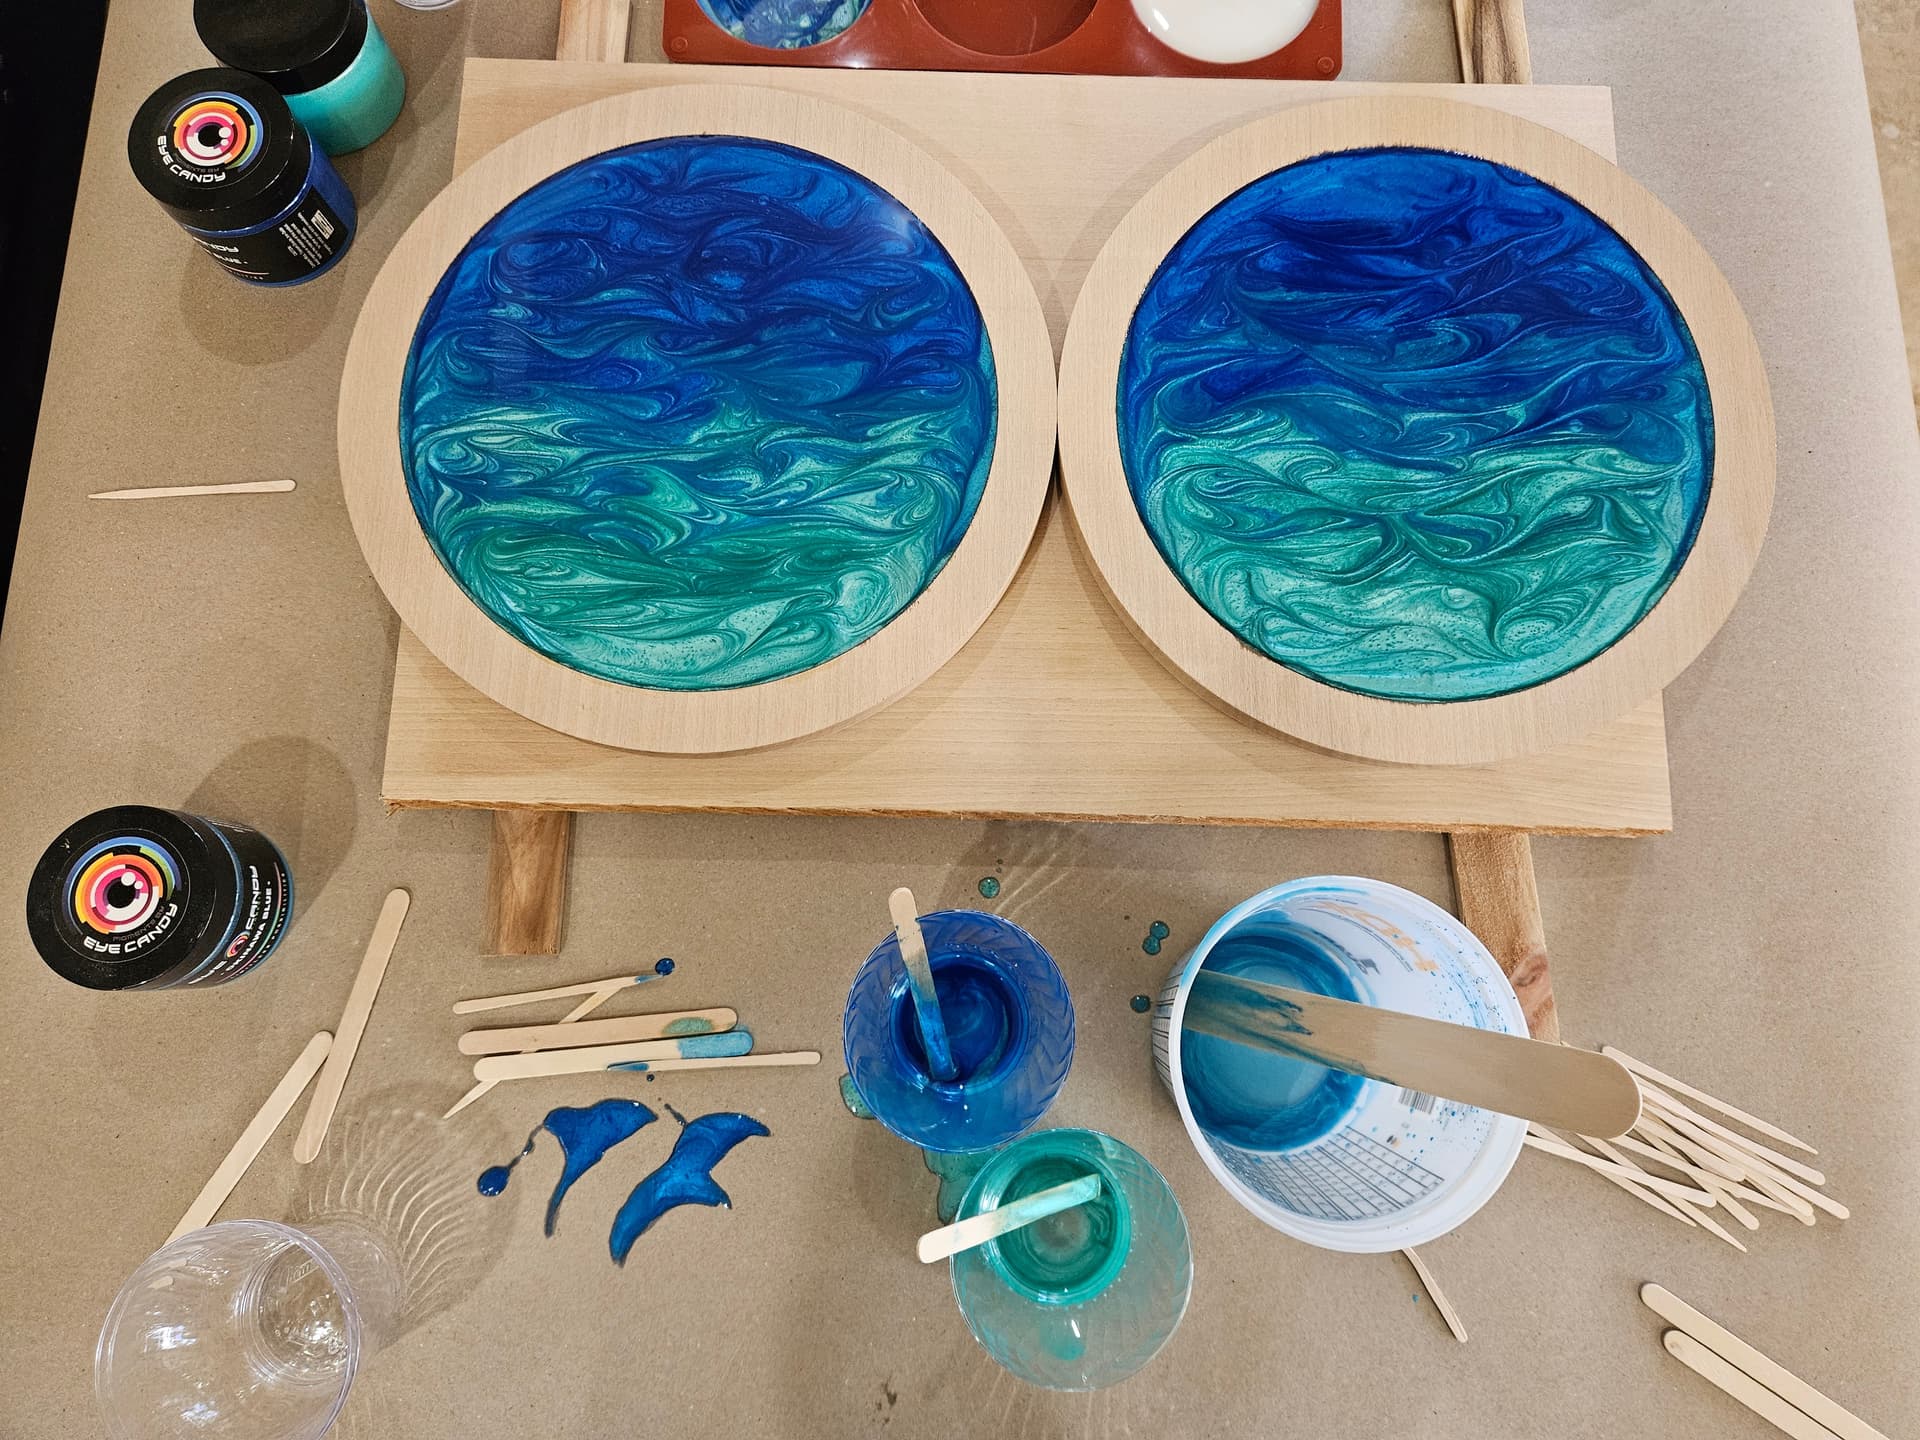
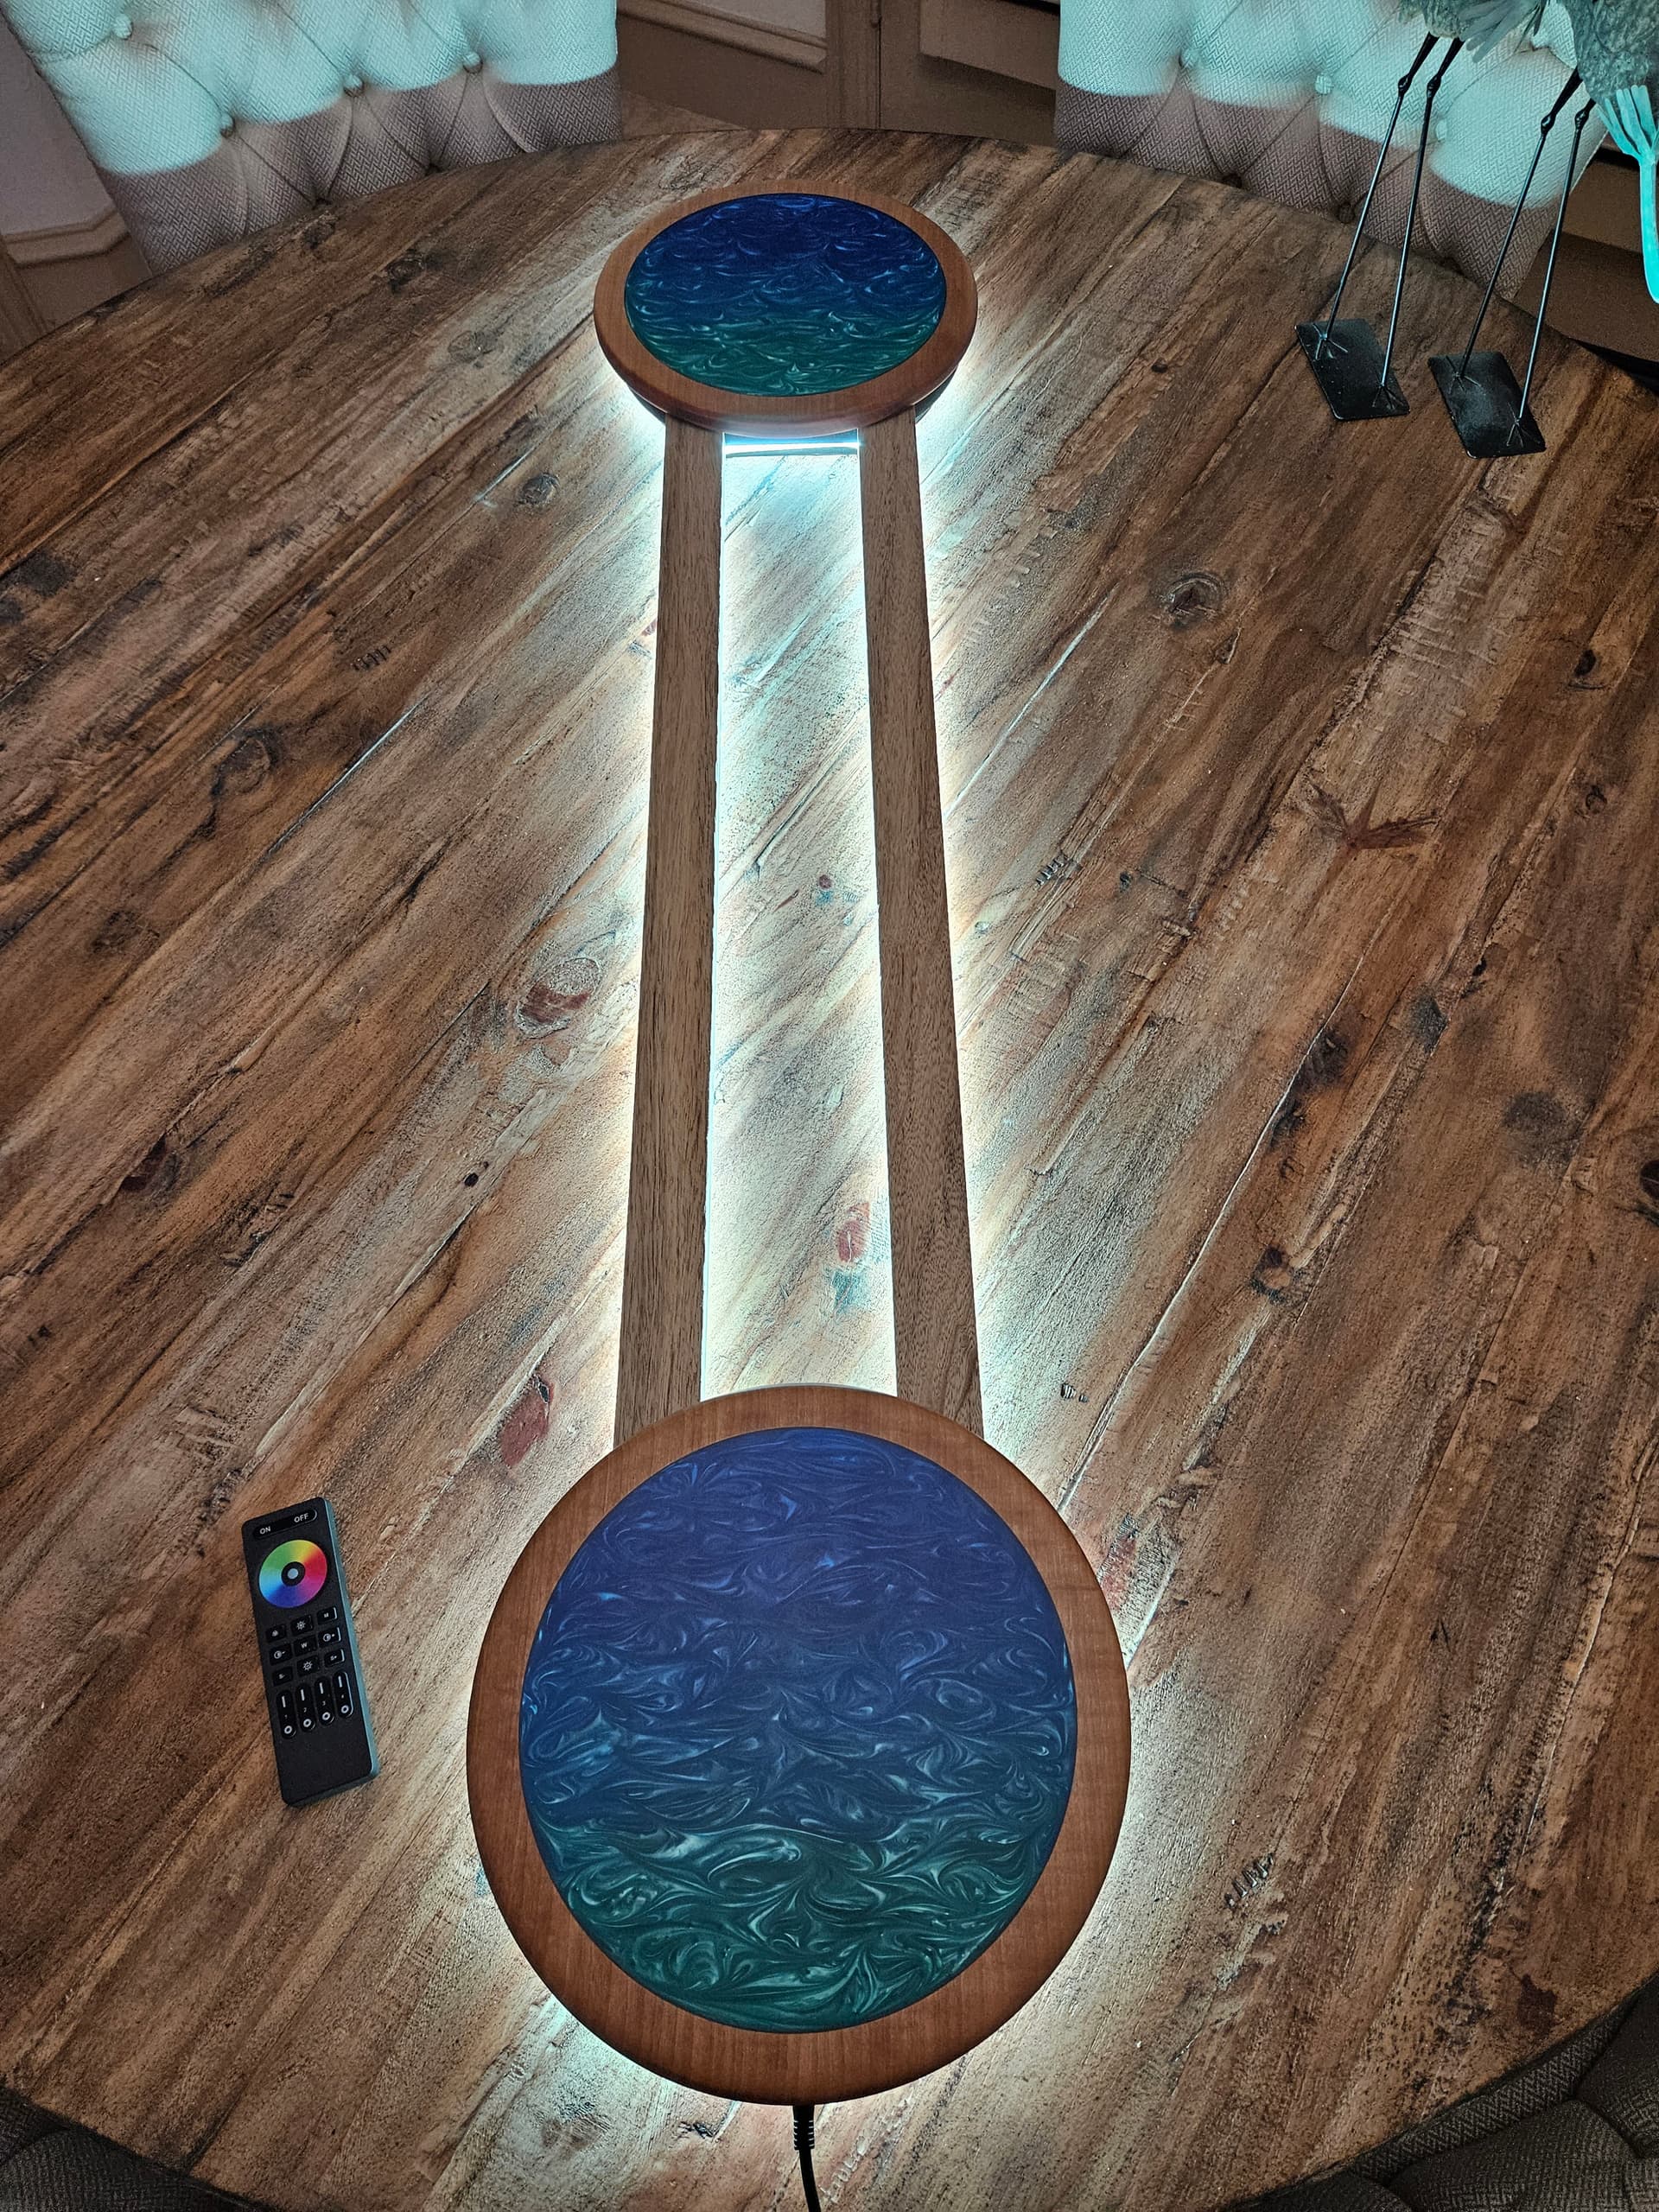
Video in action is on my shared Google Drive - https://drive.google.com/file/d/1iyoVpCFZ8byBZG9JdwNF72vK-gONG9mD/view?usp=drive_link
33 Likes
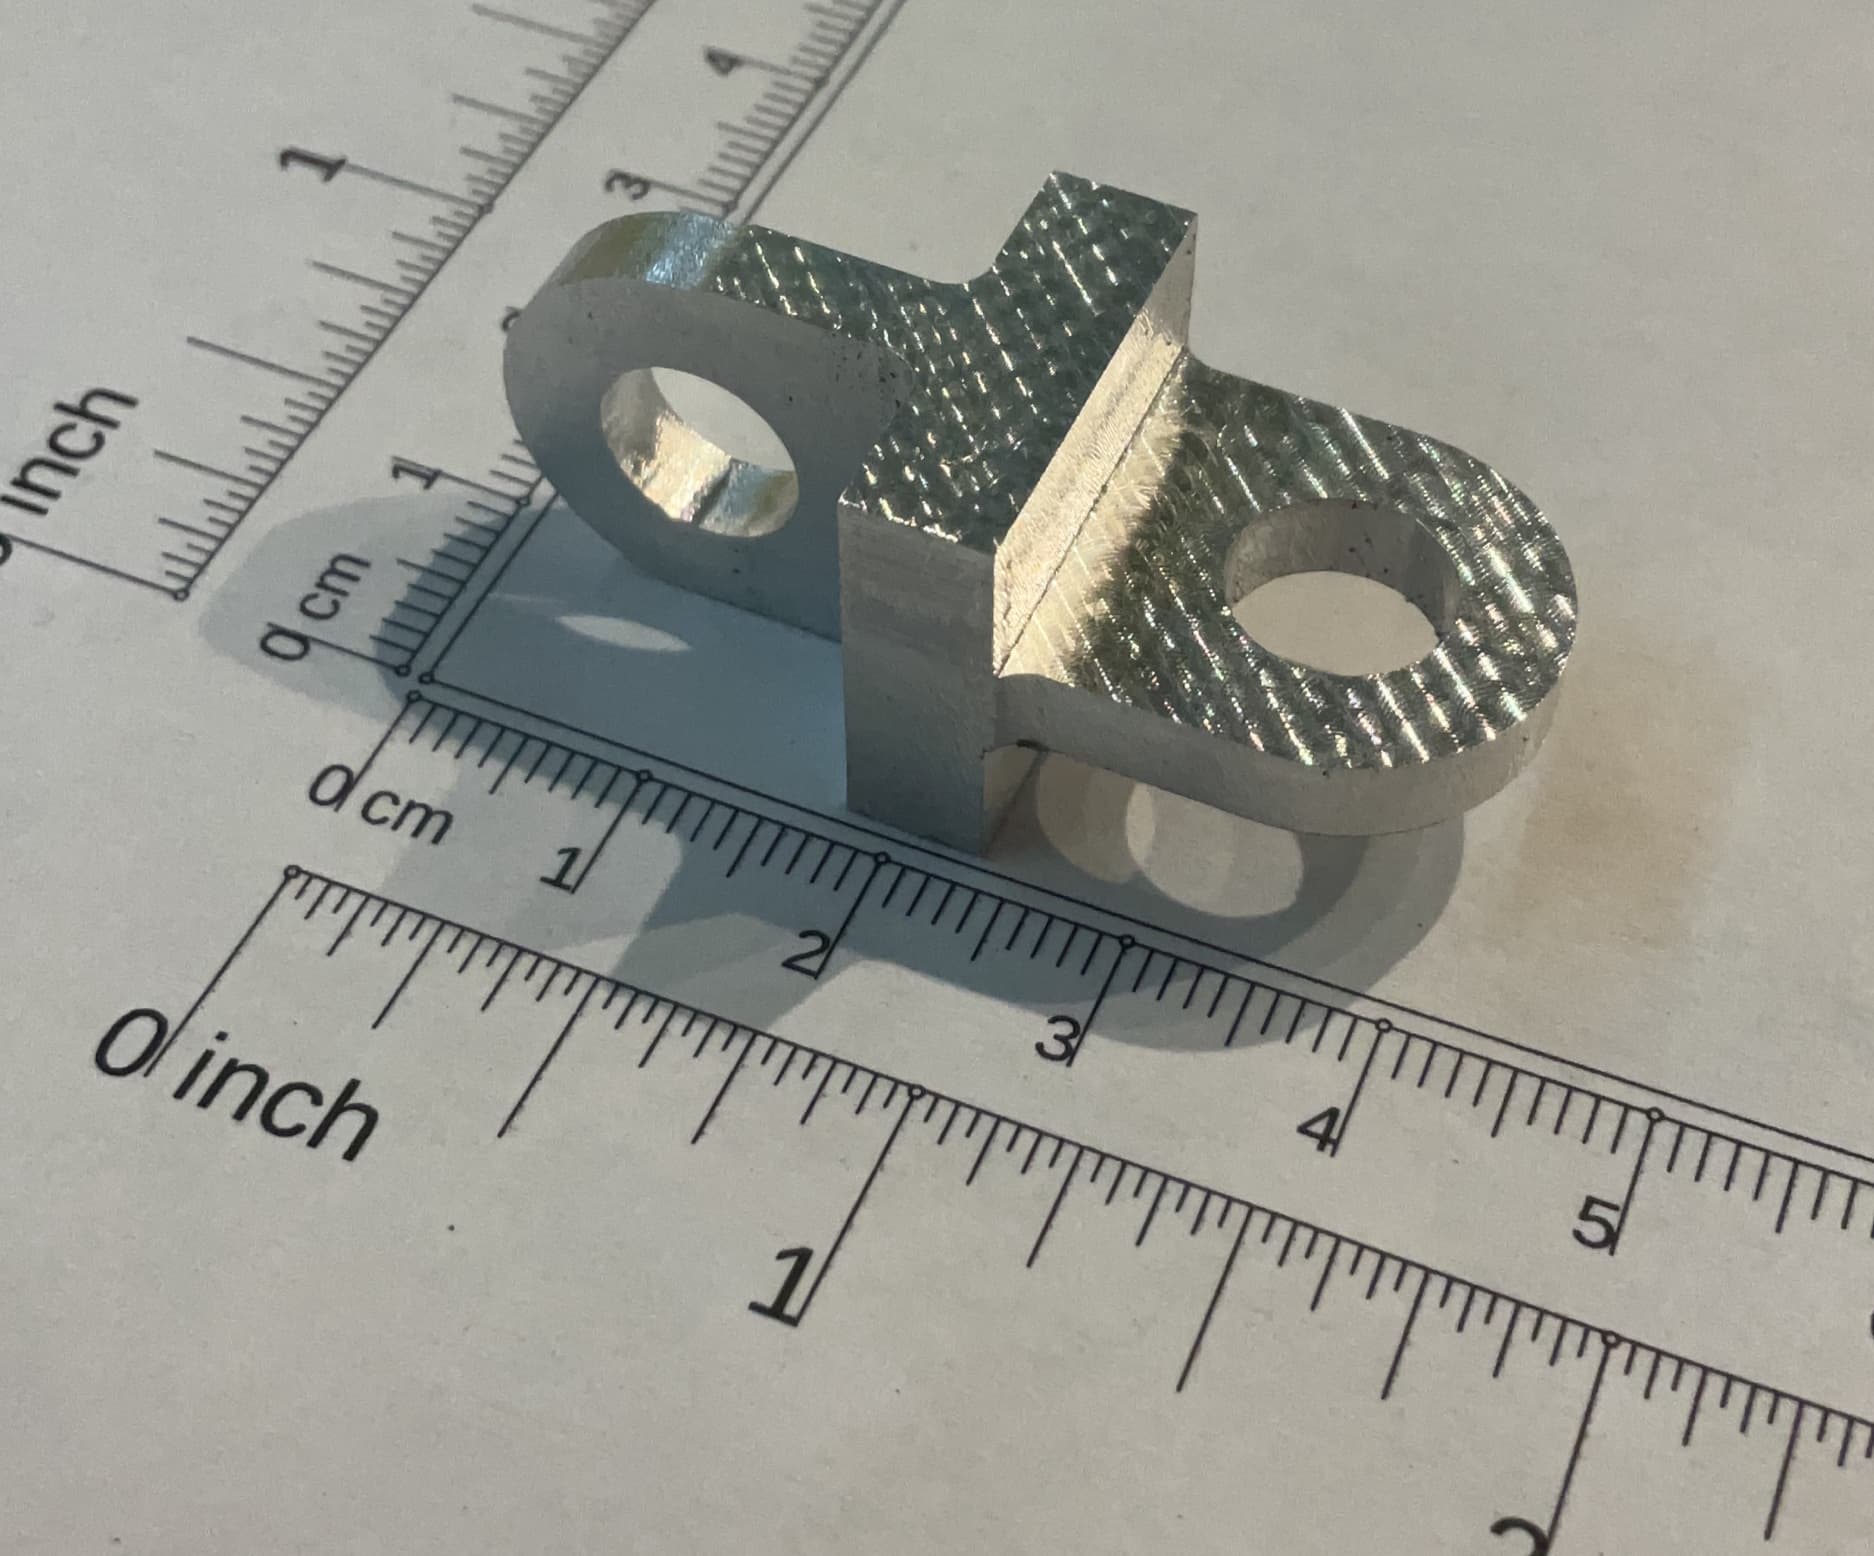
Now I know we’re not supposed to use the McFly on 6061 aluminum…but man is it pretty after dialing in tram.
Left side, 1/8” single flute | Right side, McFly
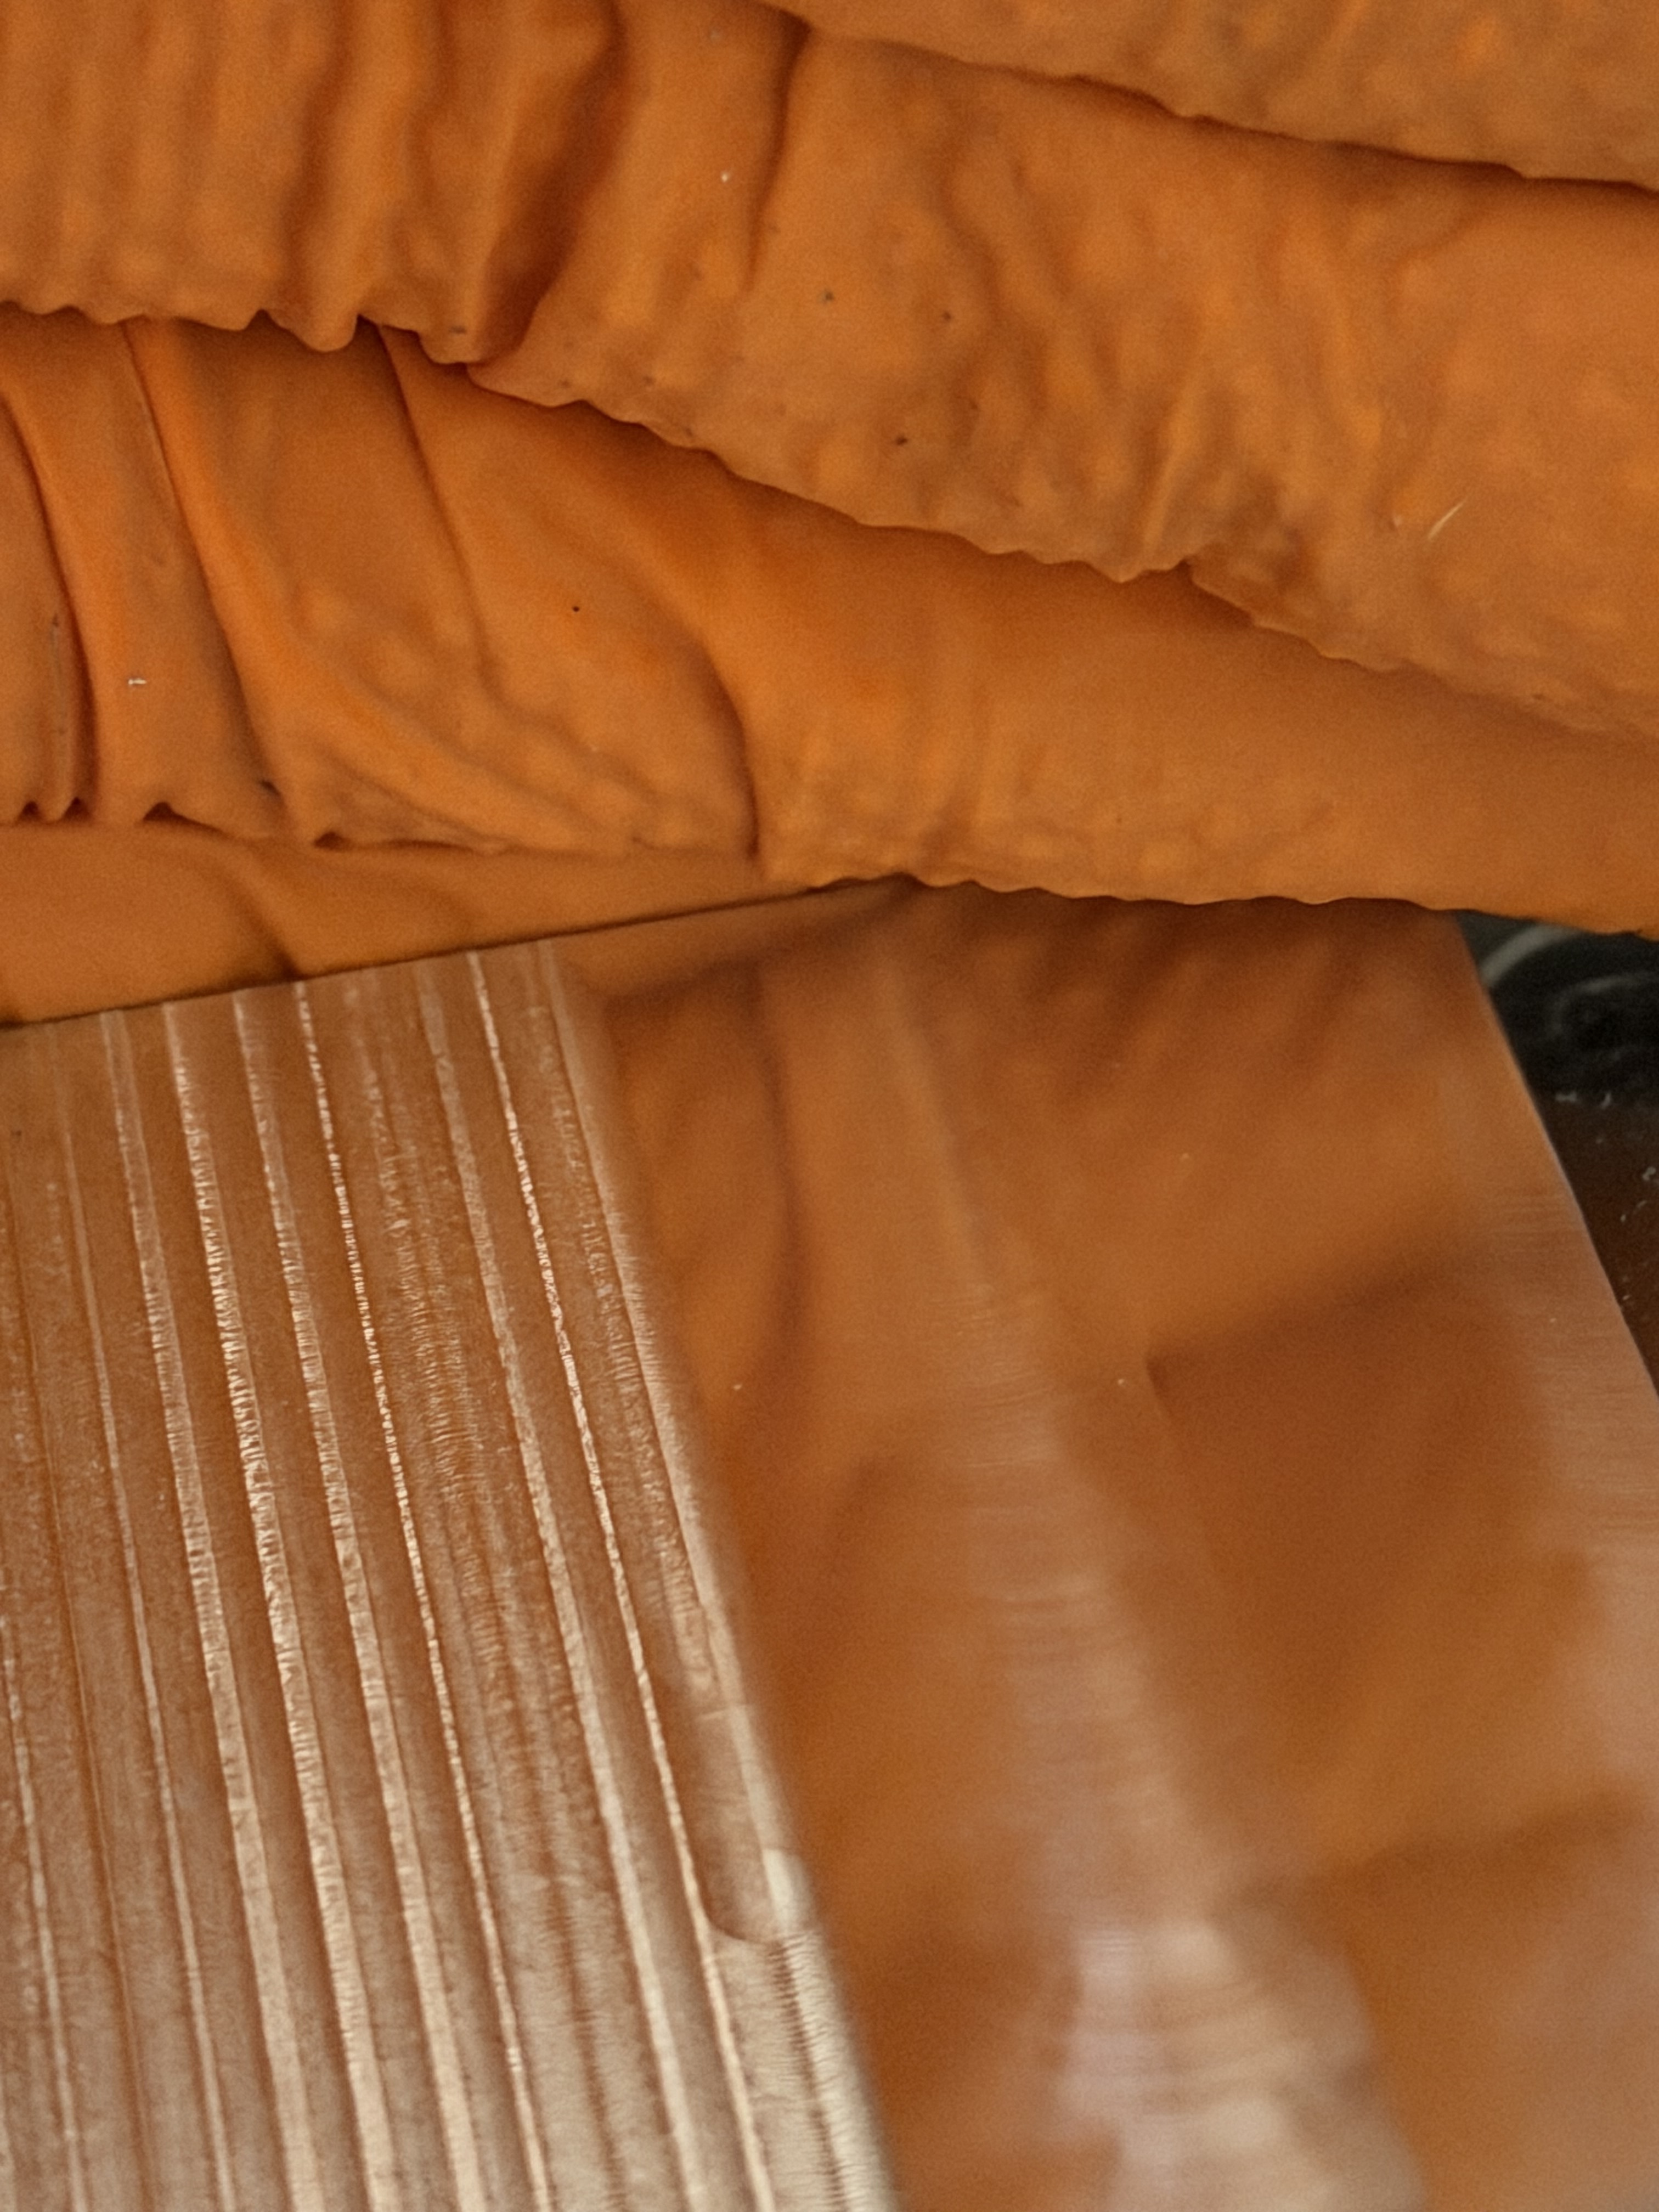
And I just did the whole darn thing:
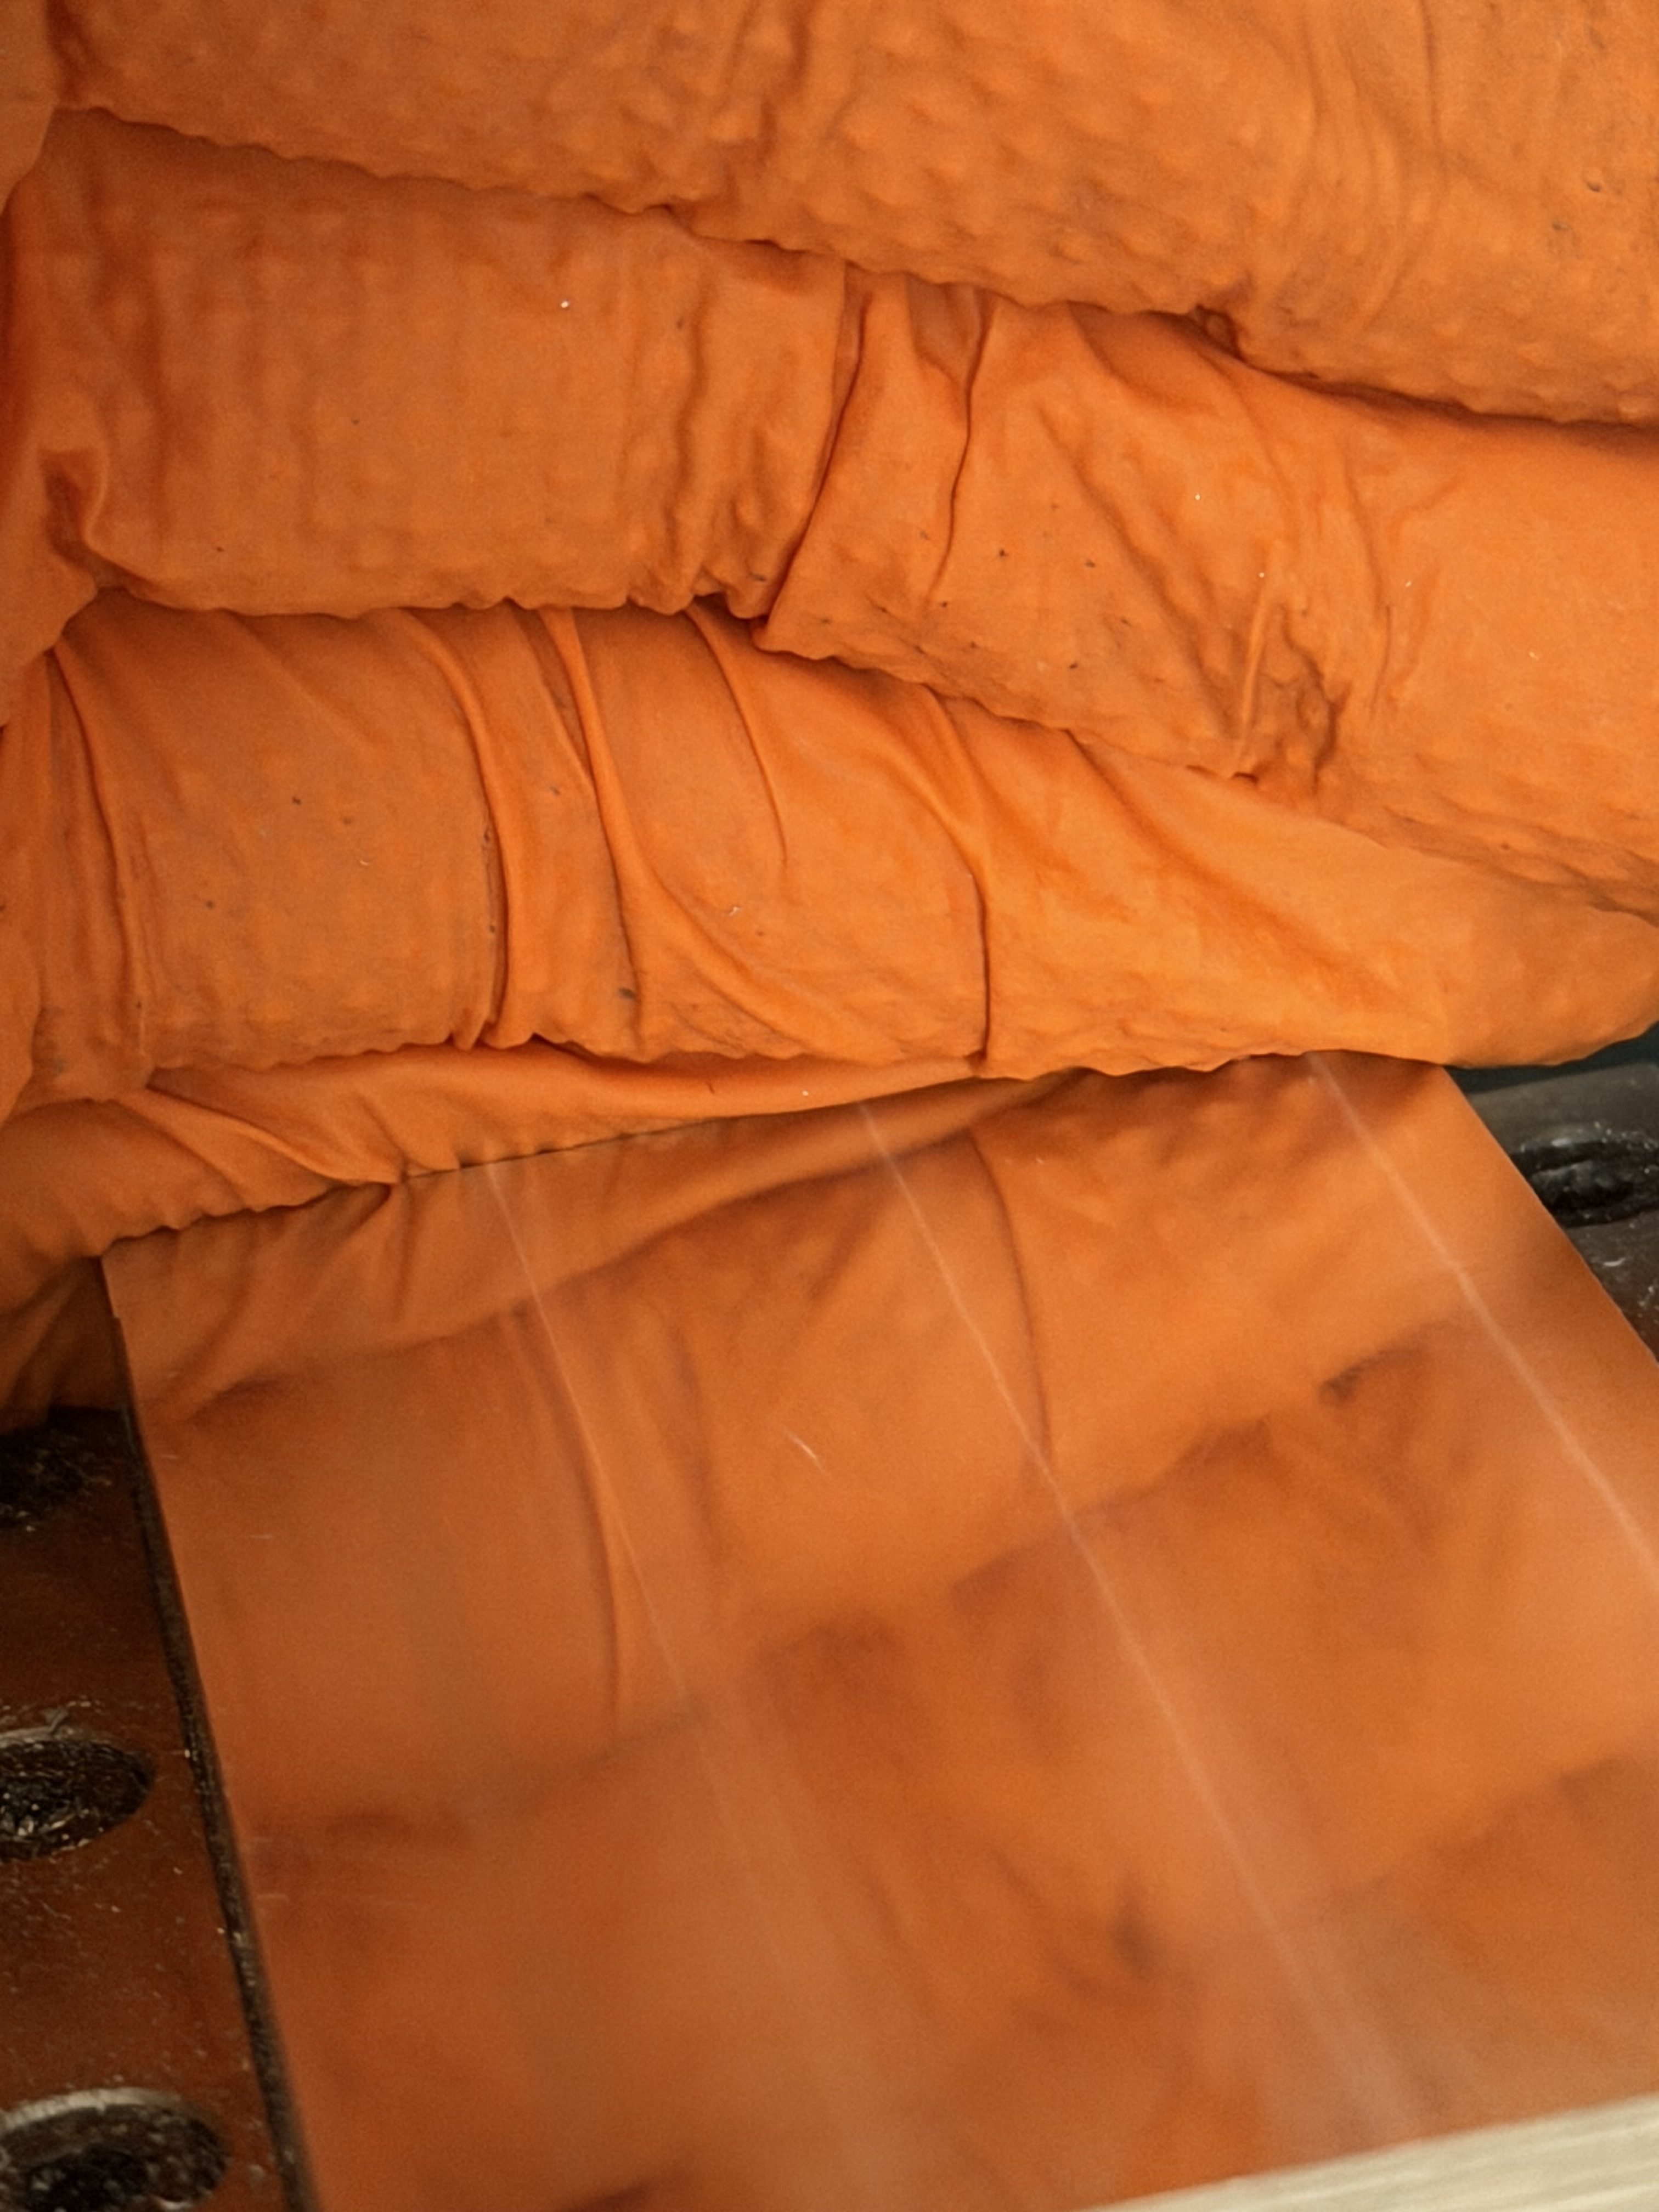
13 Likes
Looks great !
Did you have the lower inserts installed on the McFly ?
1 Like