Sorry, I thought the sliced view illustrated that.
2 Likes
Incredible progress you’ve made in such a time. Seeing what you’re up to is genuinely inspiring me to keep tinkering as well, so thanks for that ![]()
I’m about to start on my first serious wood project which will feature some brass sheet inlay. (Though I’ll probably just buy any hardware I need ![]() )
)
That’s what I’m shooting for when I post in this thread. If I can do it, anybody can. Thank you.
Just a regular guy learning on a day to day basis. Confession, I’ve owned a Shapeoko for 6 or 7 years, I’m still pleasantly surprised when a project comes off without a glitch!
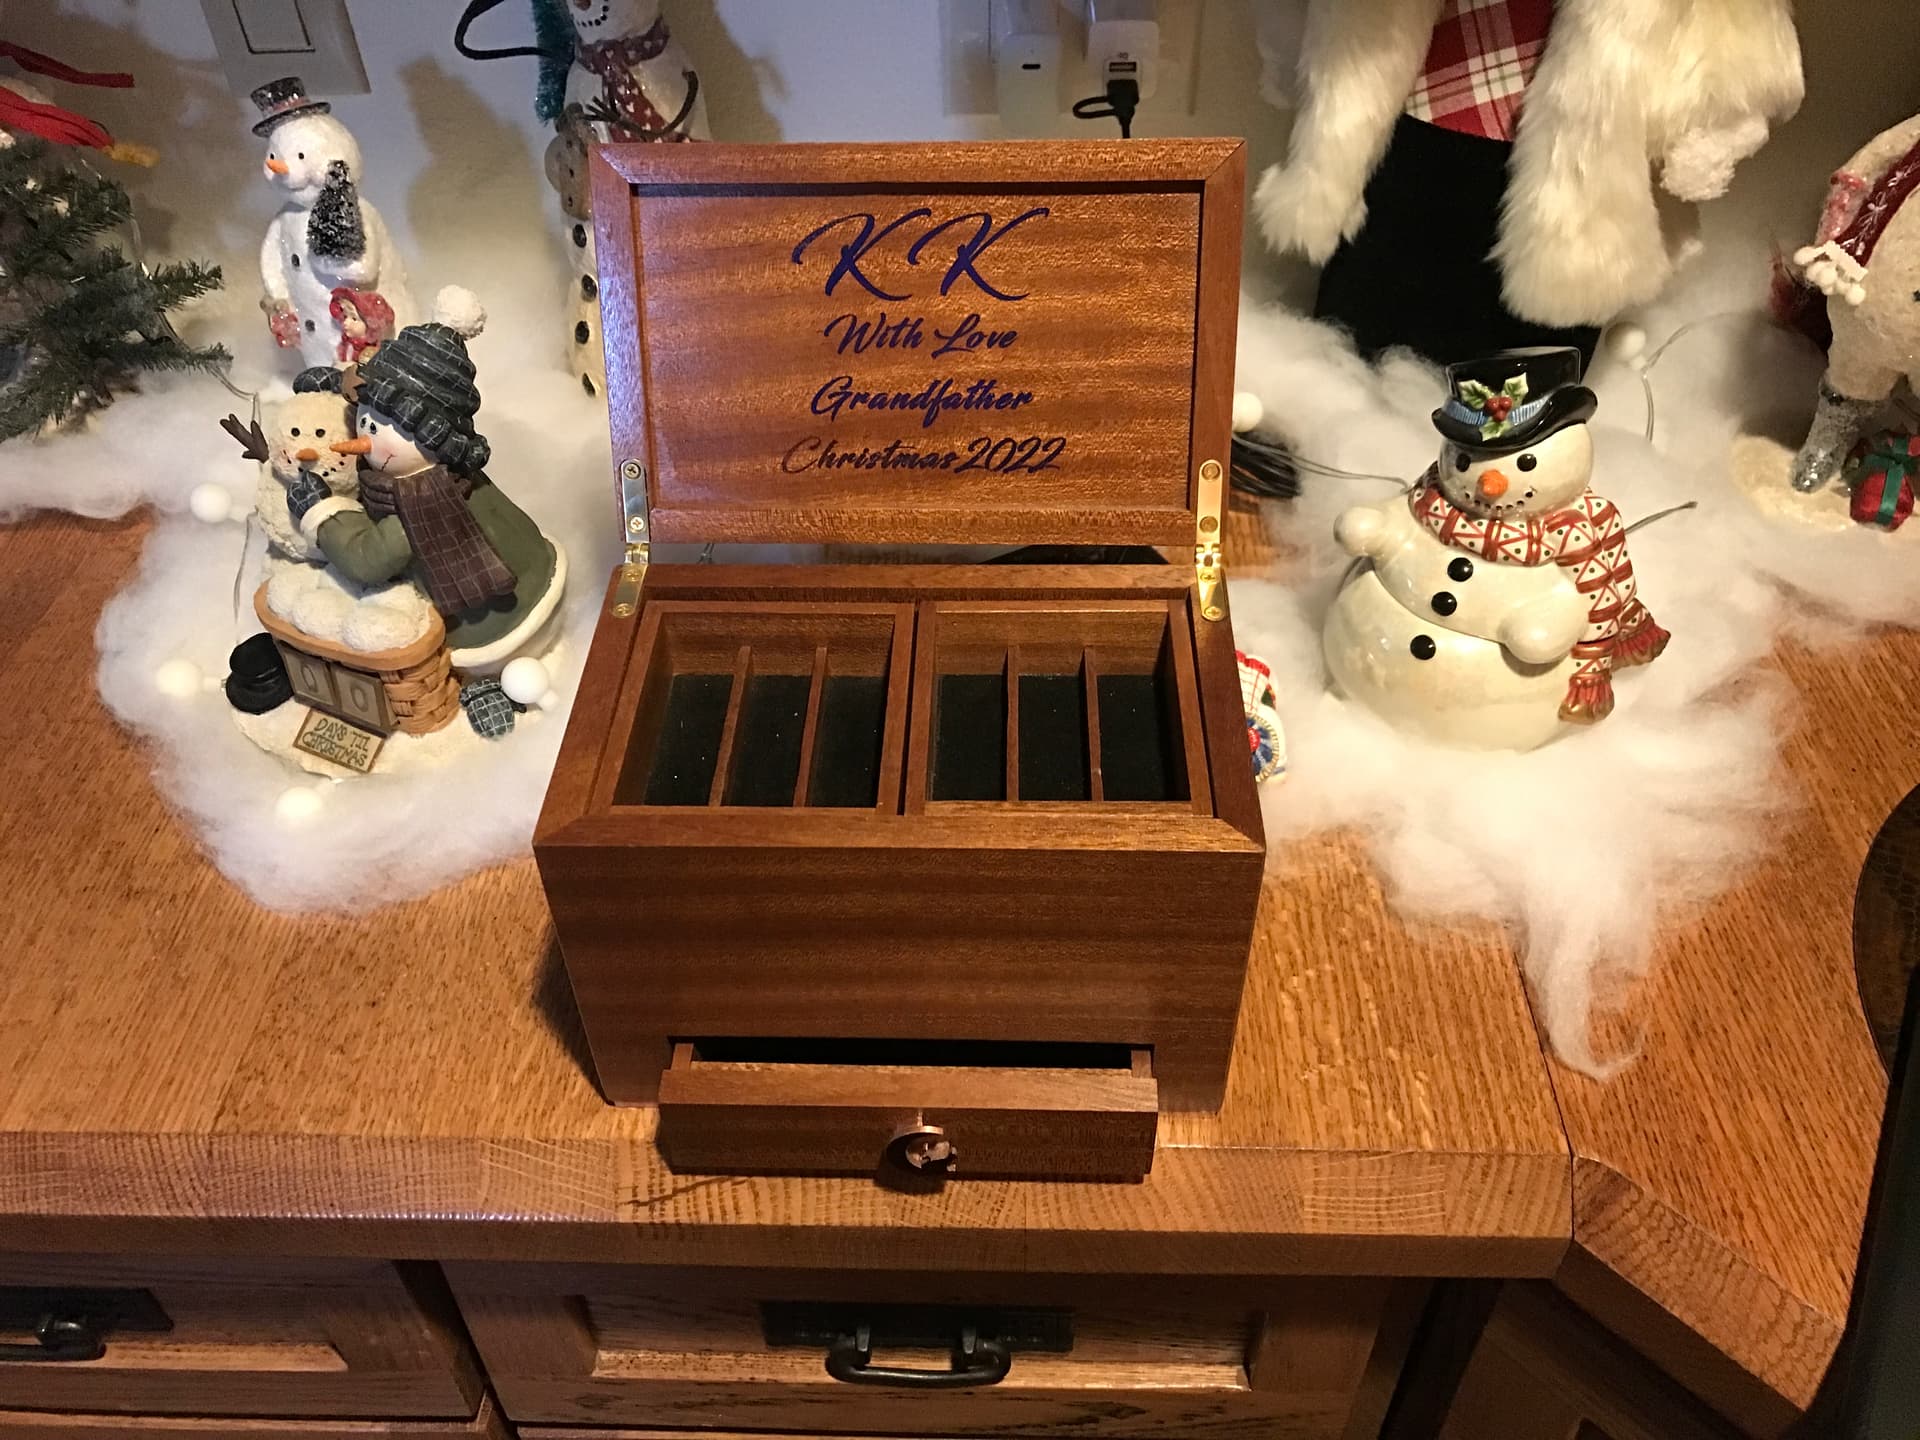
I’ll be curious to see your inlay results, please share! Hint, clear lacquer the piece prior to the inlay. Will avoid the mottled look mine has. Also, I did not finish the hinges at all. They will age naturally. Curious to see what they look like down the road.
Finished box.
21 Likes
isn’t it funny that 1/2" HDPE is $34 a square foot. But HDPE cutting boards can be had for $10 a square foot.
3 Likes
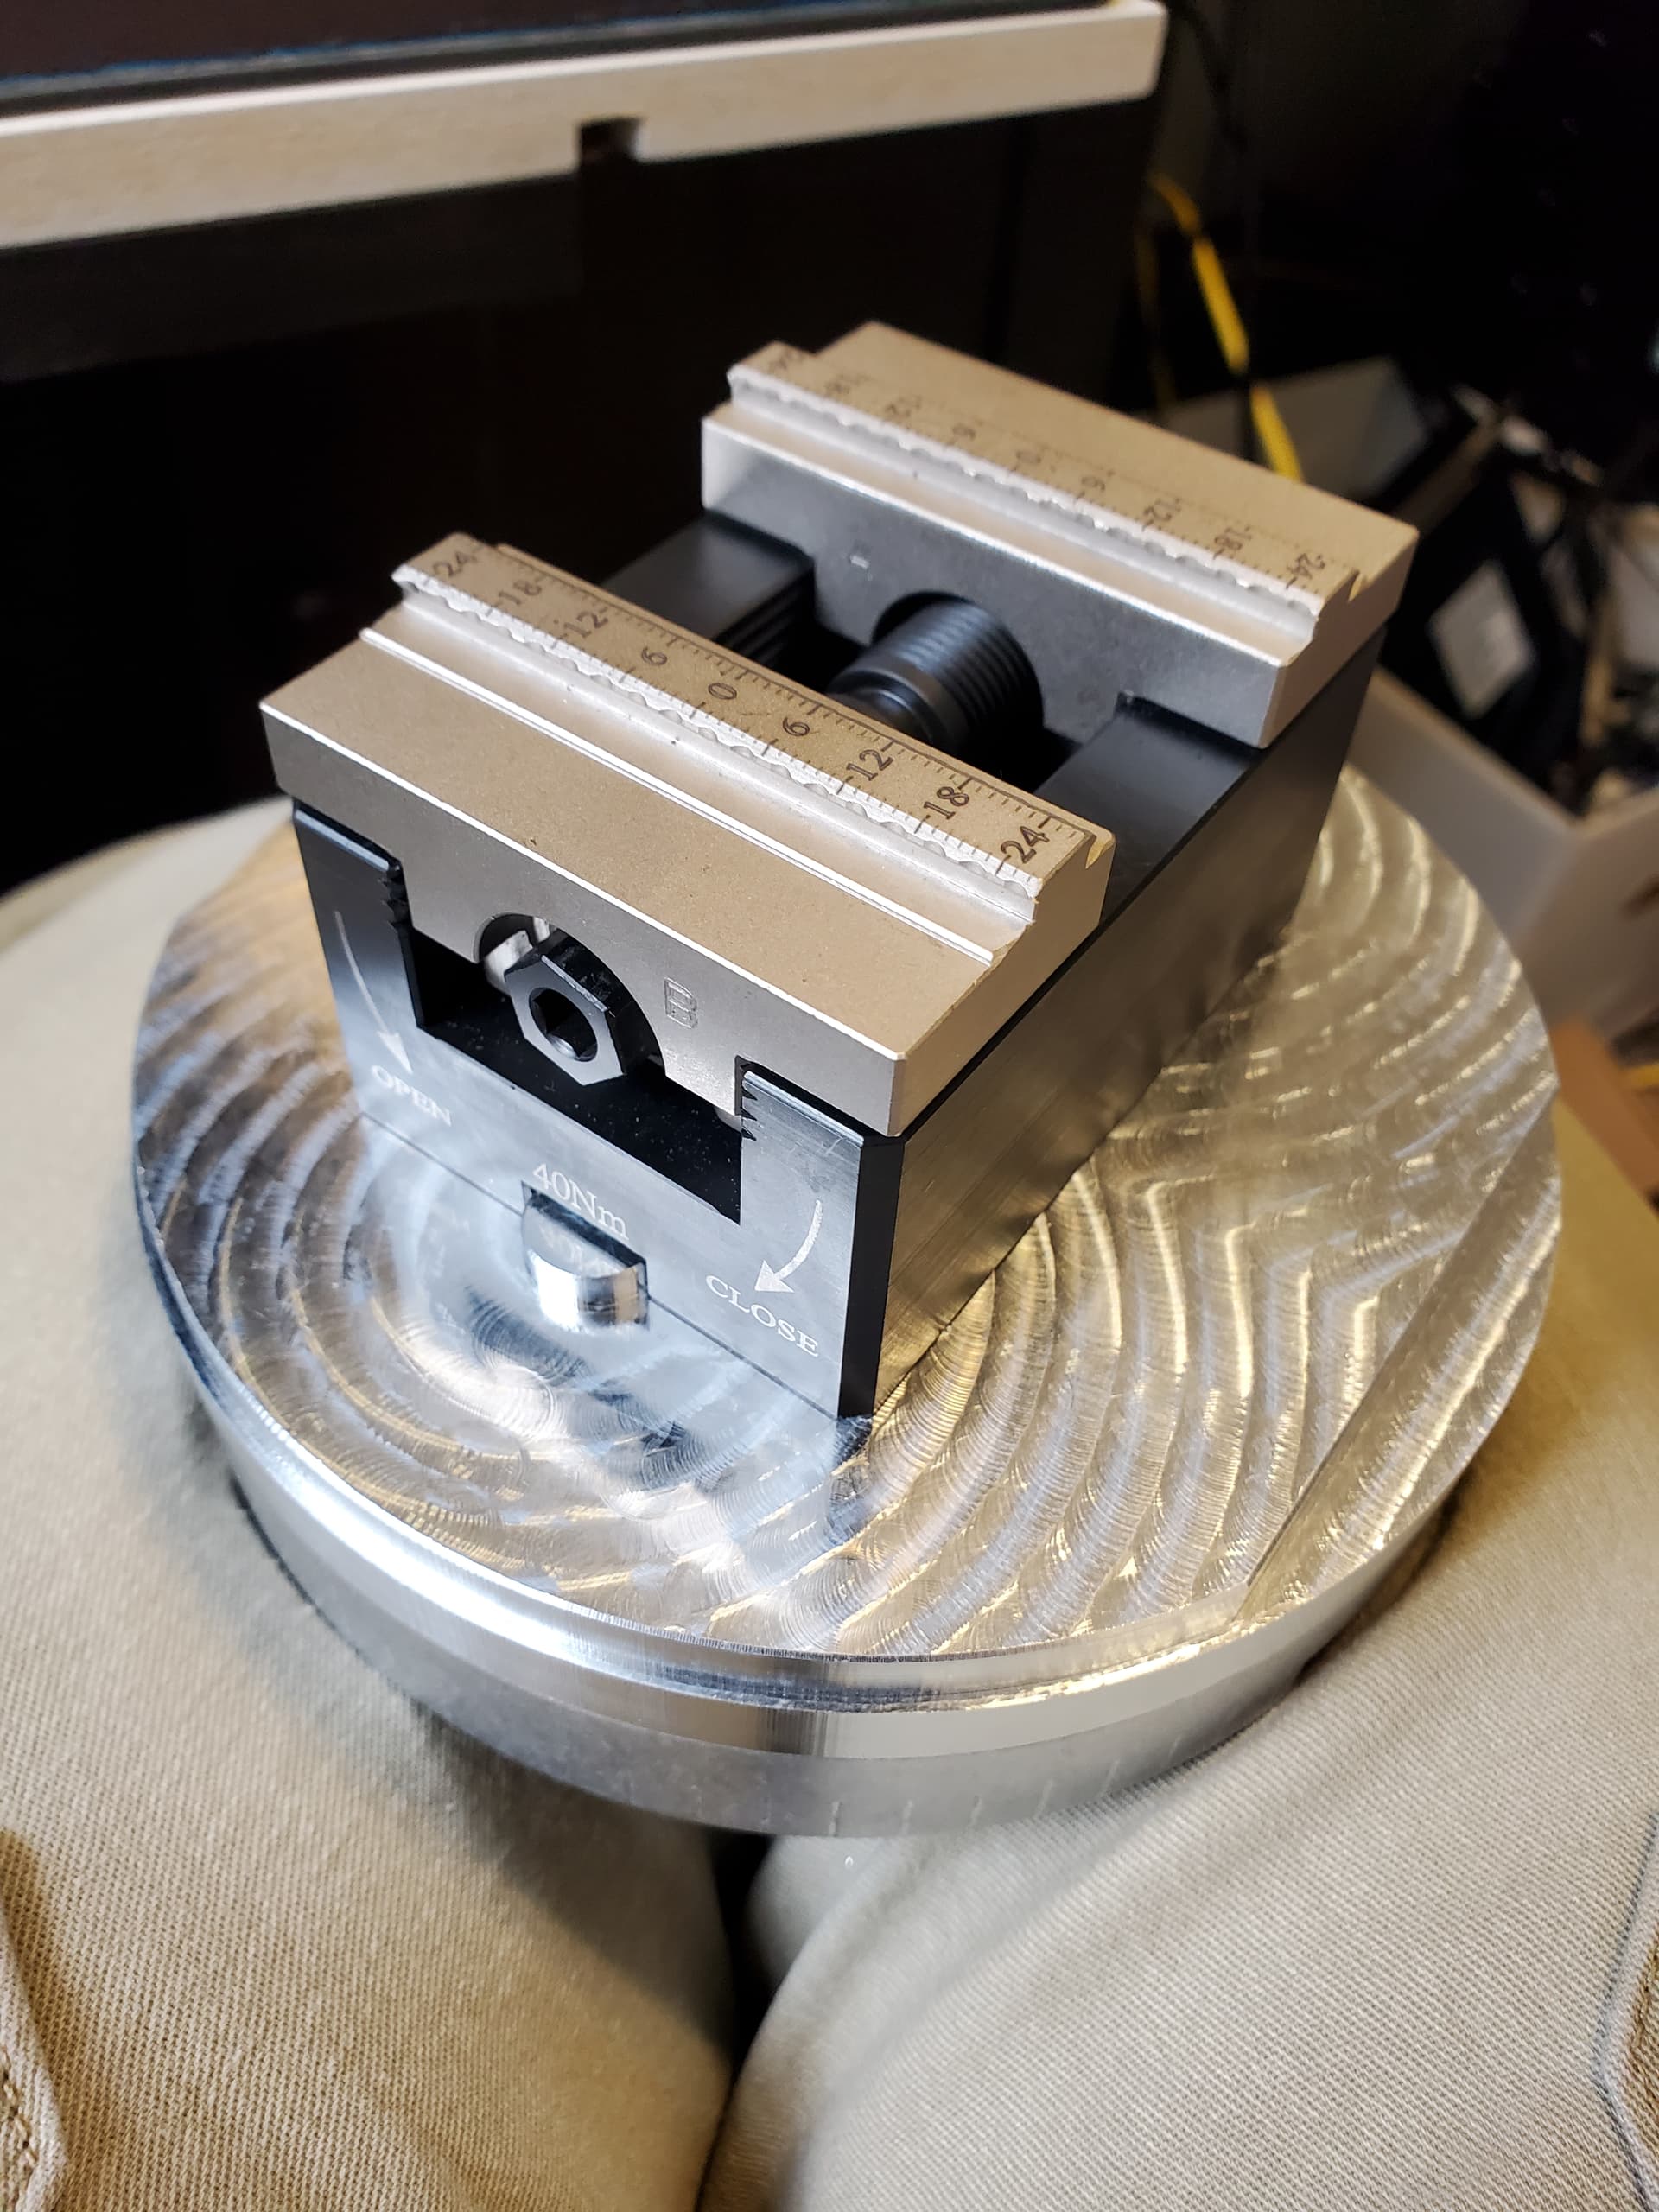
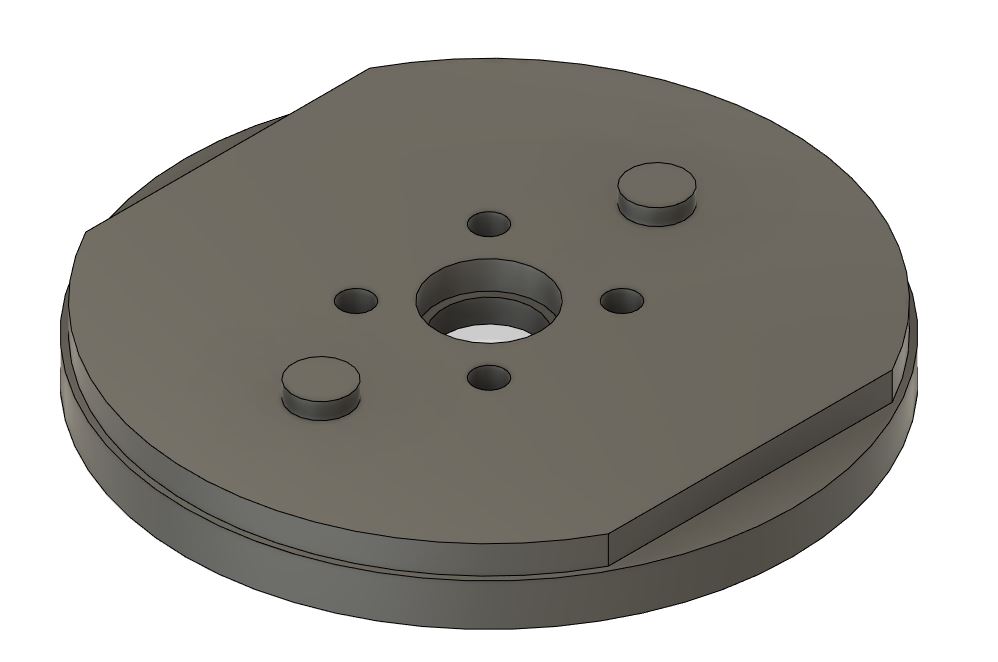
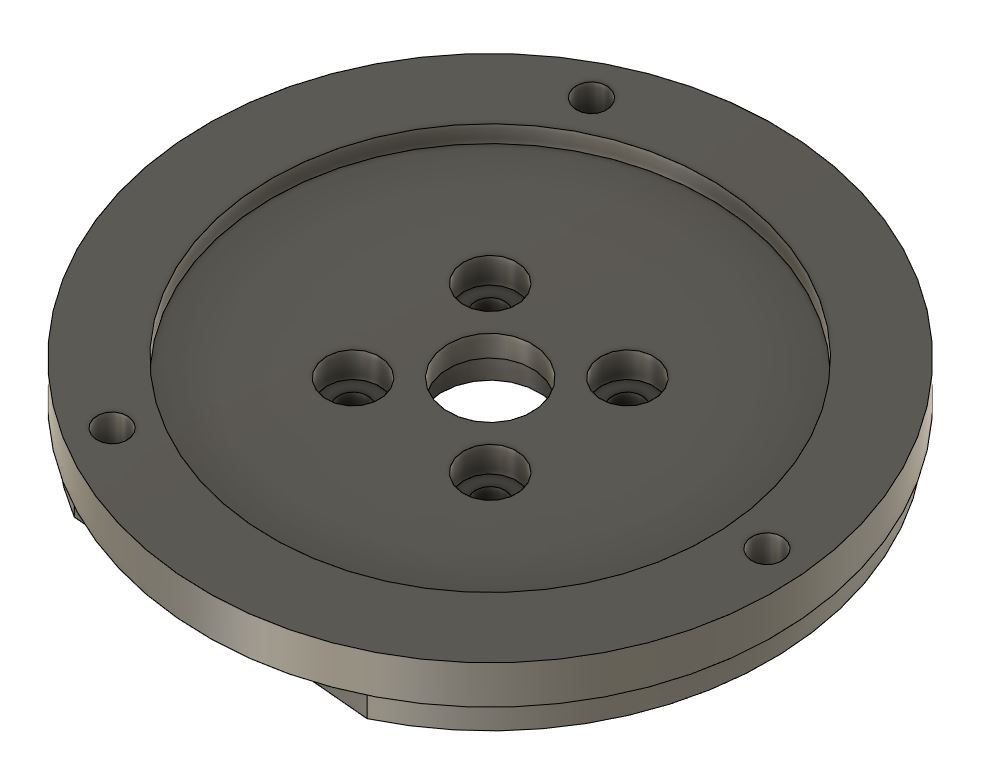
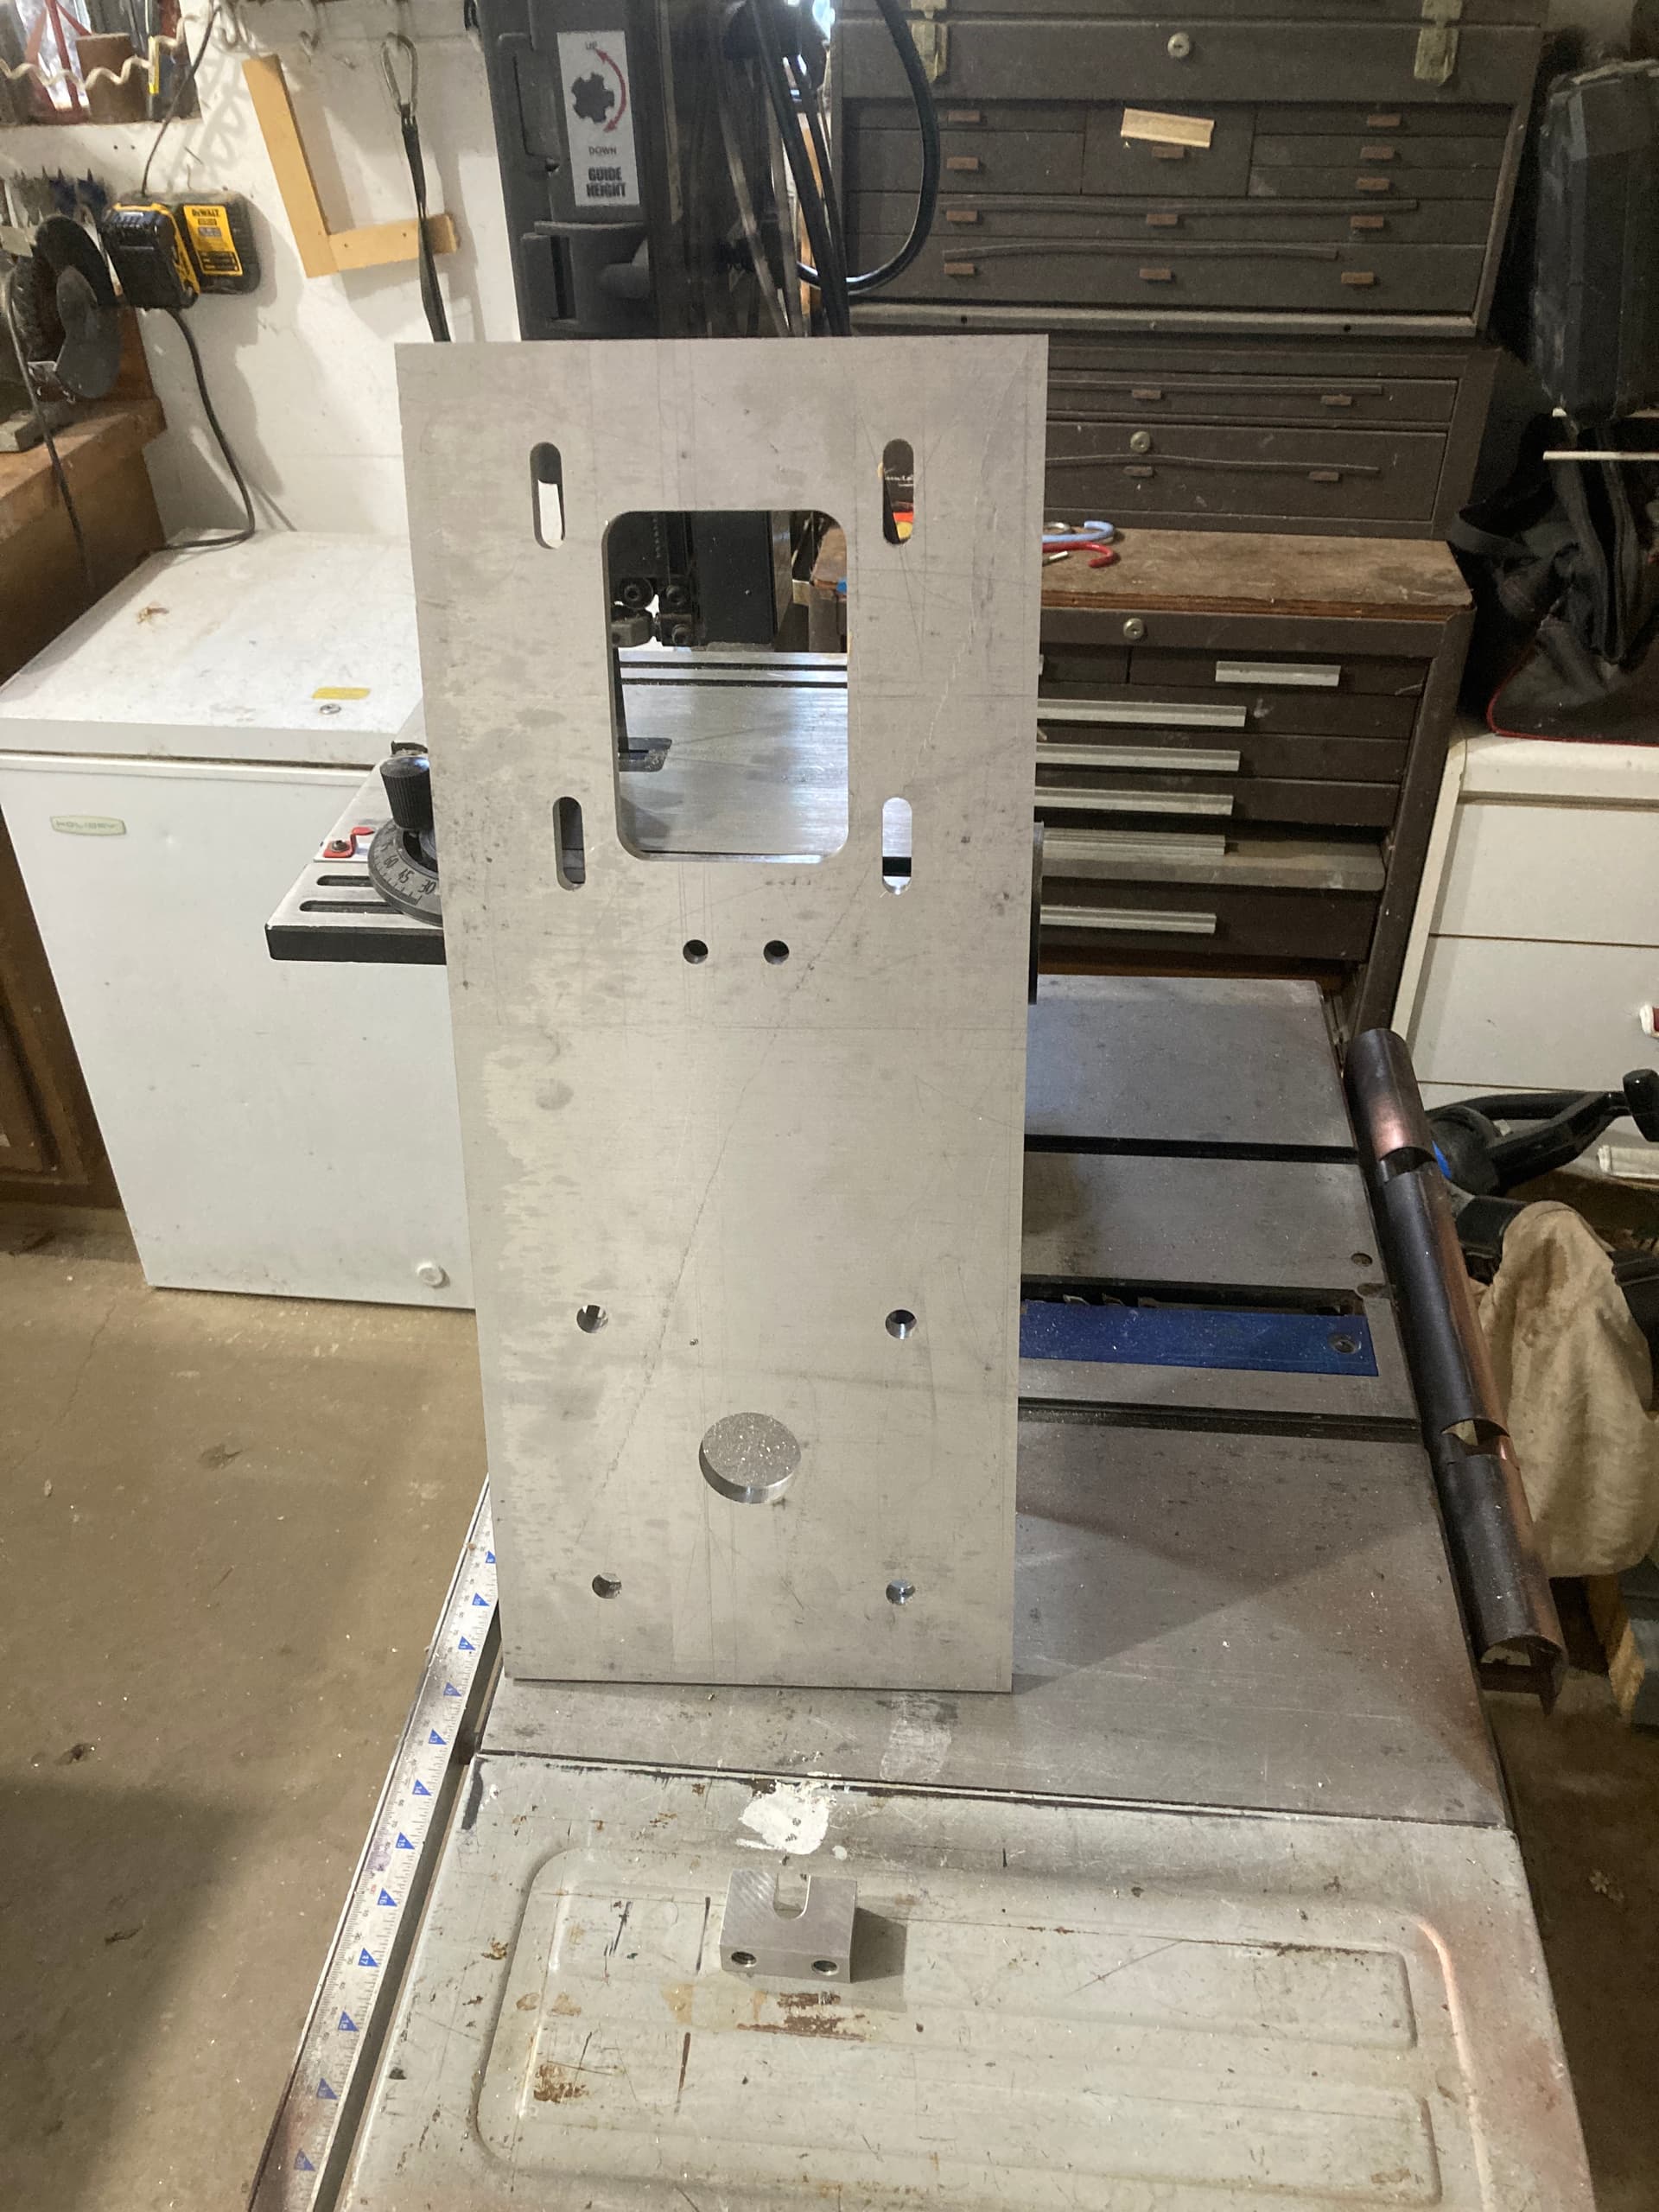
Here is a 4th axis adapter plate for my Avid machine at work. Has a couple locating features to center a cheap self centering vise and a pocket on the back to attach to the 4th axis. Tried to get everything within -0.0" to +0.003" and it worked out.
6 Likes
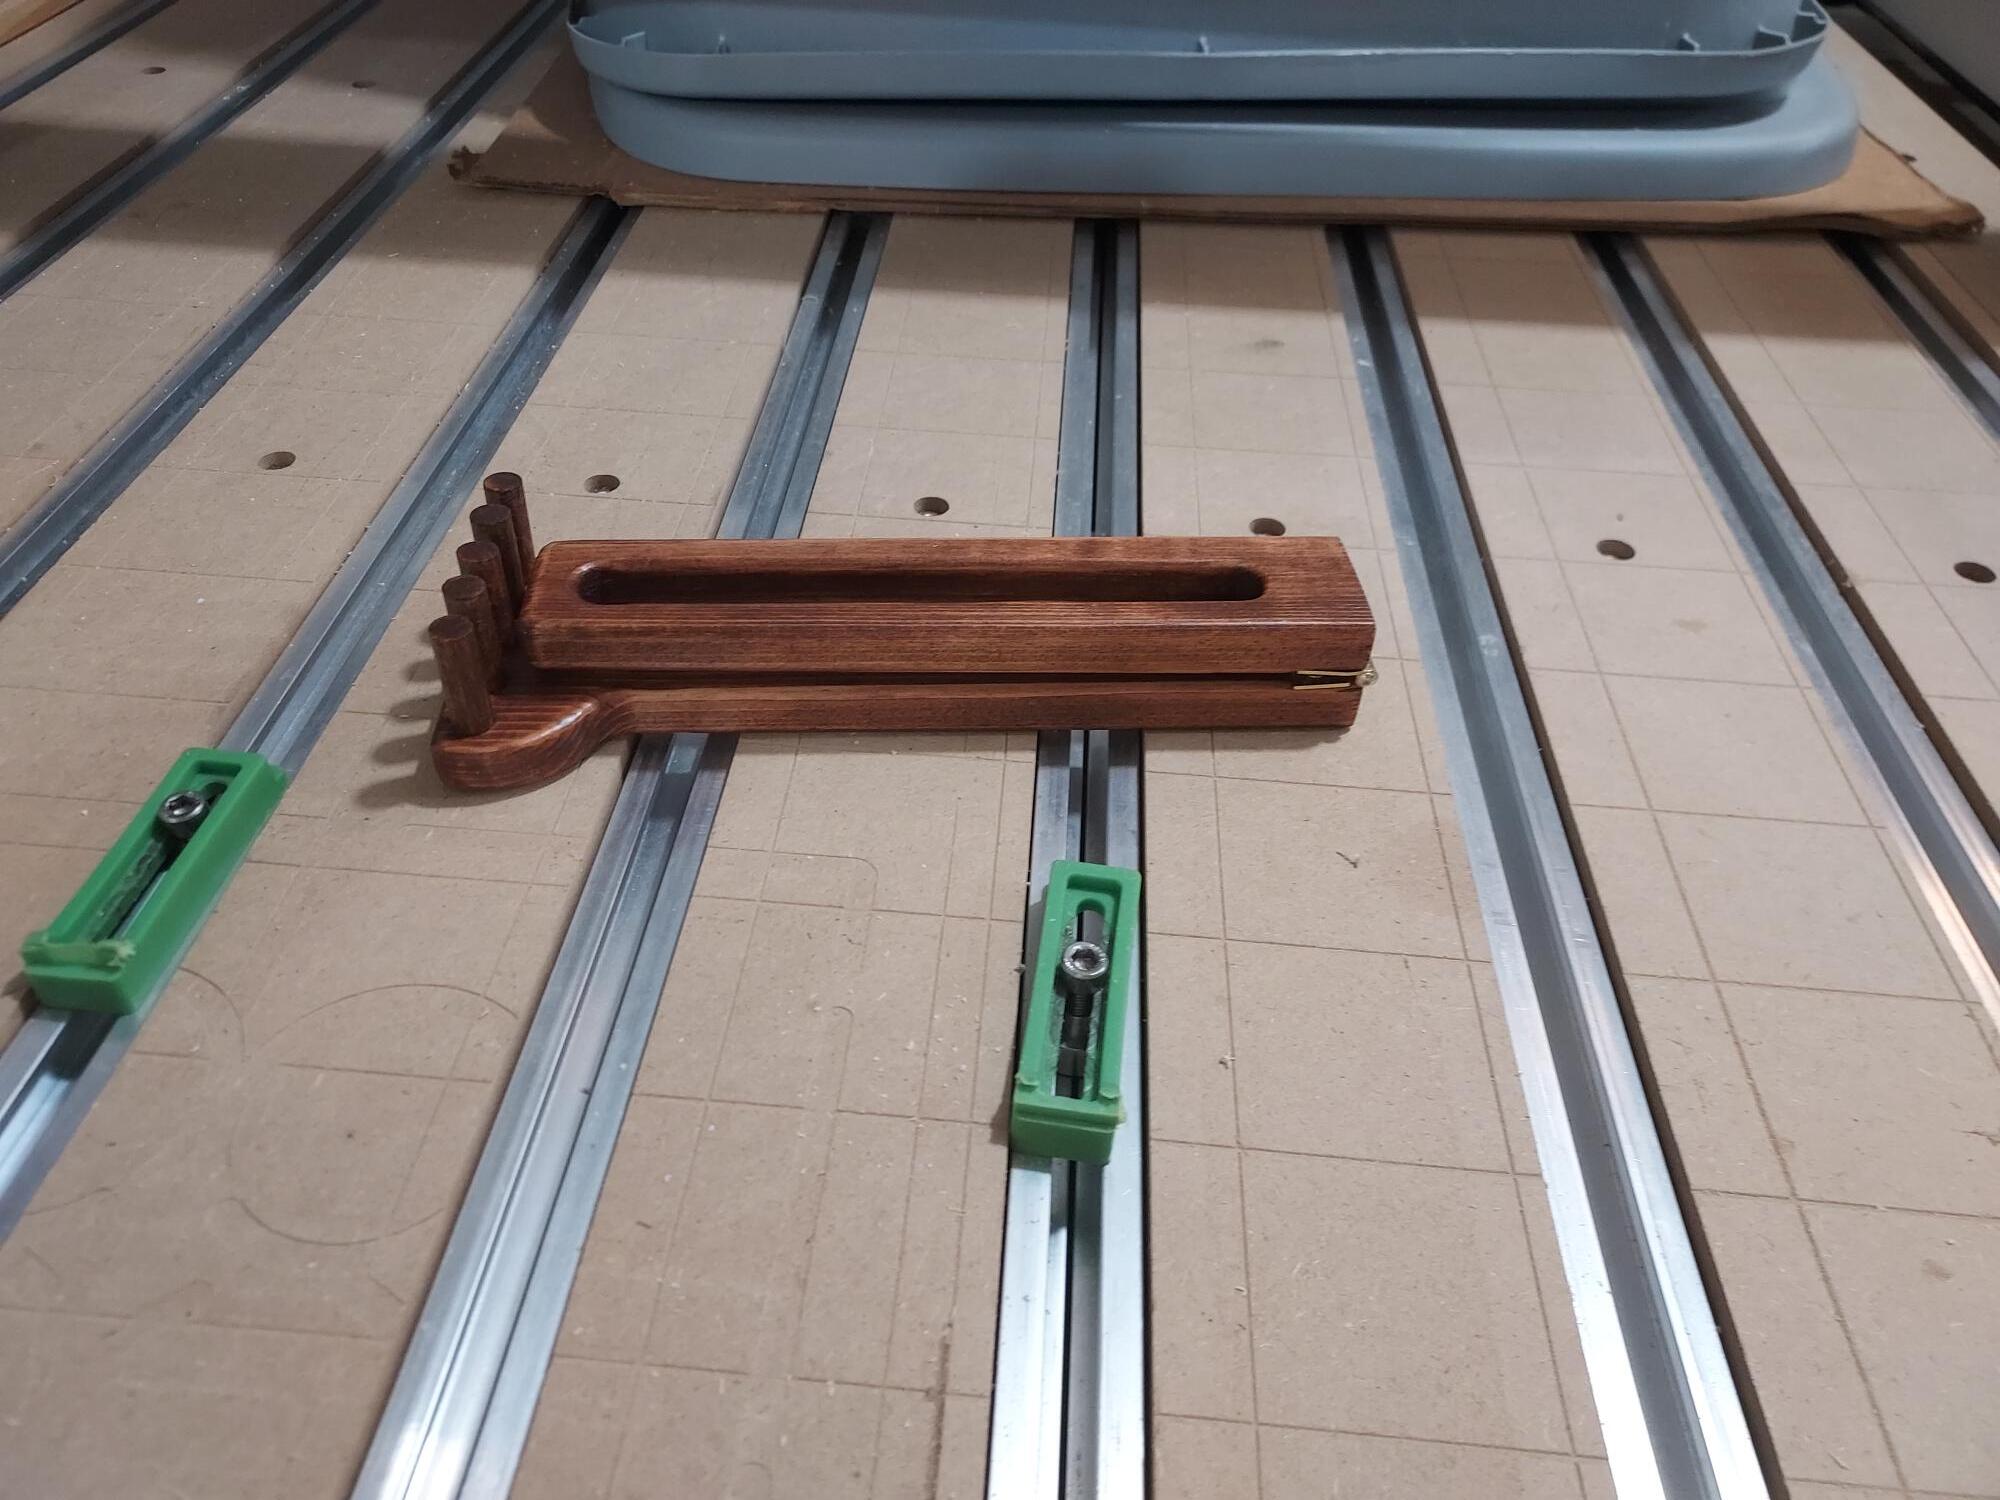

I have a brass back scratcher on my night stand. I noticed every night I was scratching my back. So I went to the mirror and saw a dark spot. I went to the dermatologist and I had a keratitis which is an over growth of skin cells. They burned it off and so now I occasionally use my back scratcher.
You back scratcher looks good. Did you put some magnets in to keep it open?
2 Likes
Not obvious to me, have to ask, what are bracketing? Looks good!
No, it freely moves, there is a slight bend when screwed in so it has a little resistance. It does open when in use the pressure scratching holds it open as well.
Pretty much anything that something else attaches to. I think usually with the express purpose of attaching or supporting another part.
The large bracket in the photo will hold a motor, a blower head, and the pulleys & belt that drive it.
The smaller bracket attaches to the larger bracket.
1 Like
Todd nice brown toolbox I got one just like it way back in the fifth grade. Honey I think I have the same tablesaw and freezer as well
I got that Kennedy stack back in 1976 when I started work in the pattern shop. (I was 13 ![]() )
)
Delta Shopmaster saw has a few years on it too.
We were just down in your neck-o-the-woods earlier this year, at Cocoa Beach. Watched a SpaceX launch from the condo.
Be Well
Tod (with 1 freakin’ ‘d’) ![]()
2 Likes
Making snowflake Christmas ornaments that require 2 sided milling. Started by making my flip jig which is the female engraving of the ornament to secure it after the first side is milled and ready to work the second side.
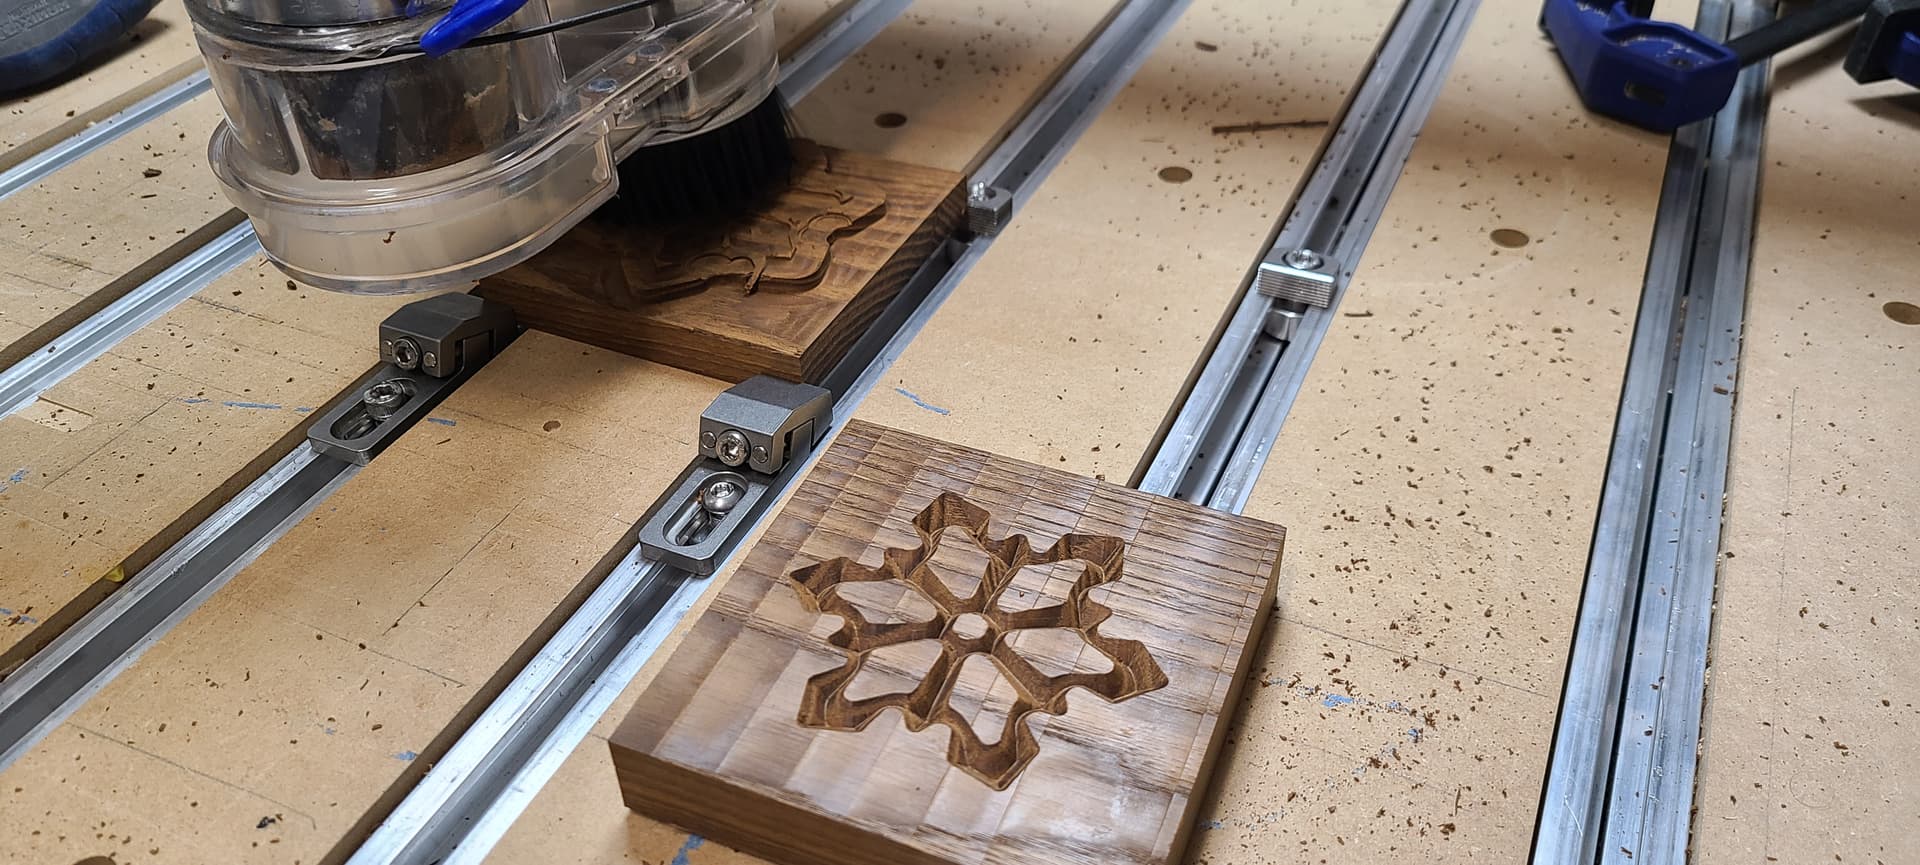
The first side in progress before doing the last toolpath, a 45 degree contour on side 1.

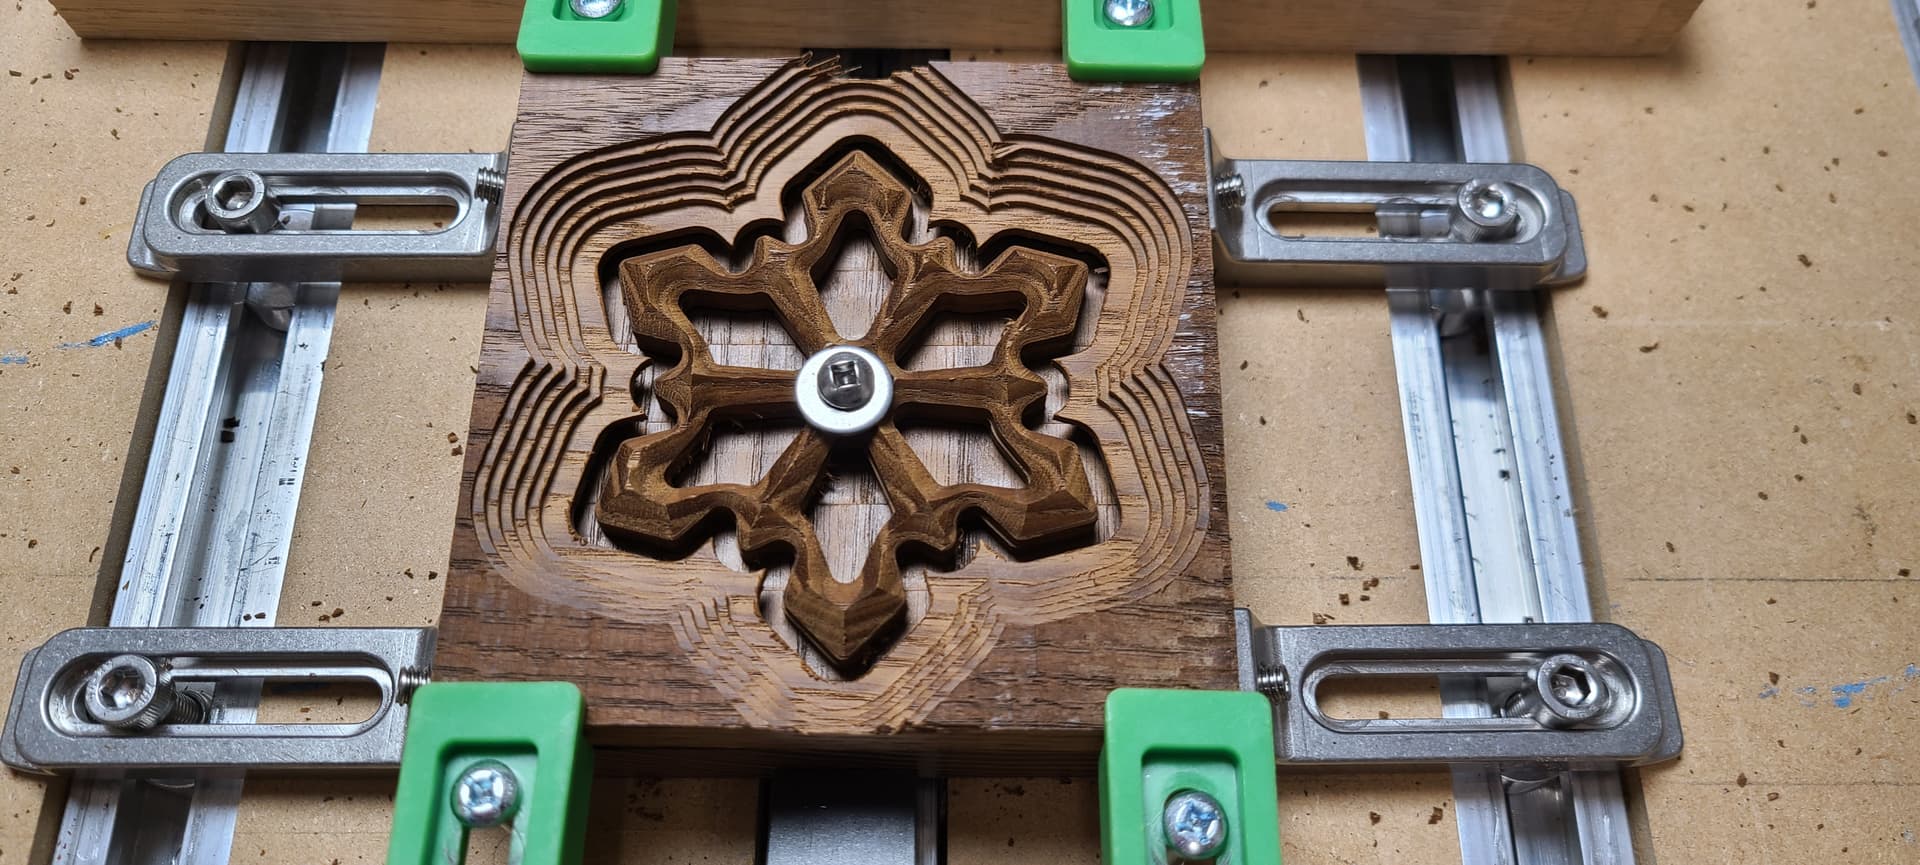
Before cutting the ornament free I started by milling out the inner detail to then be able to secure the snowflake with a screw/washer in the center.

End of running the job, lots of clamping but now it’s only the screw/washer holding it in place sitting snugly in the jig engraving below.

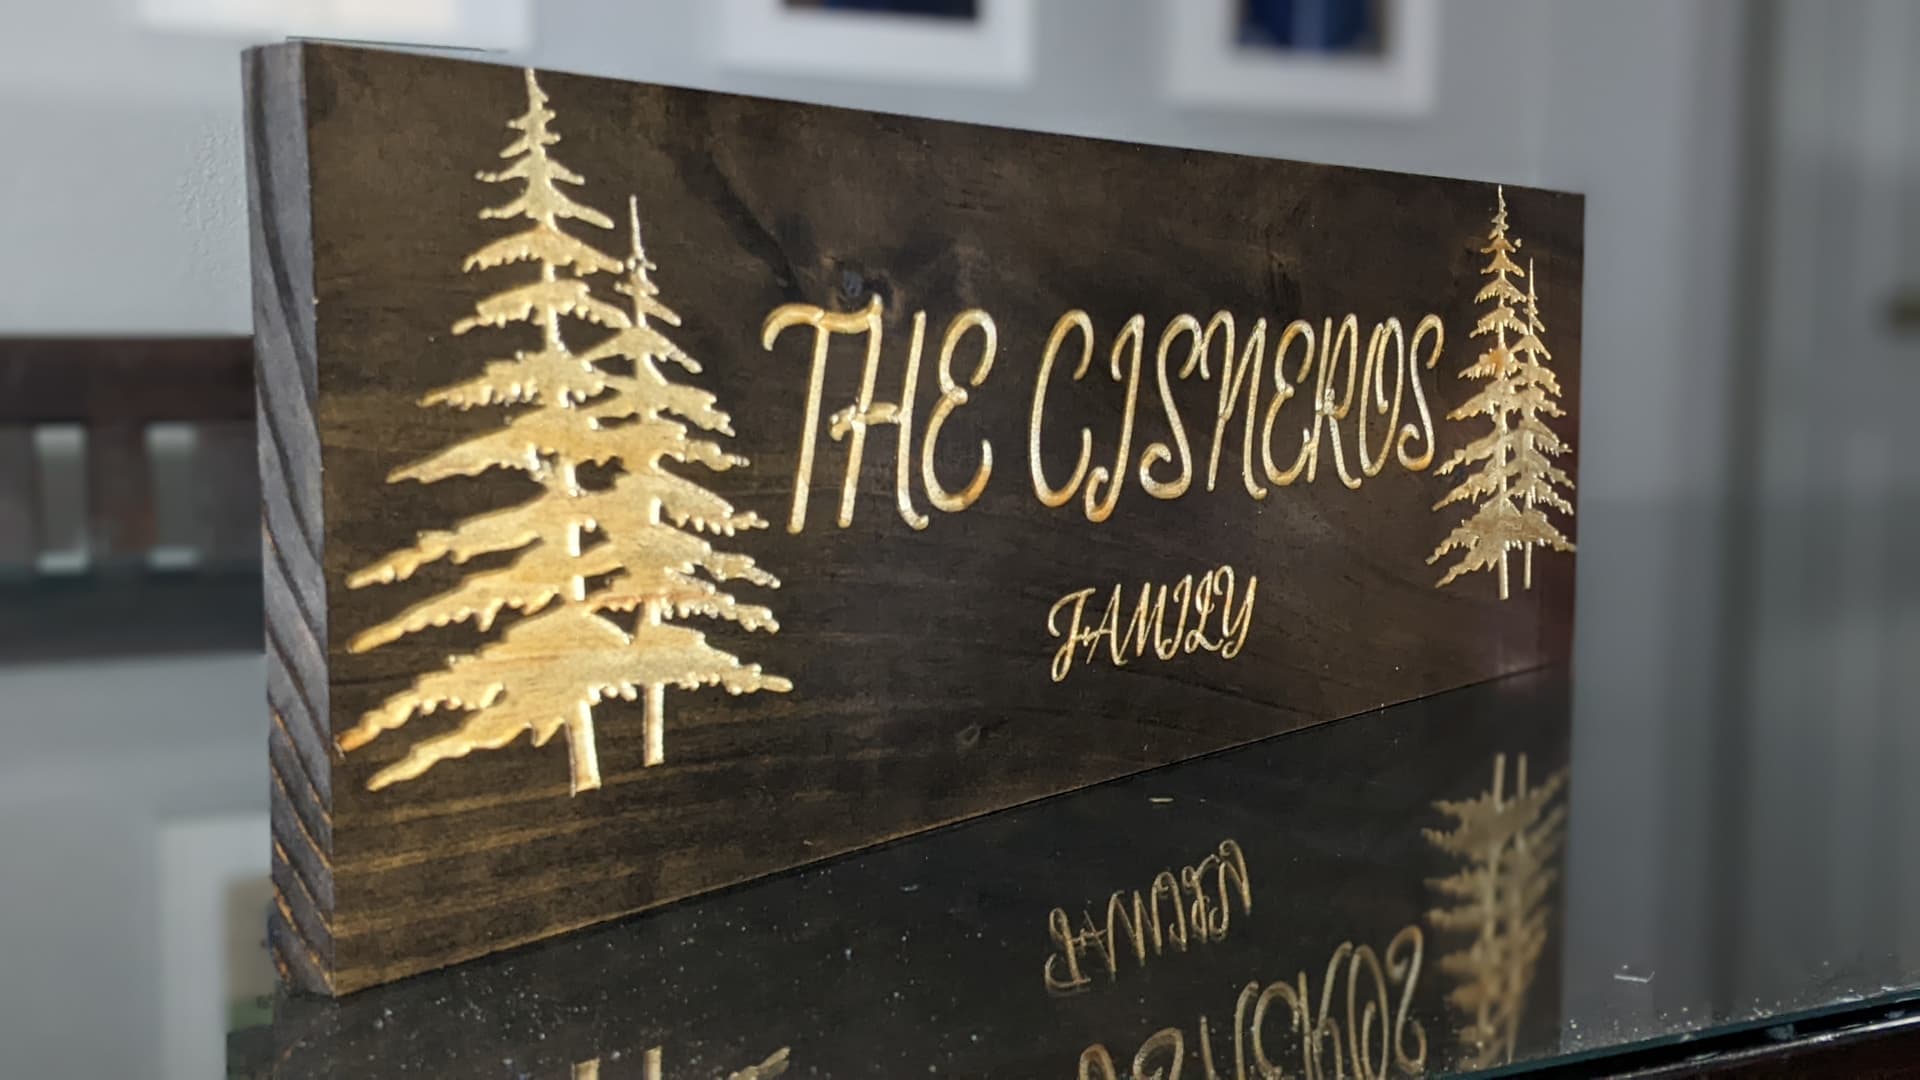
End result, I feel like it needs a little bling… Maybe some brass with the year (2022).

31 Likes
Patrick, I was wishing to see both sides of the ornament. One side fits into the female part of your jig when you cut the other side, but I lost (in my mind) which side you’re showing in the last photo. Is it because both sides are exactly the same? ![]()
1 Like
That is correct, both sides are identical so pretty much the same toolpaths run both sides, The intent of the jig was:
- Make sure the snowflake is squared with the machine when I flip it
- Zero off the Bottom-Left-Top corner of the jig to easily realign snowflake pattern even if flipping it.
- The first side when flipped downwards fits tight into the female engraving of the jig so it locks into place with the clamping

4 Likes
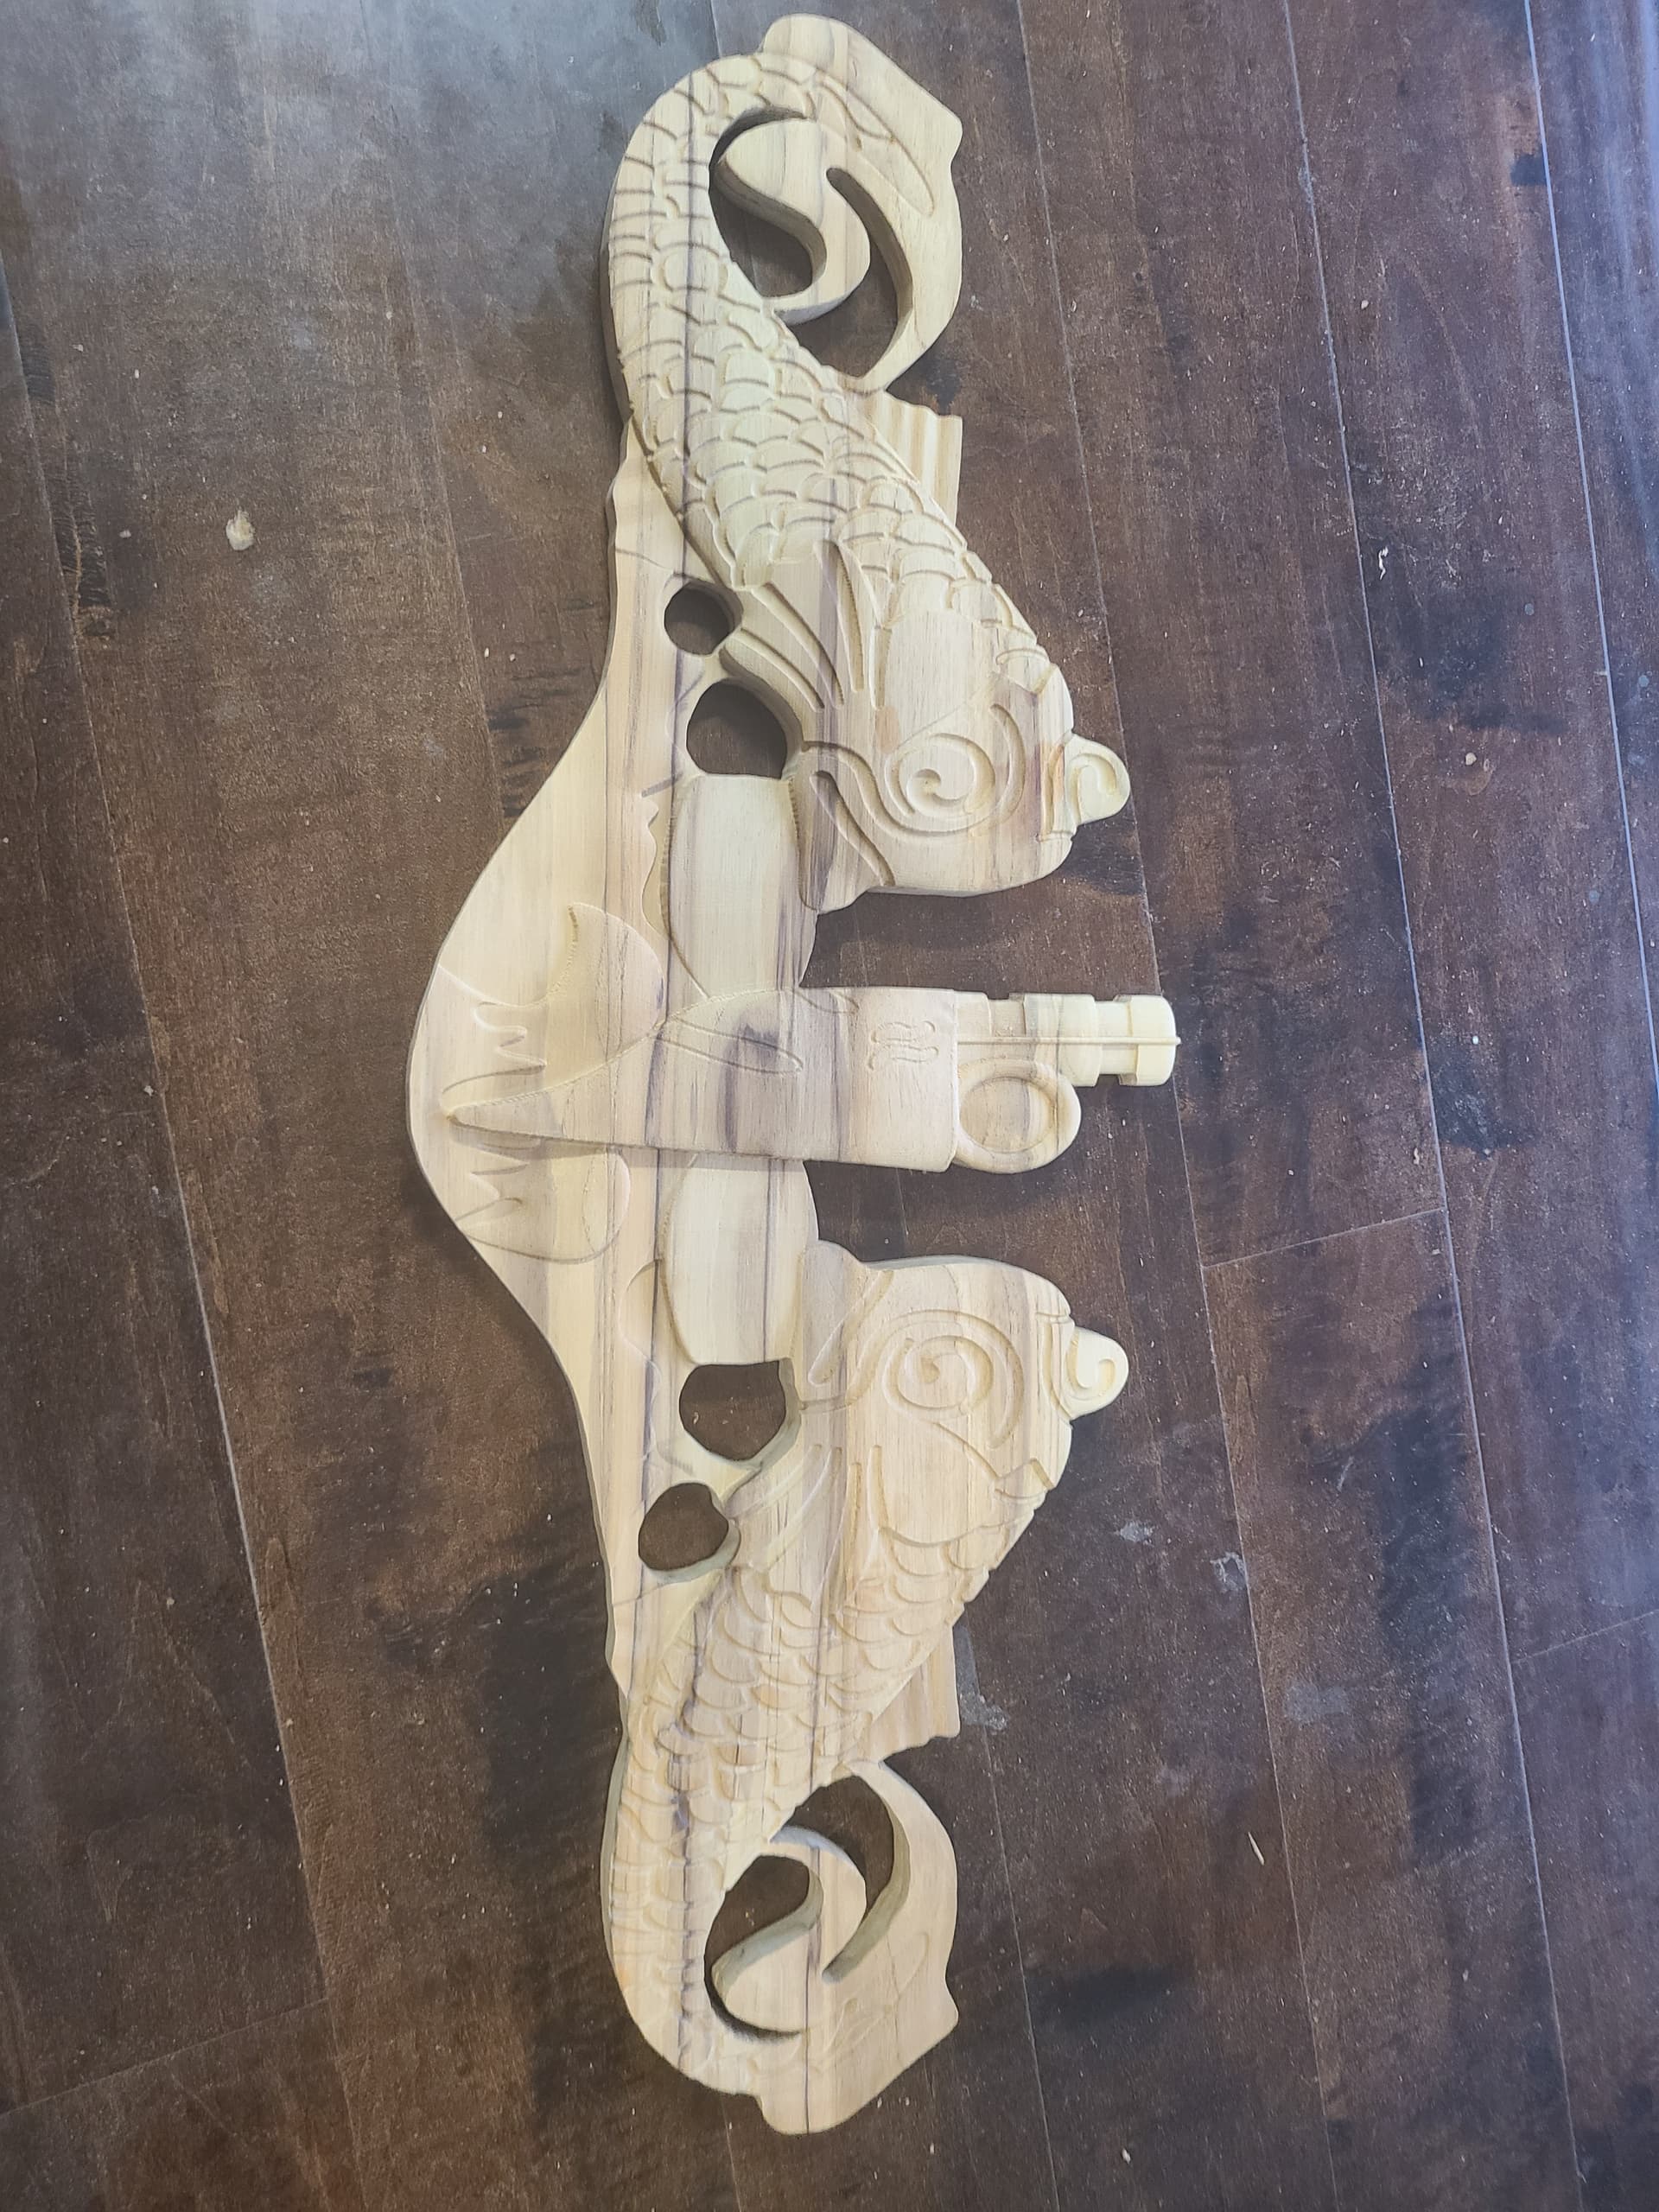
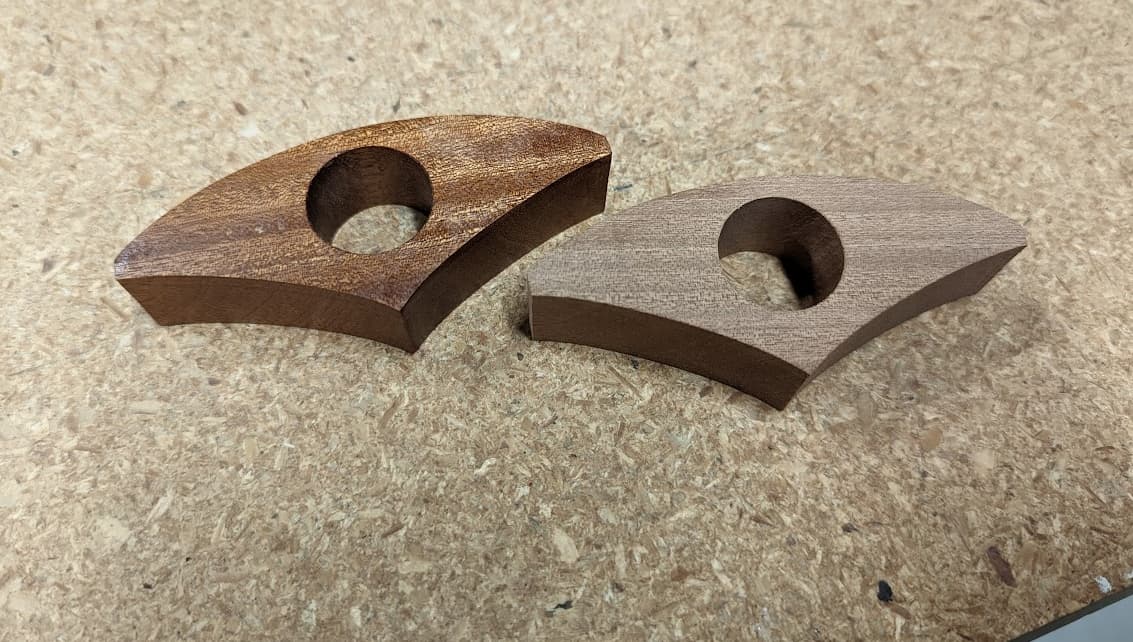
Had some scrap and saw a similar thing done with leather so I thought I would try. These are for holding your book open. Stick you thumb through and place it in the center of the pages. One is finished with poly and the other was left unfinished. Seems like a really good way to use up really small pieces of scrap.
10 Likes
If you want bling prime it white and use silver or your choice of mica powder mixed in epoxy. Although I do want to see a solid brass version.