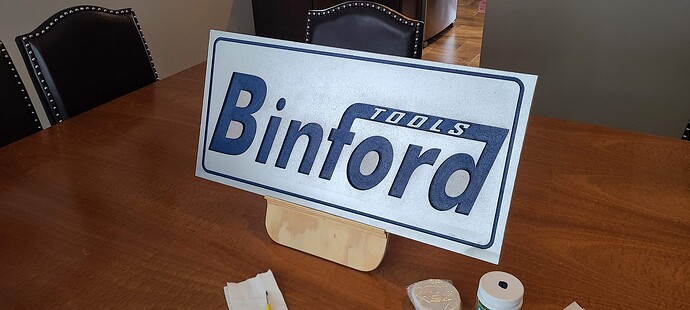
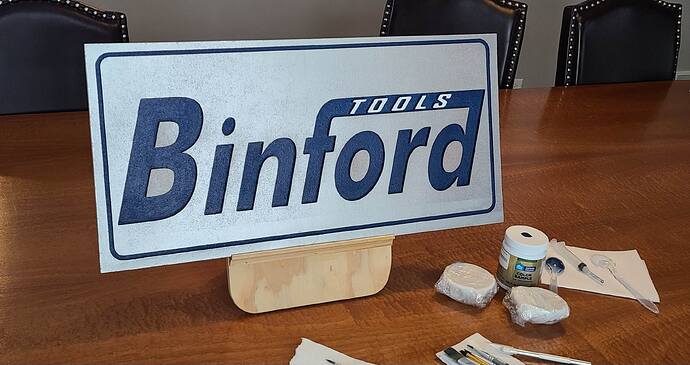
How many people remember the television sitcom from the '90’s with Tim Allen, called, Home Improvement? Recently, my Brother-in-Law asked that I make him a Binford Tools sign. Binford was the fictional tool brand in the show. I’m extremely new to CNC and rather than paint insde the letters, I’d like to explore filling with colored resin. Any advice or insight would be appreciated before embarking down the path of resin filled signs.
If you are going to color the resin, I have found that sealing the inside surfaces of the pockets is important. If not sealed properly, the resin and the color can soak into the walls of the pocket.
In the past I have just used some clear resin painted onto the inside surfaces, and once cured poured the color.
I have used both the deep pour and tabletop resins, and they each have their strengths and weaknesses.
- Deep pour - much longer working time, but also a much longer curing time.
- Deep pour has a much lower viscosity. Bubble rise to the surface much easier, but the resin is also more likely to soak into the wood if not sealed.
Finally, most resin product give mixing directions by volume. I have found that if you can find the information, mixing by weight is much more accurate.
Thanks! I appreciate the tip about sealing the media in advance of pouring. Prior to painting any signs, I seal them because I was aware (learned the hard way) that paint may blead on an unsealed surface but I didn’t even think about epoxy resin possibly bleeding too.
There are a lot of epoxy brands. There are also a lot of epoxy types. Some are for deep pours and some are for shallower pours. So if your sign is less than .25" deep pocket make sure you are getting an epoxy that compatible with that depth. I have used MAS Table Top Epoxy and has a maximum depth of .25". If you pour it deeper than that it can over heat and fail. On the other side are deep pour epoxy resins but they take a week or more to dry. So be sure to do your research to get the right type of epoxy to use for the project you want to use it on.
For epoxy you need a heat gun or a propane torch. When mixing the epoxy you re introducing air bubbles. The air bubbles slowly come to the surface. As your epoxy starts to cure and an air bubble comes up just before it sets you can have a crater on the surface. To solve this after pouring the epoxy you use the heat gun or torch to make the bubbles rise and burst while the epoxy is still leveling itself.
If you want to color your epoxy some use powders. I use liquid dyes from Transtint. The powder colorant works but you must mix it very well. You must mix epoxy very well any way but some colorants do not make a single color but a rainbow like effect. So make sure you pick an opaque color if that is what you want.
One last caution about epoxy, I have seen several videos on youtube that using epoxy has caused health problems for people. So did those people already have respiratory problems and the fumes aggravated that existing condition or did the epoxy cause the problems. Just beware that epoxy off gasses and depending on you it could potentially cause you health issues. So read the instructions and FOLLOW them.
This topic was automatically closed 30 days after the last reply. New replies are no longer allowed.

