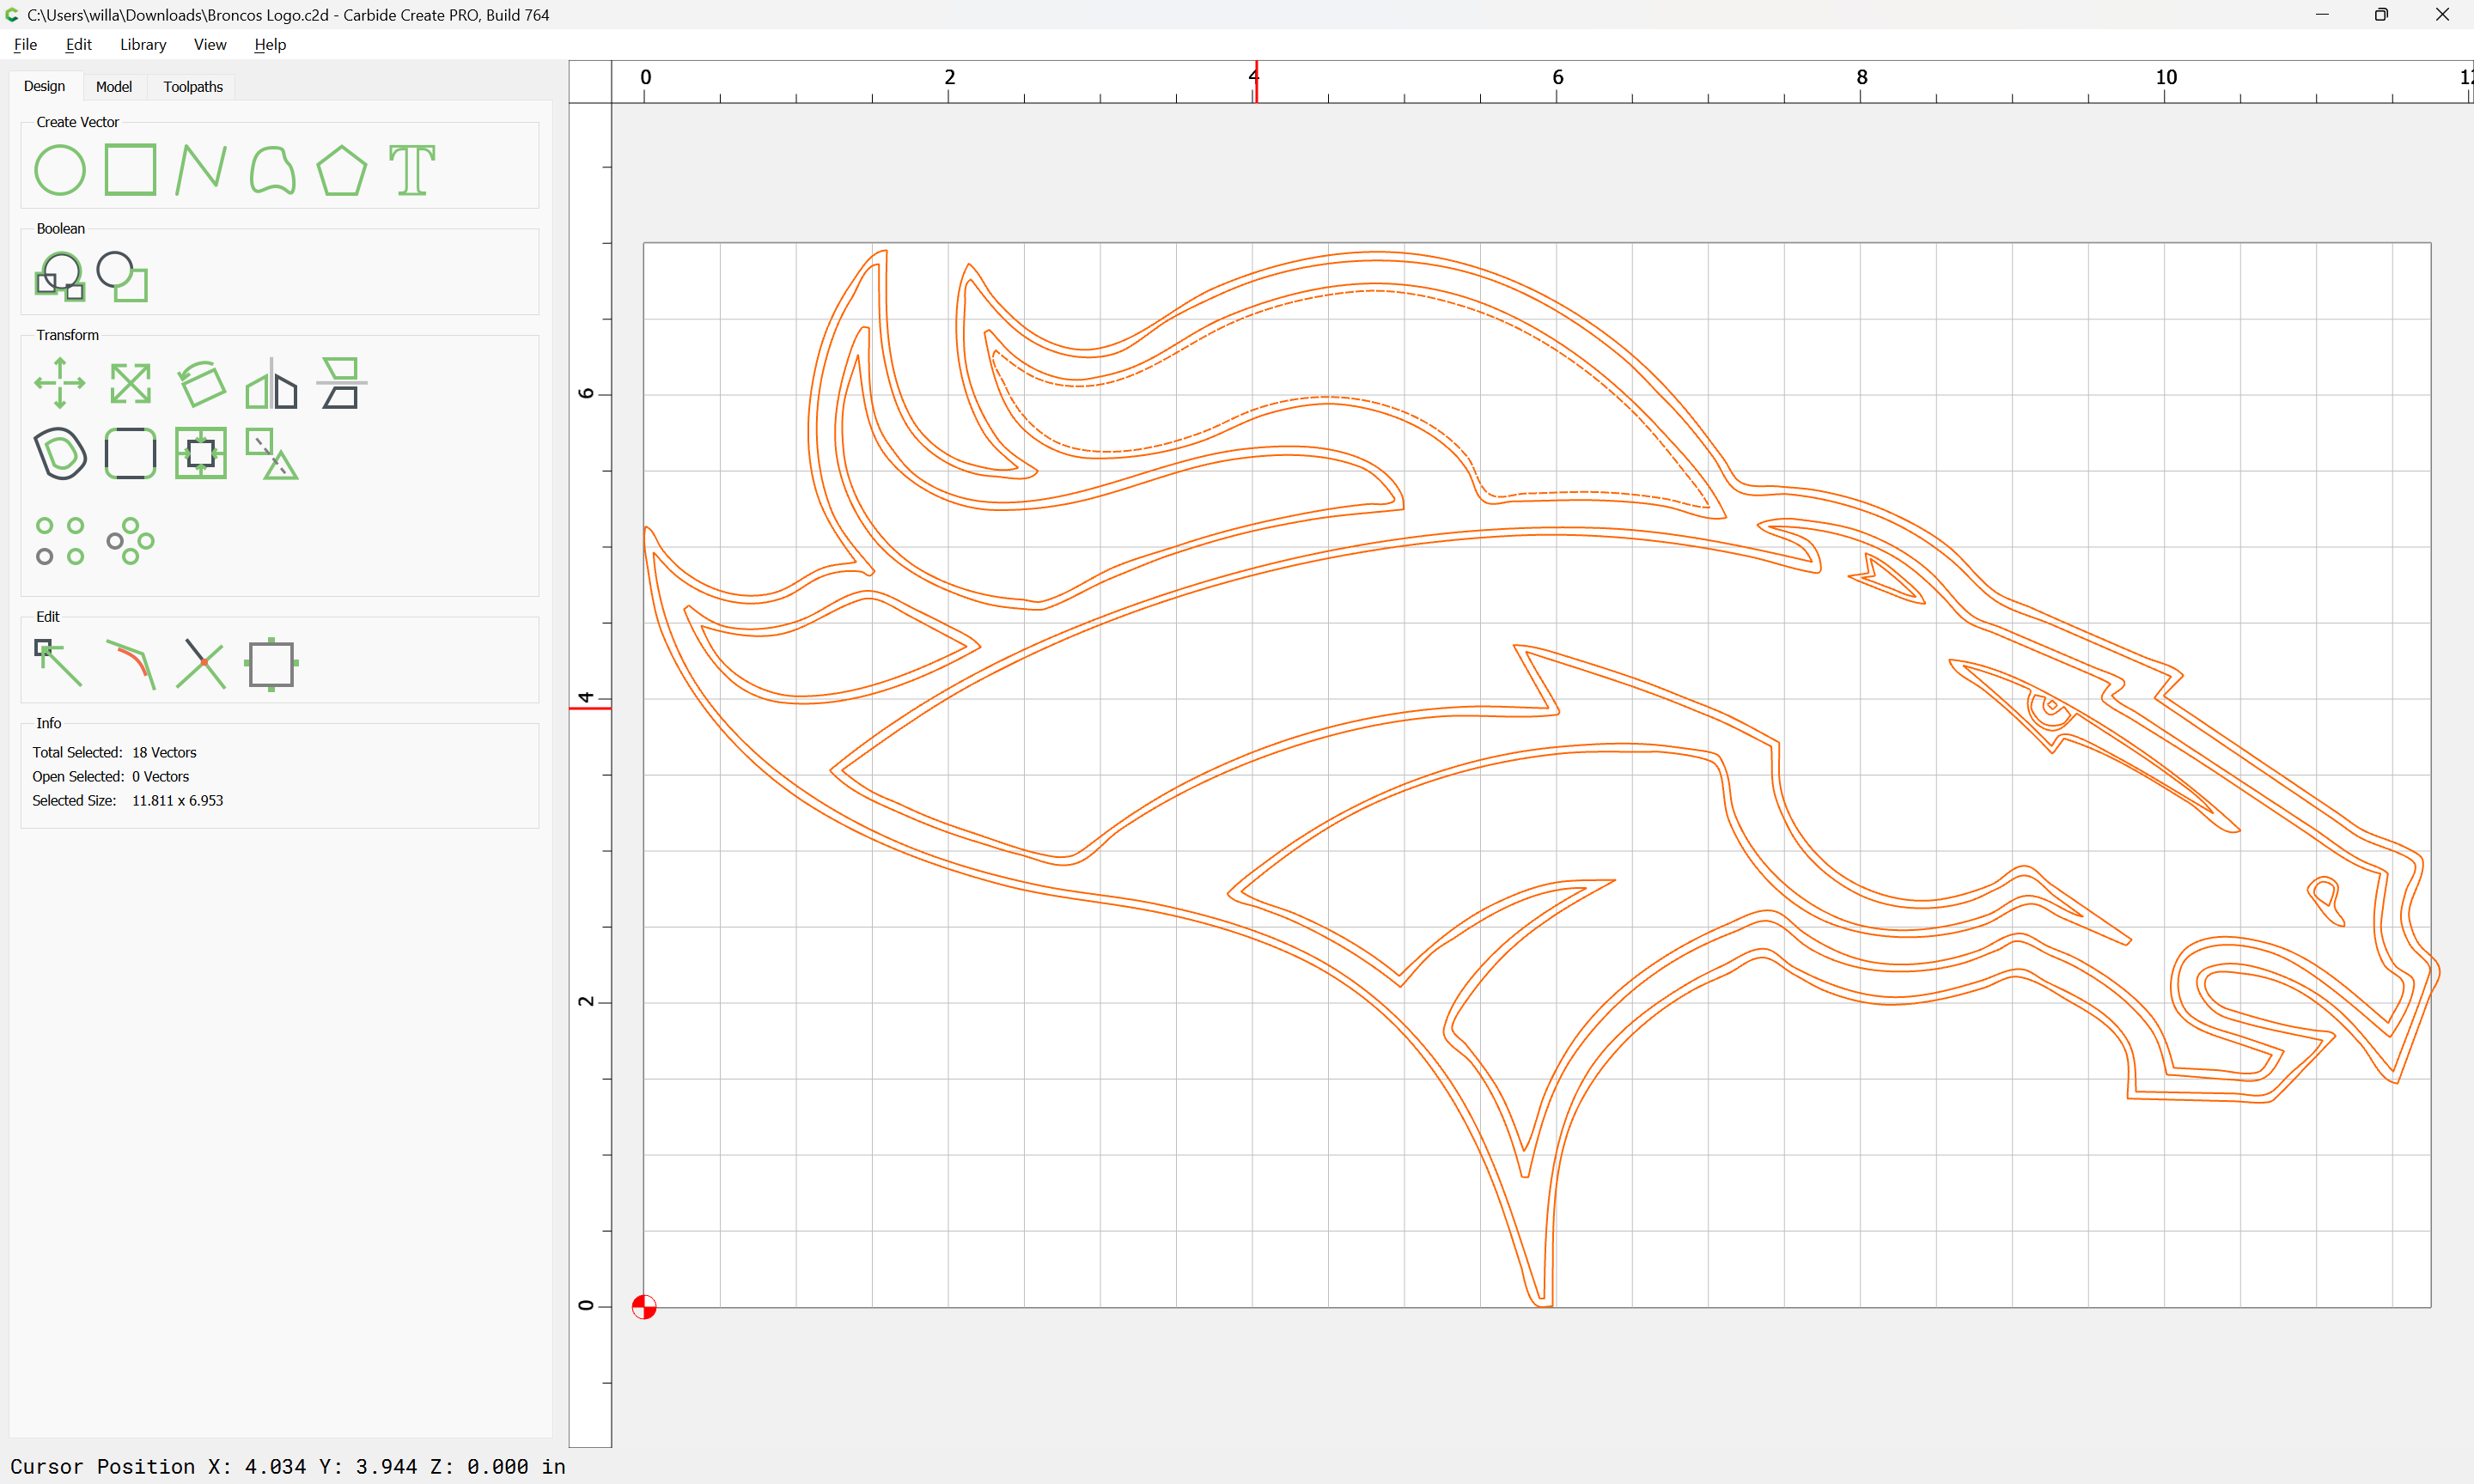
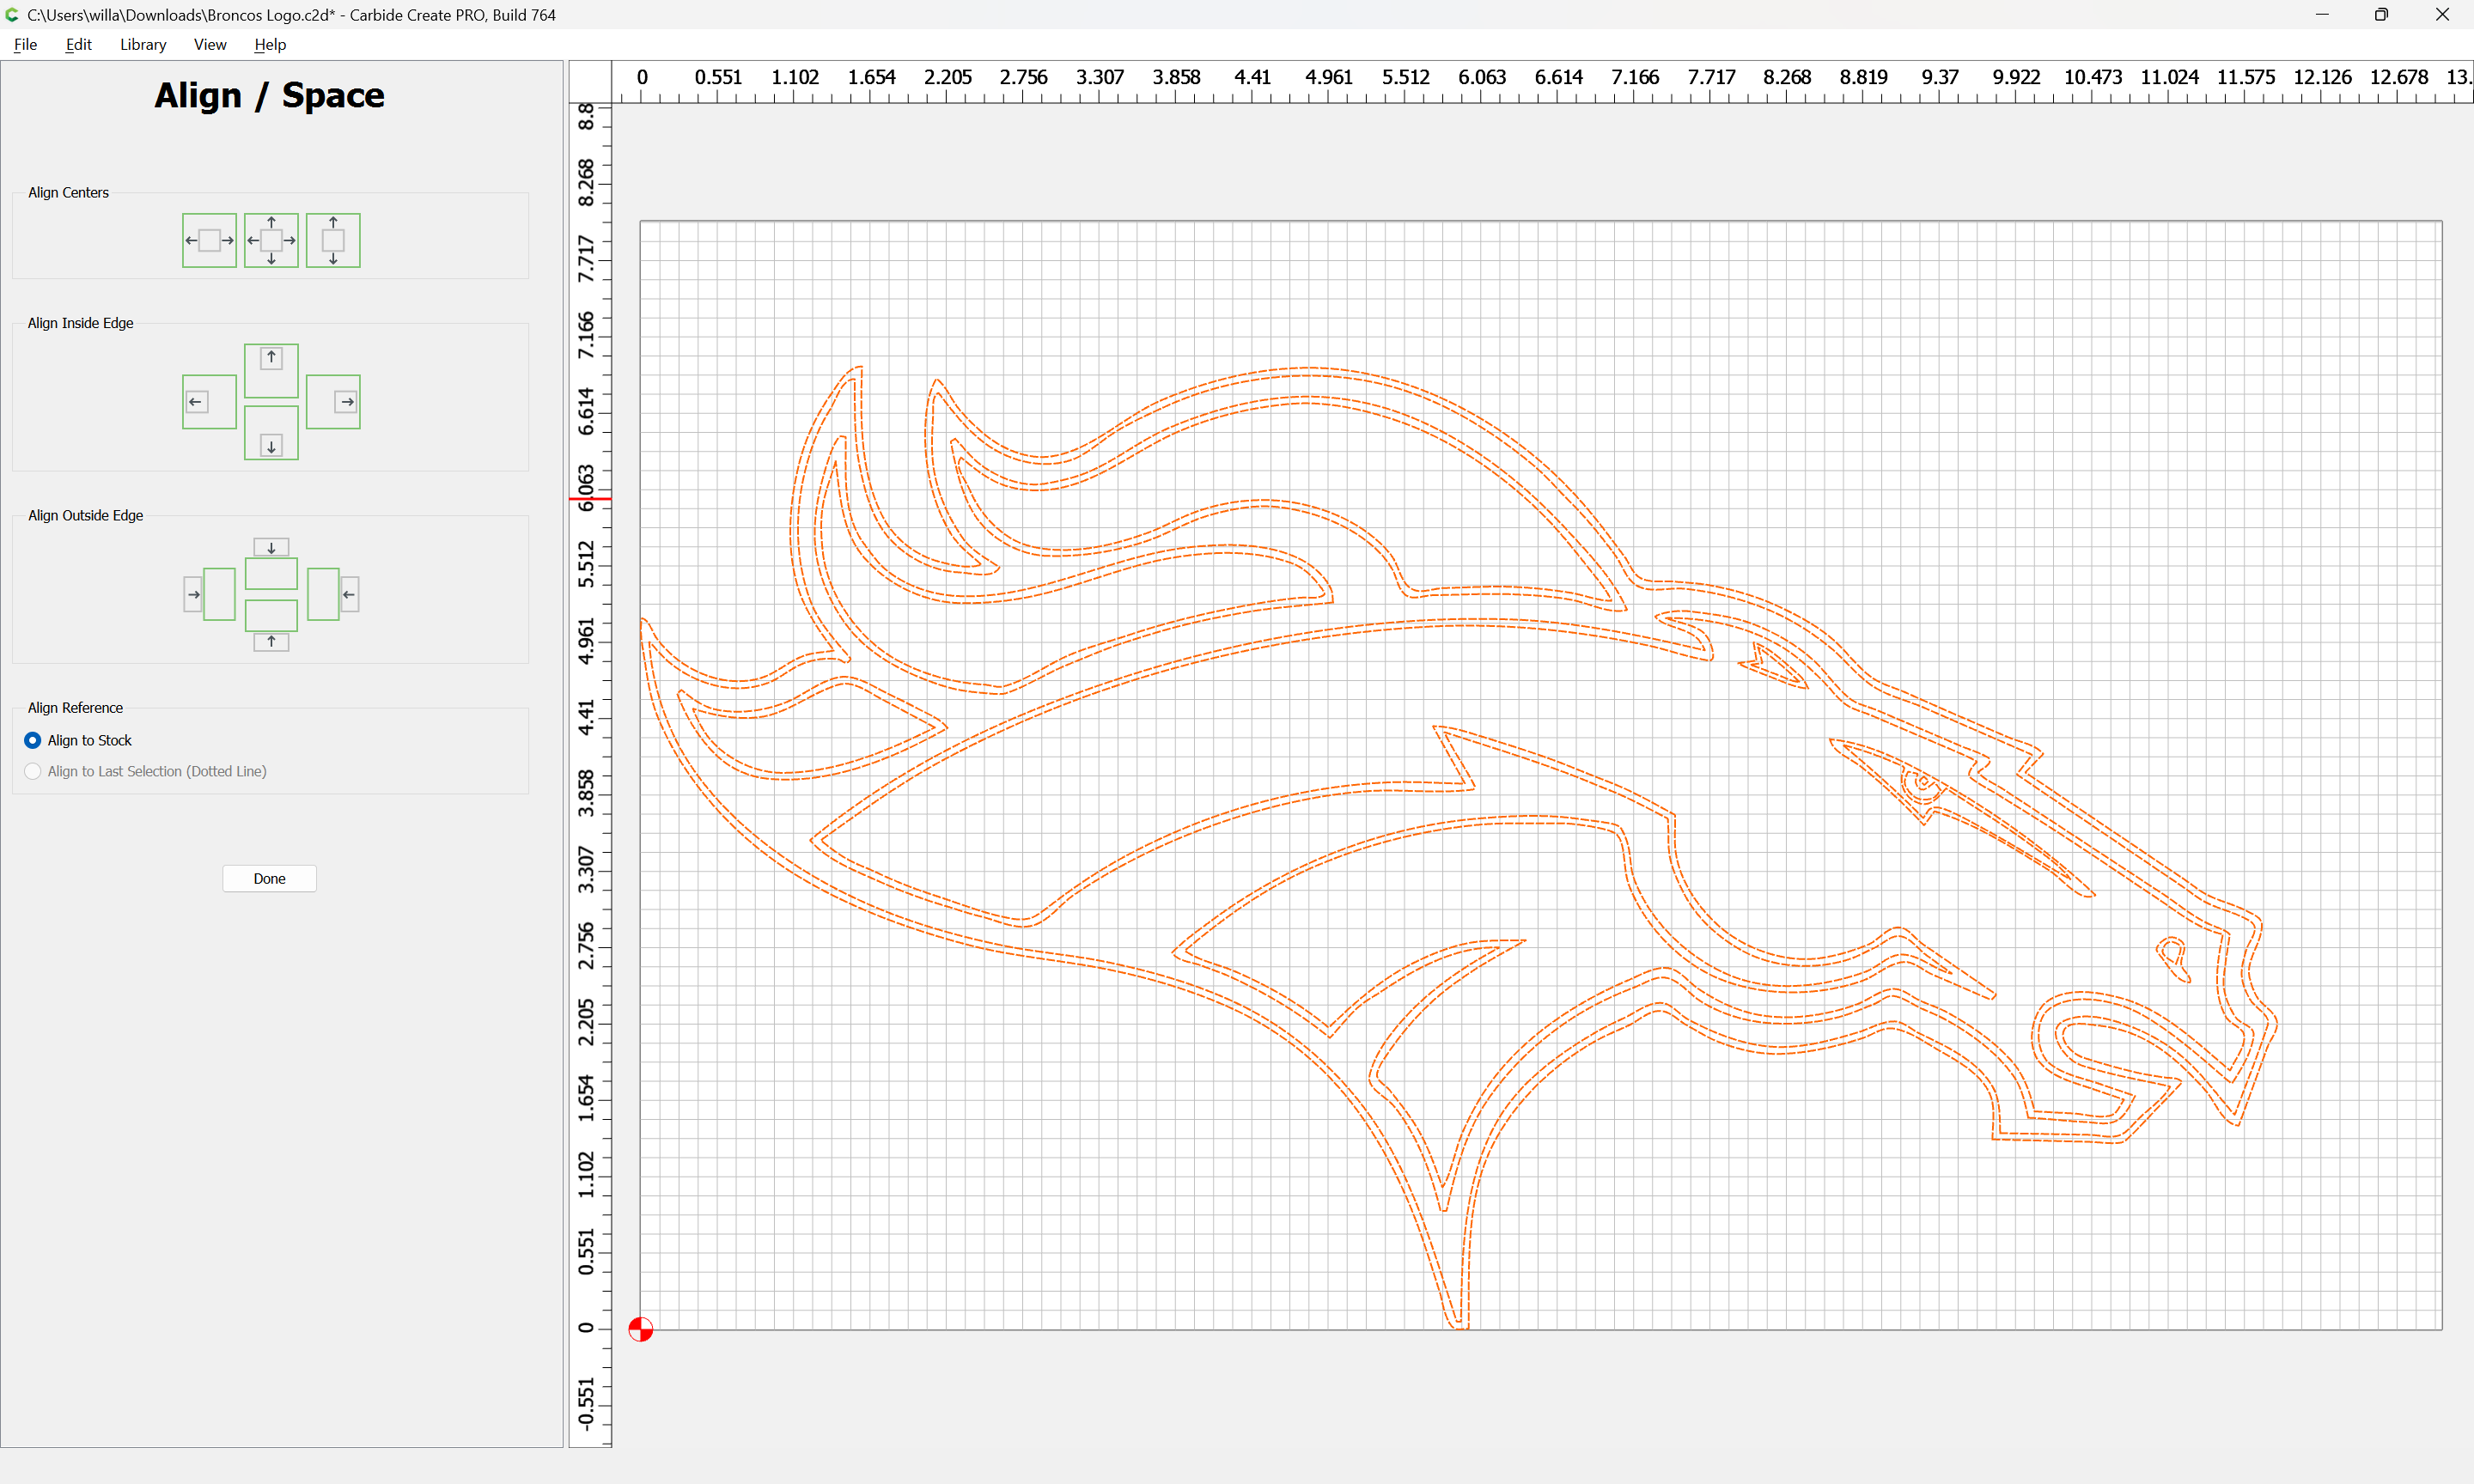
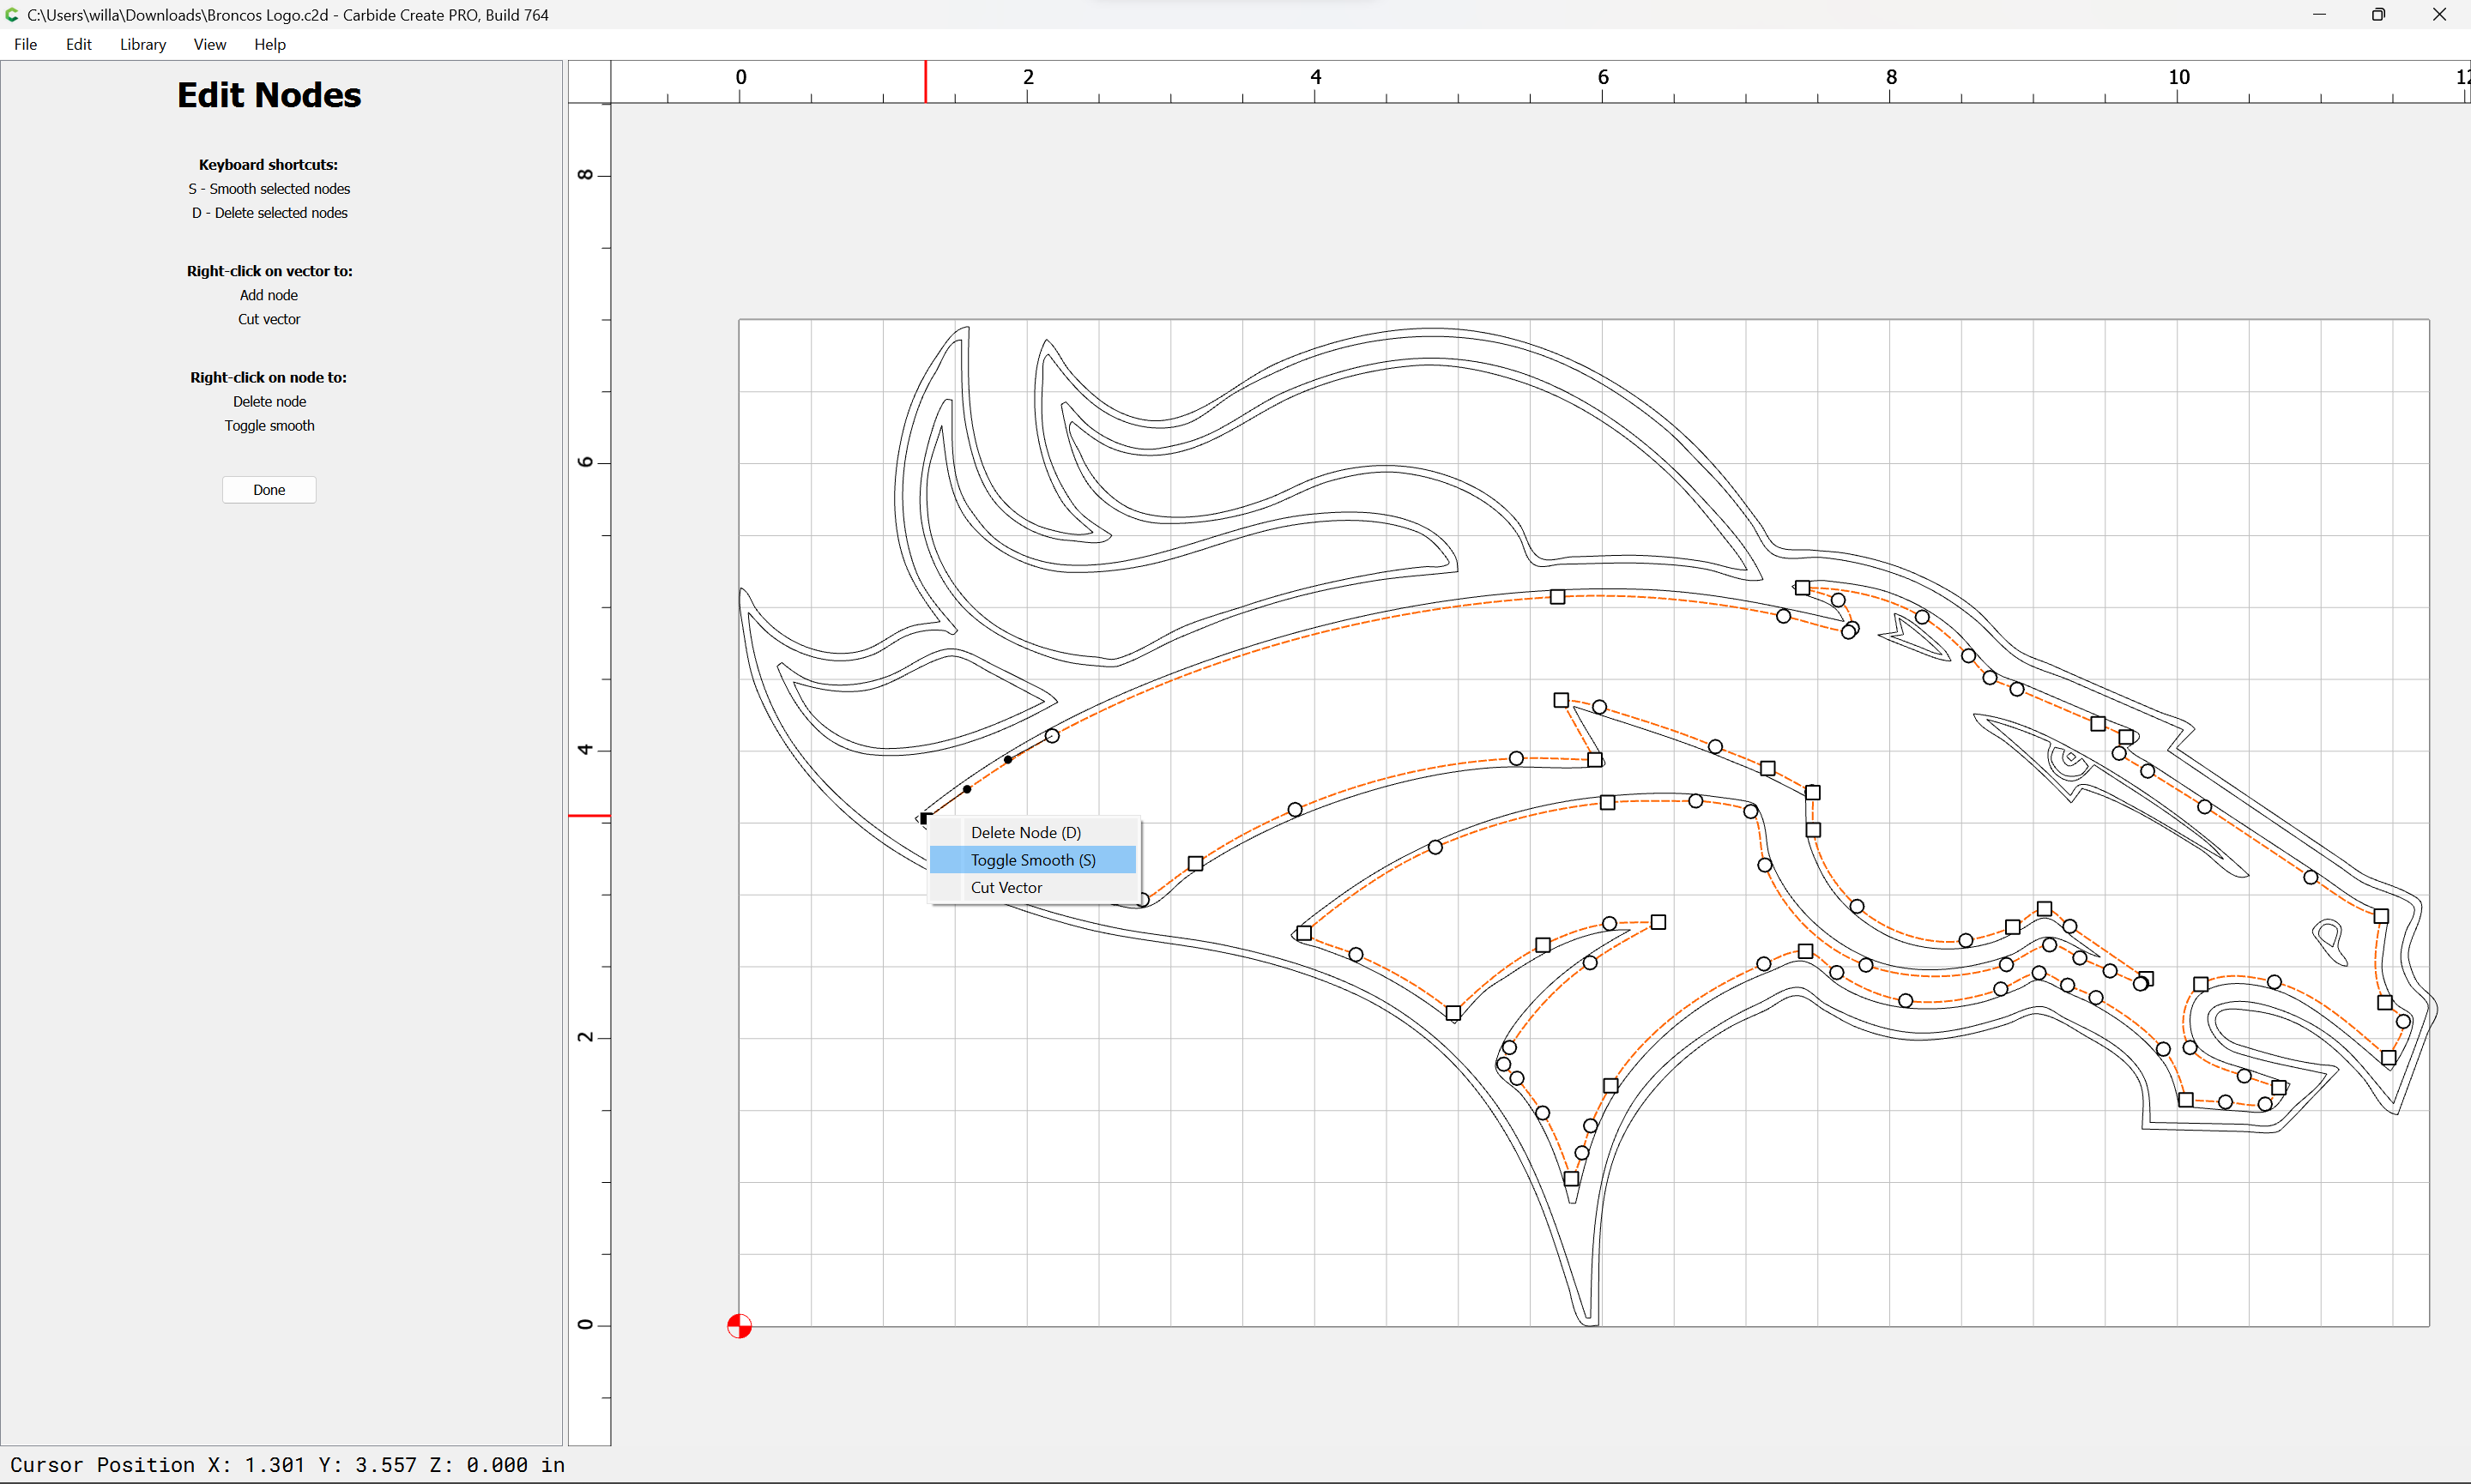
Hello Carbide Community. My name is Rob and I’m completely new to the CNC world. I live in Denver and want to do something with the Broncos logo. I traced a logo in Create V7 and was wondering what some of you would do with the file. I really don’t thoroughly understand the complete concepts behind contour, carve and pocket. I’ve been watching the tutorials to try and figure this all out. Can someone take a look at the Broncos logo file and give me some advice on trying to cut something that looks cool. I’m completely open to your suggestions and guidance. I’d like to engrave this on various wood projects of different sizes. I do have the Shapeoko 4 XL with the Shapeoko starter endmill set/kit. I also purchased the 501 and 502 for some small stuff. Let me know if there are other endmills that you would suggest that I get.
Thanks in advance for any help. (I hope that I uploaded the C2D file correctly)
Many possibilities. You could use a combination of V-carve & paint on wood. Use different species of wood for the 3 colors and do something like an Intarsia or Inlay. Epoxy on white PVC would be cool. You’d need to eliminate the double lines to get clean borders on the epoxy.
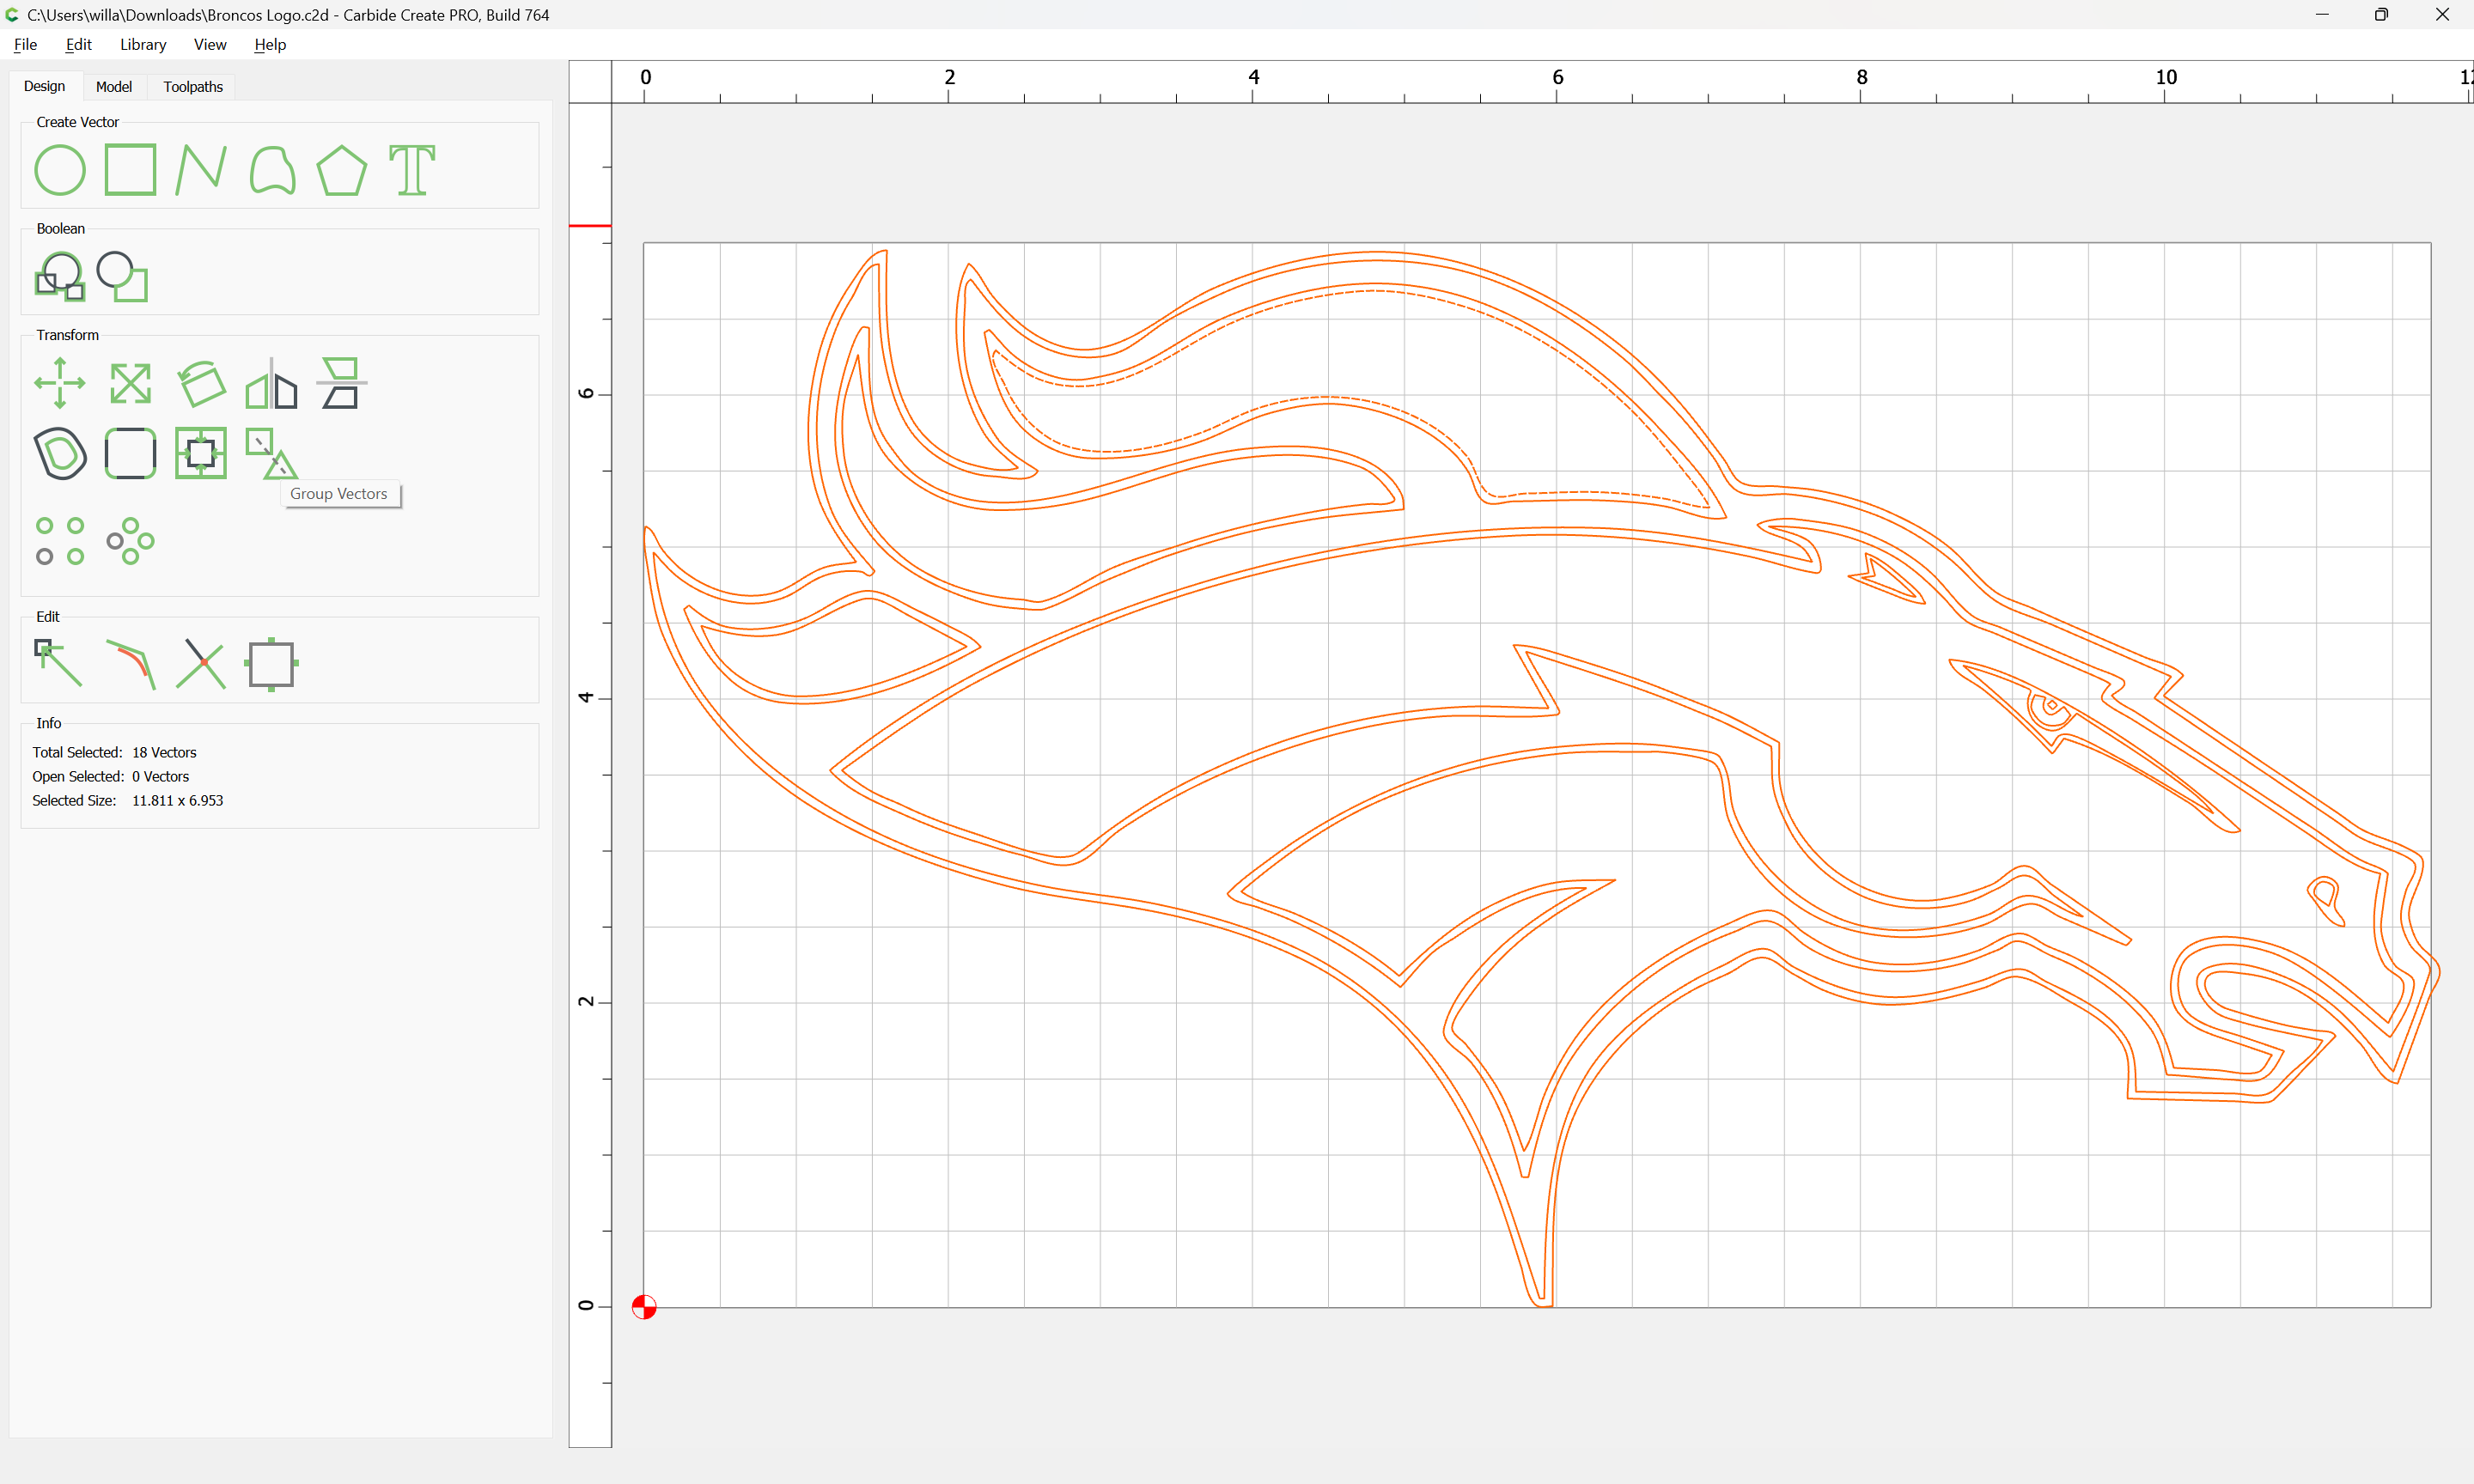
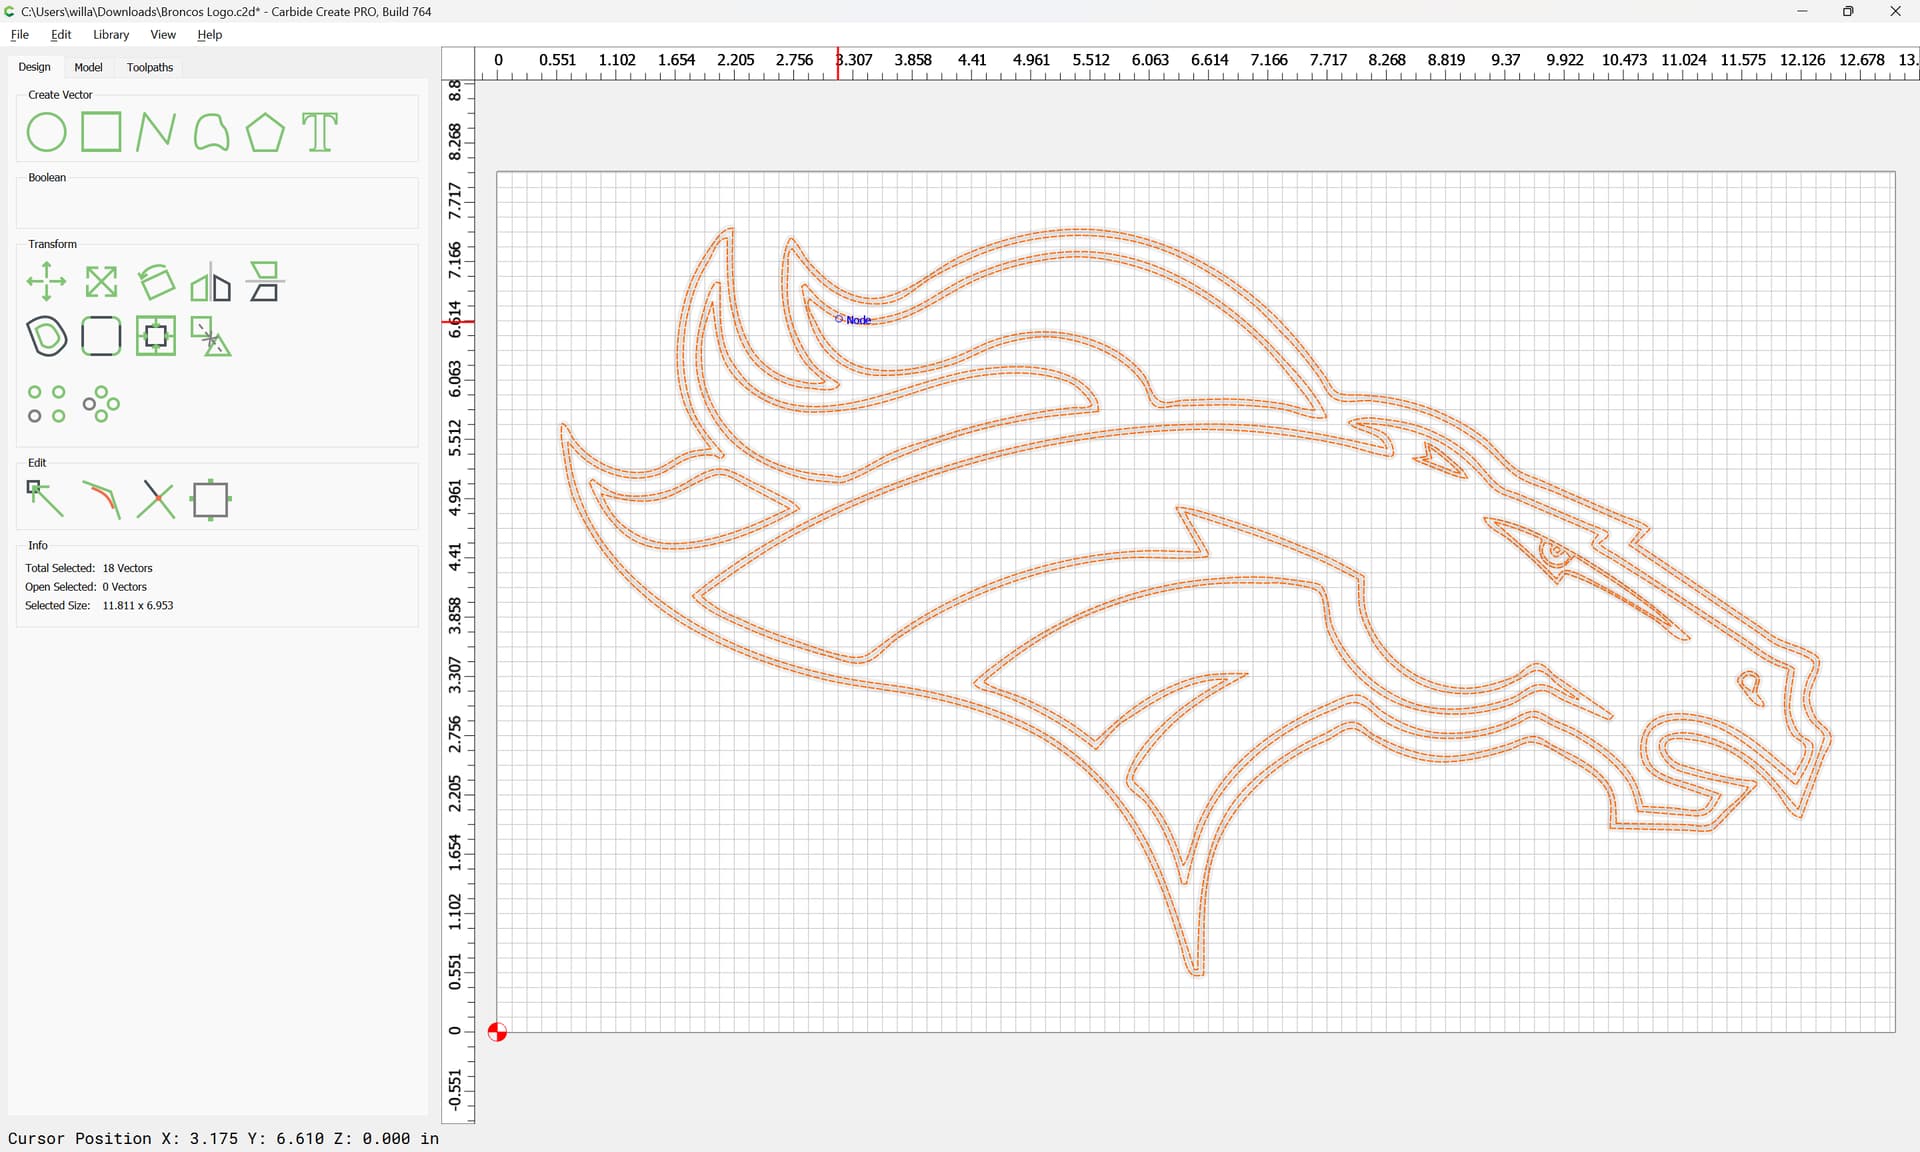
I’ve actually gone in to the file and removed the double lines and did a little node editing. How do you change a node from a round node to a corner node?
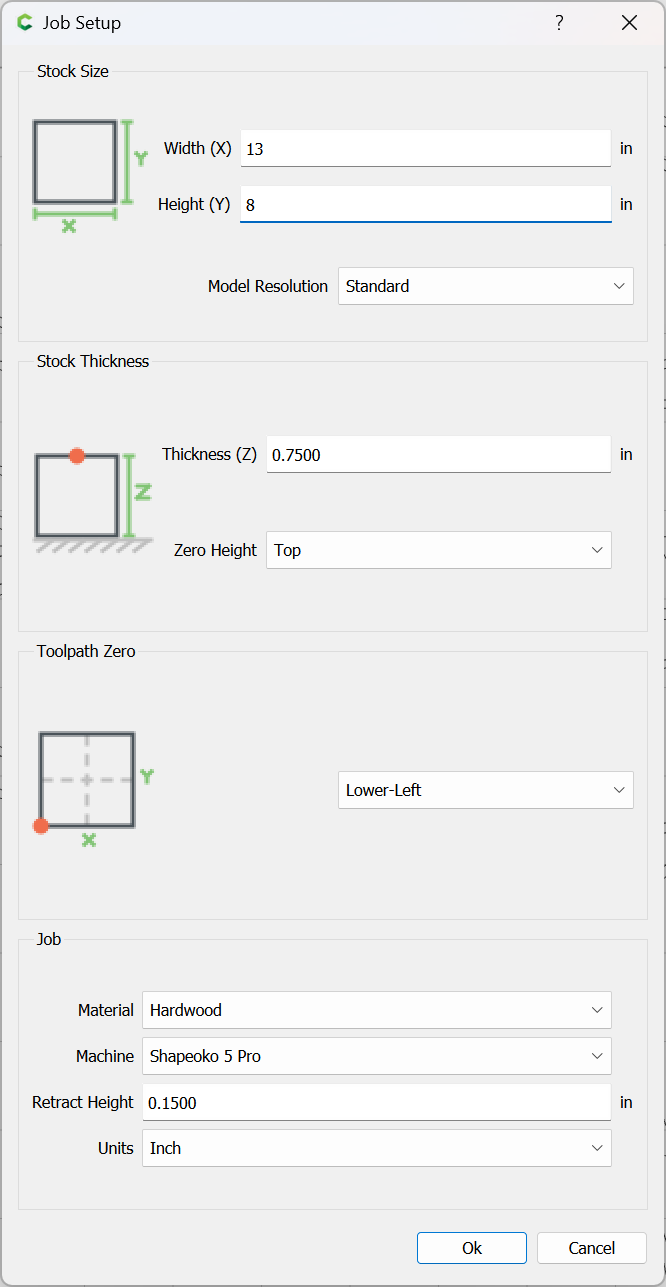
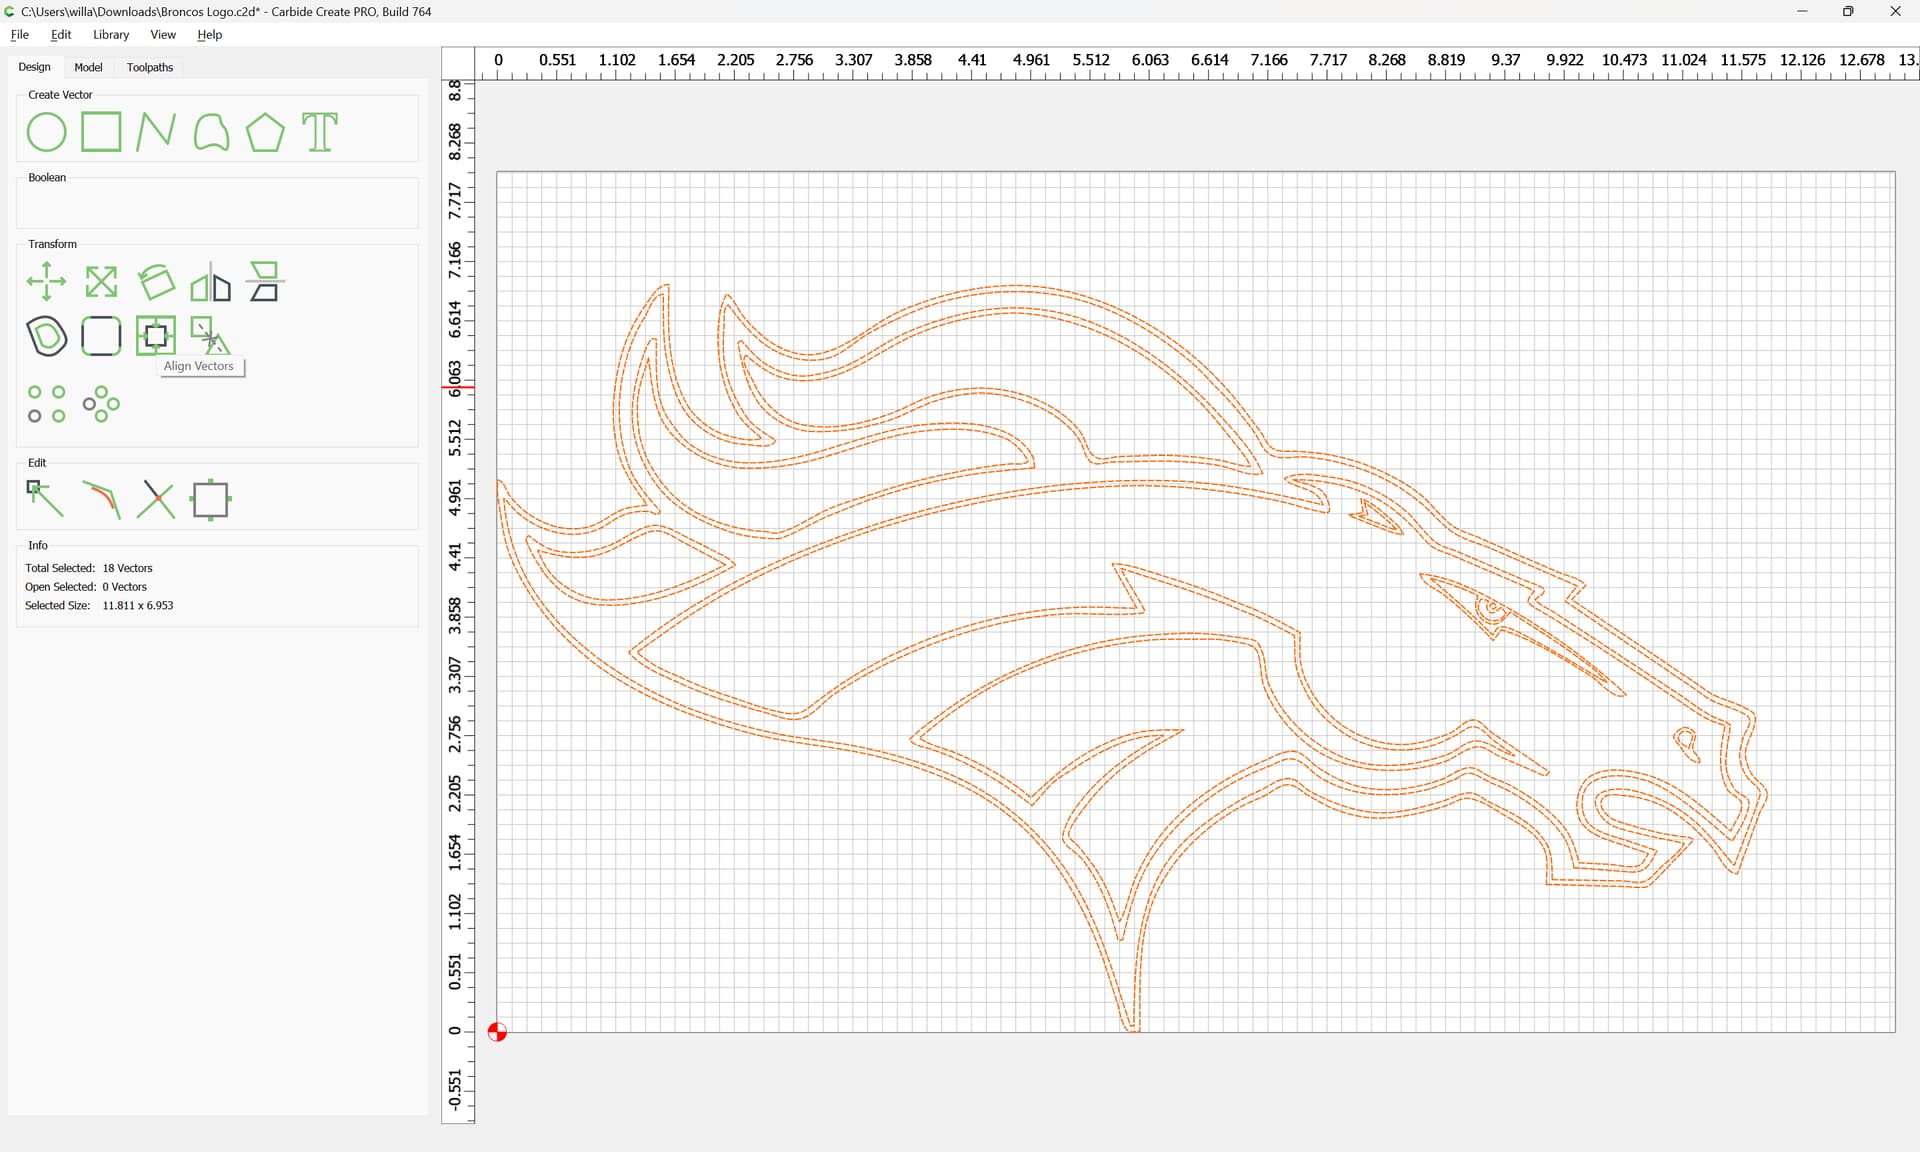
Thanks for the reply. I’ve gone in and removed the double lines and cleaned up some nodes. Still learning how to work in Create. Does this logo file look better?
Yes, if that’s the type of cut you want to use. You could select the areas surrounding the blue, which would be everything except the 4 vectors surrounding the red (3 in the mane, 1 in the eye).
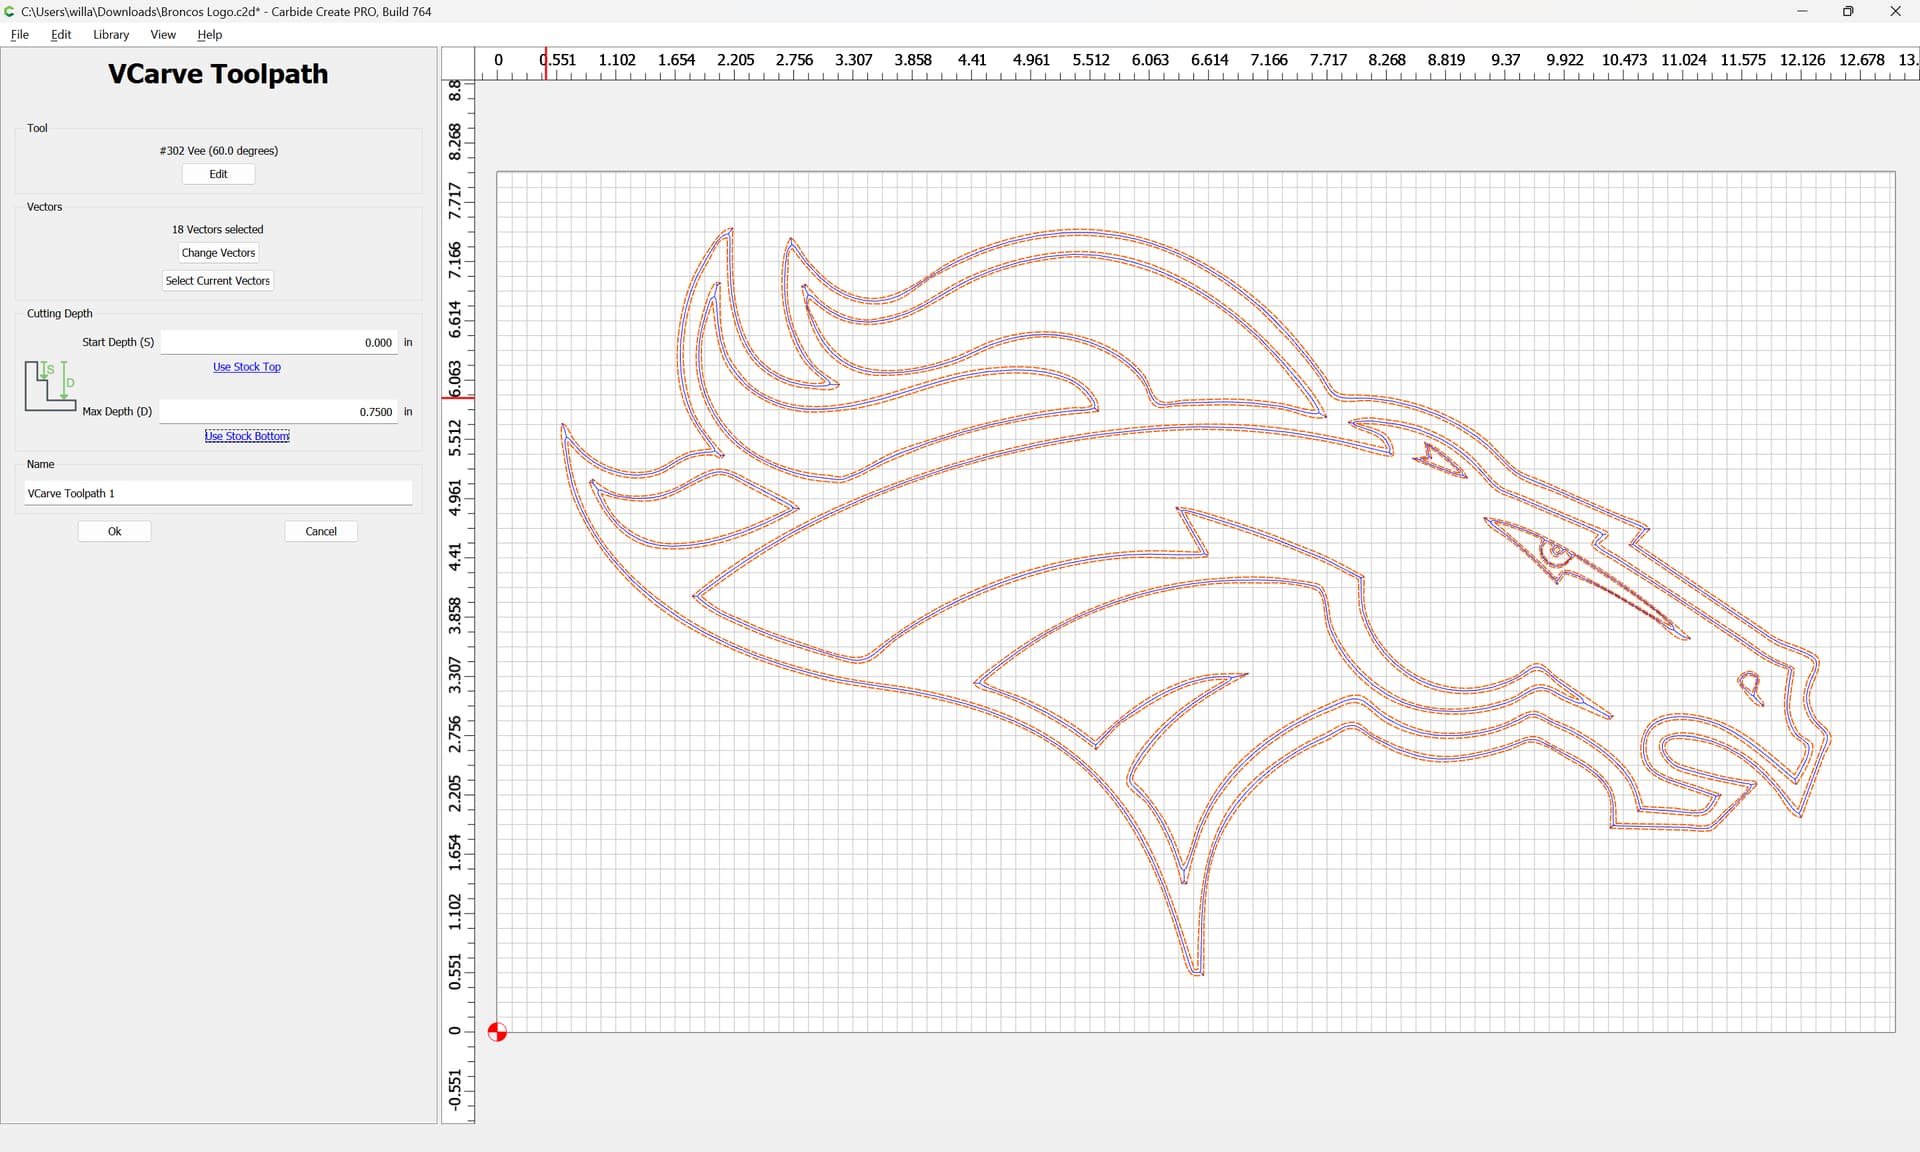
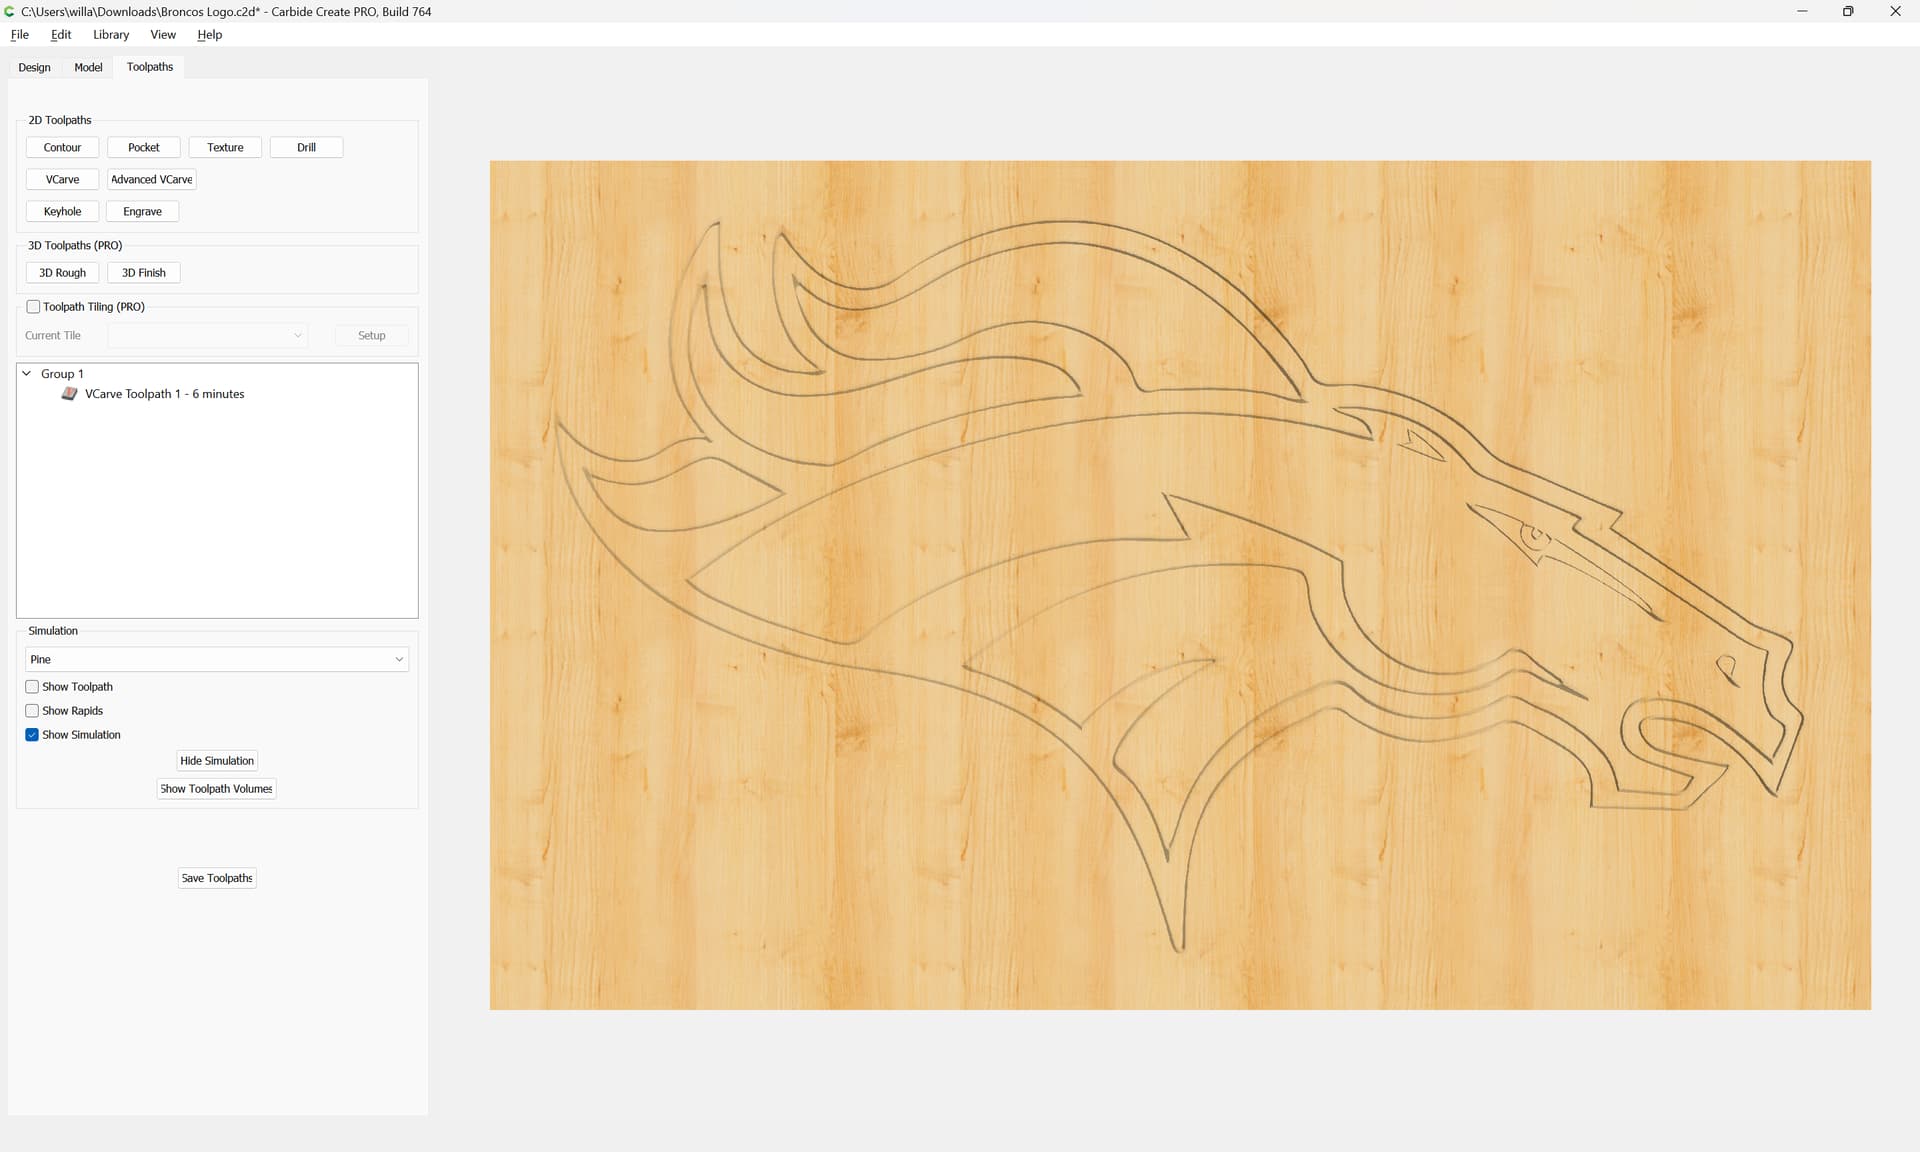
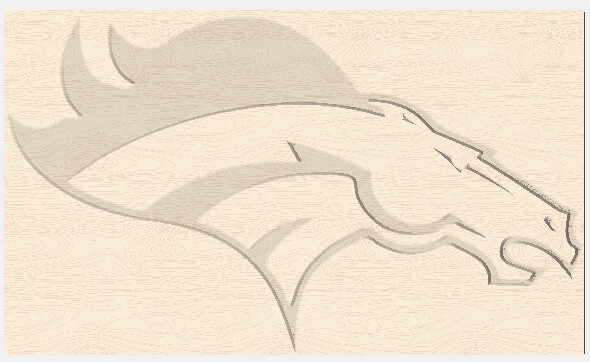
Here’s an Advanced V-Carve 0.100 deep.
Fill that area with the dark blue epoxy, put it in a warm area & let it harden for at least 24 hours.
Then do another advanced V-Carve for the red areas
Fill that with red, and let it harden.
Then lightly surface the top until it’s flat & finish it.