Well, not necessarily a ‘select-and-click’ solution (although that would be a wow solution), but anything that converts to greyscale, identifies contour and provides depth setting configuration. That may be a “wow” solution and unavailable as well.
MeshCAM used to have an option where one imported a pixel image and assigned depths/heights/modeling to different colours/regions — I don’t believe it is in current versions. @robgrz could speak to when it was last available and why it went away.
Yeah, a recurring theme on support is explaining to folks that there’s a reason why companies which sell depth maps are perfectly willing to show an image of the finished piece, but the depth map itself is only shown as a tiny thumbnail w/ a watermark.
one of the most basic features (maybe it is there and I just haven’t figured it out yet) is to be able to create an offset/relief. Since it’s a PNG, we can’t create an offset. This offset helps with 3D in both time of the job, as well as creates relief for ball bit on the edges.
Right now have to get creative, and use Inkscape or light burn to create the offset of image, then import into CC and “try” to get the scale right.
1 Like
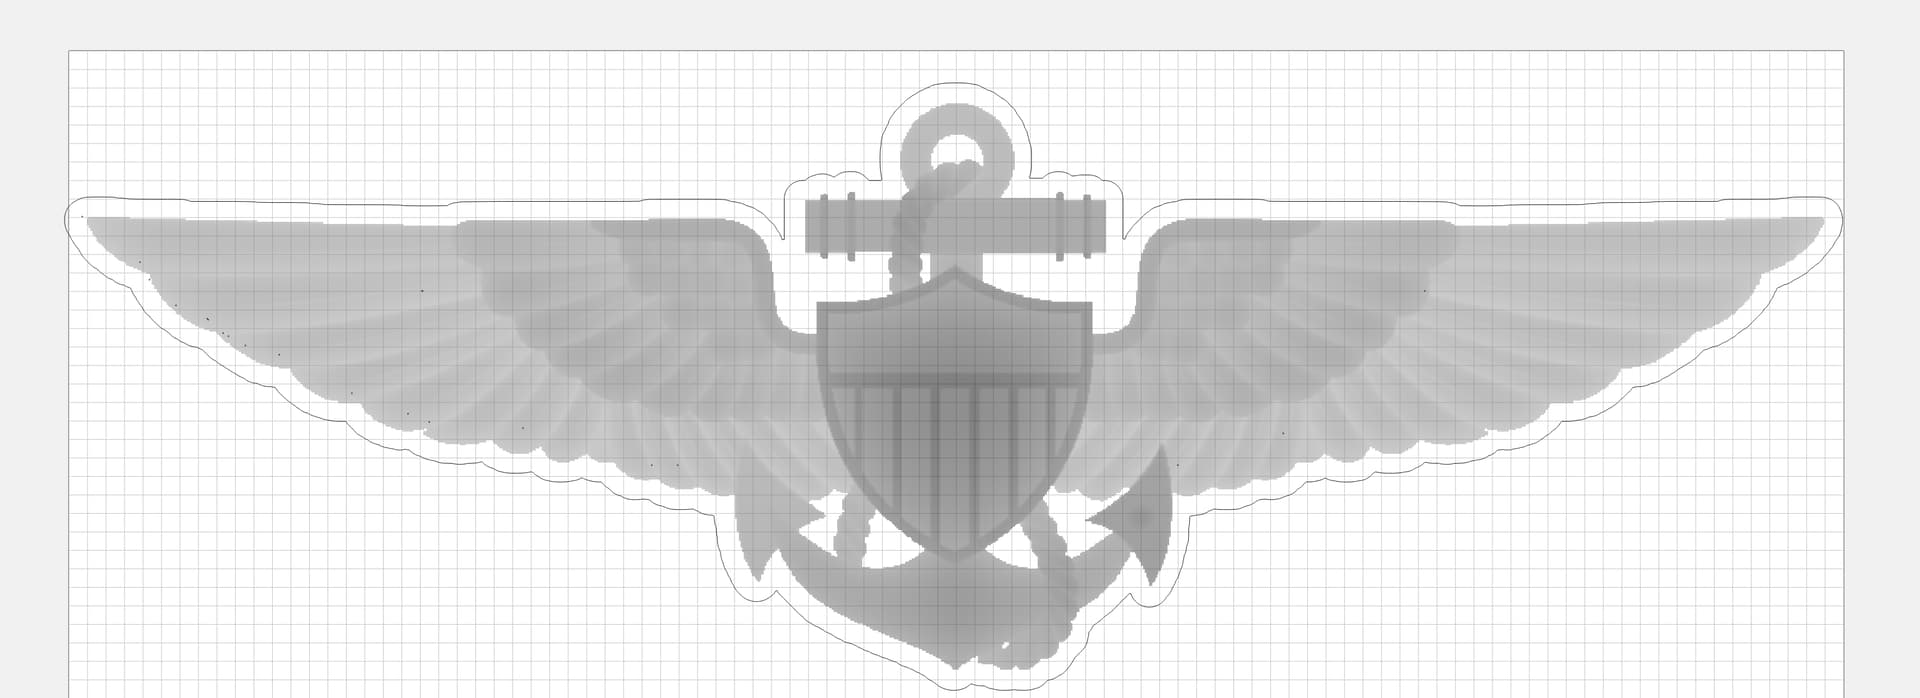
One of the items I’ve been trying to work out is putting a ridge on the inside on a chamfer. Think of rifling of a barrel but on the outside of the barrel & the rifling is a ridge that is @ 3/16” high.
I would like to do a project like this in several pieces of course. Maybe cut the front then mirror image the back and glue them together
Tad

Search YouTube for T Rex CNC you should get a guy Dennis Van hoof. He makes a tea Rex on a shapeoko He’s like the Yoda of CNC
You’re supposed project to be done very much like he does his T Rex
2 Likes
But, Tad was providing his answer to the question that was asked “What would you like to design in 3D in Carbide Create Pro”.
4 Likes
I create the same products with the only variable being the terrain, the height settings and such are always the same but I have to upload the image and set up the parameters each time. It’d be nice to edit the model component and replace the image, and honestly it’d be nice to edit the parameters after the fact too.
Example below.
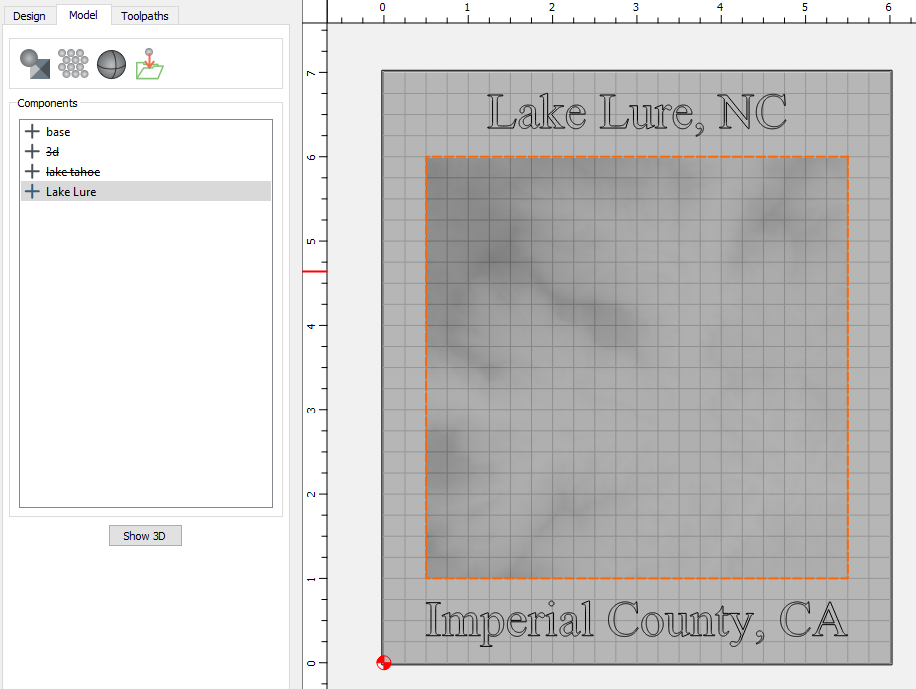
Beyond that, I find that deleting one component sometime deletes other components for whatever reason.
1 Like
Please send any files which have this problem (revert back to a state which has both components) in to support@carbide3d.com and we’ll try to have a developer look into them.
very cool ! thank you!!
I have had this happen as well you try to delete a component And two will delete
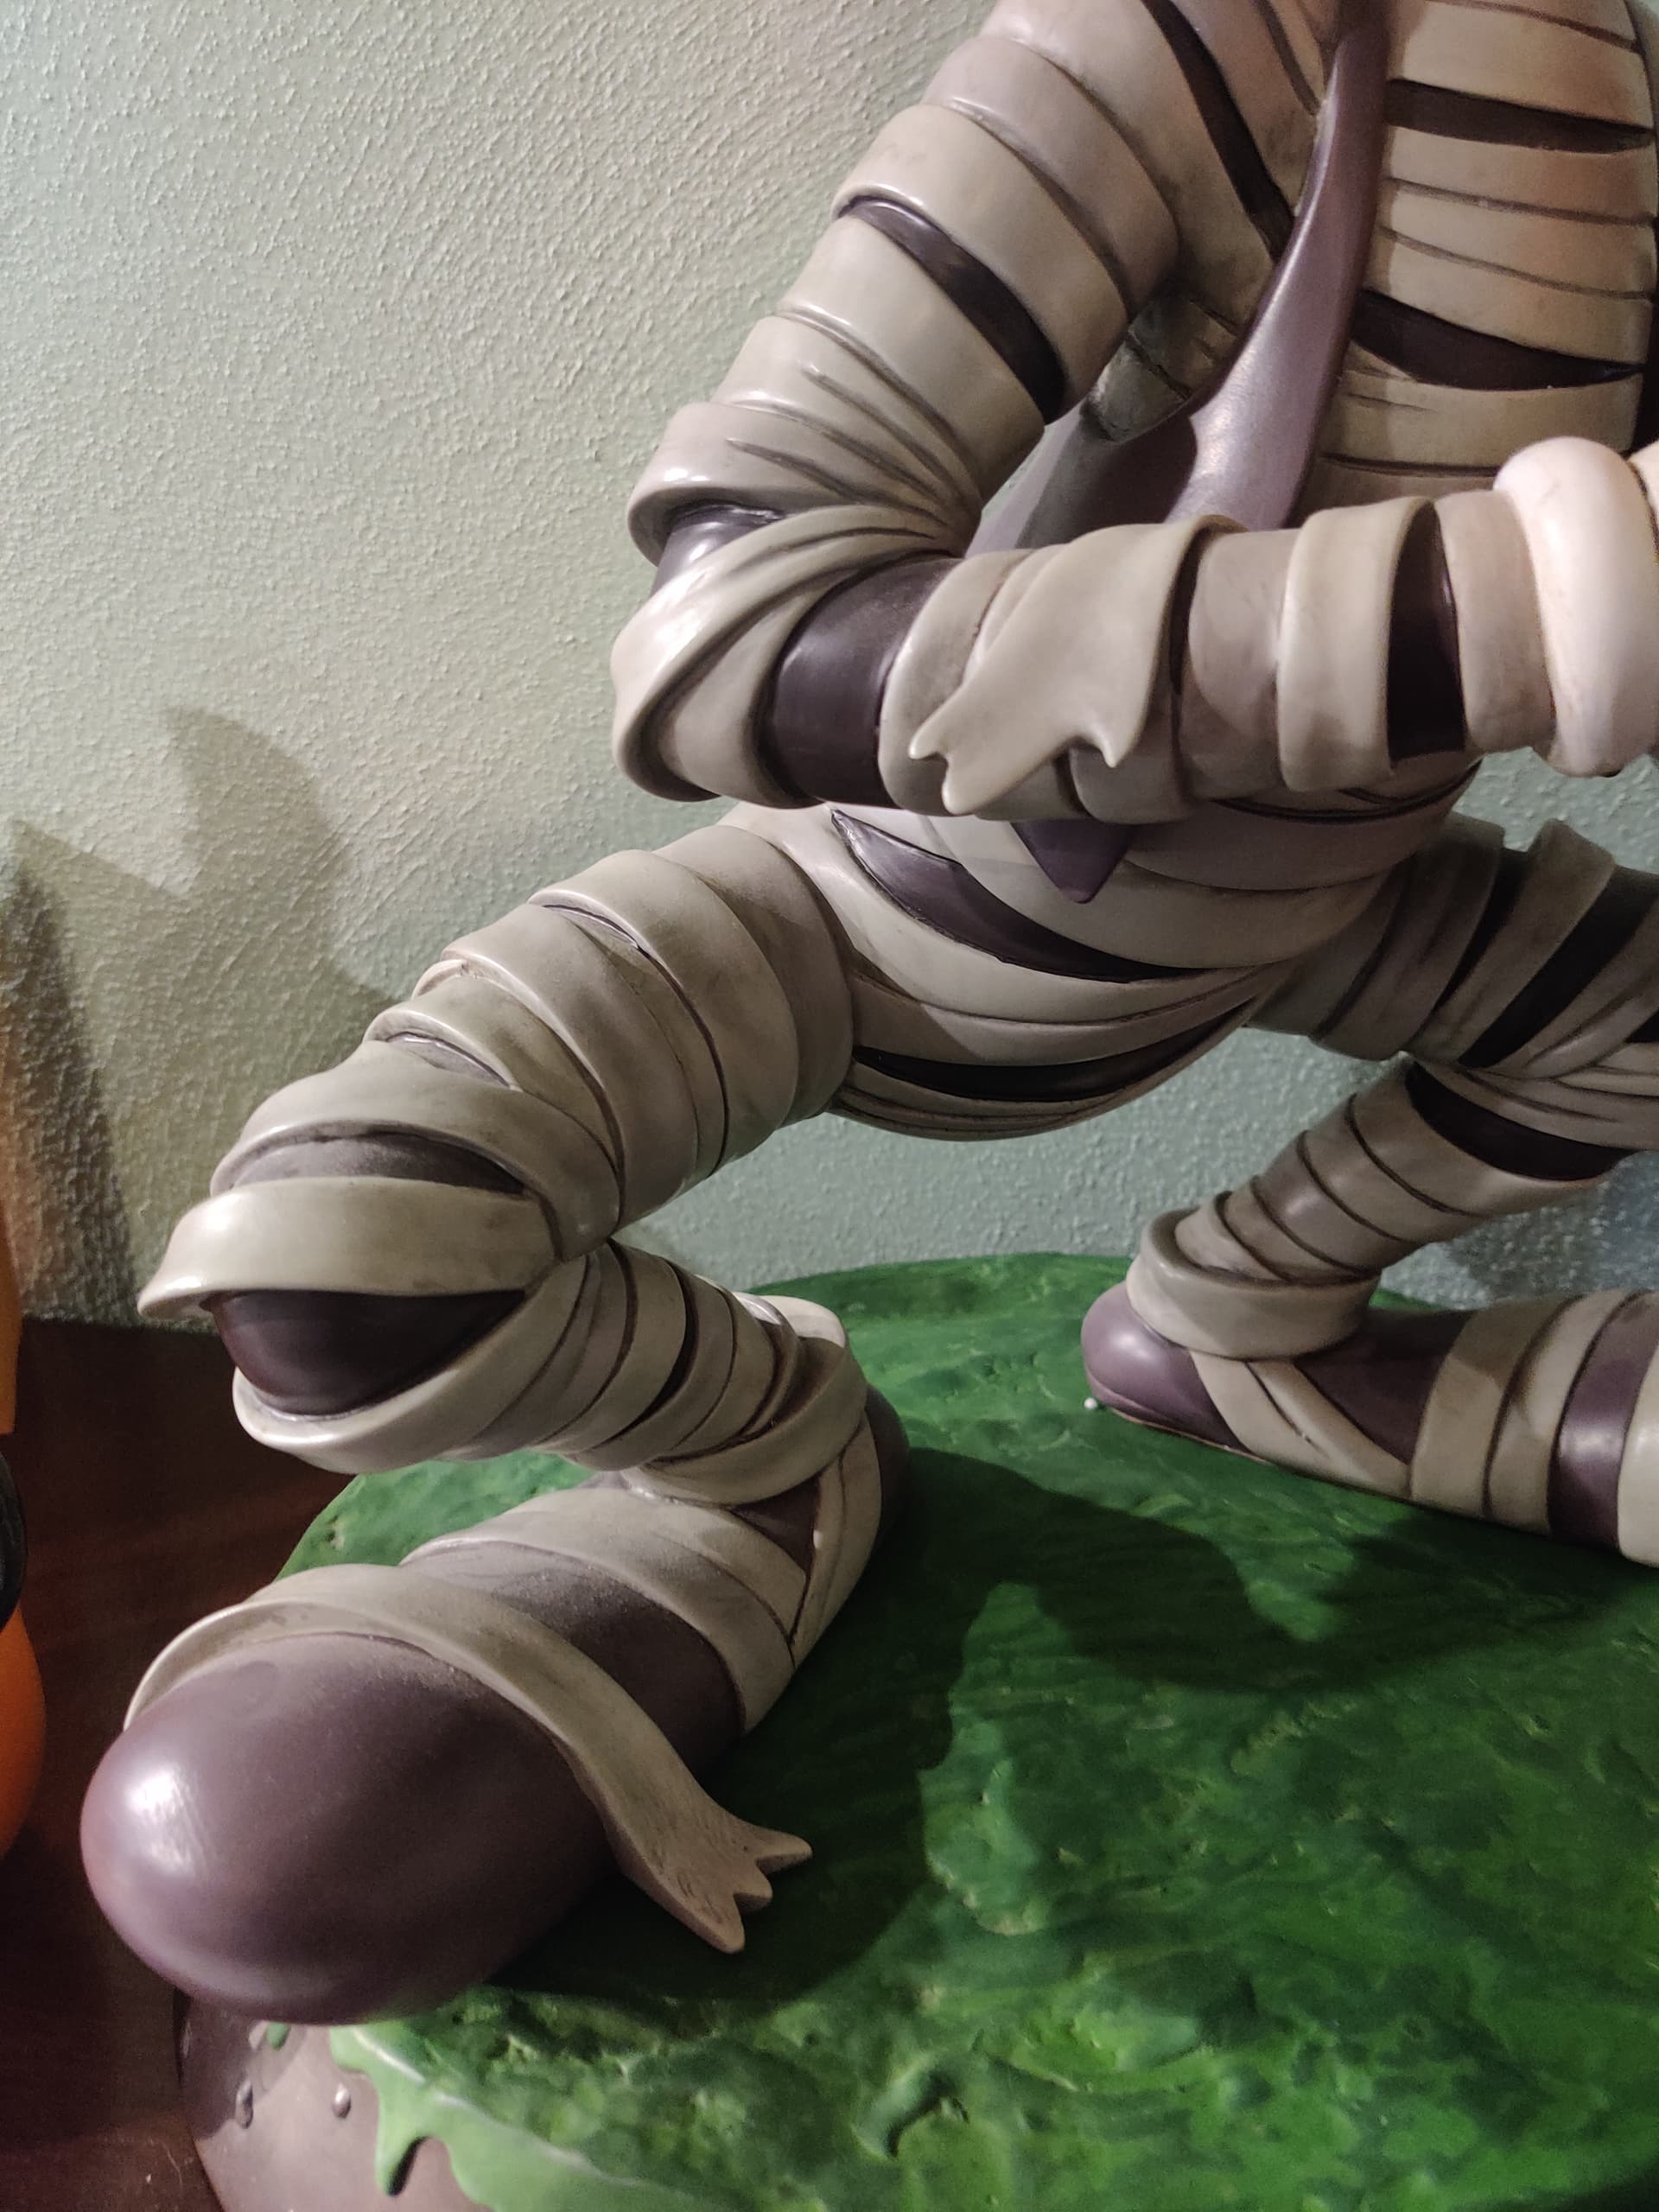
I made this turtle shell in Carbide Create Pro it is quite difficult to do these little ramp type details with the nominal carbide create pro tools. Following the contour of a lower level and still making ramp function is tricky.

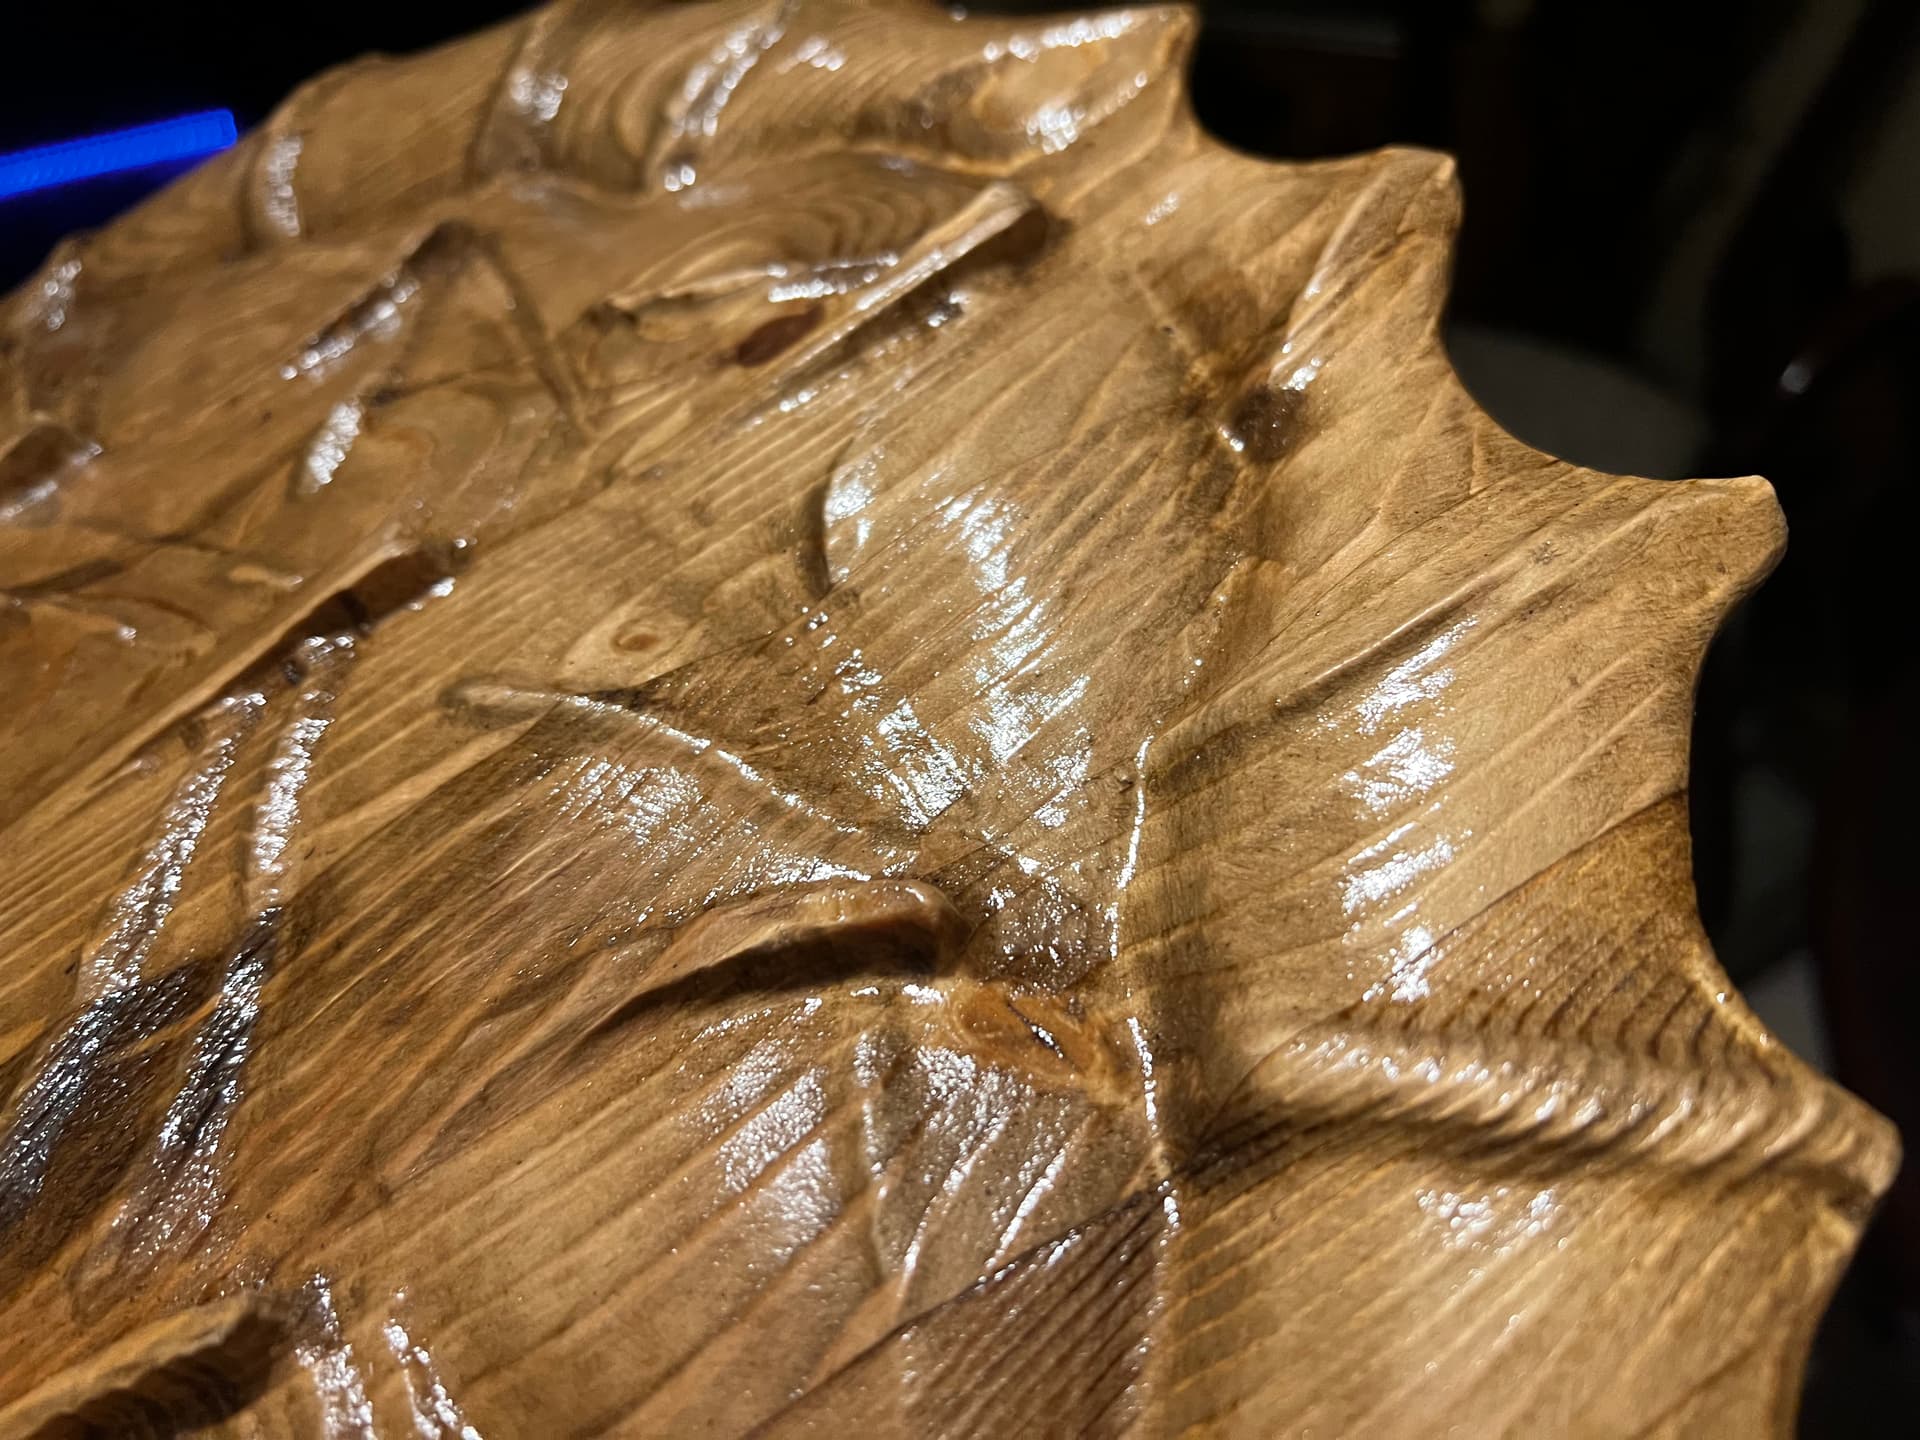
6 Likes
This might be a niche use case, but would it be possible to add .STEP files in addition to STL’s? The purpose of this would to do parametric/general CAD design with assemblies outside of CC, and then bring in those pieces to CC for easy CAM layout and more details as needed.
A really simple example: I have been working on a playing card box in Fusion 360. It’s in three pieces:
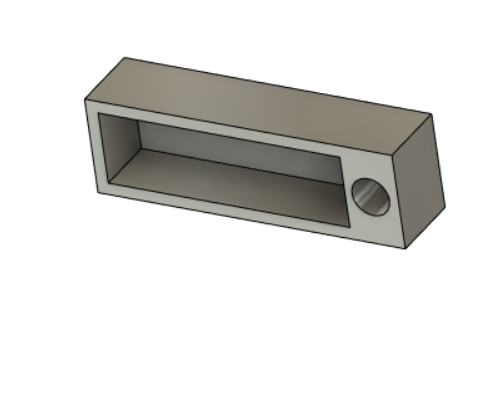
Bottom:

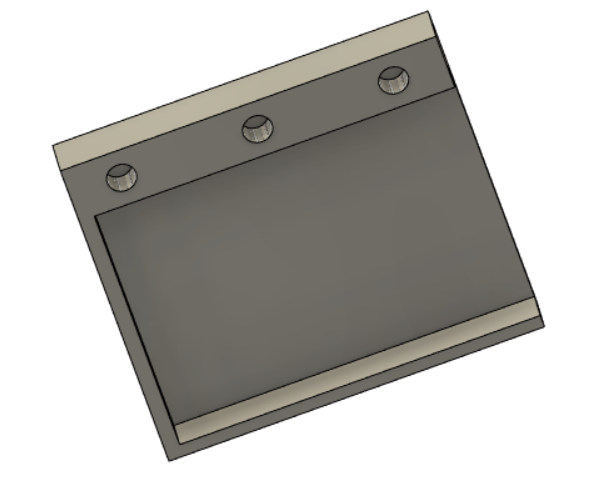
Top:
and lid:
I would like to add a 3D engraving to the top of the box, something like this:

So I guess the ask is two-fold.
-
For doing the general CAM in CC Pro, it’d be awesome to essentially lay out my .STEP file pieces for machining out all at once, spacing them out appropriately. The ease of using CC’s machining would save me headaches from wrestling with Fusion’s.
-
Having the ability to manipulate the step files in a way where I can duplicate the top piece for the second side 3d machining, and merge the STL with the STEP file followed by CC’s 3D toolpaths. This would also be great for V-carving, as Fusion rather tanks in that area.
The use of the STEP files would be helpful in the sense that I don’t have to worry about translating dimensions from Fusion to CC, and rebuilding from scratch (if I was just using Fusion as proof-of-concept, then moving everything manually over to CC for easy CAM).
Since CC reasonably won’t become a full 3D CAD program, I see this as a potentially helpful bridge in my design workflow. Again, this is a simple example…but I can see it widely applying to CAD designs and assemblies.
2 Likes
We were still getting a bunch of posts so I waited a little longer to pick a winner for the free Endmill Starter Pack. The random winner is post #17, which happens to be @rwalton .
Randy - Shoot me a DM with your current address and I’ll get that endmill pack out to you.
5 Likes
This topic was automatically closed after 30 days. New replies are no longer allowed.