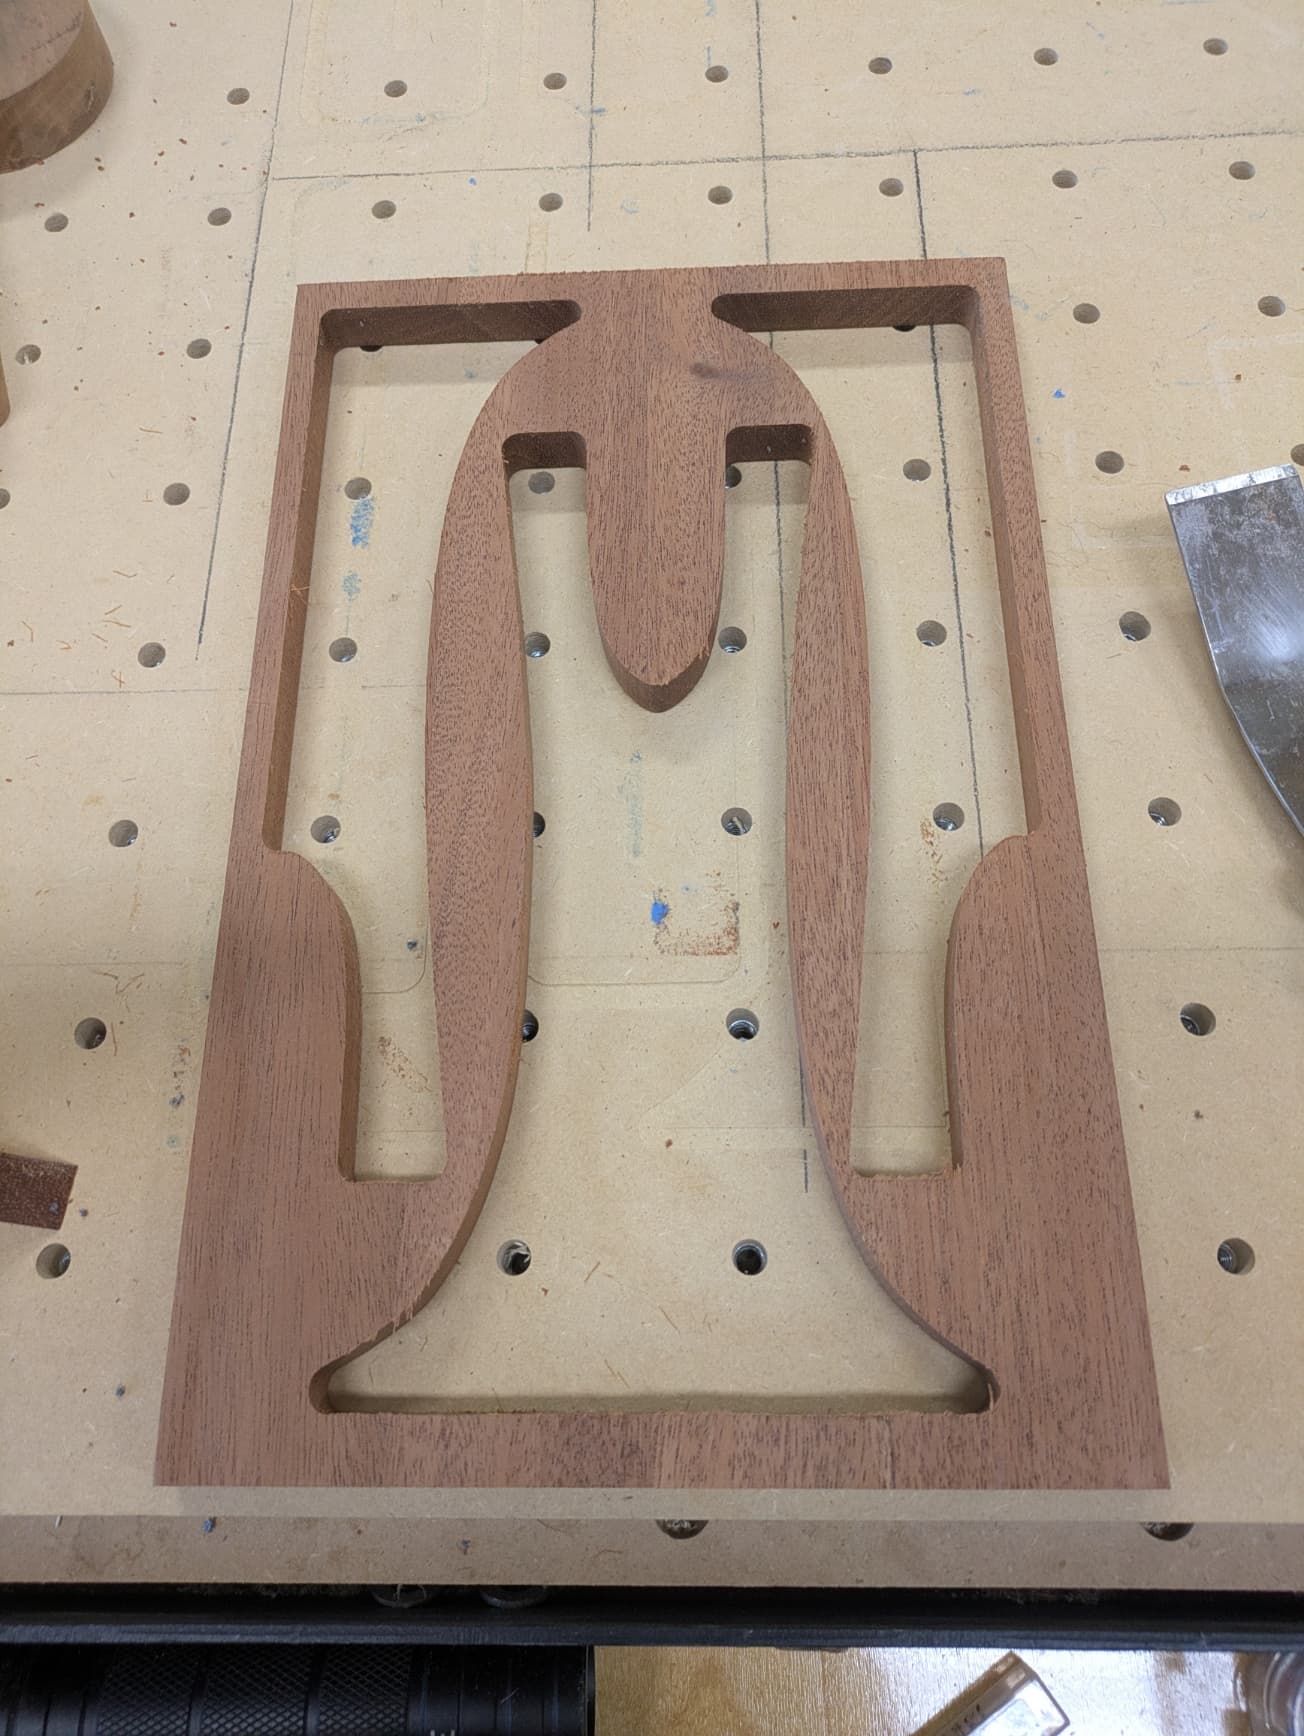
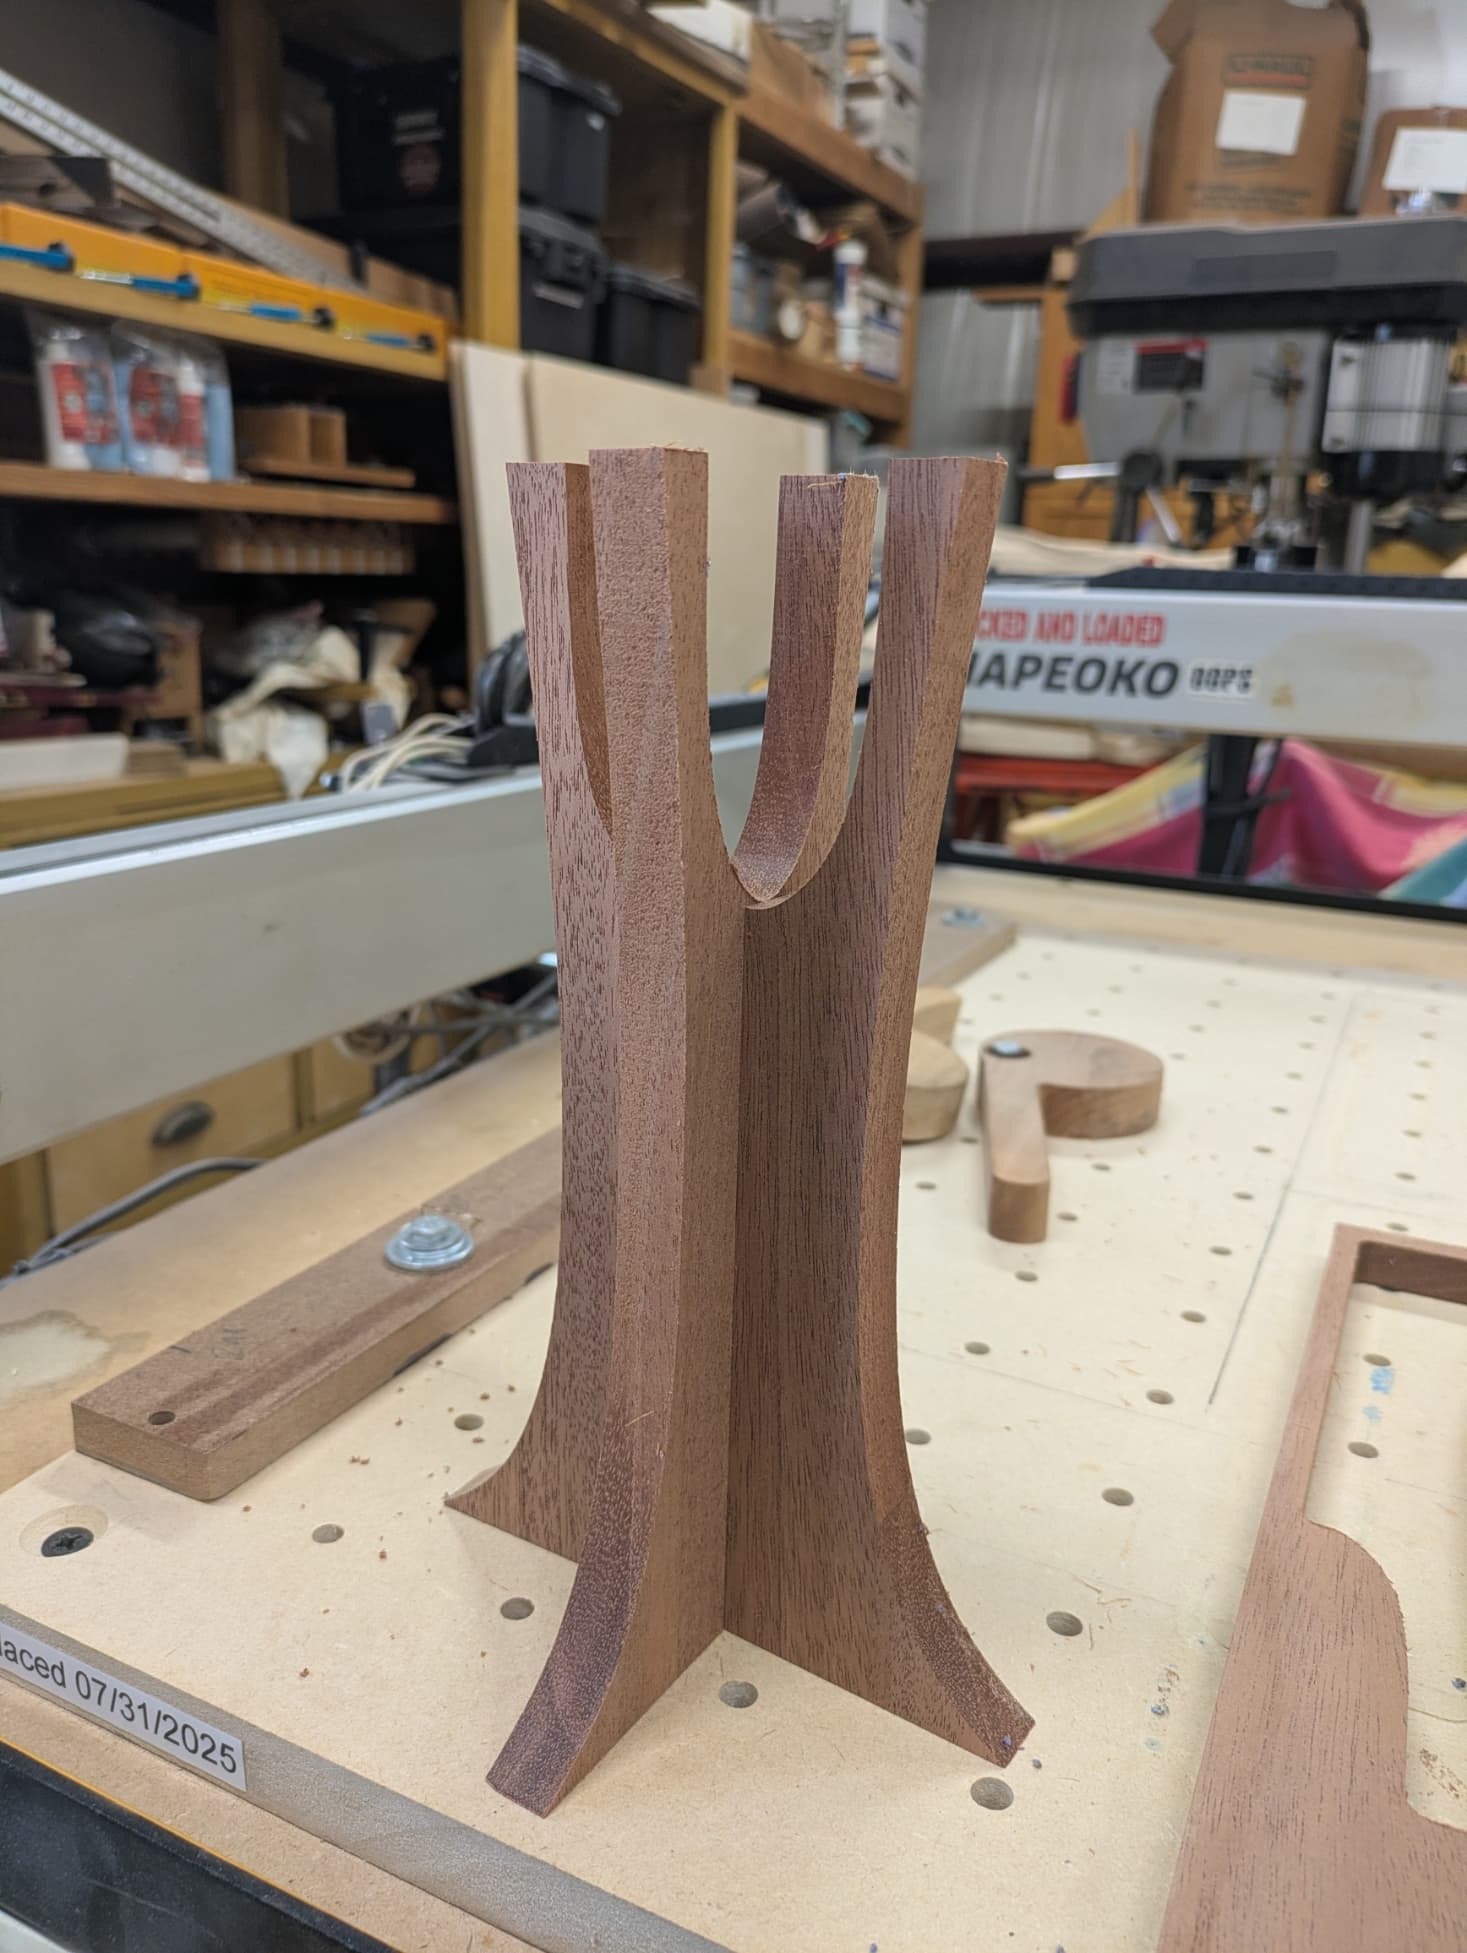
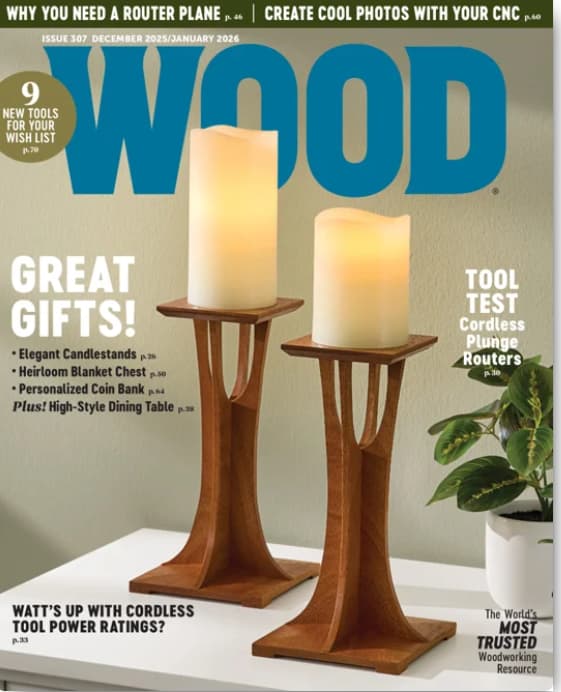
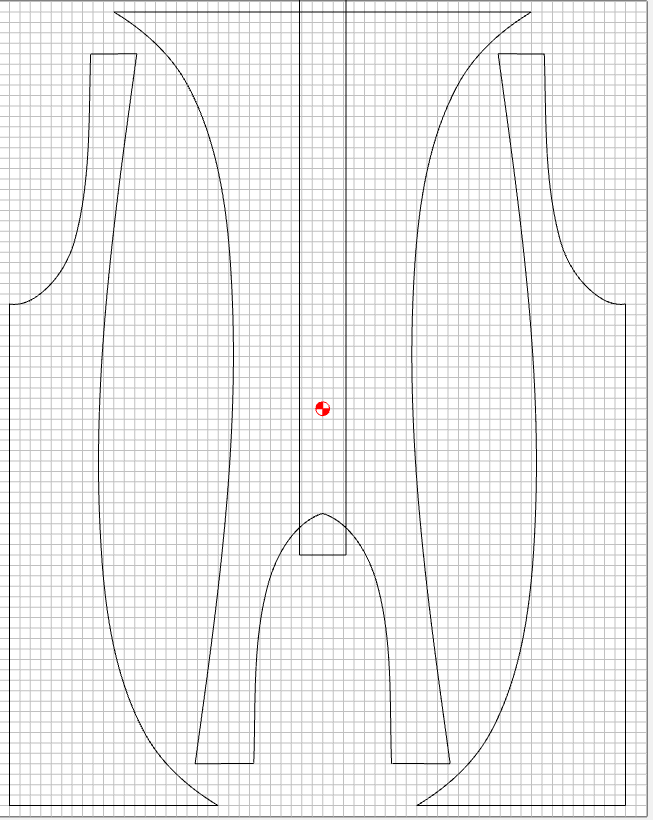
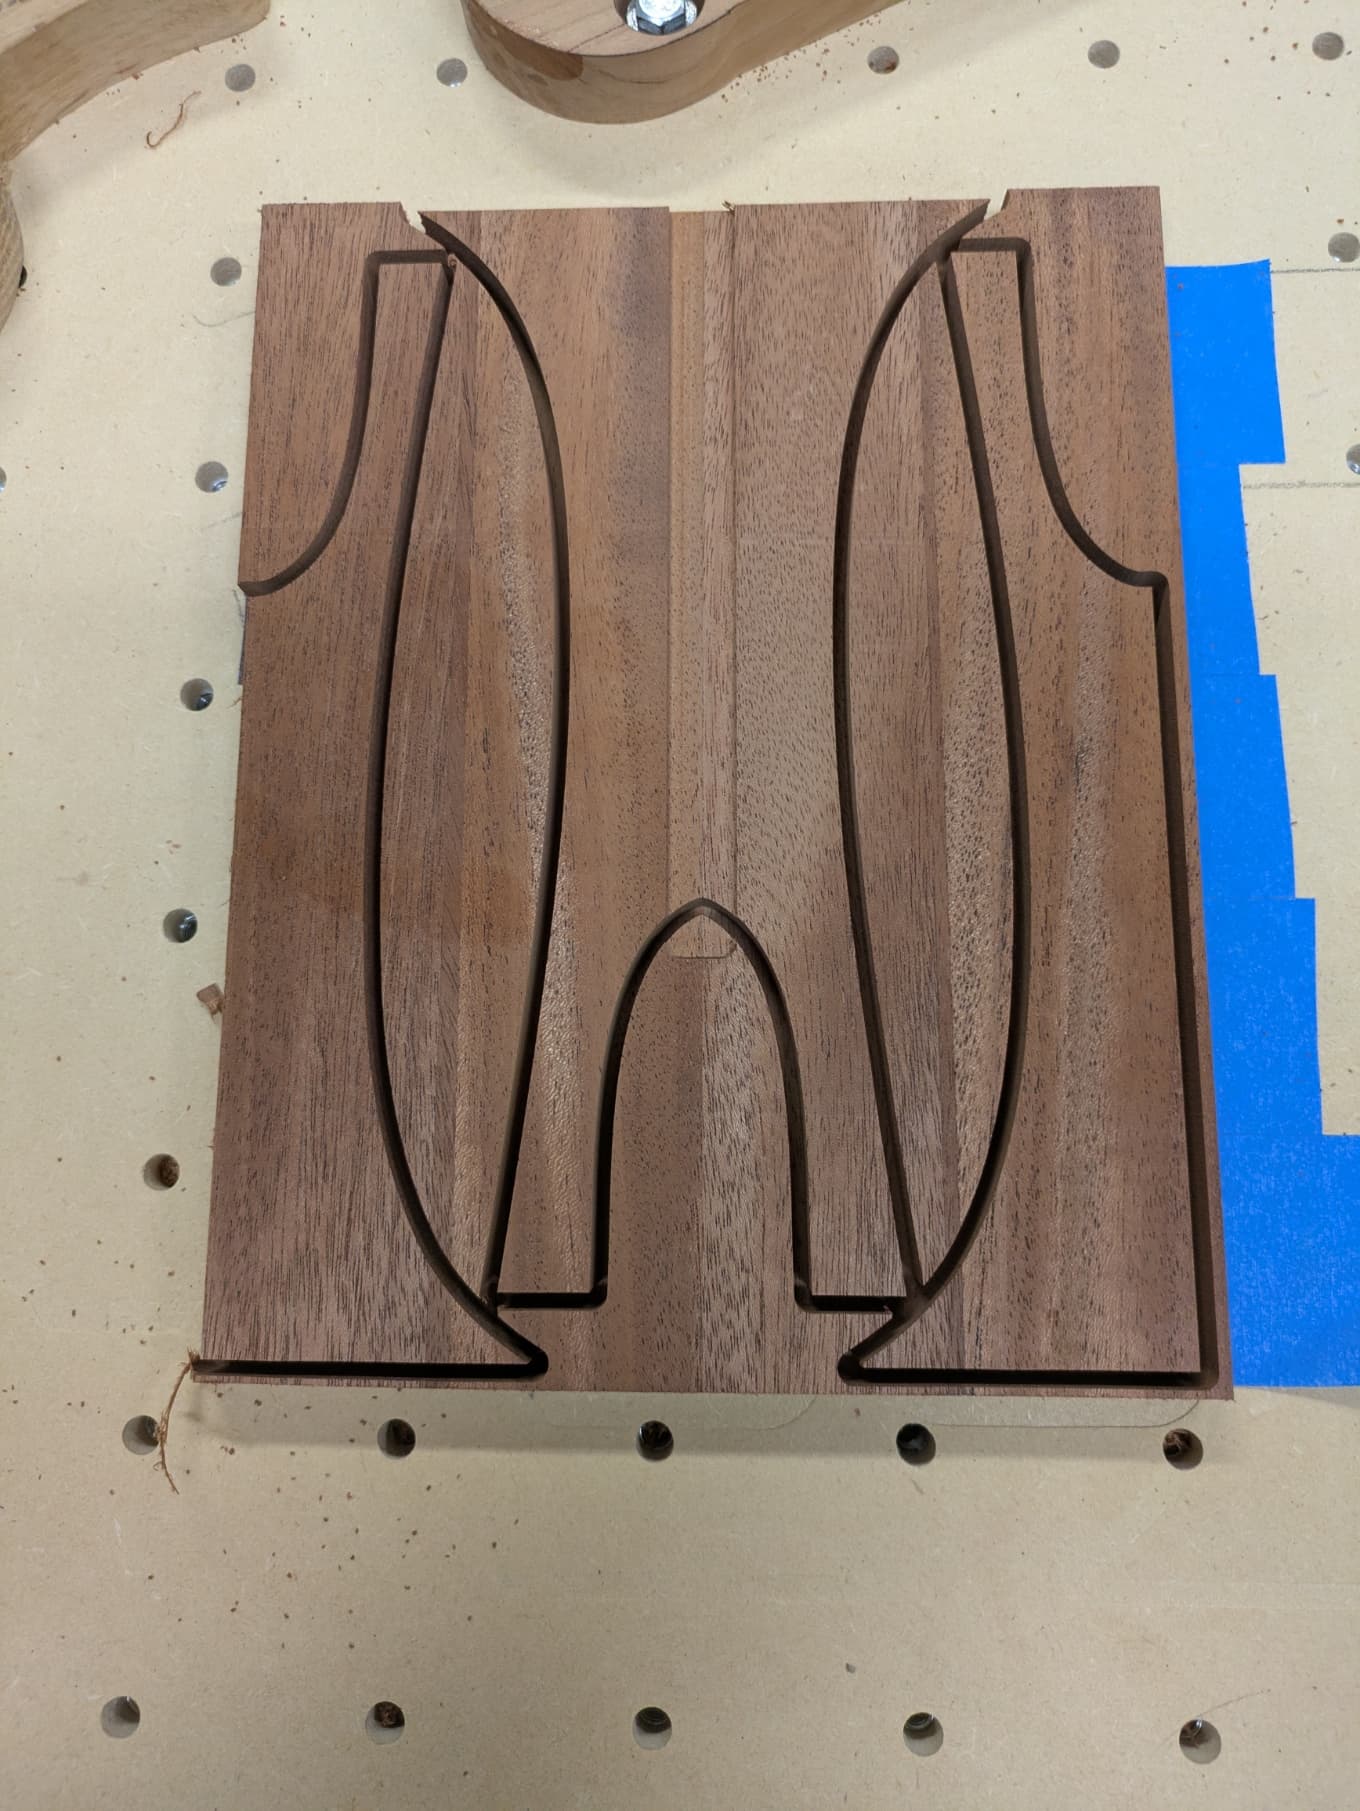
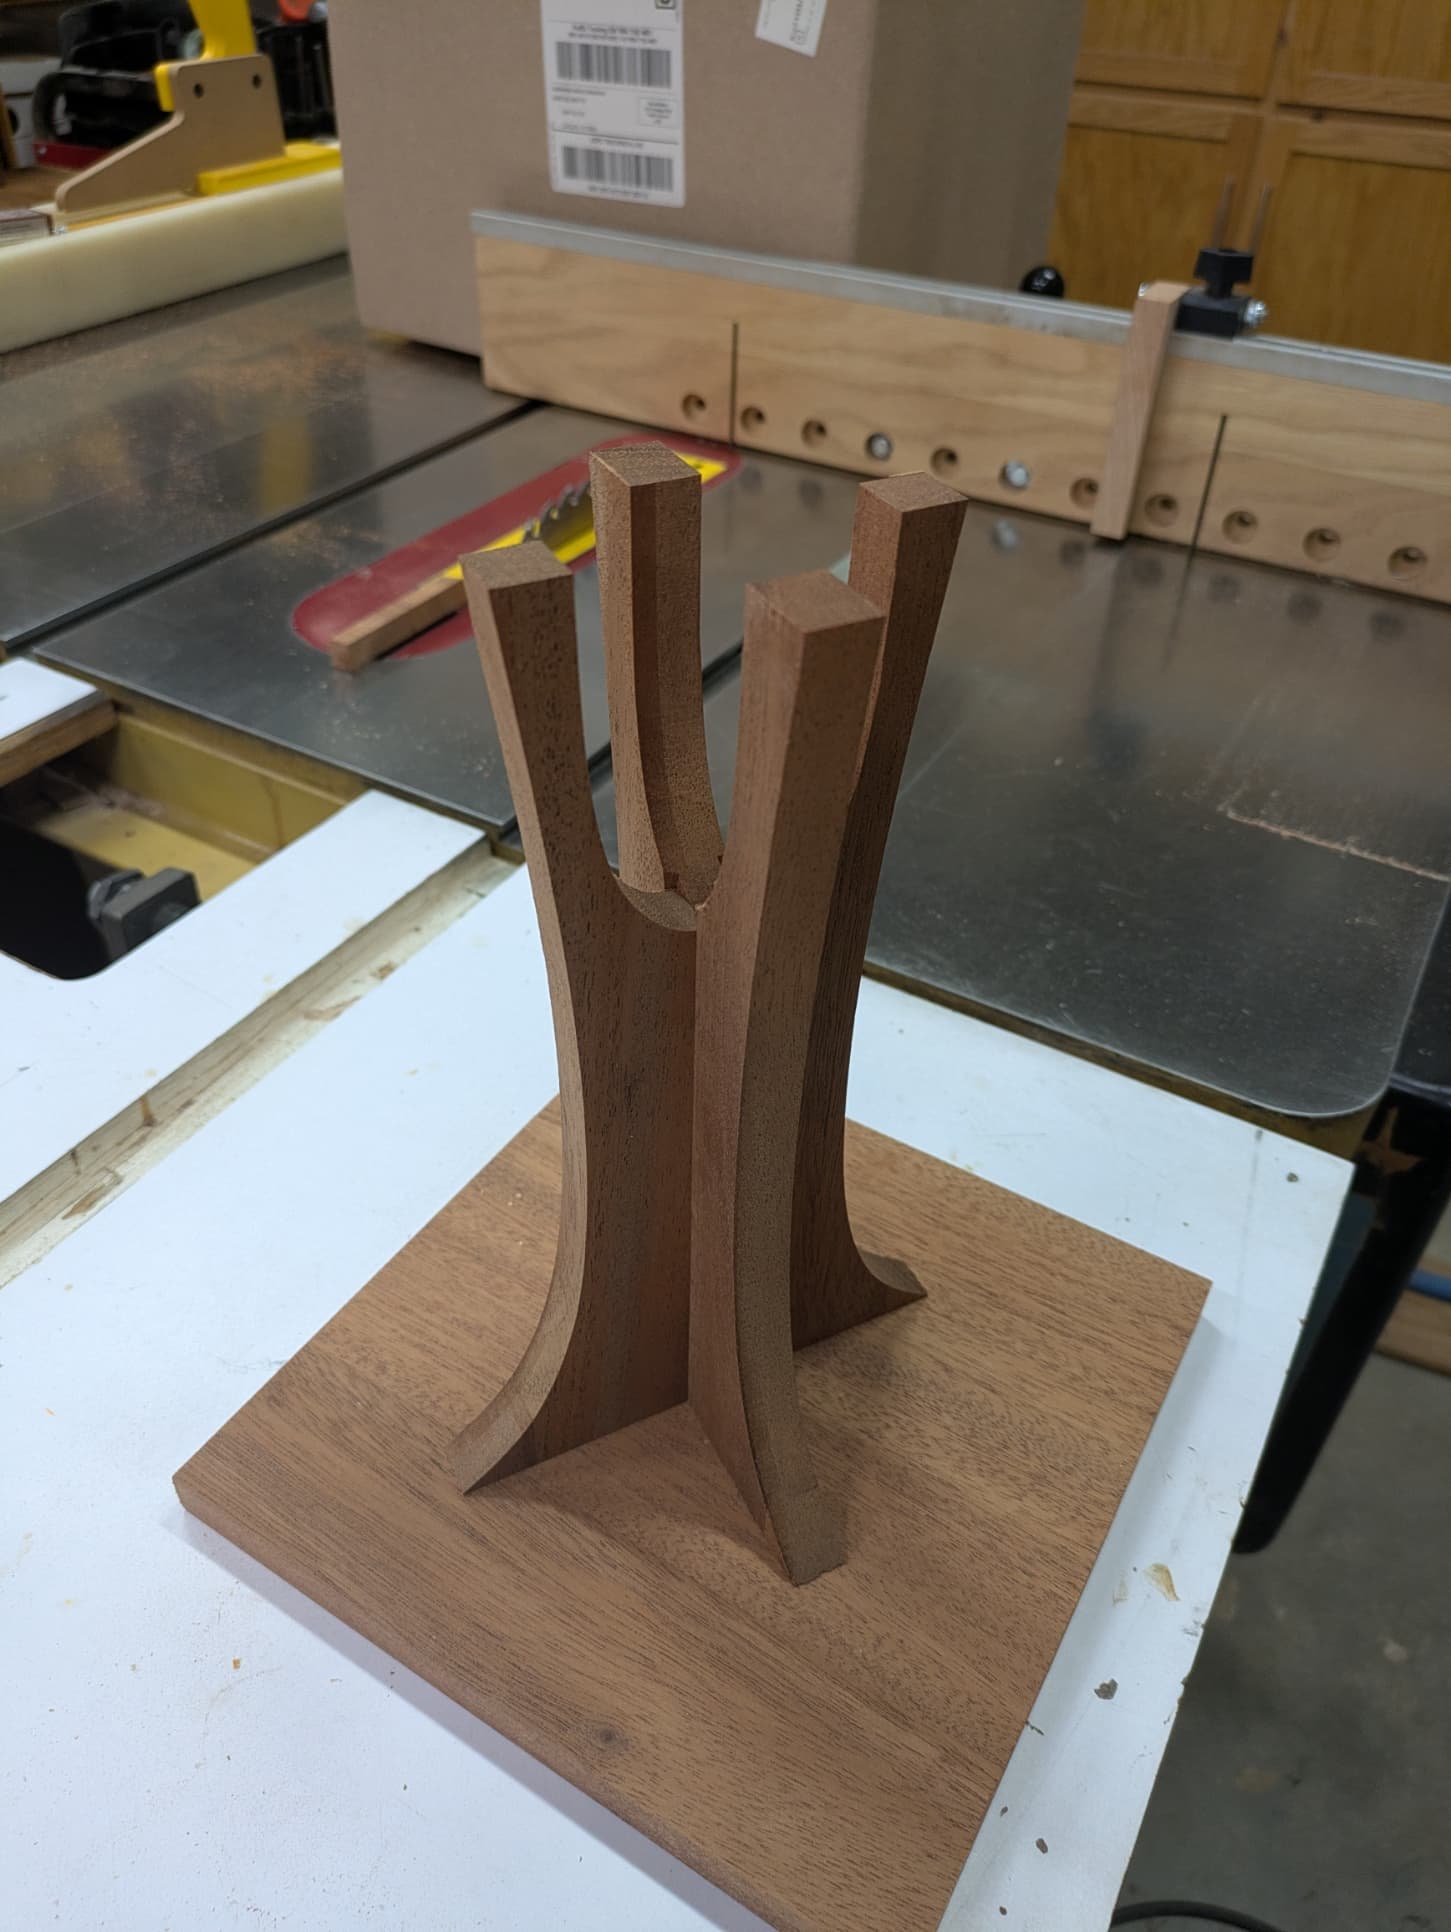
I found a plan in the recent Wood Magazine for a candle stick holder. I had a hard time turning the picture in the magazine into a good SVG. I eventually got it and brought it in CC. I had a bunch of 5/8" mahagoney and glued up a couple of pieces. I cut out the design today. There are some more parts to make like a base and top but just getting the complicated part done was fun.
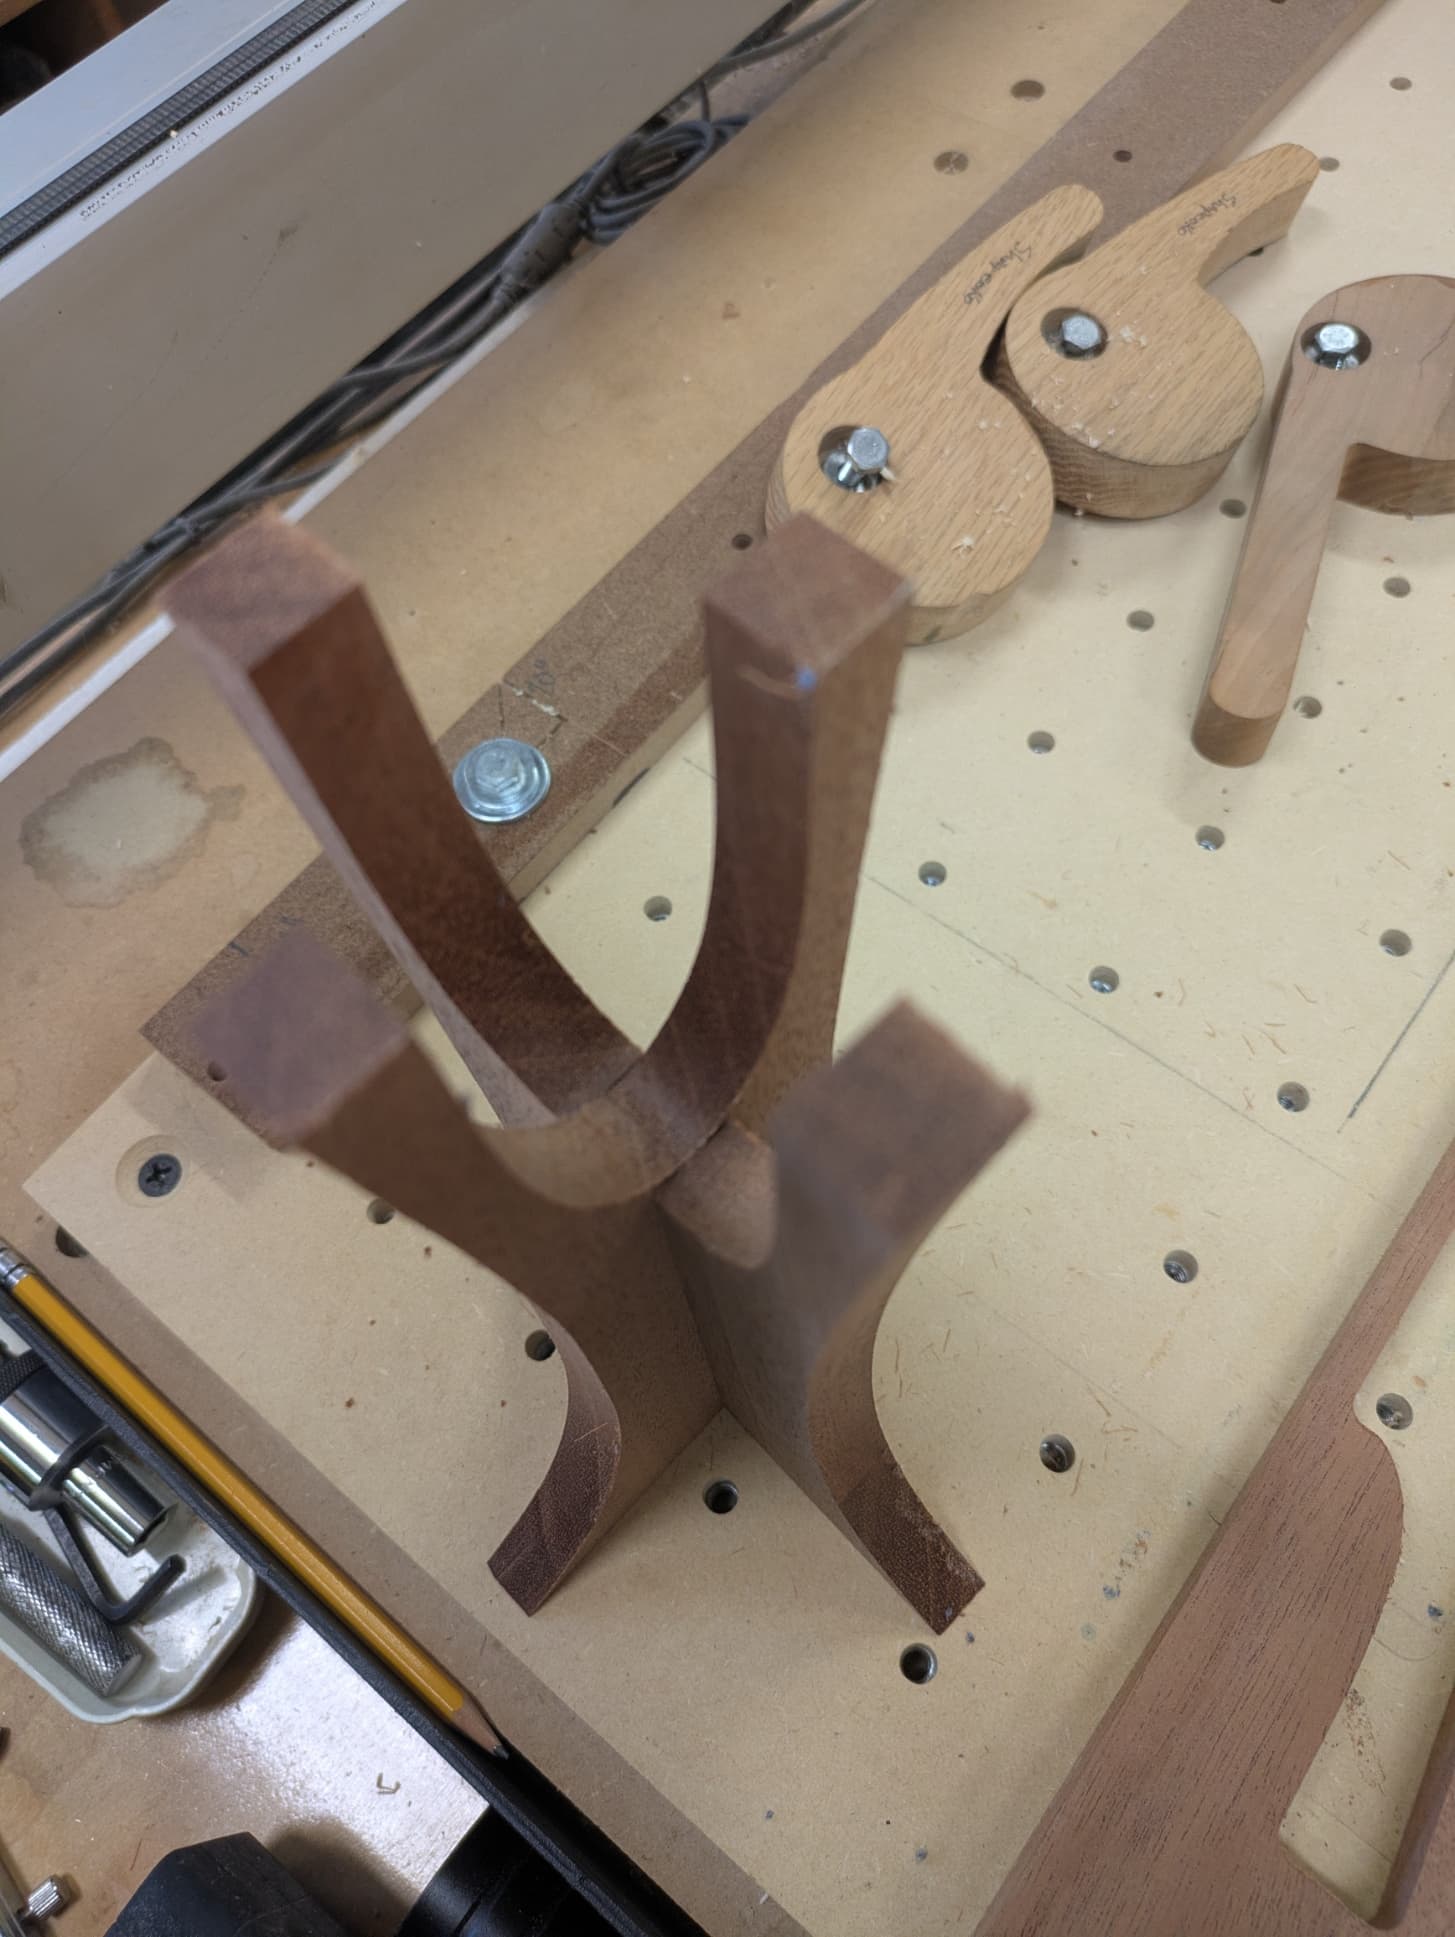
This project has been on the back burner for a while. When I designed it I made 2 mistakes. The center section as not symmetrical. To fix that I copied the design and reversed the copy. Then centered them both on each other and did a Boolean. That got them symmetrical. The second mistake was related to the symmetry but I did not put a groove into the main part to glue the side pieces on. So I designed the groove on the original design and it did not look centered. I did not trust my lying eyes. Because the piece was not symmetrical I moved the grove over to look centered. That put it off center slightly. I used pressure sensative tape and put it on a piece of plywood. I cut the first groove and it was slightly off center. So really my 3rd mistake is when I flipped the part over to cut the other side I measured and offset the X so the two groves would line up. Well I offset to the wrong side. I am not good at hanging upside down in the dark and get disoriented. So to fix this I am just starting over. I already had a piece of mahagoney glued up to makethe top and bottom of the candle holders. So I will cut that out this afternoon. After cutting the groove on the first side and the additional pieces I will use the plywood trick to cut the groove on the other side.
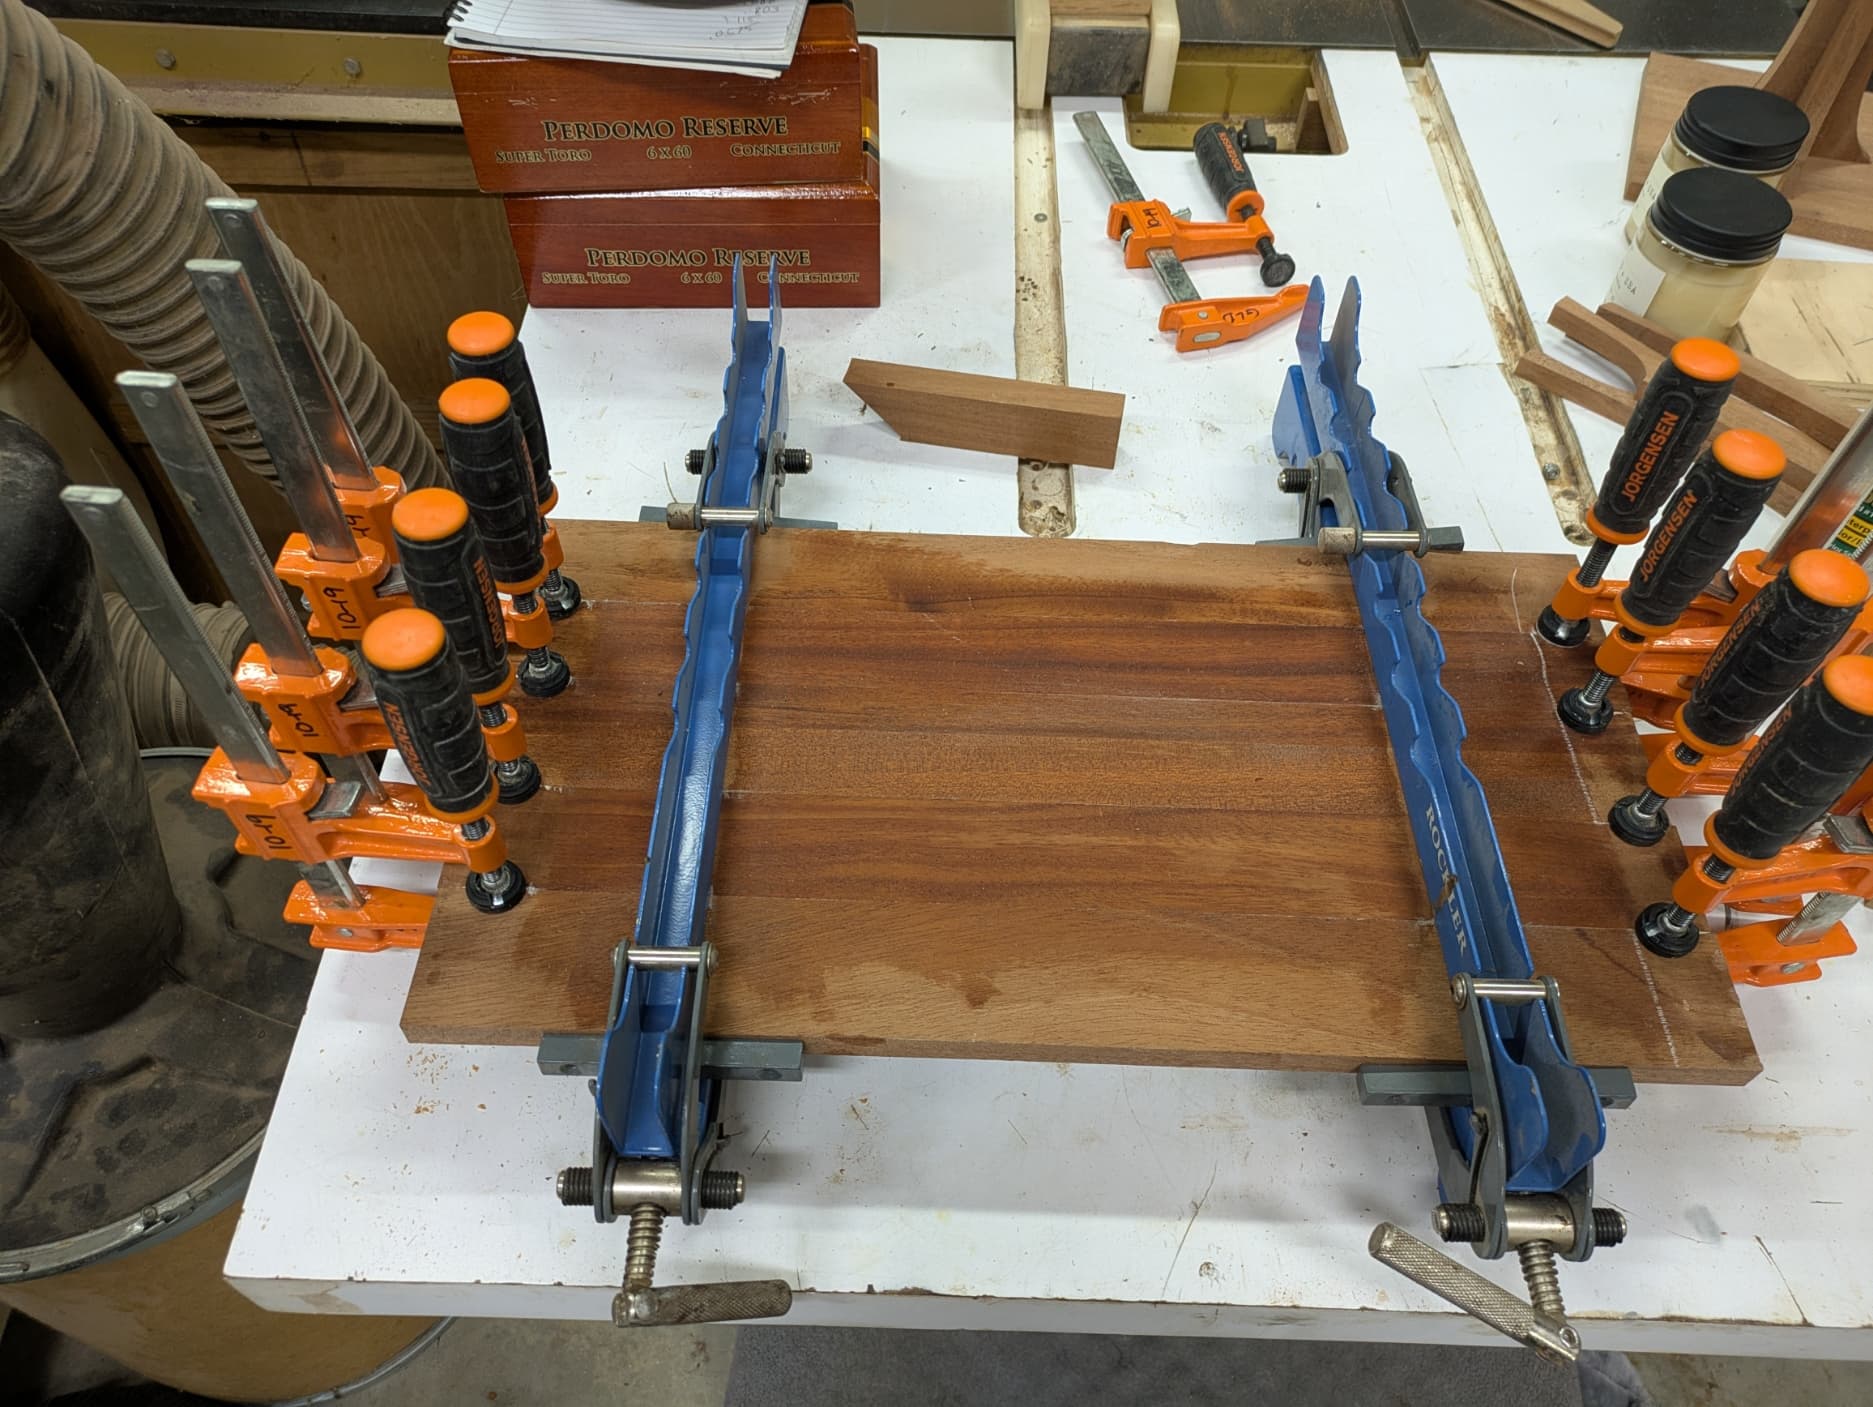
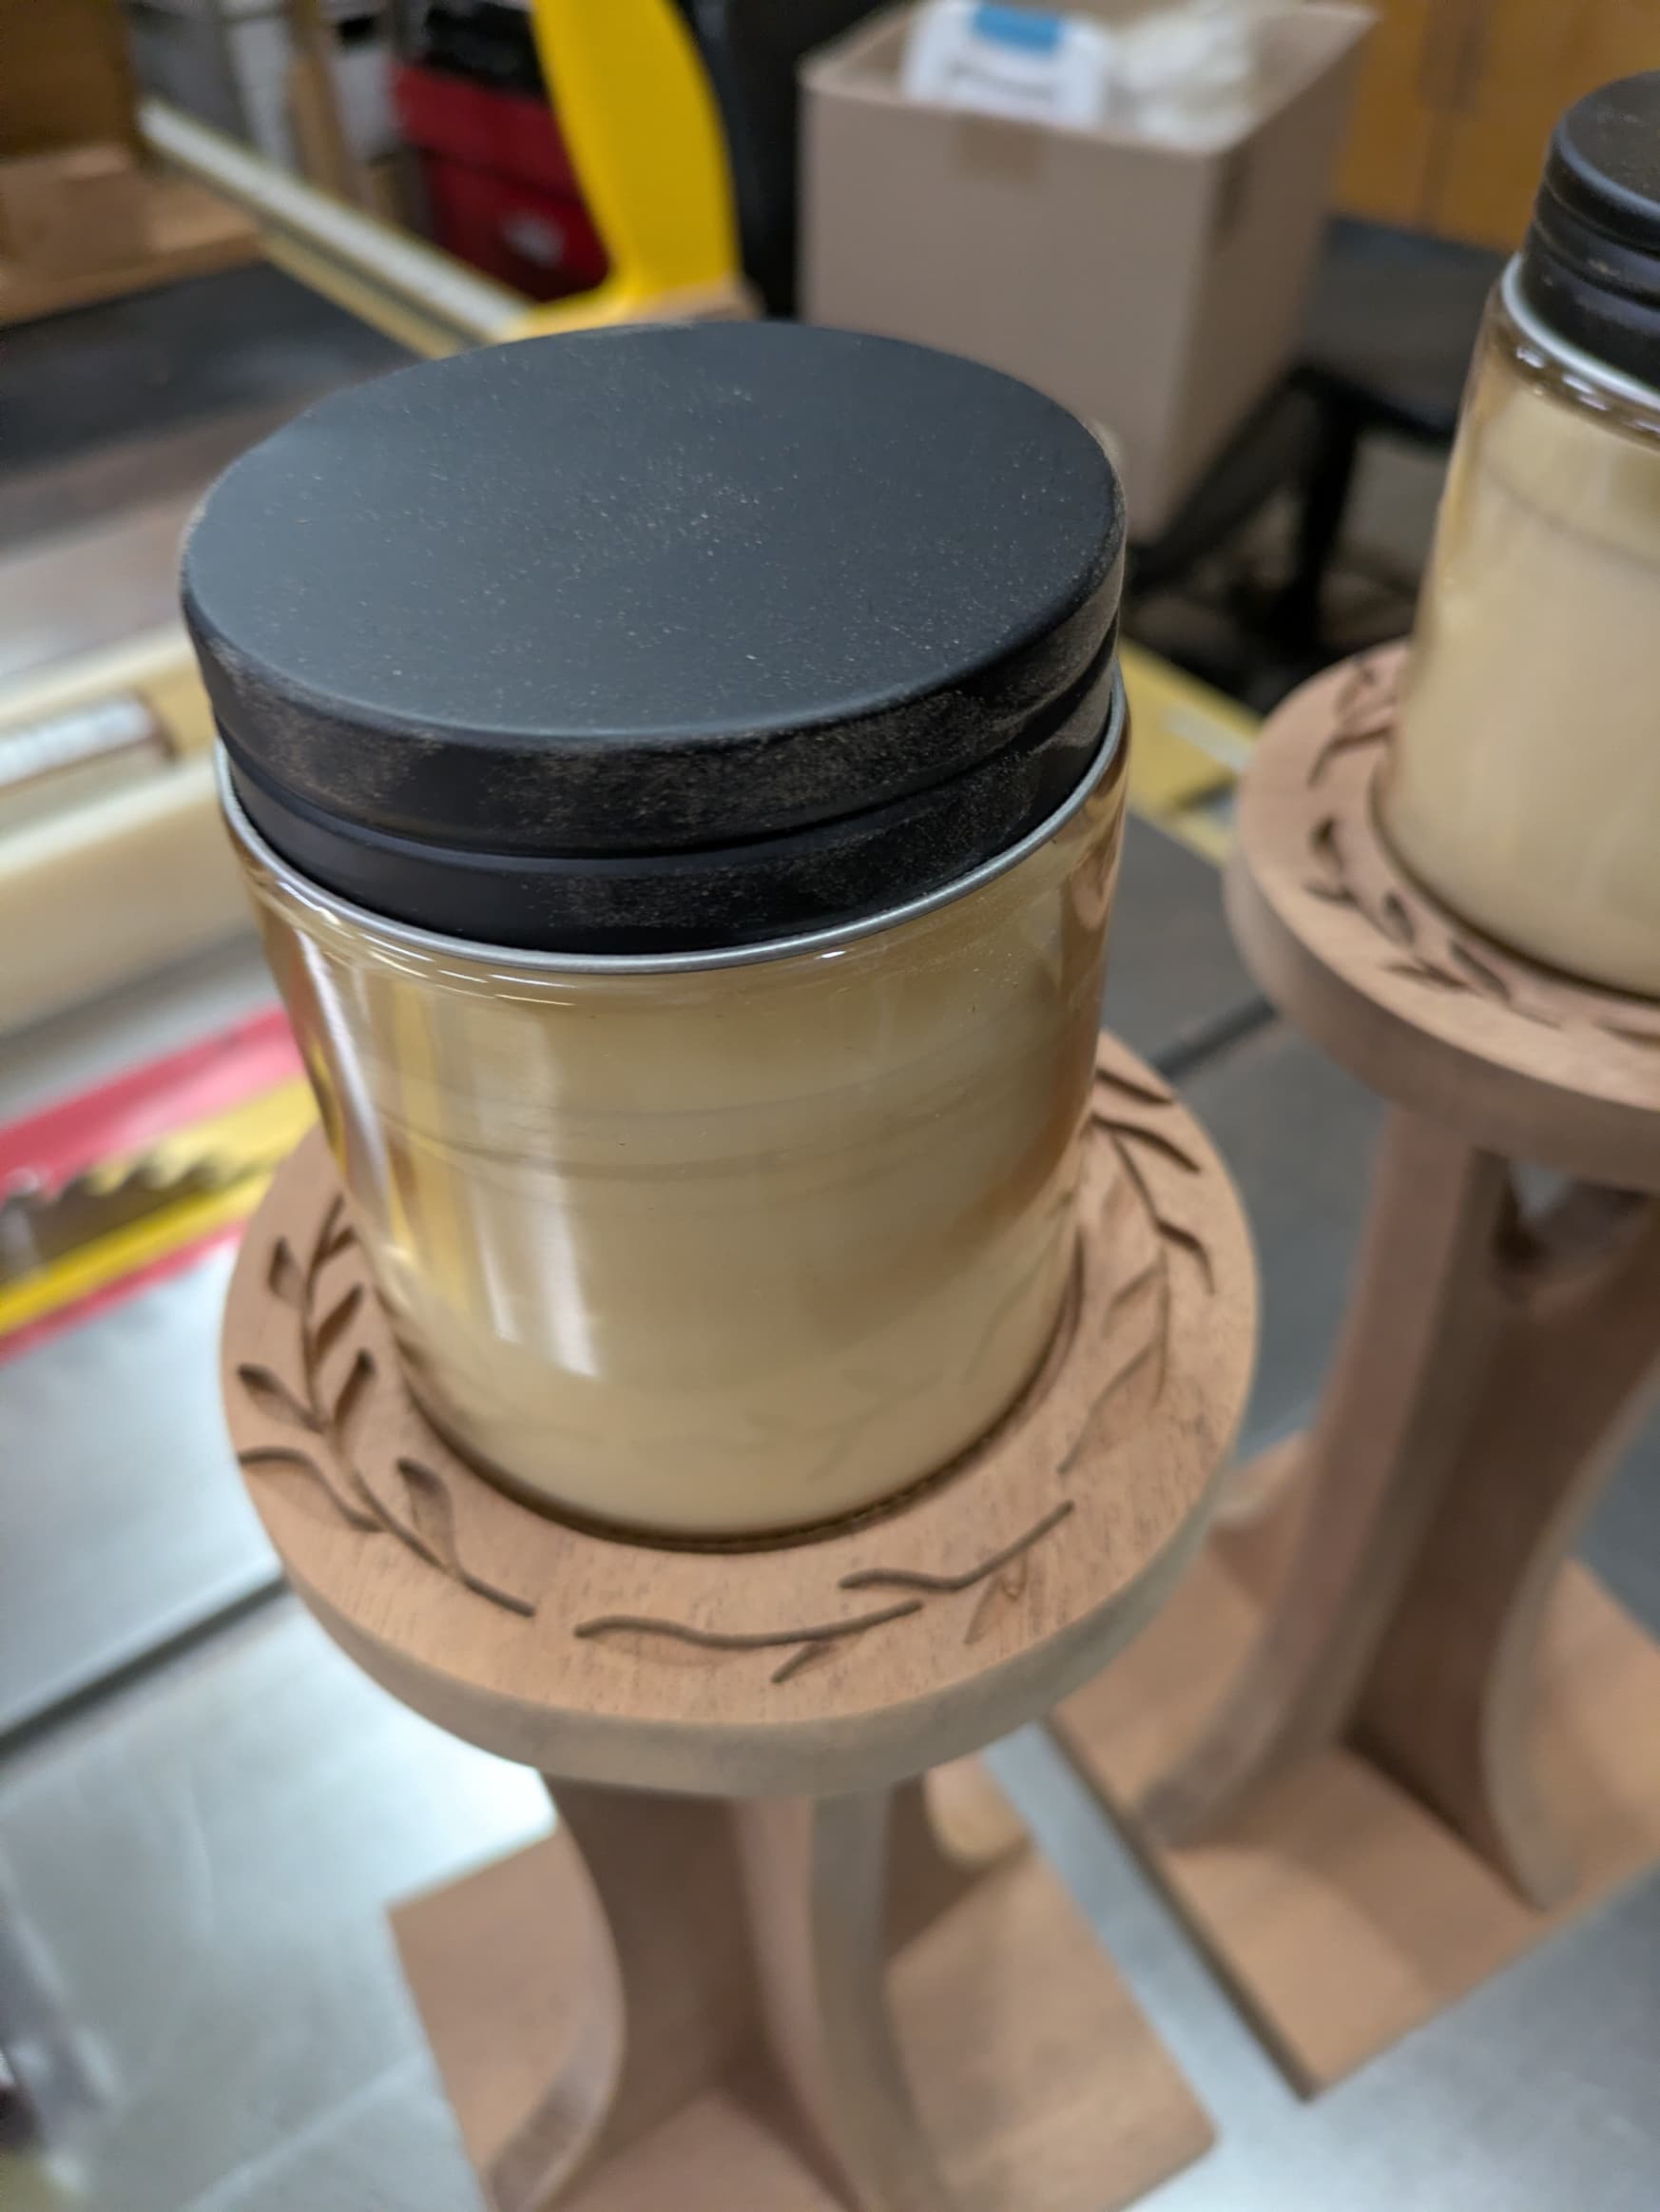
Here is the top/bottom which has not been cut to size yet. The top piece will get a recess for a glass bottled candle to sit in. I bought some candles at Michaels. I did not want to put pillar candles without the glass. People have set their house on fire when the candle burns all the way down.
The original was cut with a #251 1/4" downcut bit. Because my second attempt barely fit I used the #251 for the center groove but a #102 1/8" to cut pieces out.
I will need to glue up some more mahagoney to make the top/bottom. I will glue up enough stock to make a second one.
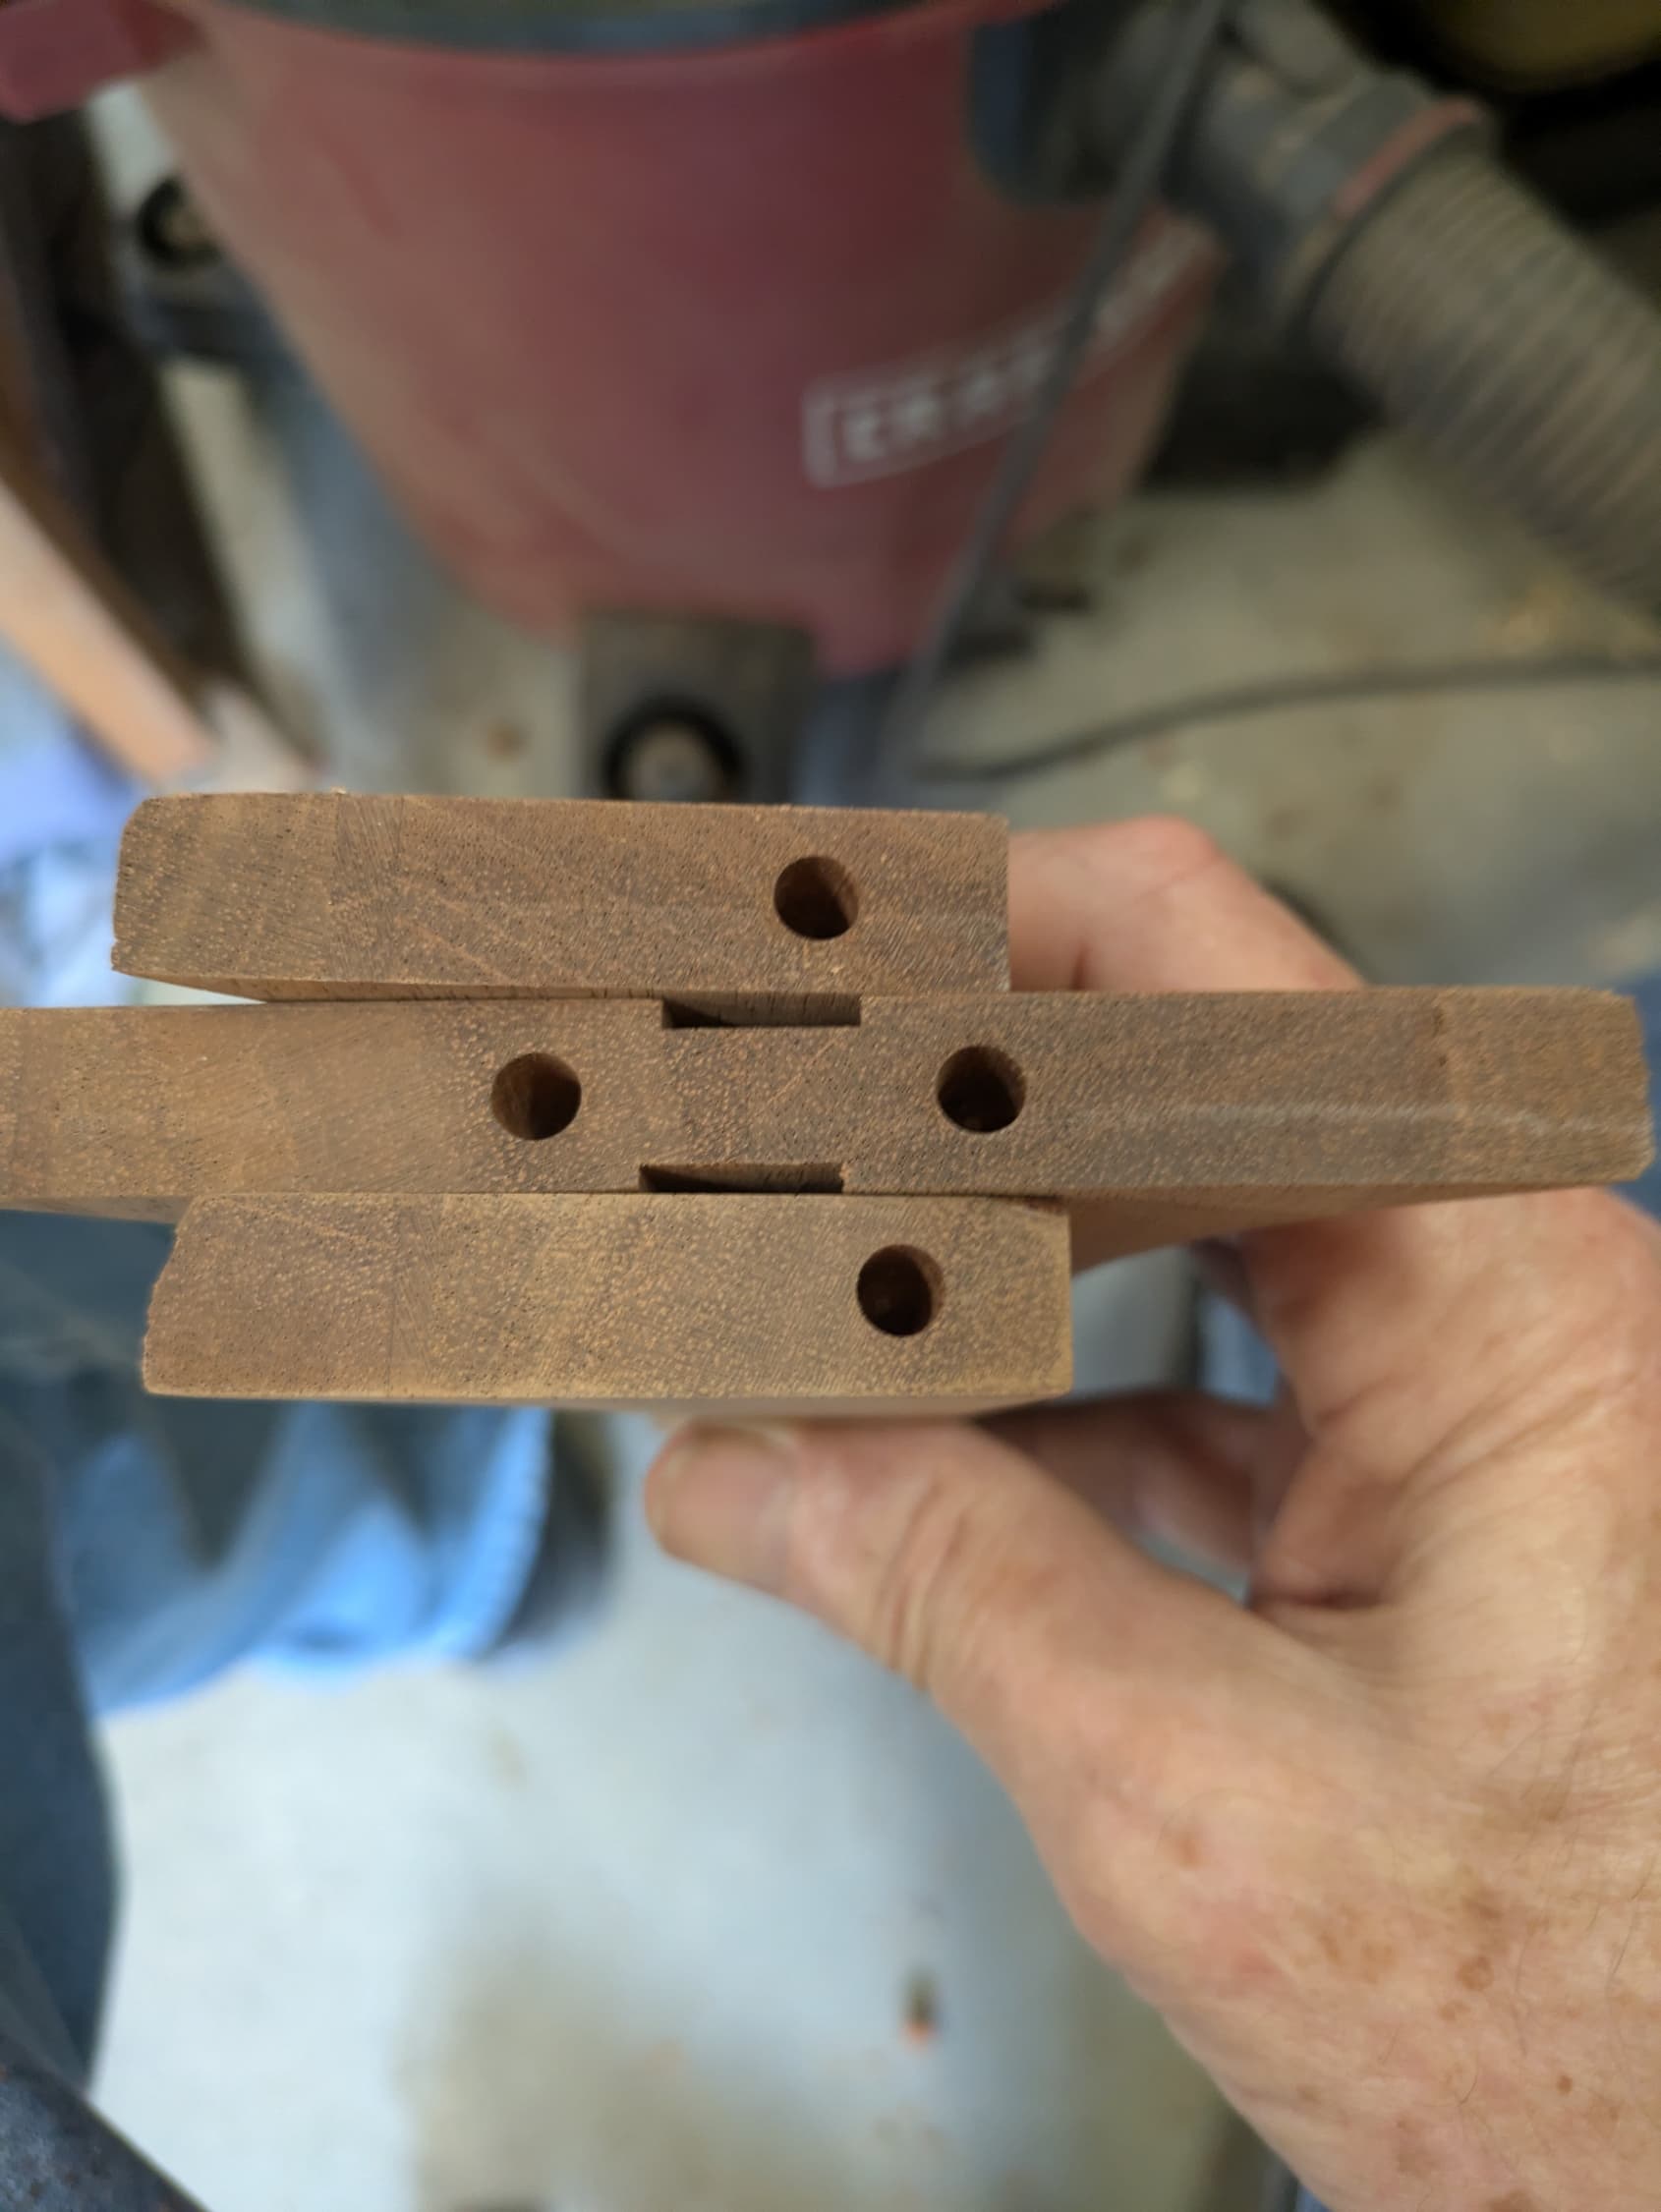
I will use dowels to secure the top and bottom. Just two for top and two for the bottom on opposite sides.
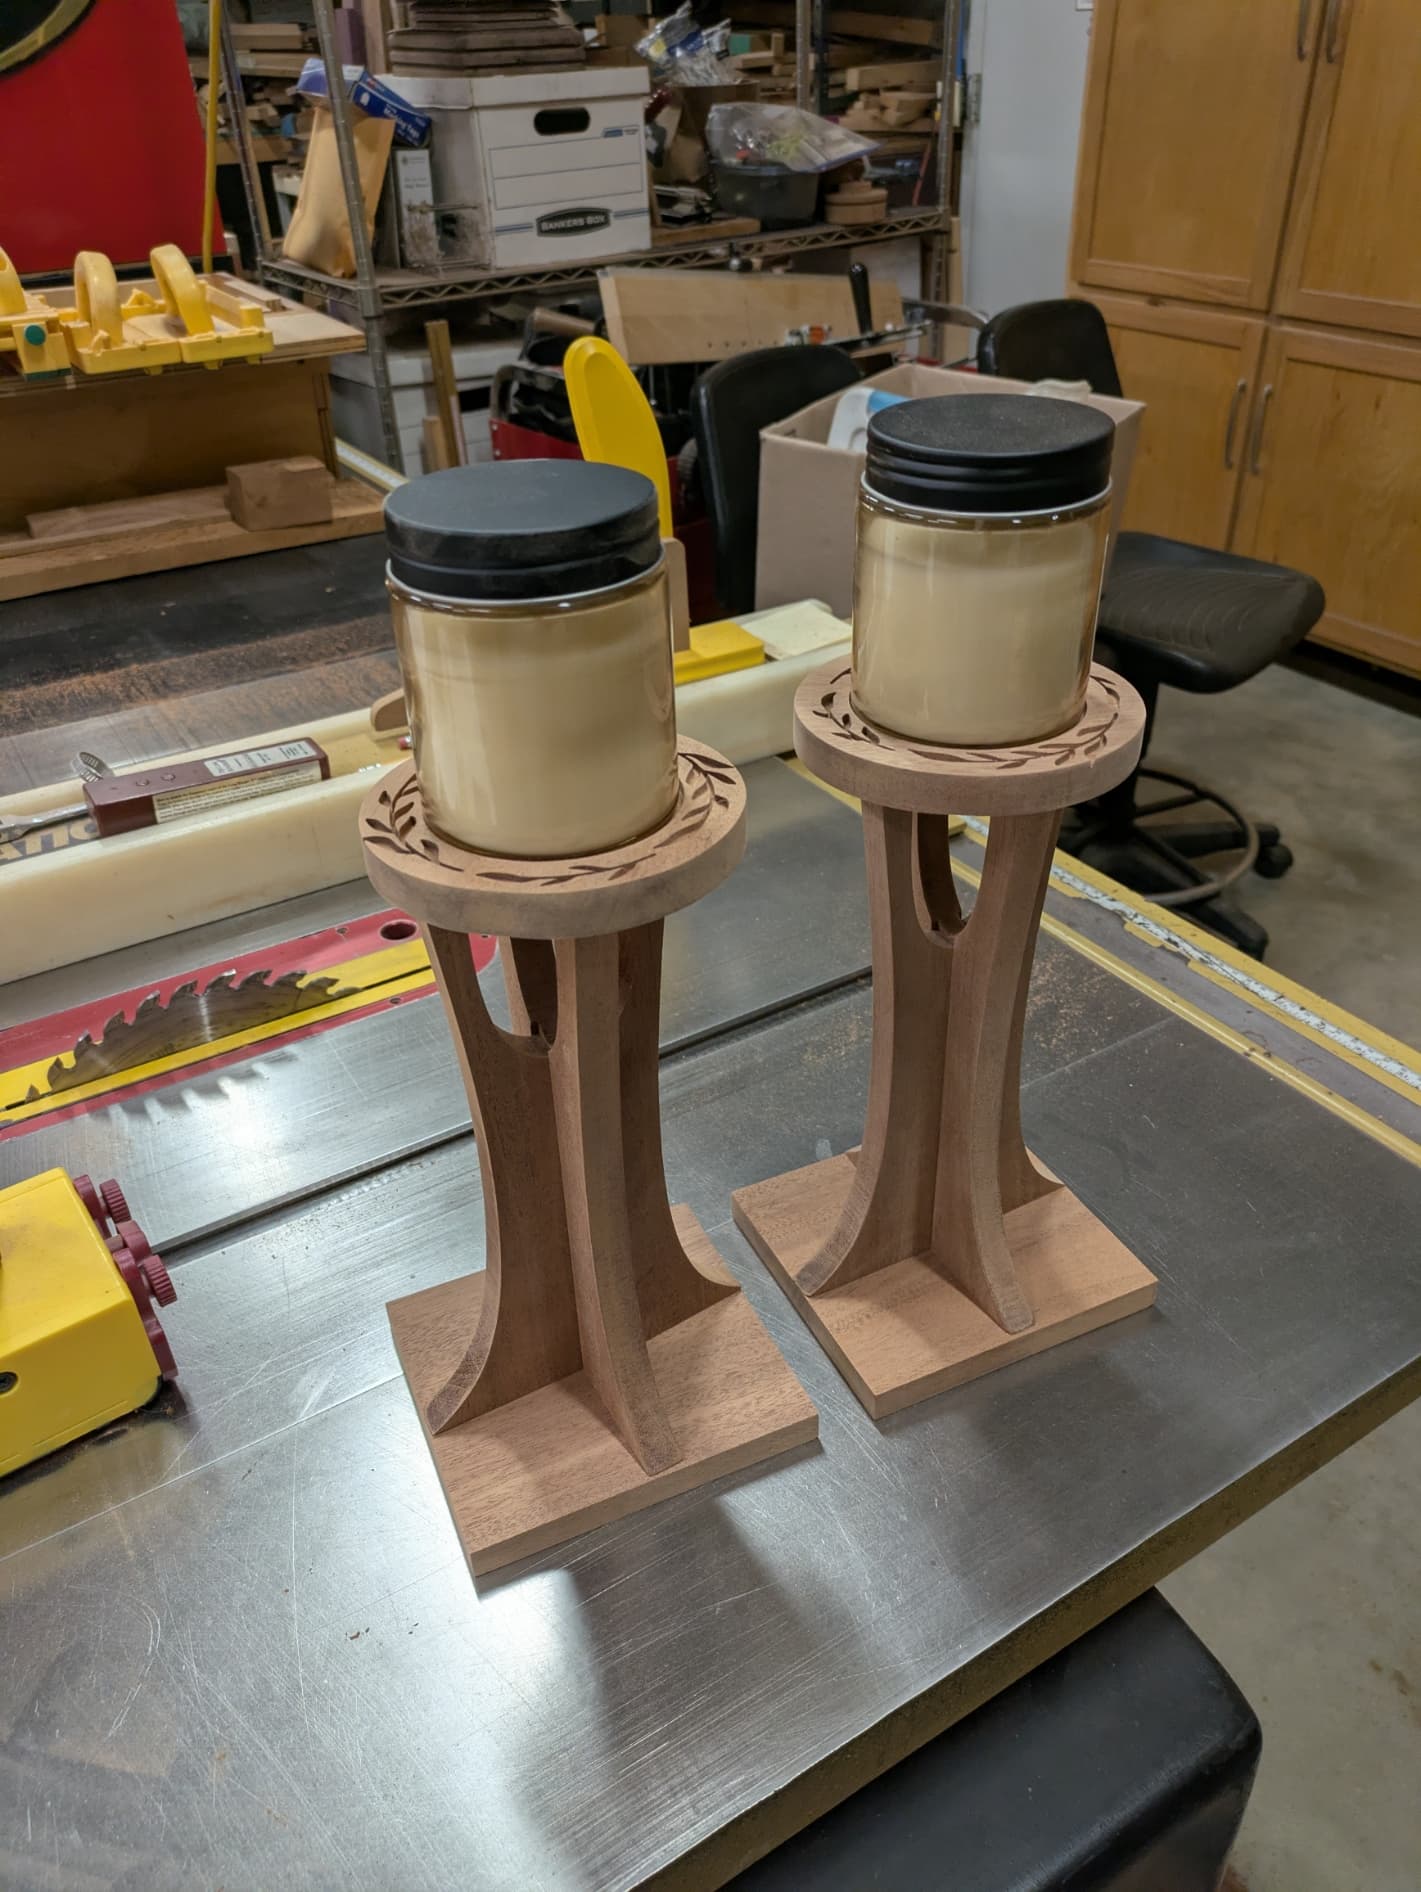
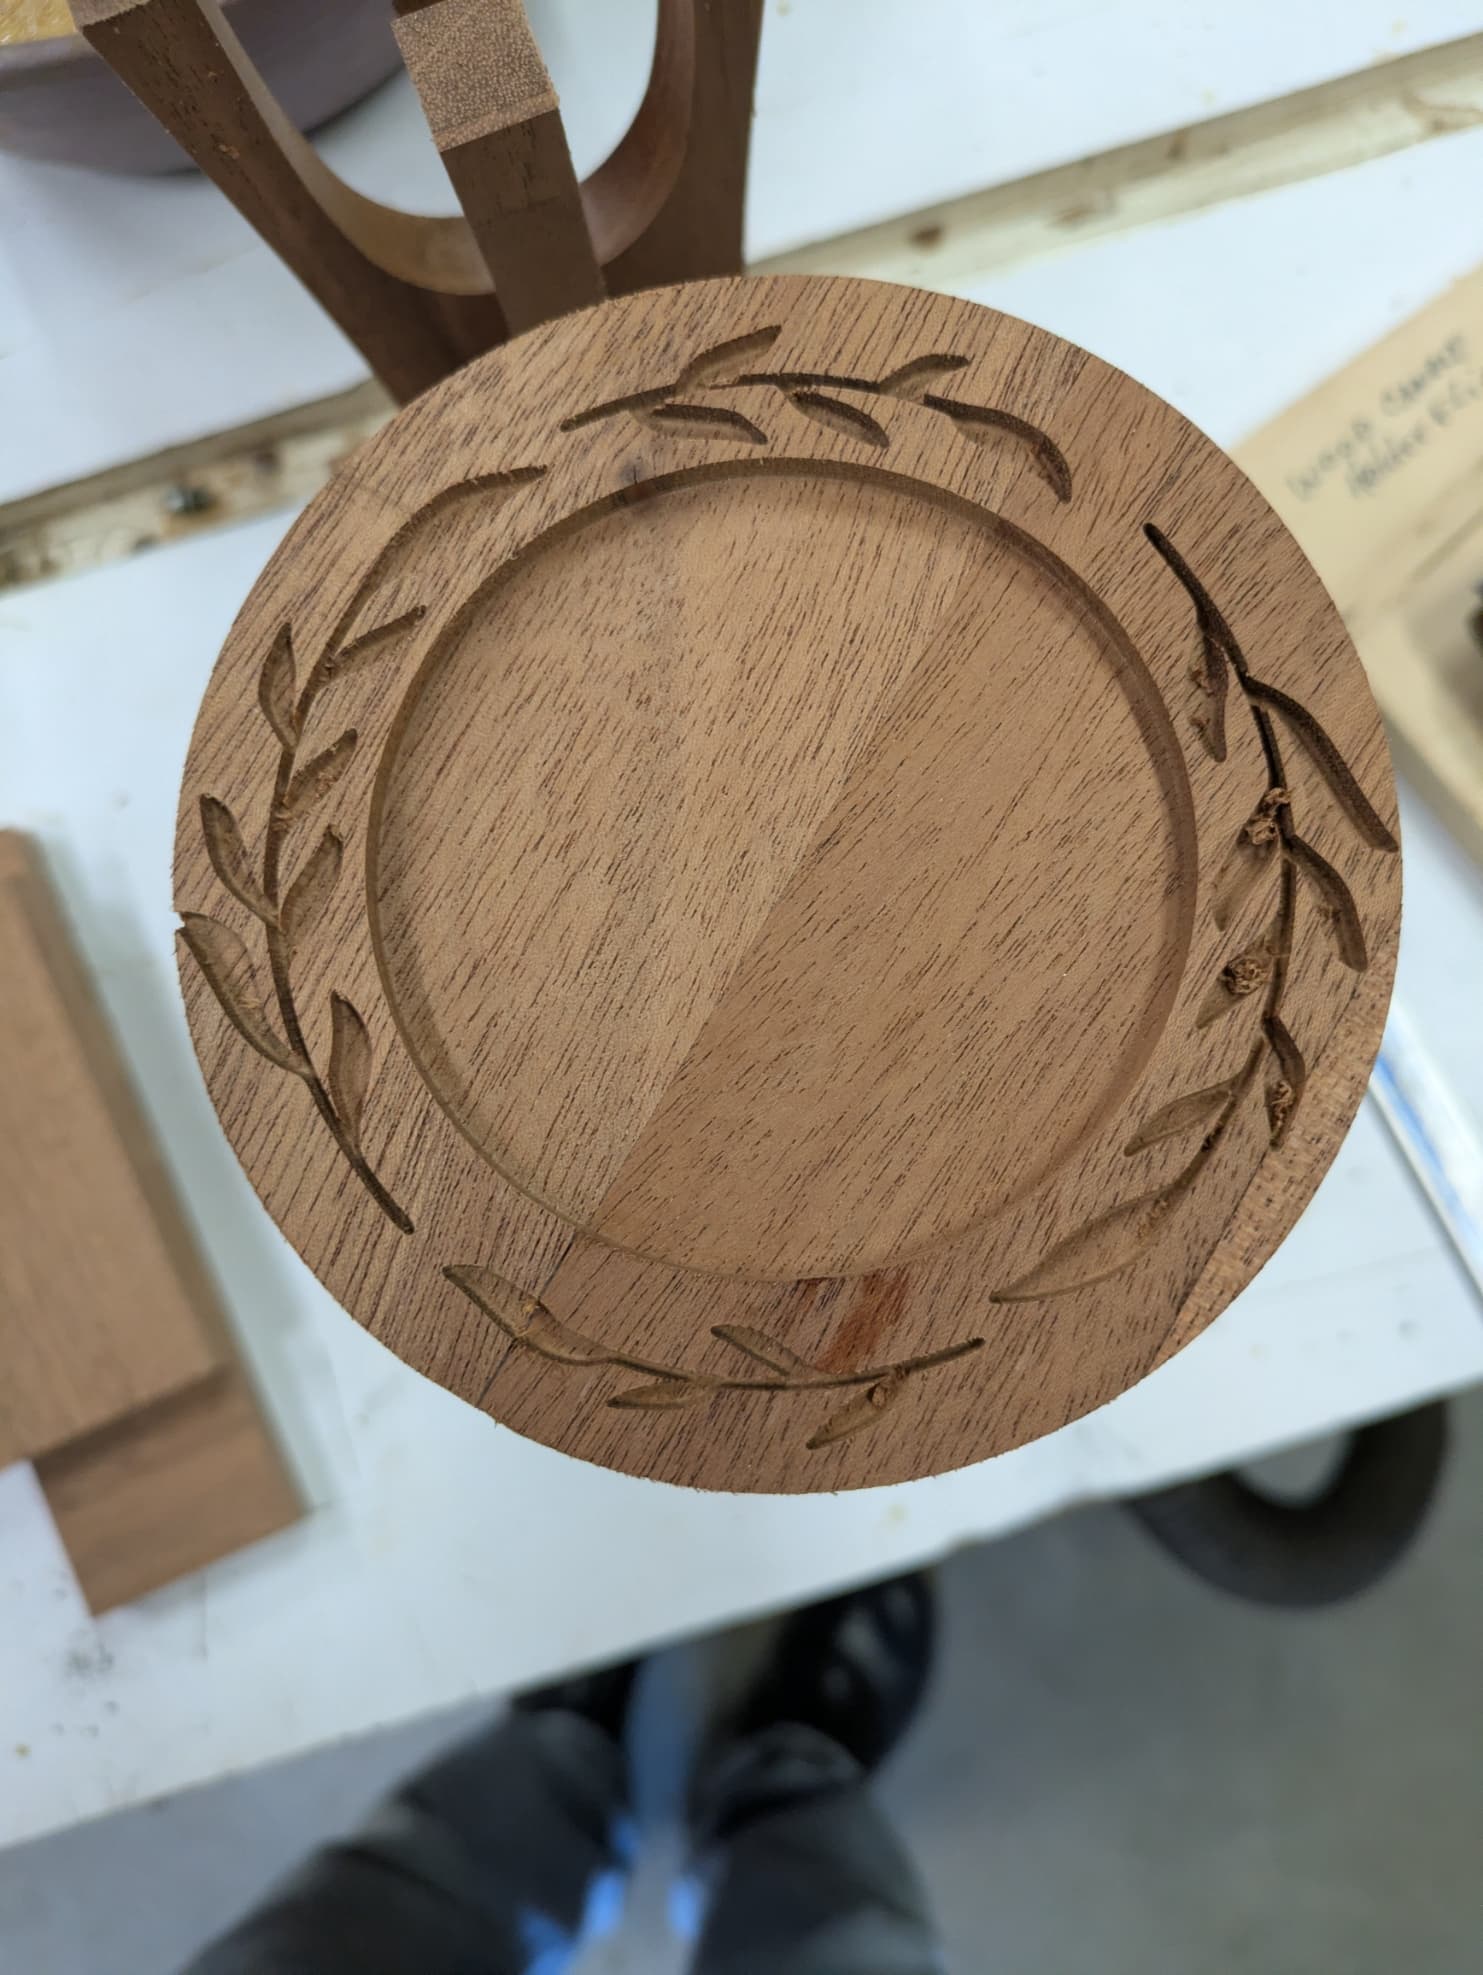
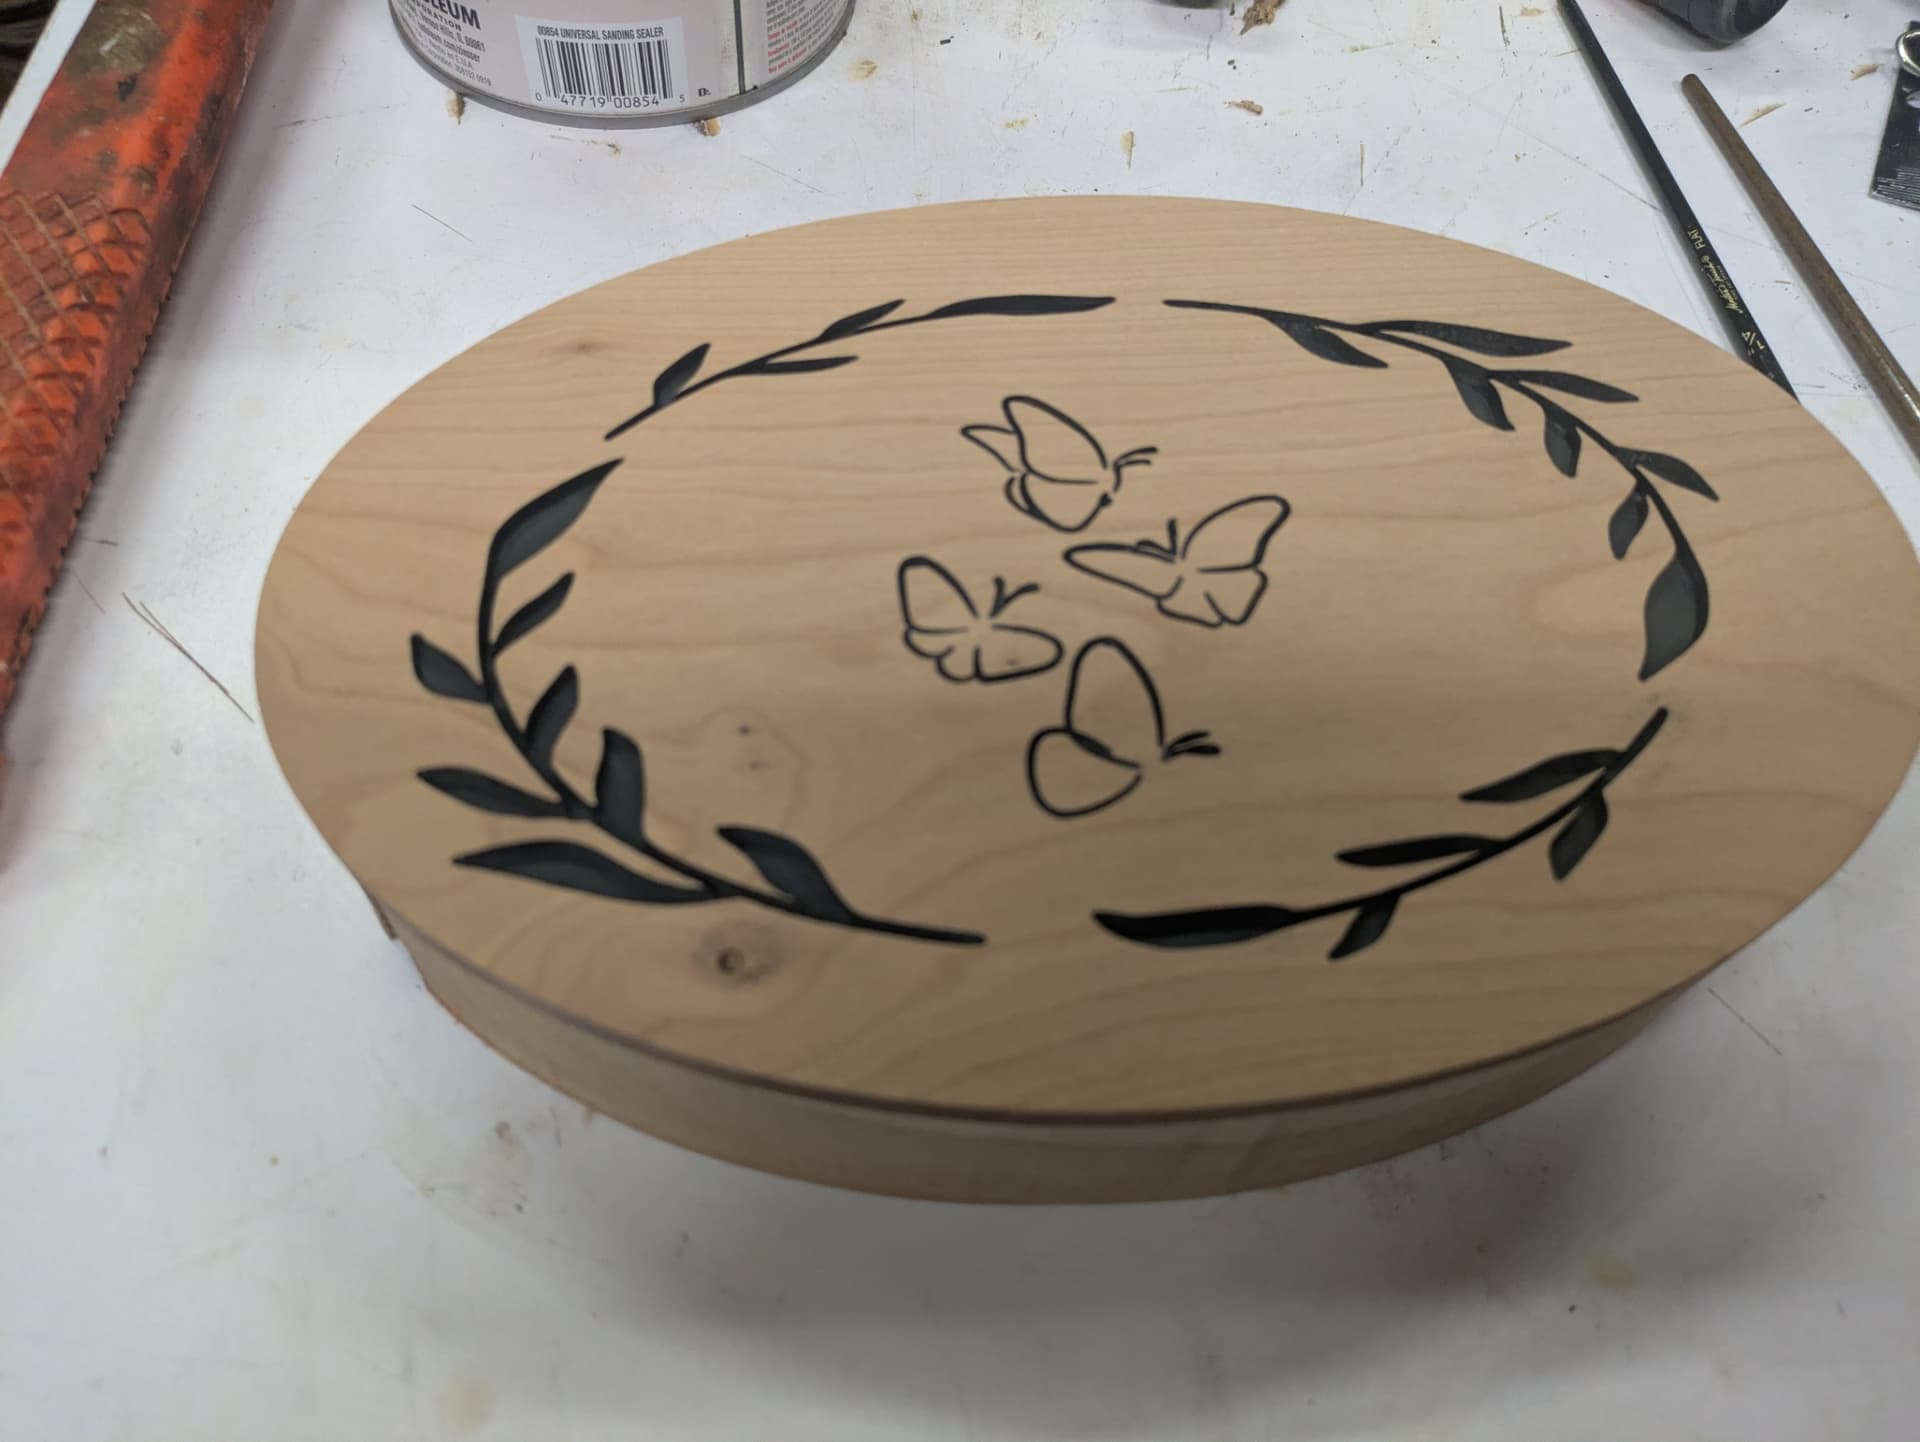
I made the top round and cut a recess in the middle to hold the glass jar candles. I added the wreath. I have used that graphic a bunch and really like it.
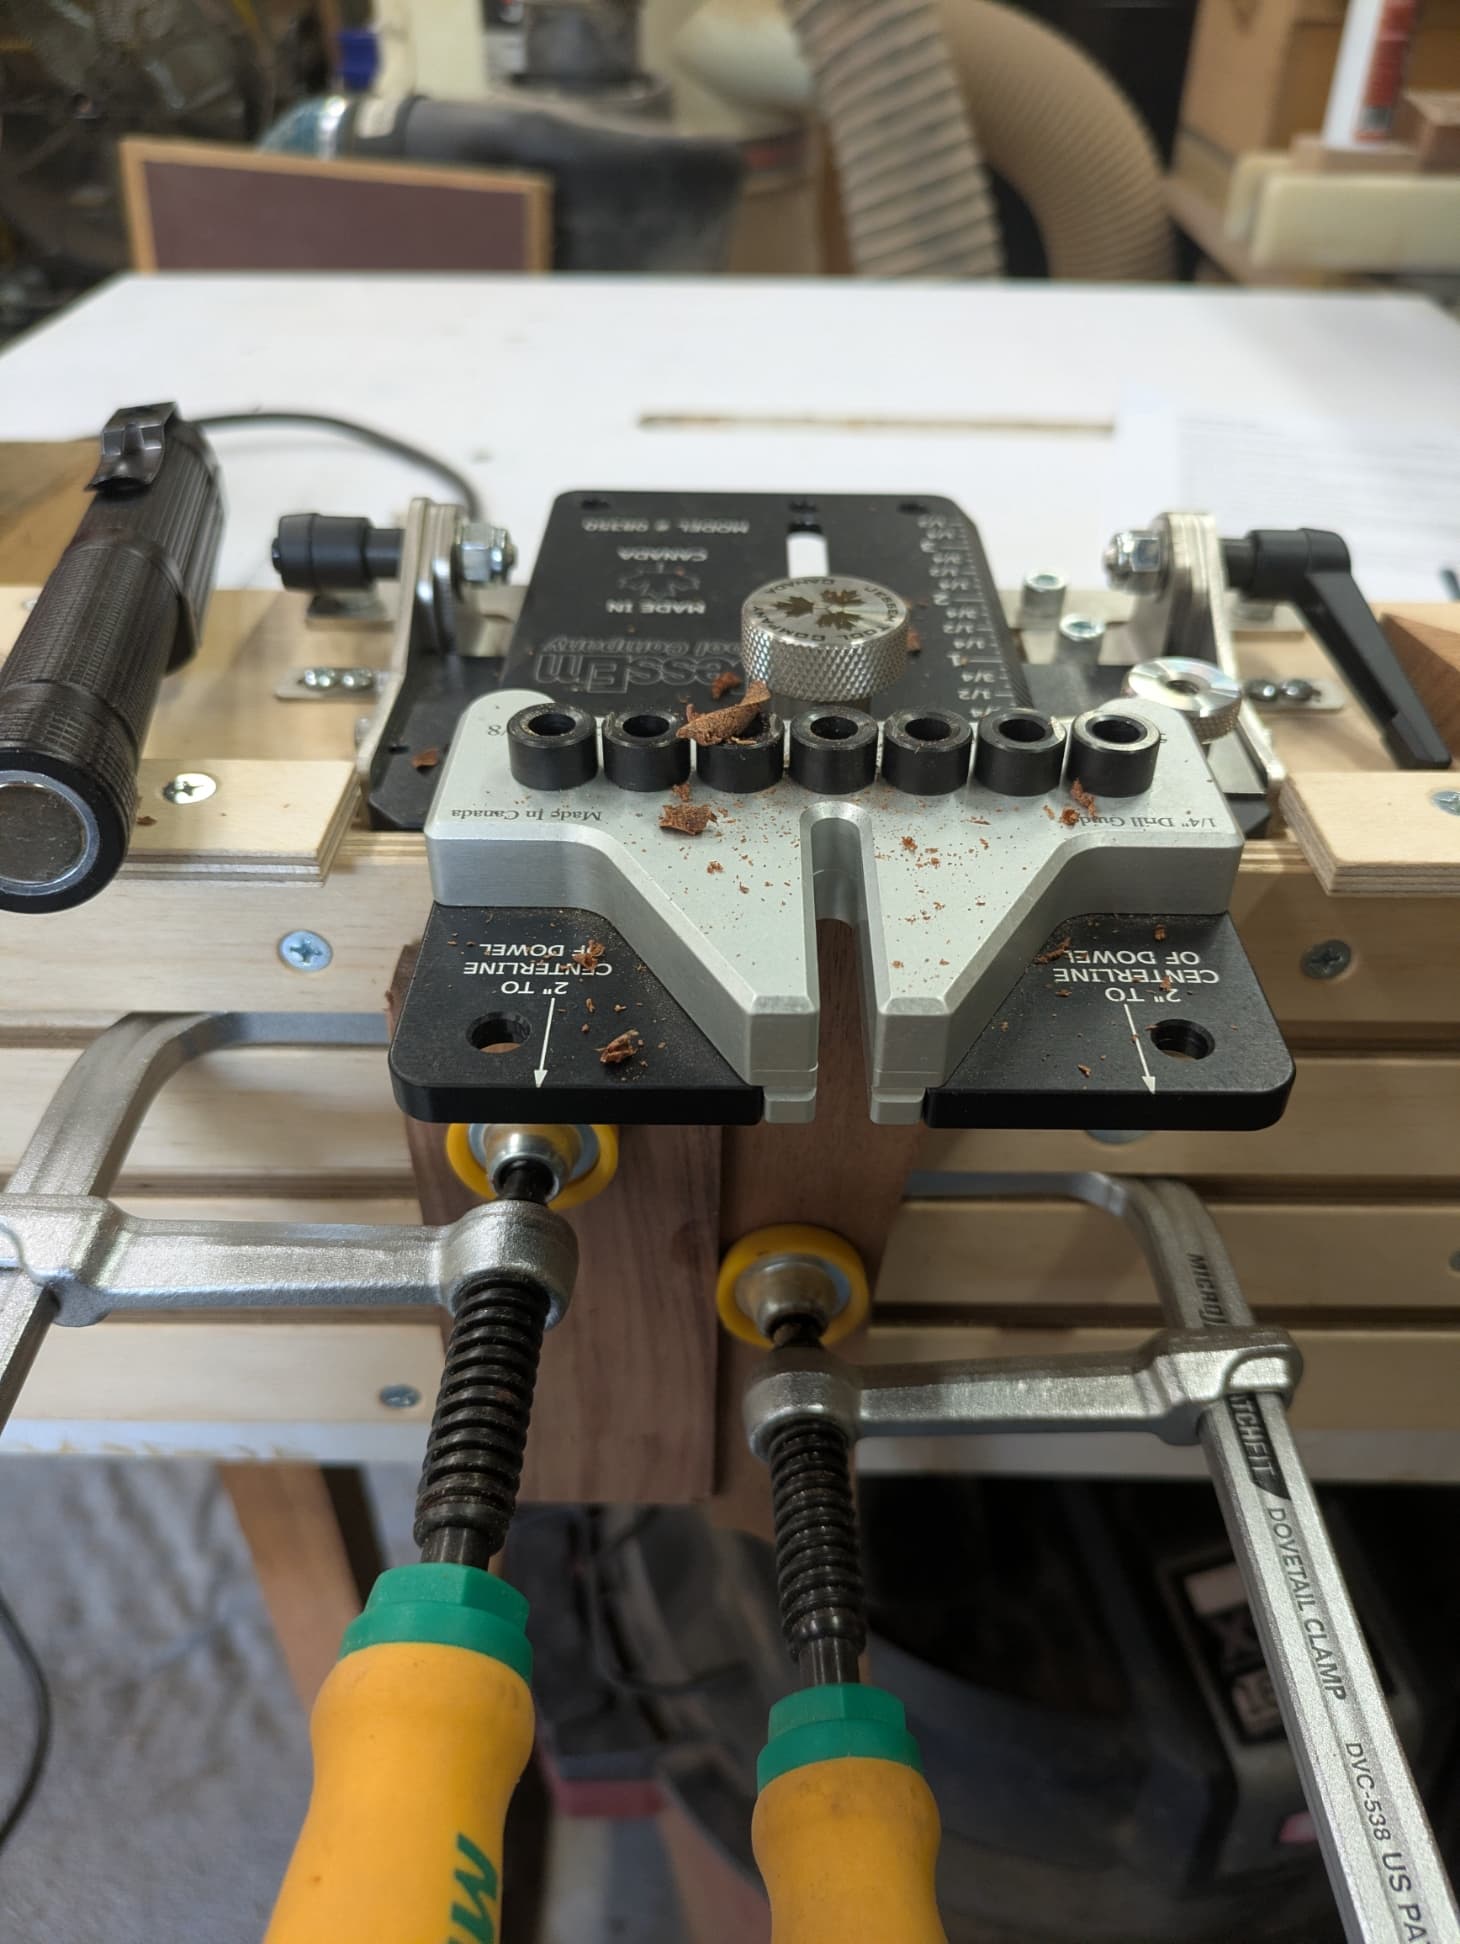
I need to drill some 1/4" holes for dowels in the parts to secure them. I have a Jessem Master Dowel kit and the Jessem workstation and will use it to get accurate placement of the dowel holes. After drilling the holes I will dowel points to mark the base and top and then drill them. After gluing I will apply Watco Danish Oil. That really warms up Mahagoney. The finish line is in sight.
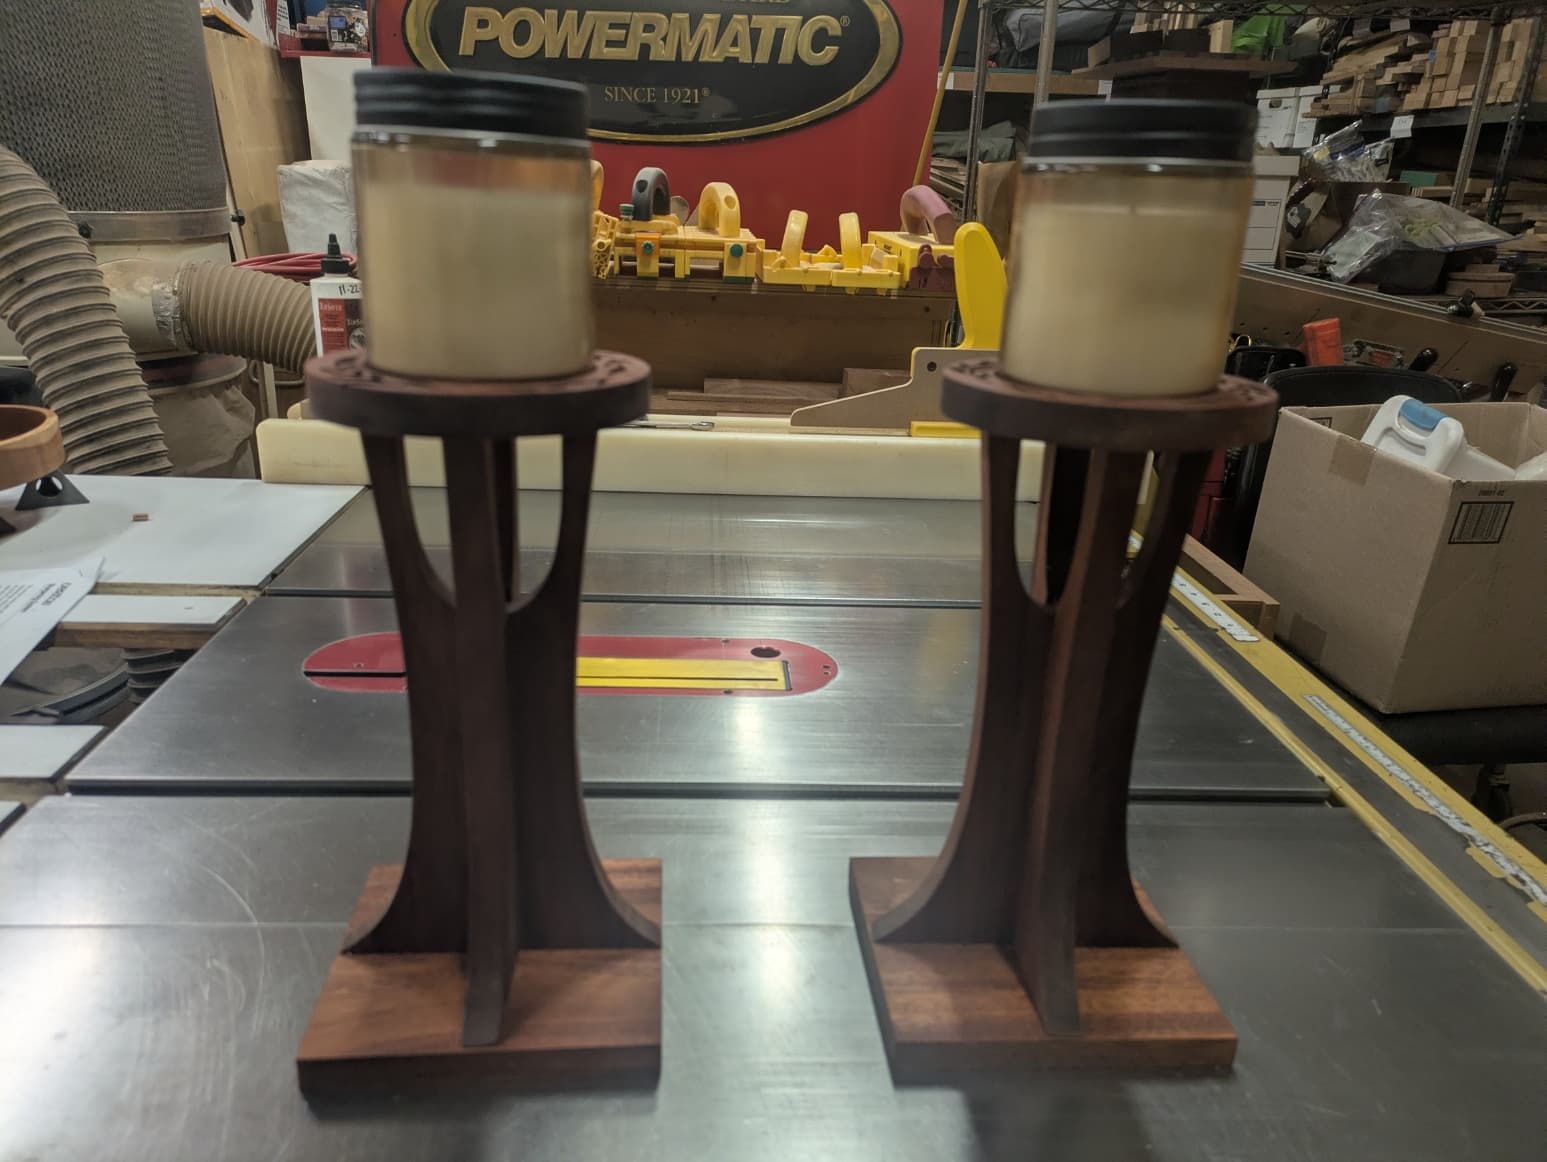
Got these candle sticks finished. Took them to show and tell at my turning club and woodworking club. People liked them. As with any project I had some miss steps but in the end I think they turned out well. This was a Wood Magazine article and I modified the design and cut it on my SO3. To attach the top and bottom I drilled dowels and glued them in. I have a Jessem Master Dowel Kit and the Workstation for the Pocket Mill Pro. This made lining up the dowels easy. I drilled the dowel holes in the base and top and then used dowel centers to mark where to drill the top and bottom. After a few days I will maybe put on another coat of Watco Danish Oil.