This has been a work in progress for the past month and a half but I am finally at the point where I am confident enough in the process to show it off.
One of the products I have created are wooden chessboards with wood chess pieces which are dimensionally precise copies of actual pistol and rifle cartridges. Not having a cnc lathe, I was forced to work out a method to get my Nomad 883 Pro to act as a lathe in order to machine these precise pieces from actual cartridge dimensions. This involved a scratch-built 4th axis which utilized an old spindle which was geared to the table via a rack and pinion to turn a shaft upon which the work was mounted.
A model of the cartridge is made in Fusion 360 which is then turned into an extruded cross-section which becomes the model for creating the toolpath in Carbide Motion. The machine thinks it is machining a flat object, but the geared shaft allows the blank to be mounted and turned by Y axis movement.
The process works surprisingly well, and to date I have made two complete sets by this method. Engraving the headstamps into the base of the cartridges involved making a mounting fixture using a .25 shaft mounted vertically to the table to hood the pieces vertically so a PCB cutter could mill the letters which I had laboriously created with Carbide Create.
Woods used are maple, walnut, bloodwood, wenge, and holly. Each piece takes from half hour to an hour or so to make with three operations on the Nomad.
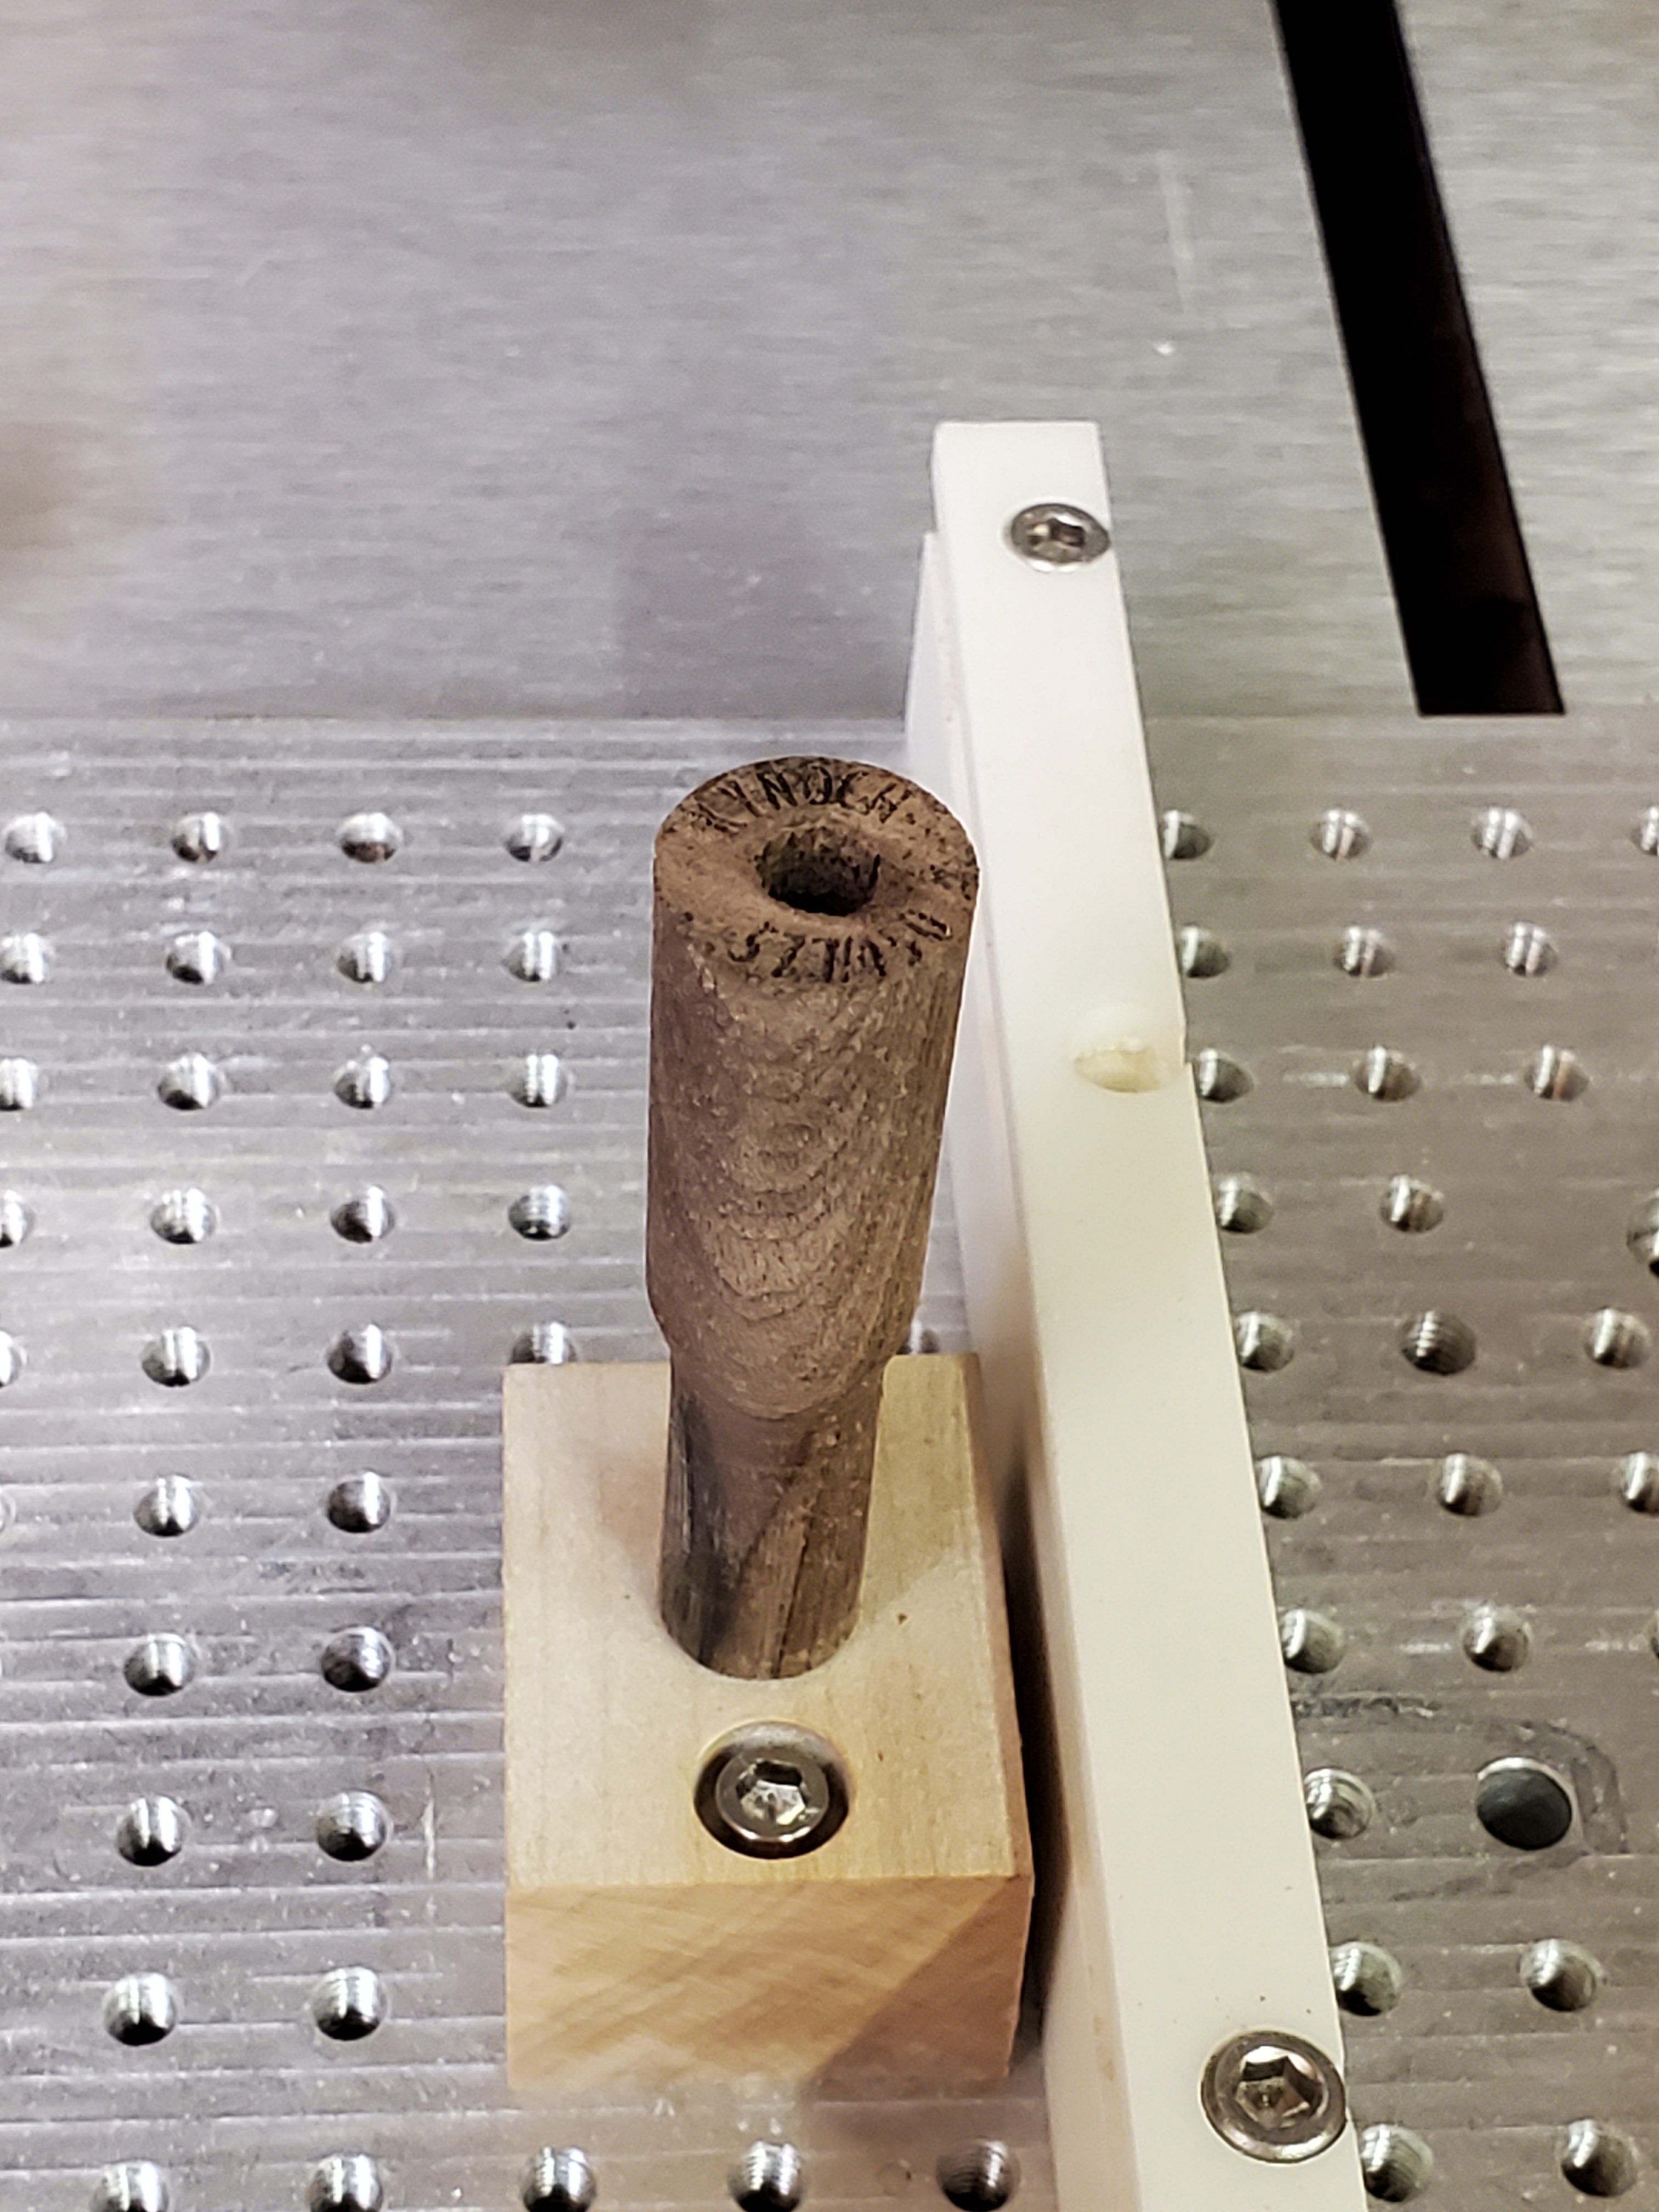
Here are some more details of the engraving setup. Wood block is actually stabilized wood and it was machined, drilled, and reamed on a manual milling machine to ensure the alignment pin is perfectly square to the bed and Z axis.
The engraved cartridge was a reject from early testing of the 4th axis proof of concept. Still suitable for a test piece for engraving. The cartridge cases are just a press fit on the alignment pin. Alignment pin is a length of .25 ground drill stock and it extends through the block of wood and into the aluminum bed. I drill the cartridge case blanks undersize and ream them to .25 to ensure they are a perfect friction fit on the lathe shaft and also the alignment pin. The base of the cartridge has a rare earth magnet pressed into it where the primer would be, and is secured with cyanoacrylate.
Are you referring to the specific process for stabilizing wood?
I have a vacuum chamber and Cactus Juice stabilizing resin which I purchased from TurnTex who developed the resin and the process. Wood which has been dried in an oven for 24 hours and allowed to cool to room temperature is placed in the vacuum chamber and submerged in the resin. The chamber is sealed and vacuum pump turned on and slowly brought to full vacuum. The air within the wood bubbles out and when the bubbles stop I then open the air valve to the chamber and turn off the pump.
The resin backfills the pores of the wood, and usually it takes a day under vacuum followed by two day’s minimum under normal atmosphere to draw out the air and completely backfill with resin. The resin impregnated blank is considerably heavier and indeed sinks to the bottom of the chamber. I take the blanks and wrap them in foil and put in a temperature regulated toaster oven at 200 degrees for four hours or so until the heat has penetrated all the way through the blank. Once they have cooled, the wood is stabilized and impervious to moisture and almost completely impervious to warpage and movement.
I originally started stabilizing wood to make parts for wood copies of actual firearms, and it makes almost any wood harder and easier to machine without deflection. I do not use it for my chess pieces because so far has been unnecessary, and adds additional time and expense which I try to avoid for items that do not require it. This is a very basic description; the process has a lot of nuance and a somewhat steep learning curve but hopefully you can get a sense of what is involved in stabilizing wood.
1 Like
Griff
(Well crap, my hypometric precursor device is blown…)
10
Ok, interesting, thanks.
I think I’ll try this with some grip blanks I’ll be cutting for an Officers frame 1911 I’ve built.
This makes me wonder about how much the blank changes dimensions during this vacuum / resin soaking process. I’m thinking you are allowing some extra material in the blank, or is it a minuscule change?
The change in wood dimensions is minimal. What changes I have observed have to do with warpage during the pre-drying step, and some warpage during the curing step. I always leave plenty of extra wood for machining to size afterwards.
The first board I built (the one shown) did not have any storage for the pieces. Customer wanted a giant box that rested on the chessboard and covered the pieces (don’t ask me why; I don’t know either). The second board which has the pieces with the engraved headstamps is more conventional, and I designed a cartridge box made from a solid block of walnut burl. Pieces are held vertically, inverted, and a removable lid is secured with hidden magnets. I am waiting for the quite large blank of walnut to arrive, after which I will post photos of the design. That will be the standard method of storing the pieces going forward. The cartridge box method of storage will also double as an additional product which I will be selling; custom wood cartridge boxes for expensive firearms or odd and unusual calibers as opposed to cheap plastic or cardboard containers.
Yes, having a functional fourth axis opens up a whole slew of possibilities (many of which I have yet to reveal). I have in mind a similar apparatus for my Shapeoko, but haven’t had time yet to develop it.
Casey - We discussed the grips previously, and I could not log into the old account. Not sure how to PM here, but feel free to reach out my email is dweaver (AT) Appraiser (DOT) net …
Casey, I tried to get in contact with you but the phone or email I found was outdated.
This is in regards of the AR wood furniture and some business. Itar is not relevant to your product.
Please contact me here and let me know a way to contact you directly to talk business.