First, I must confess that this idea isn’t 100% mine. This is something I picked up as a manager working at JPL. FACT: We were not allowed apply clamps while machining optics (glass), and as a necessity, my guys would use an expensive temperature controlled hot plate, and some expensive adhesive to hold down the glass. Well, I don’t have money for an expensive temperature controlled hot plate, and the expensive adhesive, but what I have is a Salvation Army used $5 Flat Iron and some hot glue from the 99 cent store .
I usually try to but my stock with material so I can use the threaded holes in my metal table, but I shop for my material at the remnant bin at a local metal supplier ($2lb for Aluminum), and sometimes I end up with a piece of material that will just fit my part, OR my design and desire is to do as much machining on one side, that I can’t clamp or bolt the part down.
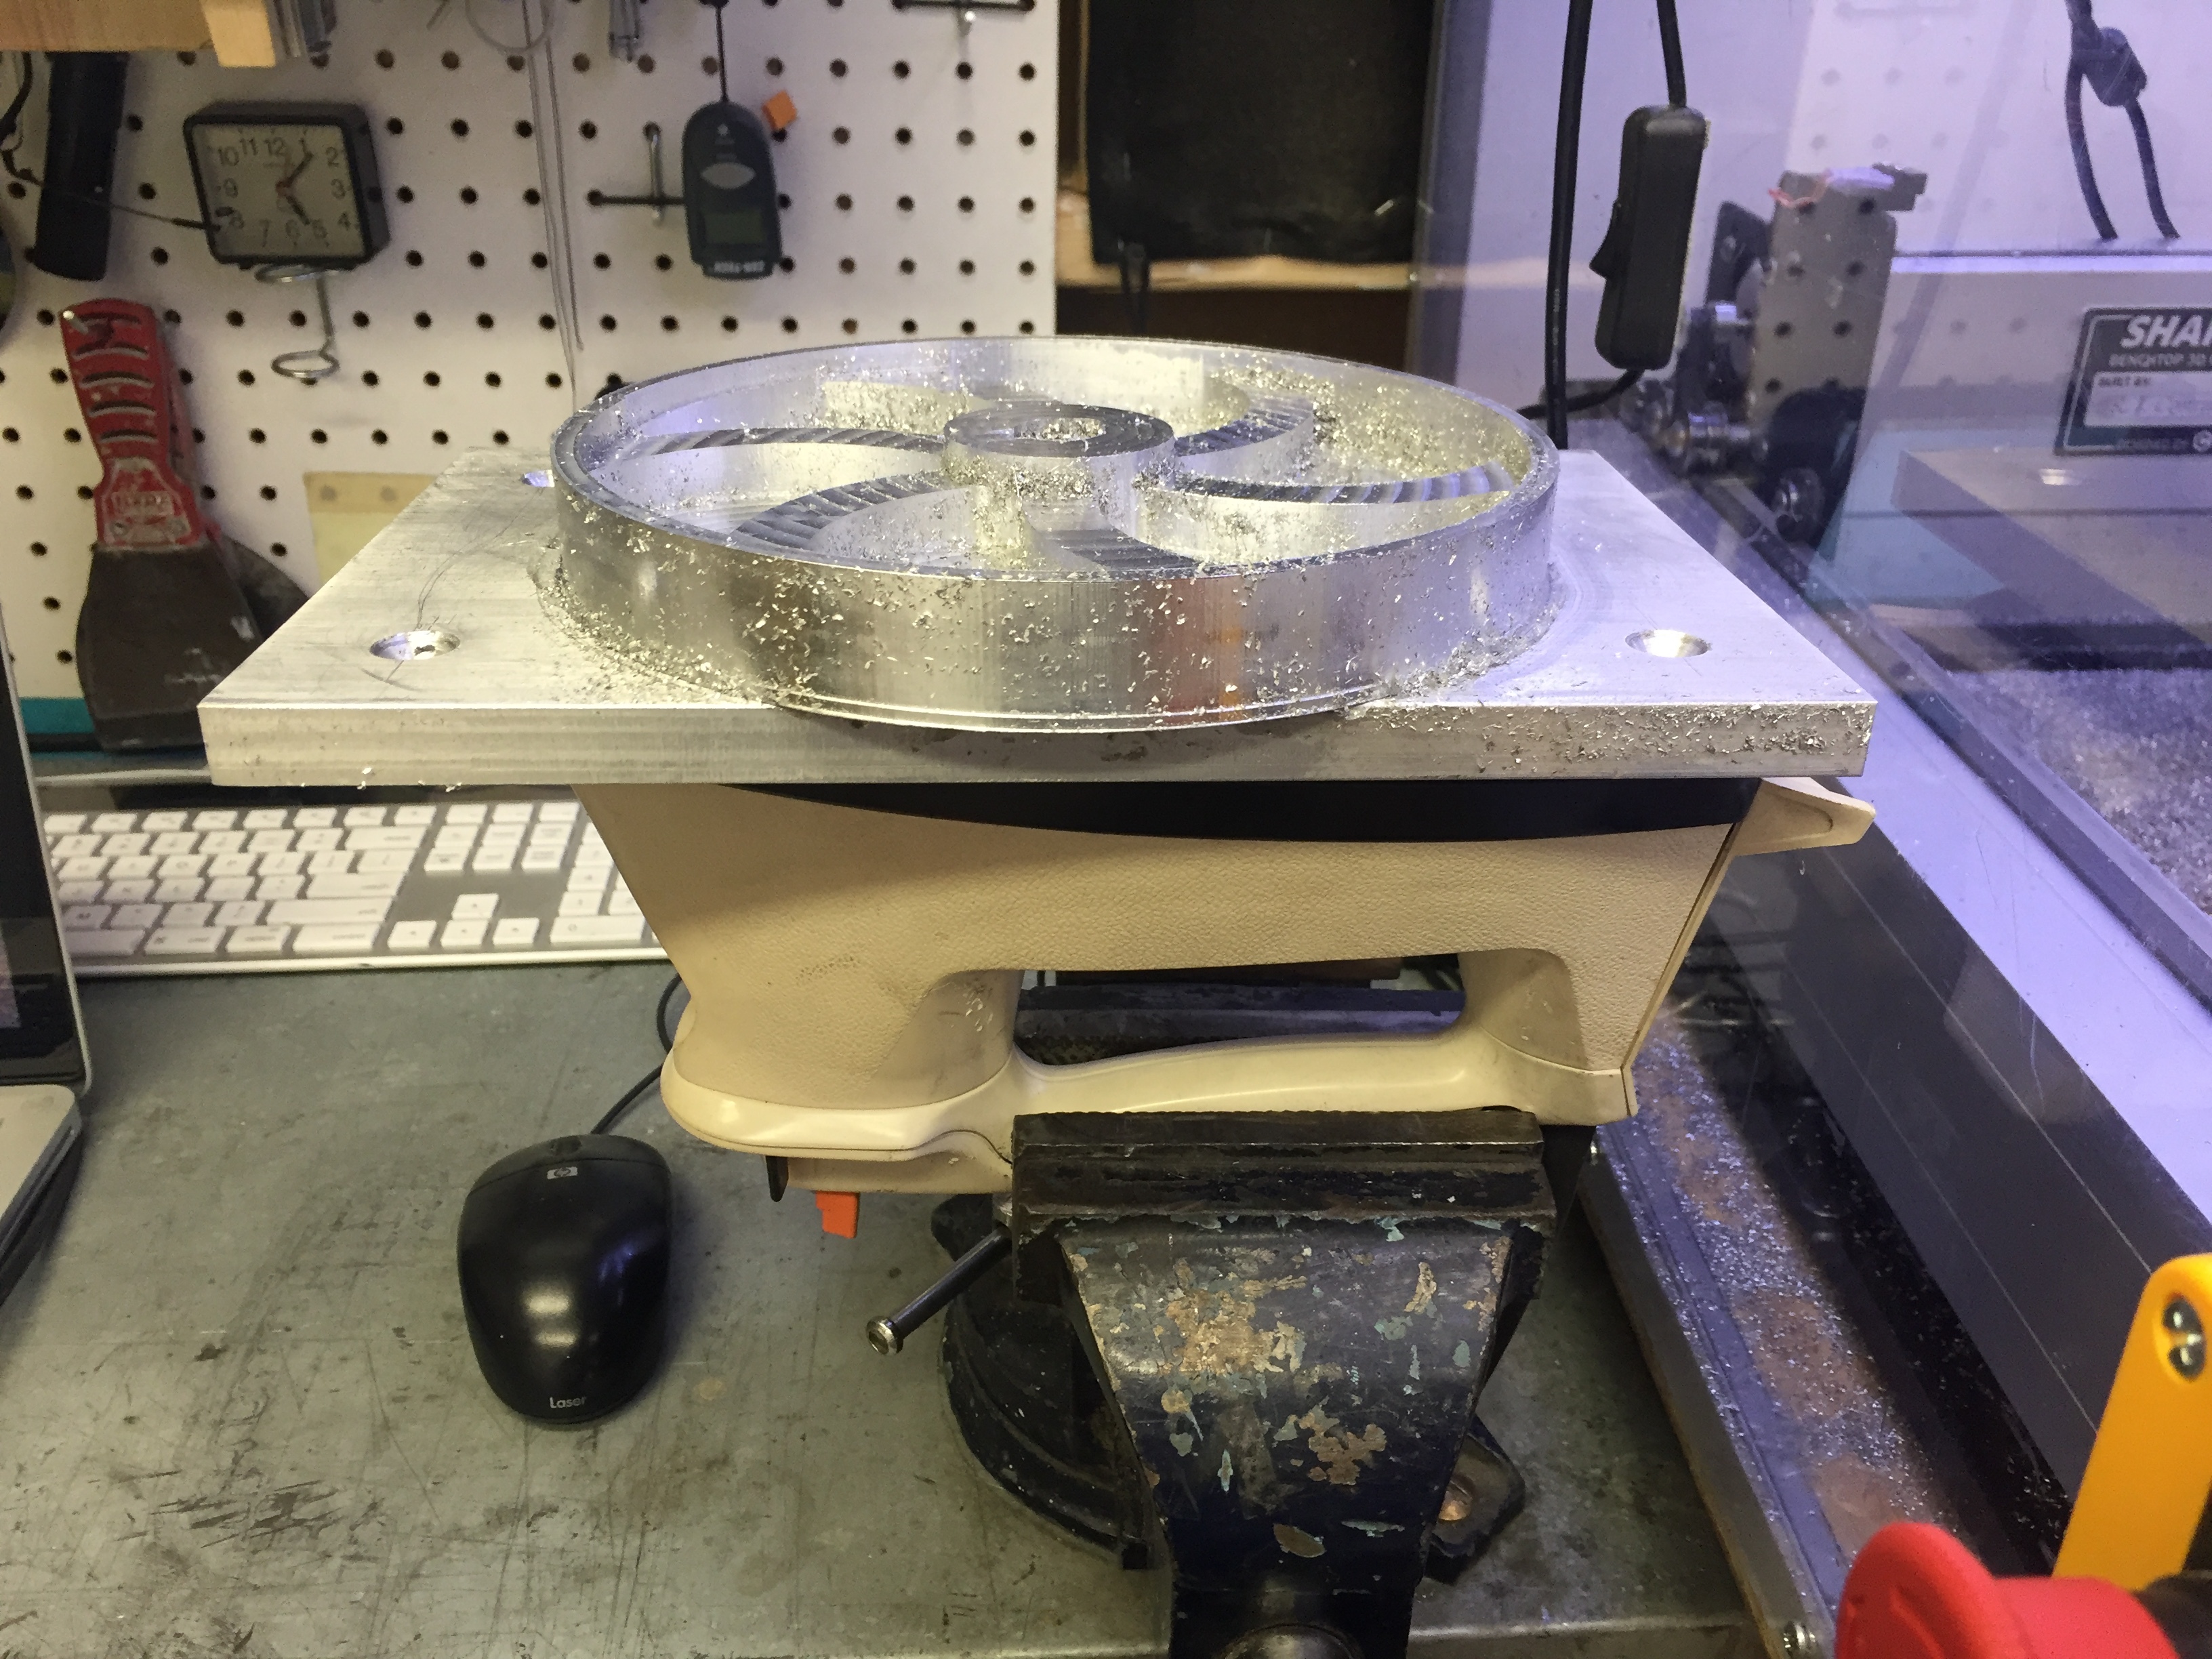
Today’s part was just that, so here is my 6.900" Pulley for my Power Hack Saw project. I was able to machine the OD, Belt Face, ID, C’Bore and Spokes (after facing the part to thickness). NOTE: I have NEVER lost a part due to lack of adhesion, even though I use WD40 as a cutting lubricant, and sometime have minor crash (like today).
The part is easily removed within just a few minutes back on the Flat Iron, and the glue residue is easily removed with a few drops of isopropyl. Here is a video I did a few months back. Works better than Double sided tape, Super Glue and the cost is fractions of a cent. Try it you’ll like it. Feel free to hit me upi with any questions (after viewing the video)
Link: https://youtu.be/sILeFJSANBk
<img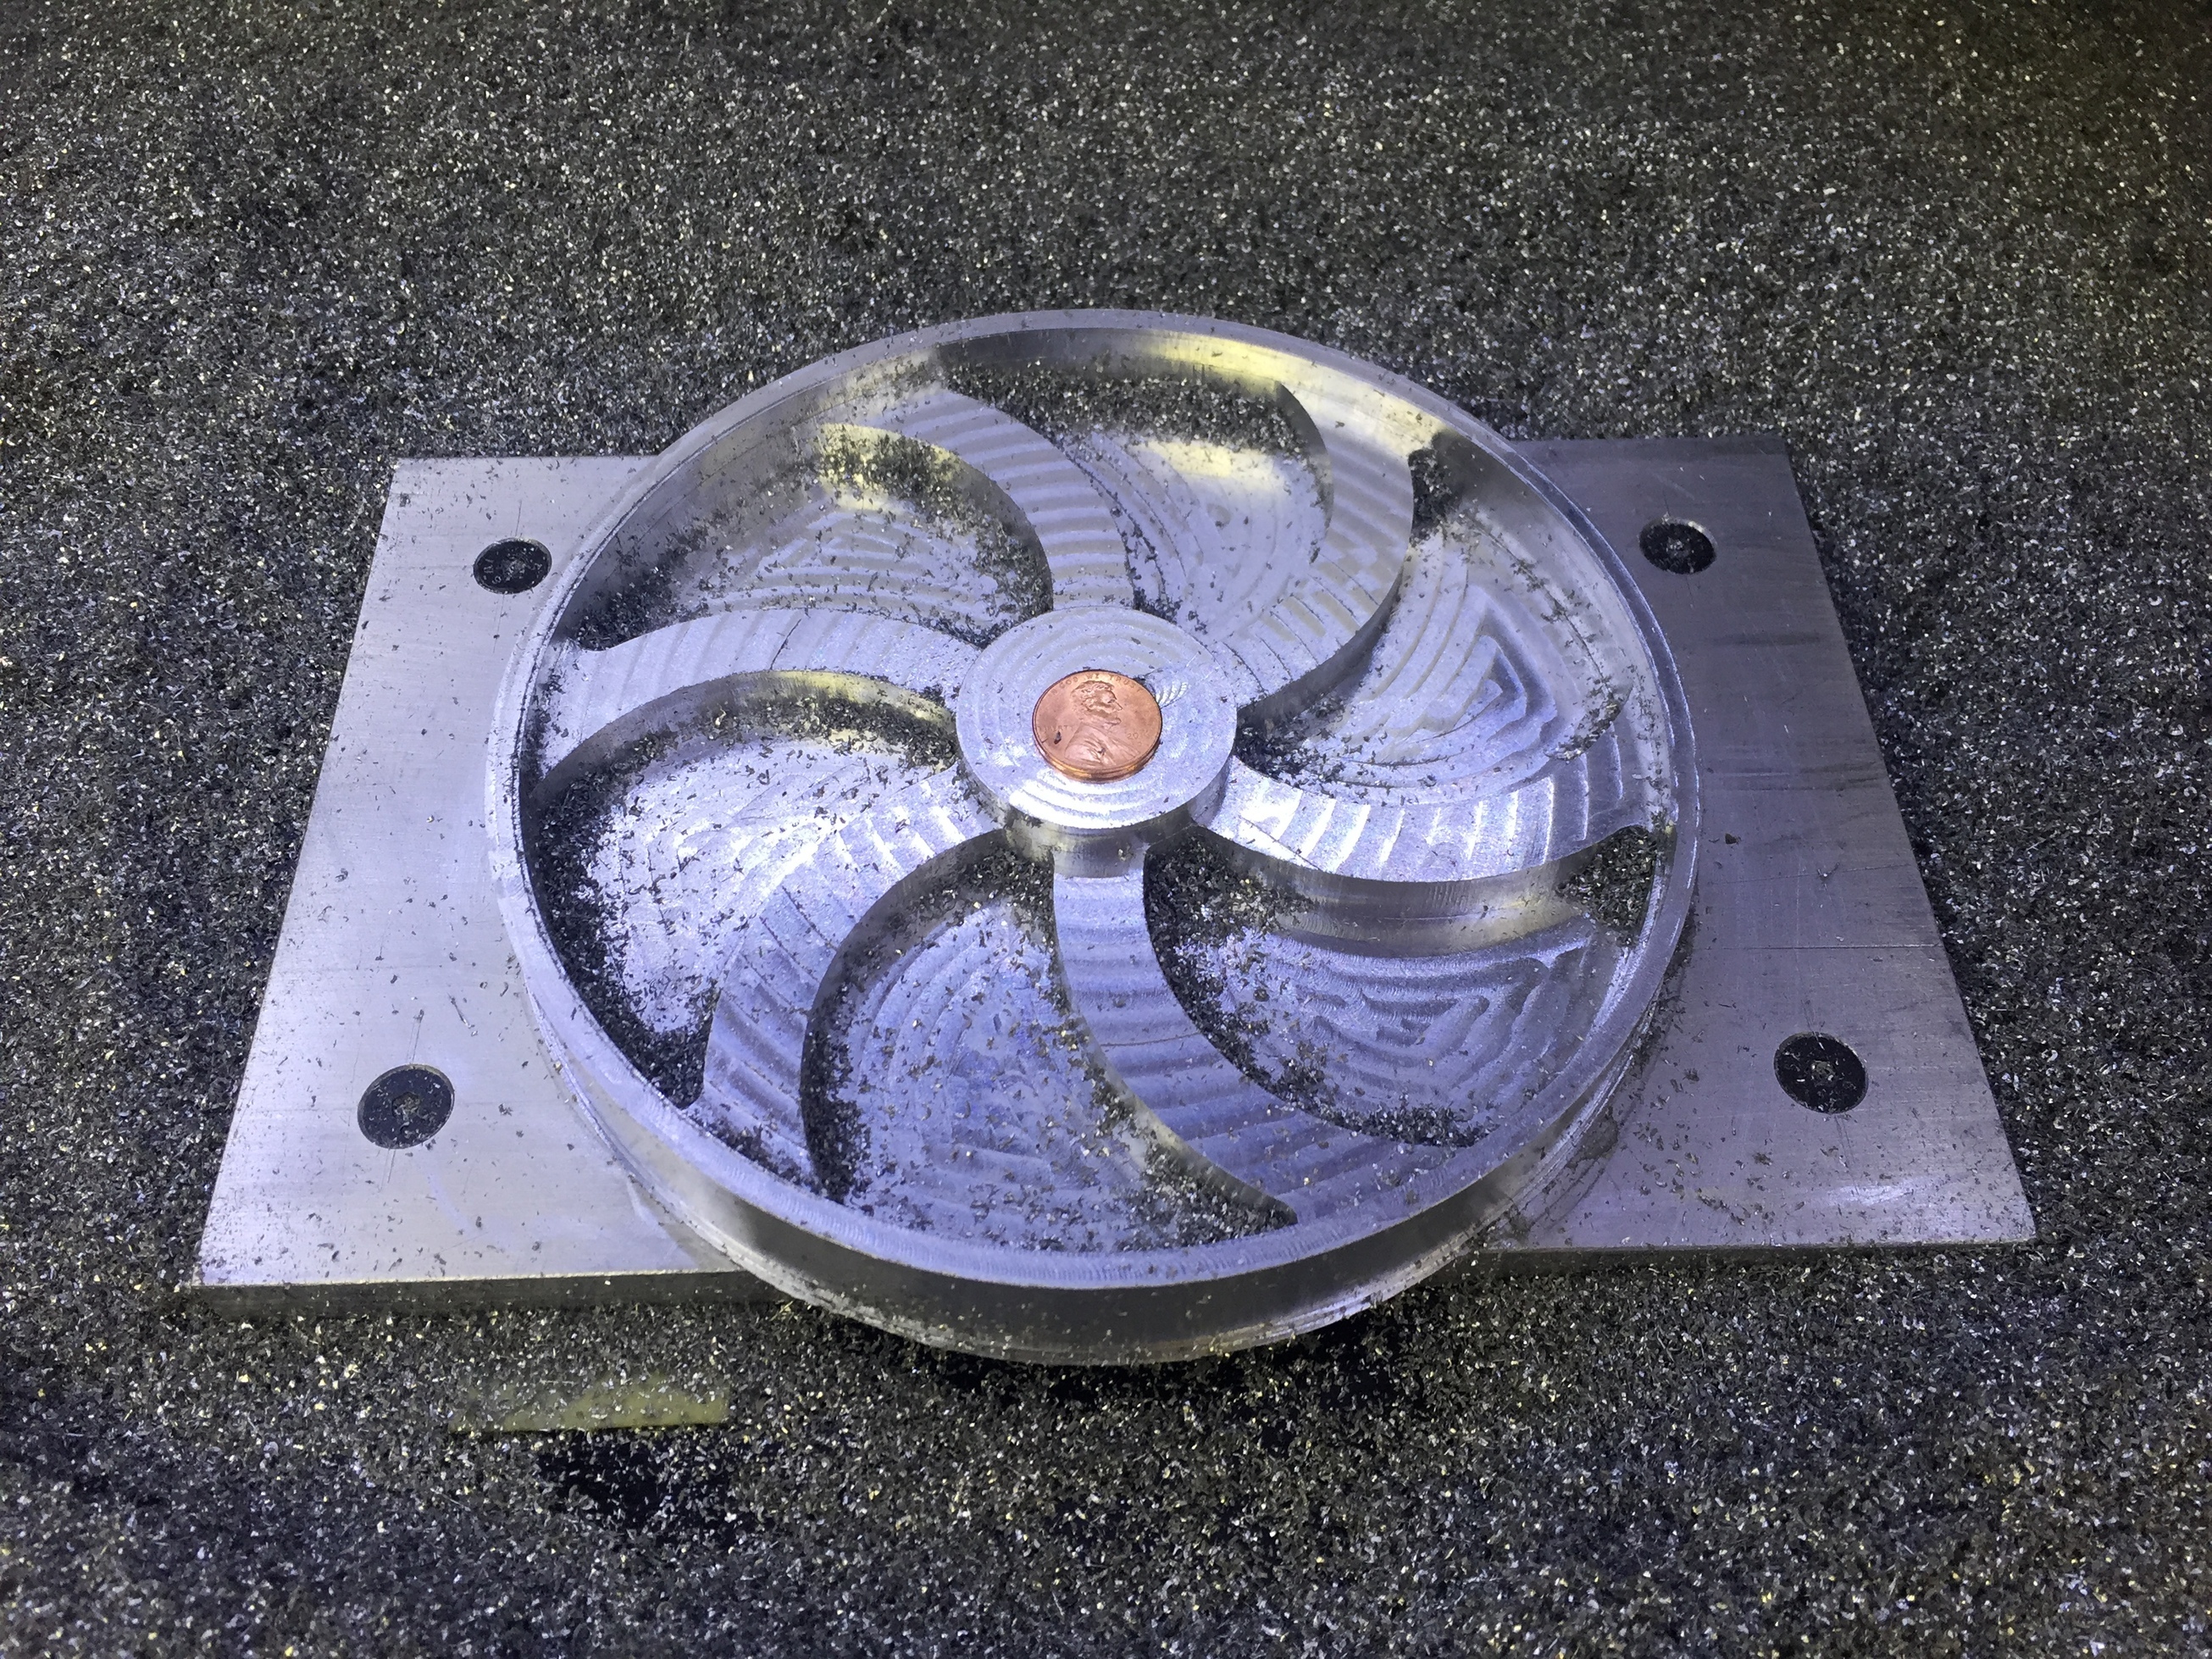
First Side Complete (Penny for Scale)
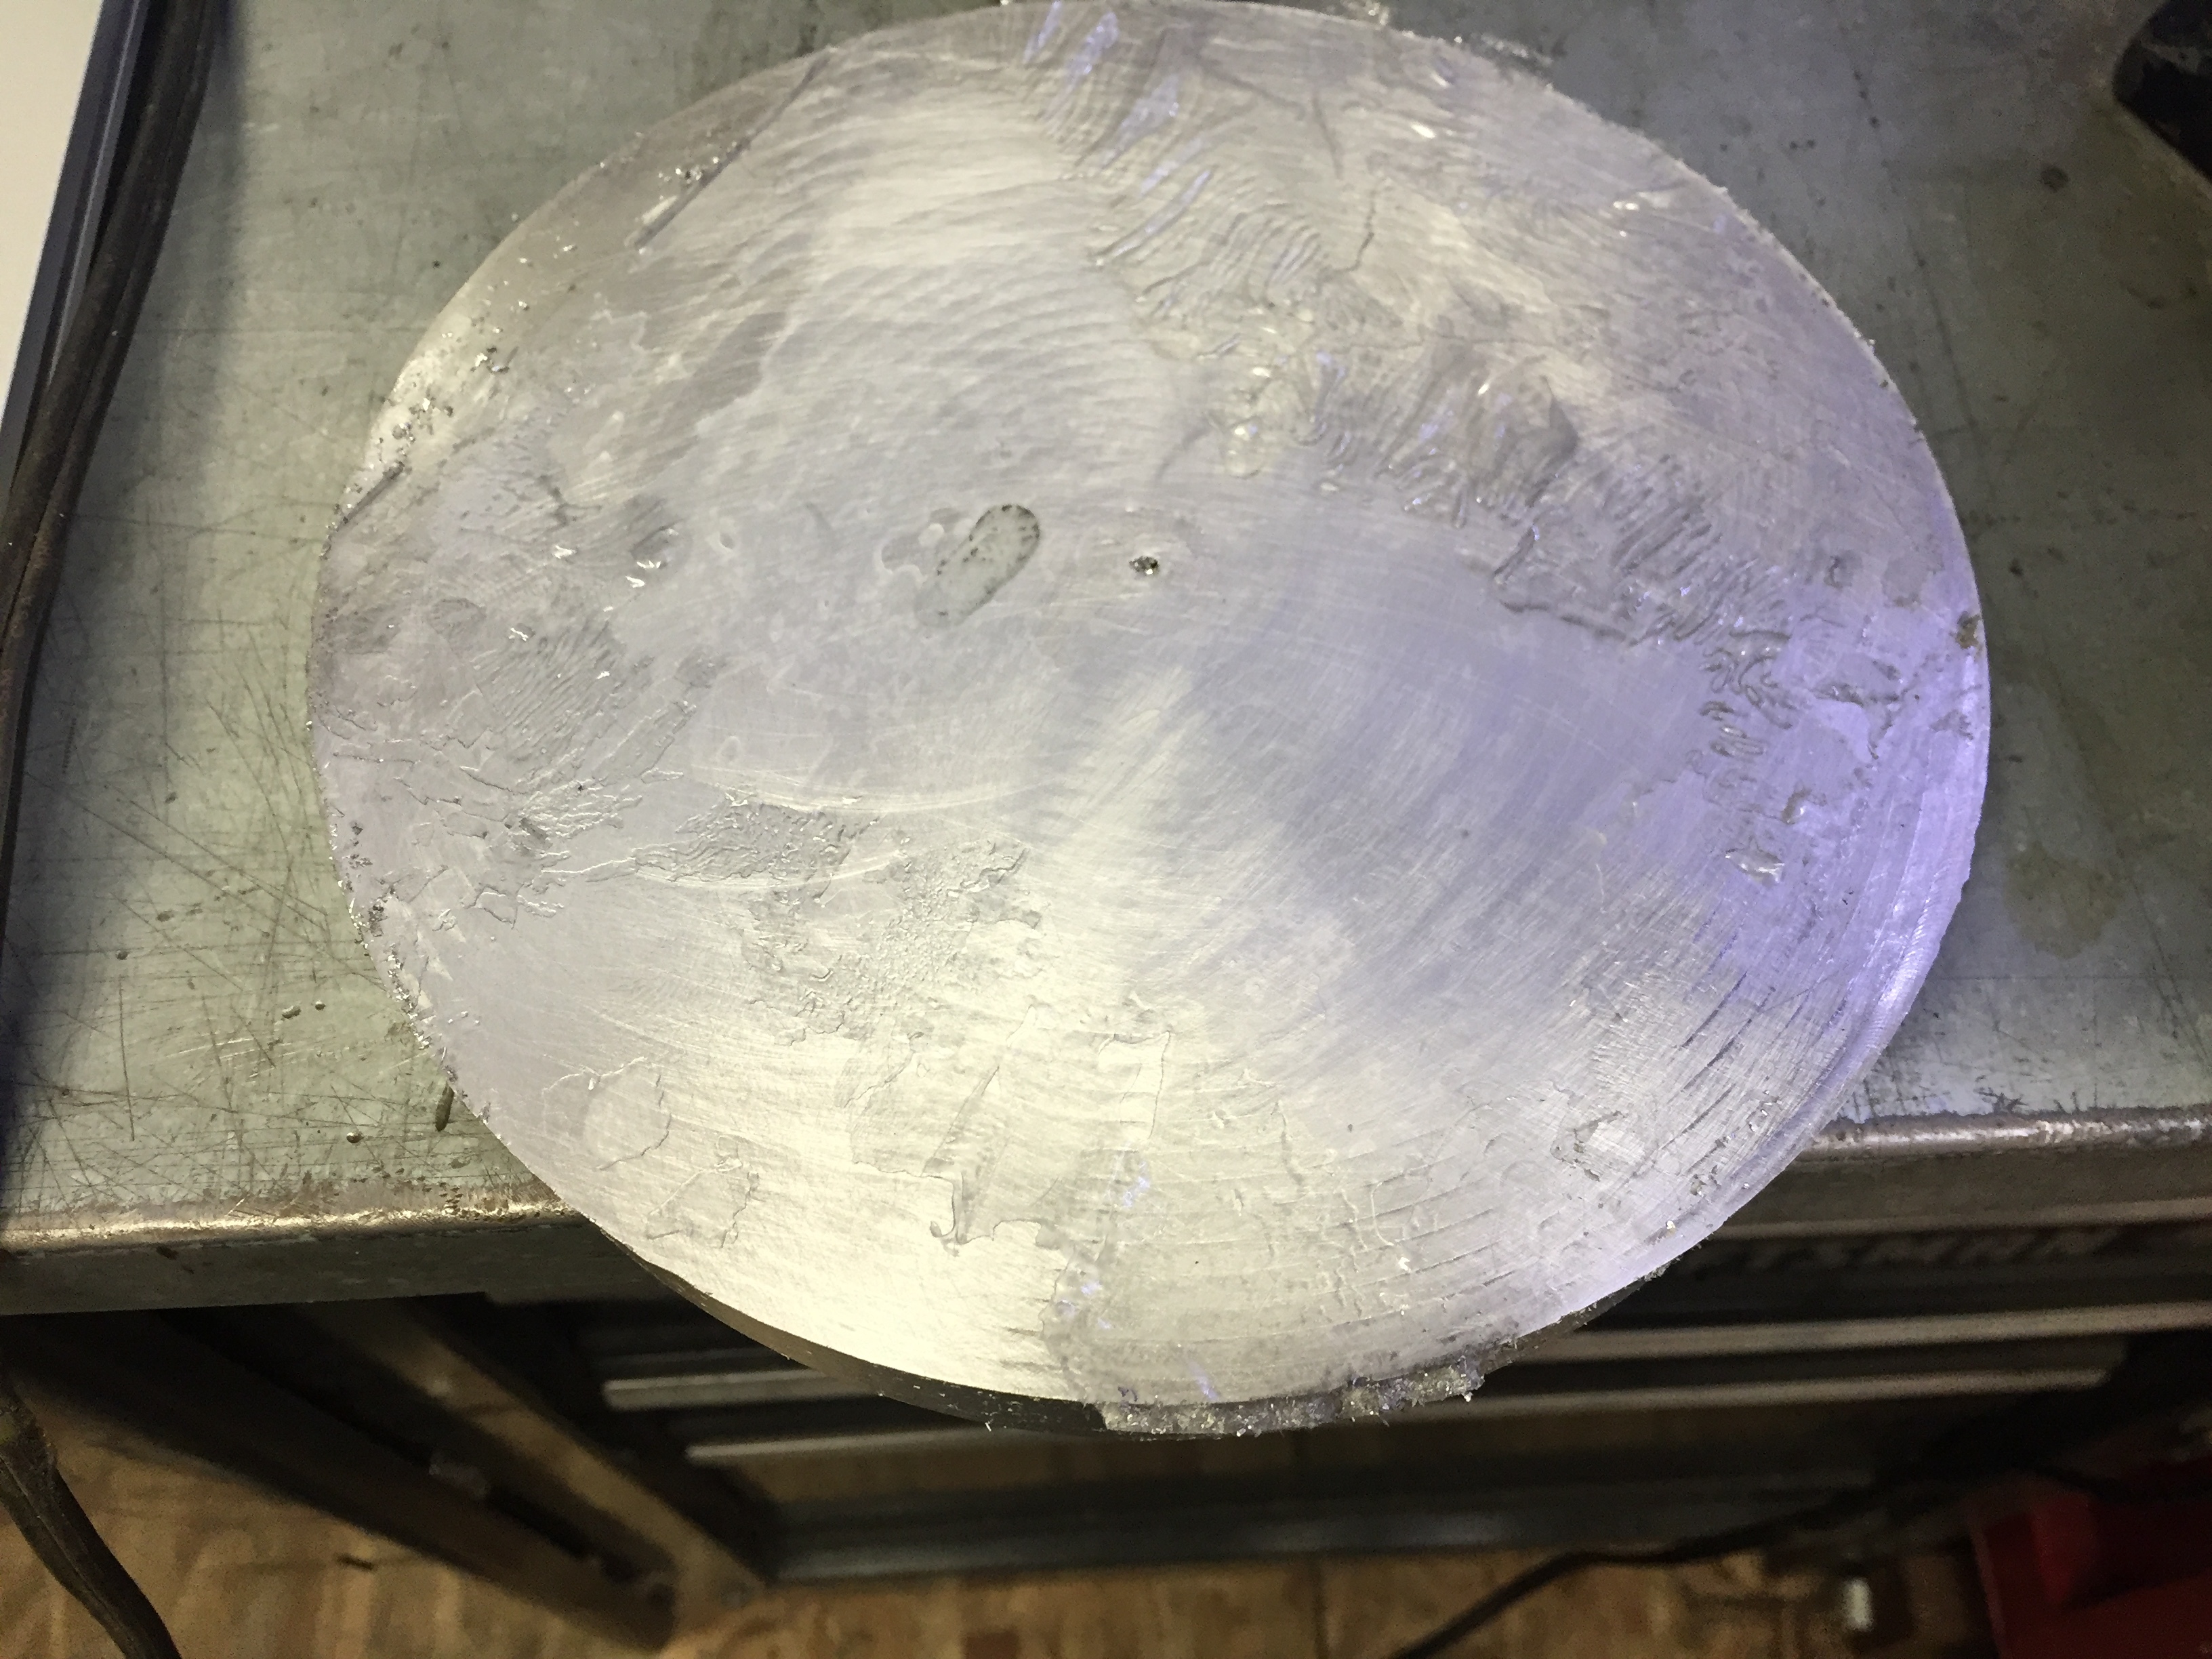
Part freshly removed from the Aluminum Glue Plate (Back Side)
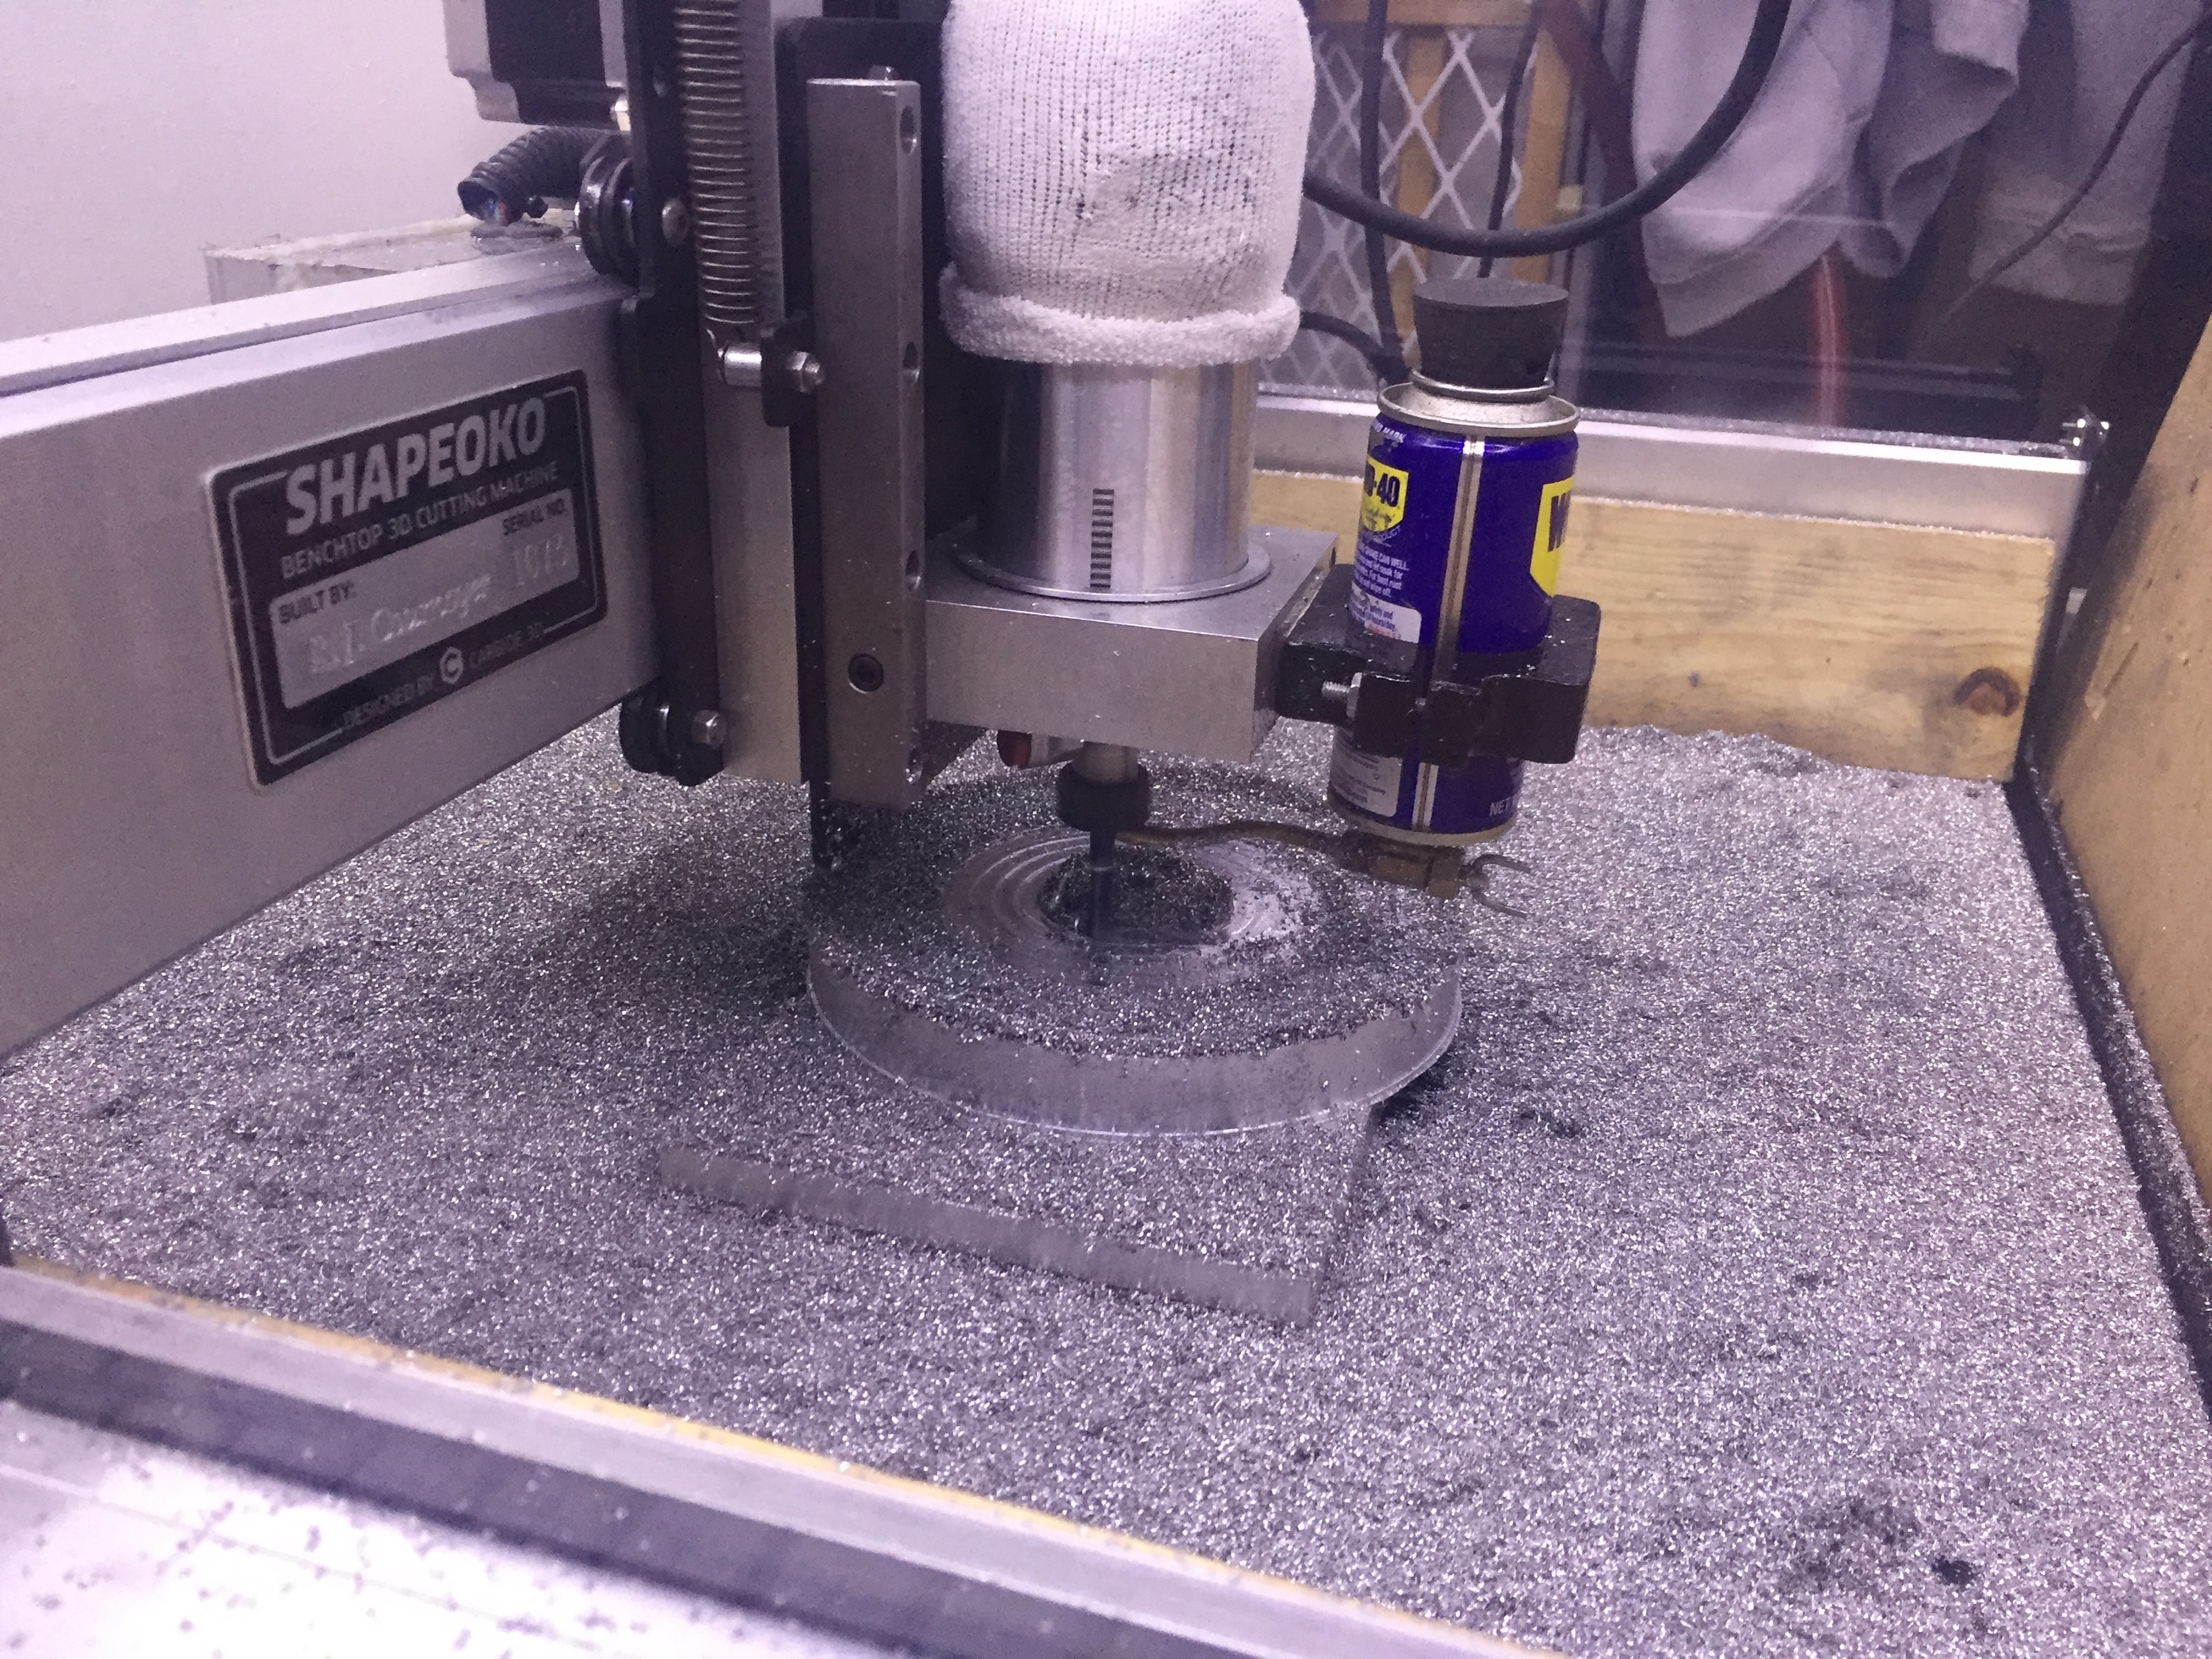
Chips Ahoy
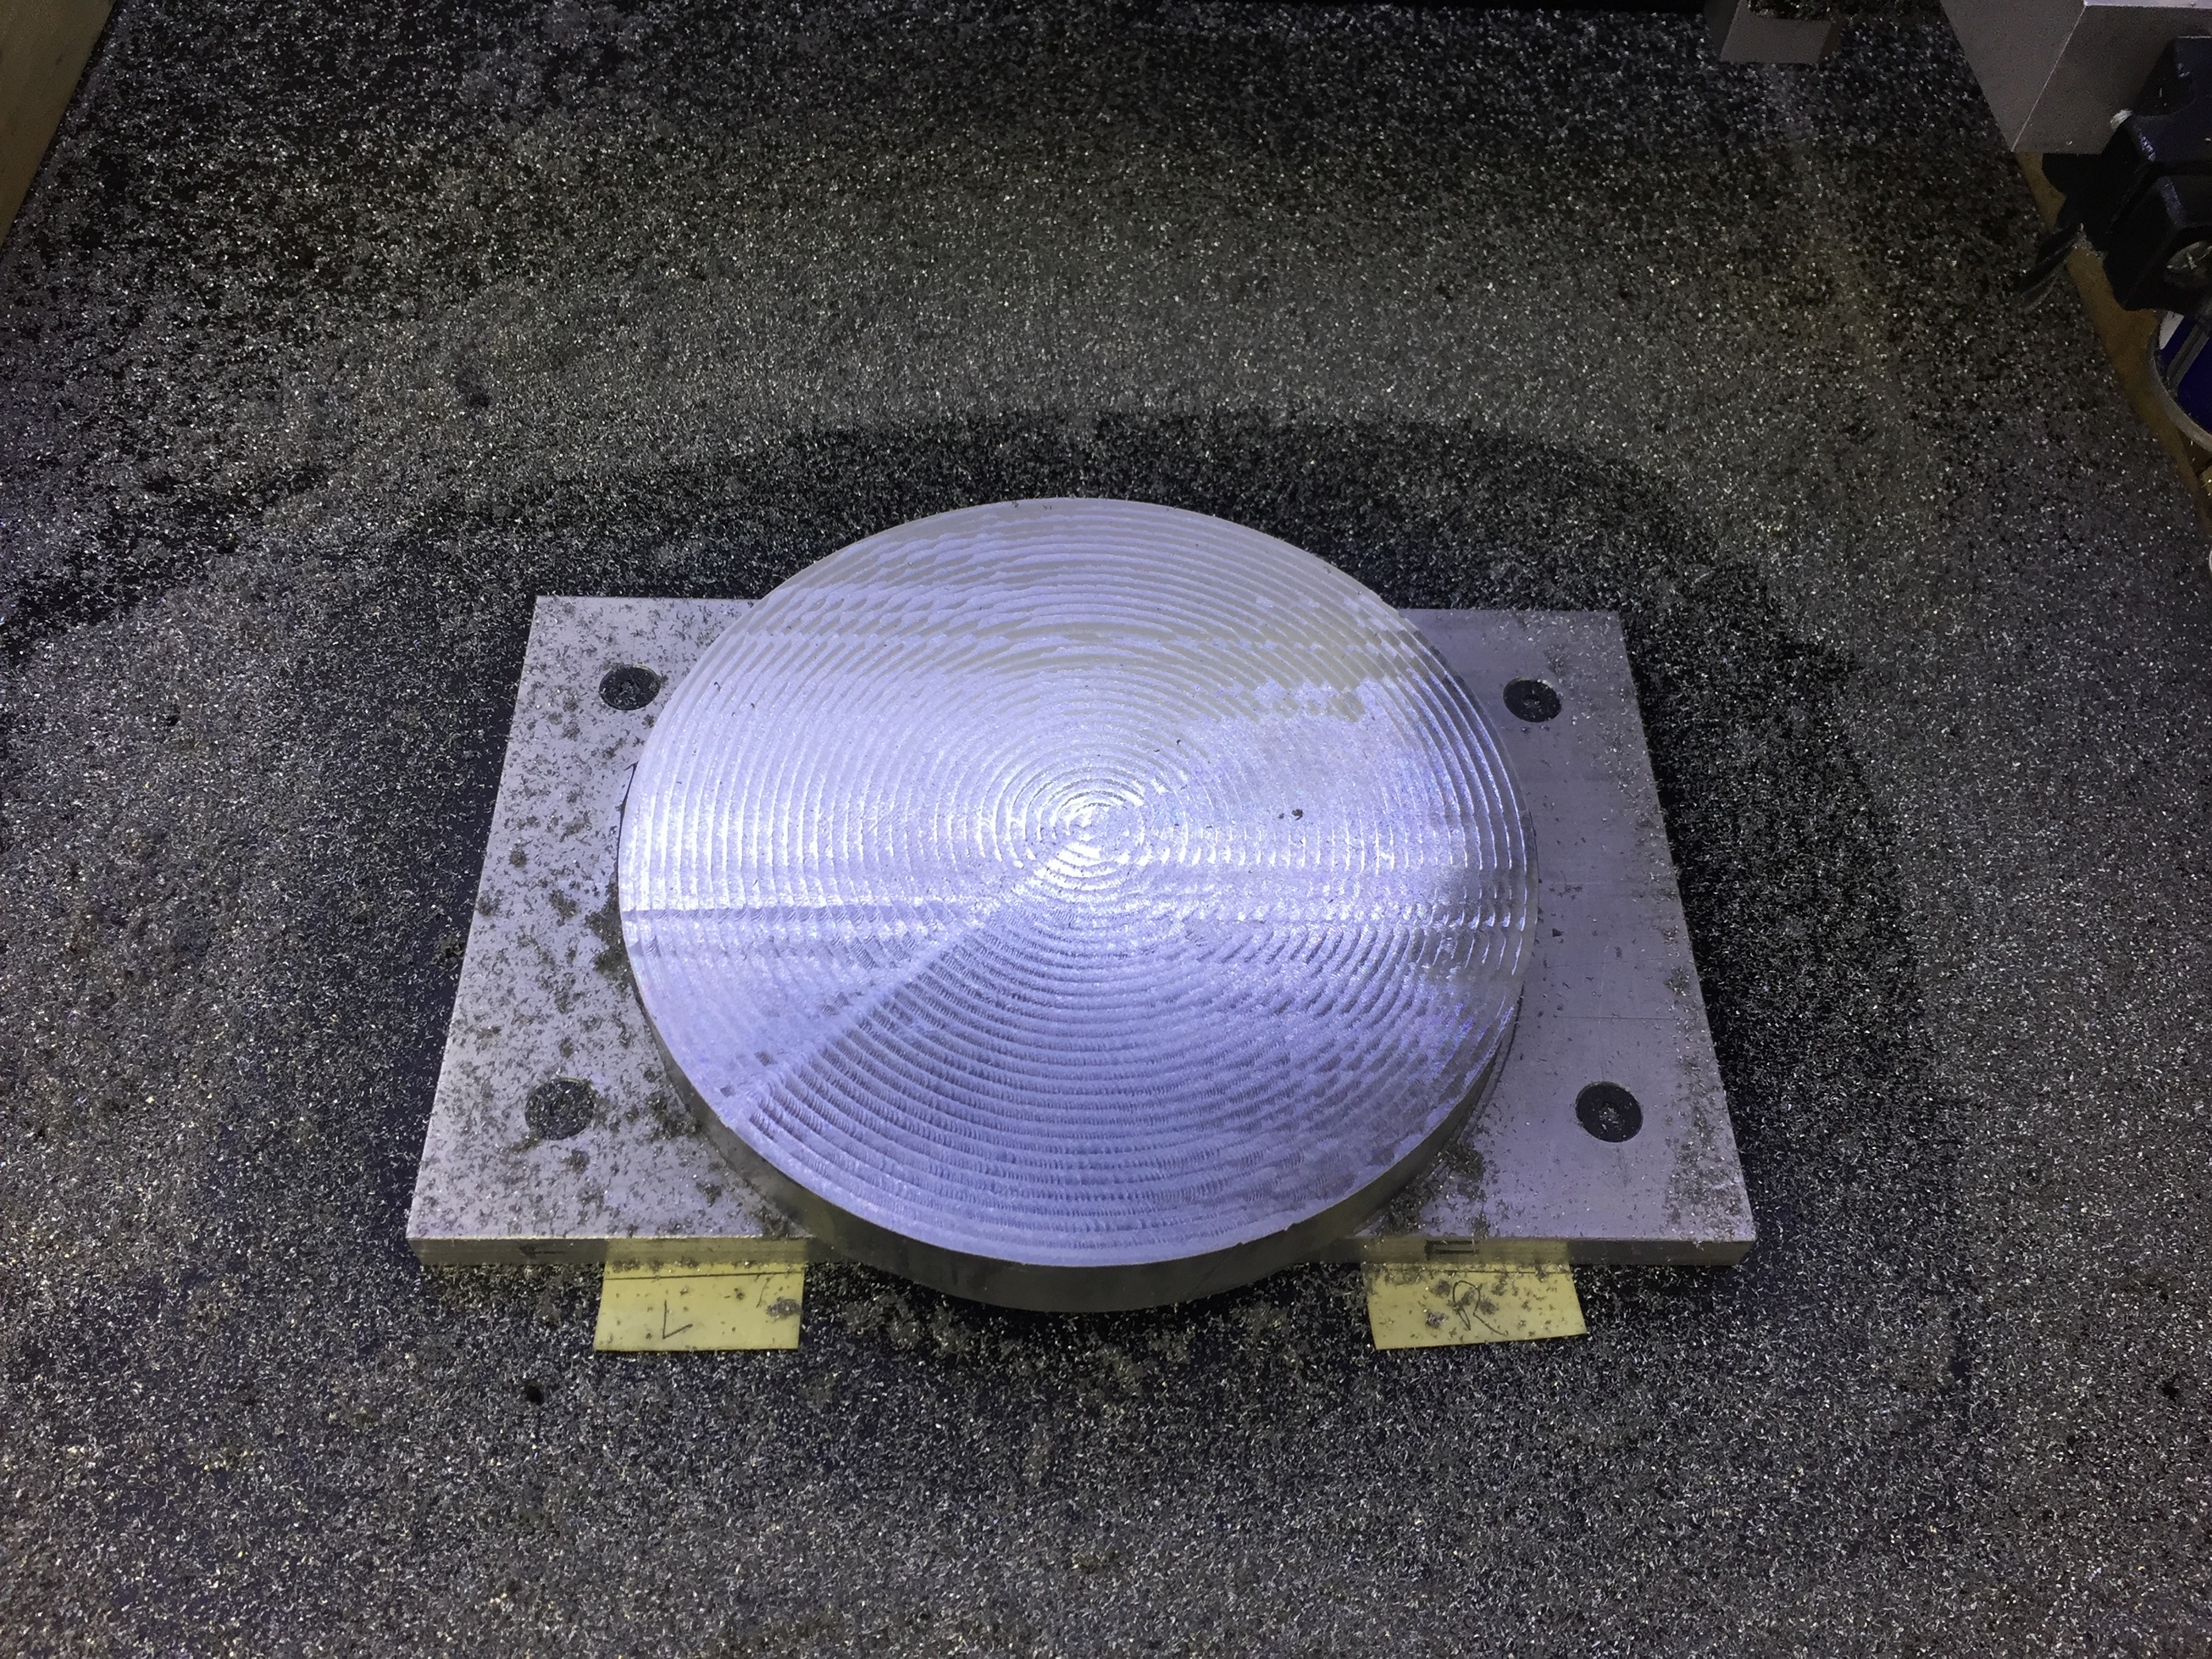
Part is faced to the final thickness, and it’s flat within 0.001" (Note the paper shims to correct for the tolerance of the rails)
Back on the Flat Iron after the completion of the first side