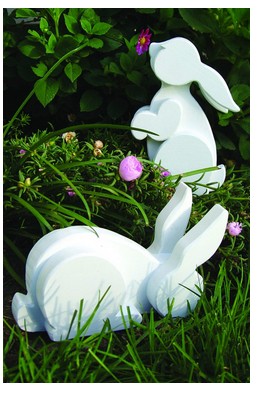
I made this project a few years ago on a scrollsaw. The lady I gave it to loved it. I wanted to make this on my SO3. I have a bunch of popular that I can use. I will try to cut this out tomorrow. If it works I will post the files.
Here is what it looks like from the Scrollsaw website with free plans.
SpringBunniesPattern.pdf (384.8 KB)
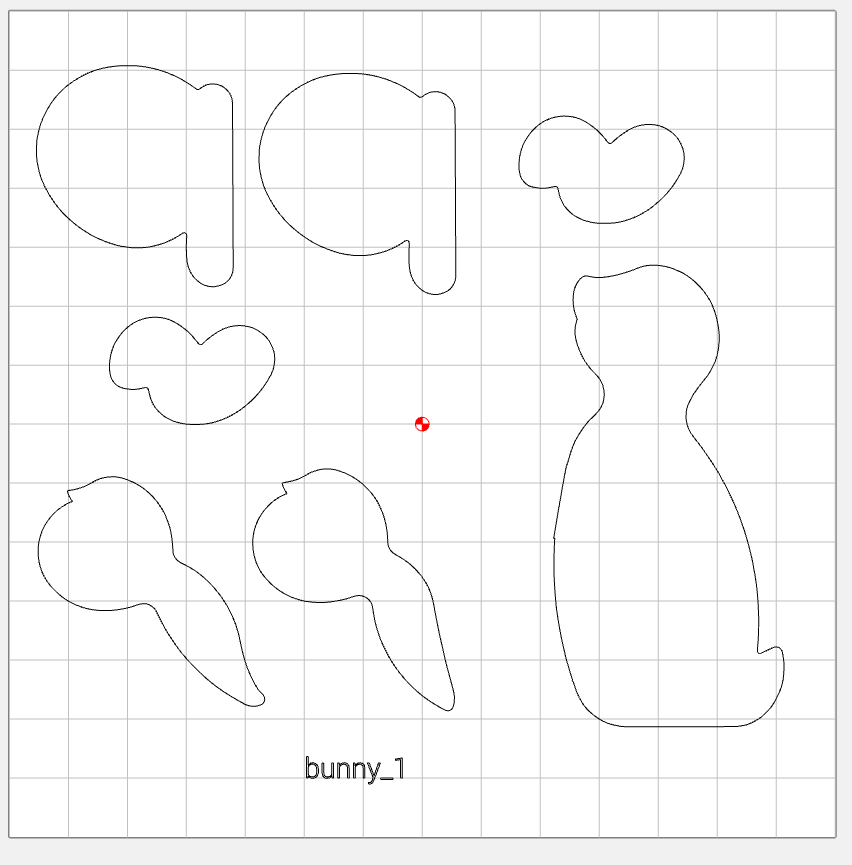
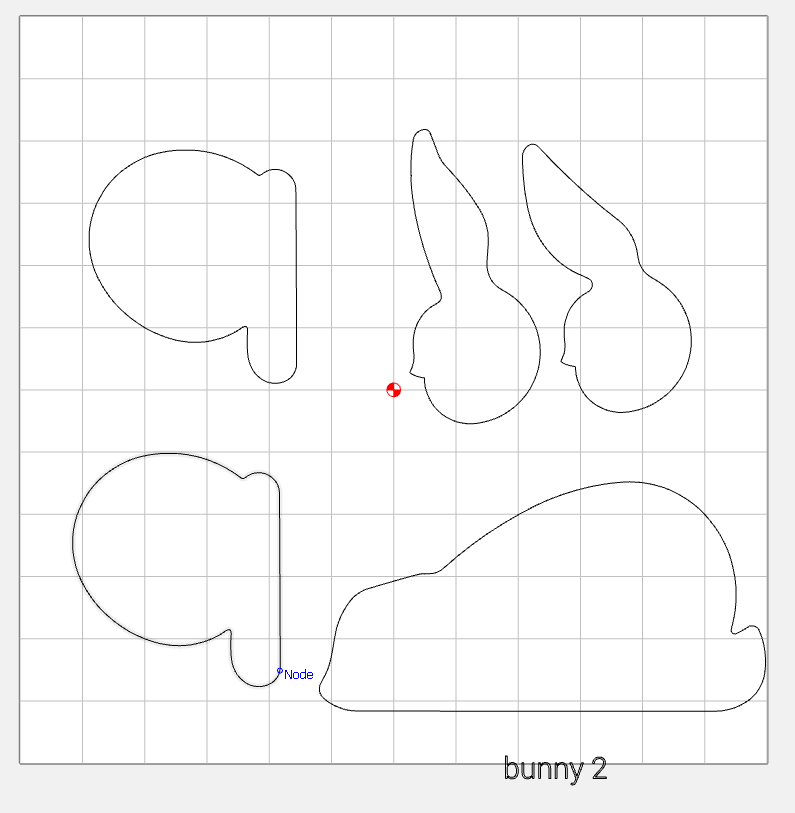
I used Inkscape to convert each page to an SVG. However many of the pieces overlaped and finally got the individual pieces as shown above. I have not optomized the placement or the size of the material yet I just got the pieces separated.
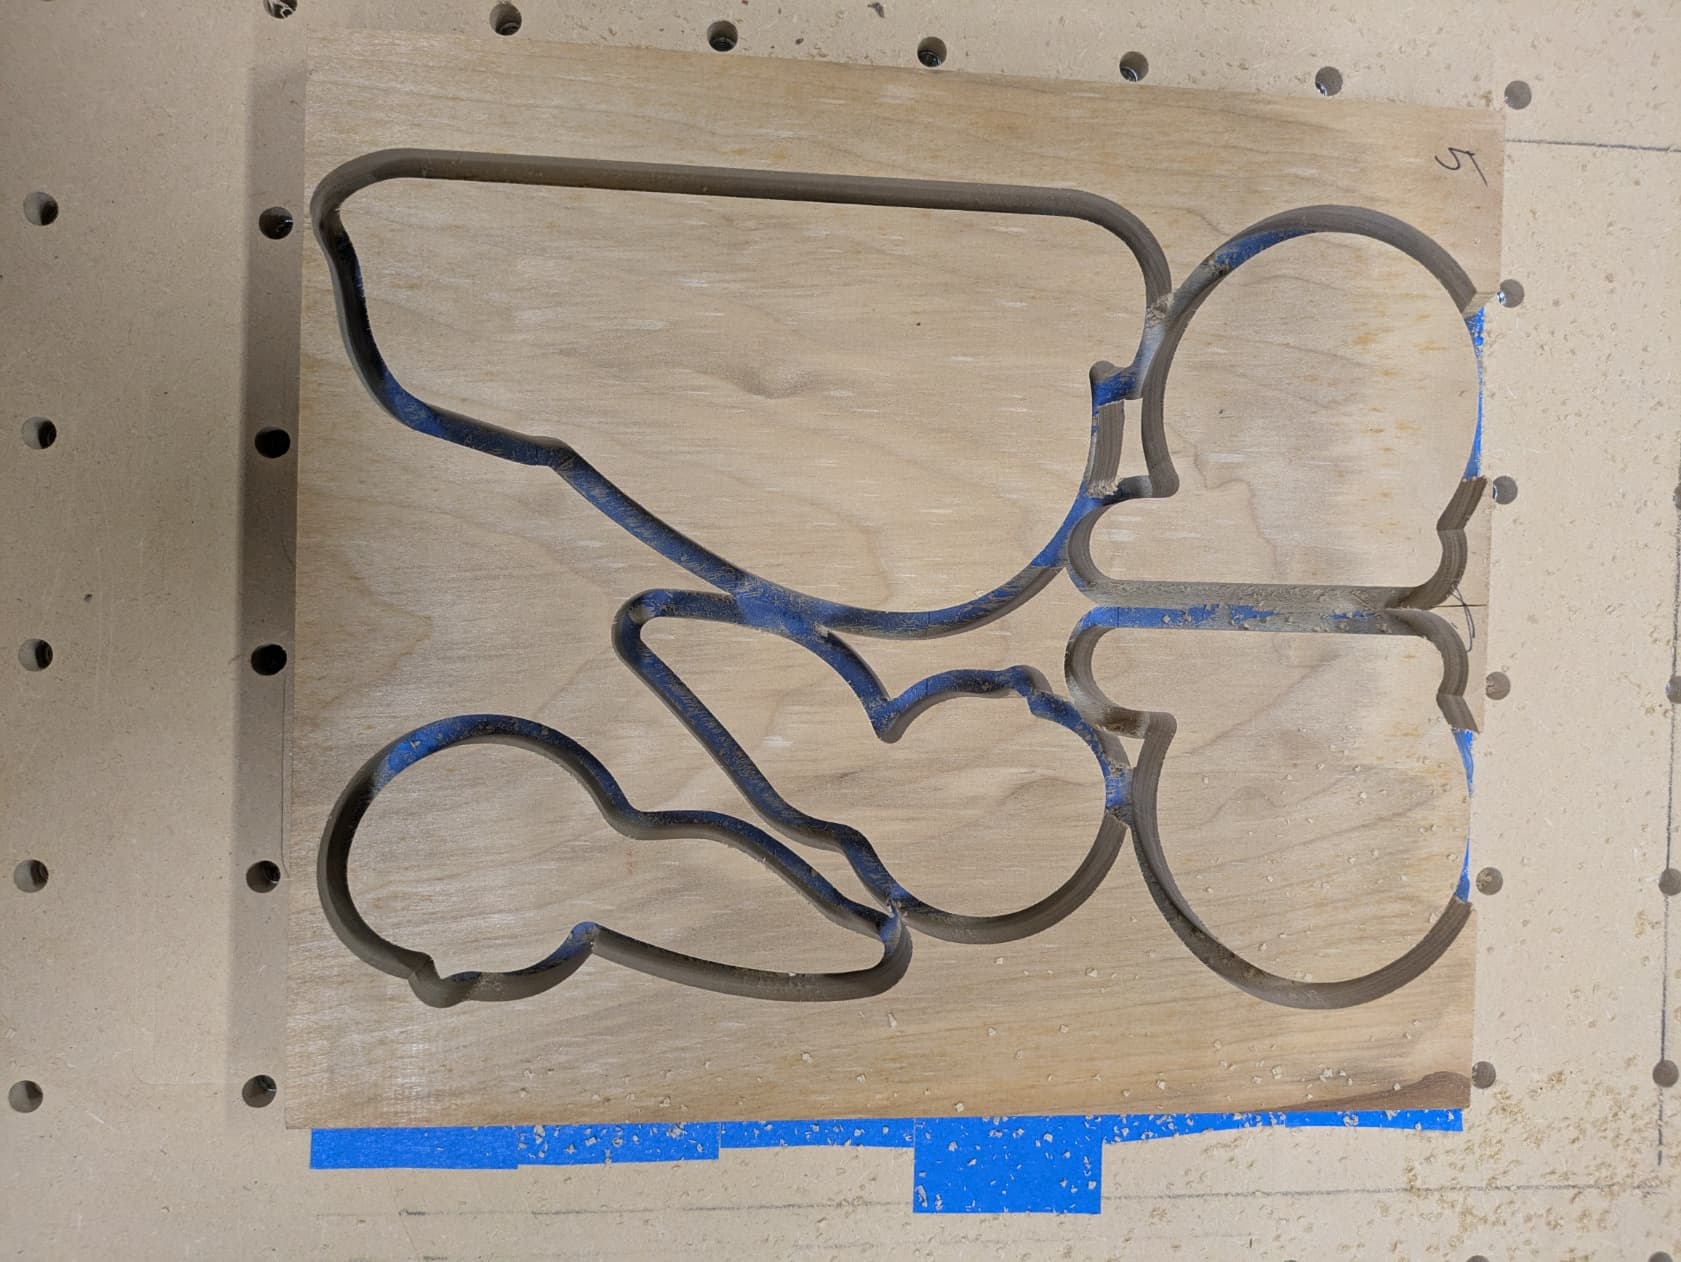
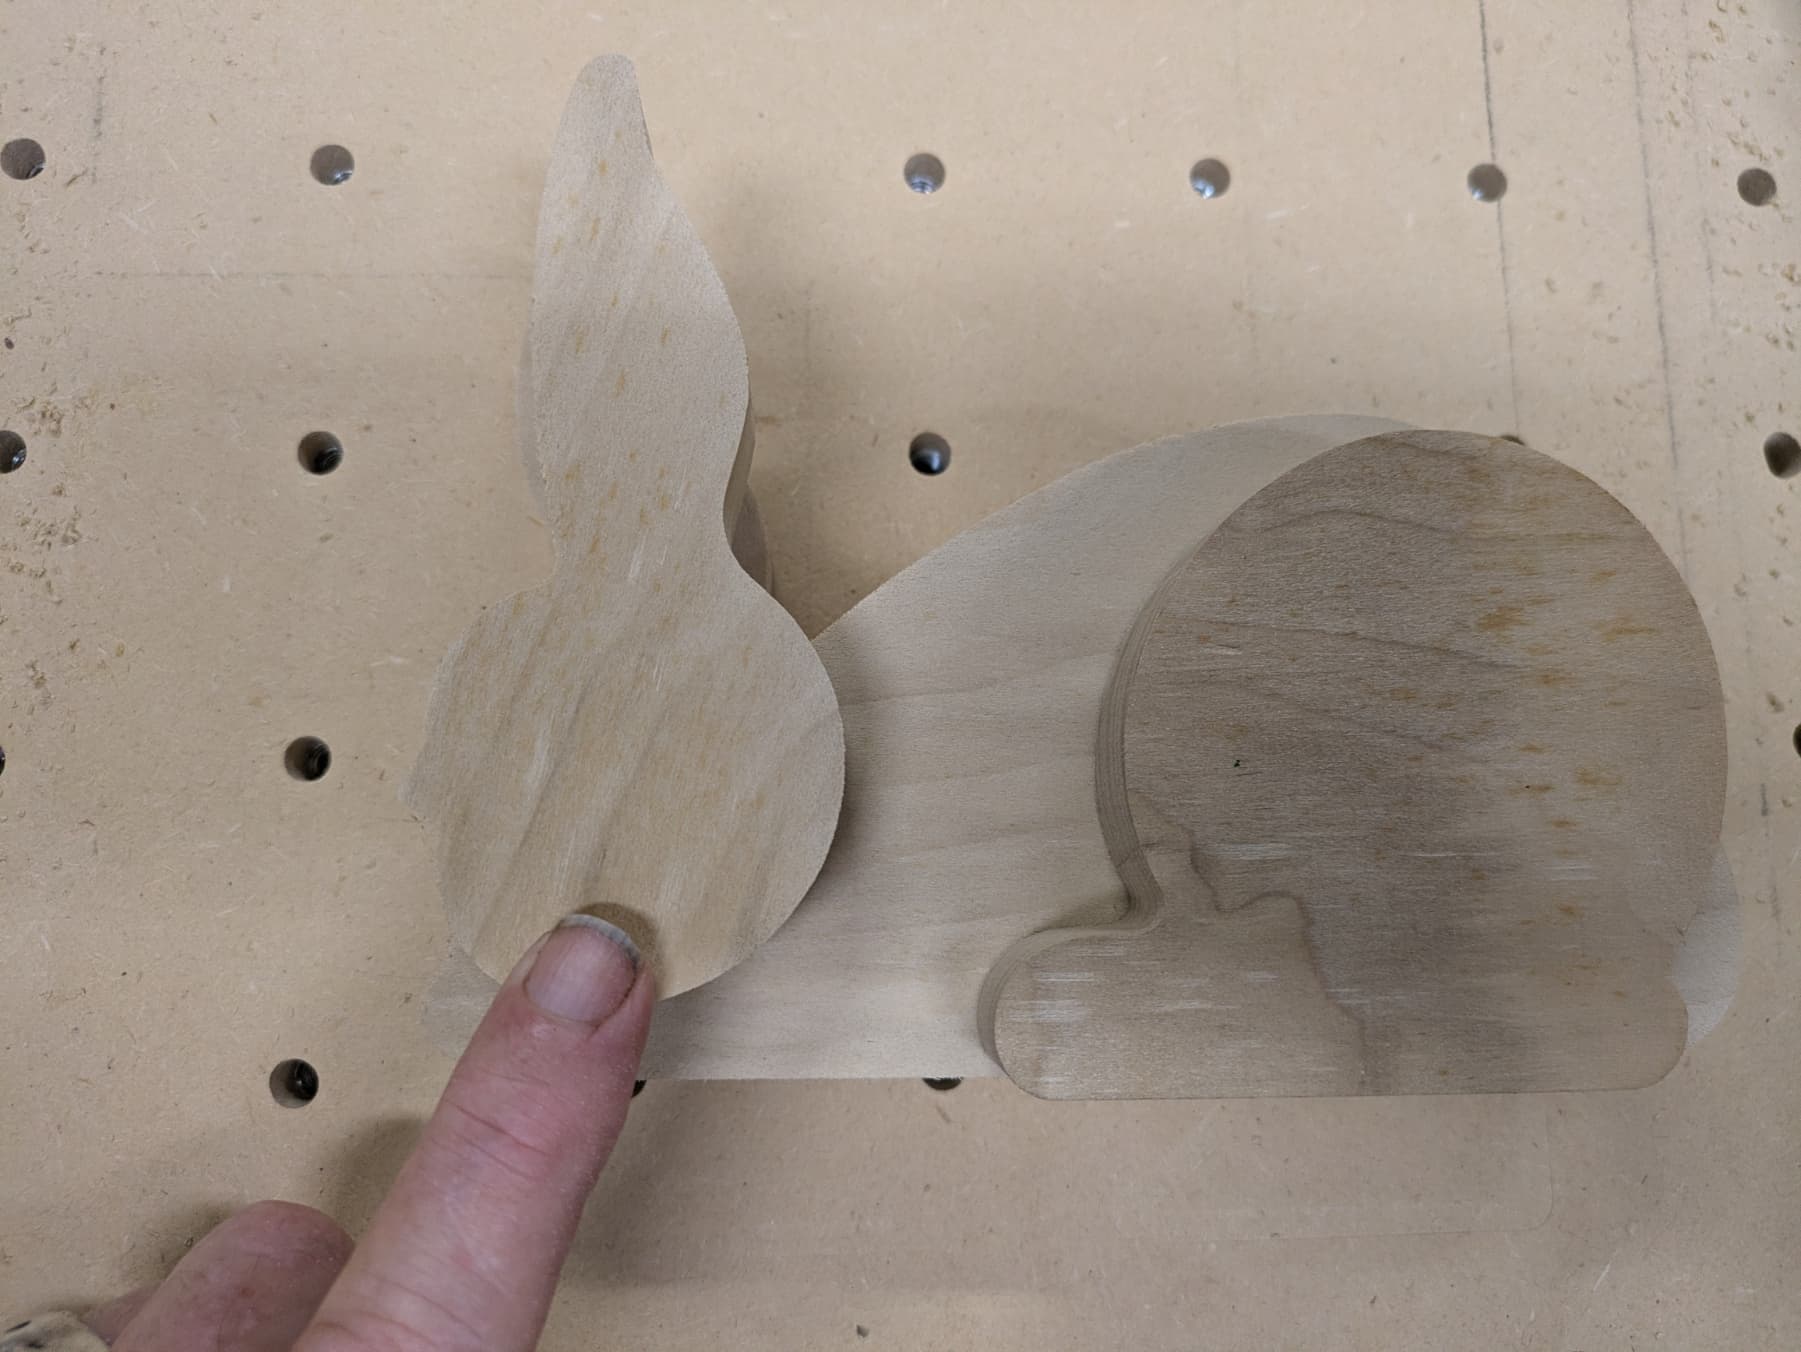
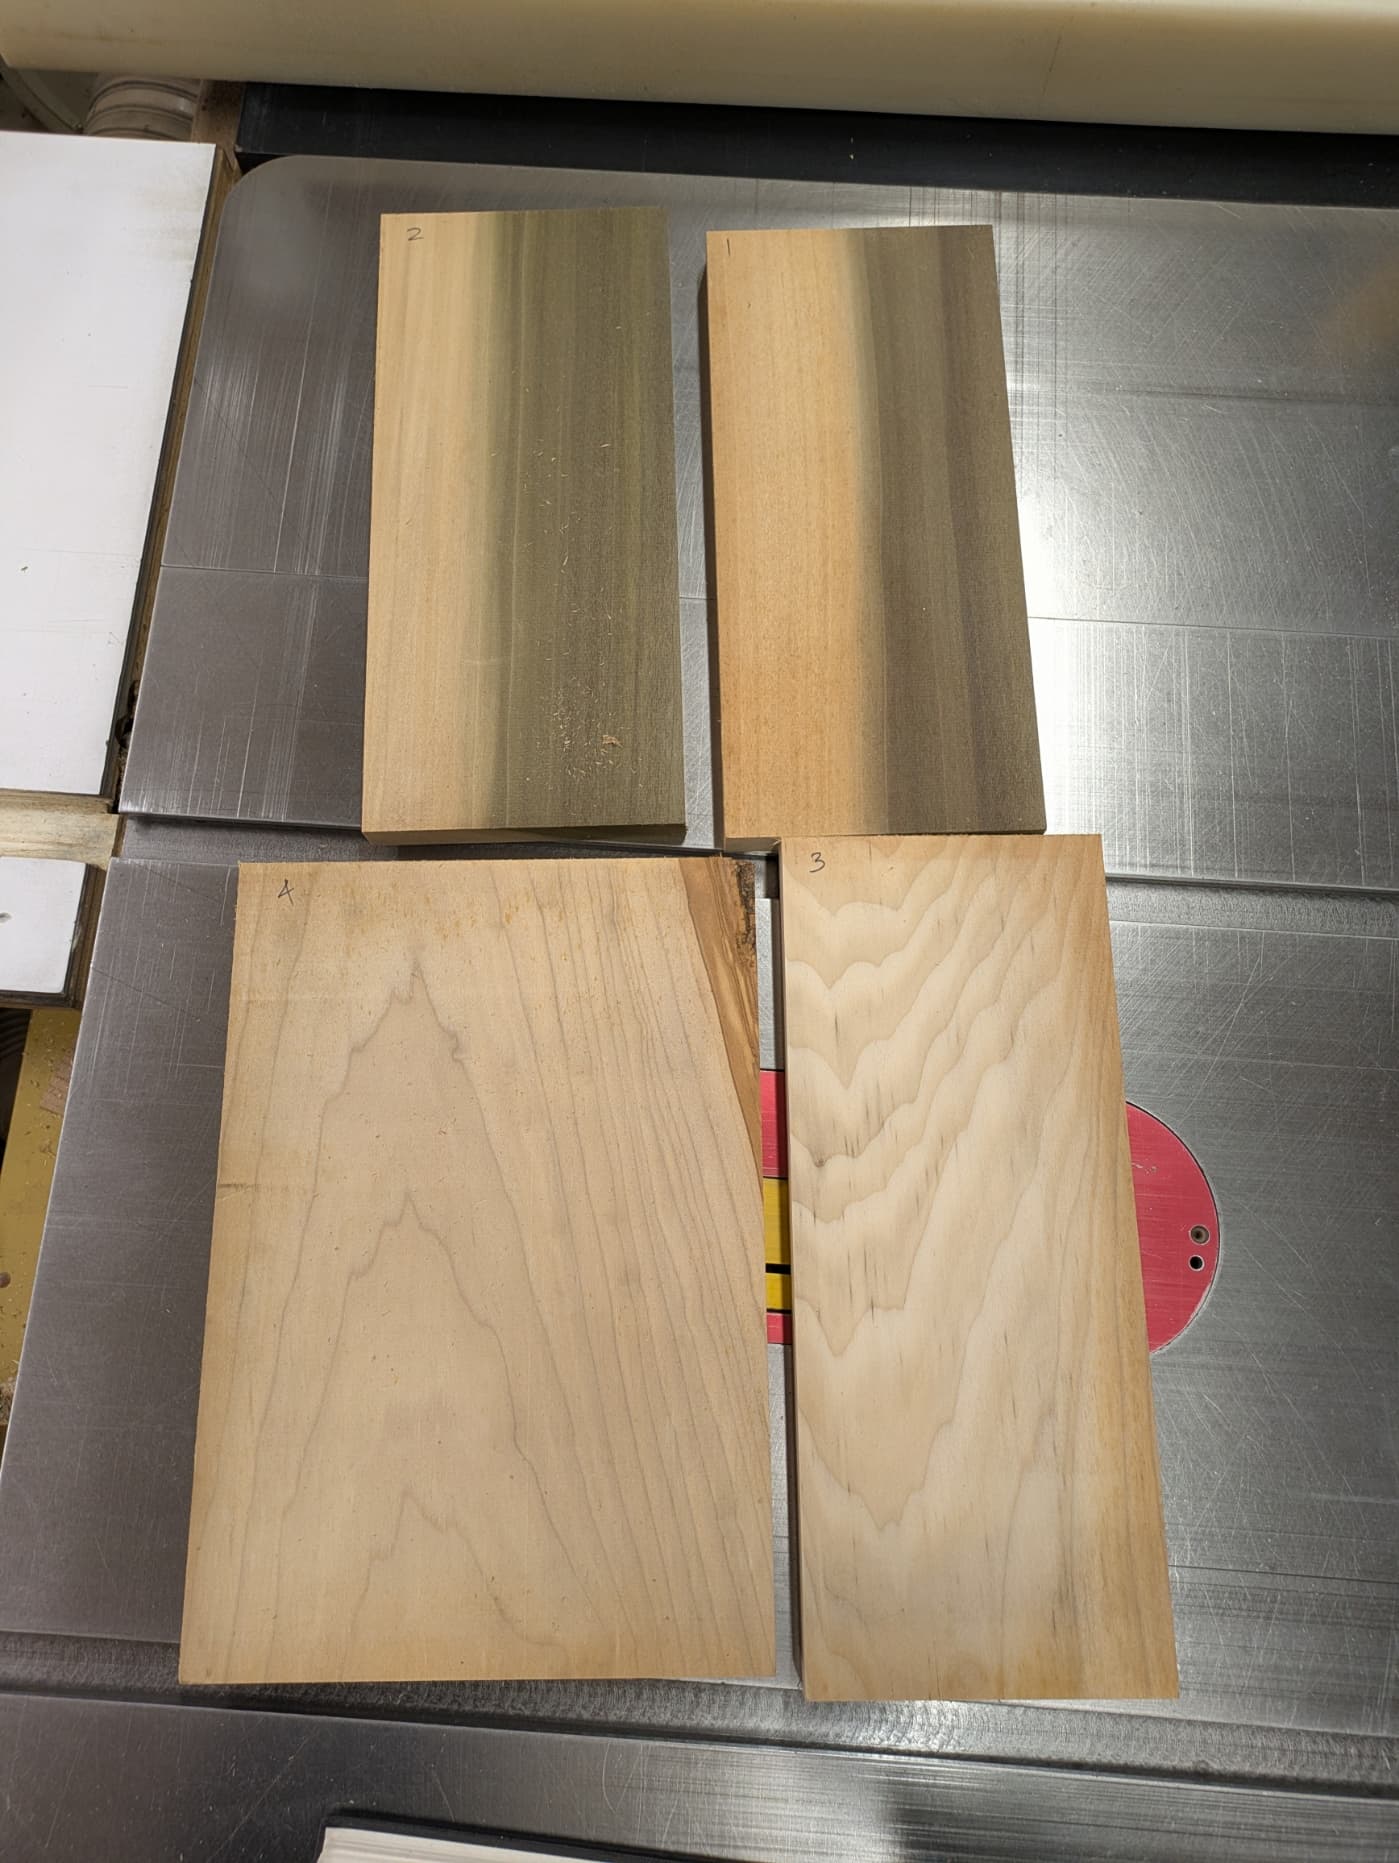
I got the bunnies cut out. I had some random poplar boards that I cut and measured. I then laid out the bunny parts with some flipped horizontally and some vertically to fit the boards.
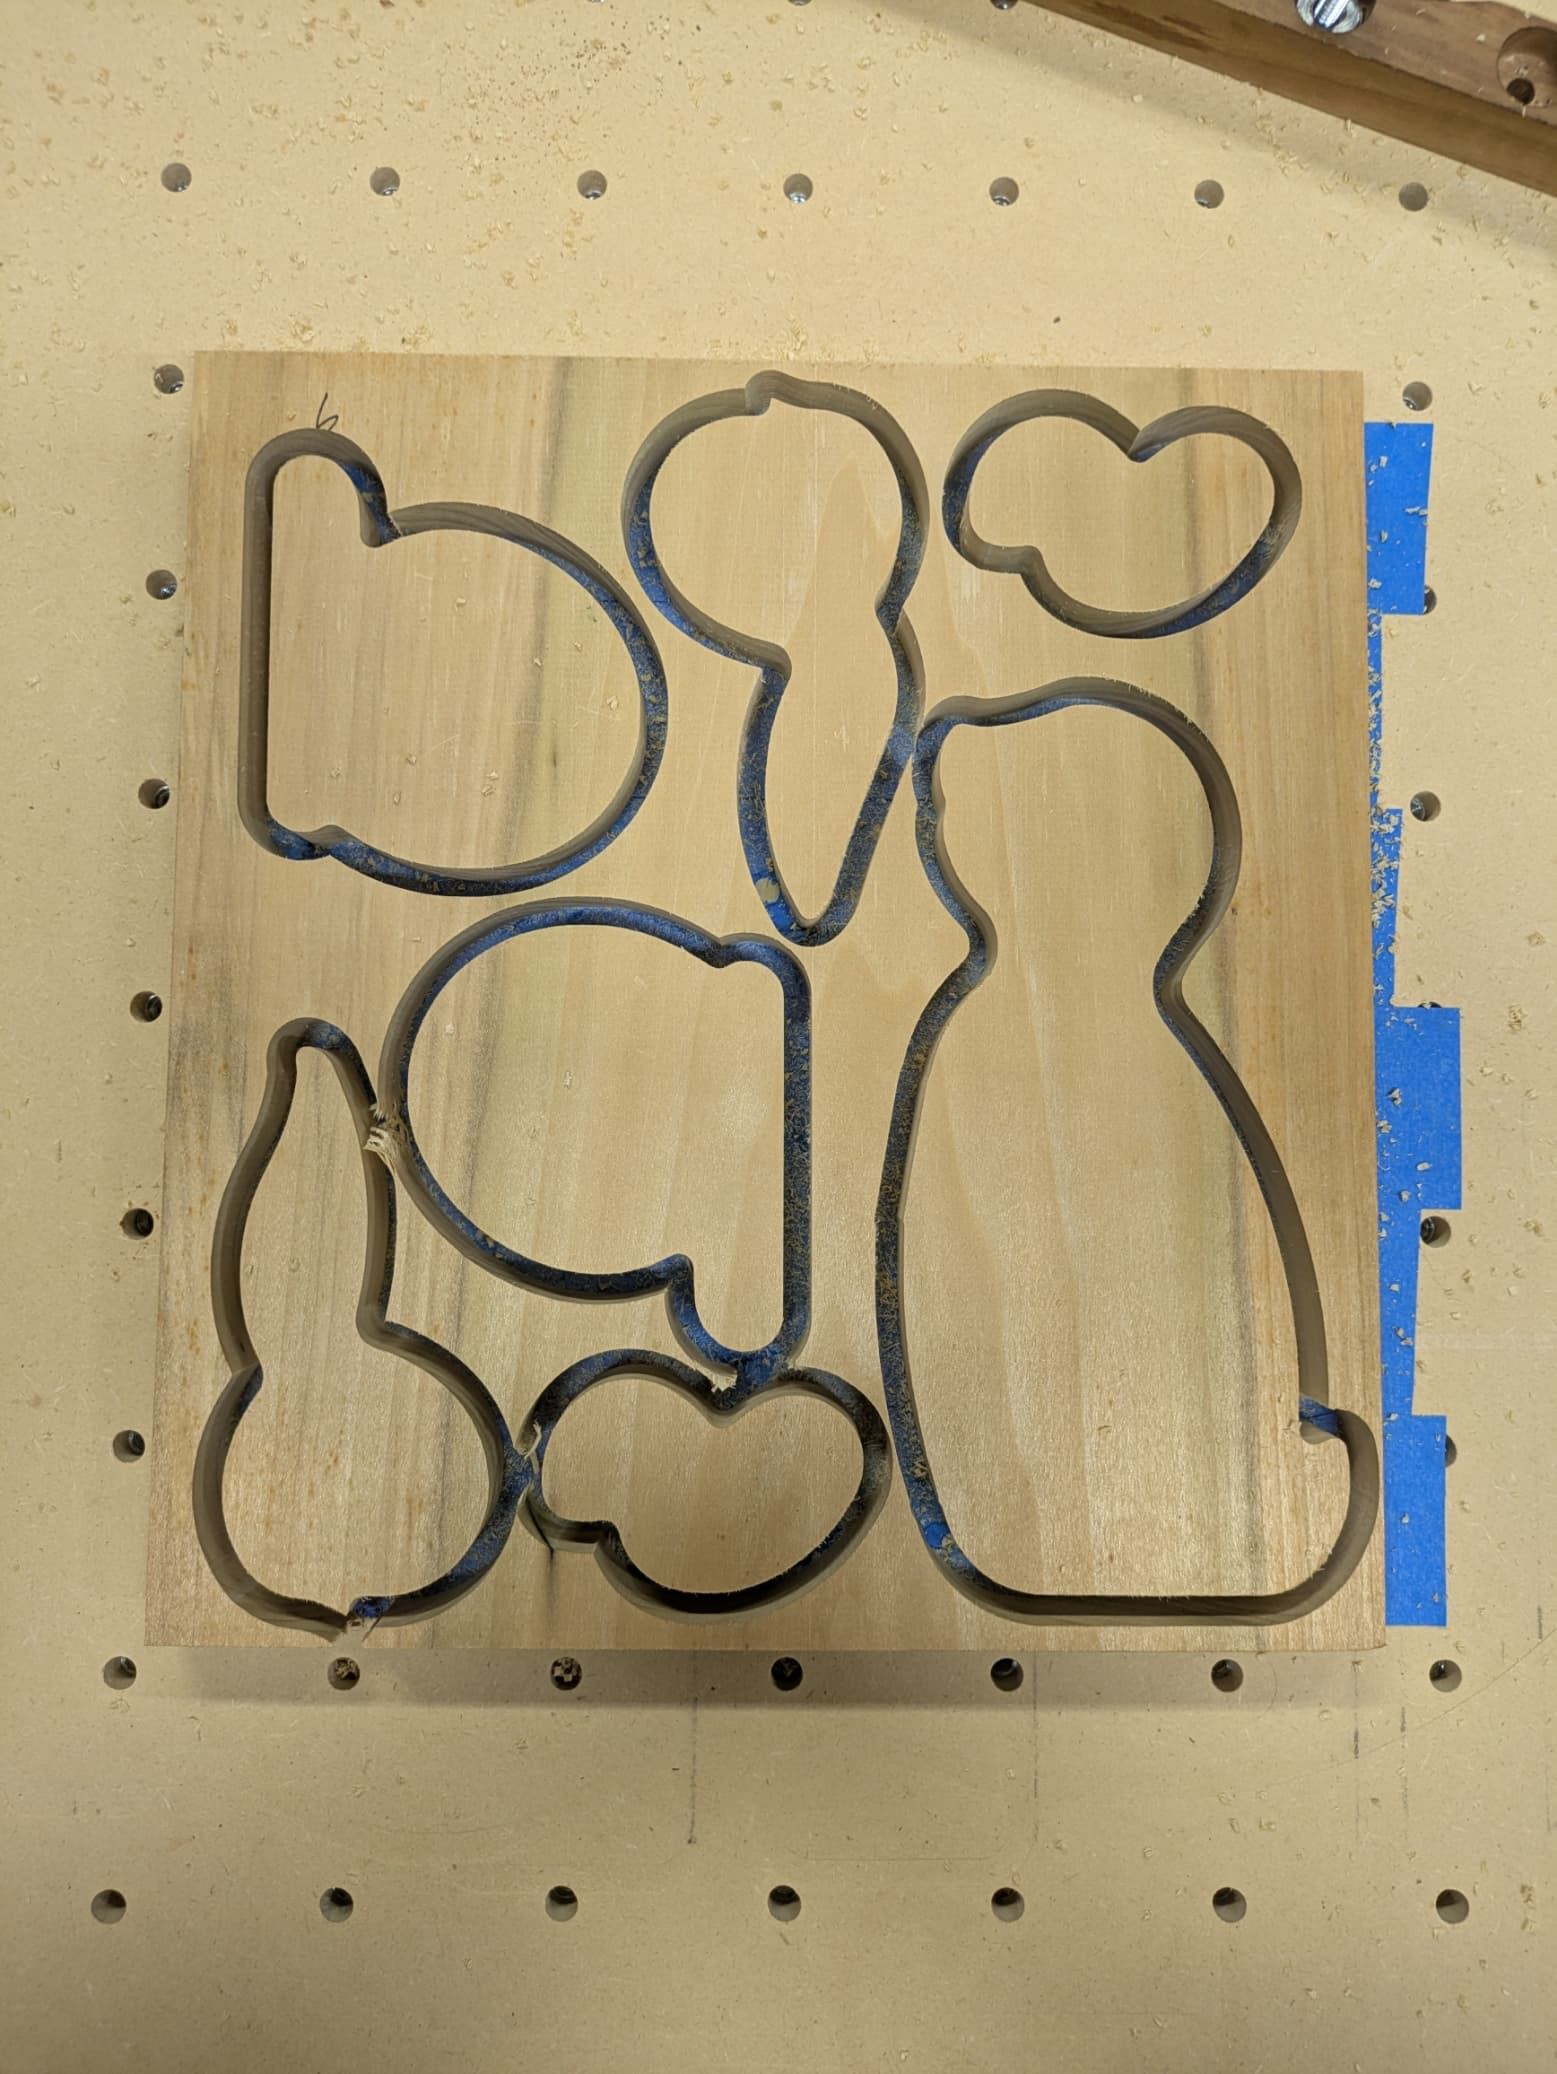
I used a #251 1/4" down cut bit. I used the center and bottom of material. If you use the files change them as you need to for your situation.
I used painters tape and super glue to hold the project down. I have an L bracket that I use to get the material square and glued down and then remove it because some of the cuts came over the edge.
Because I use bottom of material here is my spoilboard after cutting. Notice there is no scaring of my spoilboard. I replaced the spoilboard in July 2025 and have cut many many projects and there are barely any scratches on it.
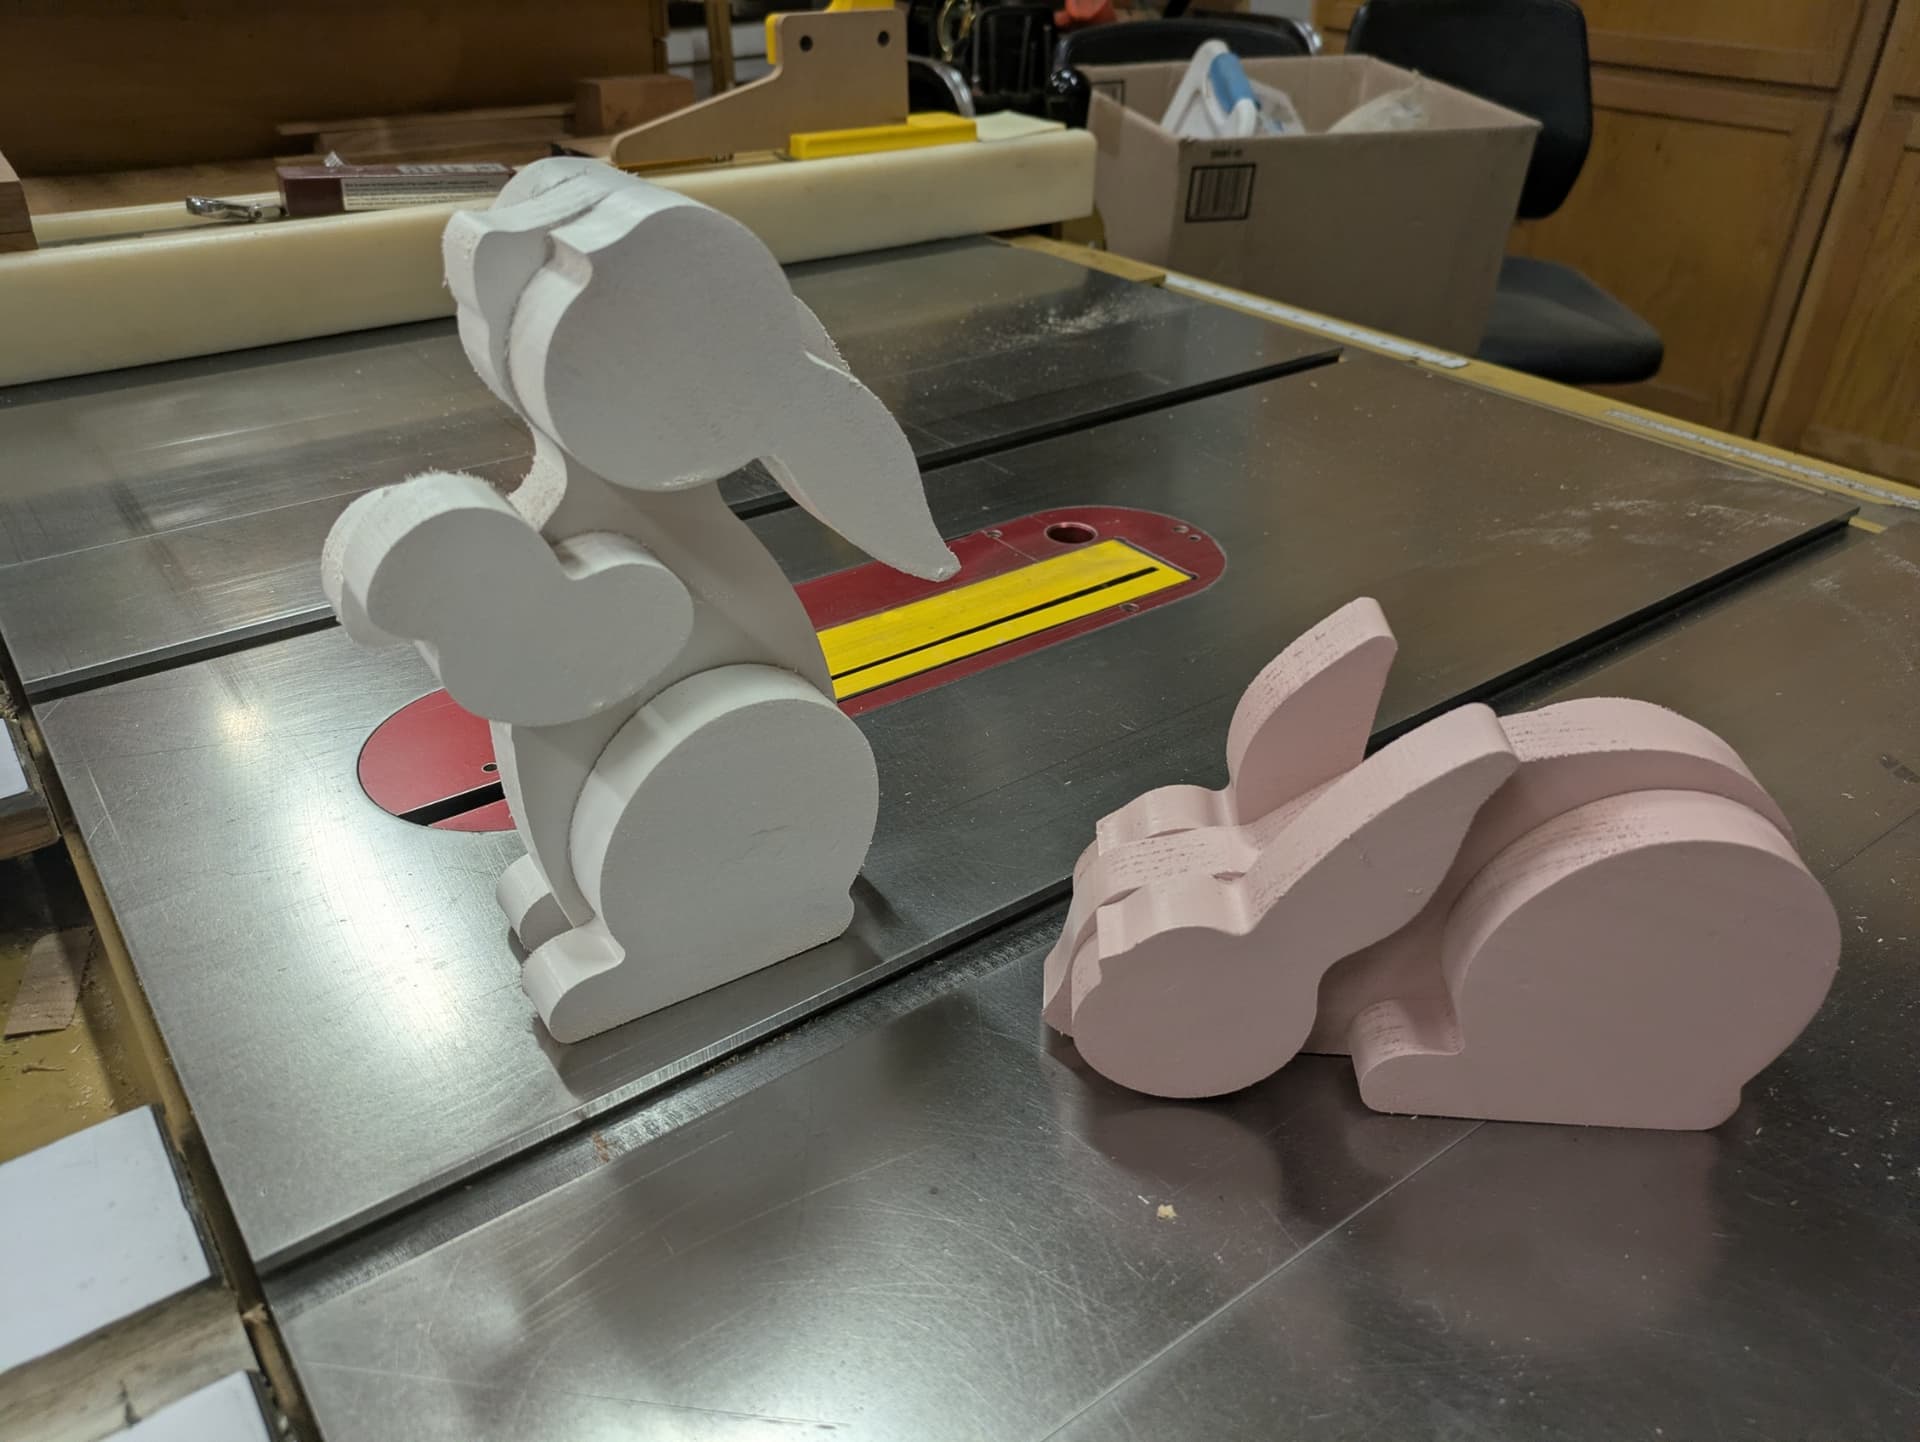
Tomorrow I will drill some 1/4" holes for dowels and glue the parts together. I will then paint one white and the other pink. I think I have some ribbon I can tie on them.
I just used some random boards. While I was cutting the ones I used I just squared up some more in case I needed them. You could split up the parts onto smaller boards.
I used poplar because these may be outside. If you use plywood they would be rough and maybe ok if displayed inside. If put outside they would separate quickly with water exposure.
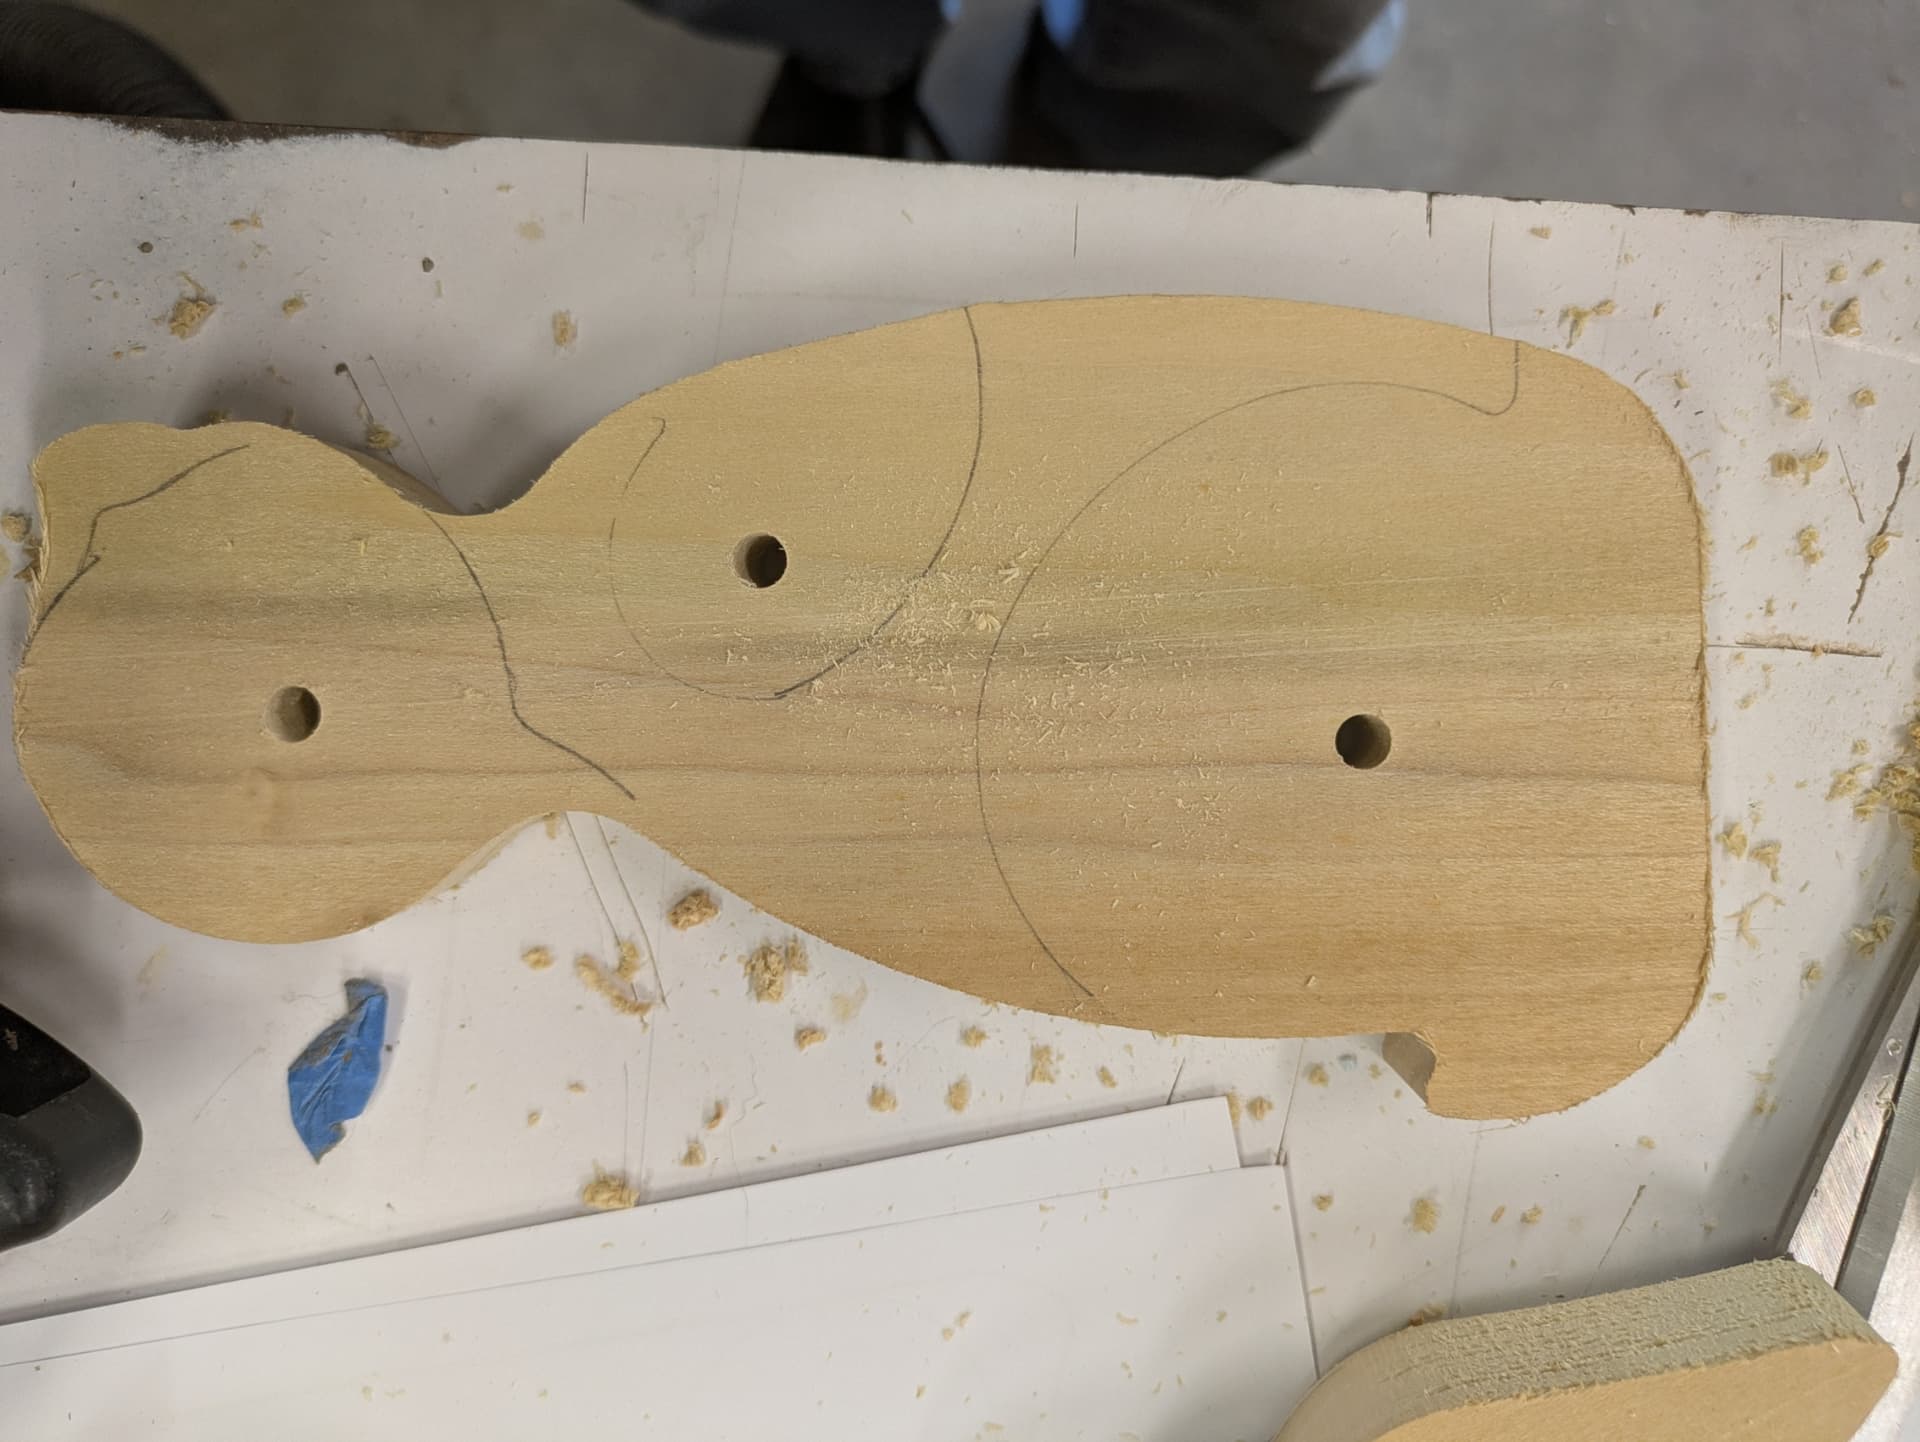
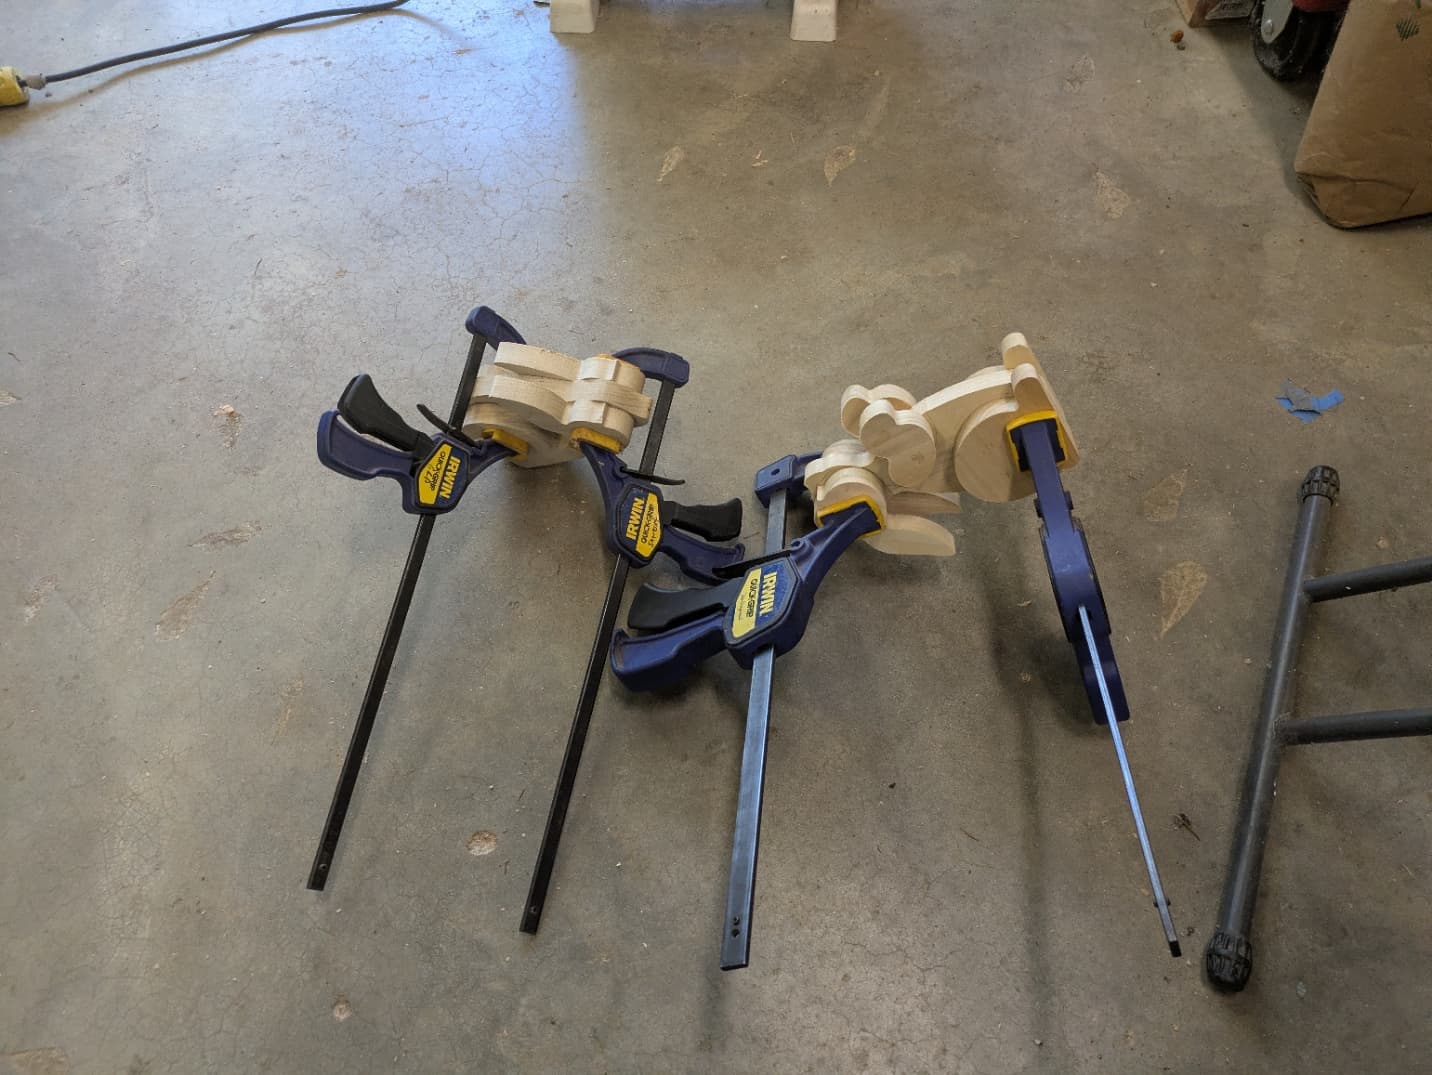
Got to hopping on my bunny project. I drilled a 1/4" hole through body where legs, arms and head/ears go. I placed each part on one side and marked with a pencil. Then clamped them in place and drill through the through hole with a drill with a stop. Then placed the other side in place and repeated. Inserted the dowel through the through hole and pushed each piece on with some glue on the dowel and a little around the parts.
You could just drill all the way through but I stopped the hole in each part so it would not show. You could just glue the parts but clamping parts with wet glue they would slip all over the place.