My woodworking club is going to make some puzzles for a school for autistic children. I have been working on developing some puzzles and working out the kinks. I have two cut out. I will need to remake one with a little more offset on the pieces and/or cut outs but these are experimental and I am learning how much offset I need.
This first one will have to have the main negative spaces remade but the individual pieces are good. The little knobs will be a lot shorter. I made a jig to use on the drill press to drill a 1/4" hole on my SO3. I drilled 3/4" birch balls I got off Amazon. Then just stuck a 1/4" dowel in each one. I will trim them so the birch ball will be flush with the puzzle pieces.
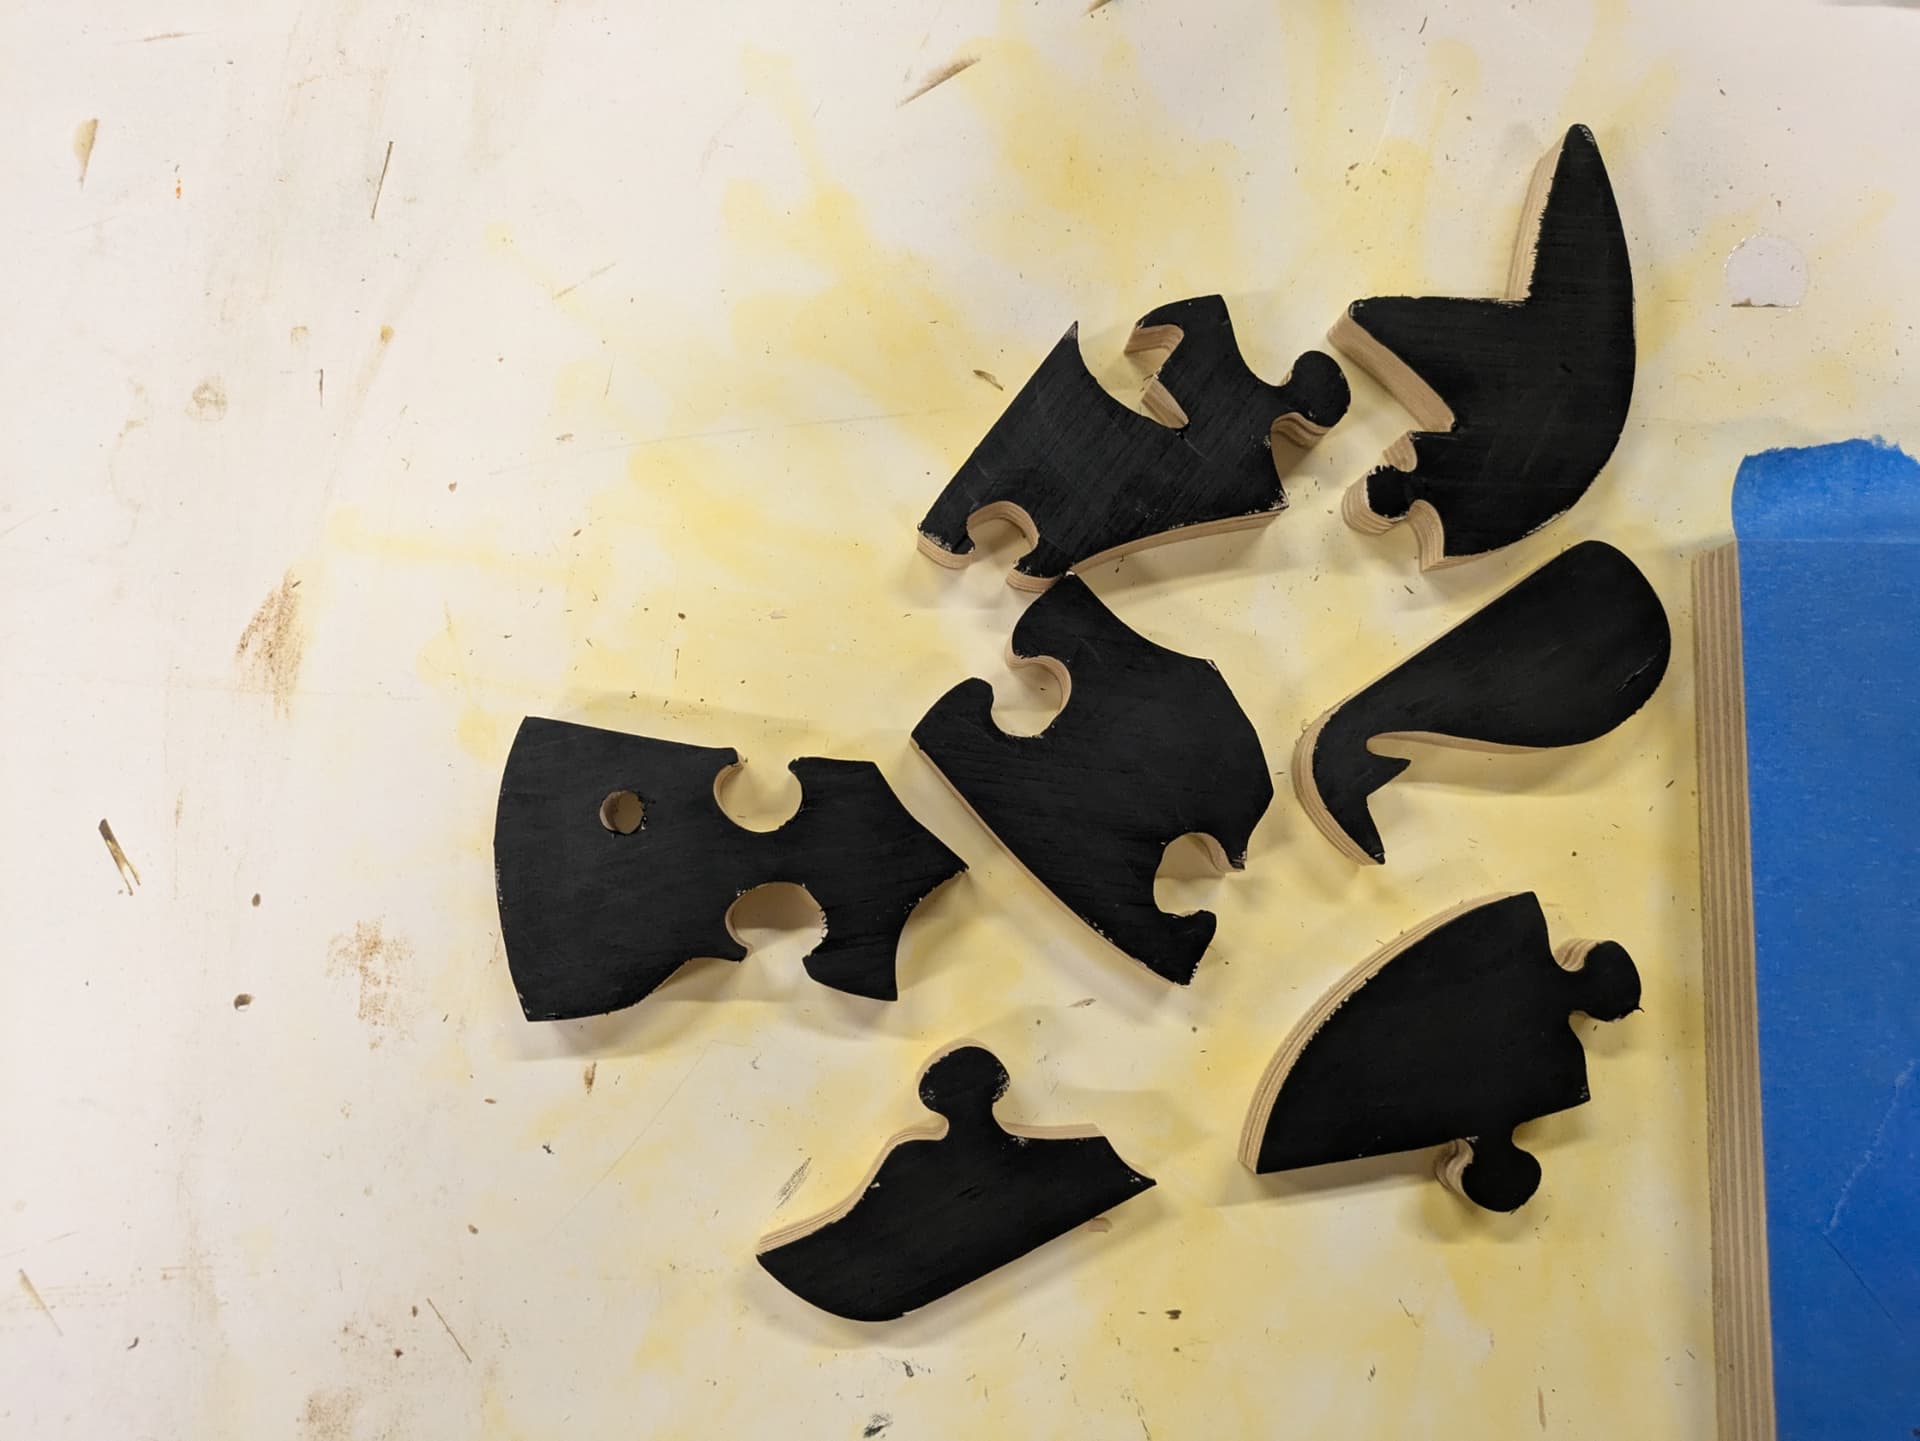
This second one was sent to me from here on the forum. I will look up who sent it to me and properly thank them. The puzzle came as a zip file and each piece of the whales were already individual pieces. I just moved them and figured out the offset to get them to fit into the negative space of the whale outline. I have them partially painted. Because these are small children I painted the back side of the pieces black and the fronts silver.
I followed the post from @WillAdams and the Whale puzzle seems to have been developed from him. Thanks Will. Each piece was already individually separated. I did reduce each piece separately by 0.015" with an offset and then deleted the original piece and kept the reduced size piece.
In the file above I moved each piece around after applying the offset. Then I saved the file as above. After saving I moved all the pieces out of the way and then centered the whole whale outline and did a contour of the whale on the inside all the way to the bottom. I then saved that file with another name. After cutting I glued a piece of 1/4" plywood on the bottom of the 1/2" baltic birch.
Here is the original whale with each piece separated. Just select each piece and move it away from the main whale. These were the pieces I did the offset to give room for the puzzle pieces to fit together.
gdon_2003, I’ve found that on puzzles like the geometric shapes, putting a slight roundover on the base piece allows the pieces to fall into place without the careful alignment otherwise necessary, but then I’ve been making these for 1-3 year olds.
That is good advise. The whale puzzle may be too complicated for a 4 year old but I just wanted to make it. The shape puzzle has the little handles so they know which side goes in and can lift them out. I think they would fit in either way but the handles make it easy to lift them. All will be painted primary colors to brighten them up. I have an ABC puzzle all done in CC. The base is 12" x 12" and the letters are 2" high. I found a good font and made the text in CC. Then made an offset bigger. Then went back on the larger letters and got rid of the inner things like on B, P and O. Then used that for the negative space and the different sets are the steps I tool to make the individual letters and the negative space for them to fit into.
One thing to watch: my wife bought an alphabet puzzle that frustrated our grandkids because many letters were almost symmetrical but would only fit one way. I made my own font where if a letter looked symmetrical it was.
Thanks I will try the letters like H to see if they fit in both directions. I will paint the back side black and the fronts a primary color because some letters would work either way front or back like the H, D and maybe a couple of others as well as a 180 degree rotation as you mentioned. I will definitely check that out before carving.
Your advise is one of the things I like about this forum. I never thought about your advise. I want the puzzles to be fun not frustrating.
Here is my latest iteration of the shape puzzle. The star and triangle have larger offsets because of the sharp points on them.
Here is the beauty of using bottom of material and using painters tape and super glue. No onion skin and no cutting into my spoilboard. Also no tabs to remove when I do contour cuts like the individual pieces.