I have a model that includes some pockets that I’m testing for a project. My model is a rectangle 15" x 6" x 0.7". I have a piece of stock that is the correct width and length but not the correct height. What’s the best way in Fusion 360 to handle this manufacturing setup in so that I can remove the extra material?
I guess first question I have is do you need to to remove the extra material? If you are testing blind features, it doesn’t make any difference whether underneath the pocket you have for example 0.25" material left over (per your design) or 1" (oversized stock). I would just define the workpiece Z zero as the model model top surface, enter stock the same thickness as model, zero your machine Z at the stock top surface, and all is well.
If you are completely cutting through, then I guess you’d want to have the proper stock thickness so your cut-outs actually fall out. In that case you can either define your workpiece Z zero as model bottom or stock top. Measure your stock thickness and enter that into the Fusion setup. Make a facing toolpath with a suitably large bit and have at it.
@kelaa Thanks for the prompt answer. Your second point is more what I am looking for more detail on. So I normally zero my setups on the top left corner of my stock. For stock that is larger than the model in the Z I would include the additional thickness of the stock in the setup. I would create a facing tool path to remove extra material as the first tool path. Do the subsequent tool paths after the facing operation know that the extra stock has been removed or do I need to toggle Rest Machining?
Your zero point will be the same even if you machine it away. I would highly recommend choosing a zero point that doesn’t get machined away in case you have any problems you are still able to reset your zero. Fusion bases all toolpaths on the same zero point as long as all the operations are in the same setup.
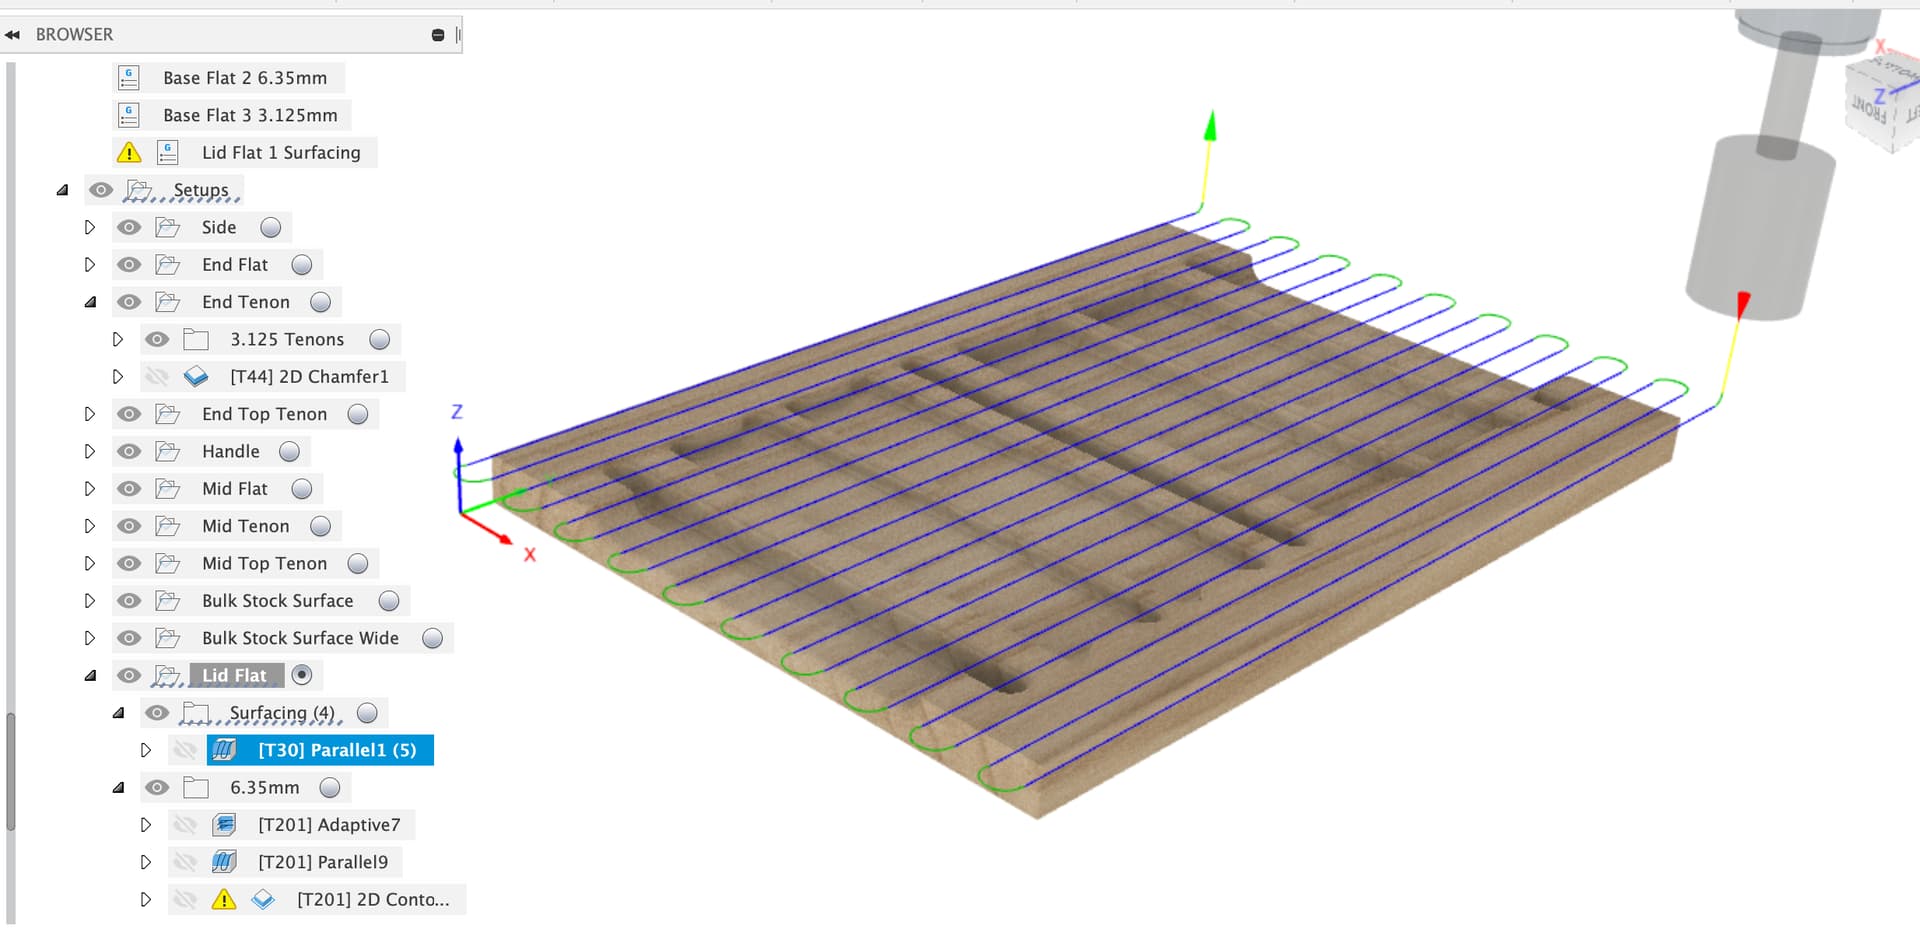
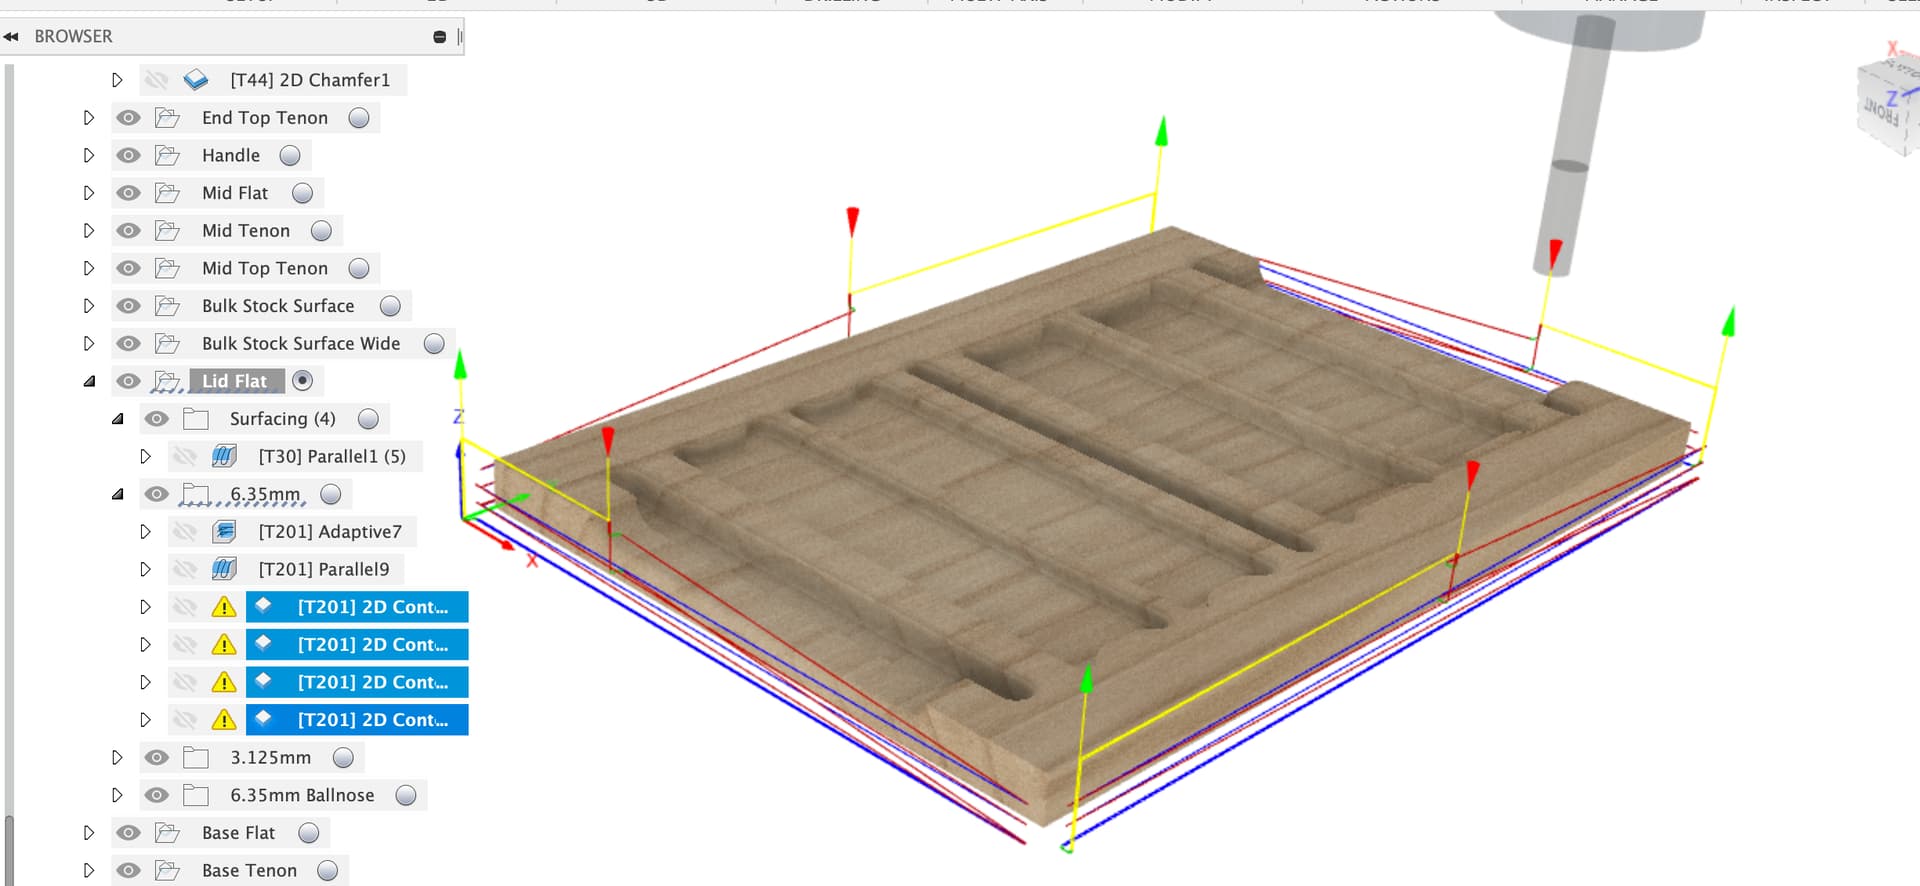
I usually just make another setup with the new stock height (you can have multiple setups in your “Setups”. Since you are switching bits, you’ll need to rezero your Z in any case.
Yes, you can use can use either Rest Machining or you can control your toolpath “Heights” if you are using straightforward toolpaths (contour, pocket, etc). Fancier toolpaths I’m not sure off the top of my head.
If you’re looking for consistent thickness and clean cut through I’ve settled on a fairly standard approach.
I blue tape & superglue the stock down to the spoilboard, which is levelled. If the stock isn’t flat I face the ‘bottom’ side first and flip it.
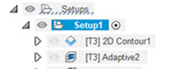
I make a ‘stock’ body in Fusion which is my stock dimensions to set up as the stock in the CAM setup, the real body sits inside this volume.
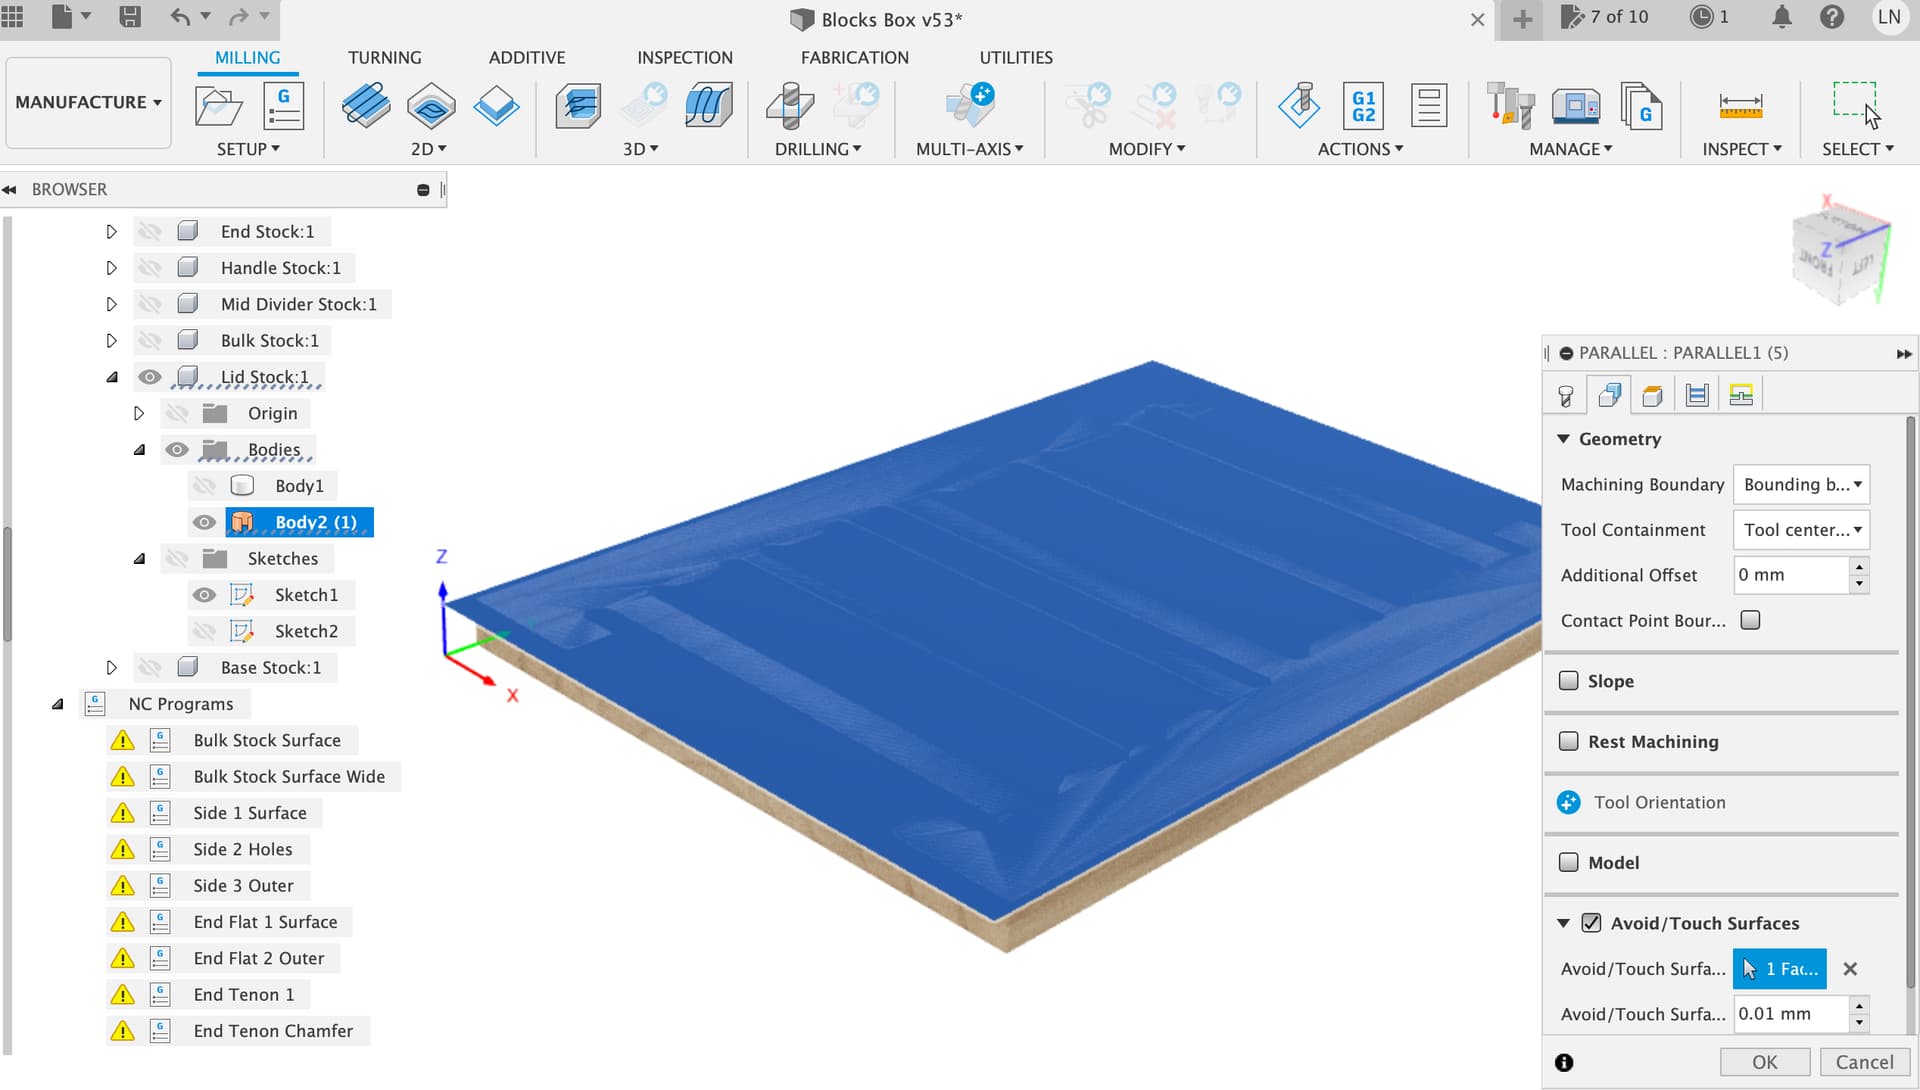
I make a surface across the top of the real body in the ‘stock’ component which lets me run a 2D facing or 3D parallel toolpath by just saying ‘touch surface’.
I set the Z zero to spoilboard height, this way I can pretty reliably cut through the workpiece and leave tape on the spoilboard, when I get it right I take the glue off the top layer of tape.