Hello, as I’m waiting on delivery of my Shapeoko 4 XXL, would anybody like to share any pics of their work stations. Would like to start building my base for the machine and I’m looking for some ideas on practicality and design. TIA
2 Likes
You can see some folks’ working areas at the edges of the photos in:
There are also some designs to cut for this sort of thing at Cutrocket:
and
and esp.
1 Like
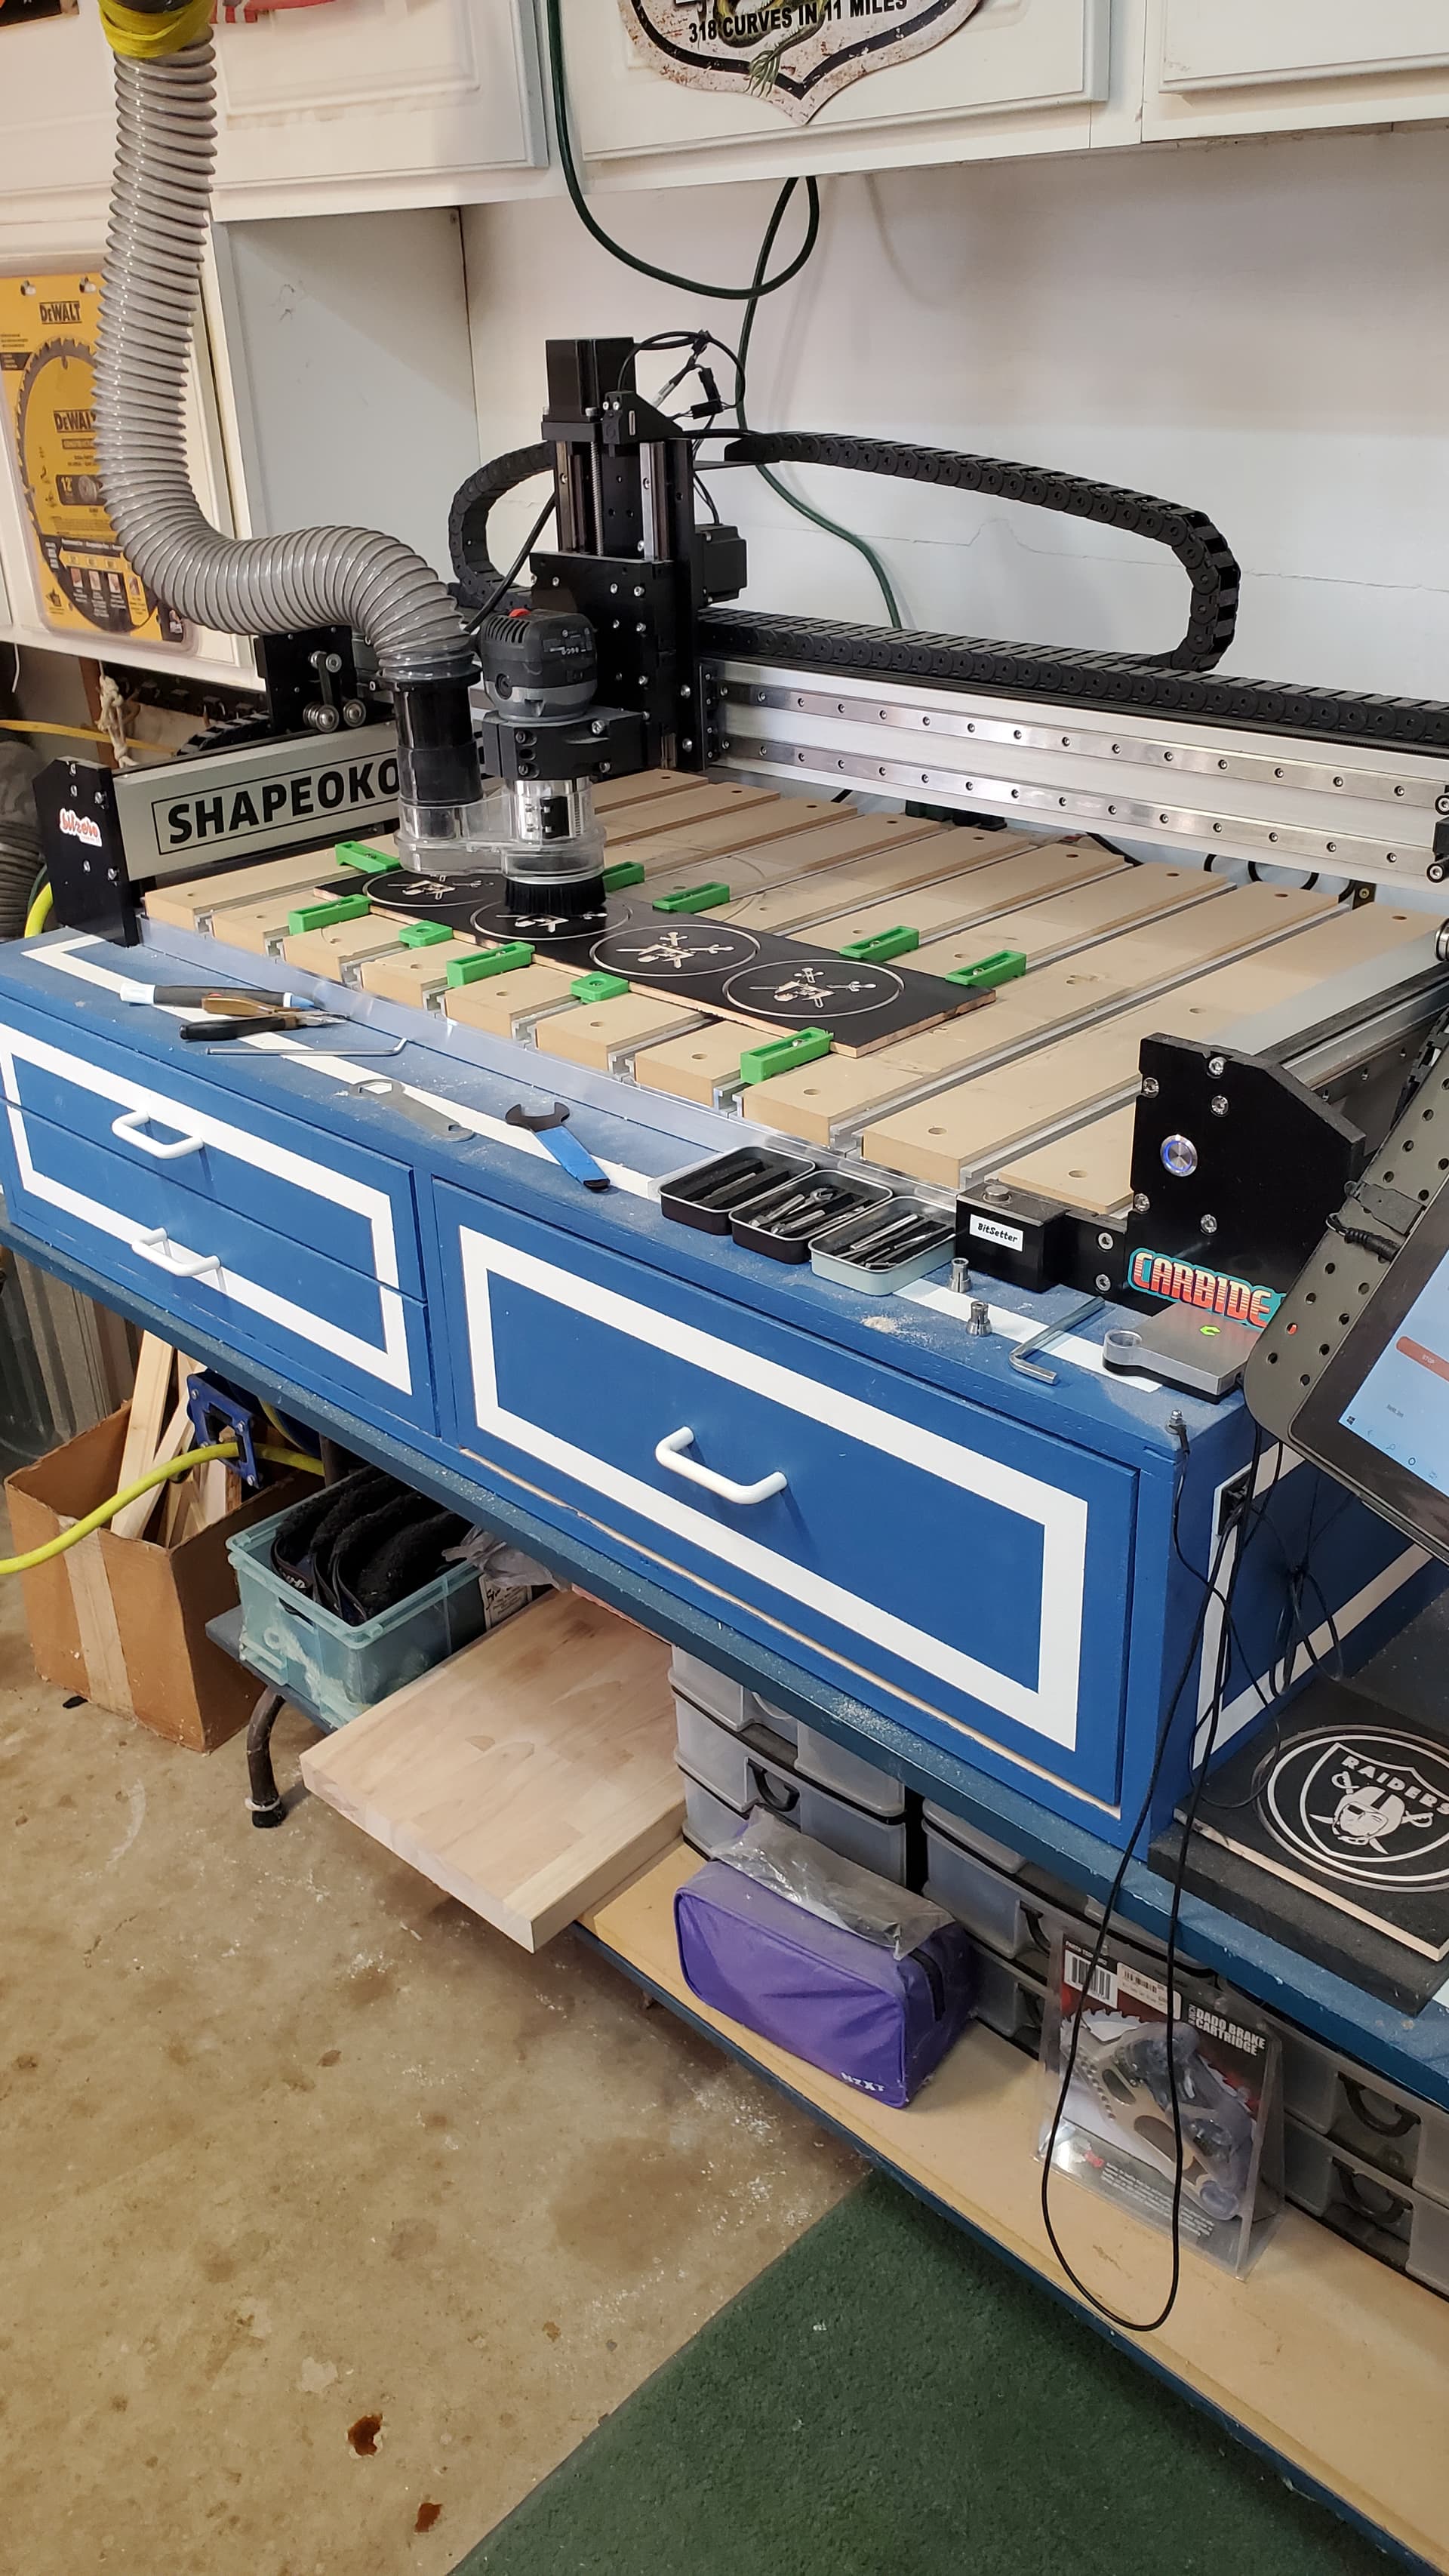
Here’s mine
Your base should be deeper and wider than the machine if you intend to have an enclosure on top.
Margin on the left/right side makes routine maintenance much more convenient.
Margin in the front of the machine makes for a tool catcher / area where you can keep your tools at hand.
And if you do make an enclosure, make it TALL. I mean it. Taller than you think you need. And then some.
4 Likes
Had bench room. Made box to bring to work height. I wear noice cancelling phones and have good dust collection, so no enclosure. 32" deep x 48" wide. .5" overhang on each end no prob. Pro XL
3 Likes
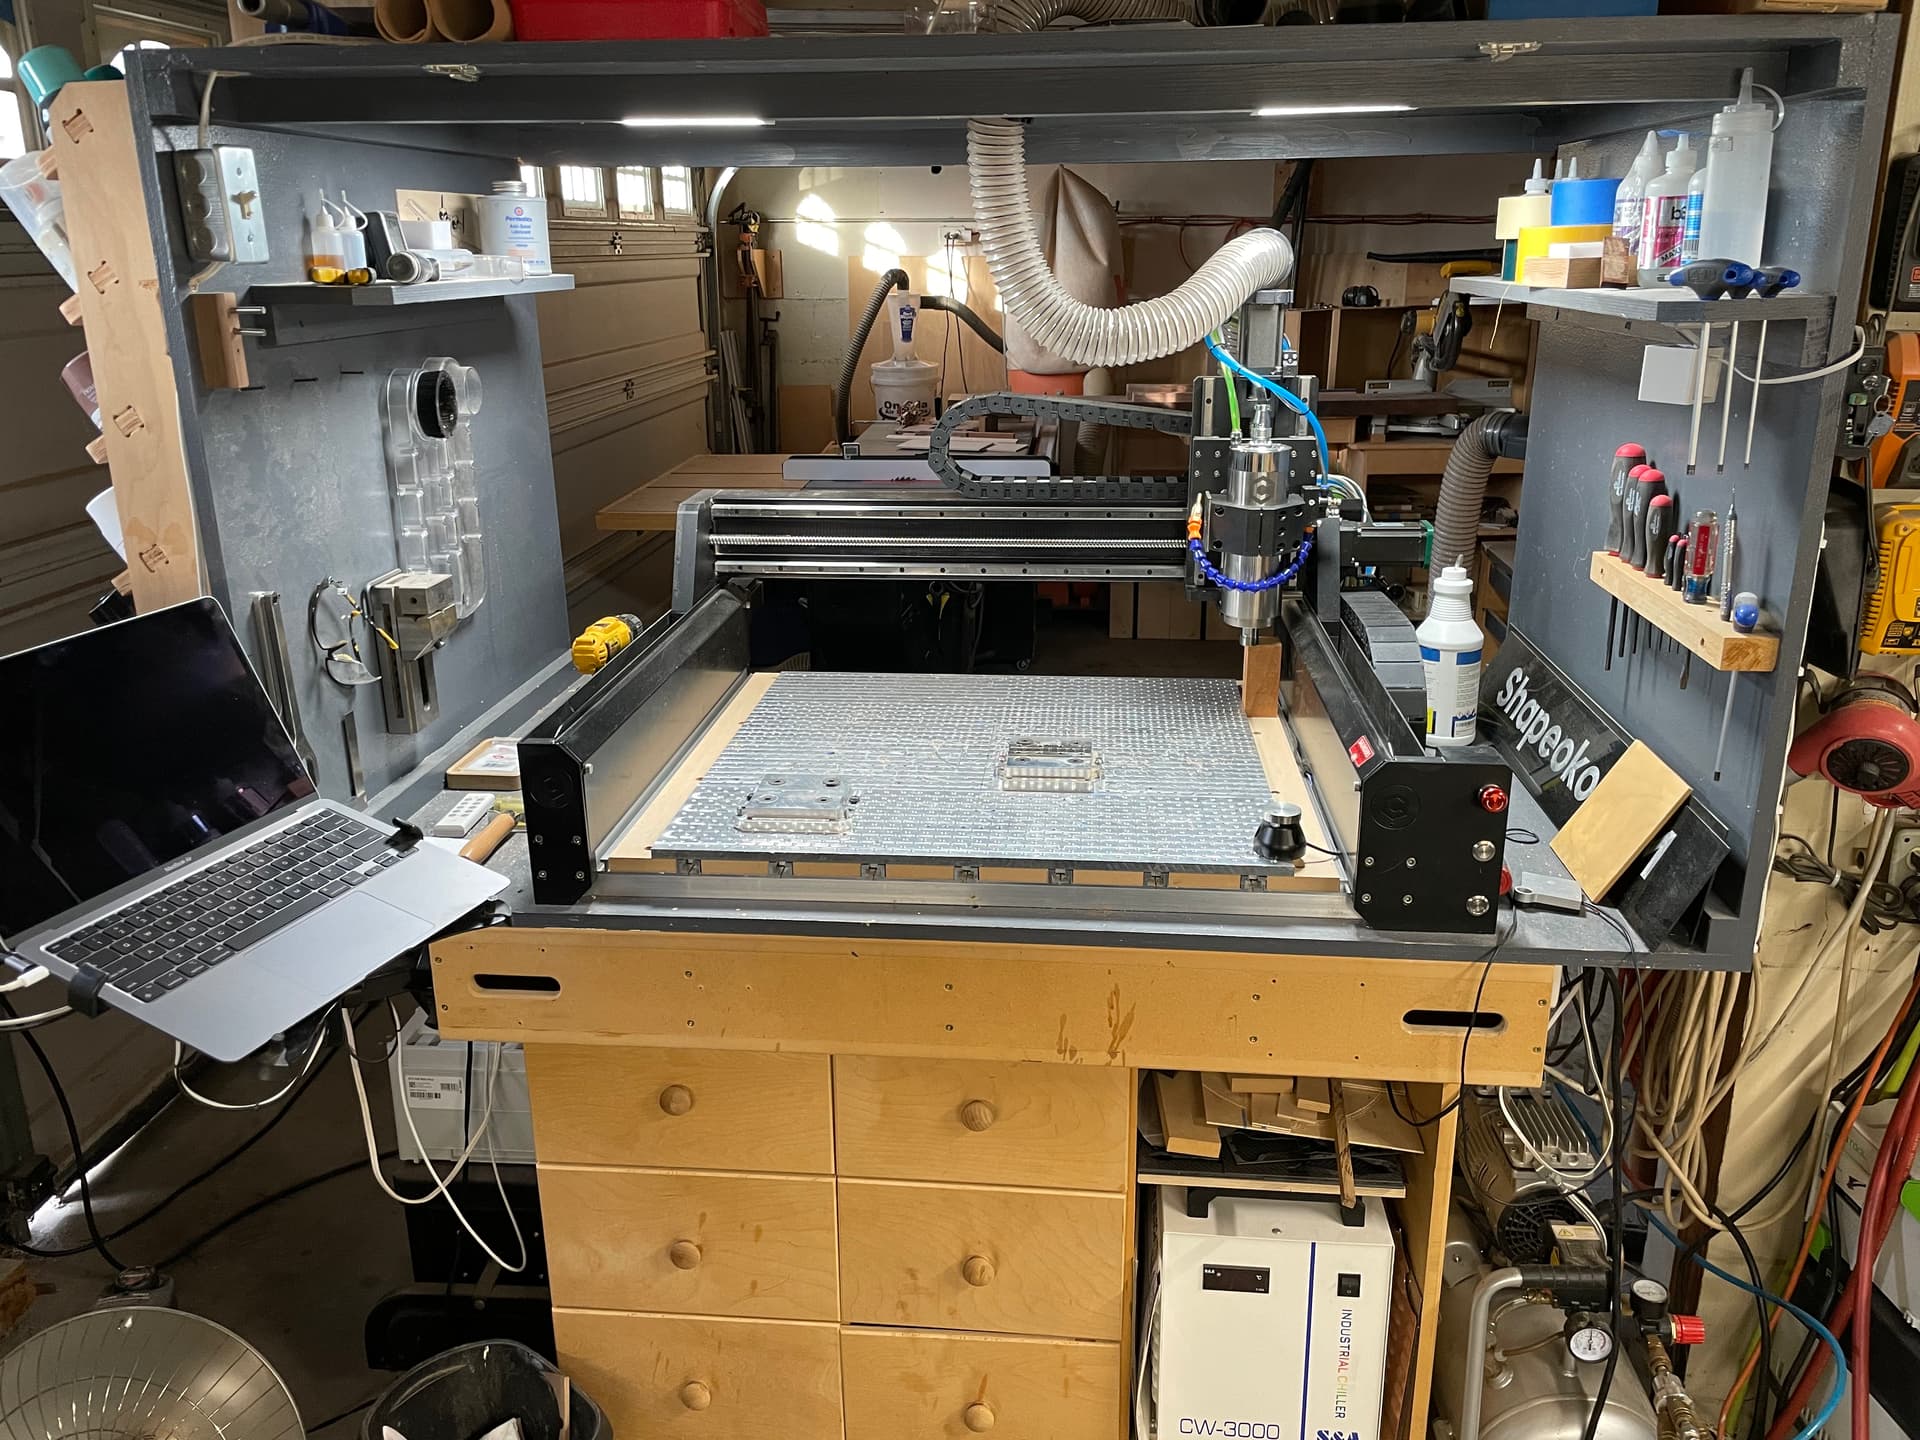
The base cabinet and torsion box were originally built for an SO3XL.
The grey open-sided enclosure was built specifically for an HDM. I like room on either side for easy access. The enclosure walls are handy for easy access to oft needed accessories, tools. I made removable swing up doors but I never use them.
6 Likes
Still waiting on my machine, apparently it’s stuck at customs. Was supposed to be delivered the Dec. 15th. It being late has given me some time to build a table. Here’s a pic, not complete yet.
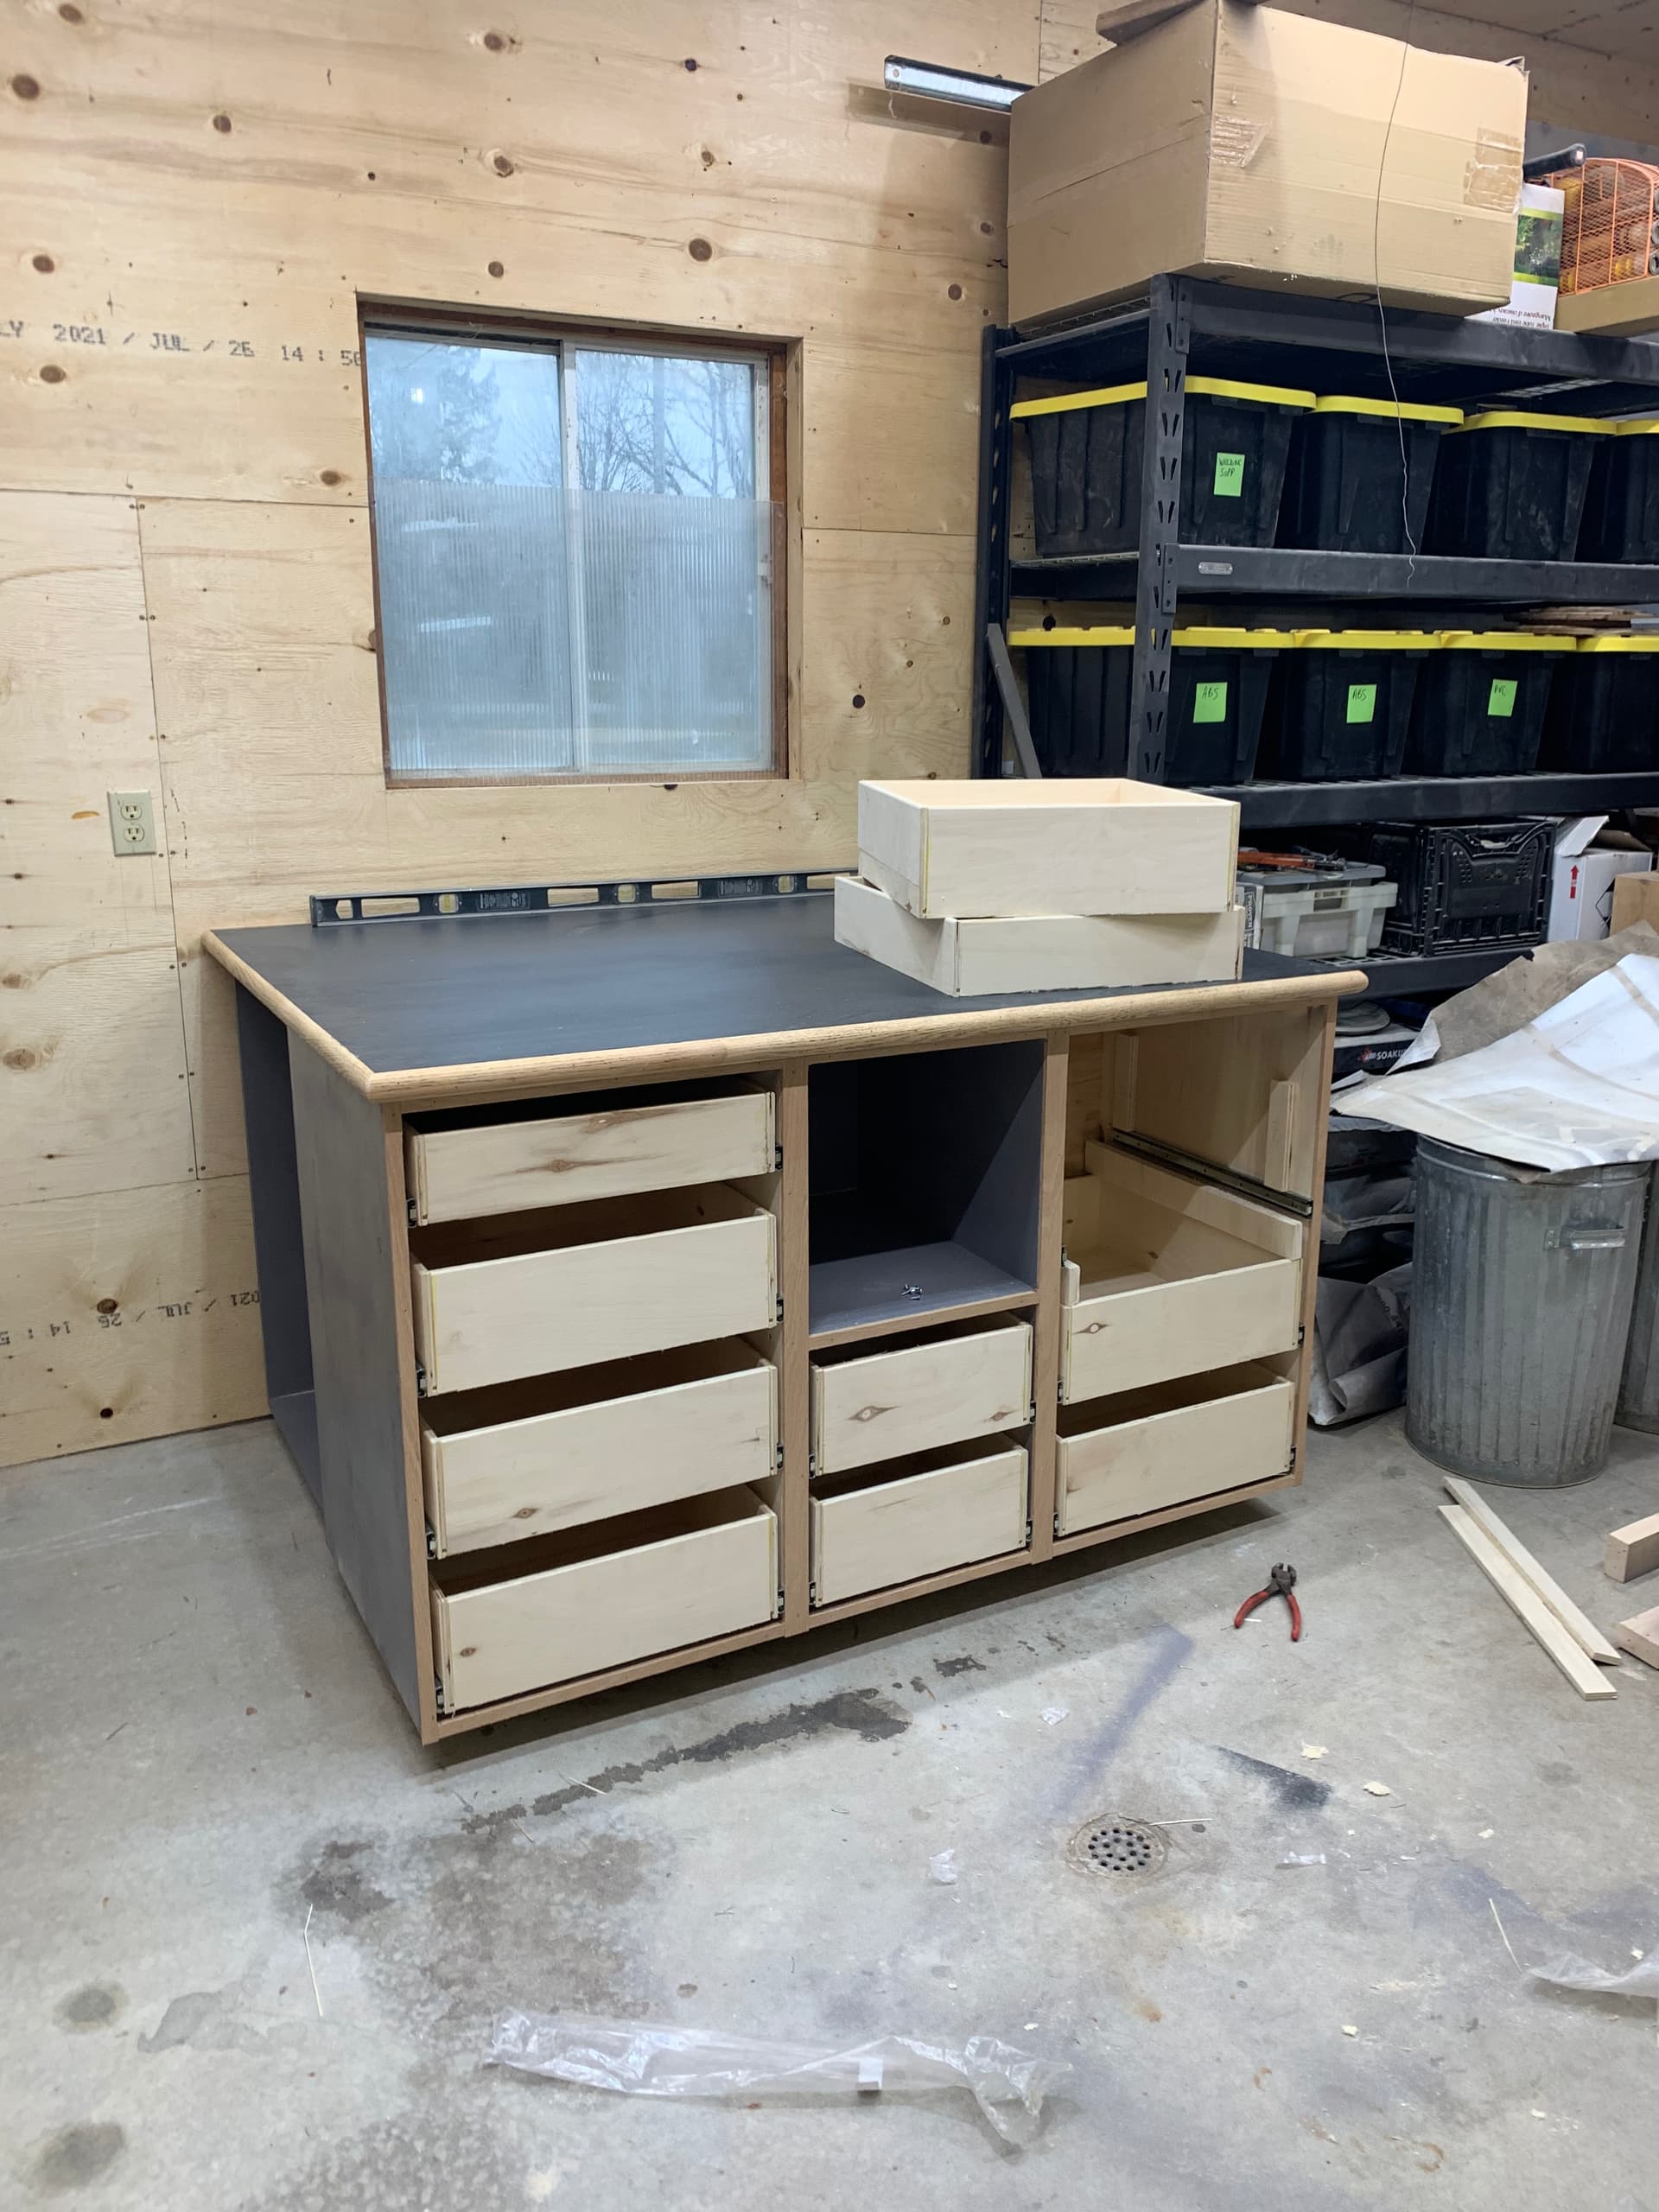
6 Likes
Nice work! With that skill, we will be expecting great things, lol!
One thing I did was mount my box to the wall with some L brackets with the machine secured to the box.
Pretty substantial cabinet you have, so may not wobble like mine did.
Happy for you and hope your machine gets to you soon!
1 Like
Thx Mark, today I painted the drawer fronts, as I’m still waiting on my machine. Still at customs, it’s been released but now waiting on FedEx to pick-up. Starting to get impatient. Looking forward to the assembling of the machine.
Carbide supplies all the wrenches you need to assemble the unit, but if you have a set of
T handle ball Allen’s (metric) things will go a lot easier.
Patience and precision help. I was so impressed with the fit and finish. Assembly was fun.
I just scored an X axis line on my waste board in jog mode. Compared to measuring and drawing a base line, it was spot on!
I was overwhelmed at first. There is a steep learning curve. I even have pretty good computer skills along with woodworking, but there are a lot of moving pieces.
The best part was learning something new. I plan to jump to pro soon and expand my knowledge and abilities. Trust me, there is a reason that the machine ships with “basic” CC.
There is a lot to mearn and I am so grateful to CC and the many, friendly experts in this community.
If I can ever be any help…
3 Likes
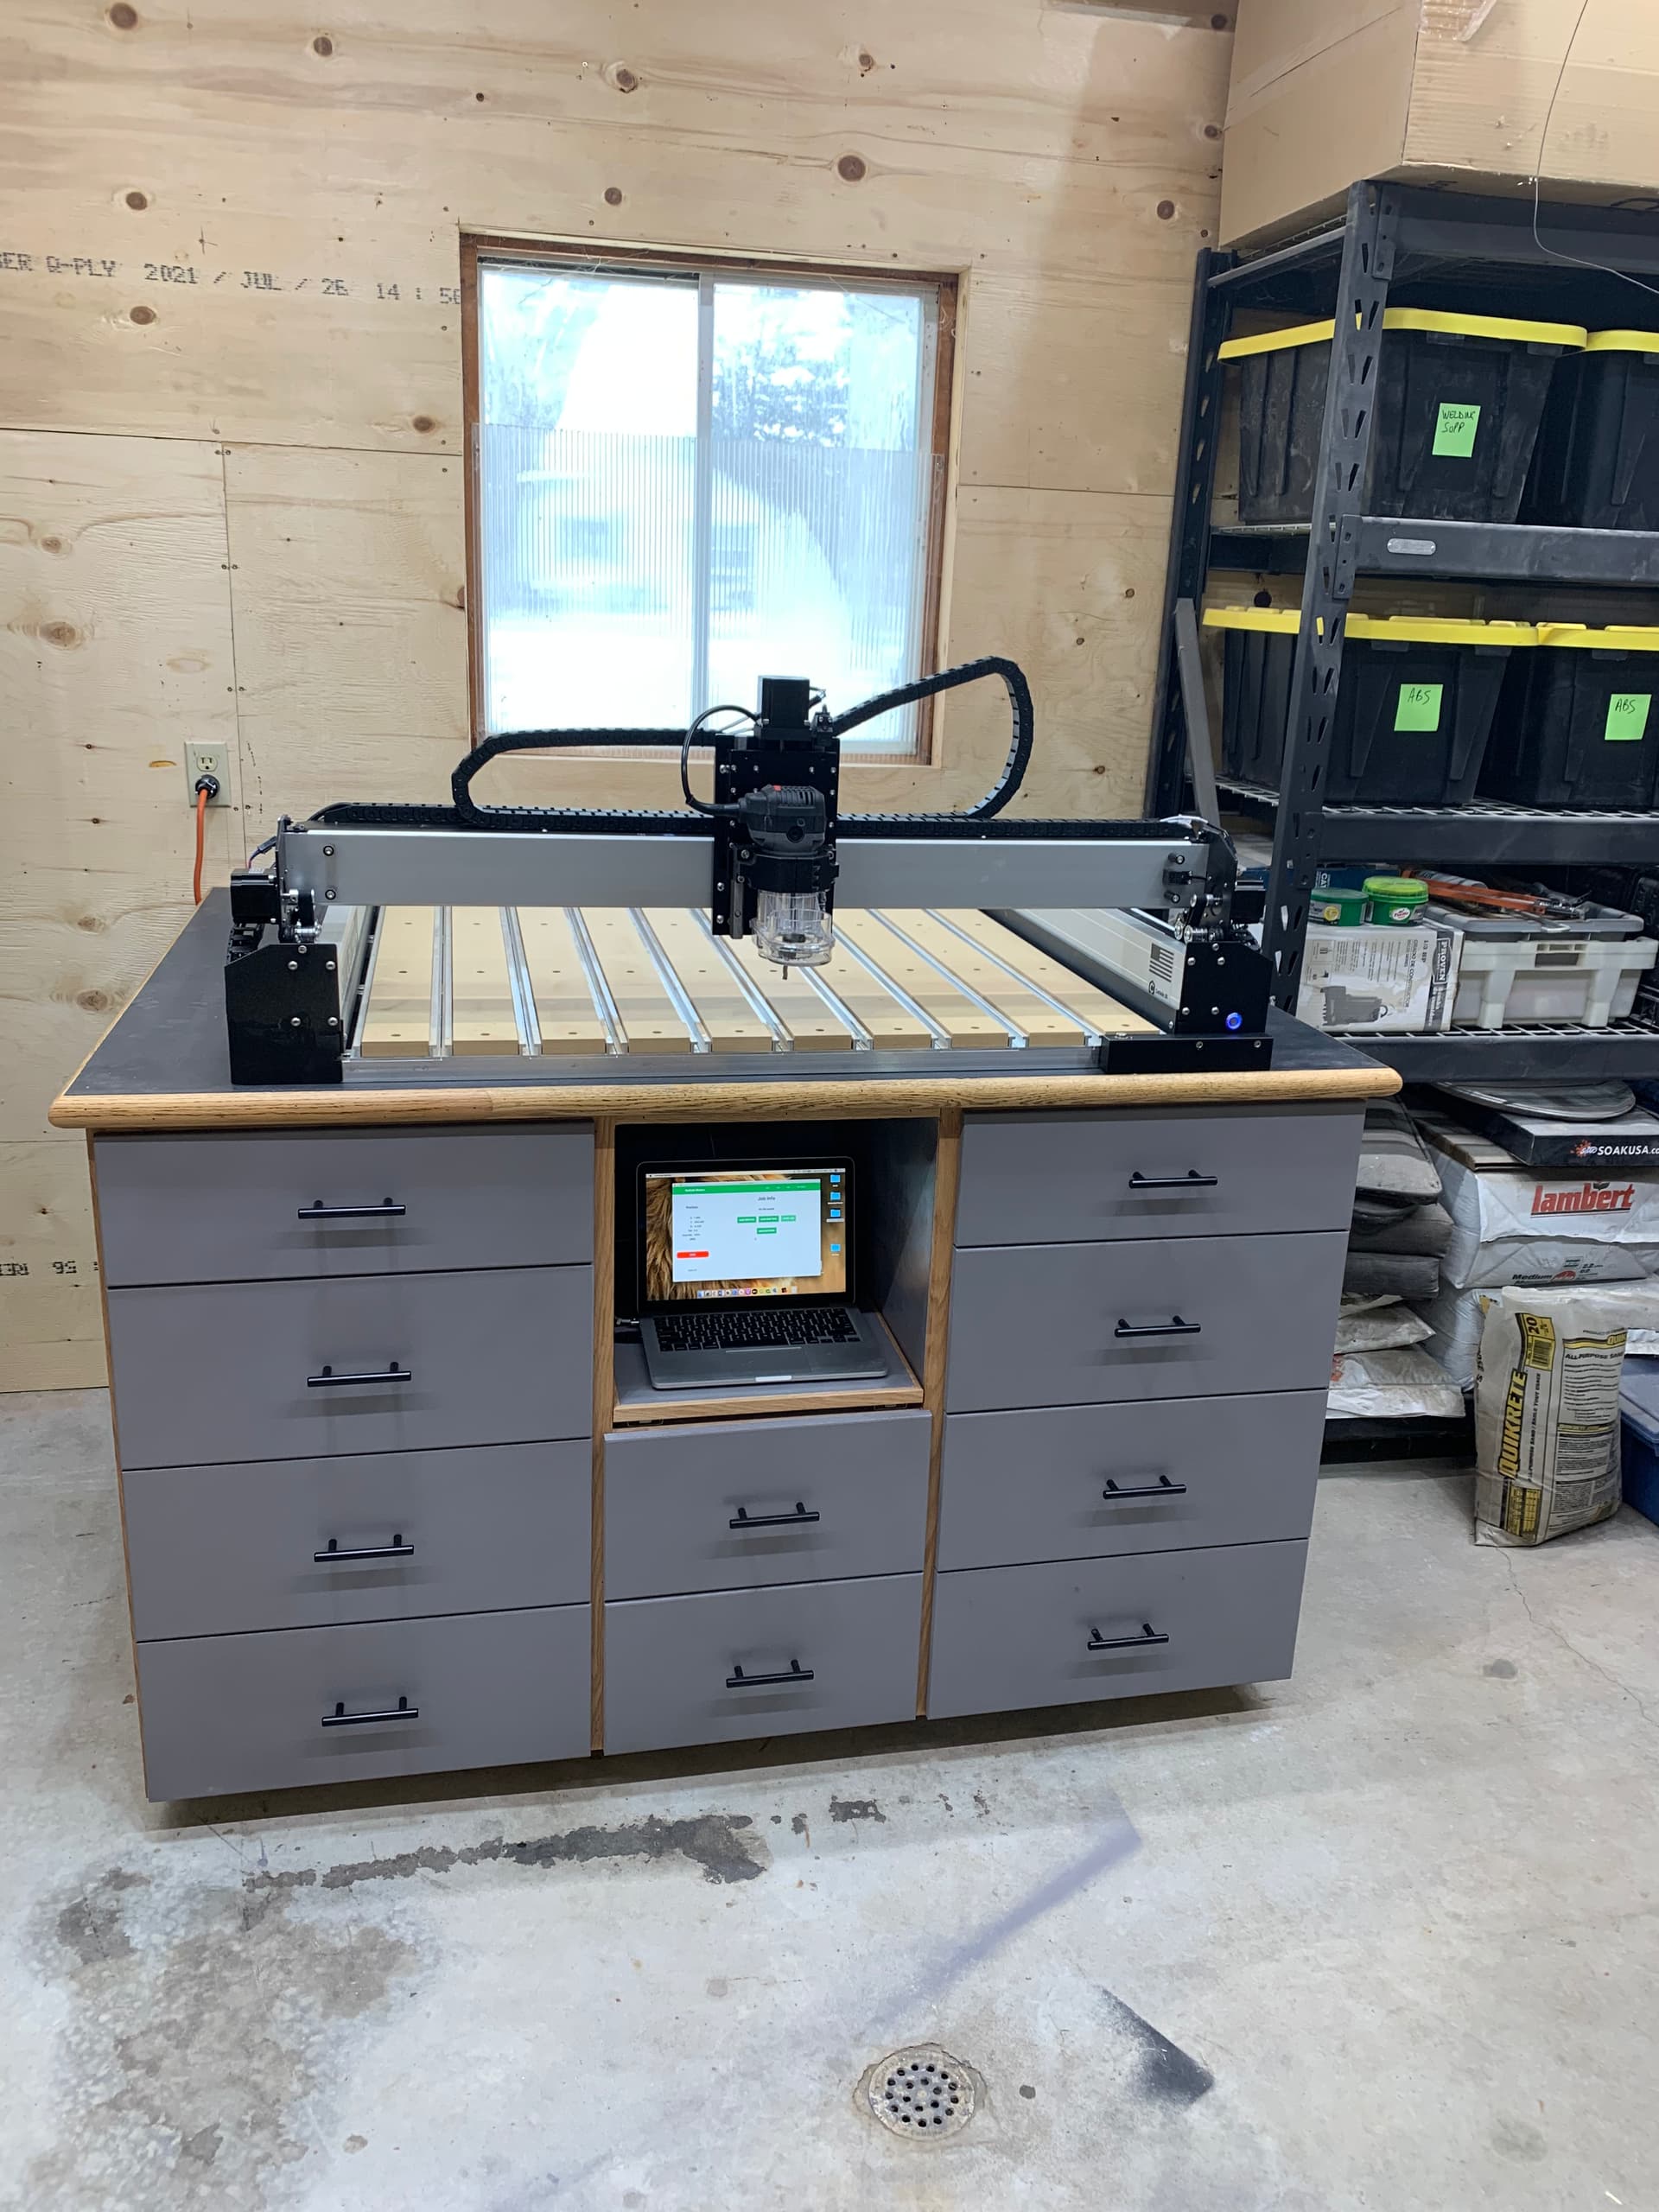
I’ll start off by wishing everyone Happy Holidays.
I finally received my shapeoko and was very surprised how simple it was to assemble. Had only one issue after and that was initializing, but after adjusting the x-axis homing switch all was good. Here’s a pic, next is dust collection and possibly an enclosure.
18 Likes
This topic was automatically closed 30 days after the last reply. New replies are no longer allowed.