I’m new to CNC though have done a couple small things to learn my way around. Today, seems like all of a sudden, once I get my project loaded to motion and use the bit-setter the gantry fast pace wants to return to Y right rear or NE corner, slamming into the corner, by the way. I’ve checked all three proximity switches, as has the machine and they all function correctly. I went as far as to delete and reinstall both motion and create thinking there may be a corrupt file. I checked the stock size dimensions and they’re correct. Project size is within the confines of the stock size as well. Only change I see is that in create the dimensions sliding scale both vertical and horizontal axis are missing.
Please post the file and let us know step-by-step how you are securing your stock and setting zero relative to it and managing all tool changes and post a photo showing an attempt at cutting still in place on the machine.
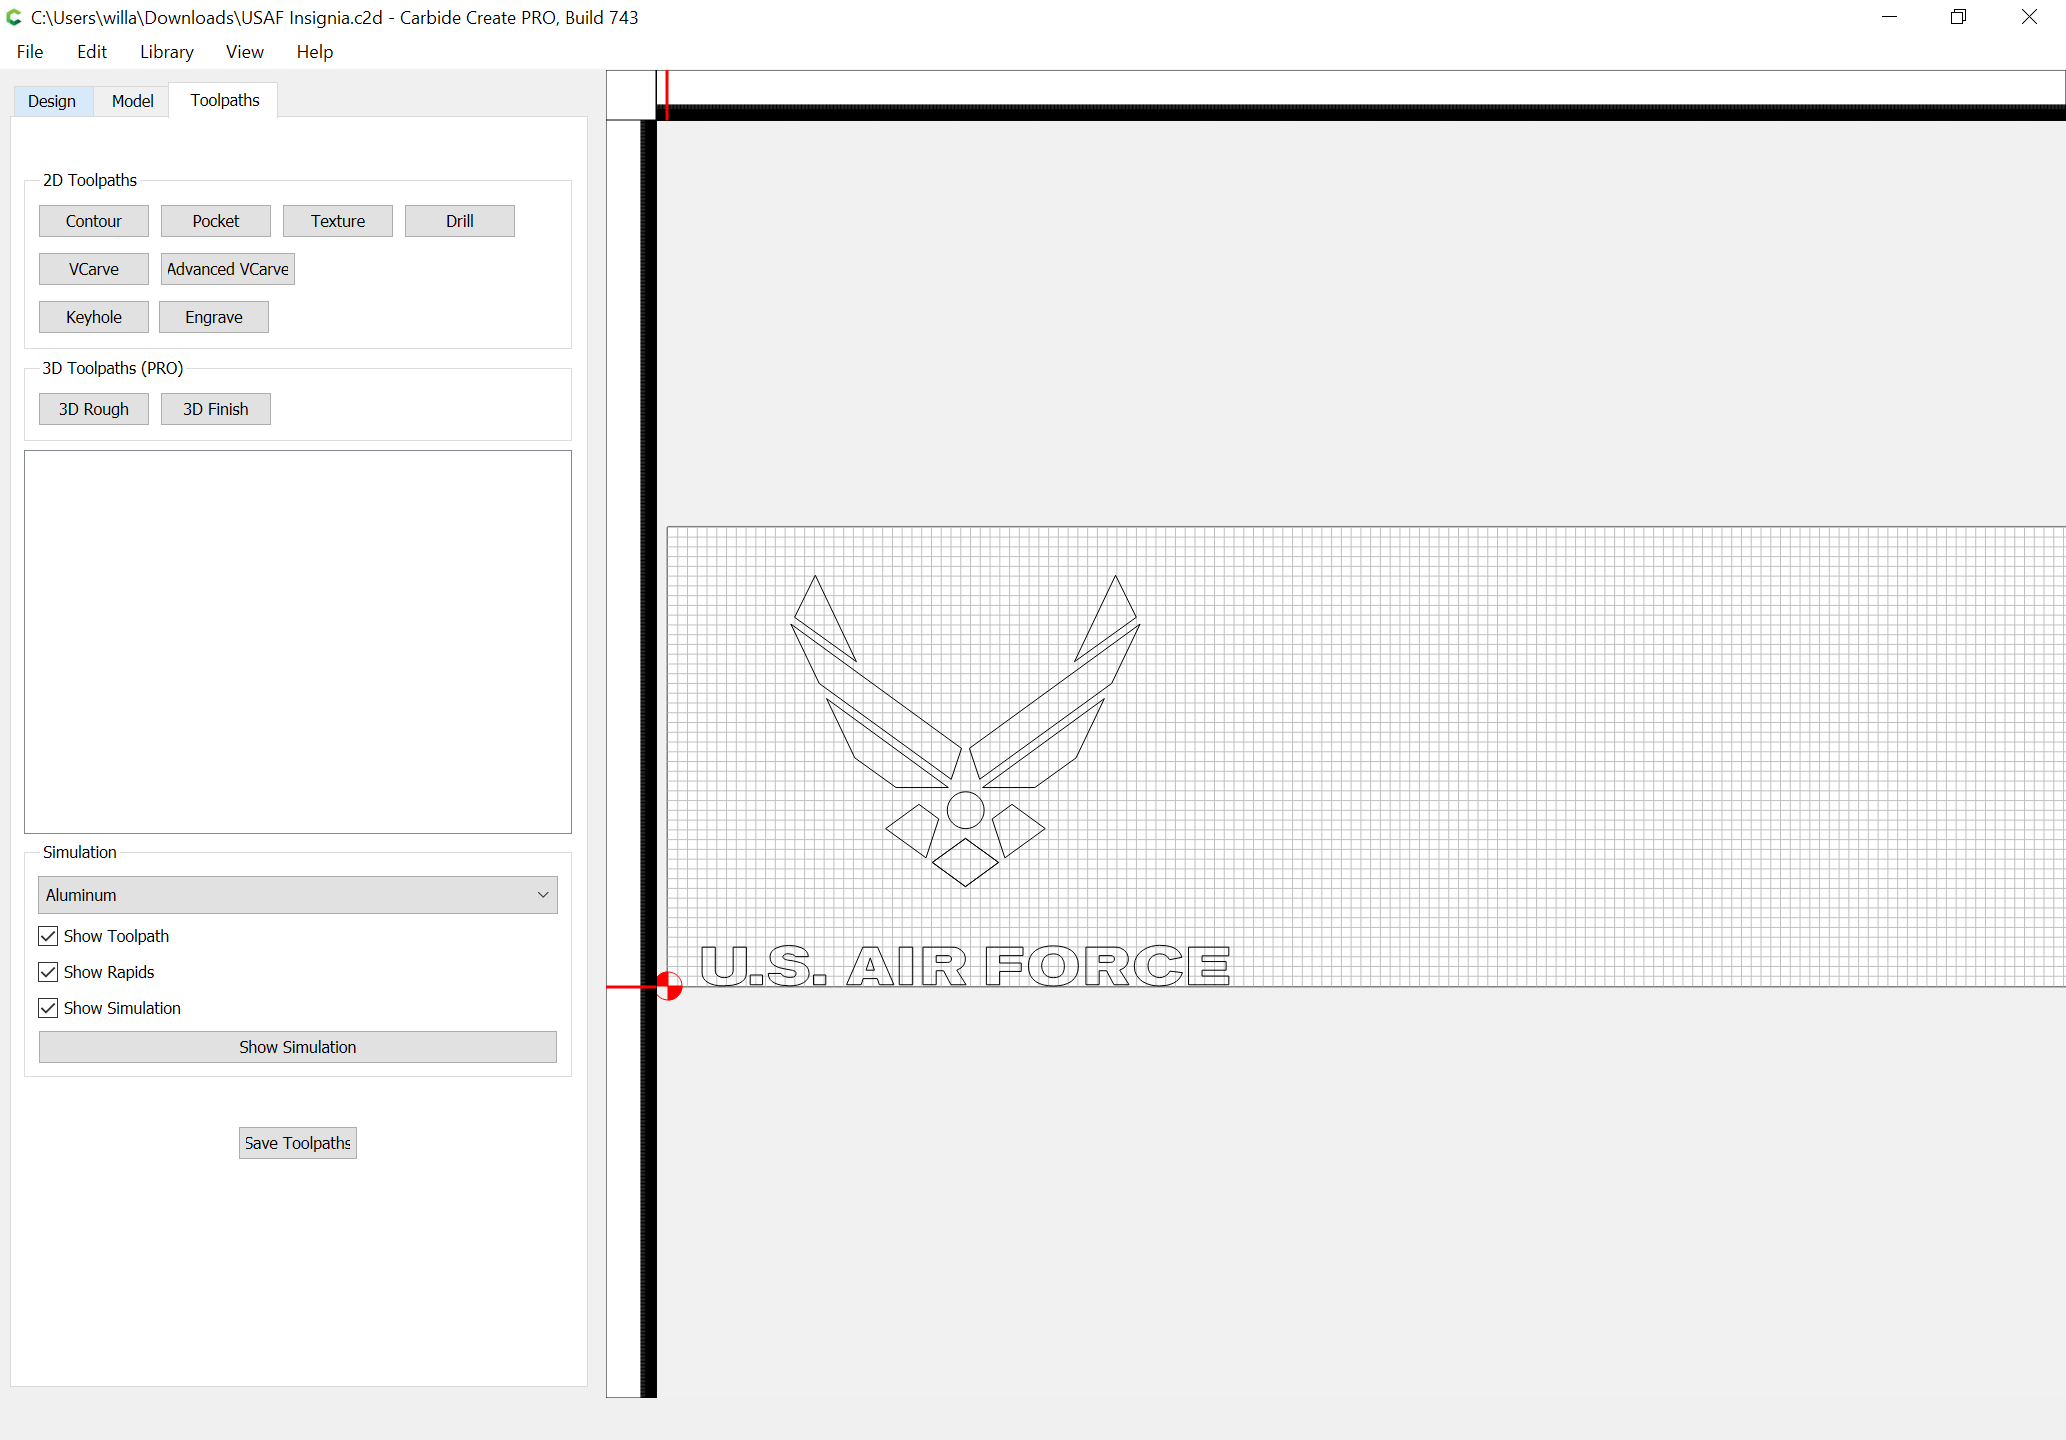
This occurs on set up before the file runs and hasn’t touched the stock. This seems like a software / controller issue. I’ve used one file, the USAF Insignia, three times. Each of the first two ran fine, no problems. The third, not so much. The stock hasn’t moved on any of the two prior cuts.
I set zero at SW corner of stock and the project is there as well. I zero in the endmill to a pinch above the corner and drop the endmill on a piece of paper to where it would probably come out but will not with tearing the paper.
The tool changes, at this point in my learning, has not been changed from the file. I change from the 1/8" flat endmill to the 1/4" V when the machine tells me to.
As I stated above, the first two cuts have not been a problem, no slam at the NE corner.
This occurs on set up before the file runs and hasn’t touched the stock. This seems like a software / controller issue. I’ve used one file, the USAF Insignia, three times. Each of the first two ran fine, no problems. The third, not so much.
Yes sir, that is correct. They need to be chosen, from that file by layer.
The machine checked out during the initial set up first time. I then deleted all software after I ran the first two successful projects, reinstalled it and performed the initial set up per the book again with everything going the same as the first time. I tested the proximity sensors three times and each time they worked as designed, except the Y axis sensor when the Z axis slams into it, of course. Then I move the gantry to retest the Y axis sensor and it is fine. I’m stumped.
If the Y-axis tests as working, but the machine isn’t stopped by it when actually initializing, it likely needs to be adjusted — power down and move the machine all the way to the back, then power up — is the Y-axis active?
Which machine do you have? What activates the Y-axis homing switch?
That’s just it, on initialization the Z axis moves to the NE slows and performs its X, Y and Z checks on the proximity sensors which all check out. The gantry then comes forward for a bit change, if any, hits the bit-setter then is ready. Then when I hit start it moves fairly quickly to the NE and slams into that same corner that just verified as good.
when you hitbstart atbthis point, it has to have a filebloaded i believe. When I initialize and it come up and asks for a tool change, then goes to measure on the bit setter, then comes back front and center, that is it on initialize. anything after that is program or setuo
Likely you have an origin issue. The homing switches are not stop switches. So if you create a file that tries to go 100 yards to the left or right nothing stops the gantry until you hit the mechanical stop. So check where your origin is in the file and make sure your X Y and Z zero is set to the same place as the origin in the file. The file shows lower left corner of the material. So be sure you are zeroing on the lower left corner.
Try sending the configuration as @WillAdams suggested. The first tab to show up is the second one with the BitSetter and Automatic Spindle control. Go to the first tab and select your machine type and Z type. The Z-plus is refered to as LeadScrew and the HDZ is refereed to as BallScrew. You issue seems screwy because you say initialization works fine. So connect to the cutter and before initializing go to settings and send the config. Be sure you hit send because it is easy to miss after setting up and not hit send configuration.
After it contacts the bitsetter and comes back to front and center at which point you can use the jog features and move to you x, y, and z zero and then mark them as zeroed in whatever order you choose. But that is all done manually and the machine does not do anything on its own.
The file I used is attached. I’m not sure what is different now, from yesterday, maybe my sequencing of operation but all went well with this set up. I tried another file just to check it and all went well with that as well. The machine acted as required and began to plunge to start the cut.
After reading, looking at the file (s) and trying all of the things in the comments on this thread,
the machine is acting properly. So, apparently, it was me and an operator error in the sequence of operations. I want to THANK ALL of you who who took the time to make comments and help me. I assure you, I will pay it forward as I learn and others need assistance.