X-Limit Issue, 'Pull off did not clear'

dont think so, but the stepper motor is difficult to see as it is enclosed. The tension on all the belts subjectively feels all the same, and I made sure to follow the Winstons instructions very closely.

This worked! i managed to get through a complete initialise cycle :smiley: to see which of the variables was the driver I upped the $25 back to 2000 - this also worked. I have reduced the $27 back down to 7mm, which is the lowest it will go.

Although it works, I do not have enough experience with the machines to know if the noises it is making are normal however - they do seem different to the previous attempts. Here is another link to a video if you want to have a look. Also I have reverted to securing the sensor with the 2 machine screws and small spacer, in lieu of the massive spacer and masking tape.

Thank you all for taking the time - I really appreciate it.
Download Attachment

Available until 1/02/2021

3 Likes

Noise seems normal to me, strange that you had to adjust those values for it to work.

1 Like

Well - this is looking like I have effed something up somewhere… :grimacing:

1 Like

Looks like Neil may be right about that X pulley slipping…
What did support say by the way?
I’m not familiar with the specifics of the Pro yet, so I wouldn’t like to give you any bad advice. But if it’s easy enough to untighten the X belt and remove the motor cover, I would go and check the set screws on that X pulley, as is done on a regular Shapeoko:
https://docs.carbide3d.com/shapeoko-faq/shapeoko-3-how-to-check-the-pulley-set-screws/

2 Likes

Looks like you just found the very rare SHAPℲOИO.

4 Likes

:laughing:

The set screws definitely are not aligned…

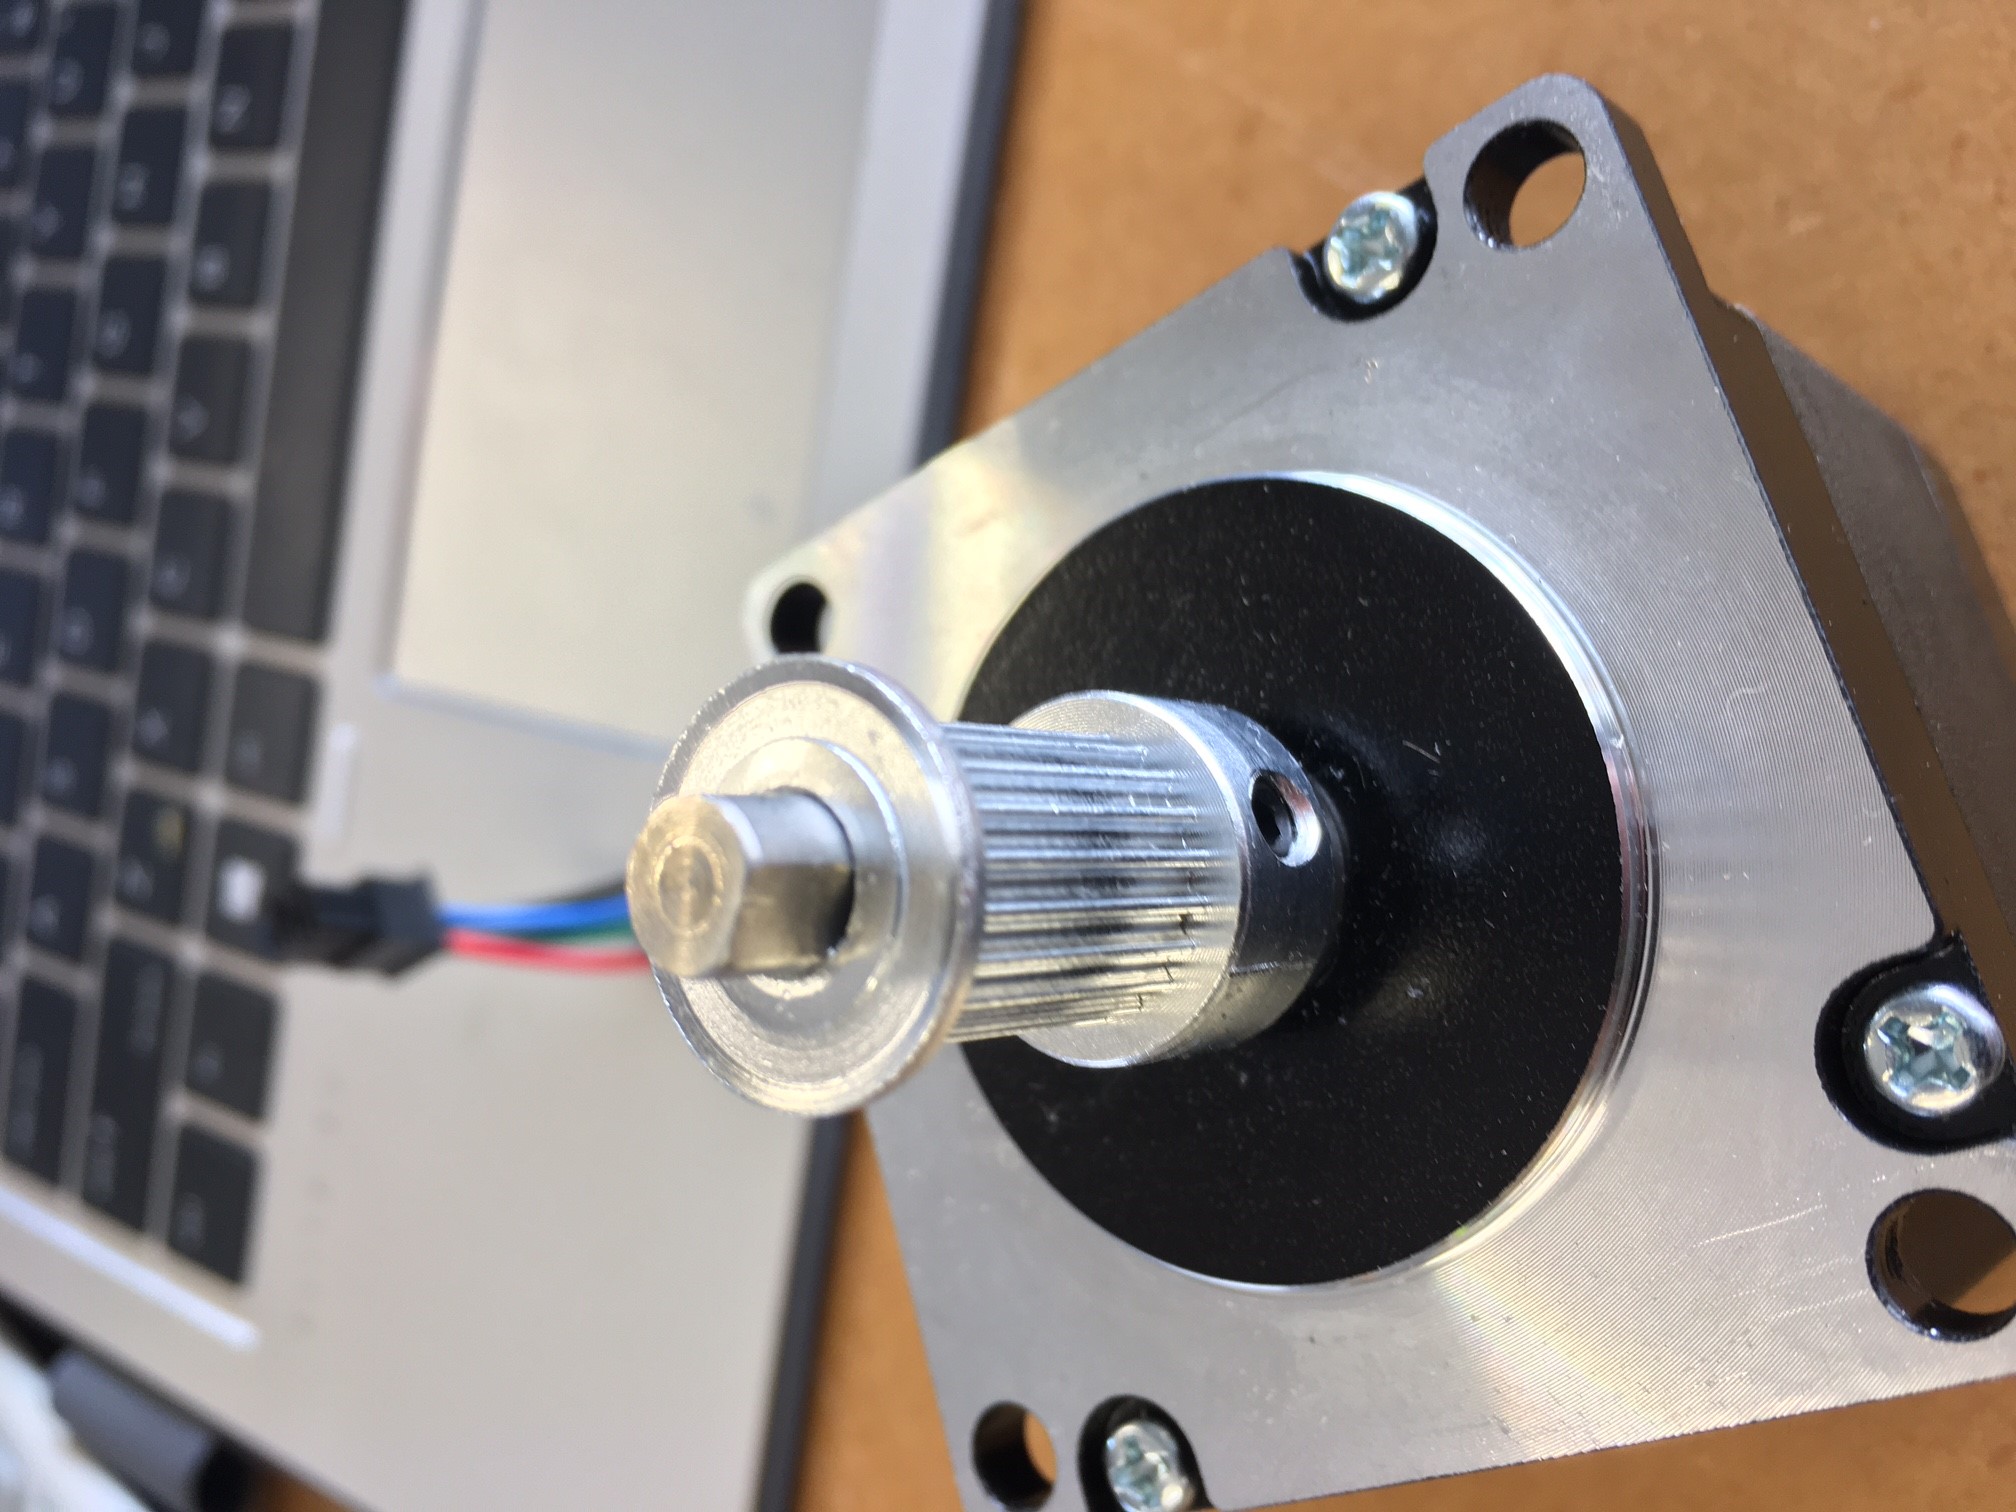
I am slightly worried that I might damage something getting it off and around though - its very tight…

any tips for a smooth, no damage extraction…?

Support have not said too much at the moment, could be because of NY shutdown?

Kind regards,

1 Like

On a S3 that had this issue, I put some tape down on the stepper and up under the pulley to prevent scratching and used two flat small screw drivers, twisting both to get it started then prying on each side to remove it.

2 Likes

Should be two set screws to loosen then heat the pulley up some, believe there is some retaining compound used on the pulley bore and shaft, the heat will break the compound down (as well as expand the bore). @CNCInspiration recommendation of tape for protecting surfaces is a good idea as well

4 Likes

I also used blue lock-tite on the set screws when re assembling.

1 Like

that was just the ticket! its off

so now it appears that the key does not extend far enough down the shaft to be engaged by the grub screw. See in the photo below, that the grub screws were likely in line originally with the key, but there are scratches below the bottom of the key on the shaft where the pulley has been slipping:

If i put the pulley back on the shaft, like so:

then the grub screws will engage the key, but they will not be located far enough down the shaft (compare with the shaft protrusion from my first photo…

Kind regards,

2 Likes

Well then I am somewhat at a loss for words. One part of me is thinking bust out the metal file! But the other part of me is thinking holy crap is my Pro going to do the same thing?
Bad stepper…or… Normal stepper faulty design? I would be interested to hear the response from C3D on this.

I think the pulley is supposed to be even with the end of the stepper shaft.

Although it is very difficult to see - as the entire motor is enclosed within a shroud when in place - I dont think that it would correctly line up if it was in line with the end of the shaft. I would welcome comments from other PRO users…

Using my calipers, it does appear that some amount of protrusion is required:

1 Like

If that is the case then you could in theory washer the stepper away from the housing until the pulley grub screws were making proper contact with the flat on the shaft.

1 Like

Which, if that is what is needed a design change will be in order I am sure. But that would possibly be a quick fix.

This is a great suggestion I will give it a go :call_me_hand:

Please do not break your machine using my suggestion lol Can I get a disclaimer first haha oh man…

1 Like

:rofl:

you work for Shapeoko right? this is the official support forum?

jkjk haha

it only actually needs offsetting by a washer thikness (2mm ish) which - since I am only troubleshooting and not actually running full bore - should be good enough to see if this is the real problem.

2 Likes

LOL the main thing I can think of is the bolts having enough thread to mount properly after washers are applied.
Good luck sir!

Case Closed Boys!

I still need to flatten the wasteboard, hence why i think the lines get thicker towards the right… but I would call that a resounding success

I even reduced the $27 all the way back down to the original 3.000 and it works! it was the X motor shaft all along.

I will communicate all of the above with support

Thank you all for the assistance - really great :grin:

7 Likes